Day 5:
Almost finished! Today’s job is to work on buttonholes and buttons. I strongly recommend using the buttonhole attachment for your sewing machine, but I know that isn’t always a possibility!
To use the buttonhole attachment for your machine, refer to your machine’s manual. We also have lots of helpful buttonhole/button tips here.
If you want to use your regular sewing foot, it’s definitely possible! Check out the simple steps below for tackling button holes with simple zig zag stitches:
- Measure your buttons; you want your buttonhole to be just a tiny bit “taller” than your button, but not so loose that it doesn’t stay buttoned.
- Mark your buttonhole placement; you can use a sewing gauge, or the gauge included in the pattern
- Mark the short ends of your buttonhole (the “top” and “bottom”); this will be your starting and stopping point for your buttonhole
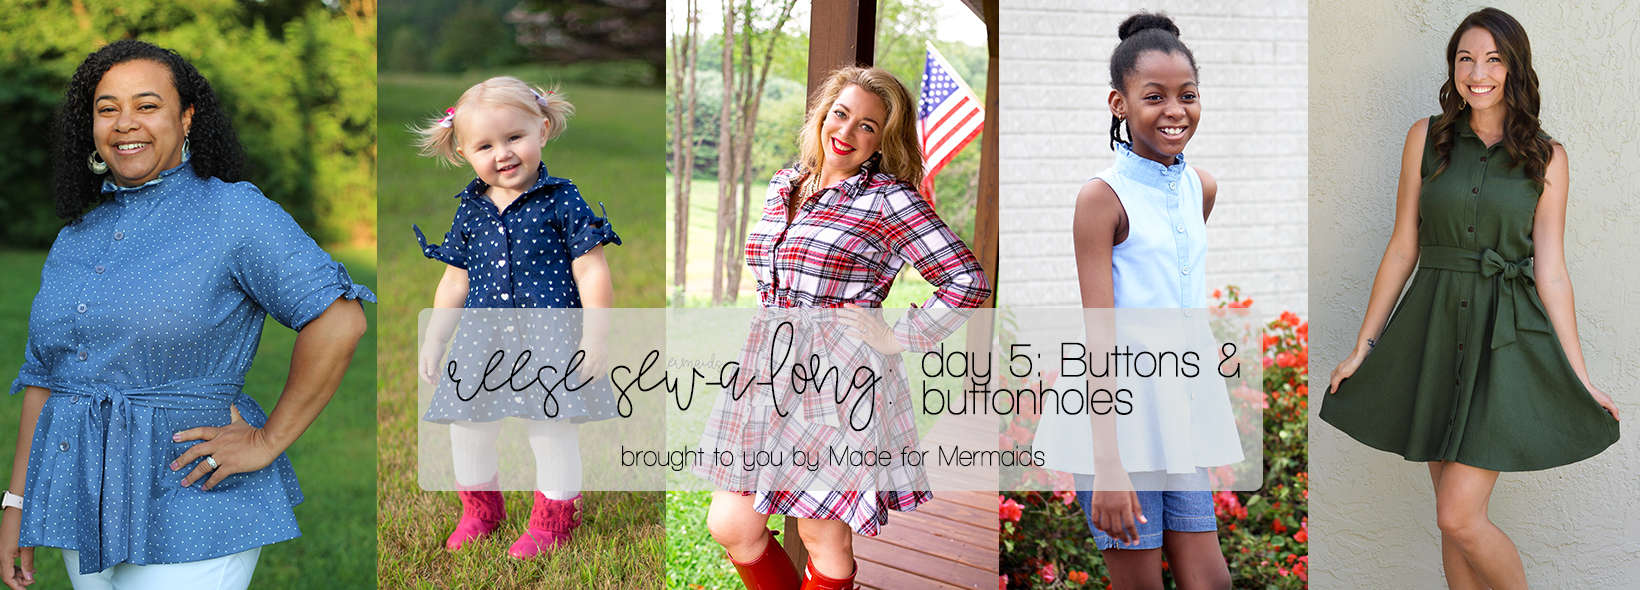
My daughter requested that I leave off the top button, so you’ll notice that one is missing on hers!
For the next steps, you will need to experiment with your settings as you may have a different preference and/or your machine may need some adjustments. However, these are the settings I used:
- Start on one short end; I used a zigzag stitch with a length of 0.0 and settled on a width of 5. I also tried 6 and 7, but both were a bit too wide for my preference.
- Next, finish the sides of your button hole on either side of the vertical line you marked; for the long sides, I used a zigzag stitch with a length of .3 and a width of 2. Do not sew on the line itself; sew on either side.
- Stop at the other short end
- Turn fabric and repeat the zigzag stitch with a length of 0.0 and settled on a width of 5.
- Repeat the zigzag stitch with a length of .3 and a width of 2. Do not sew on the line itself; sew on either side.
Finally, you will clip along the original line/marking you drew. I used a small seam ripper, but you can also use scissors. Be very careful not to cut through your stitches!
NOTE: Fray check is recommended to prevent fraying.
Don’t forget:
- Fray check is recommended to prevent fraying
- Wash away stabilizer is a great tool to use! I couldn’t find any locally, but it’s easy to find stateside!
- Refer to your machine’s manual for specific information on using your buttonhole attachment
- Make sure your buttonholes are snug around the button
Want to sew along with me? Check out today’s video:
If you have questions about buttons or buttonholes, you are always welcome to post in our SAL group so we can help you! Be sure to check in each day during the SAL, and look for daily posts to enter our giveaways. We can’t wait to see what you create this week!

DAY 1: PREP + SHOULDER SEAMS
DAY 2: BODICE SIDE SEAMS, SKIRT SIDE SEAMS, ATTACHING SKIRT, + PLACKET
DAY 3: COLLAR + HEMMING
DAY 4: SLEEVE PLACKET, SLEEVE TIES, + ATTACH SLEEVES
DAY 5: BUTTONS + BUTTONHOLES
DAY 6: OPTIONAL: OPTIONAL WAIST TIE + CATCH UP
OUR SPONSORS:
So Sew English has some great woven fabric options for Reese! Head on over to So Sew English to check out their selection.


Leave a Reply