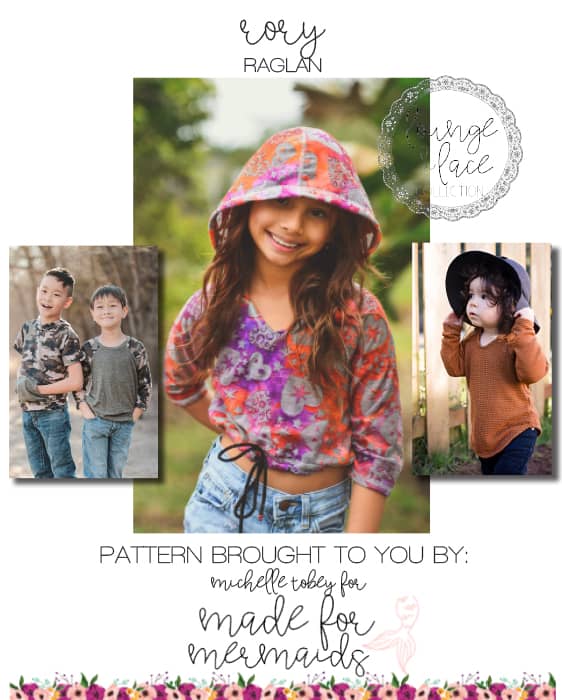
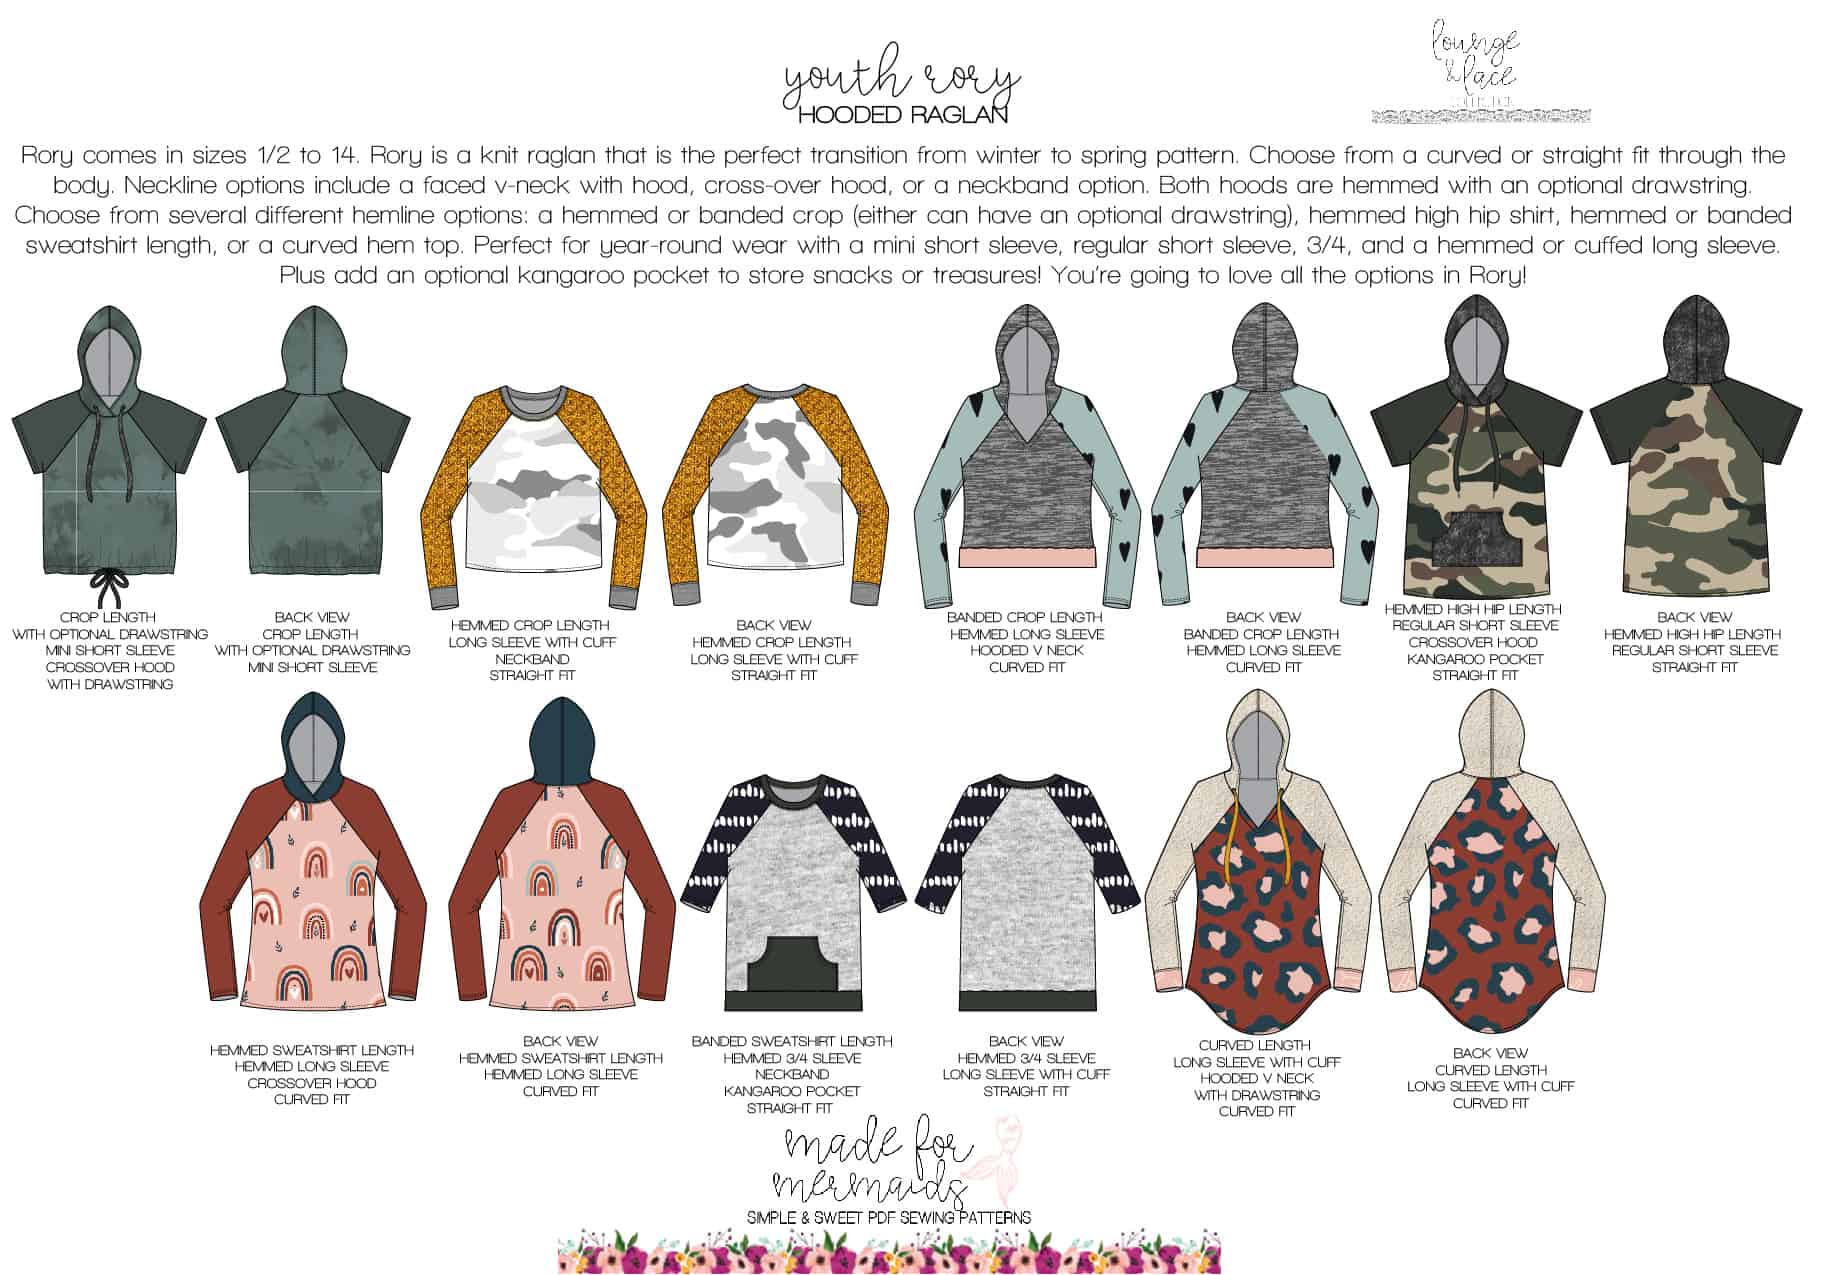
The Rory patterns are next up in our Lounge and Lace Collection! Michelle worked so hard to get the fit and style just right for you! We love all the great looks our testers came up with, and we hope you love Rory too. The Rory patterns feature tons of great options! The Youth Rory pattern includes multiple hem lengths (curved hem, banded or hemmed sweatshirt length, high hip length, banded or hemmed crop), sleeve choices (long banded or hemmed, short sleeve, and mini short sleeve), two bodice fits, an optional crop drawstring, and hood or neckband options!
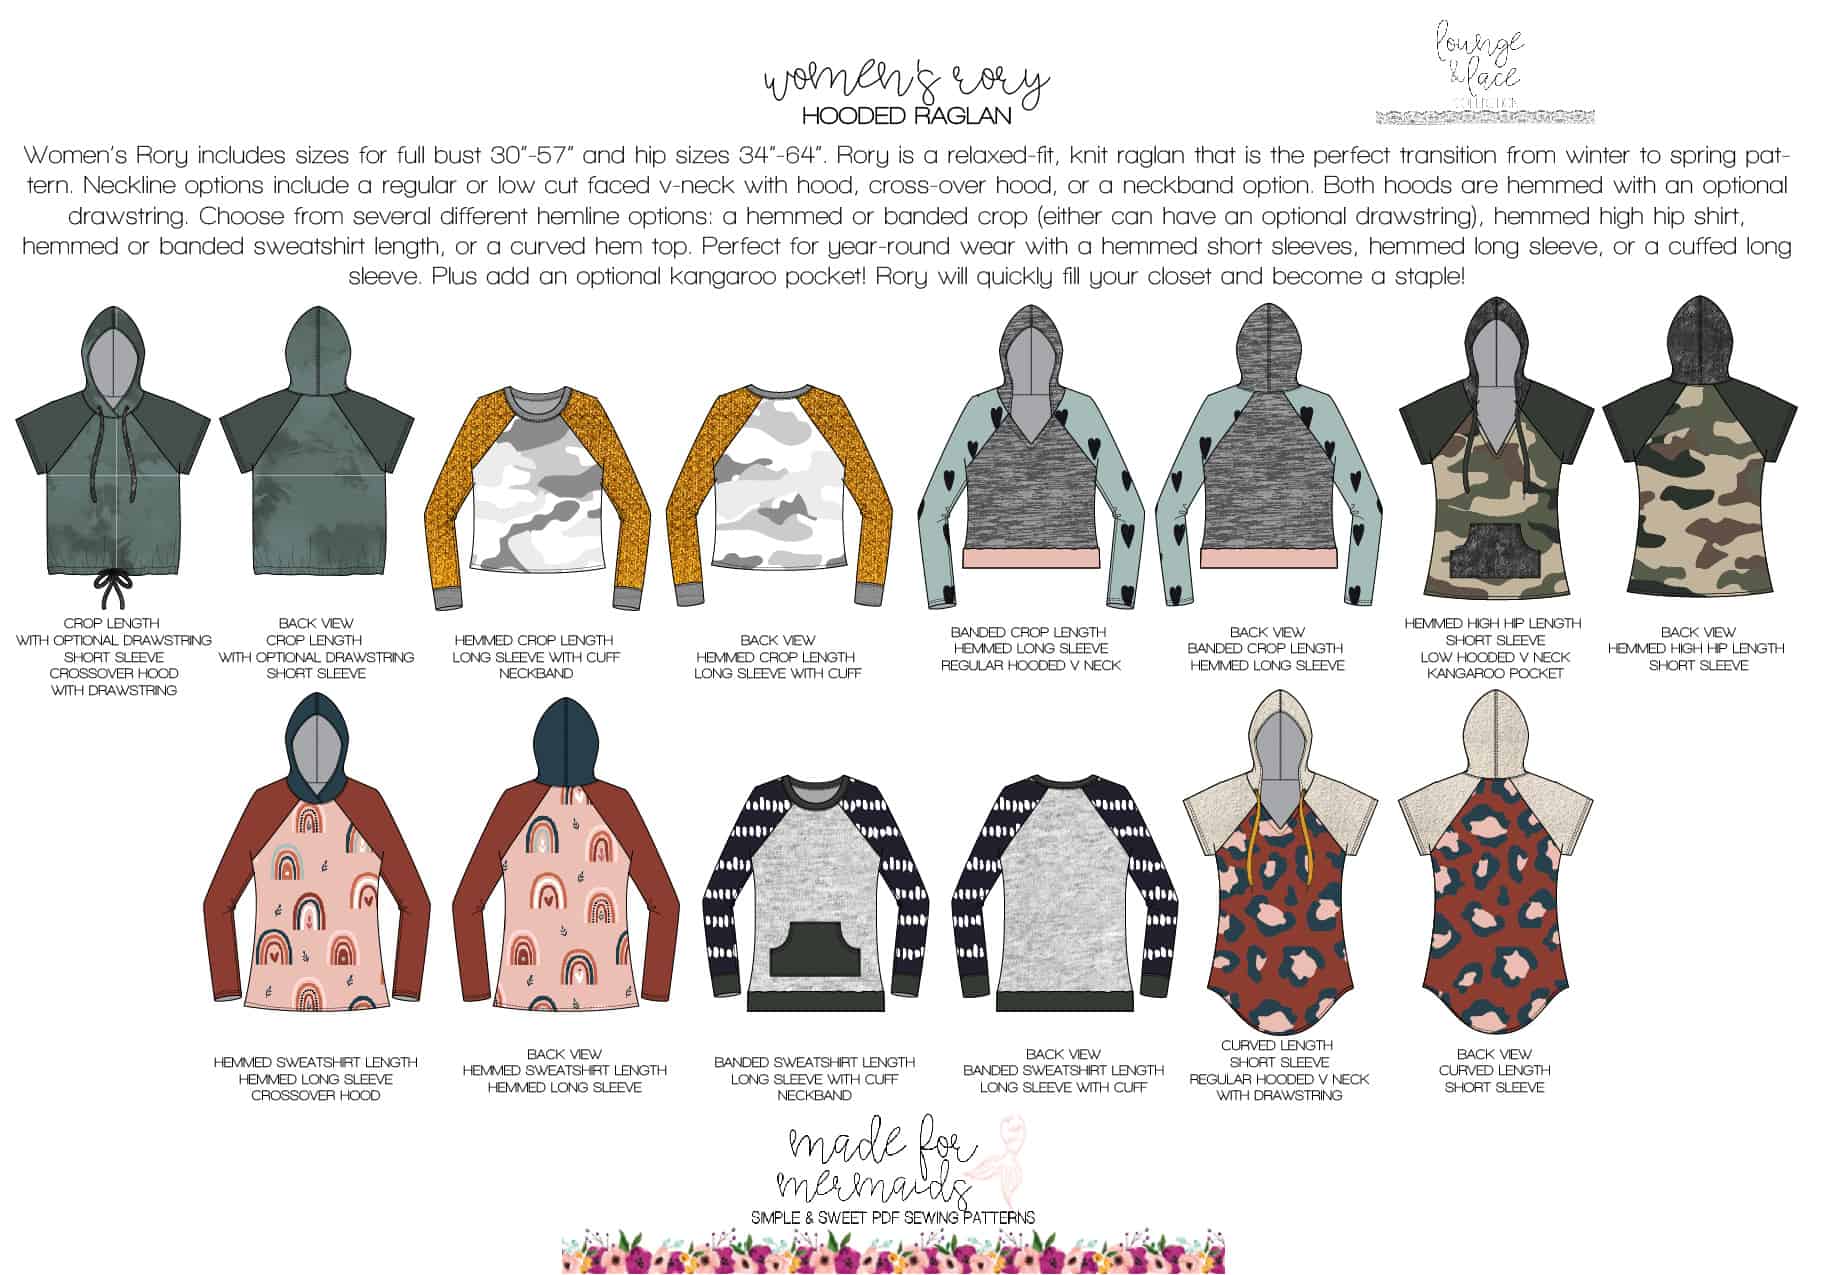
The Women’s Rory pattern features multiple hem choices (curved hem, banded or hemmed sweatshirt lengths, high hip, banded or hemmed crop, several sleeve options, and optional hood and crop drawstring.
On top of all the options already included, we put together a few hacks for you below. Enjoy!!
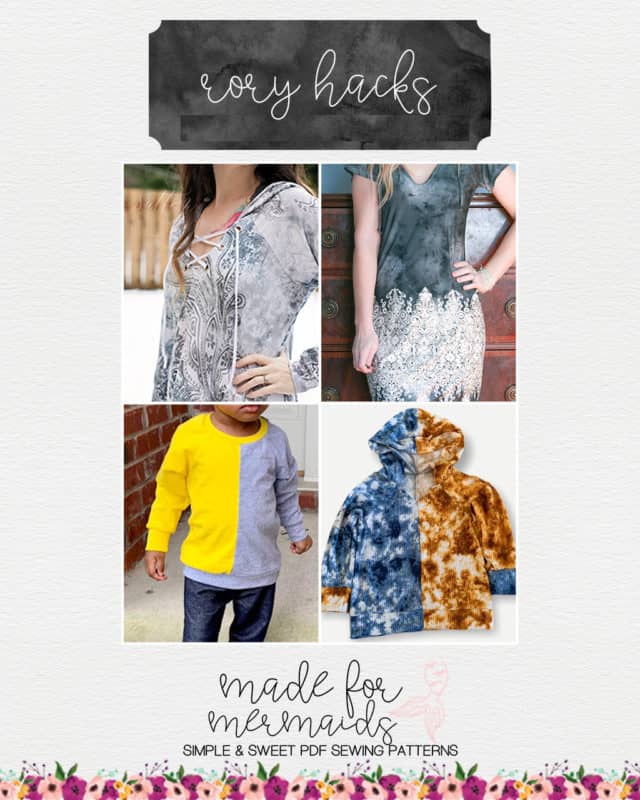
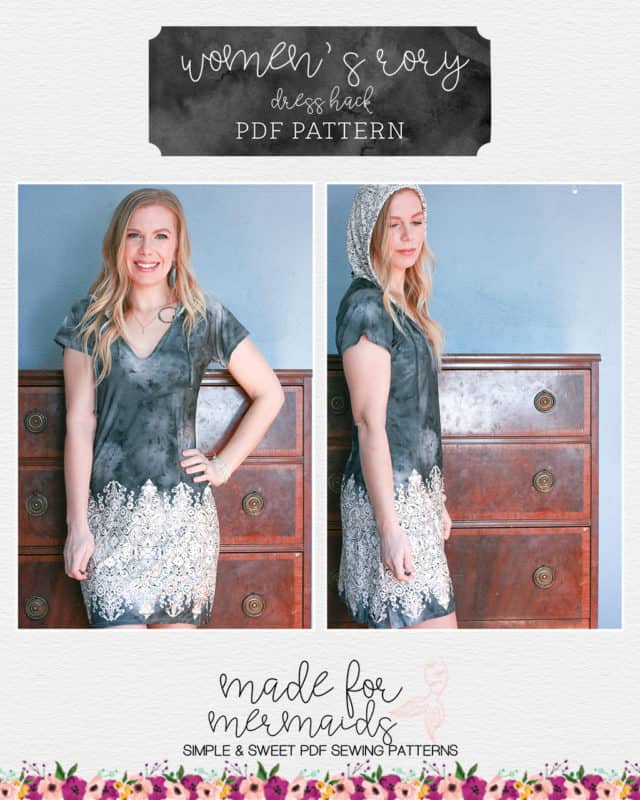
Dress Hack/Sage Mash
As soon as I saw Rory, I knew I needed every option PLUS in my closet. The neckline was the one I’d been waiting for! The first thing I knew I needed to do was to mash with Sage to make the perfect hooded dress. Every dress needs a hood, in my opinion.
Mashing Rory and Sage was so easy! I can’t wait to make more for the perfect dress to throw over my swimsuit on the way to the beach, or dress it up for a night out.
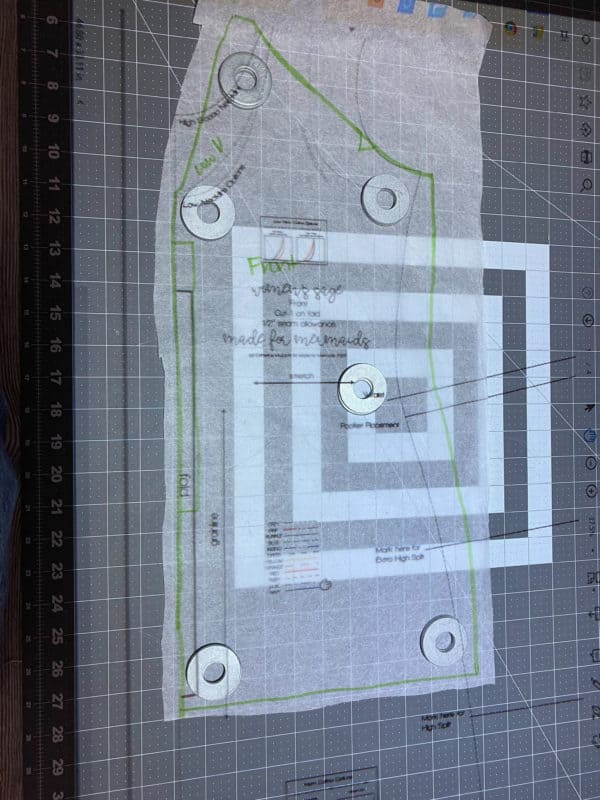
First, get both pattern pieces and line them up at the neckline and armscye. Rory will be a little bigger than Sage, but we are going to gradually ease them together, like this. You’ll then cut the top of Rory and continue along the line to cut Sage from the armscye down.
Then, sew together using the directions from each pattern. I did the knee length dress with low slit option from Sage, and the deep-v from Rory; I’m so in love with the result.
Happy sewing, friends!
-Ashley
Lace Up Hack
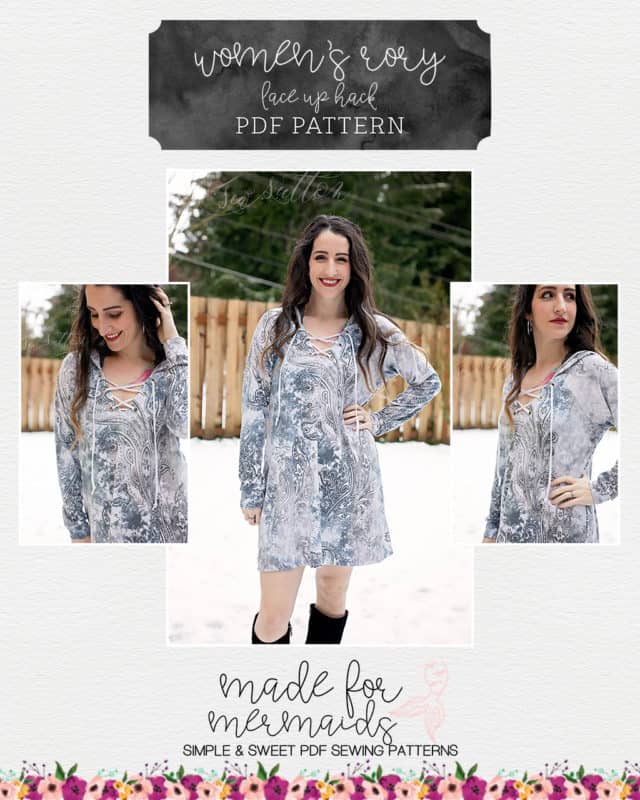
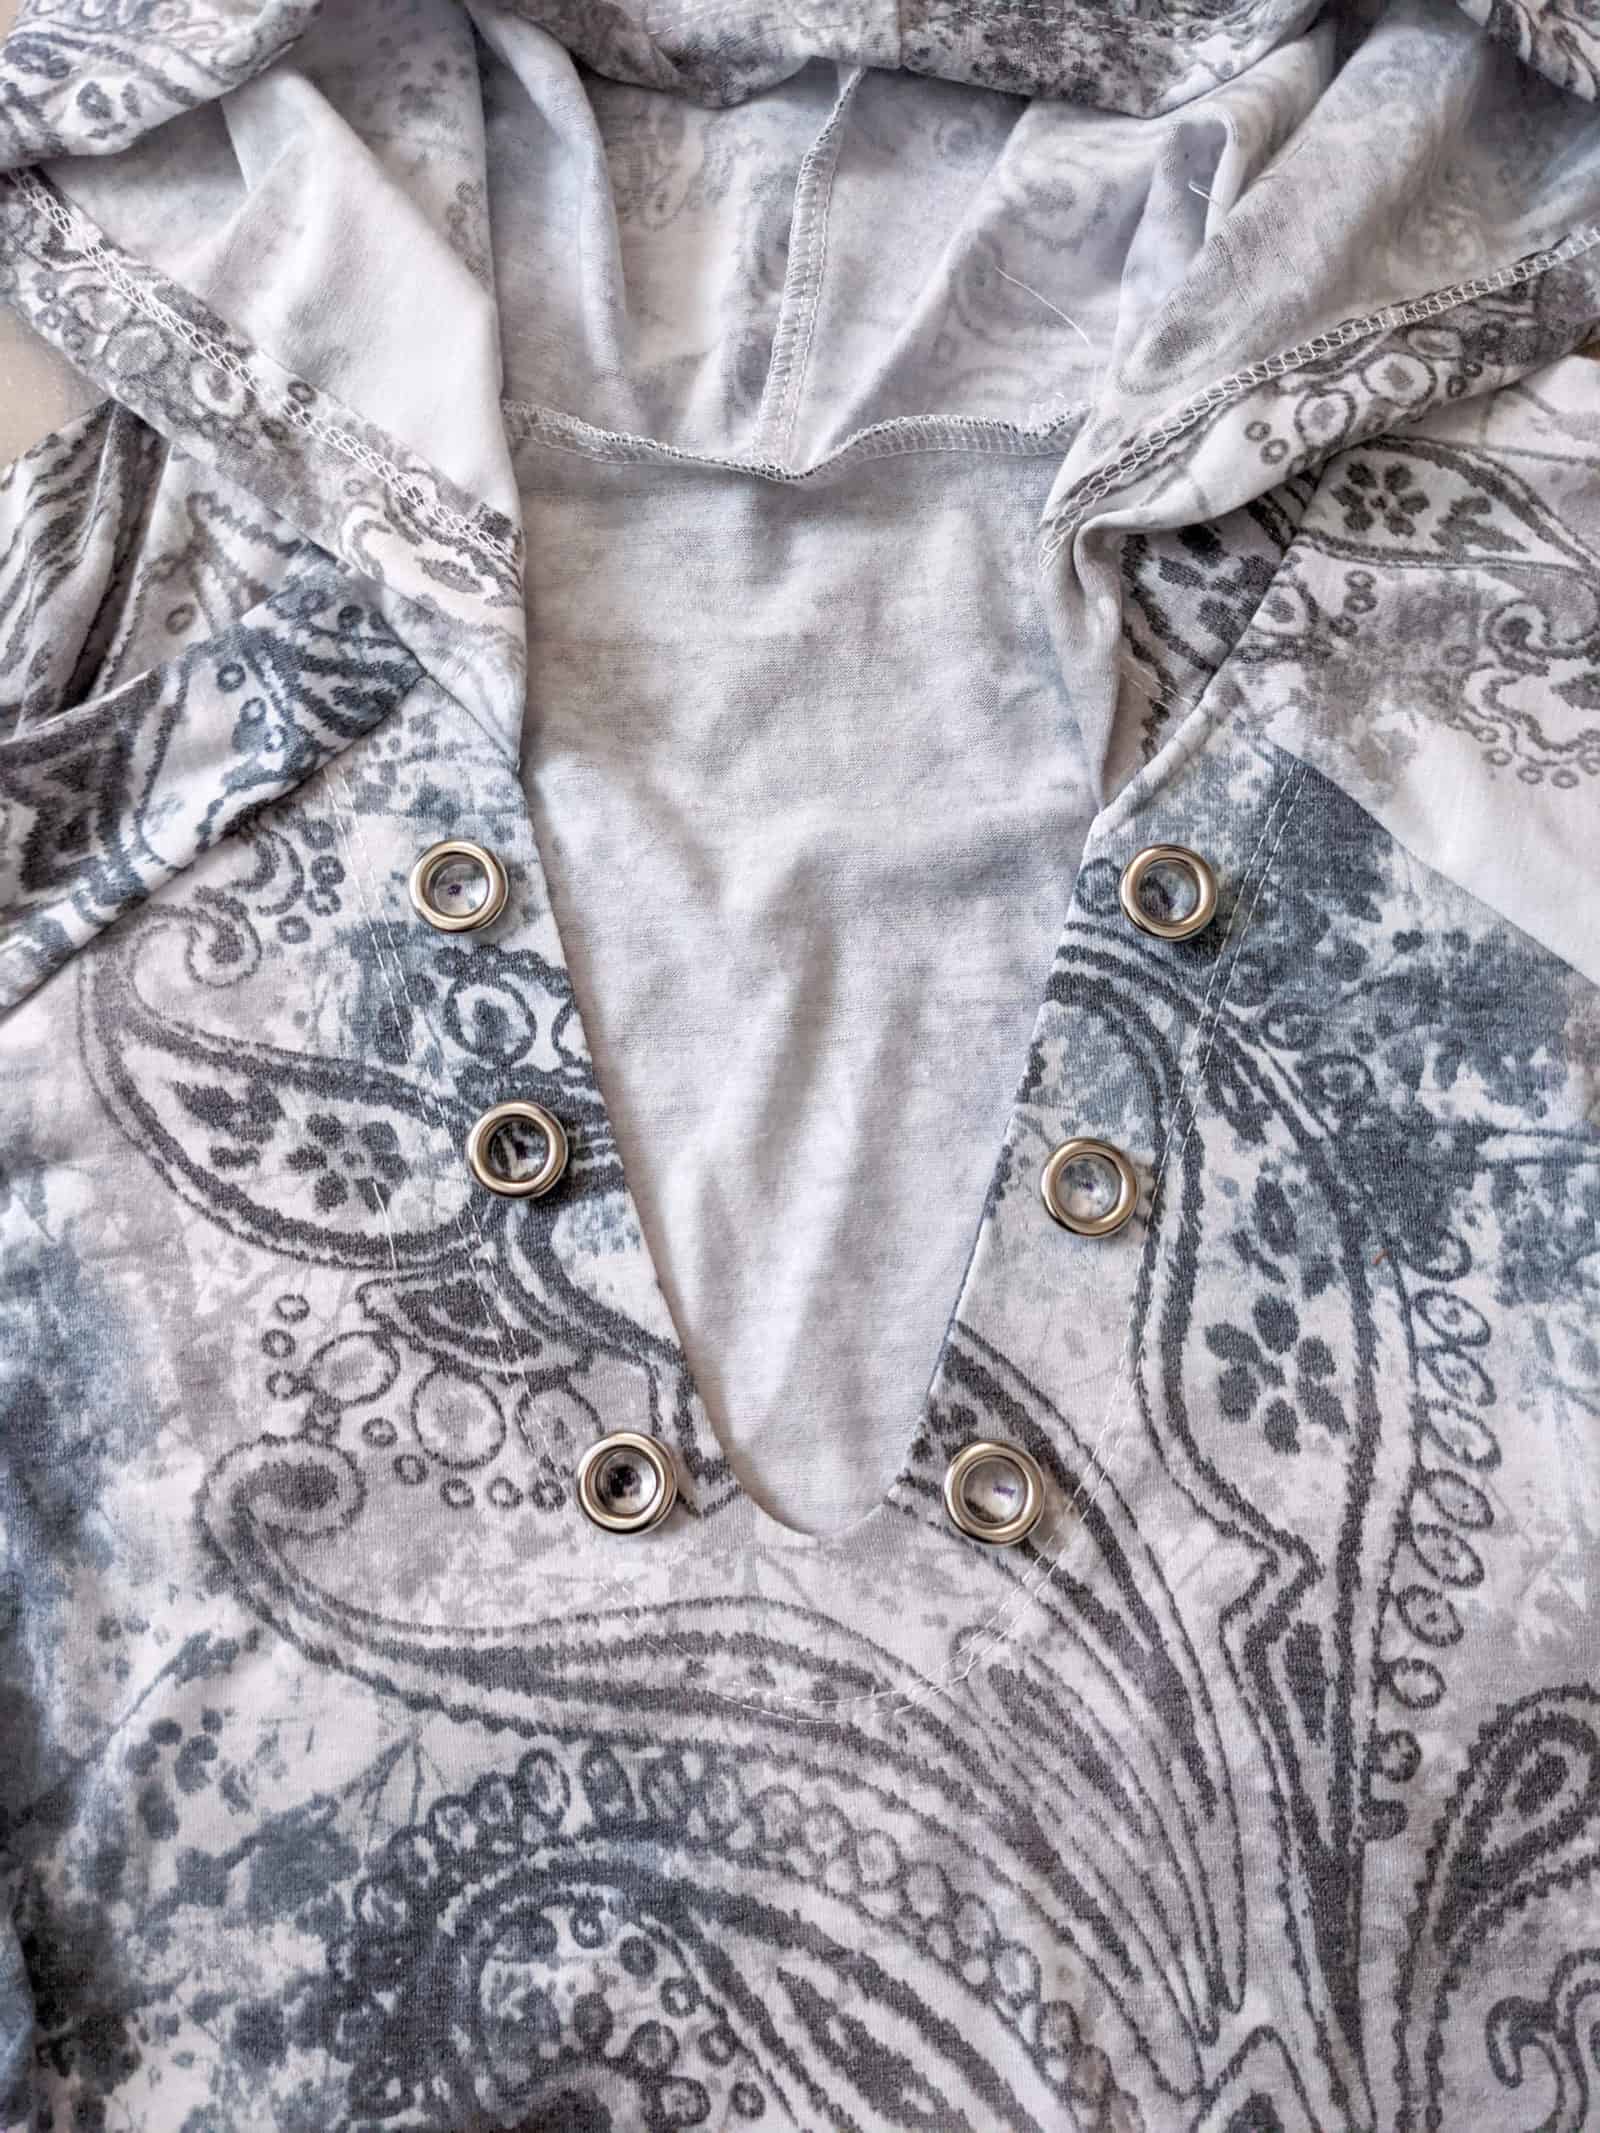
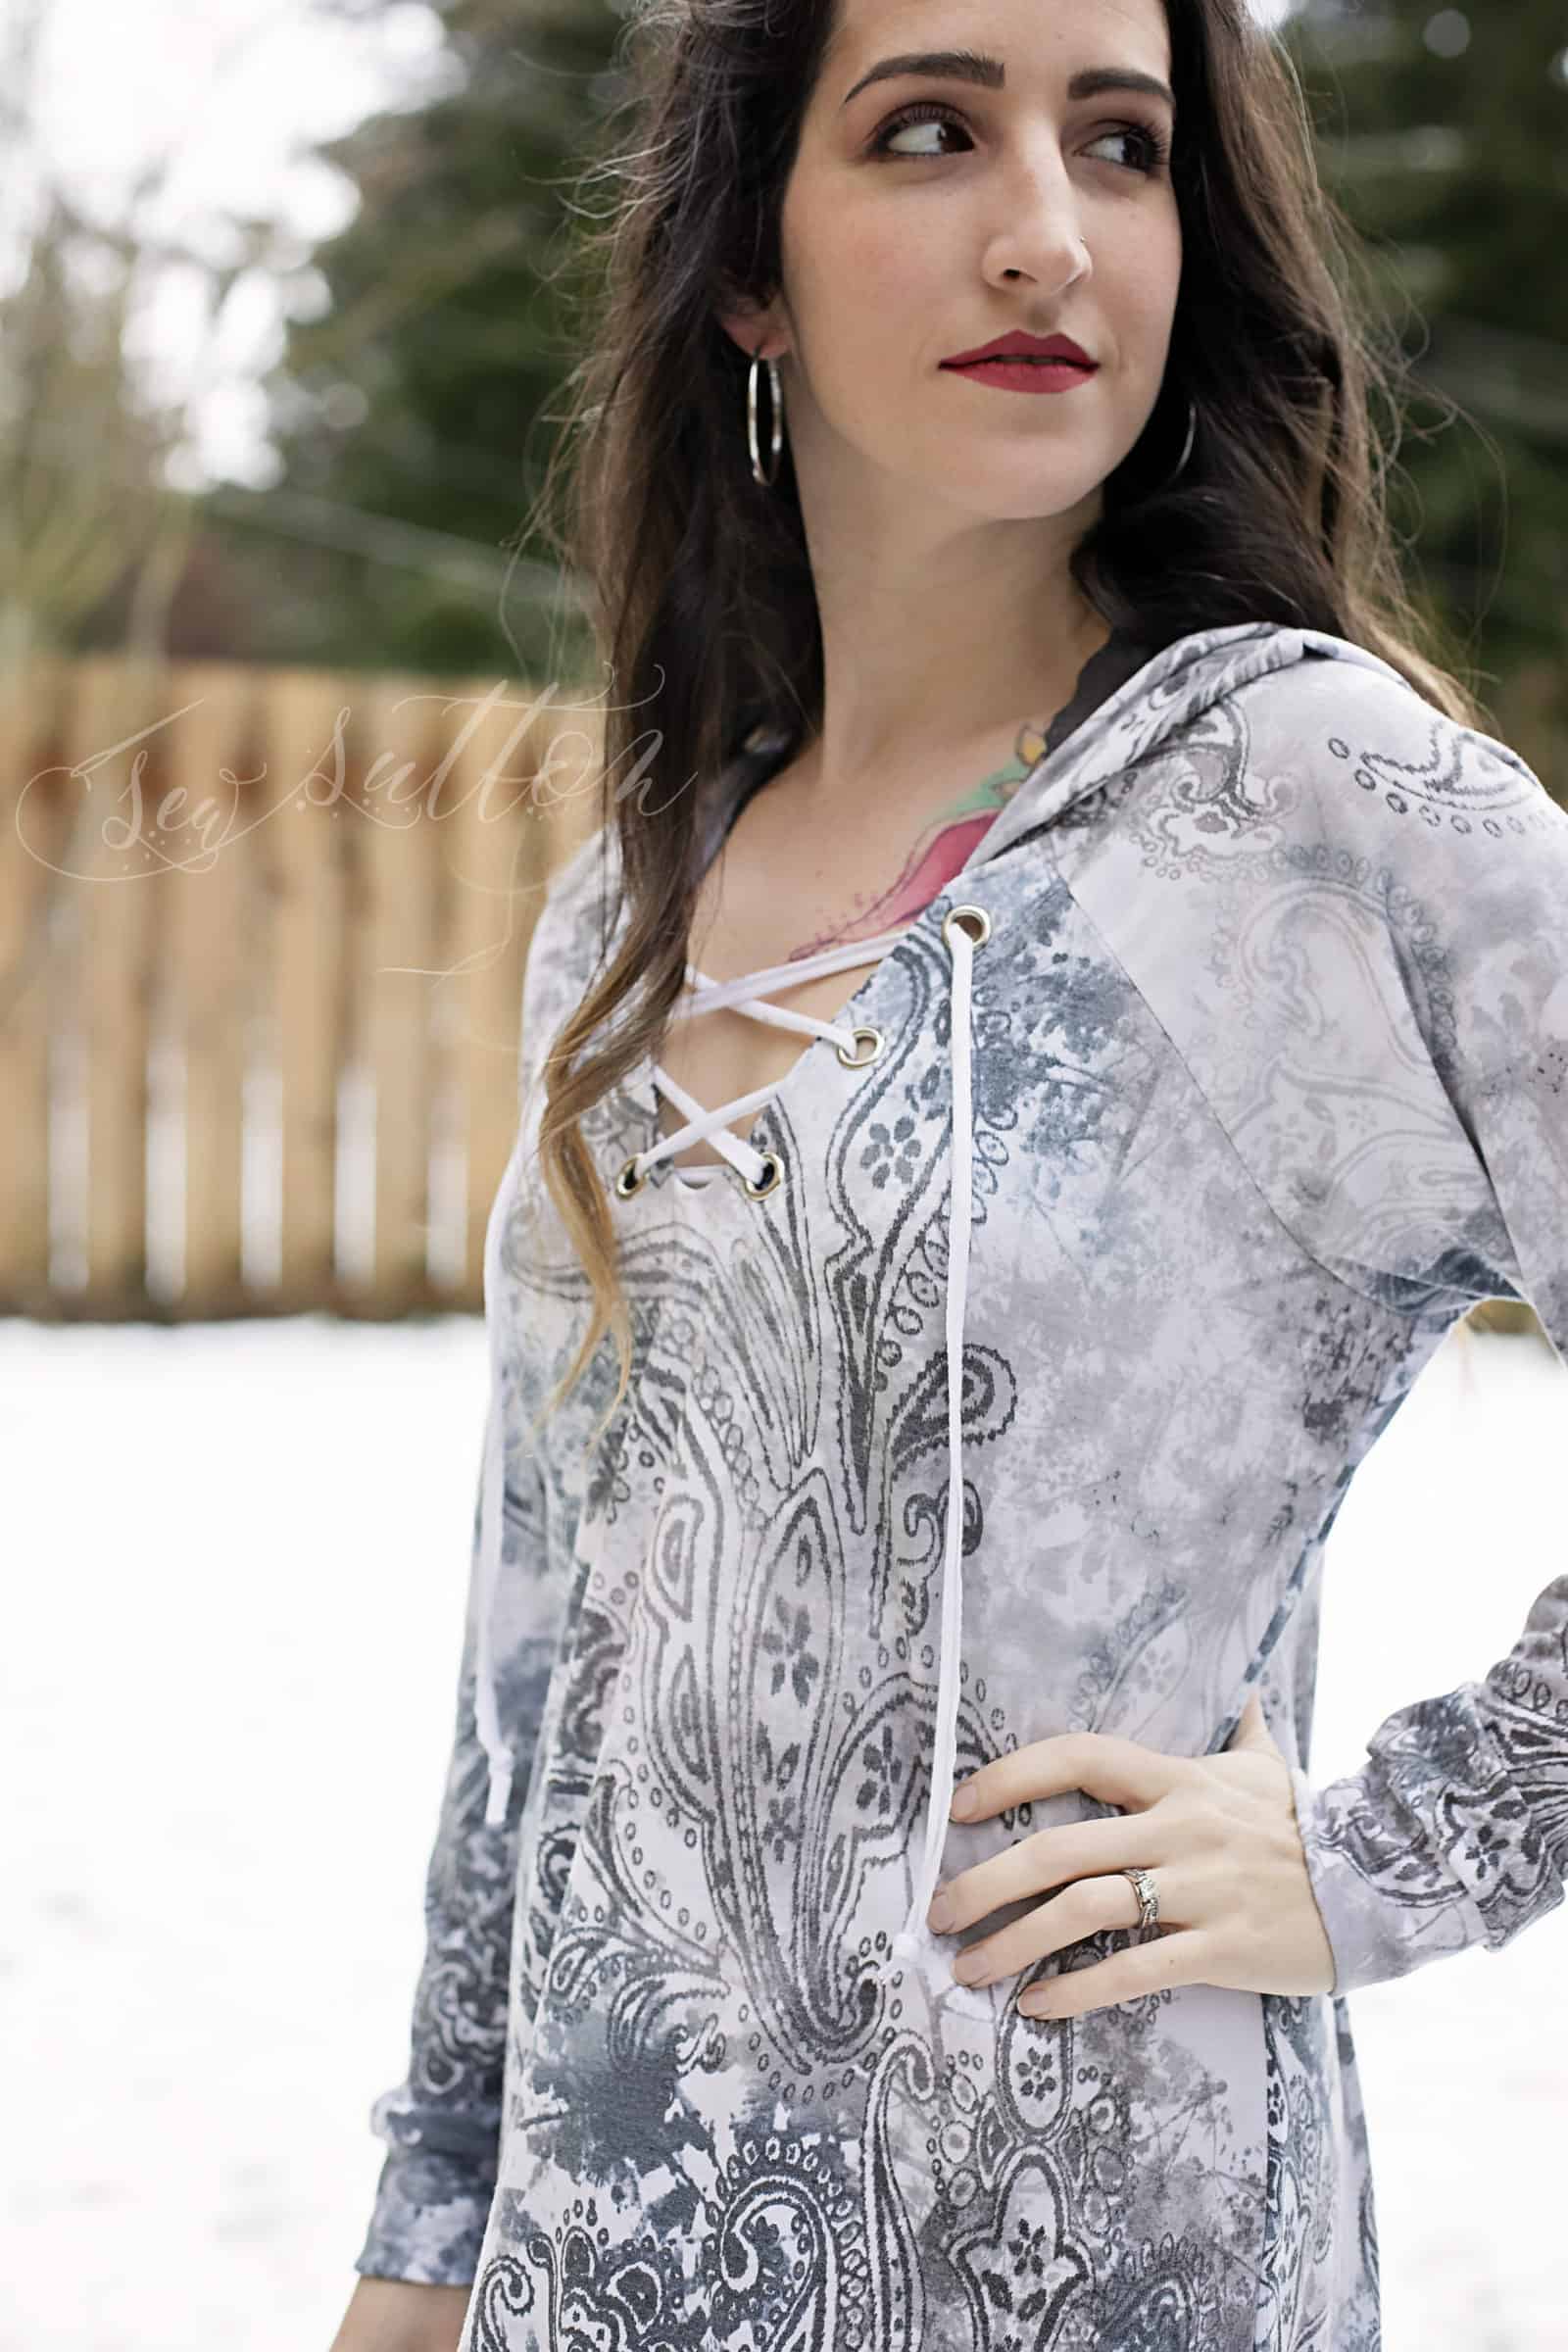
Out of all the hacks I’ve hacked, I think this might be my favorite yet! I’ve always seen those super cute lace-up front tops, but I’ve never been brave enough to try until Rory. Rory already provides the perfect base to build off of to get this look, and the best part- it’s SO easy! All you’ll need is your Rory pattern, some grommets (I used 6), fusible interfacing, and some kind of tie (I used the selvage of my fabric). Now, let’s get started!
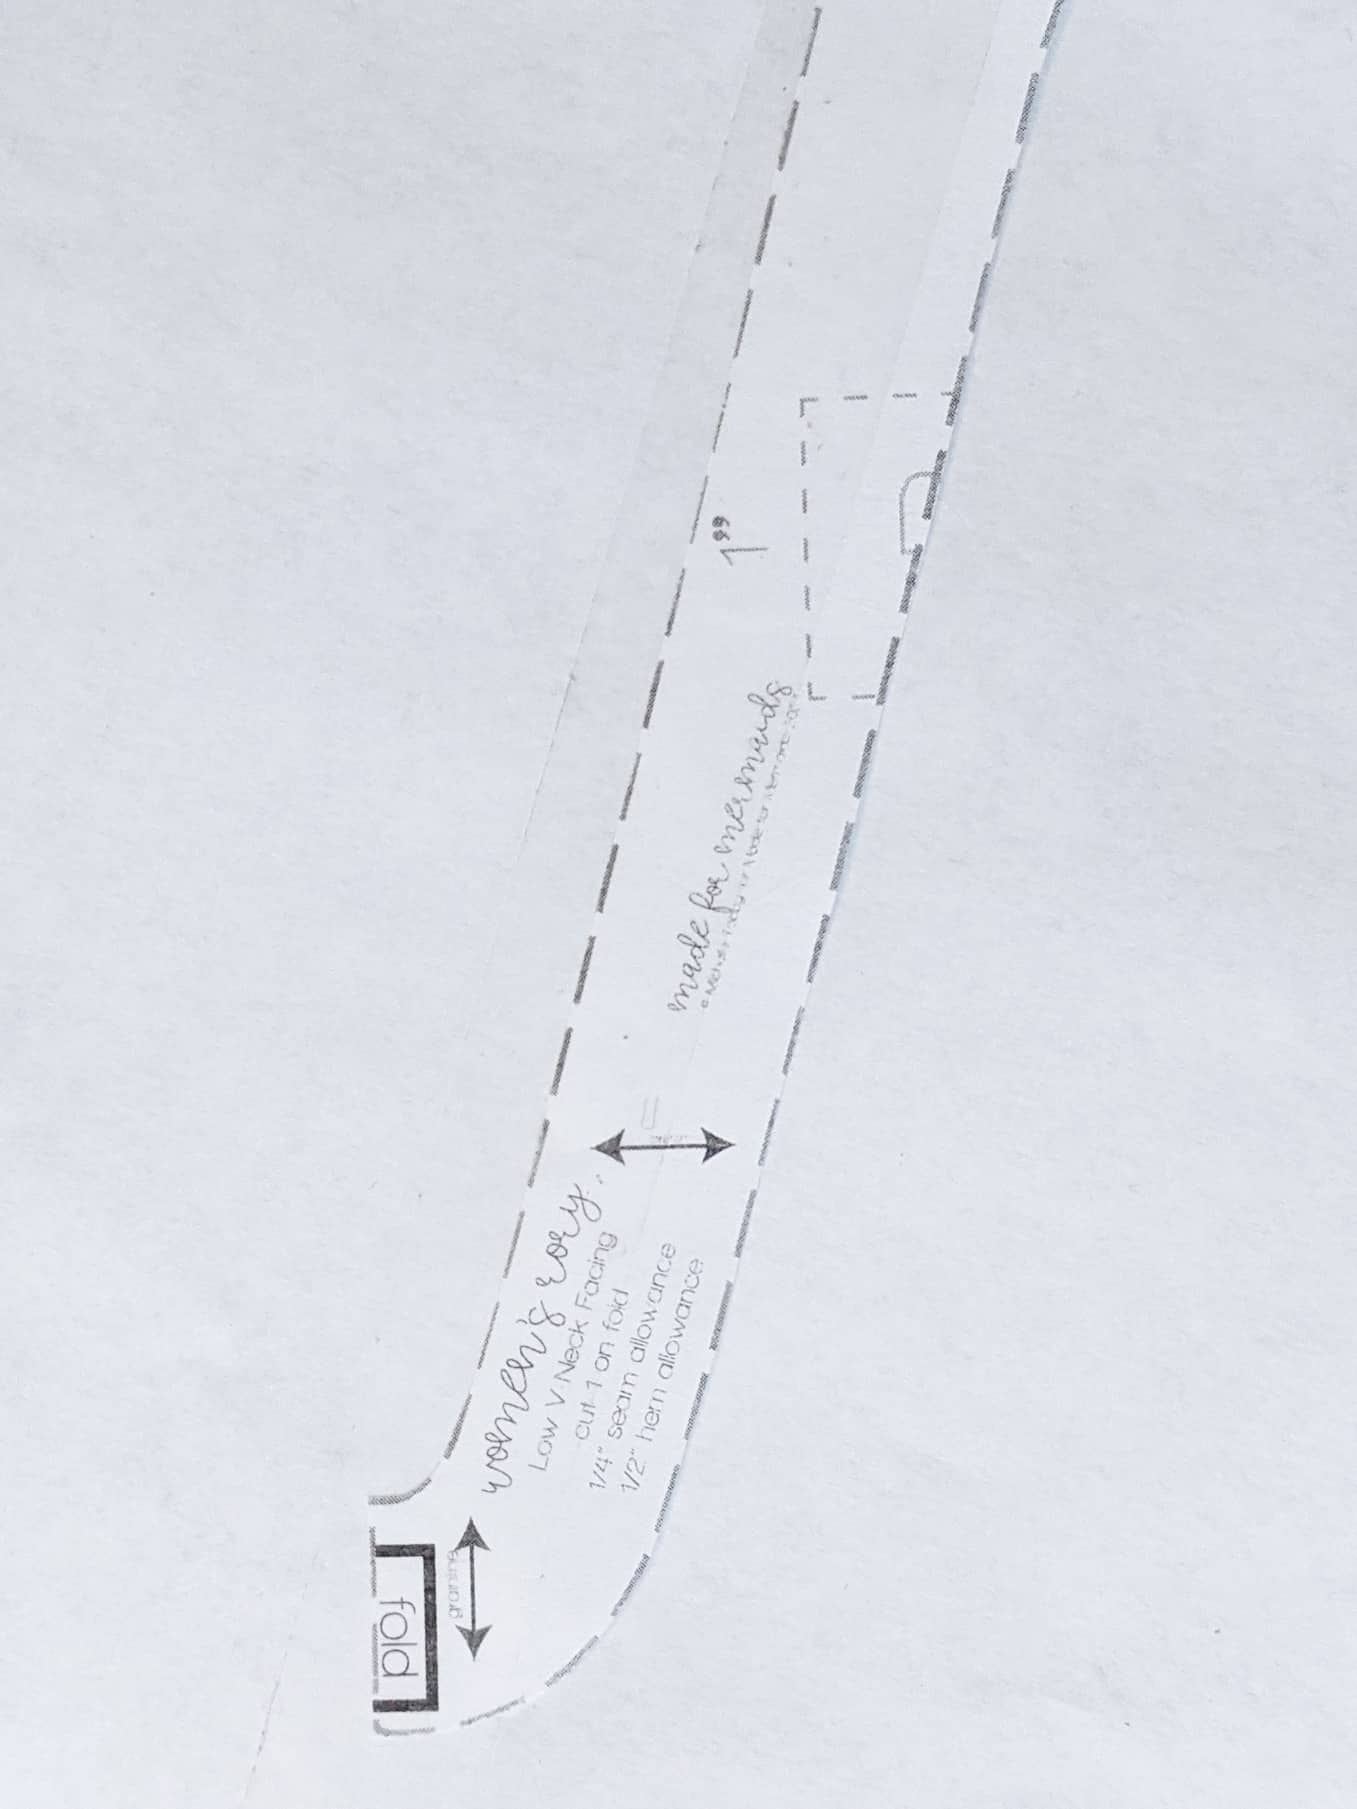
You will need to choose a v-neck option, and I recommend the low one, but none of the other options matter, so go ahead and print whichever options you’d like. All of your pieces are going to remain the same, except for your facing piece.
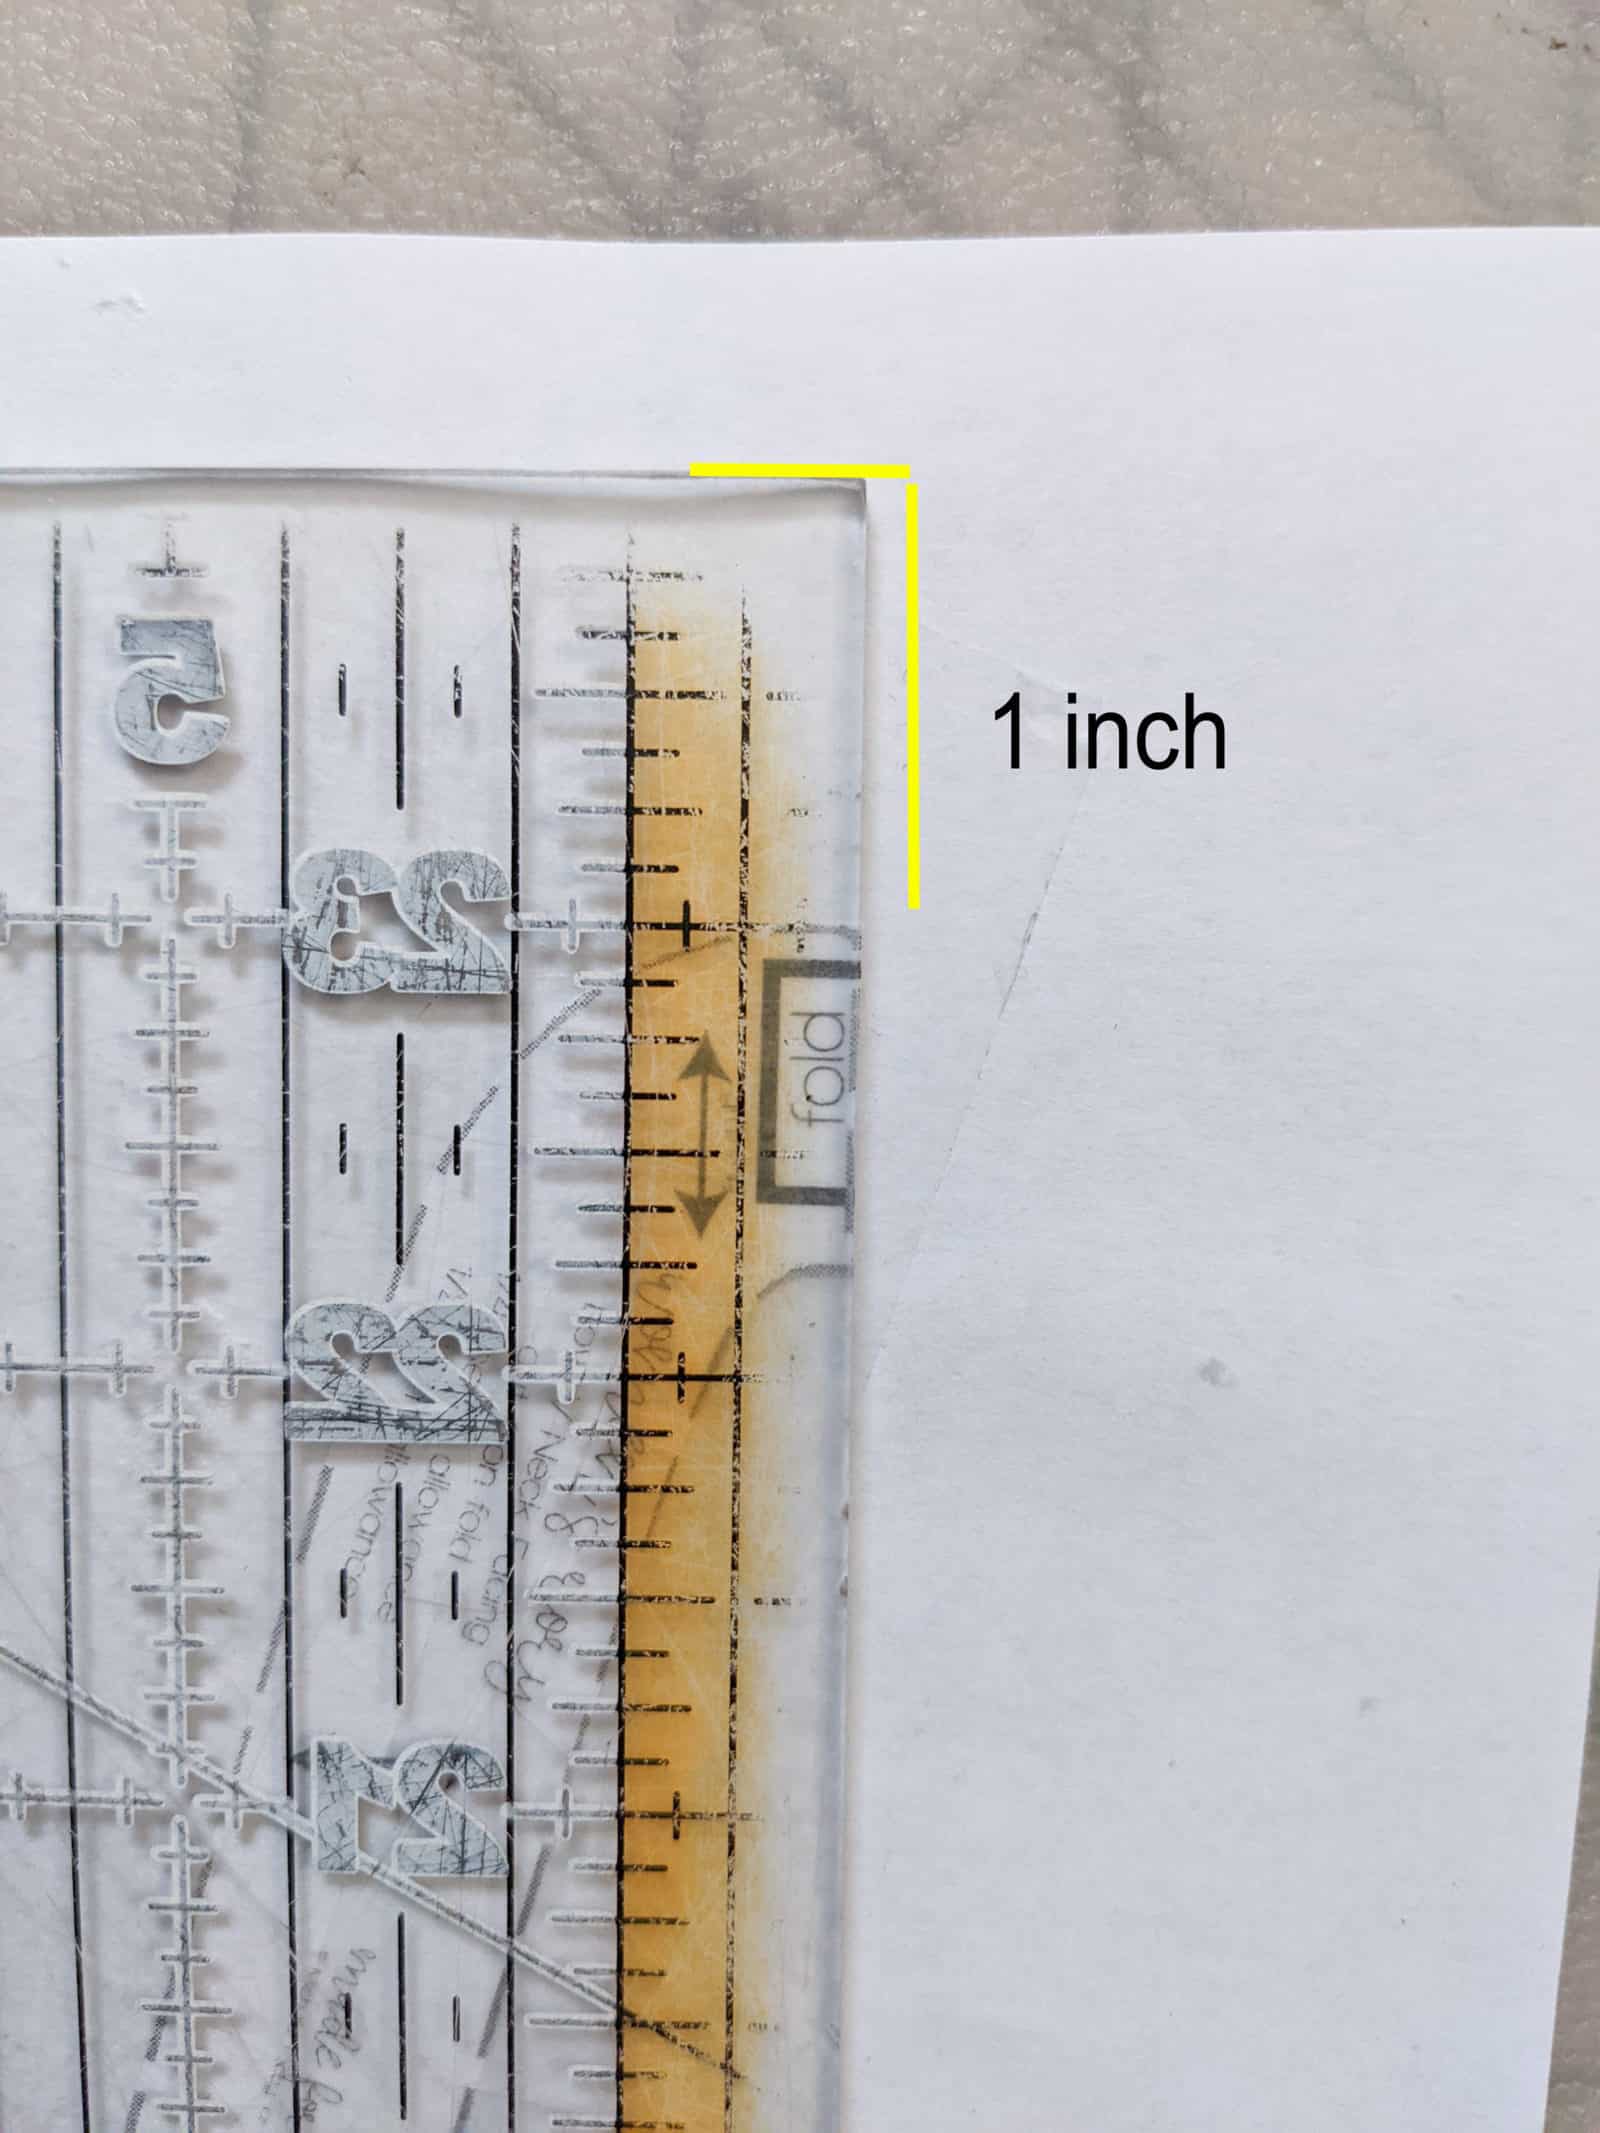
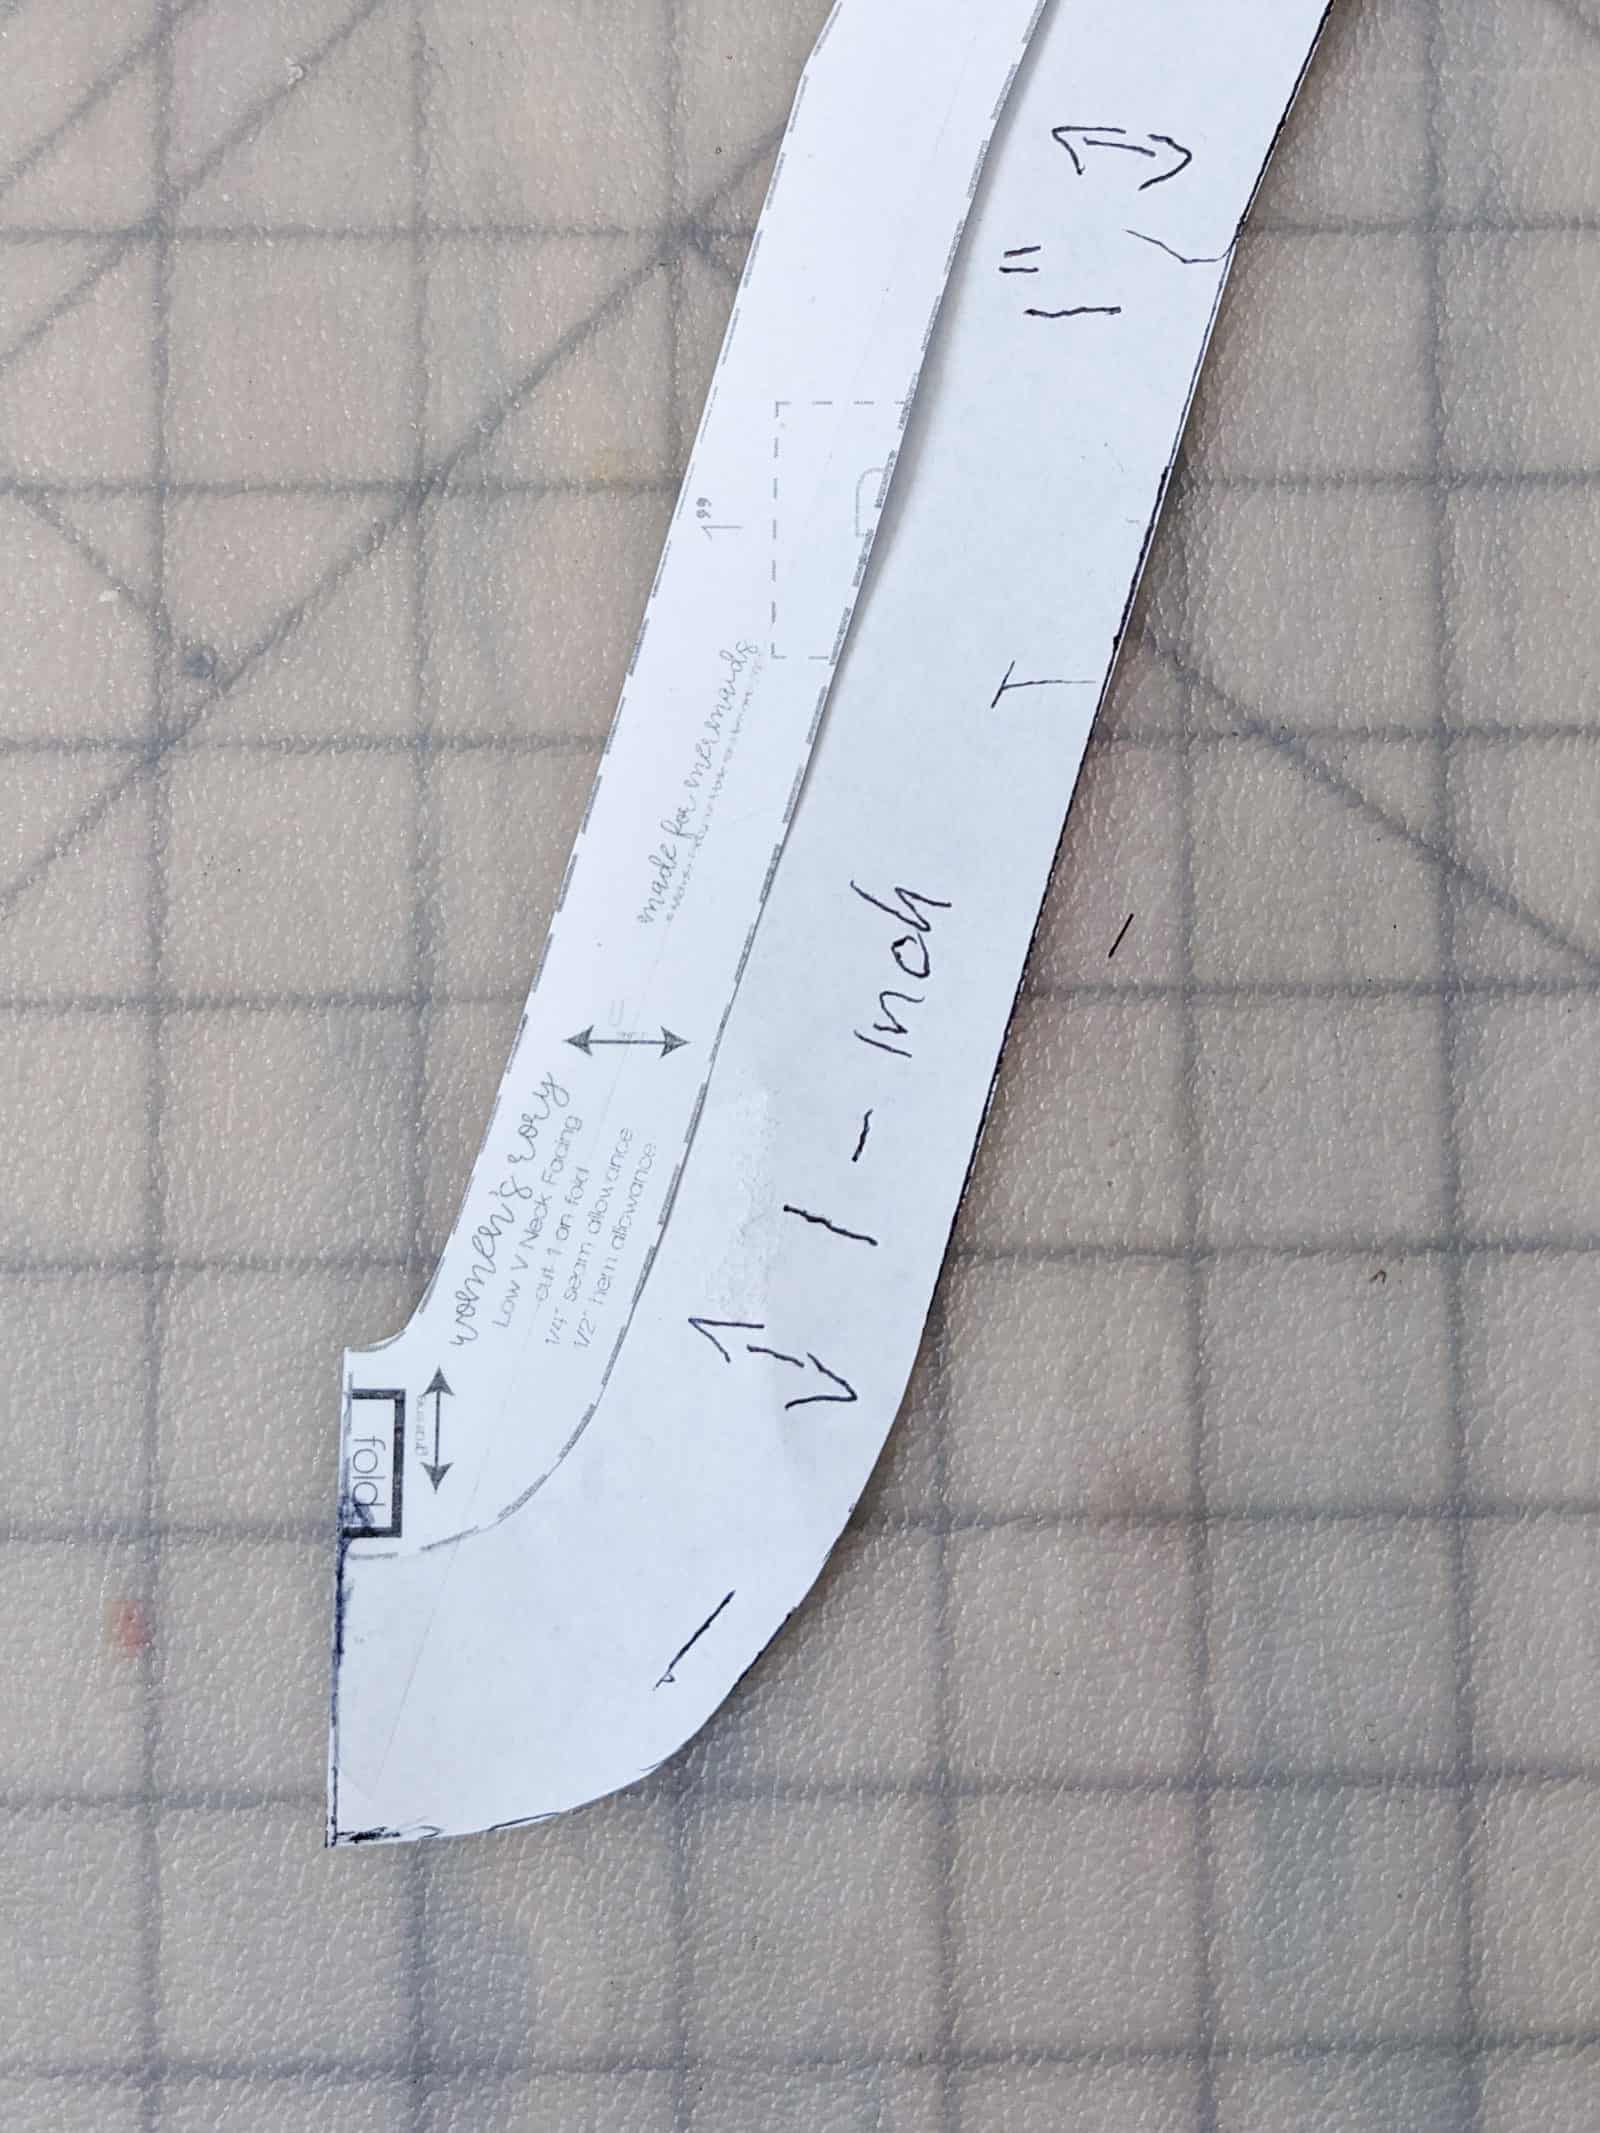
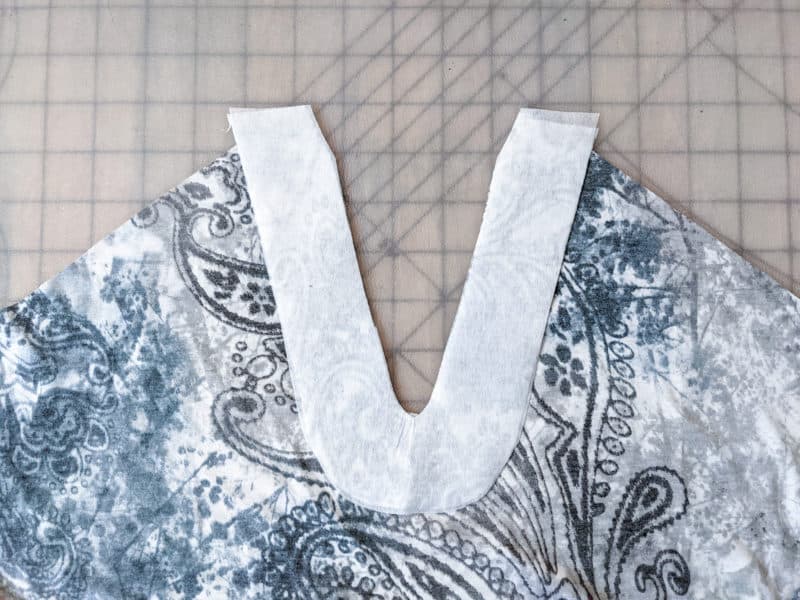
Once you have your facing piece printed and cut out, lay it on a blank piece of paper, tape it down, and grab a ruler. From here, we are going to add 1 inch to the outside of your facing piece. This gives you some extra room to play with depending on the size of your grommets. It can get a little tricky with the curve so I like to do a lot of small marks one inch away and then connect them by hand (kind of like a dot to dot). This will be your new facing pattern piece.
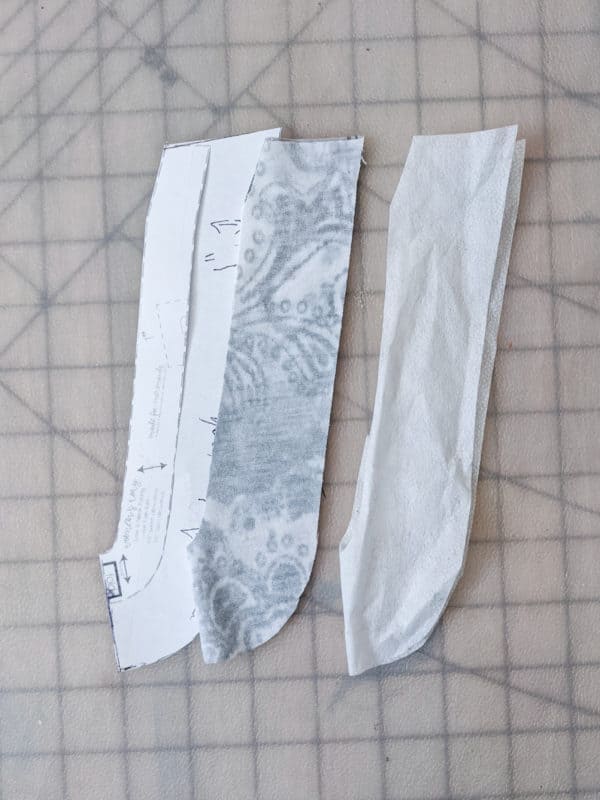
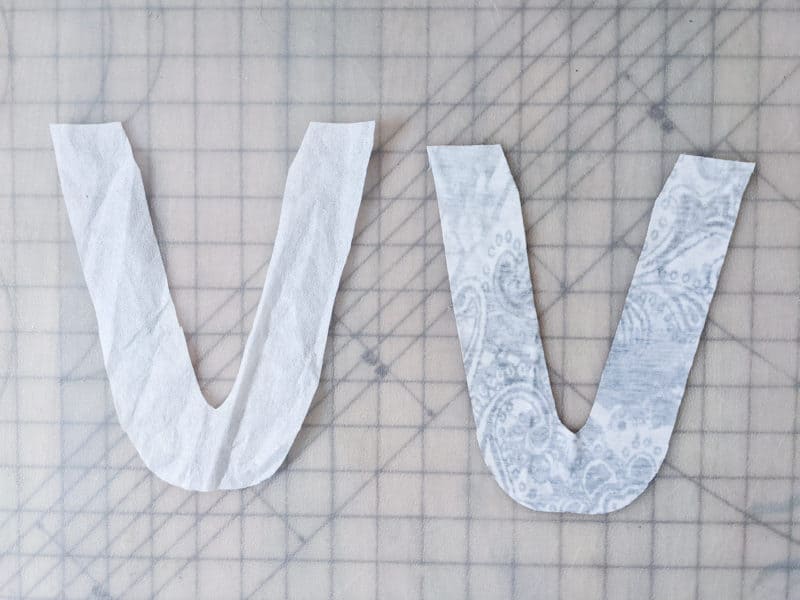
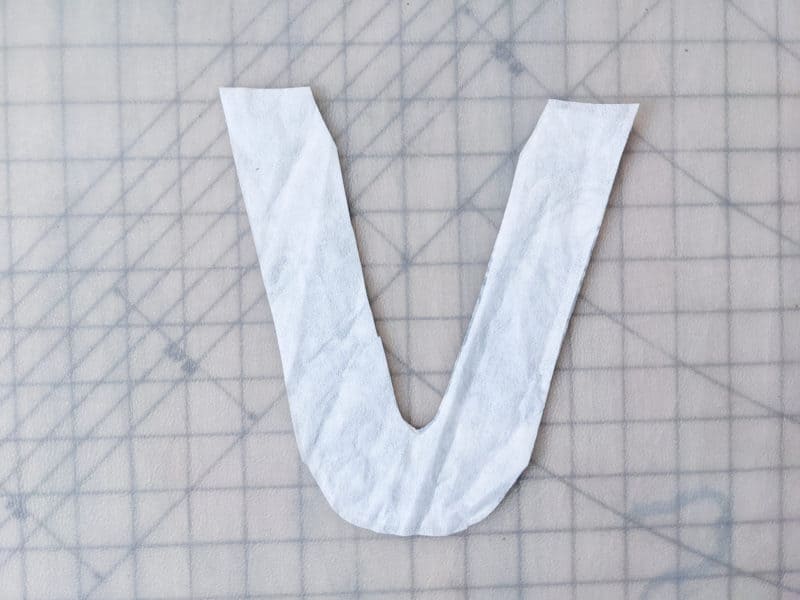
Cut out your new facing piece from your regular fabric and you’ll also need a piece of interfacing. Something strong enough to hold grommets without worrying about them pulling out but not so thick you don’t have any flexibility left in your knit. Next, fuse your interfacing to the wrong side of your main facing piece.
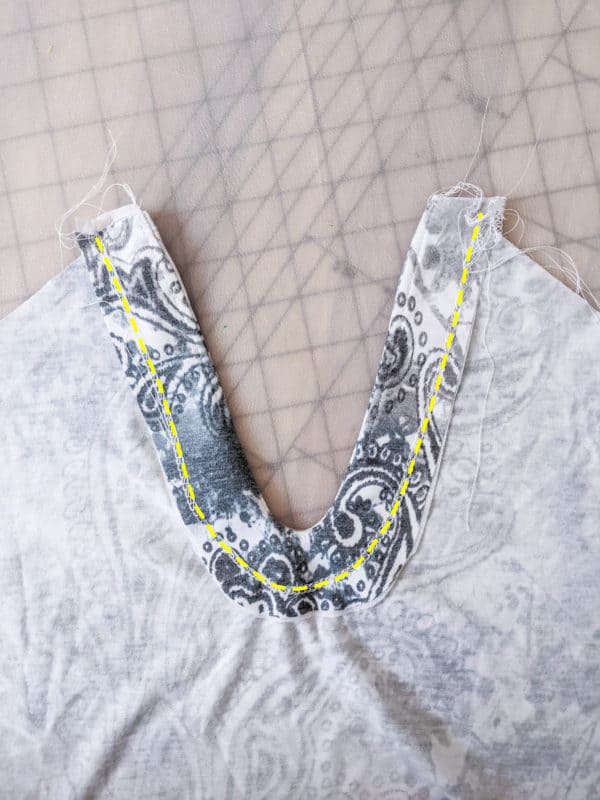
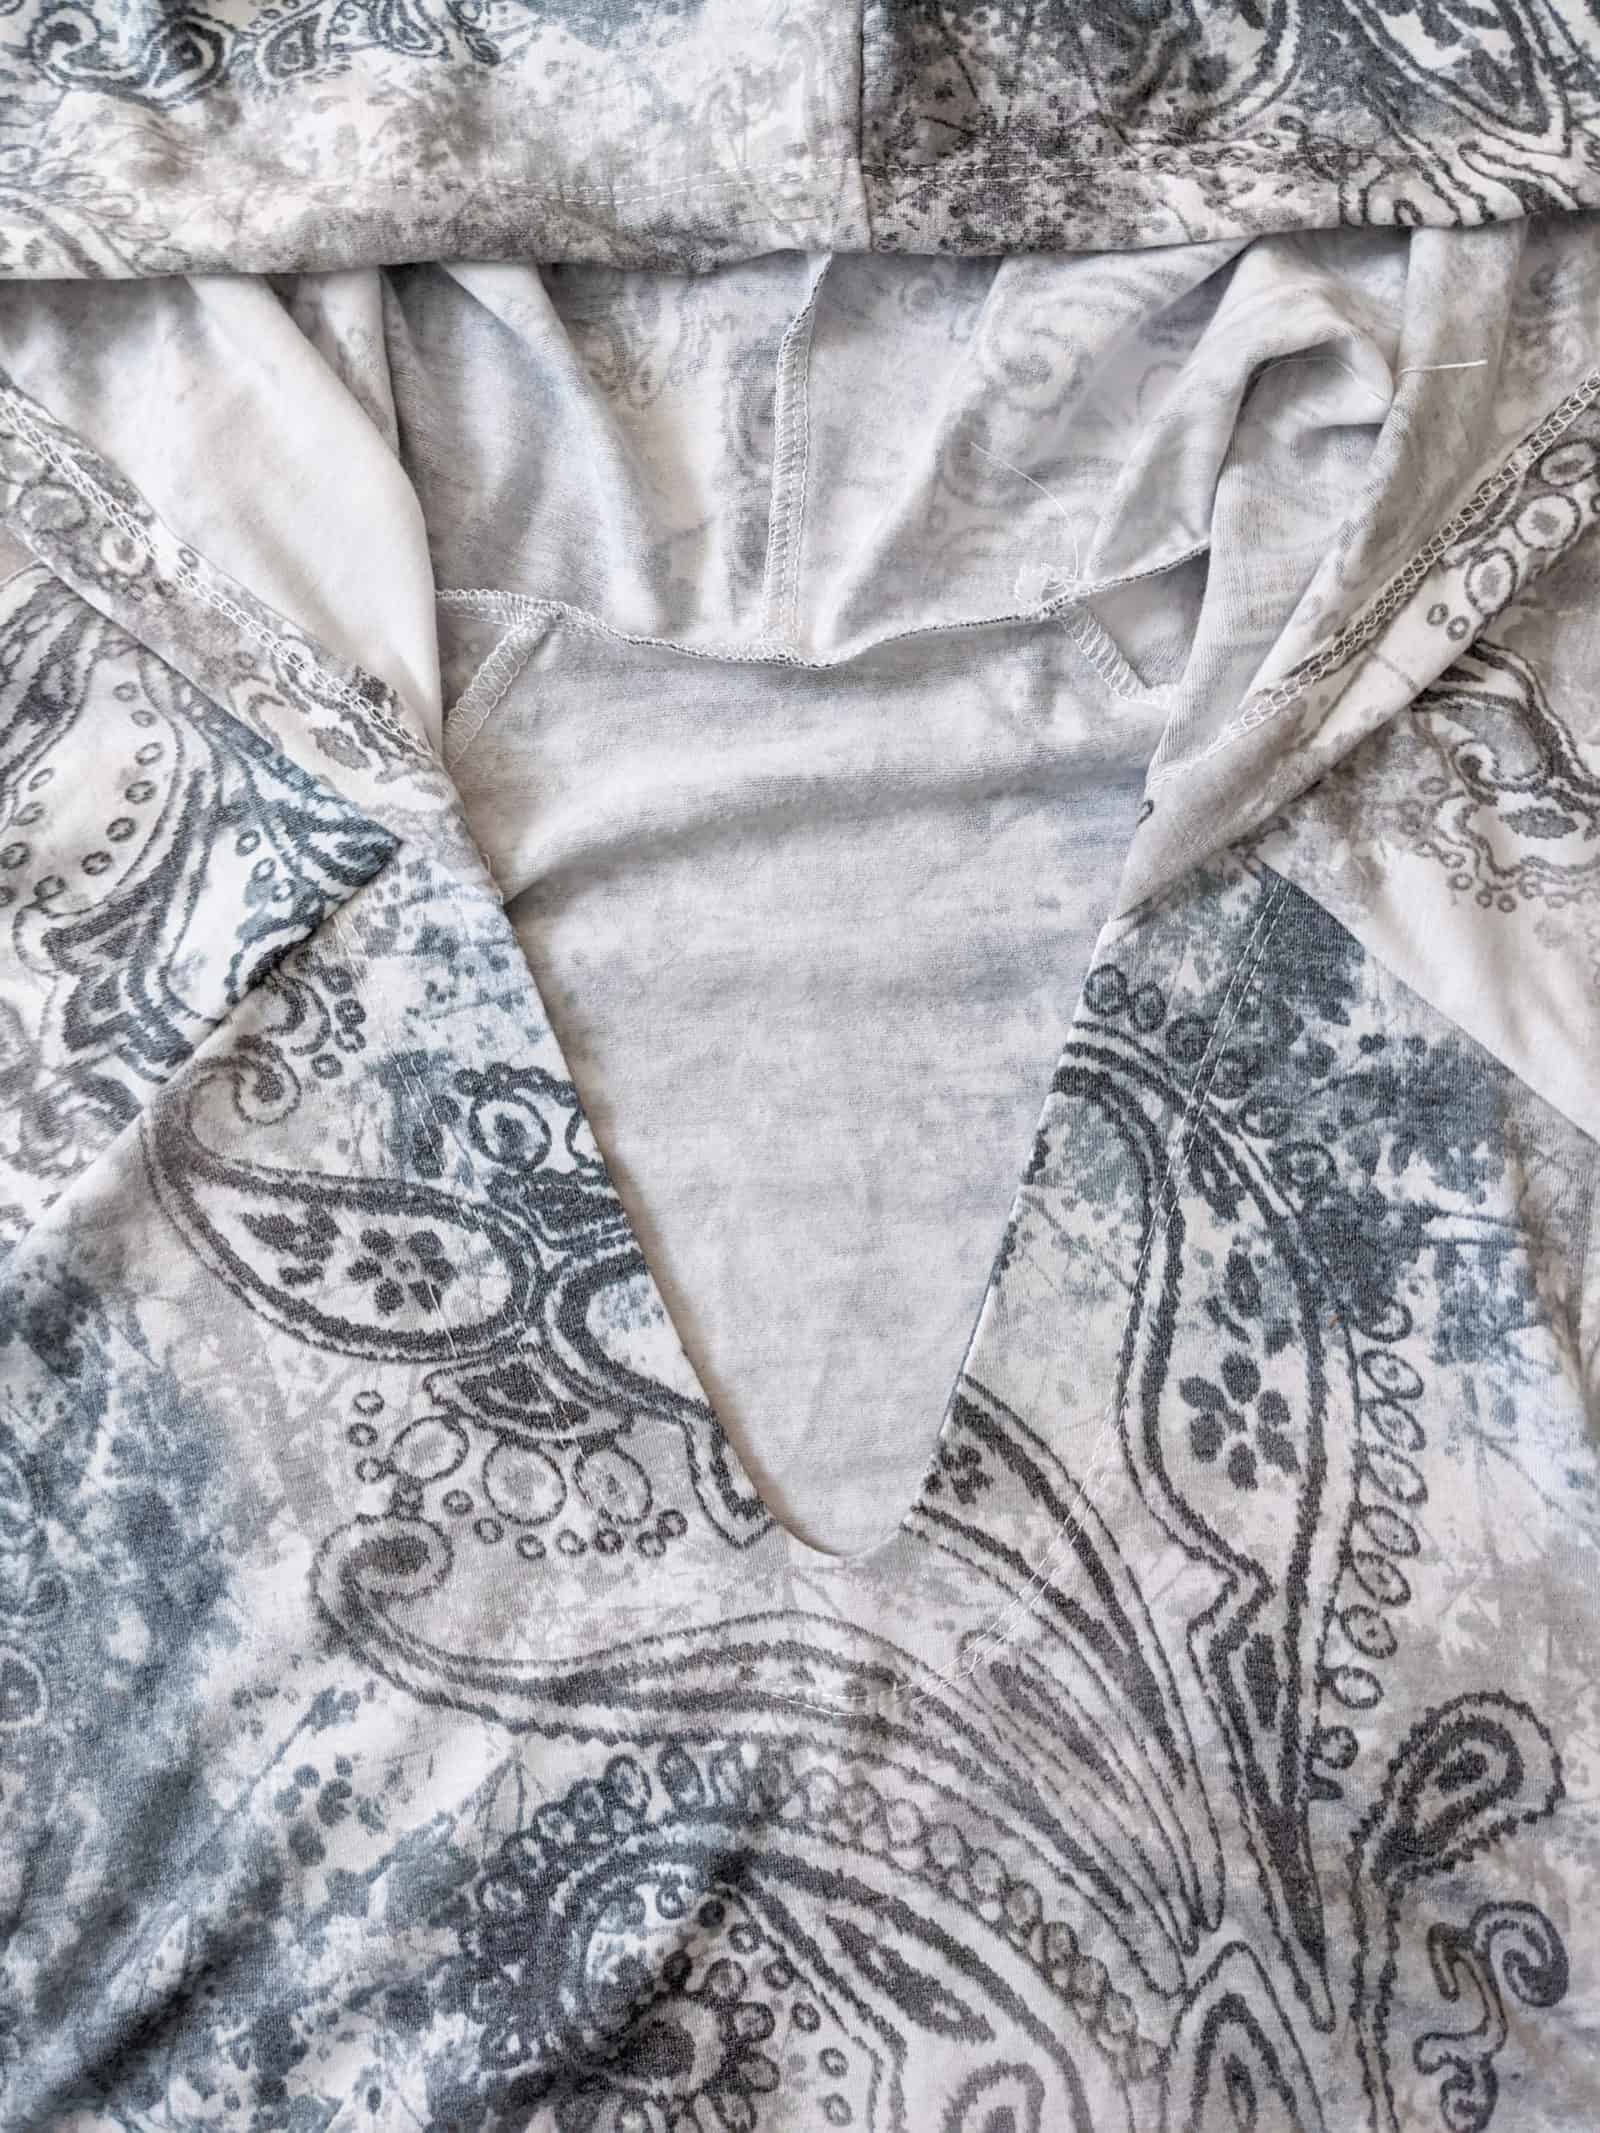
Now you’ll want to sew your Rory together as directed in the pattern. The only difference is instead of doing a 1/2″ edgestitch on your facing, you’ll do anywhere from 1″-1.5″. I did mine about 1.25″, and you can see the bit of overhang after my stitch. I just trimmed this off.
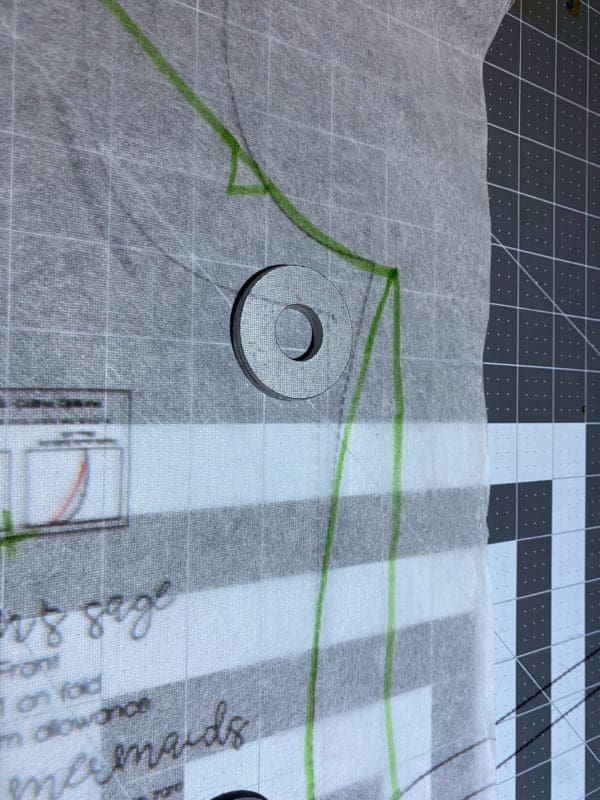
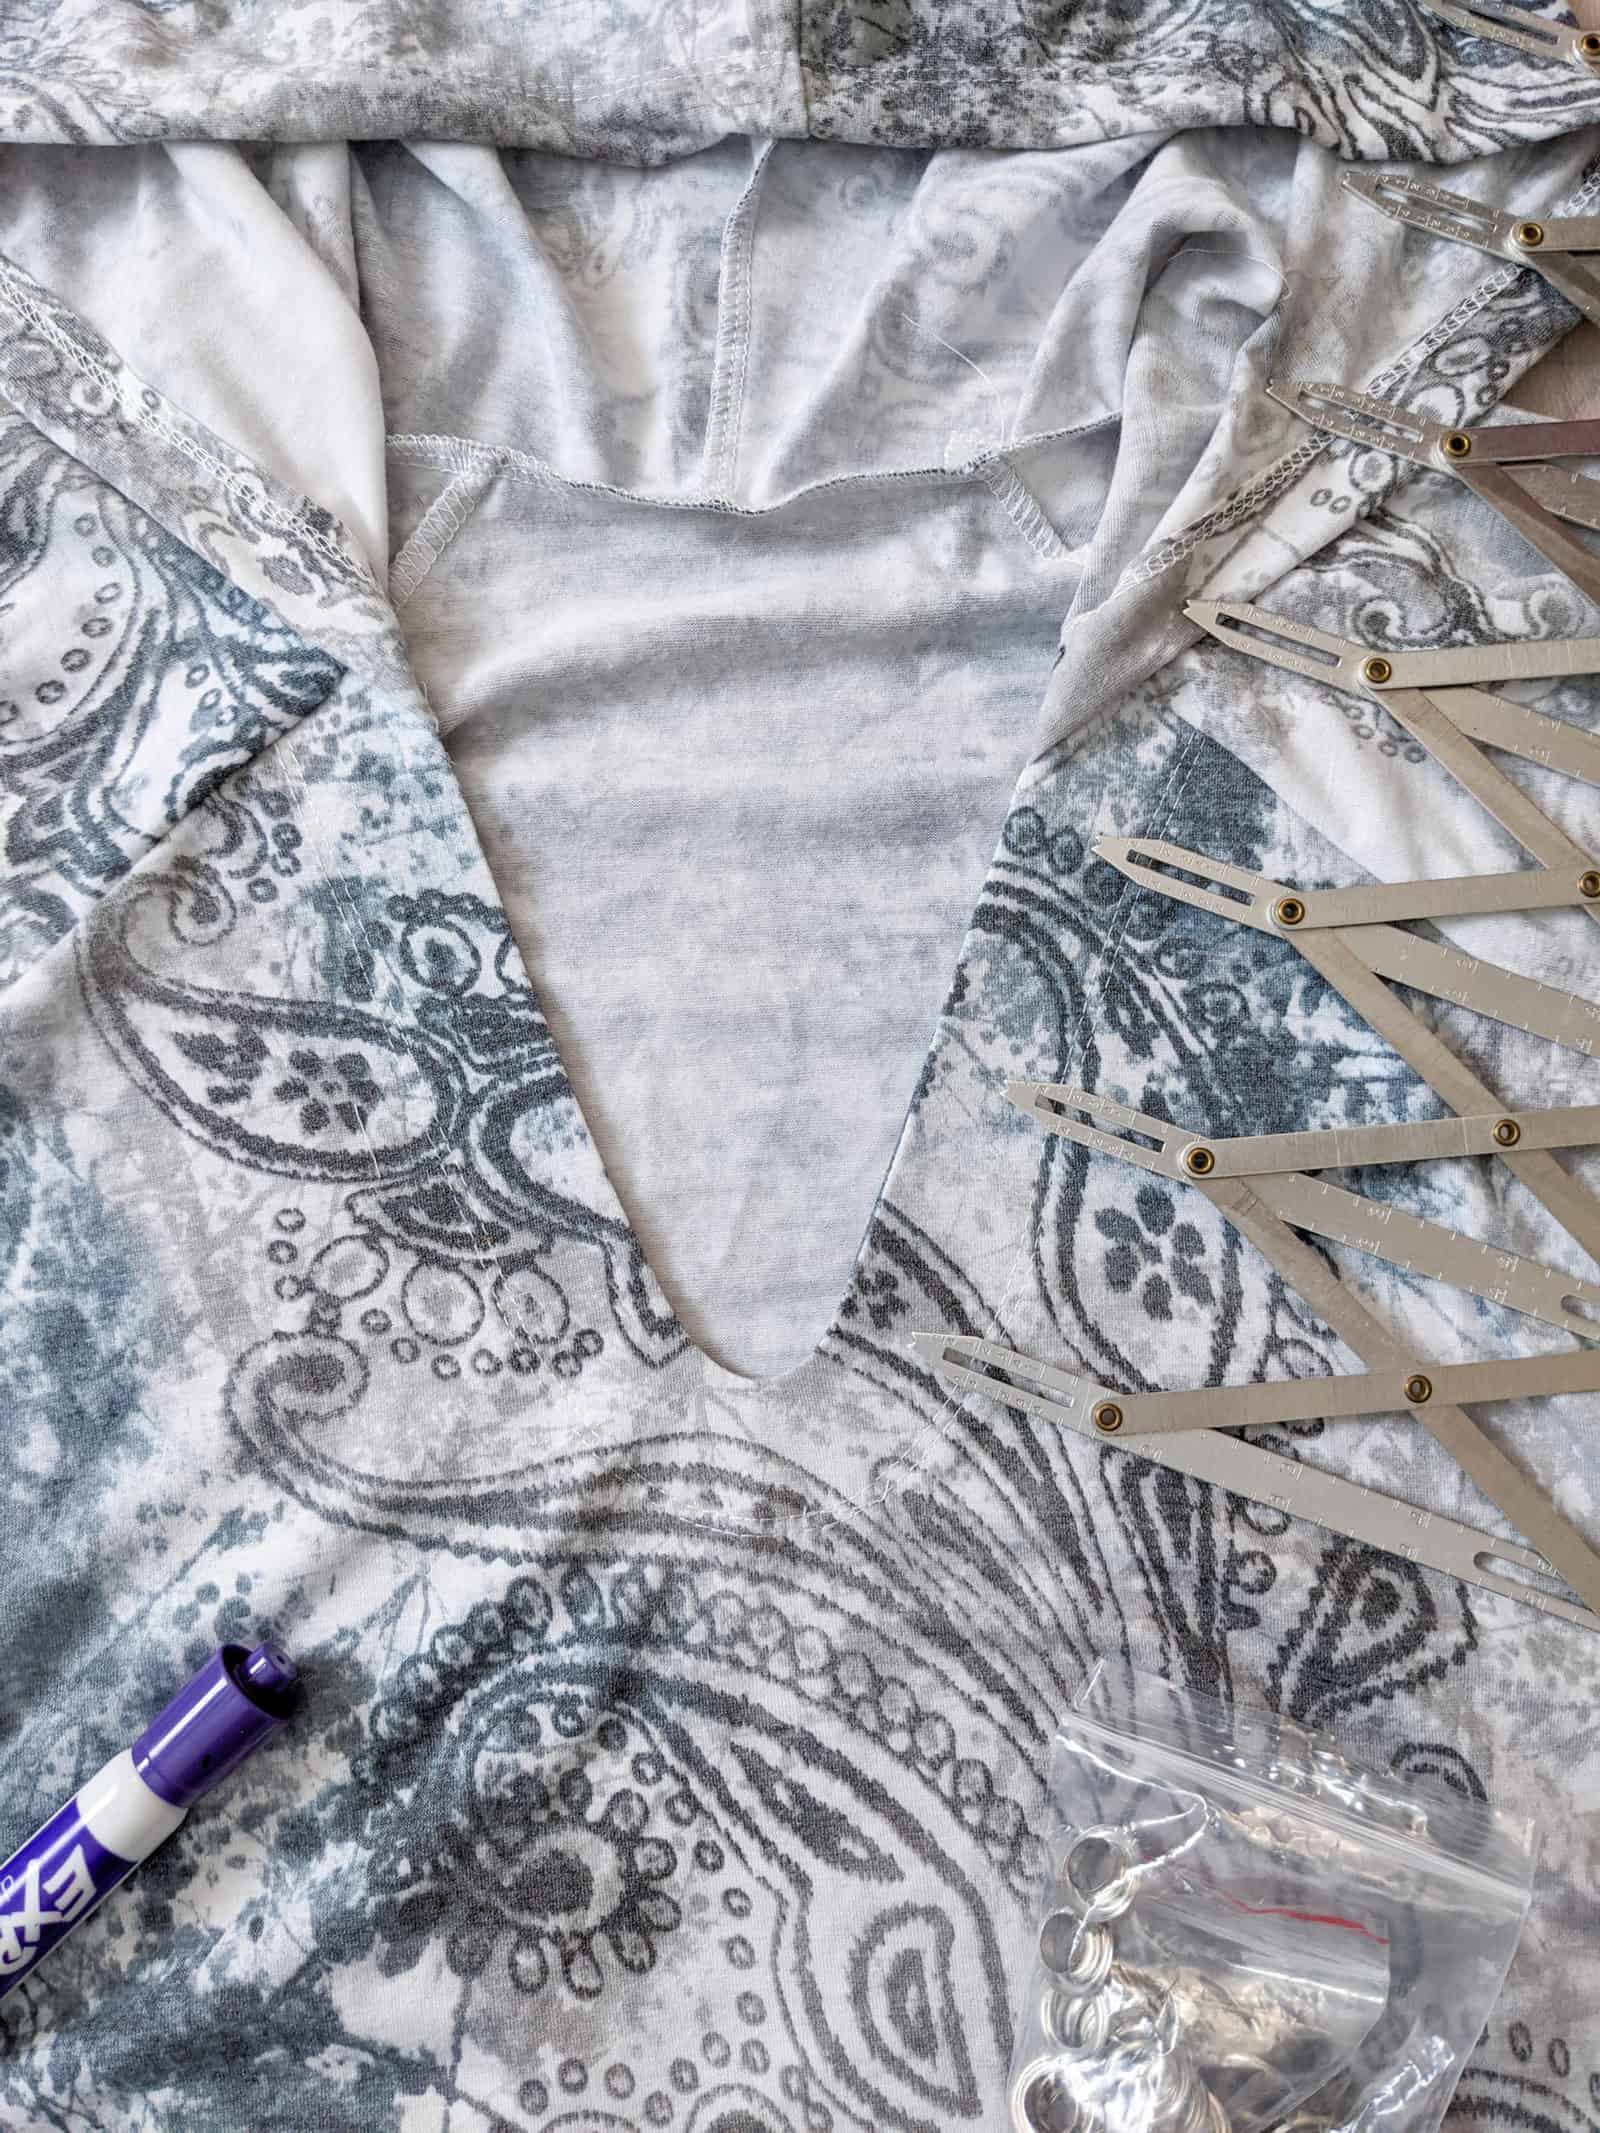
Once your Rory is all sewn, it’s time to install grommets. Now, you can use as many or as little as you’d like. I recommend laying them out to get an idea of the look you’d like, and then using a spacer tool to make sure you are evenly spacing them. I chose to keep mine on the v-neck part only, but you could also go up to the hood. Mark your grommet points with a fabric pen and install your grommets as directed per the manufacturer.
You’re done! Just grab your chosen tie, and lace it through your grommets to your liking.
How easy was that? It gives such a fun awesome look, with minimal extra effort. In my version, I added the Sage hack as well for this cool lace-up dress.
I can’t wait to see what you all create!!
Happy Sewing,
Michelle
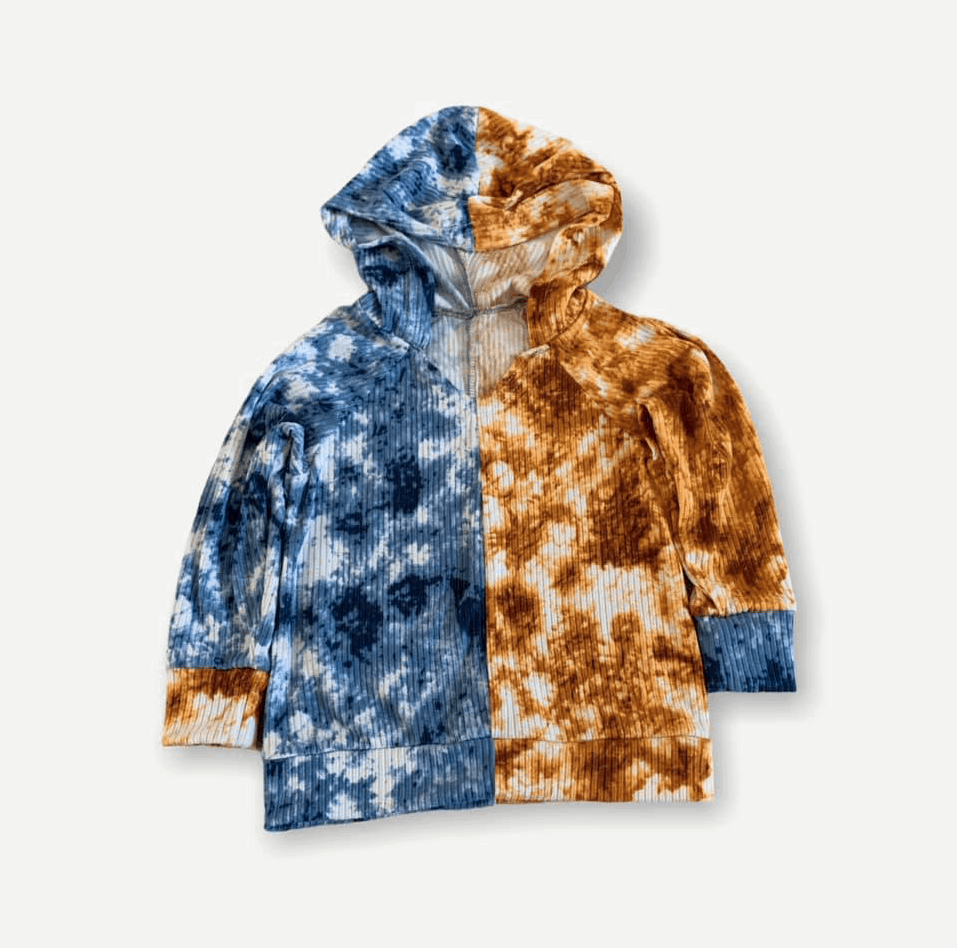
Color Block Hack
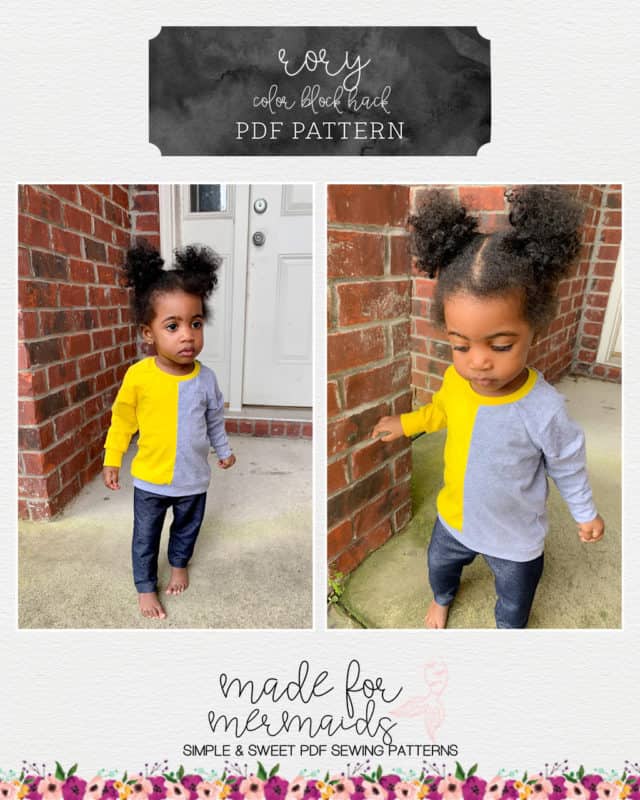
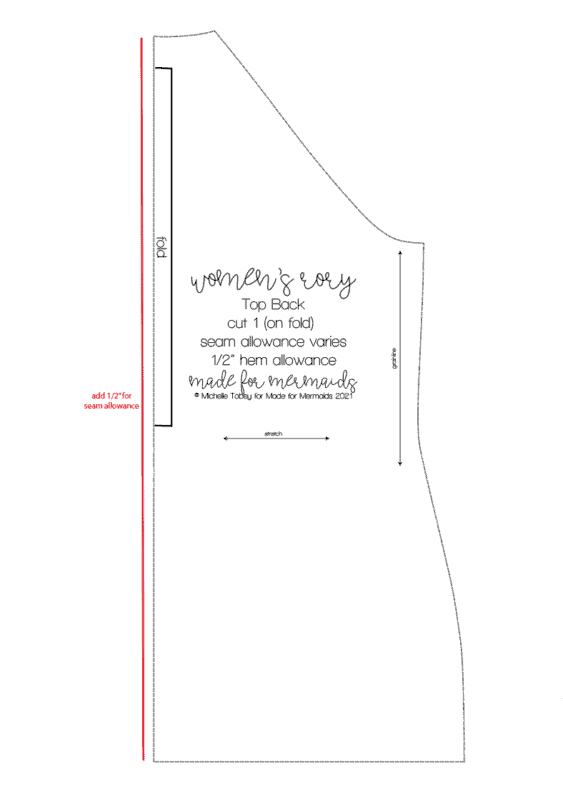
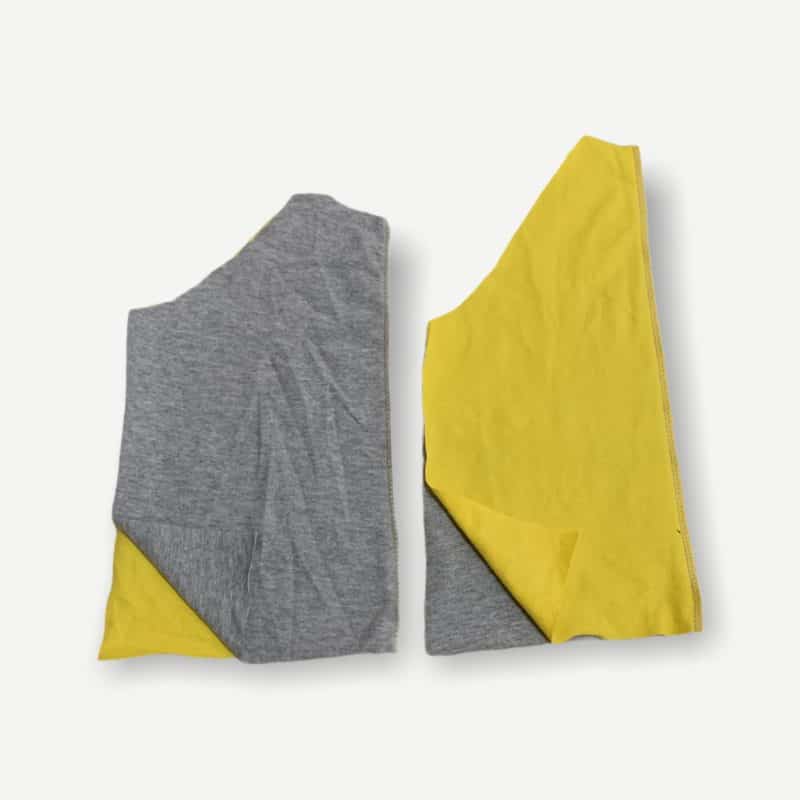
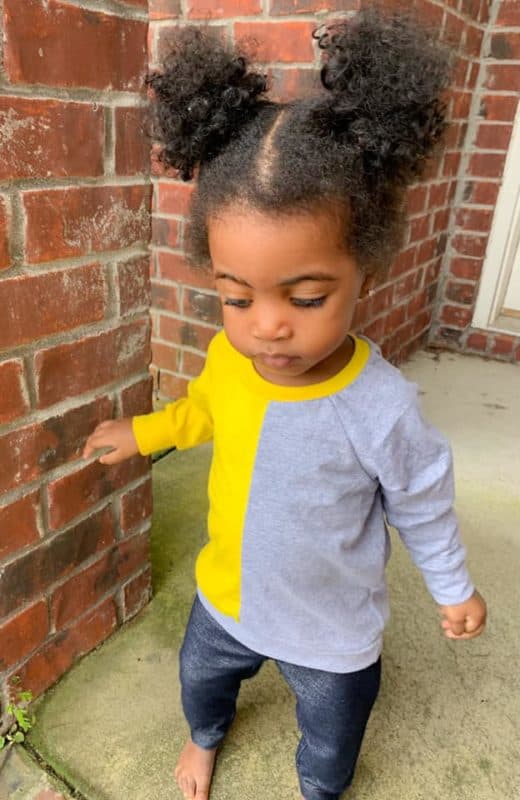
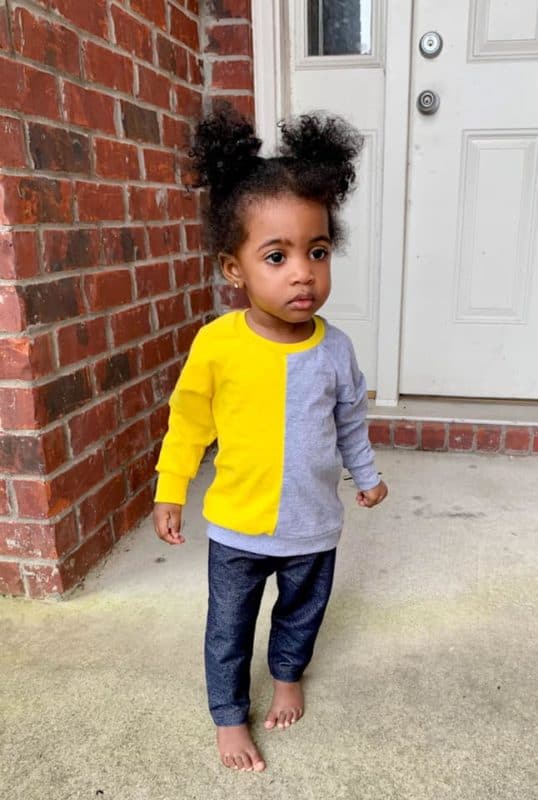
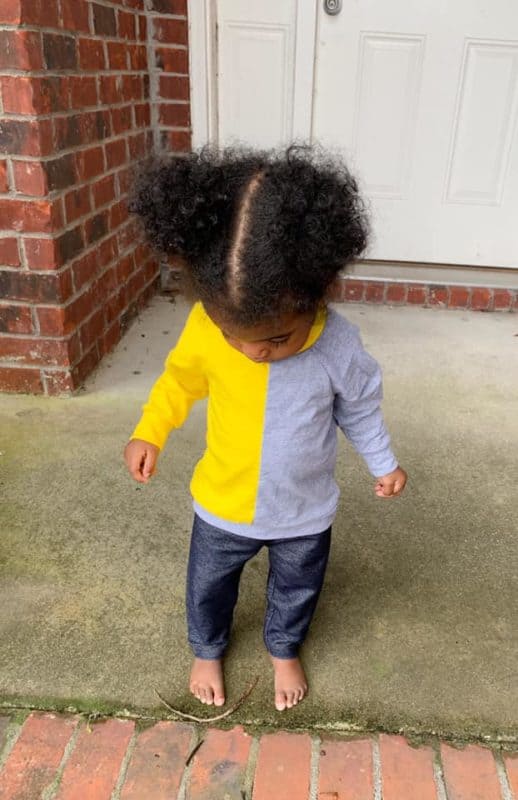
The color block hack is a great way to bust through some of those scraps you’ve been hoarding, especially if you’re sewing for little ones! It’s also a a fun way to incorporate different colors into your piece. This can be accomplished on both the simple version and v neck hooded version. Instead of cutting your front and back bodice pieces on the fold, you will end up cutting mirror images. Prior to cutting, you will want to add 1/2″ to the original “fold” side; this will account for the seam allowance since you will be stitching the bodice pieces up the middle.
Now let’s talk about how to cut the pieces to make them correspond correctly!
For Fabric A, you will cut the following pieces from the WRONG SIDE of the fabric: front piece, sleeve, hood (if doing v neck version). The back piece you will cut from the RIGHT SIDE of the fabric.
For Fabric B, you will cut the following pieces from the RIGHT SIDE of the fabric: front piece, sleeve, hood (if doing the v neck version). The back piece will be cut from the WRONG SIDE of the fabric.
All remaining pieces can be cut from whichever fabric, and however, you choose.
You will now place the front pieces right side together and sew together using a ½ inch seam allowance. If using a sewing machine, trim down seam allowance being careful not to snip the stitching!
Once you have your pieces cut, sew your front bodice pieces together along the center seam with right sides together, and your back bodice pieces together following the same steps. Then, construct your Rory per the original pattern tutorial. If you want a color-blocked hood, you can do the same thing, sewing the hood pieces together. Now that your front and back pieces are one, you will assemble the pattern per the instructions! As it comes together, your color block will too! Enjoy! I can’t wait to see what you create!
You can get creative with contrasting bands, too! The possibilities are truly endless!
Don’t forget to share your makes with us over in our Facebook group and on Insta; we love to see what you come up with!!









Leave a Reply