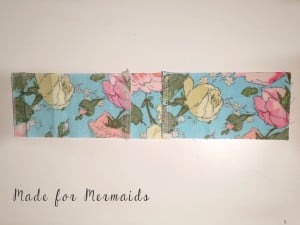
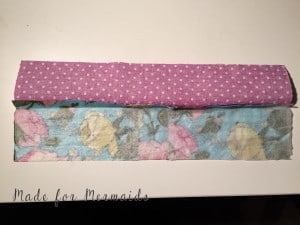
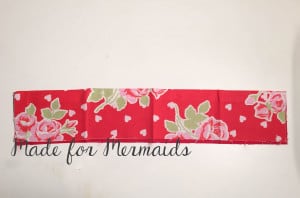
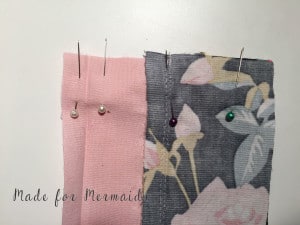
Welcome back to day 3 of our SAL! If you are just joining us, check out day 1 and day 2. Today we are finishing up our waistband. By now you have chosen if you were going to make the button placket option or the flat front option. If you are making the flat front version, your front waistband piece is ready to go. If making the button placket option, go ahead and assemble just the front waistband as per the tutorial, but STOP before attaching the suspenders! It will look like this:

front of button placket waistband
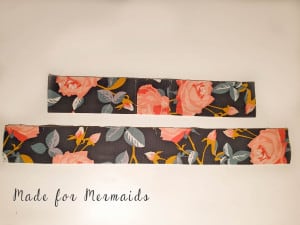
back of button placket option
You Now have 3 options for how you are going to finish your waistband:
*Traditional suspenders & loops
*Knot style suspenders
*No suspenders
No Suspenders/Loops
If you are not adding suspenders or loops to your waistband, go ahead and stitch the front lining to the front waistband, and the back lining to the back waistband following instructions in the tutorial. Under stitch per tutorial, and press right sides out. Skip to side seam attachment.
Traditional Suspender/Loop Placement
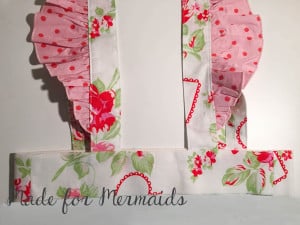
If you want your suspender straps to tie in the back (traditional method), sew suspenders into the front waistband and loops into the back waistband, per tutorial instructions. If you added the optional flutters, make sure the flutters are facing out and down. The raw edge of the suspender strap should match up with the raw edge of the front waistband. Flutters should be .75″ away from top edge of waistband.
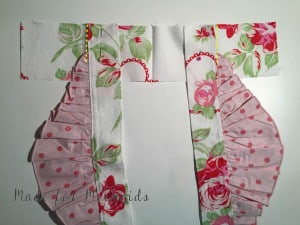
You should now have your front waistband with the suspender straps attached to them, and your back waistband with the loops attached to them. Under stitch as instructed in the tutorial, and press them right sides out.
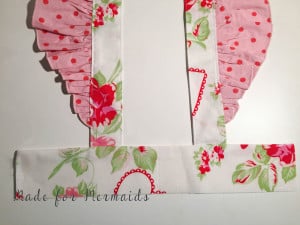
Front Waistband with Flutter Suspender Straps
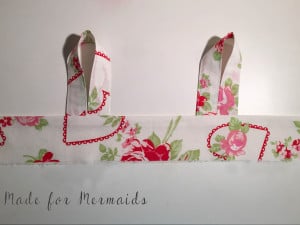
Back waistband with Loops
If you want your suspenders to knot on the front bodice, follow the instructions below!
Knot Style Suspenders
Start by creasing the back waistband in half, and then in half again width wise. Instead of adding the loops to the back waistband, we will be adding the suspenders. Remember, your back waistband is much wider than your front, don’t mix them up!!
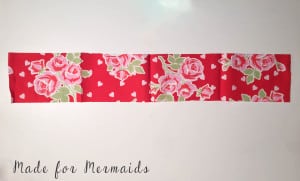
Place outside of suspender along the crease. The short, raw edge of the suspender should be lined up along the top of the back waistband. Now you will need to angle the raw edge of the suspender outwards, and the long finished end of the suspender towards the middle, so that the outside edge of the suspender is still in line with the crease. Repeat with other suspender. The suspenders should now make an ‘X’. Pin in place and baste suspenders to back waistband.
***If you added Flutters to your knot style suspenders, remember, they should have started 5.5″-6.5″ away from the FINISHED end of the suspender!!
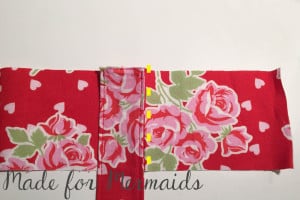
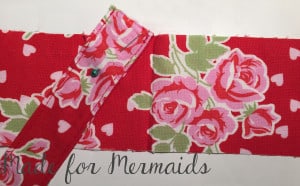
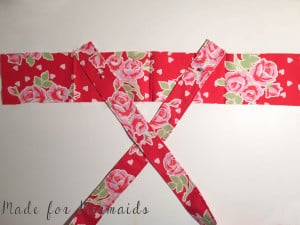
Place back waistband lining on top of back waistband, right sides together, and stitch per tutorial instruction. Don’t forget to lift your lining as you are stitching to make sure your suspenders haven’t shifted position!
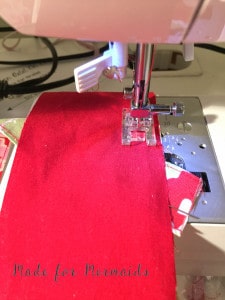
Press seam towards lining, and under stitch. I love under stitching, it helps to prevent the lining from rolling to the outside of the waistband. More on under stitching here.

Press right side out and set aside.
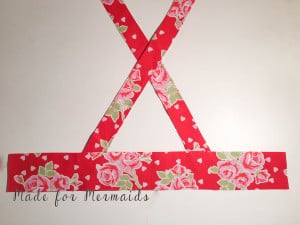 Place front lining on top of front waistband, right sides together (RST), and stitch as per tutorial. Remember, there should be NO SUSPENDERS or LOOPS in between the front waistband and lining! Since we are adding button holes to the front of the waistband, I HIGHLY recommend adding a lightweight interfacing to the wrong side of your front bodice piece. It will help give some stability to that waistband and make stitching out that buttonhole a little easier.
We are now going to create creases for buttonhole placement. We will be folding the front waistband in half, and in half again, just like you did to find the suspender placement for the back waistband.
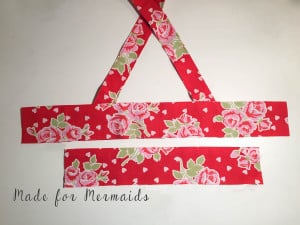
Admire your work, you are almost done with the waistband! You should now have the back waistband with suspenders attached, and front waistband with no suspenders attached.
Side Seams
STOP! Are you fully enclosing your waistband? Before you sew your side seams together, you will want to press your lining on both waistband pieces 1/2″ toward the wrong side. If you are not planning on fully enclosing that waistband seam, you can skip this step.
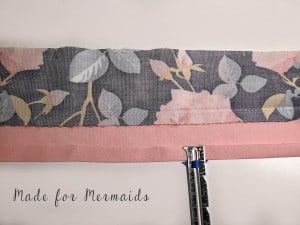
Time to attach the front and back waistbands! Open up both front and back waistbands, as instructed in the tutorial. This is the same for ALL waistband options. With Right sides together, line up the side seams. Really take the time to make sure your seams match. It will be noticeable if they are off! Remember, your back waistband will be much wider than your front. If you are fully enclosing your waistband, make sure to unfold the press you just made.
Stitch, per tutorial instruction and press seams open. Press right sides out. Re-press lining 1/2″ if you are fully enclosing the waistband seam. Top stitch around the top of bodice, if desired. If you are making the traditional tie-back suspender version, or you did not add suspenders, you are done for the day! Step back and admire those pretty waistbands.
Traditional Suspender with Flutters
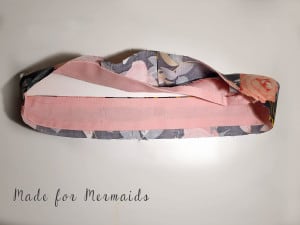
Fully Enclosed Waistband, No Straps
Making Buttonholes
If you are making the knot style suspenders, we have a couple more steps to go! It’s now time to add those buttonholes. You could wait and do this at the very end, but I prefer to stitch them out prior to adding the back elastic. It’s really up to you! Remember the creases we created earlier on the front bodice? We will use the two outside creases to find our buttonhole placement. You want to mark a .75″ line (I like to use disappearing ink) on the waistband about .75″-1″ from the top of the bodice, centered along that crease.
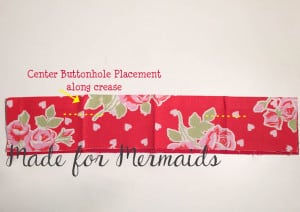
It’s now time to stitch out those buttonholes! No matter how many buttonholes I’ve stitched, I still hold my breath at this point. If you’ve never made them before, I suggest looking over your sewing machine manual, since every machine is a little different. I’m going to be using my buttonhole foot.
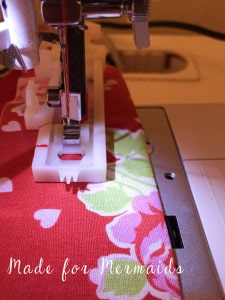
Once your buttonholes are finished, you can use a seam ripper to carefully open them up. I like to add a little fray check to my button holes as it helps to prevent fraying. Just dab a little to the underside your waistband along the buttonhole.
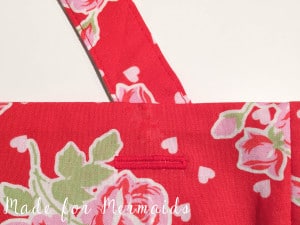
Tadah! The waistband construction is finished!! Do you see the light at the end of the tunnel yet? Make sure you share your progress pics in the Day 3 album in the Made for Mermaids Patterns Group on Facebook or Instagram #samsal #m4msal #samanthasuspenderskirt. See you tomorrow, when we finish up our skirts!!!
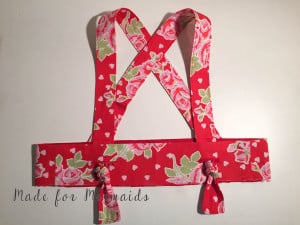
Knot Style Suspenders
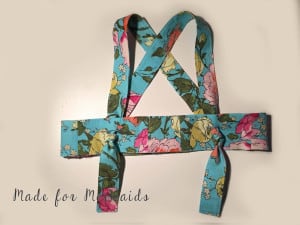
Knot Style Suspenders with Button Placket Front
Leave a Reply