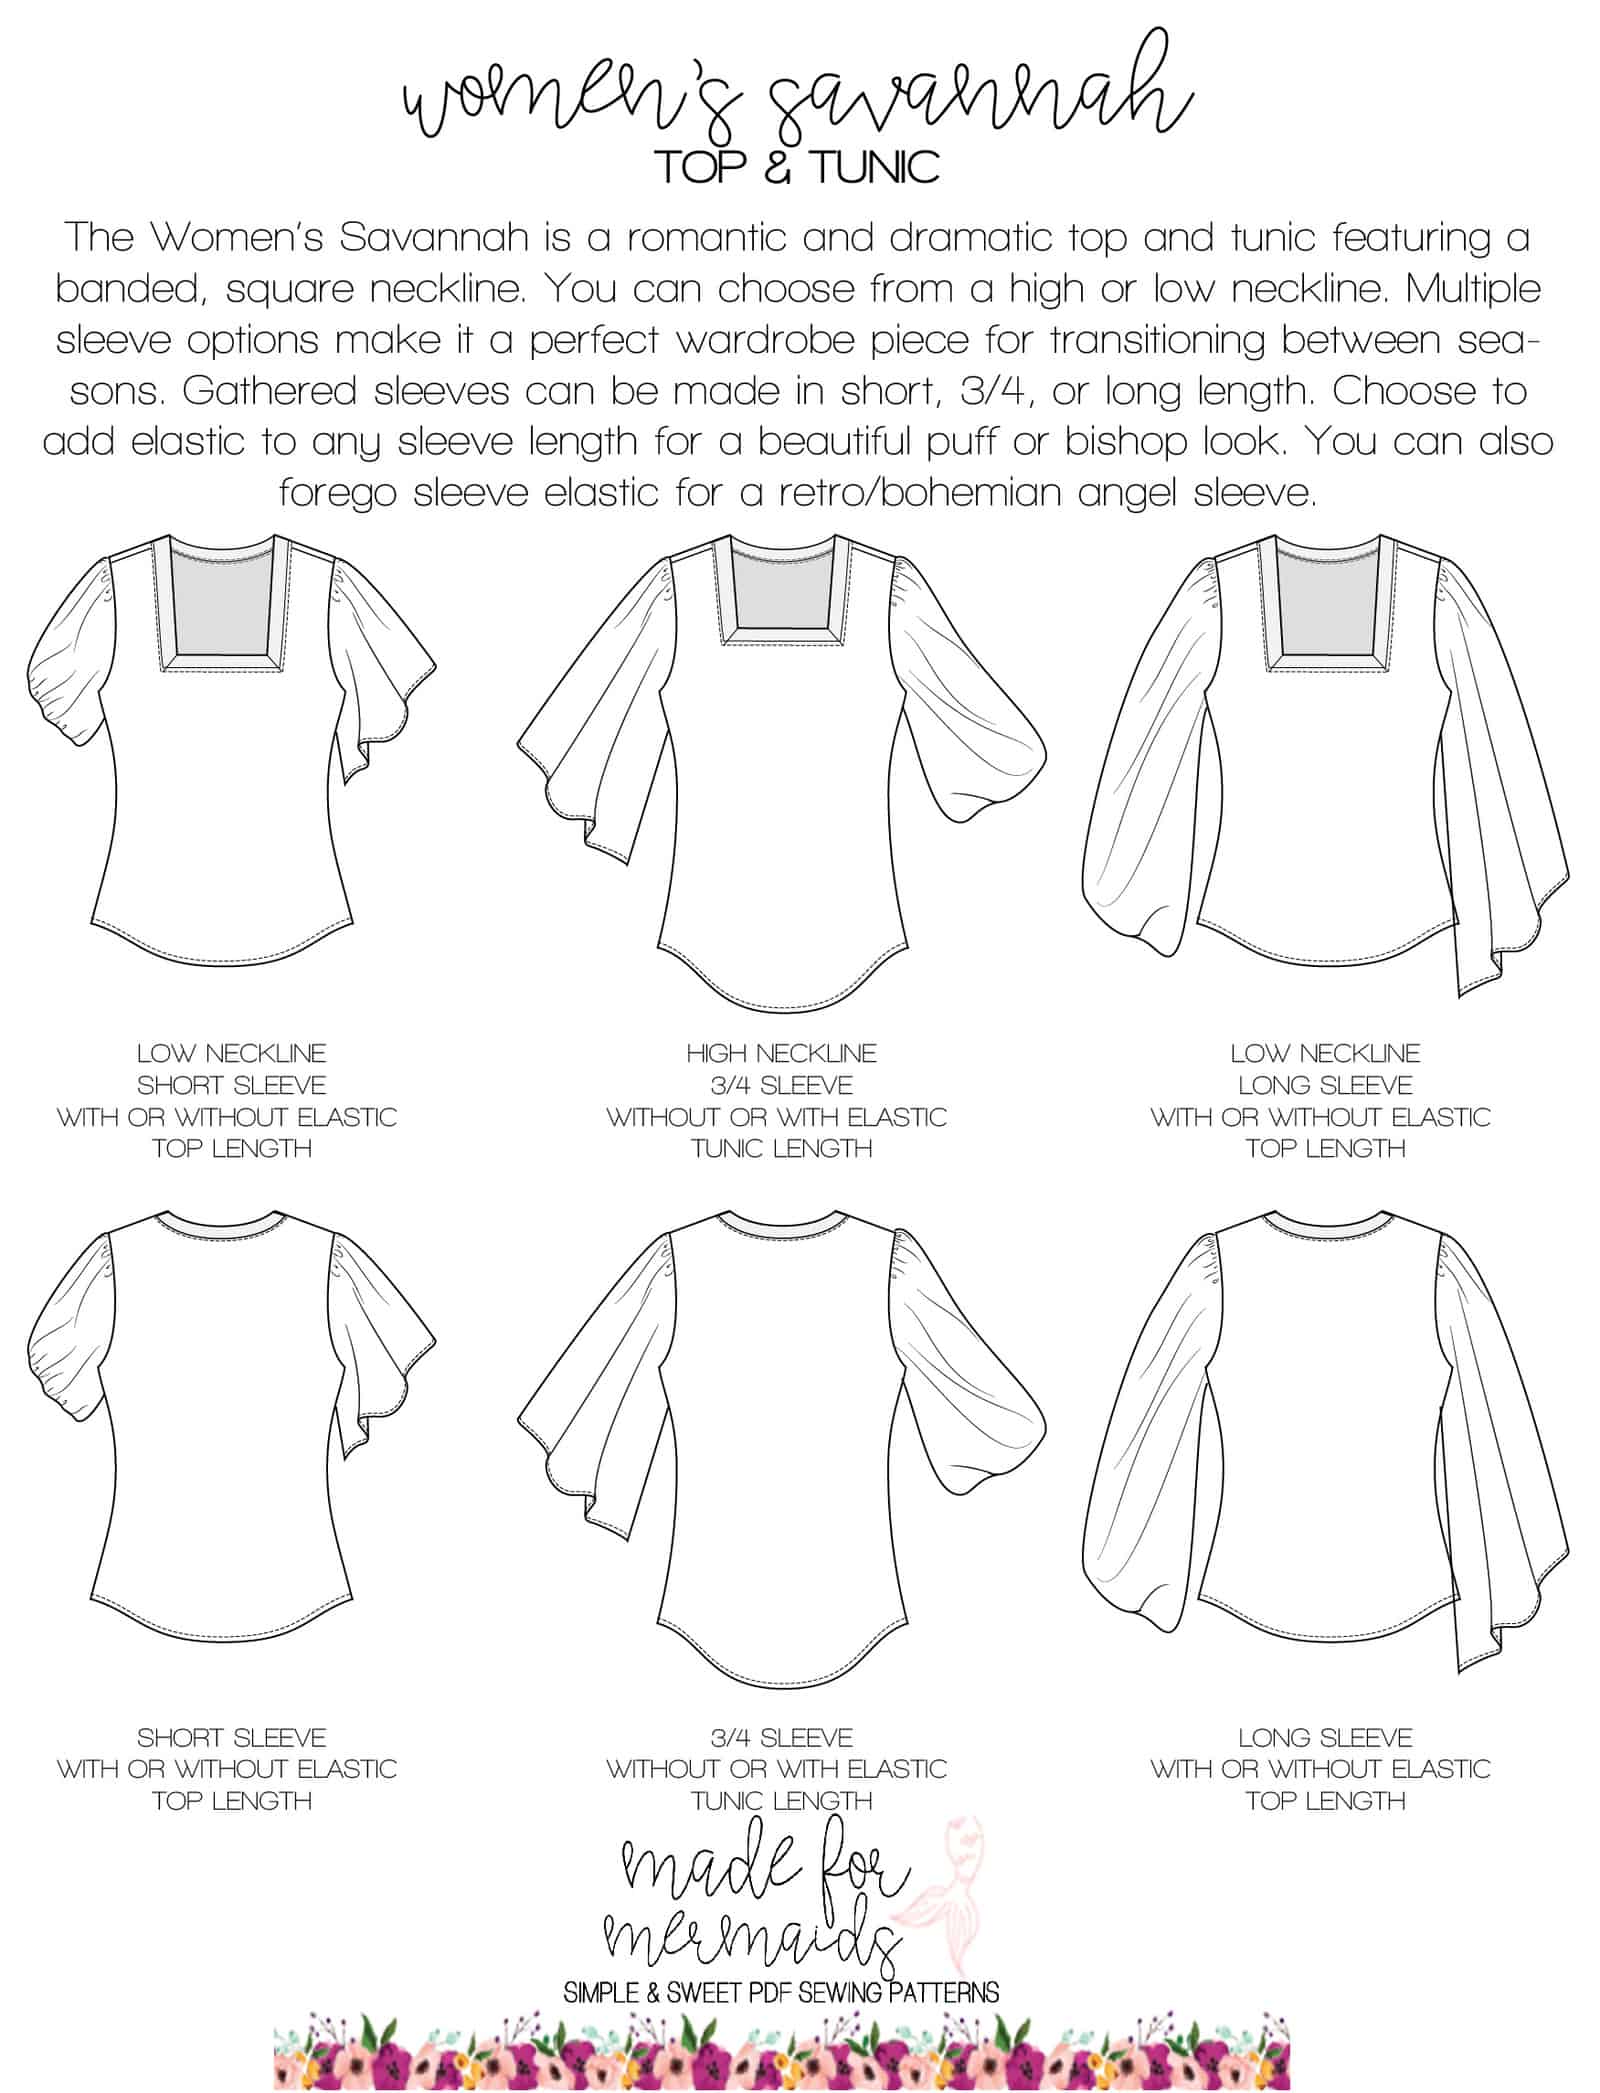
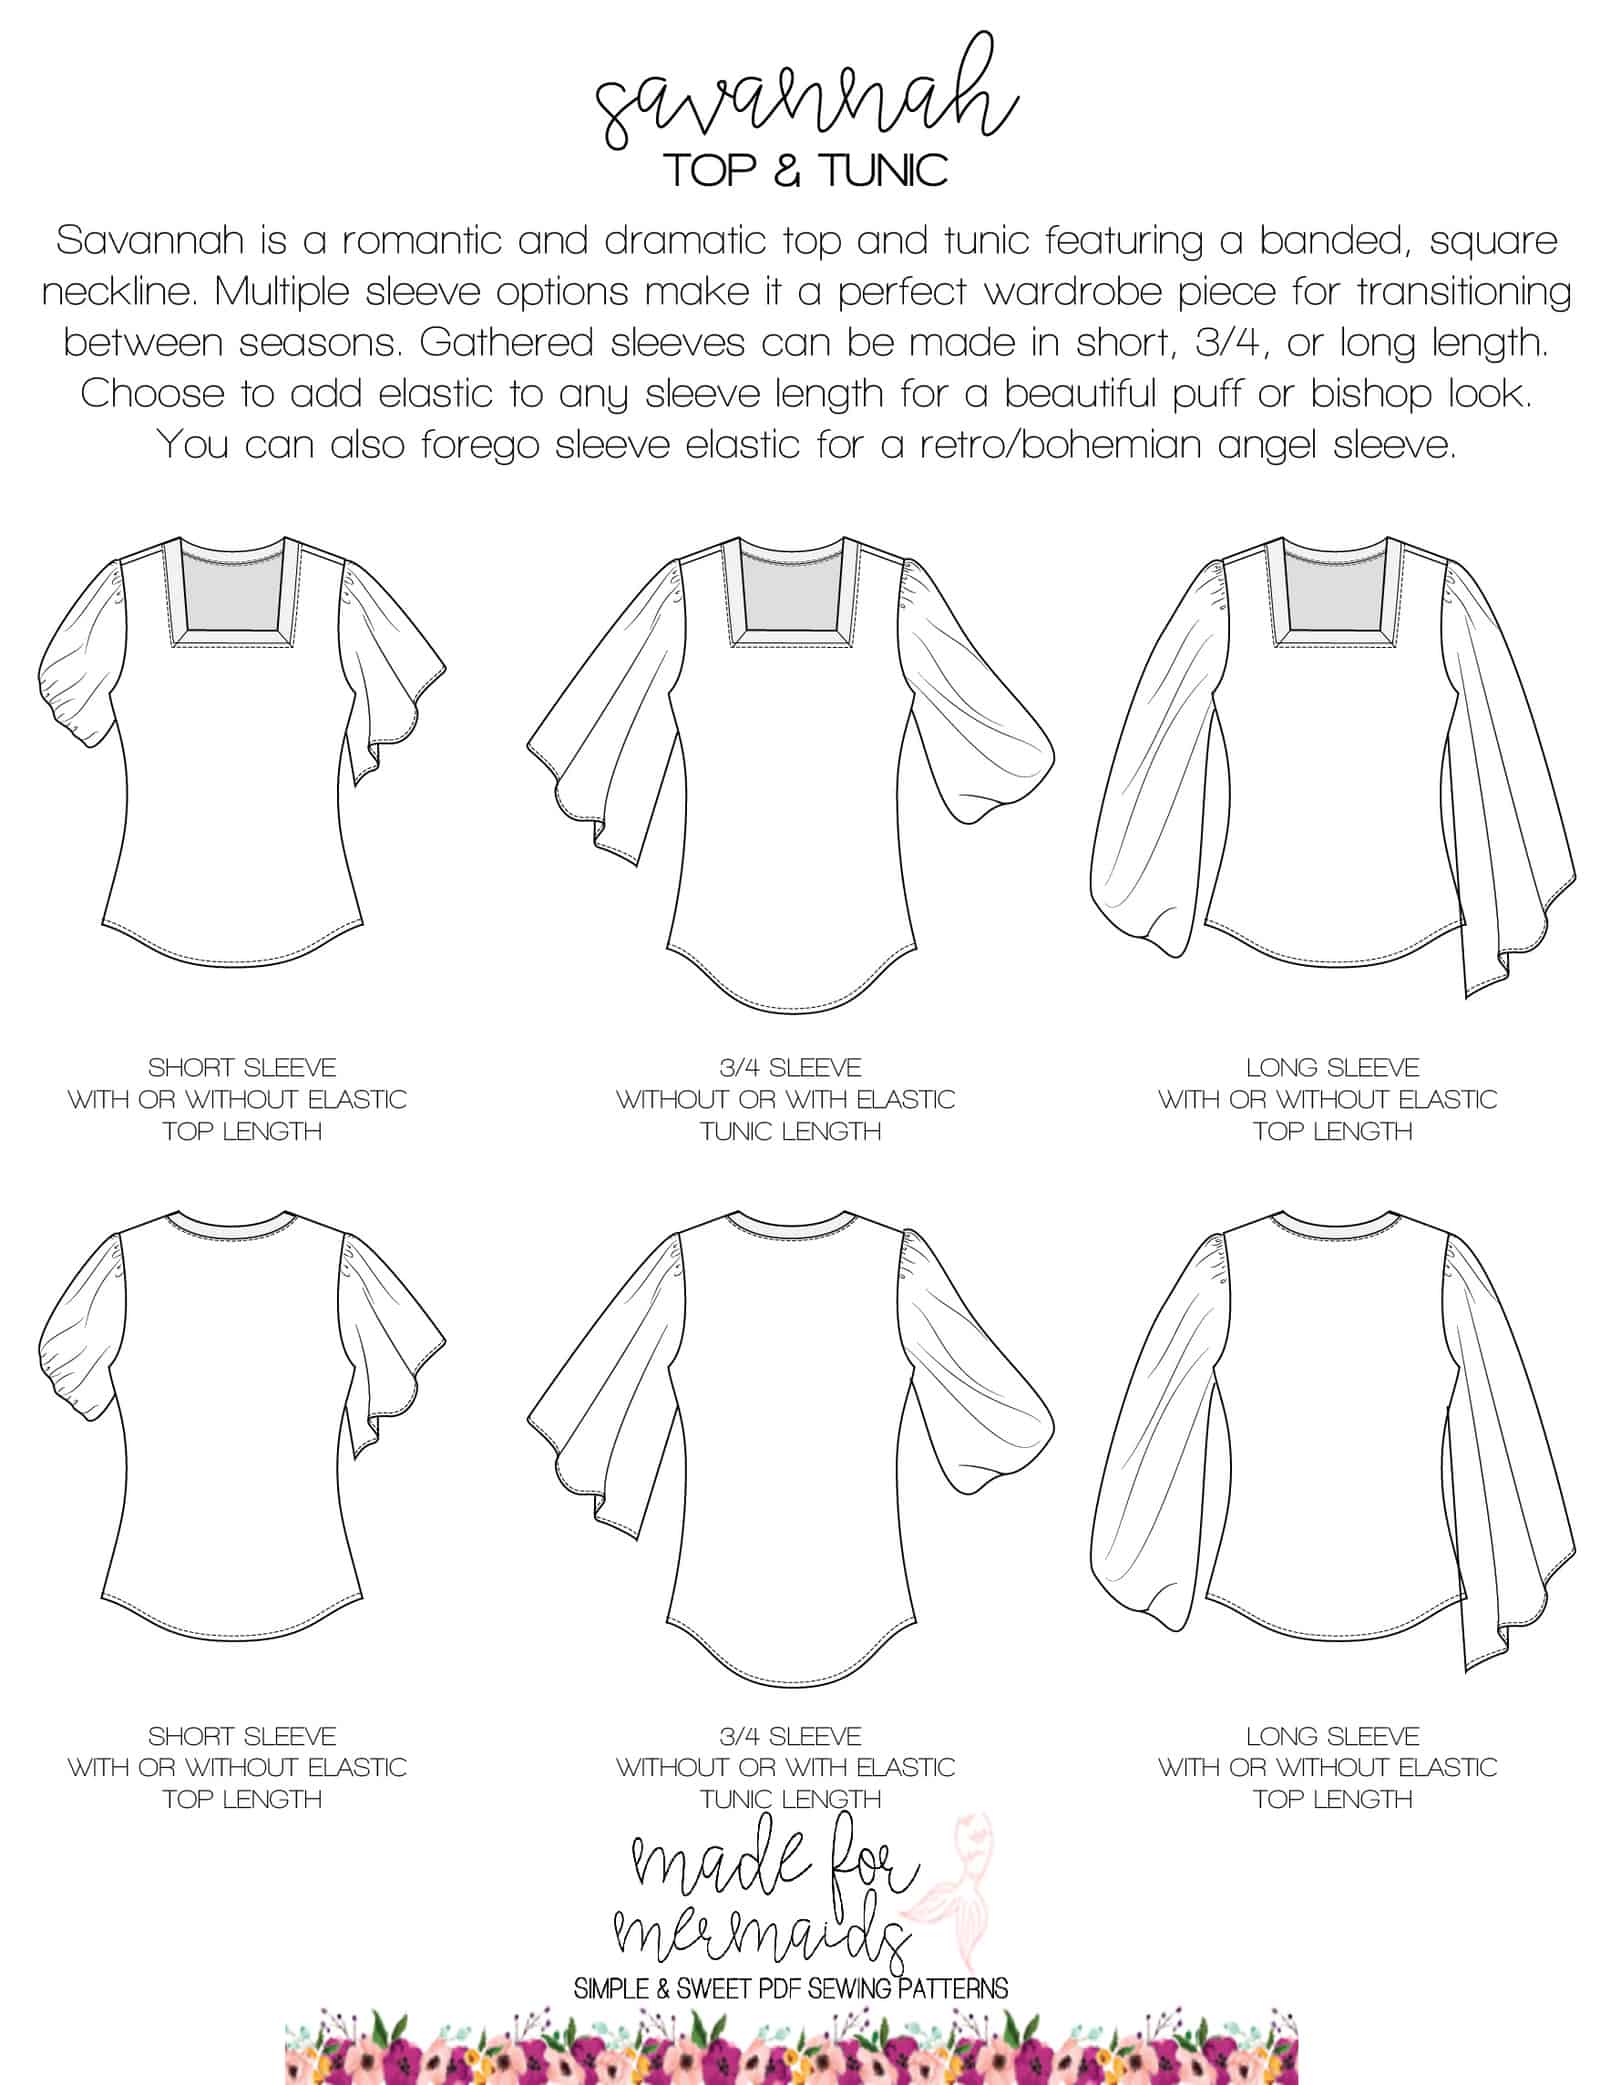
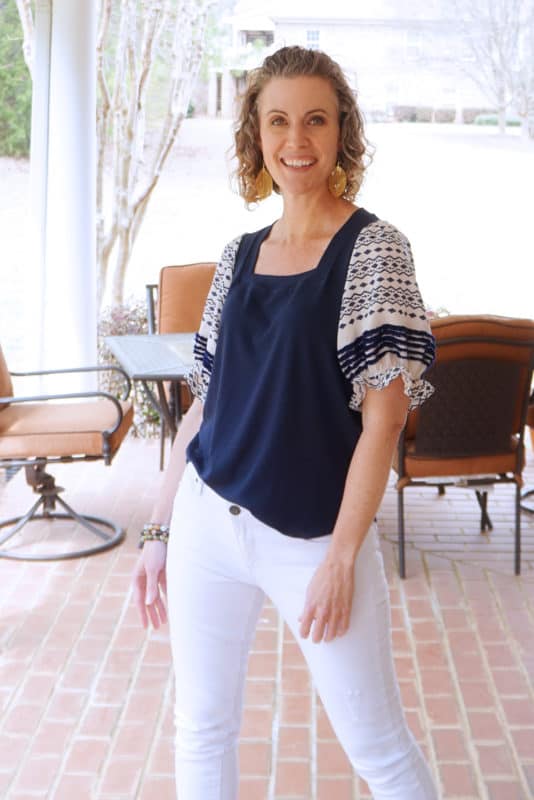
The Savannah pattern is a romantic and dramatic top and tunic, featuring a banded, square neckline. Multiple sleeve options make it a perfect wardrobe piece for transitioning between seasons. The sleeve options are the best part about Savannah, if you ask me! Gathered sleeves can be made in short, 3/4, or long length. If you prefer, you can add elastic to the sleeves for a beautiful puff or bishop look. You can also forego sleeve elastic for a more retro looking angel sleeve. Comes in both Youth and Women’s sizing, plus a BUNDLE of the two!
In our hacks post, we have TWO MORE sleeve variations, plus two fun dress mashes. With a sleeve type for everyone, we really hope you love the Savannah!
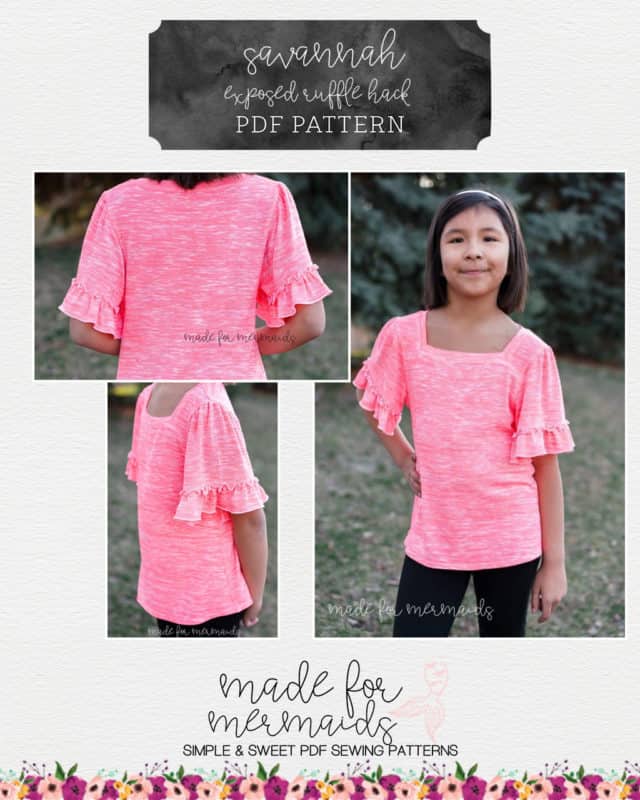
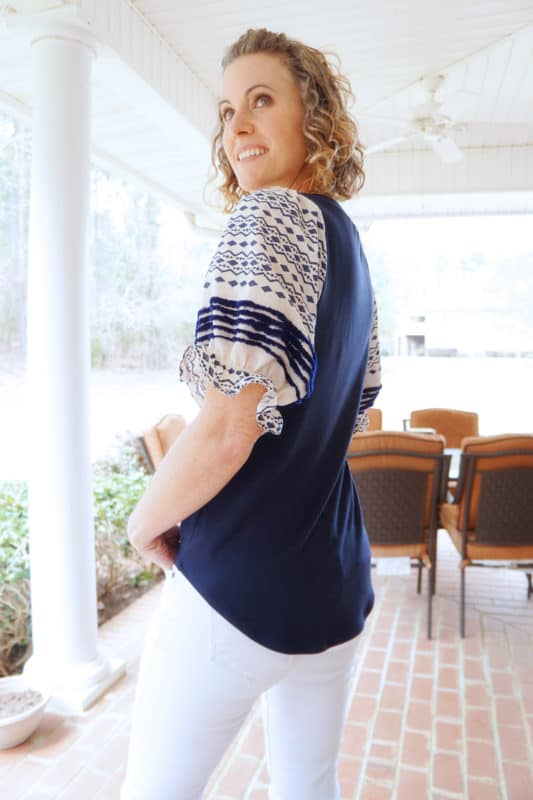
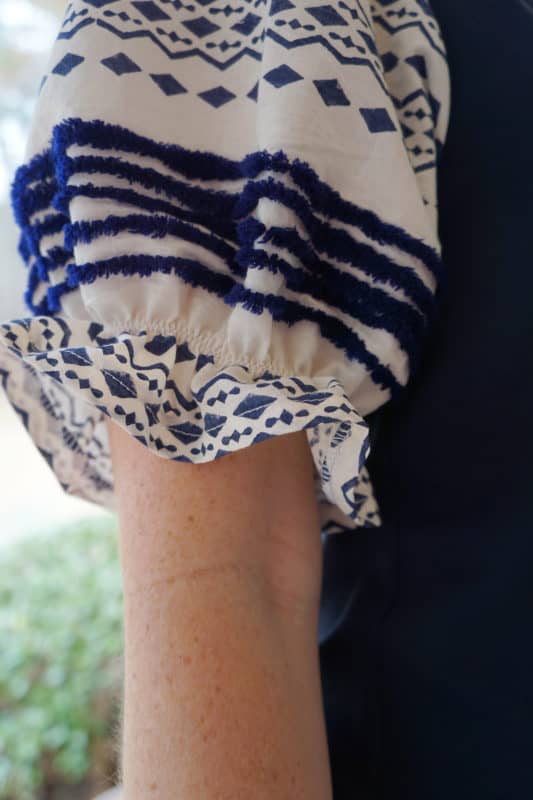
Exposed Ruffle Hack
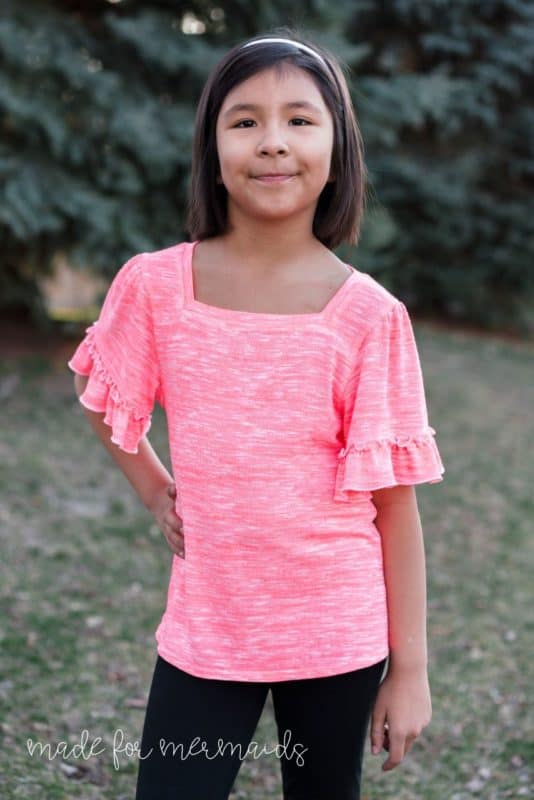
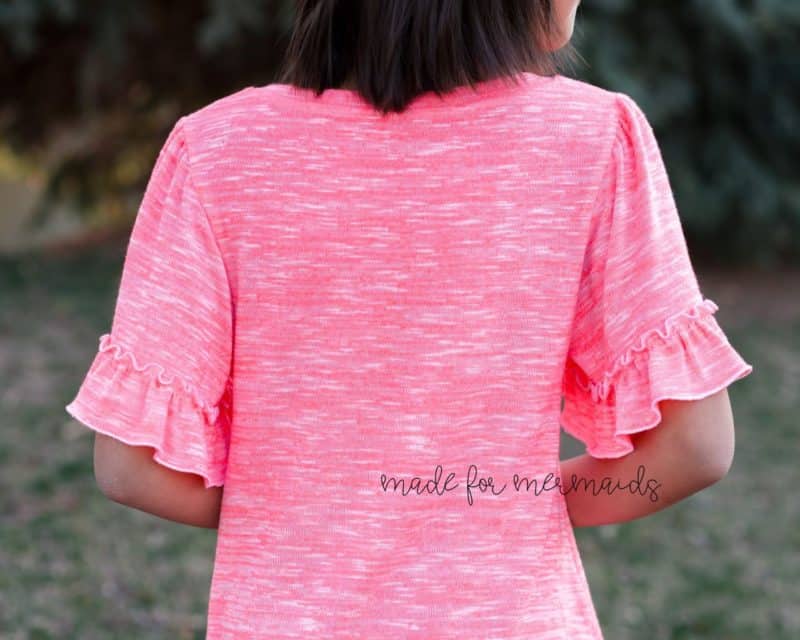
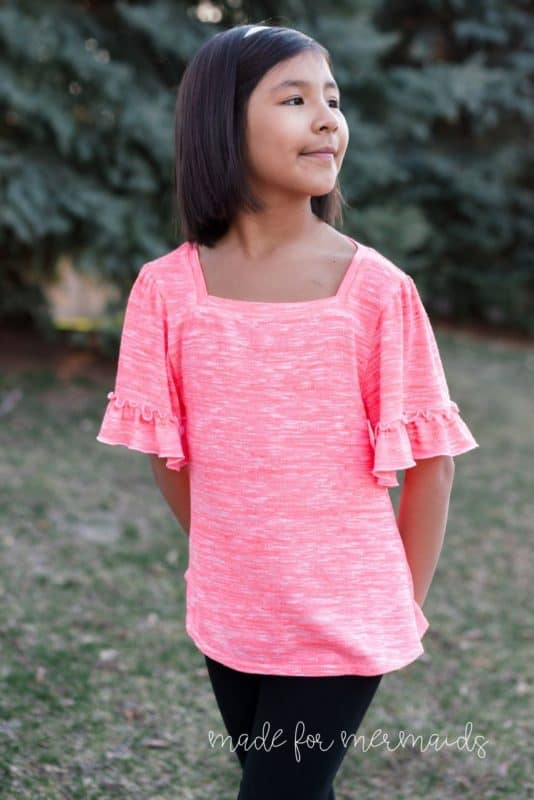
Savannah is definitely loved in my house. Those sleeves are everything! Adding an exposed ruffle to the sleeve took it LOVE-LOVE for this girl.
Let’s get to work! You’ll cut out all your pieces for a short sleeve Savannah top or tunic. Then just a little math to figure out the dimensions for your ruffle-
Length?
The desired ruffle length + seam allowance + optional hem allowance = length of your rectangle
2” + .5” + 0 = 2.5”
- Measure along the bottom edge of the sleeve.
Width?
The bottom of the sleeve x 1.5 + seam allowance = width of your rectangle on the fold
8.5” x 1.5 + 0.5″ = 13.25”
For my example, I would cut TWO rectangles 2.5” x 13.25” on the fold
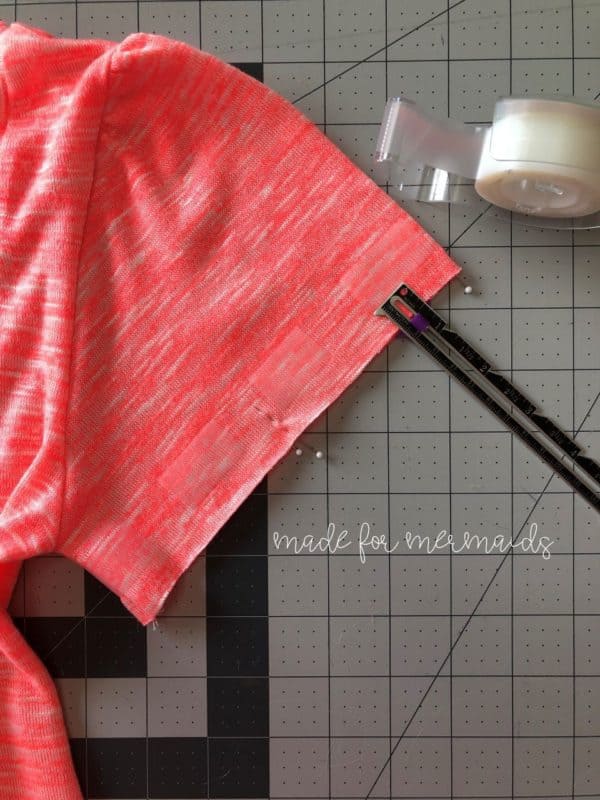
Once you have everything cut, simply construct a short sleeve Savannah shirt leaving the sleeves unhemmed. TIP: I used clear scotch tape as a guide to place my ruffles since none of my normal marking tools were working on this bright sweater knit. Test it on some scrap fabric to make sure it will come off cleanly.
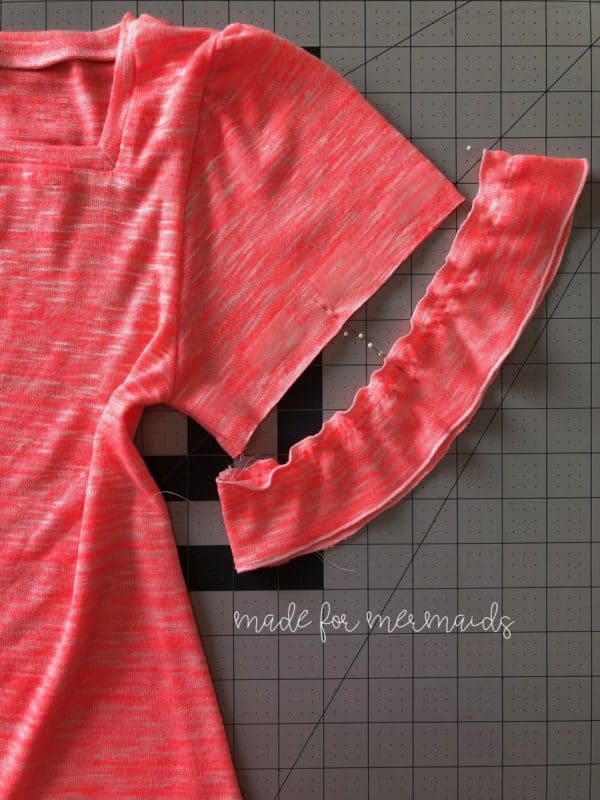
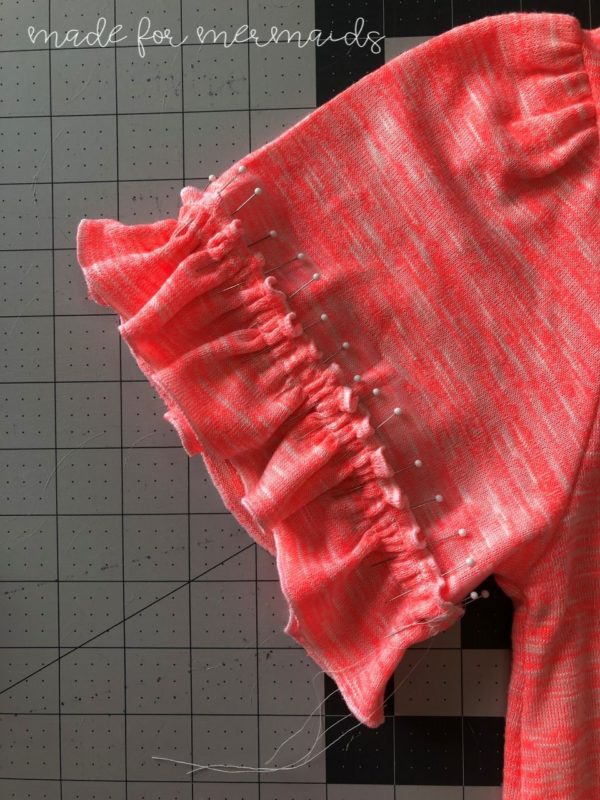
Sew the short ends of your ruffles together. Hem or finish the bottom edge. I opted to do a rolled hem on this ruffle. Then run basting stitches 1/4” and 5/8” away from the top edge. Mark the quarter points of the sleeve and the ruffle.
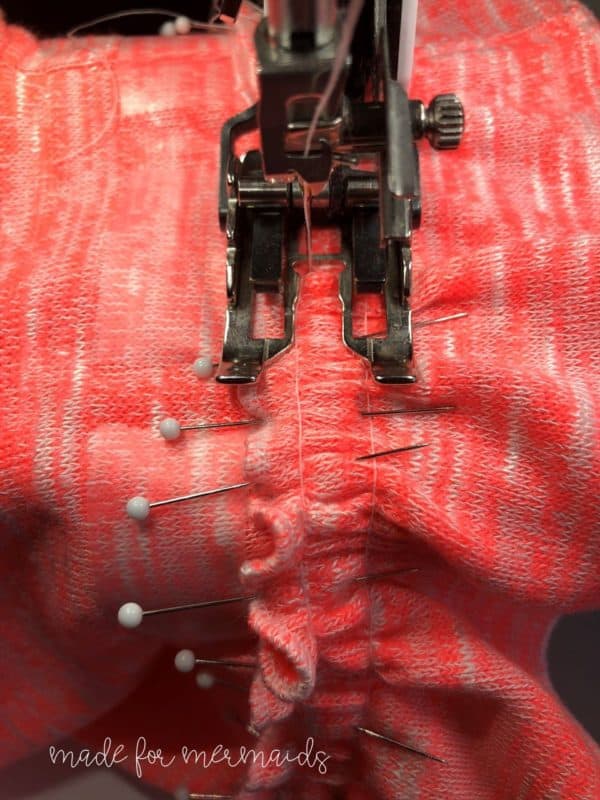
Gather the ruffle, trying to evenly distribute the ruffles between the quarter points. Using the scotch tape as a guide pin the wrong side of the ruffle to the right side of the sleeve. I used my basting stitches as a guide and a long zigzag to attach the ruffle.
- Feel free to use fewer pins than I did.
- I aligned the top basting stitch with the inside of the foot.
Remove the scotch tape and basting stitches. All Finished!
Savannah + Isabel Mash
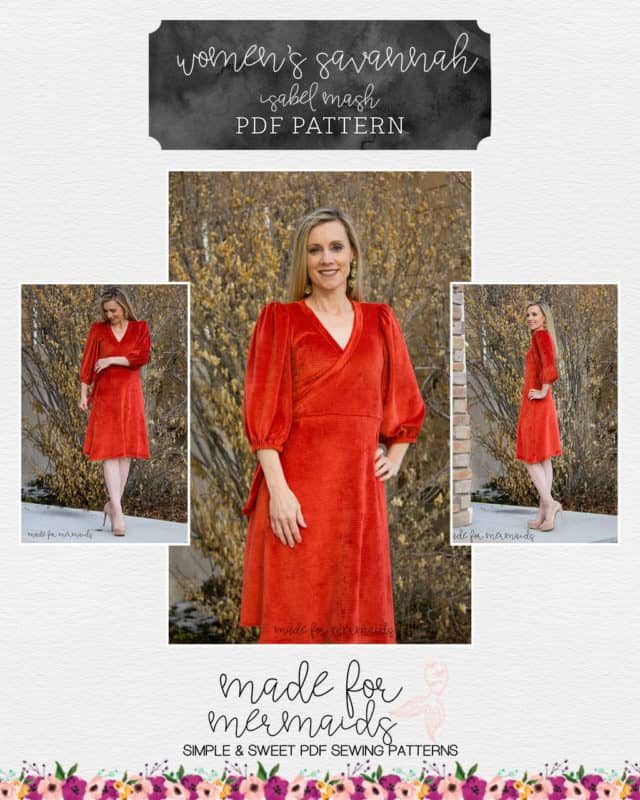
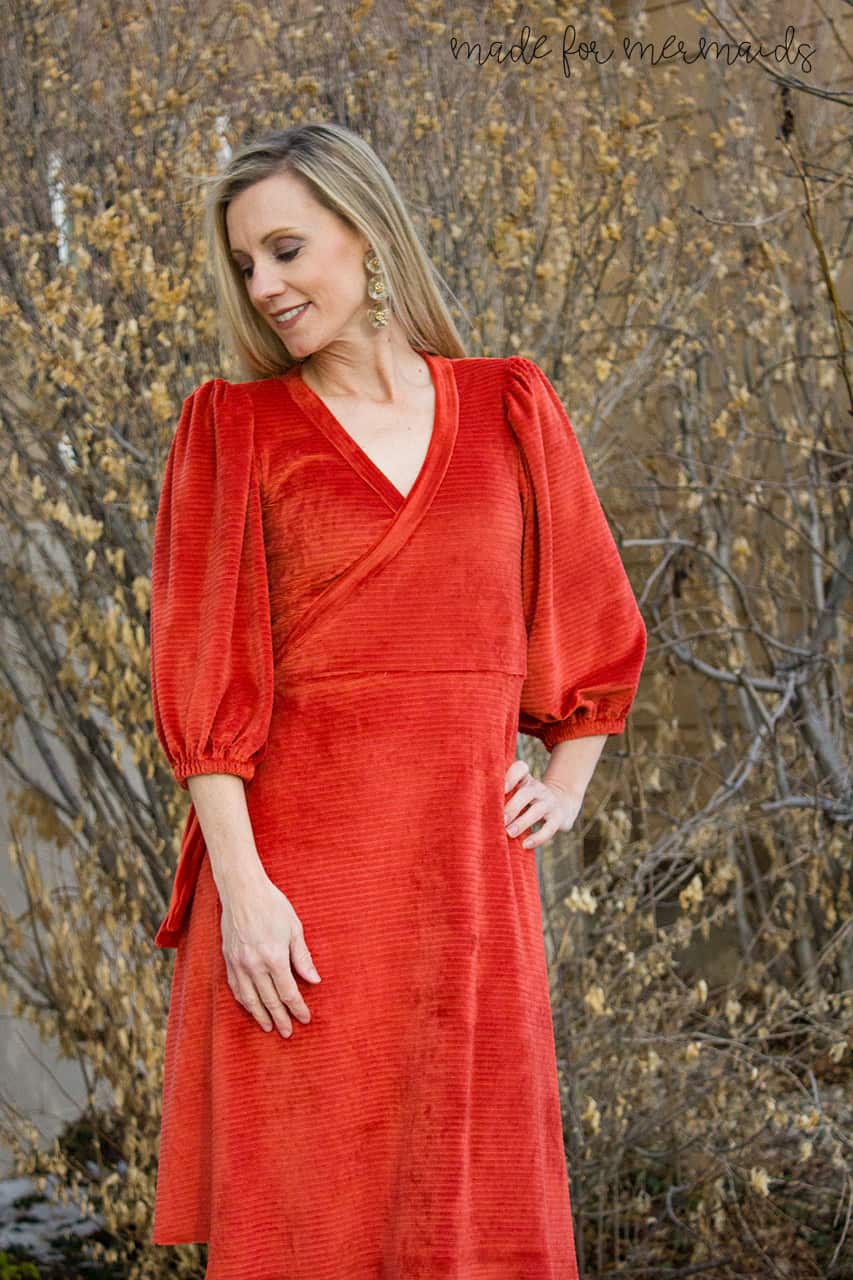
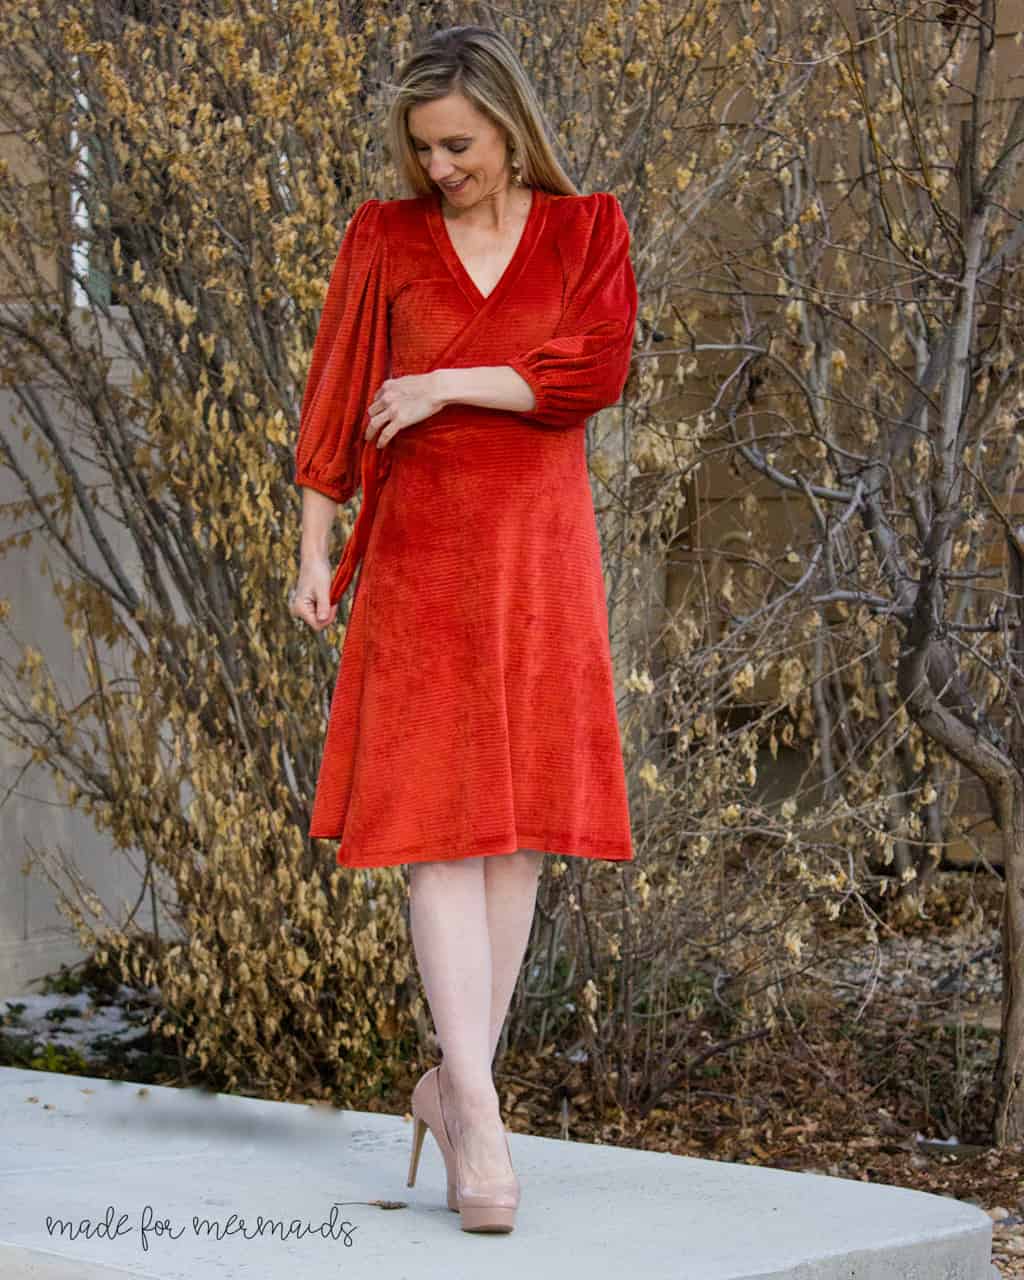
Early in the testing process for Made for Mermaids’s newest pattern, many inspiration photos were shared with similiar style lines. There was one photo of a dress that Kelly Ripa wore on her show that I couldn’t stop thinking about. I really wanted to see if I could recreate a similiar look using two patterns from the pattern catalog. Let me show you how you can create your own cute wrap style dress with these gorgeous sleeves by combining the Isabel and Savannah patterns.
For this dress you will need to have your Isabel Dress Pieces for the bodice fronts, back, skirt pieces, neckband, and ties. You will need to use the sleeve piece from your Savannah pattern.
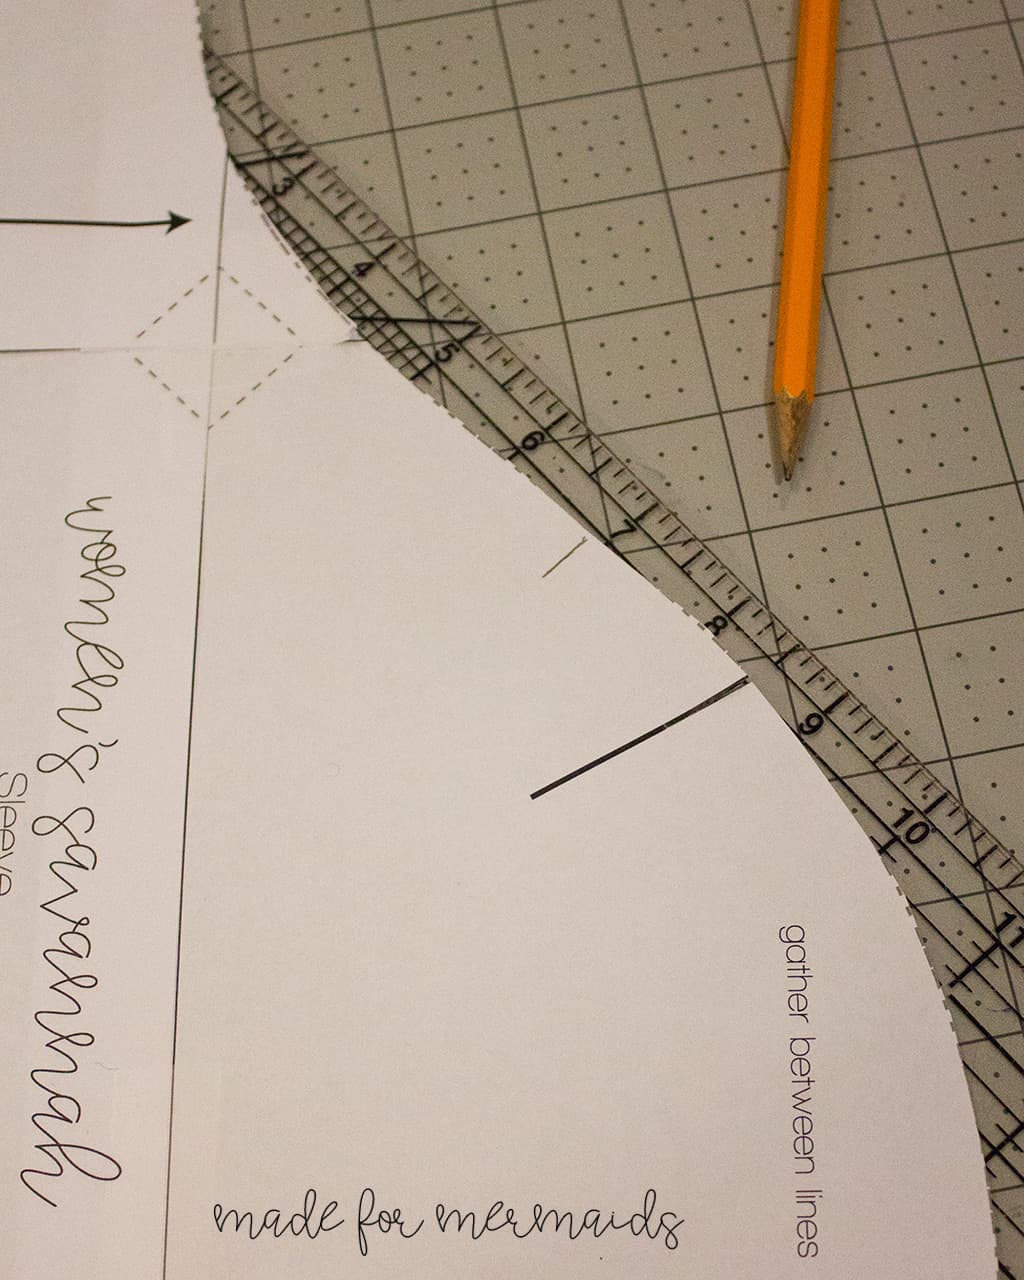
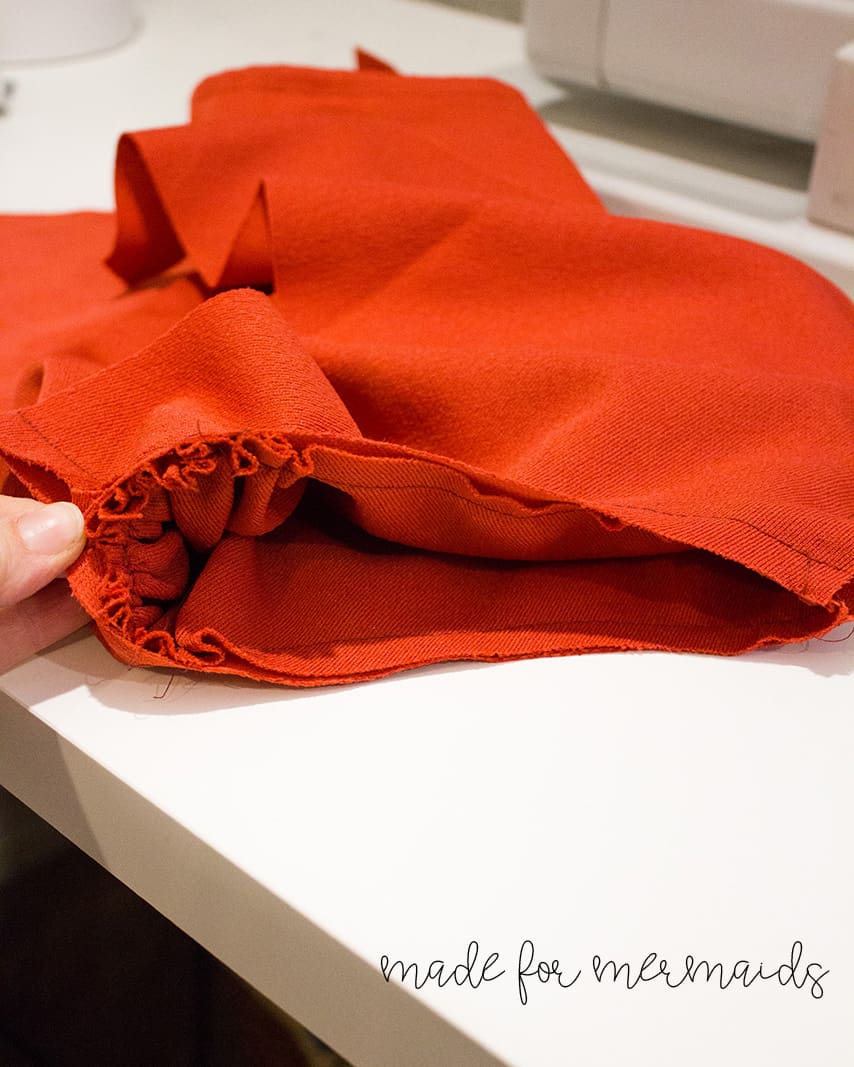
Take your Savannah Sleeve piece and change the location of the gather line. I extended the mark by 1.5 inches towards the underarm seam and marked a new line. This will allow you to gather the sleeve more to fit into the Isabel armscye.
Sew your Isabel bodice together. Then, gather your Savannah sleeve between the lines you marked (Note: your sleeve will be more gathered and will create more of a poof sleeve). Adjust your gathers to fit into your Isabel armscye and attach your sleeve with 1/2 inch seam allowance.
Continue sewing your Isabel per the instructions in the pattern and finishing your Savannah sleeve according to the Savannah pattern.
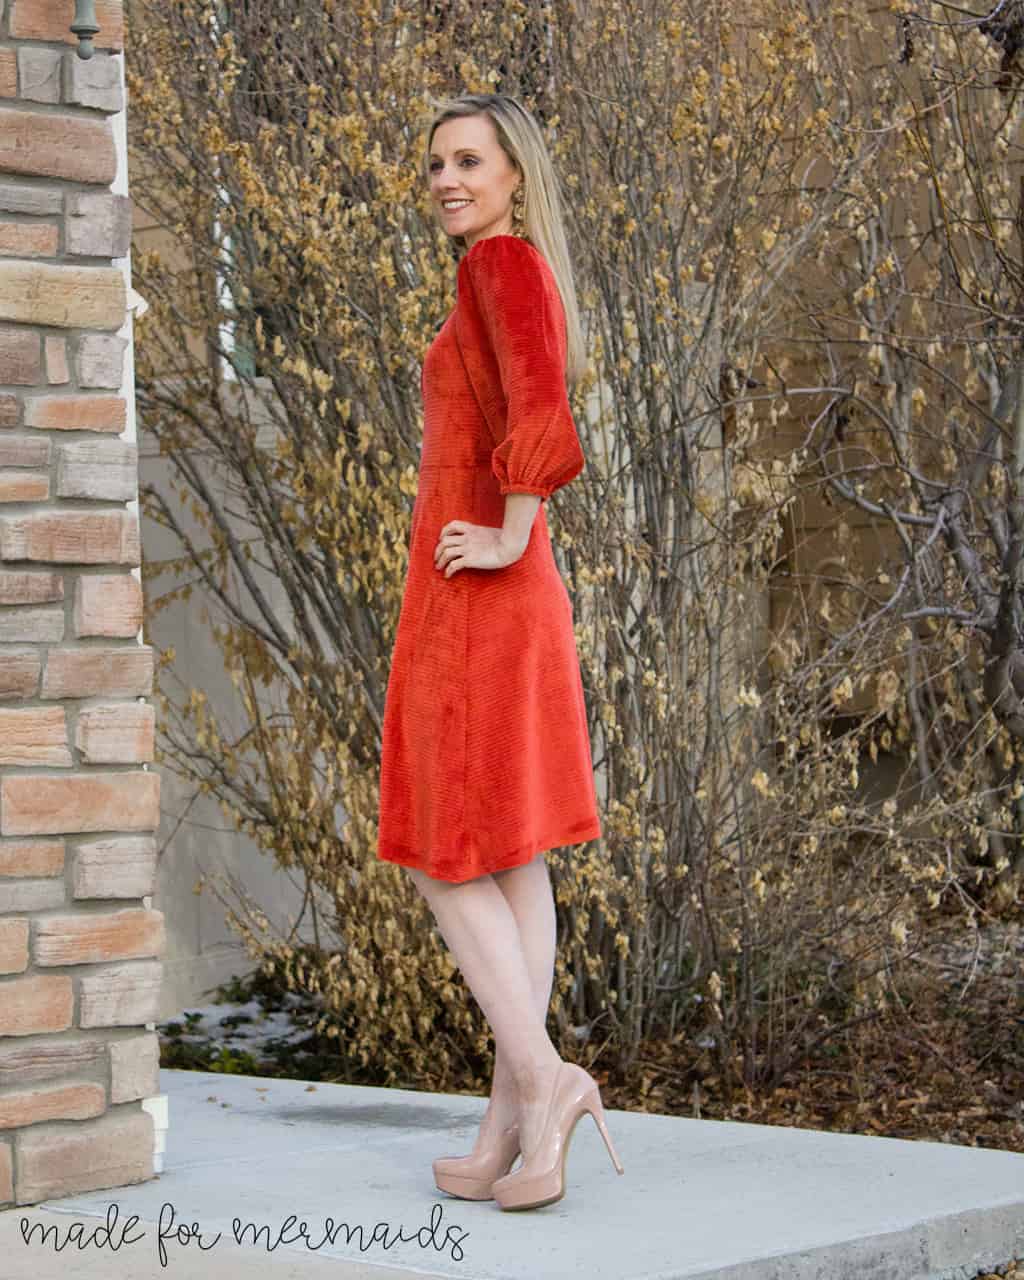
For my dress, I chose to use the 3/4 sleeve length with the elastic added. The fabric is a wide corduroy knit and makes for a great dress for transitional weather and through the winter with tights or boots. I hope you enjoy the Savannah pattern as much as I have and playing around with even more looks using this fantastic pattern. – Shannon
Ruffle Hack
The Savannah has so many gorgeous sleeve options! But if you’re looking for yet another option, I have an easy ruffle hack for you!
And, really, nothing screams, “SPRINGTIME!,” more than ruffles… amiright??
For this make, I wanted a softer ruffle with a looser fit for more of a boho vibe. I used a 3/8″ soft cotton elastic, but any narrow elastic for knits will work.
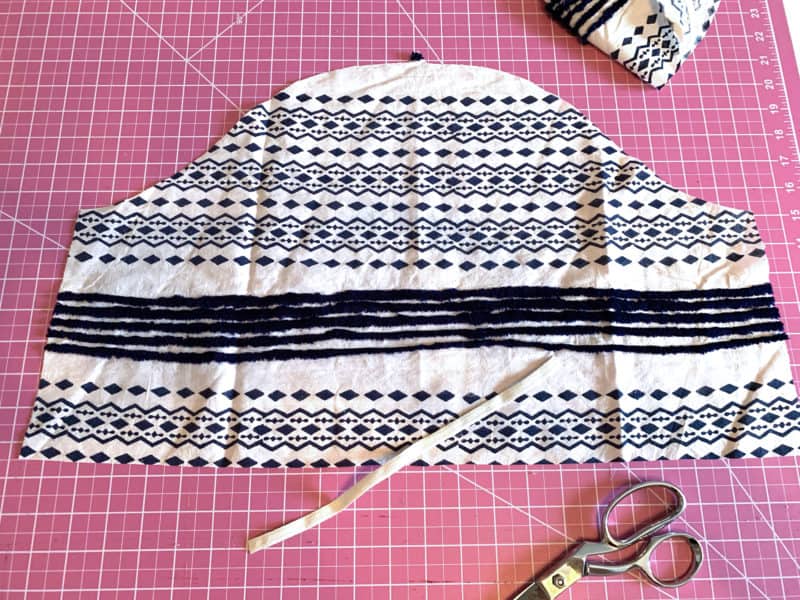
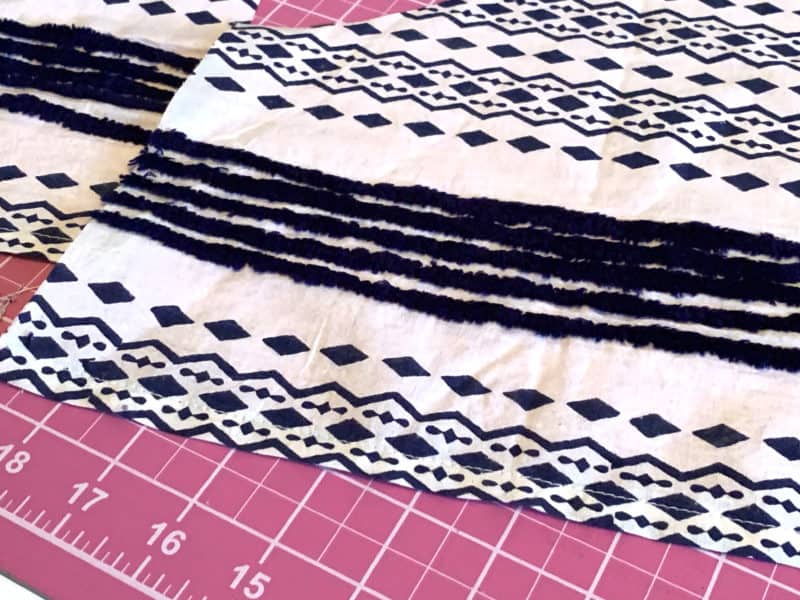
I cut out my short sleeves, adding 2″ inches to the length of the sleeve.
I hemmed my sleeves at this stage because it would be more challenging to do so once the elastic is installed.
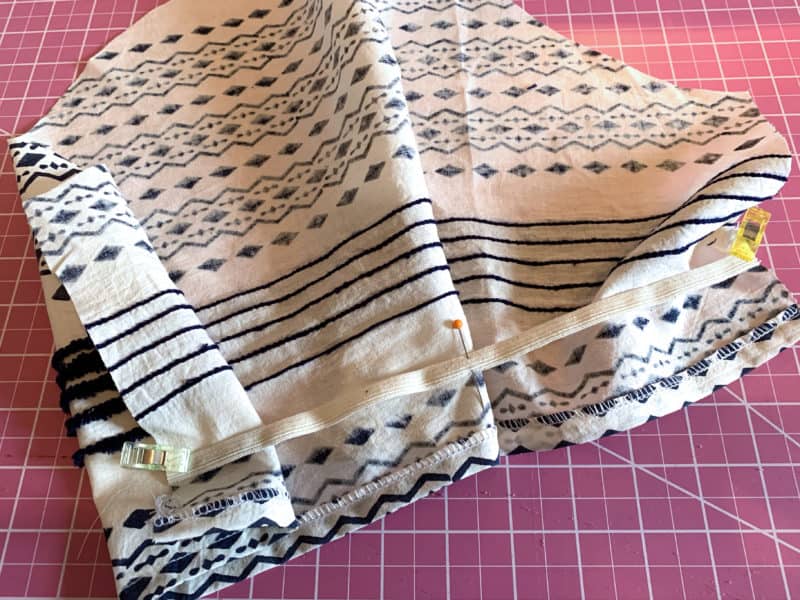
I measured the elastic to fit around the widest part of my bicep.
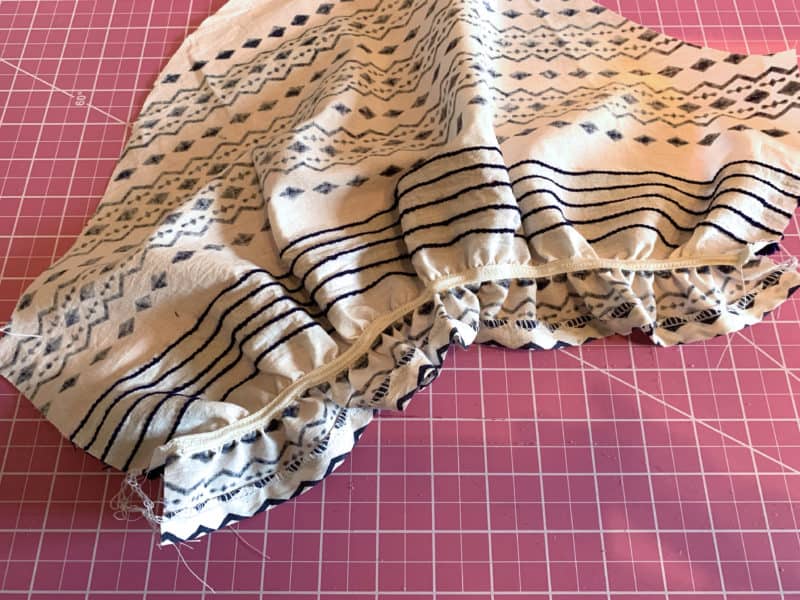
I pinned the elastic in place at 1 1/2″ from my hem, matching raw edges and centers, and attached with a zig zag stitch, stretching the elastic to fit my fabric as I sewed.
From this point, I finished the pattern per the instructions. So easy!! And such a great look for spring!
You can customize anything about these sleeves to your preferences… want a tighter fit? Cut your elastic shorter. Want a longer ruffle? Cut the short sleeve piece a little bit longer or move the elastic gathers further up on the sleeve. – Rachel
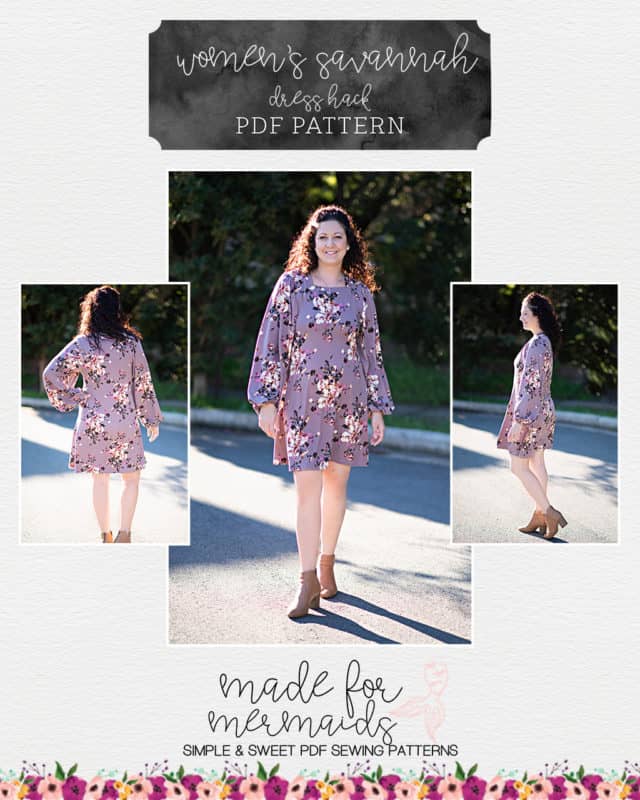
Dress Hack / Savannah + Mya Mash
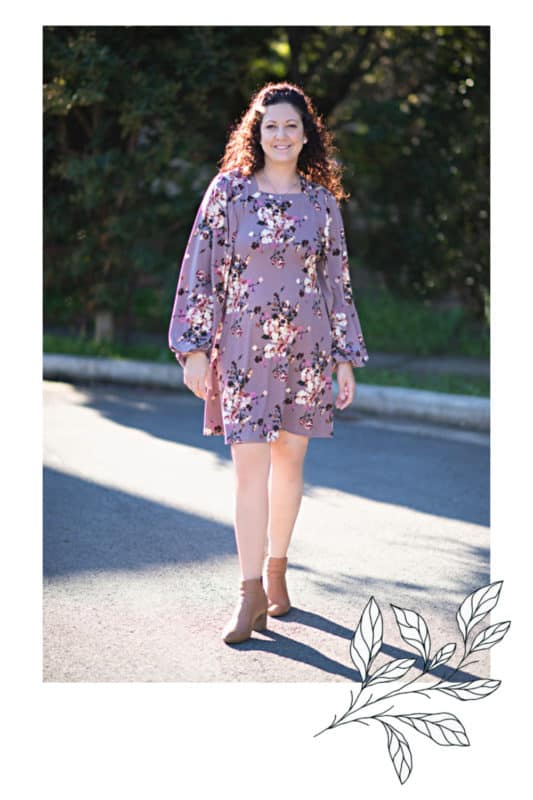
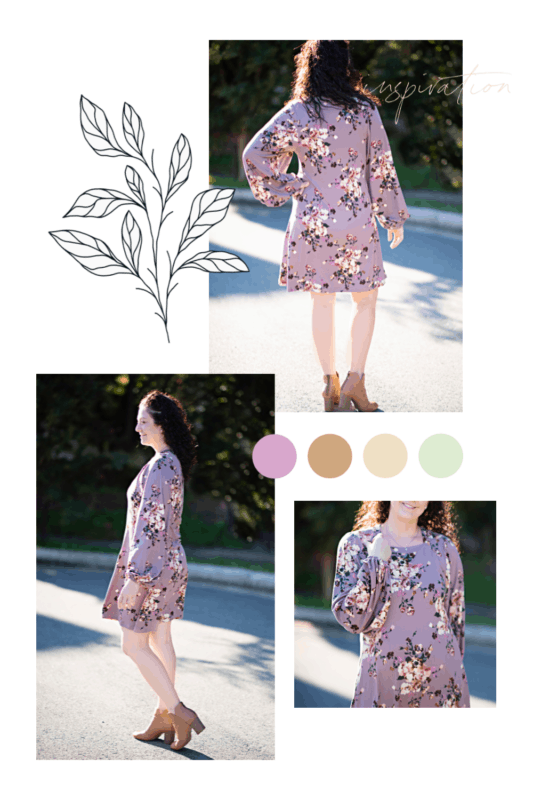
I just love the gorgeous square neckline and voluminous sleeves of the Savannah pattern and by mashing it with the Mya pattern you can sew up a lovely dress version of it too. Note: You can use any basic dress pattern you’d like; simply follow the same instructions, using your alternate dress pattern where Mya is mentioned.
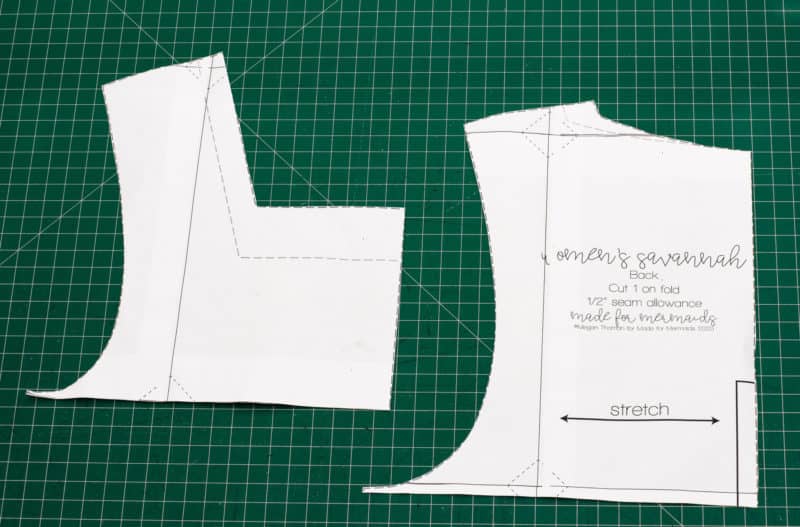
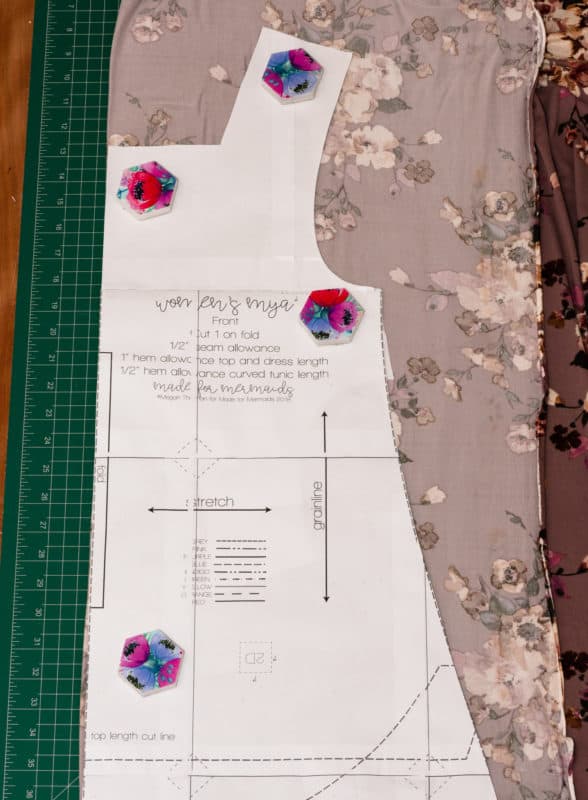
Firstly, assemble your pattern pieces for the Savannah and the Mya. Take the Savannah pattern pieces for the front and back bodices and cut them at approximately 1/4″ below the bottom of the armscye as pictured below.
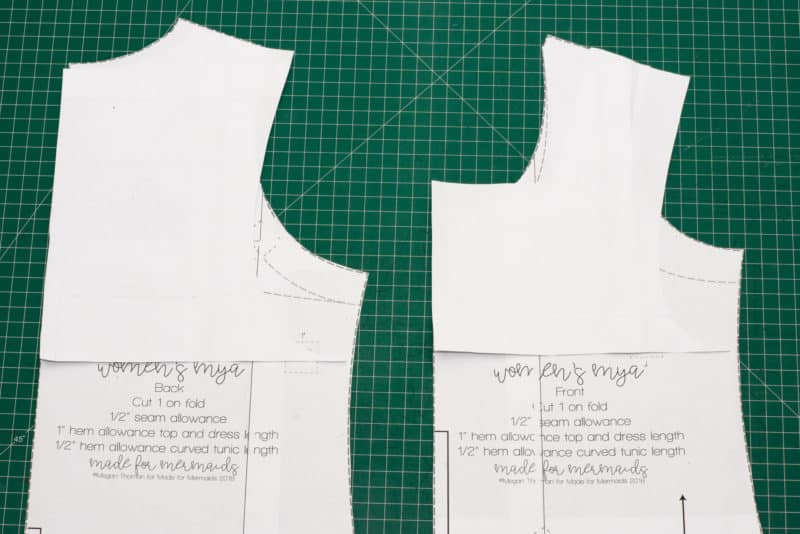
Next, take your Mya dress pattern pieces; overlap and line up the cut Savannah pattern pieces at the shoulders and at the midline fold.
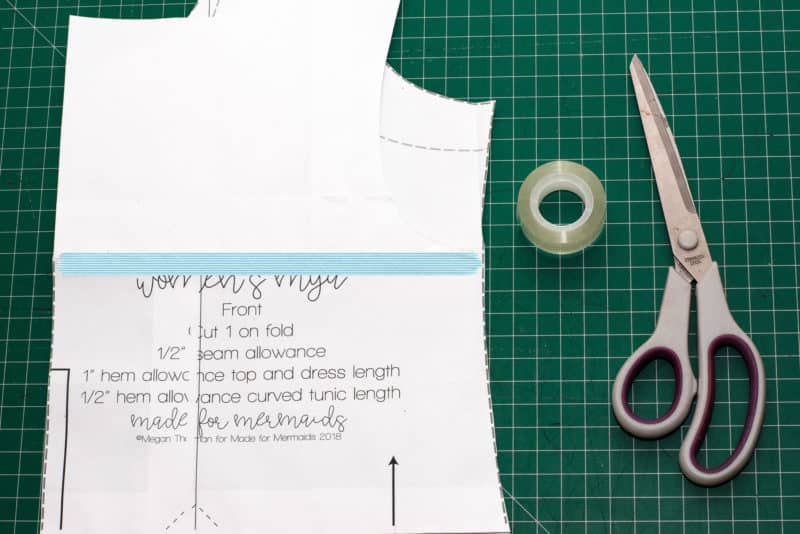
Tape your pieces together along the cut line of the savannah bodice as pictured below.
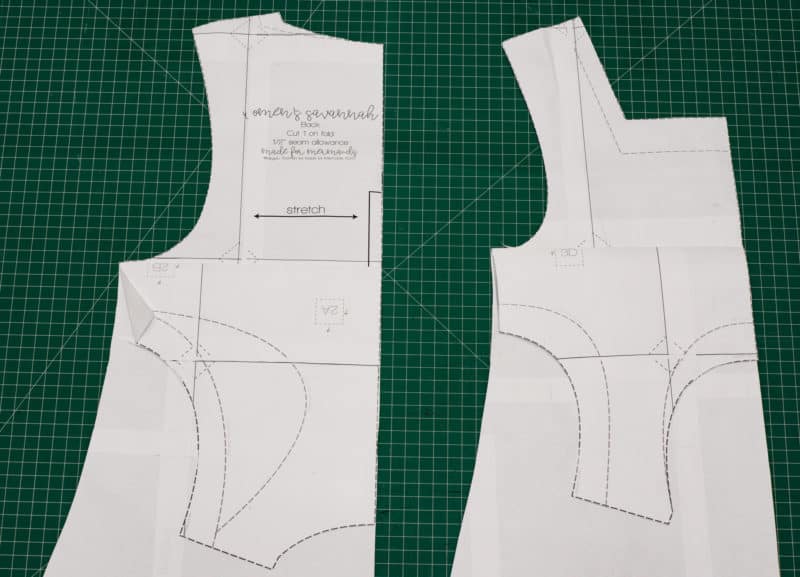
Now you need to fold the top of the Mya pattern piece down at the taped line which means you have new mashed pattern pieces to create a Savannah dress.
Use your newly created pattern pieces to cut your fabric. You will need to cut a front and back dress from the Savannah/Mya pattern pieces you just created and cut the binding pieces and sleeves from the original Savannah pattern. You will sew it up as per the Savannah instructions, with the only difference being the longer side seams for the dress.
Happy sewing and enjoy wearing your fabulous, new dress. -Katy xx
Which sleeve option will you sew up first?? Remember to share your makes over in our Facebook group; we love to see what you’re up to!



can you add a cold shoulder hack, especially for the mid length flowy sleeve? there are not enough patterns that offer a cold shoulder alternative. thank you
We can definitely consider more cold shoulder options in the future! 🙂