
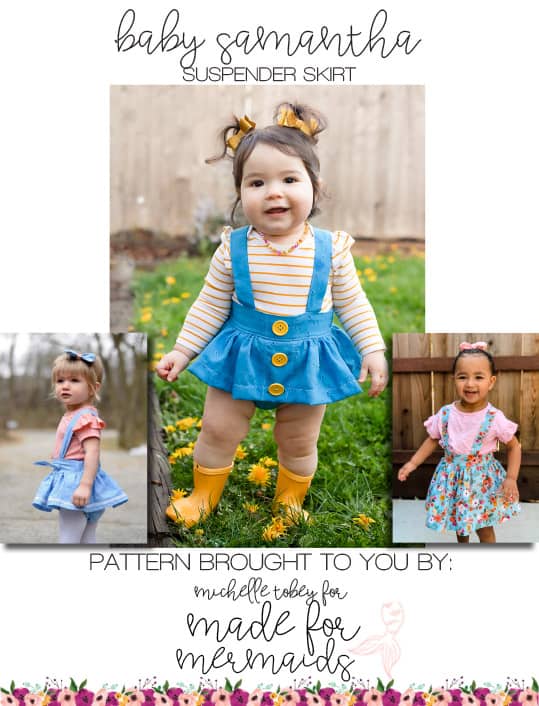
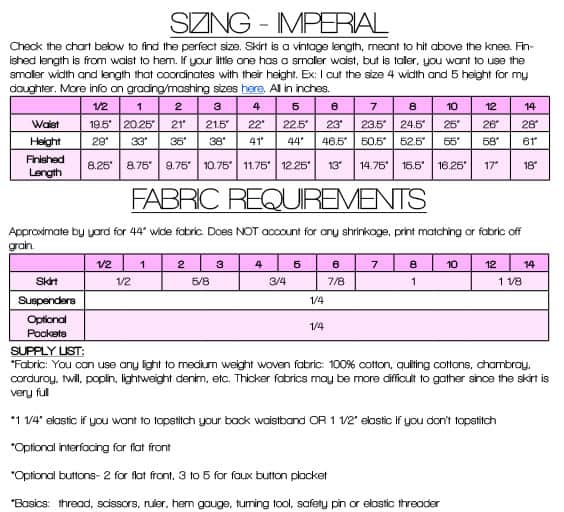
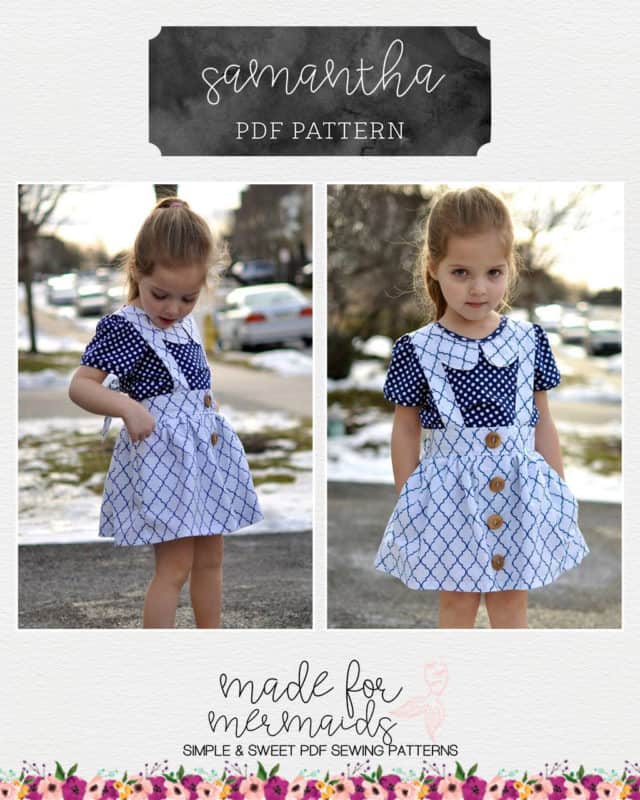
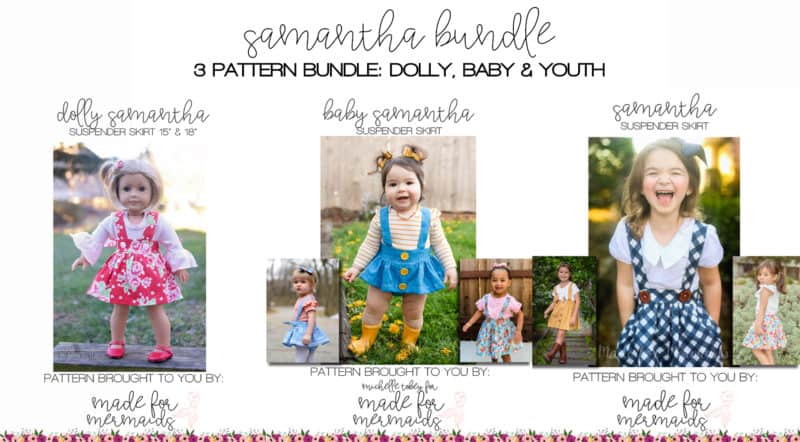
One of our most beloved patterns is getting a fresh face with an update, AND the addition of Baby Samantha! Wondering what’s new with the youth Samantha pattern? We’ve updated to our new fonts and logos, added some new gorgeous tester photos, swapped out the cut chart for printable pattern pieces, and added our metric chart for sizing, fabric requirements AND cut chart.


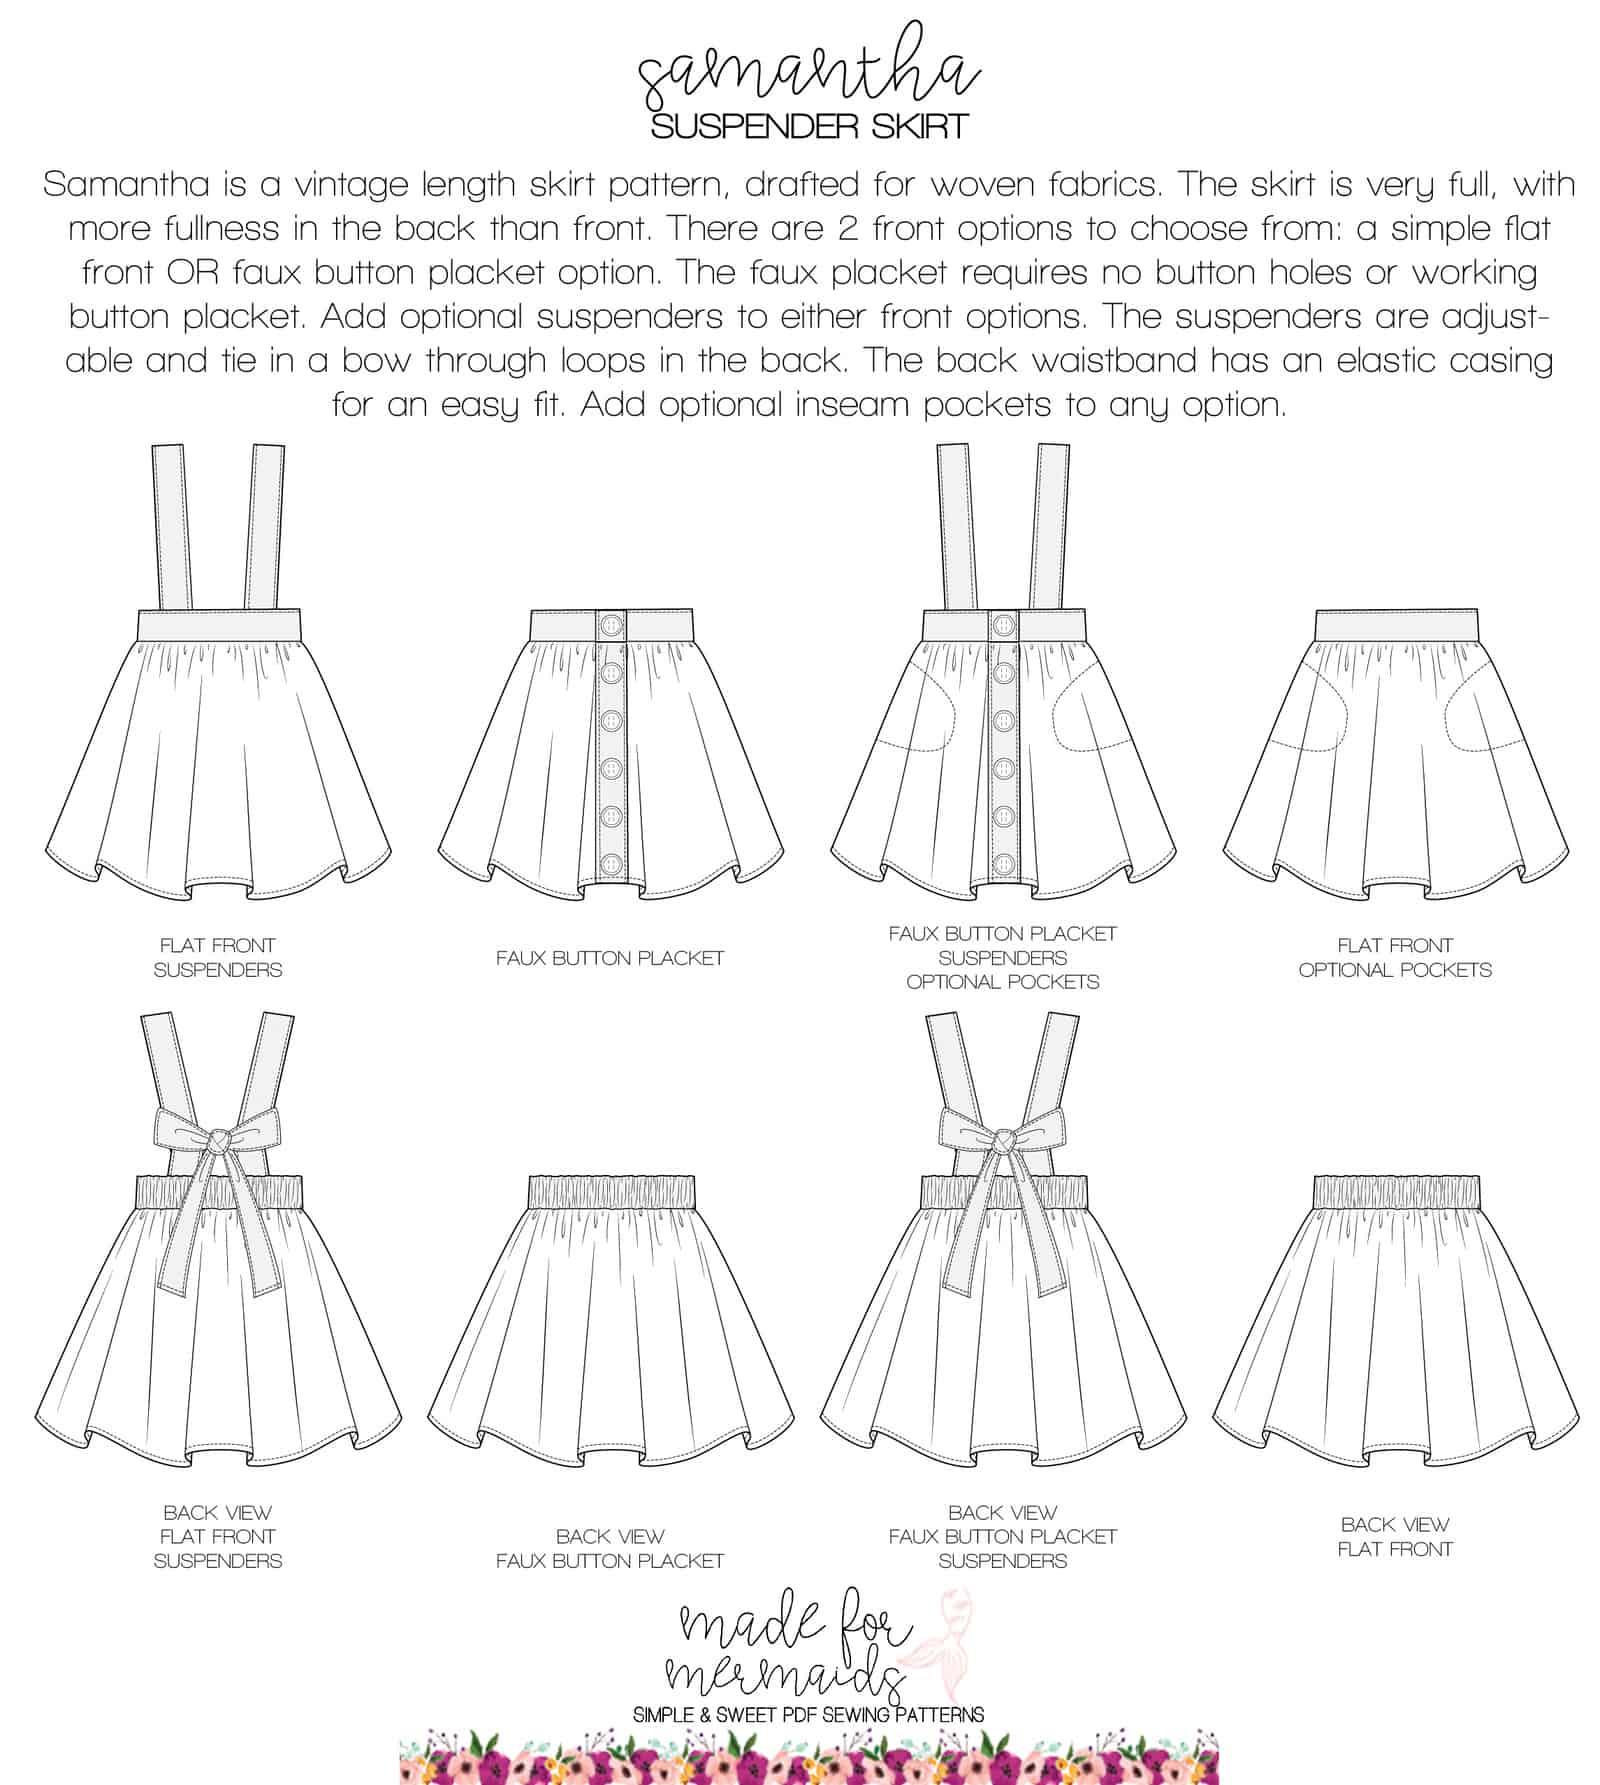
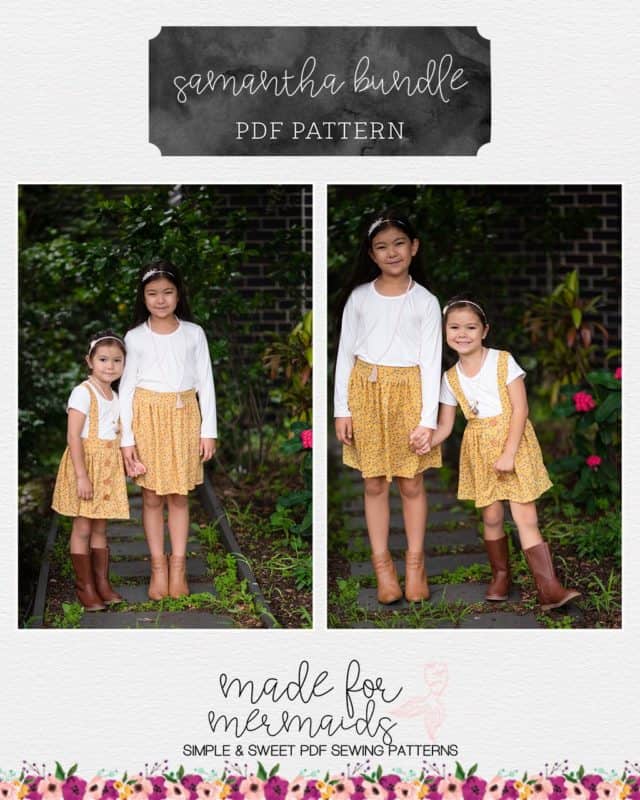
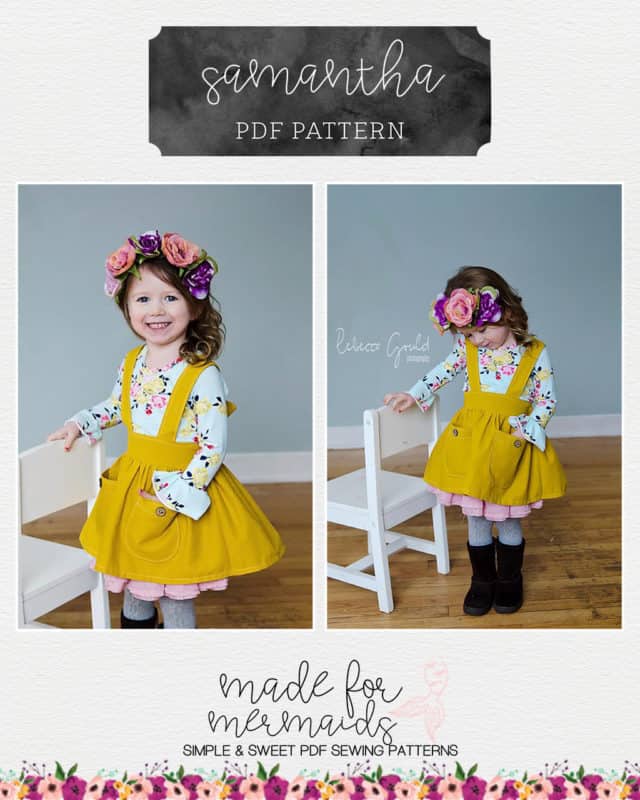
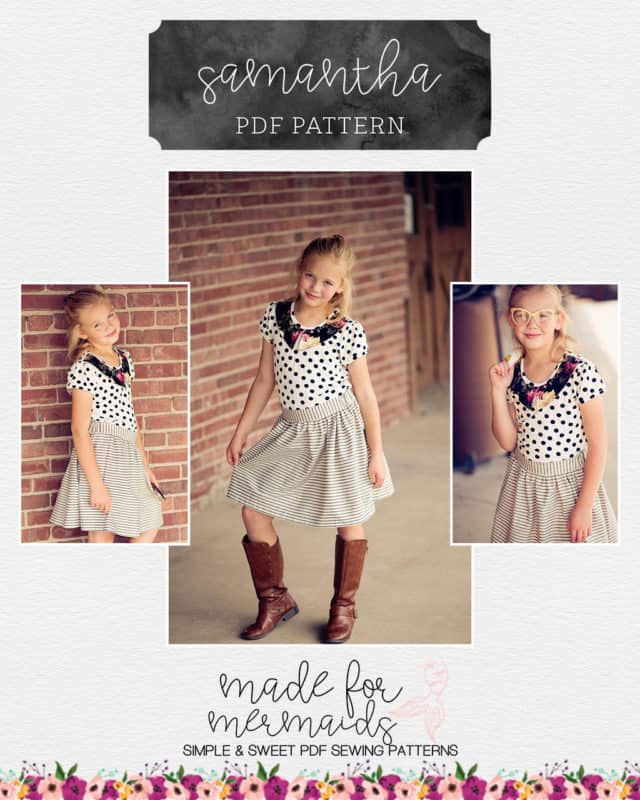
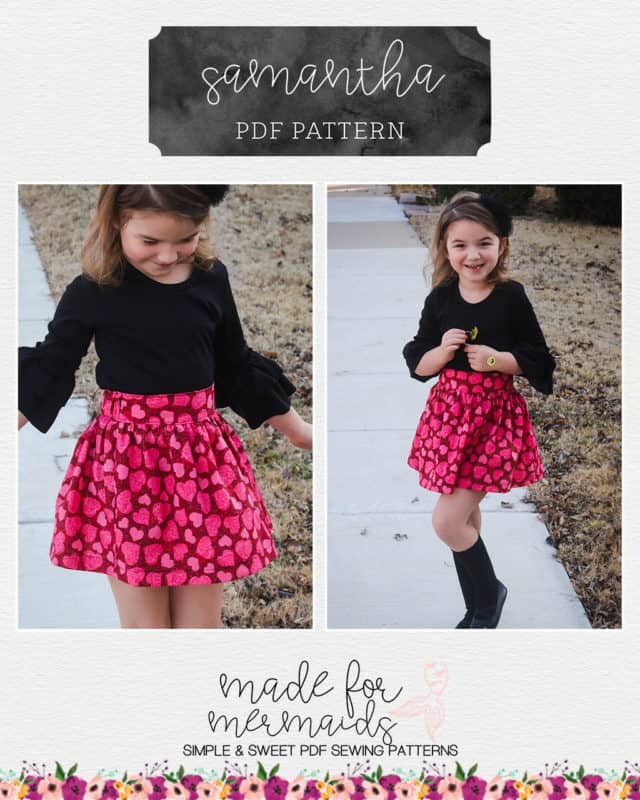
Samantha is so well-loved by our Mermaid community. If you don’t already have it, now is the perfect time to scoop it up. I know many of us shy away from woven patterns, but Samantha is worth making an exception!

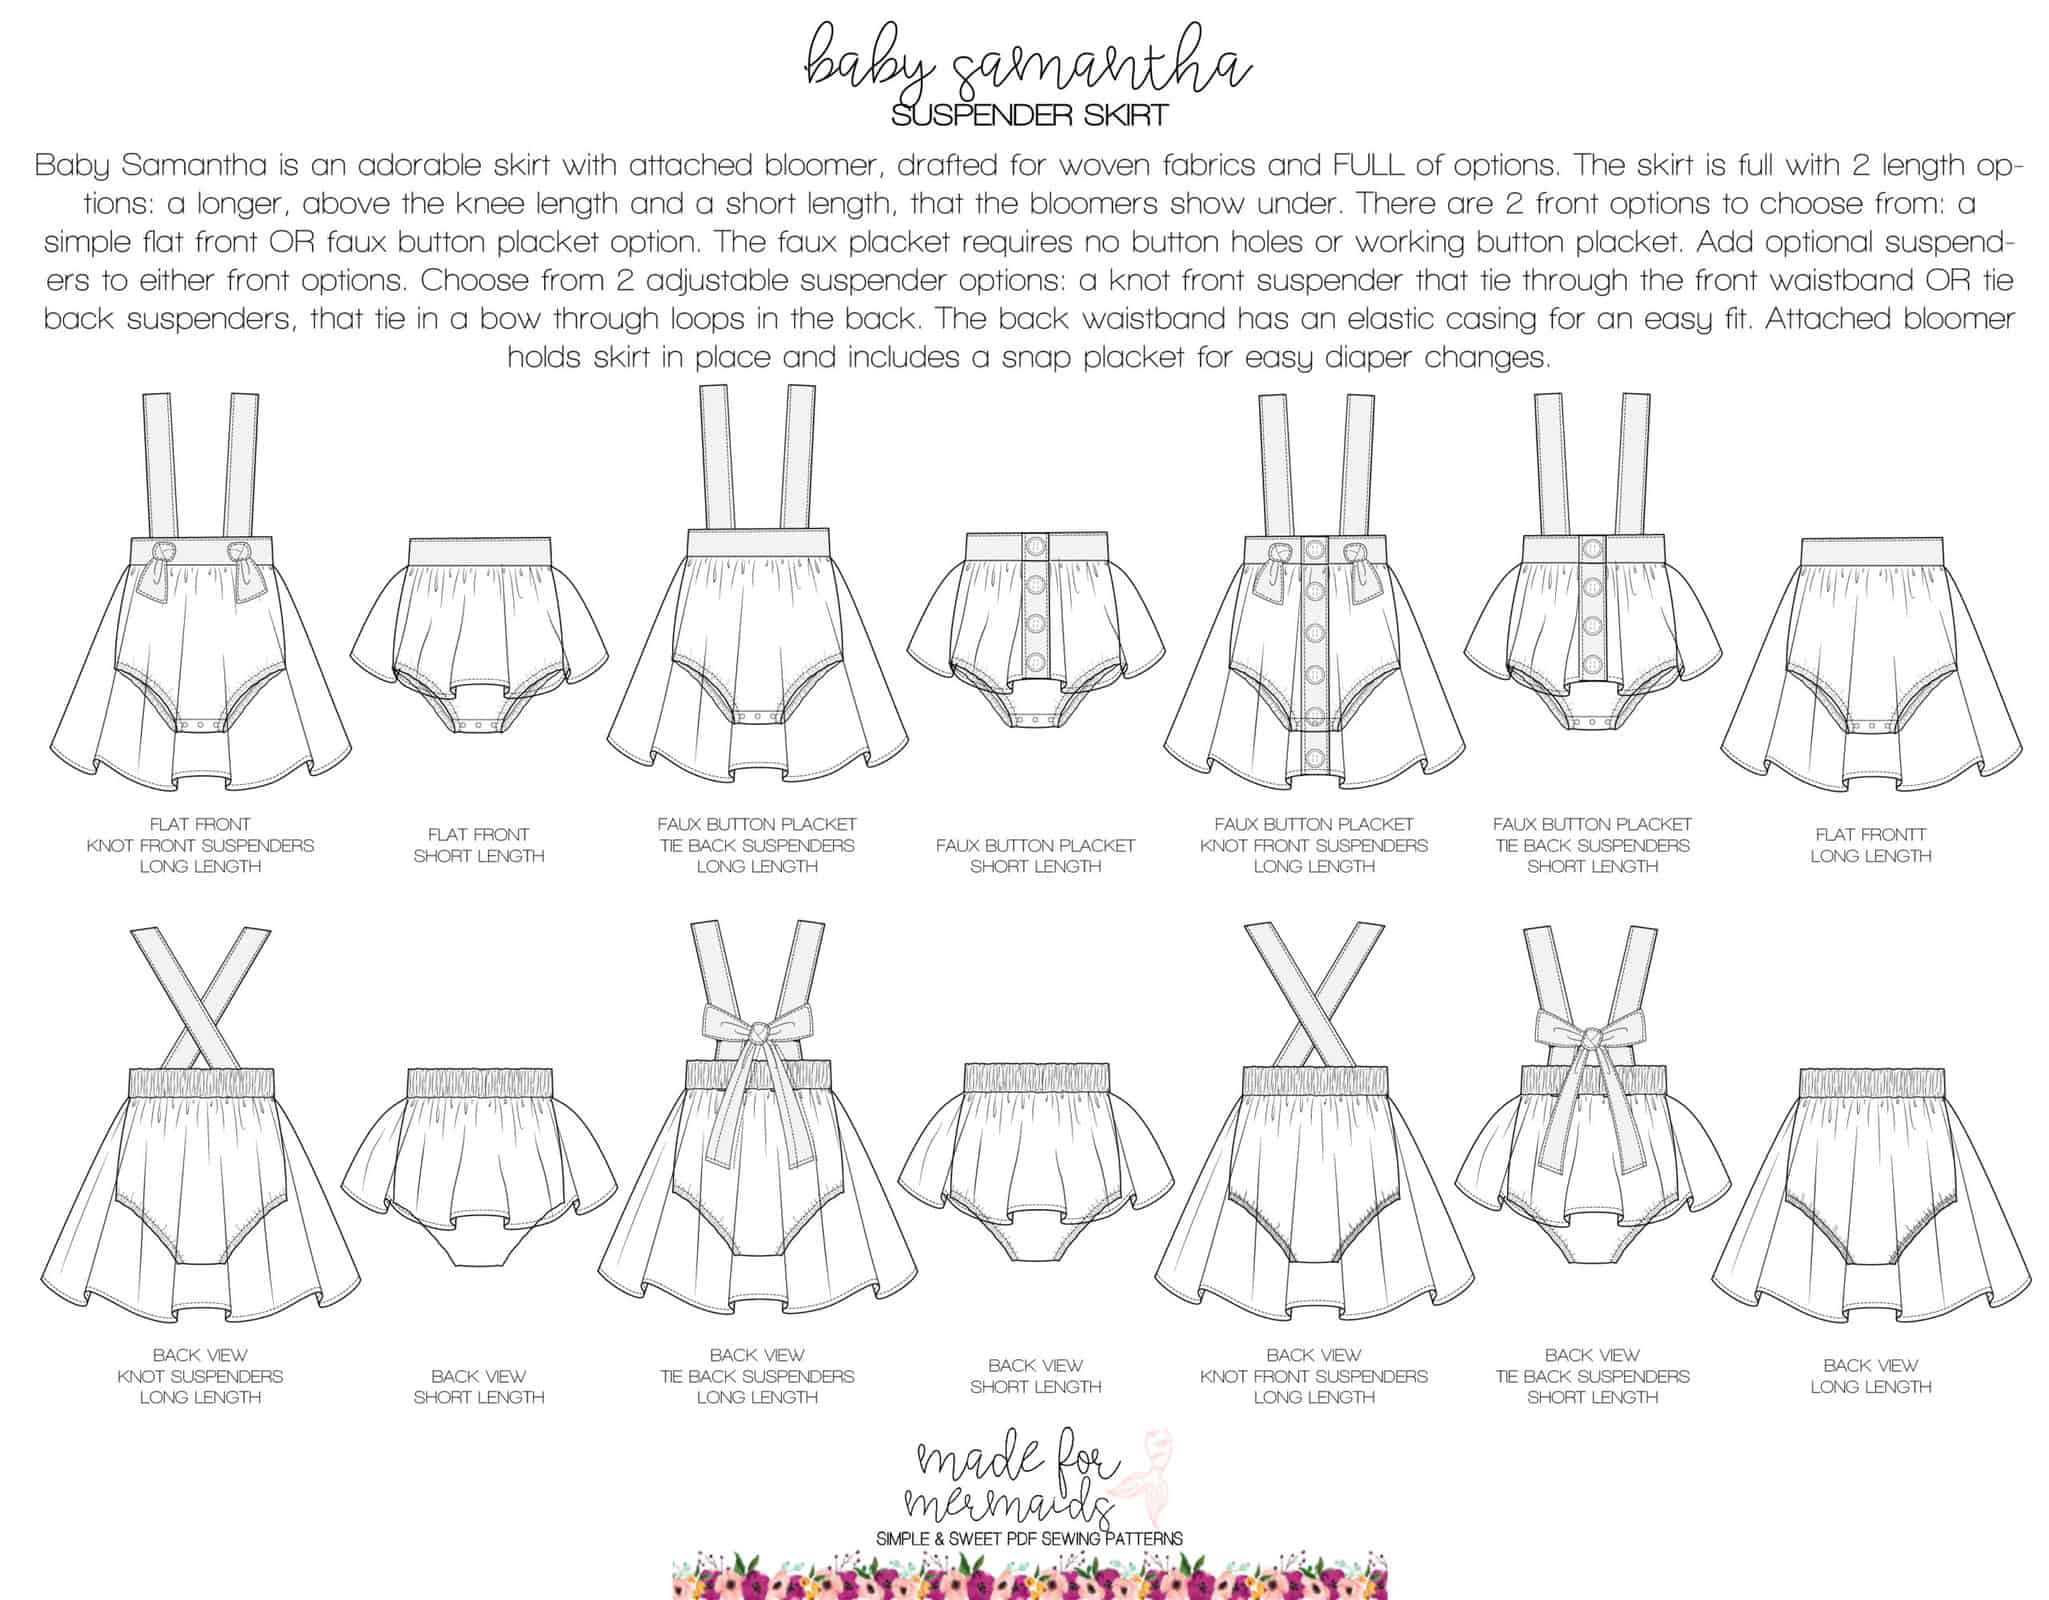
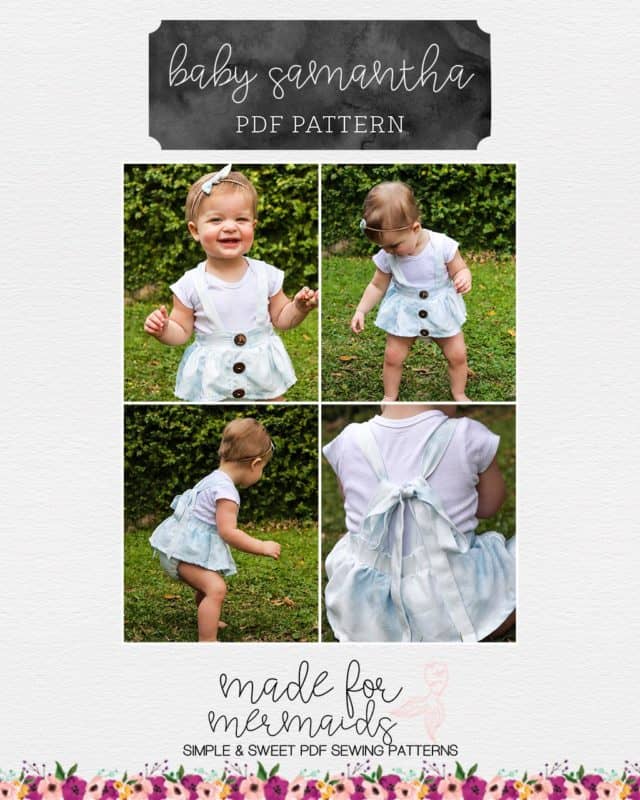
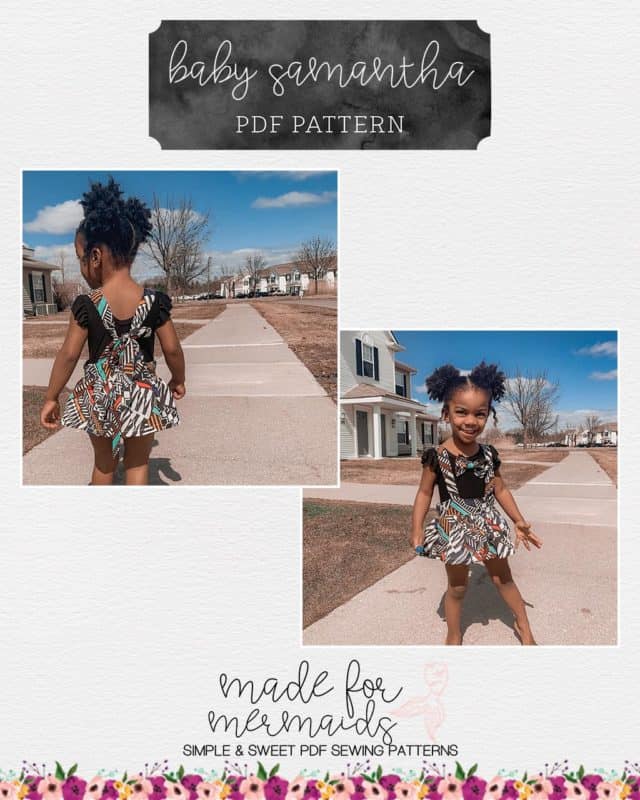
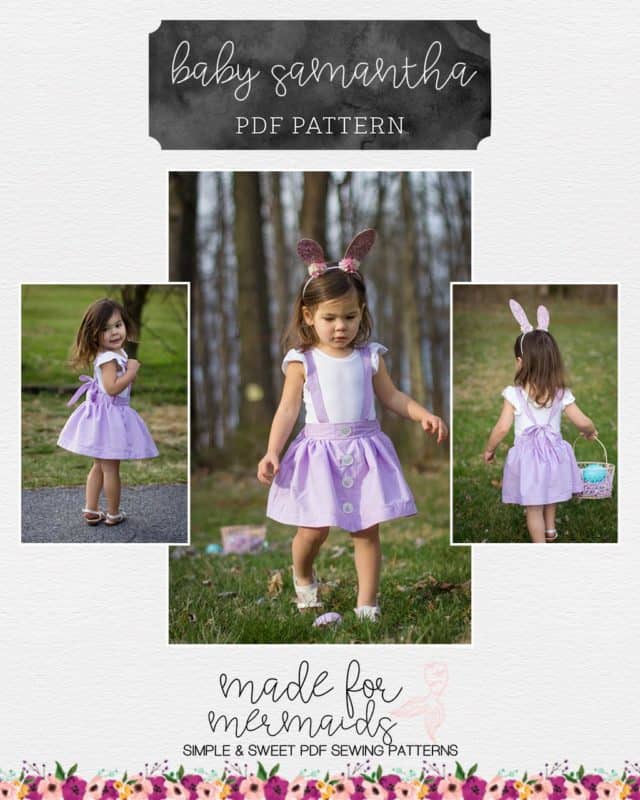
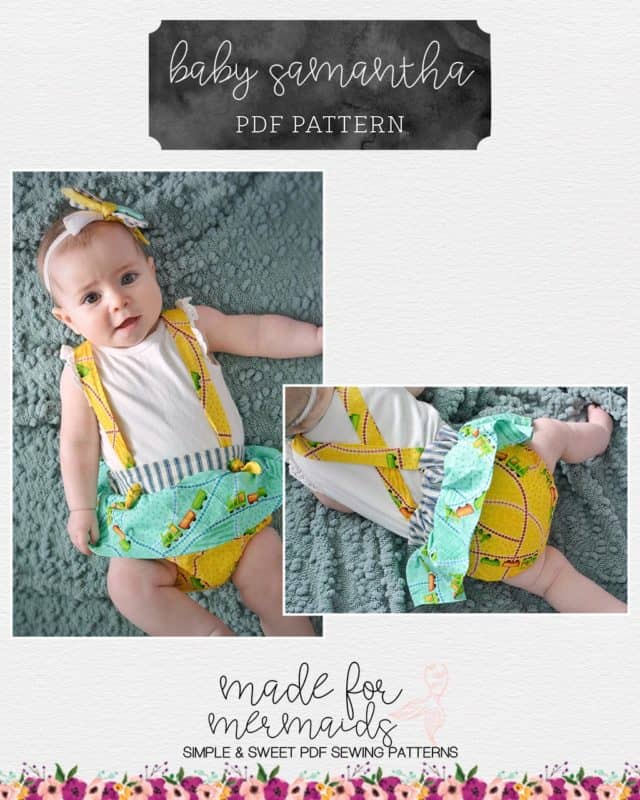
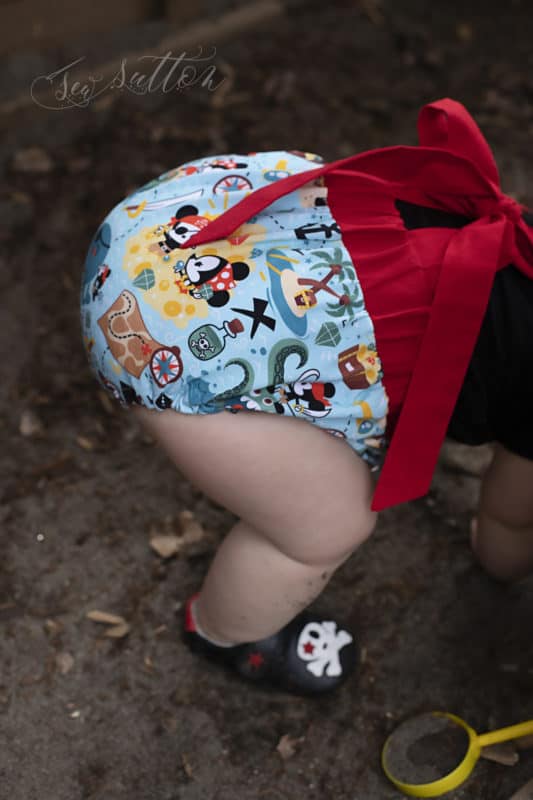
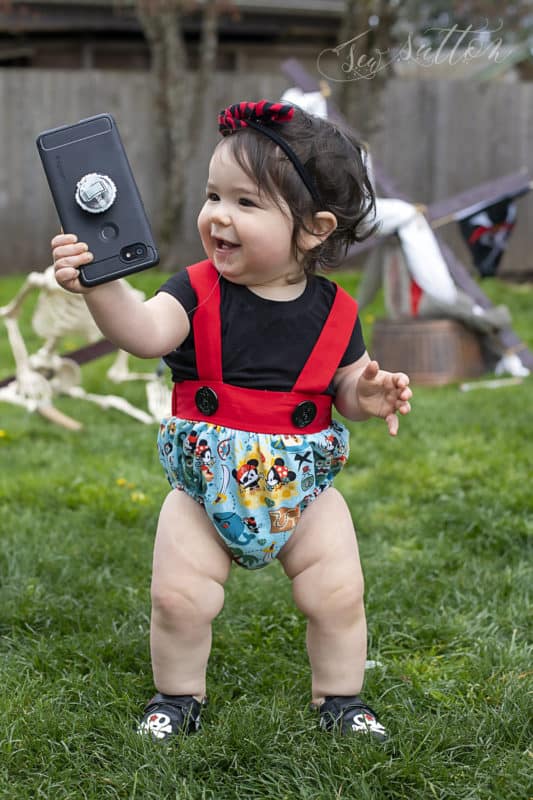
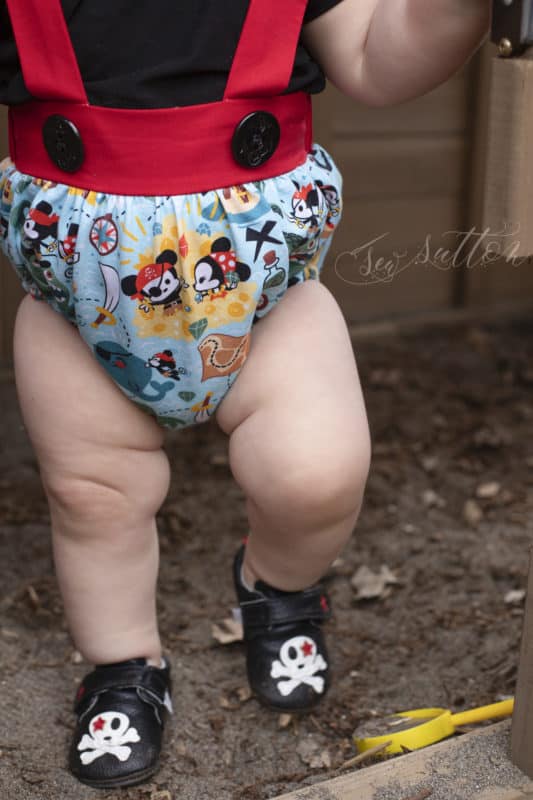
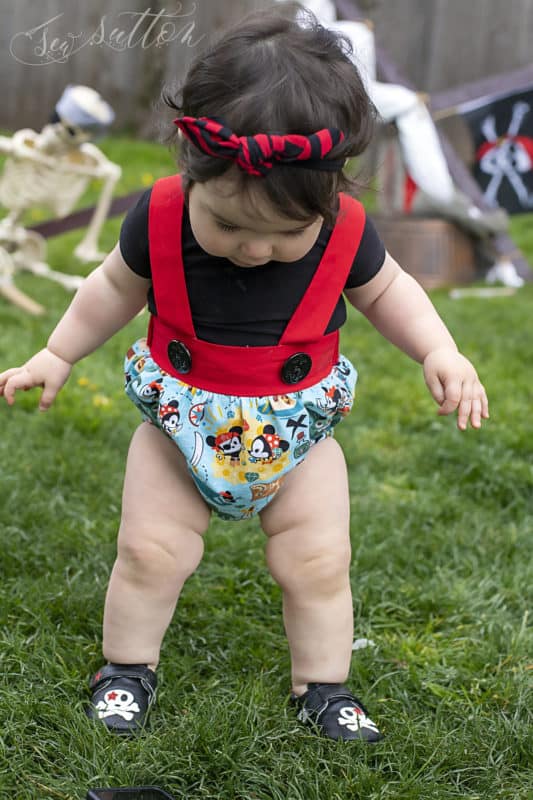
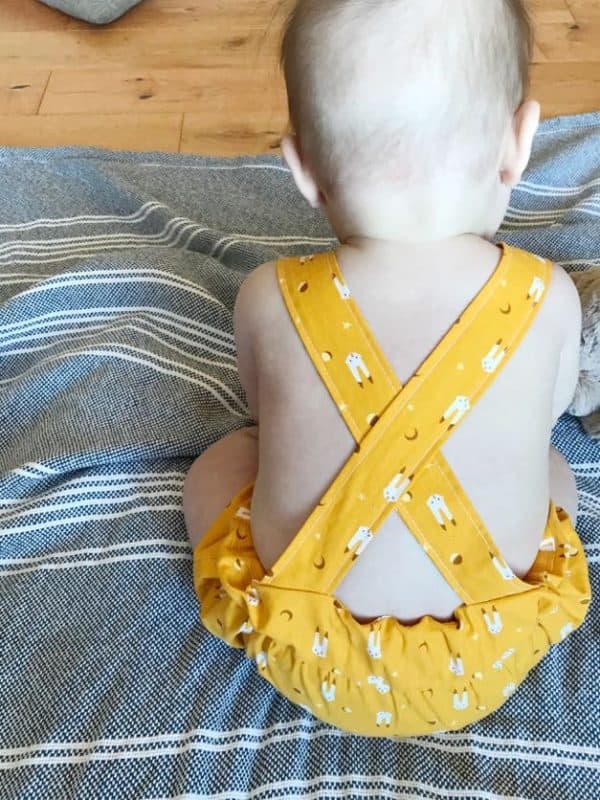
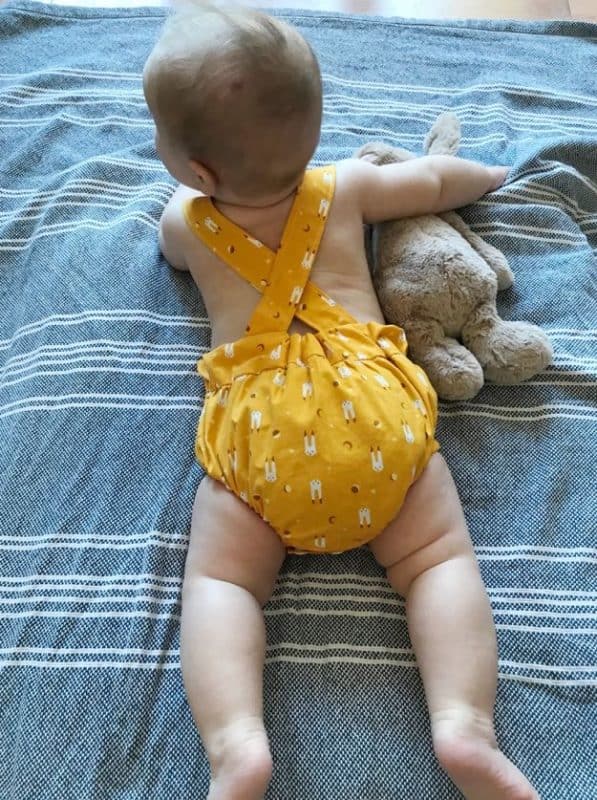
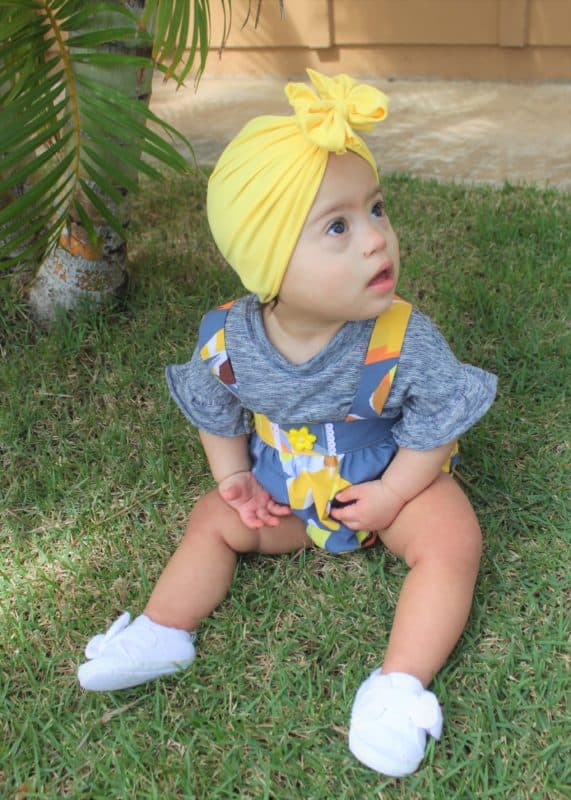
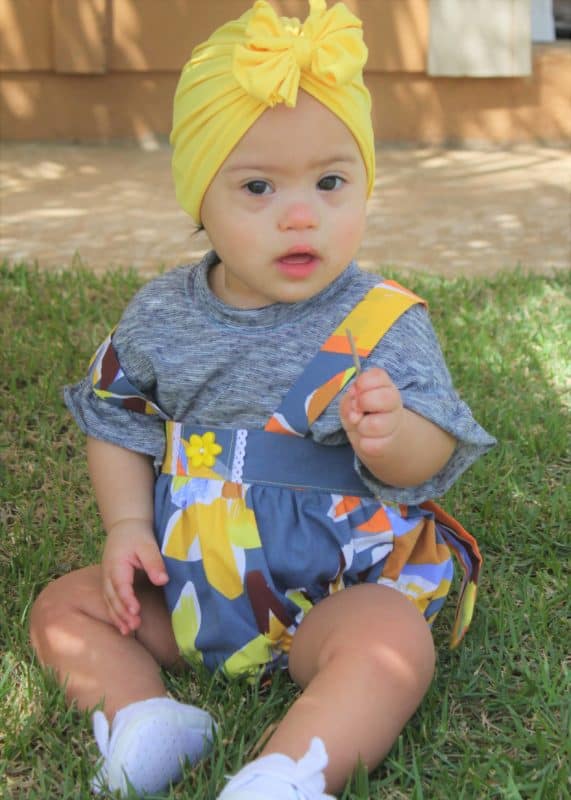
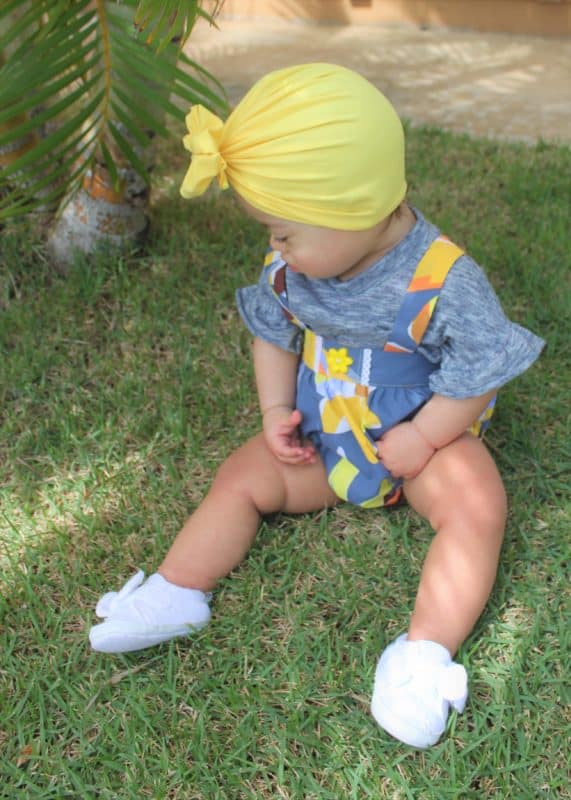
Baby Samantha has all the goodness you love about the youth Samantha, plus some extra details just for baby! Baby Samantha includes an attached bloomer and a pull-through knot-style suspender, in addition to all the other sweet variations.
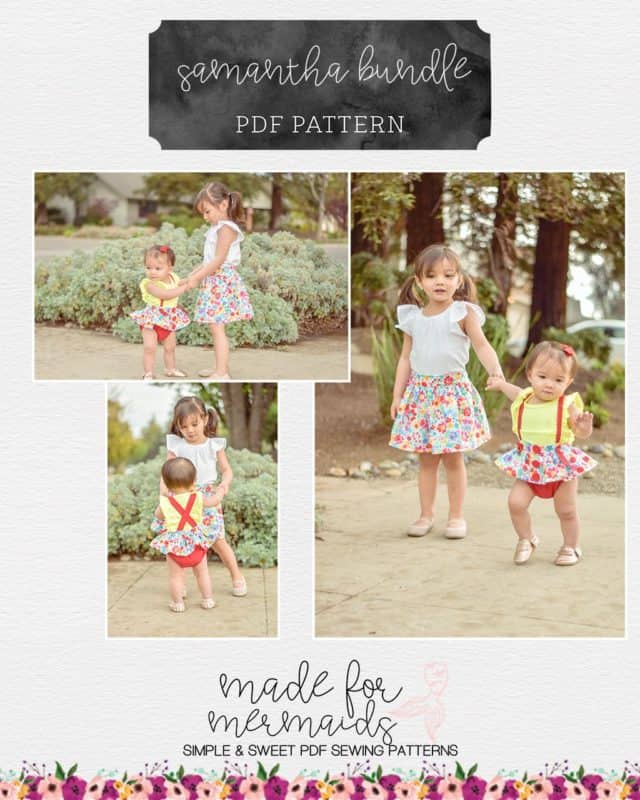
Wondering what tops we love to pair with Samantha? The options are really limitless, but Tai, Alice separates, Tess, Rose Ruffle, Lauren, Mya, Stacey, and Charlotte are all GREAT top patterns to pair with Samantha. You can also use the 90s socks pattern to make knee socks.

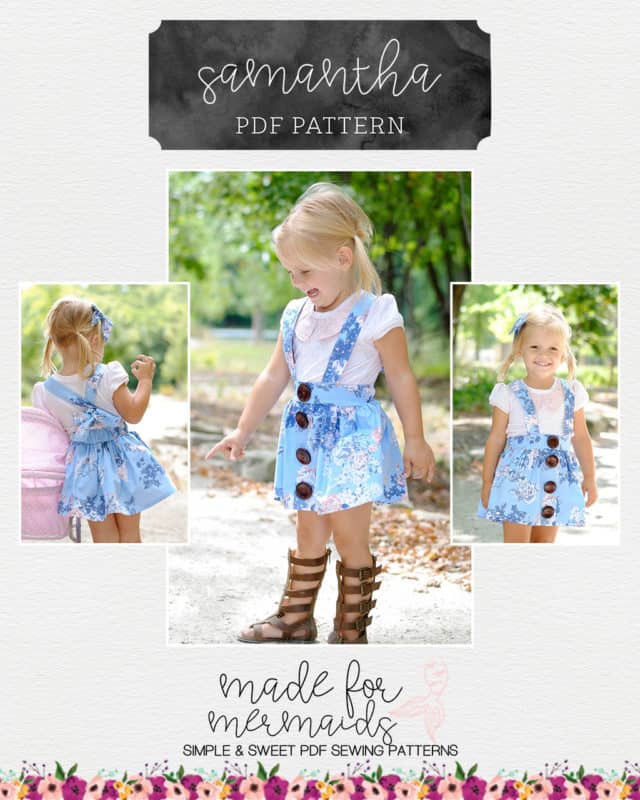
Want to catch up on our oldie-but-goodie Samantha sew-a-long? Check the SAL (and hacks), and bonus side tie hack out here. Don’t forget to grab the Dolly Samantha pattern this week, too!
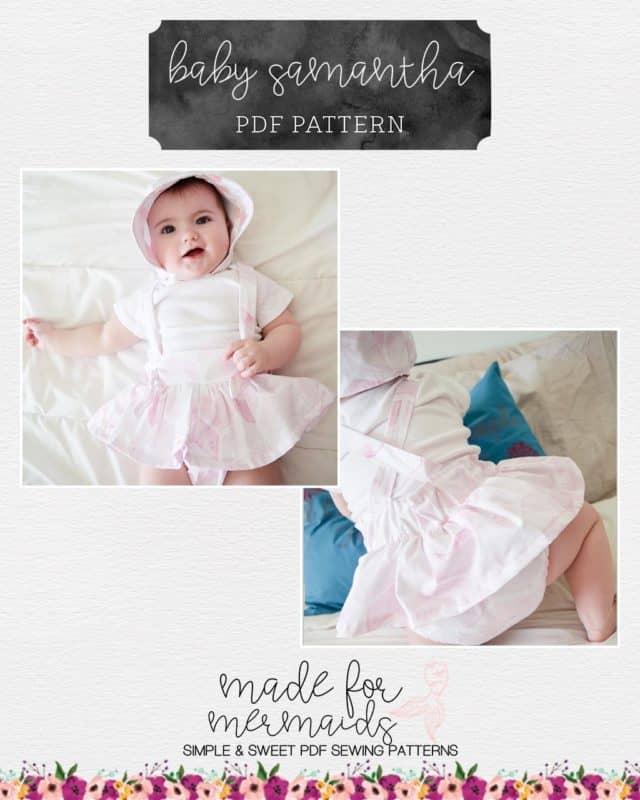
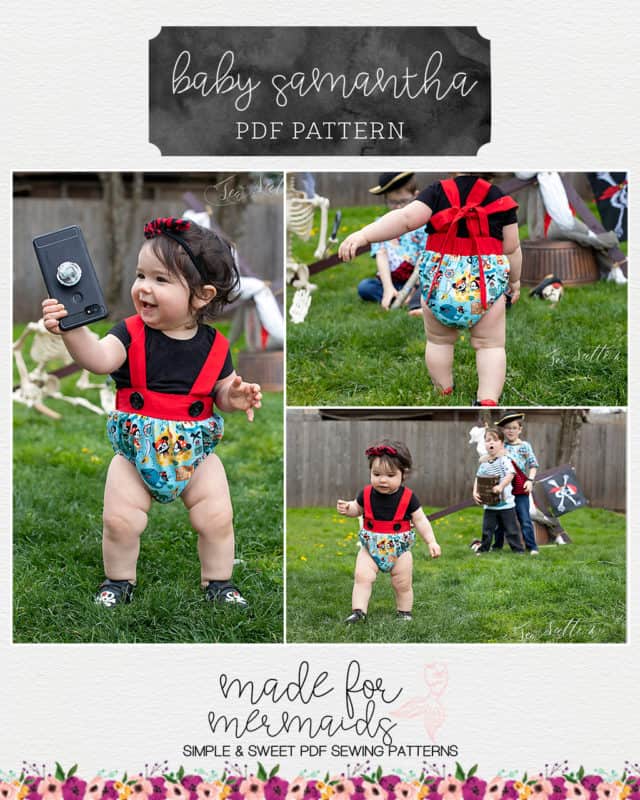
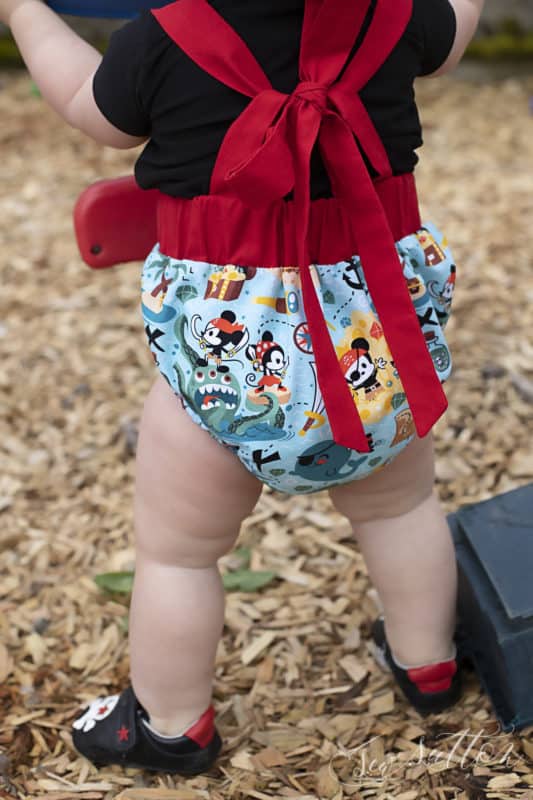
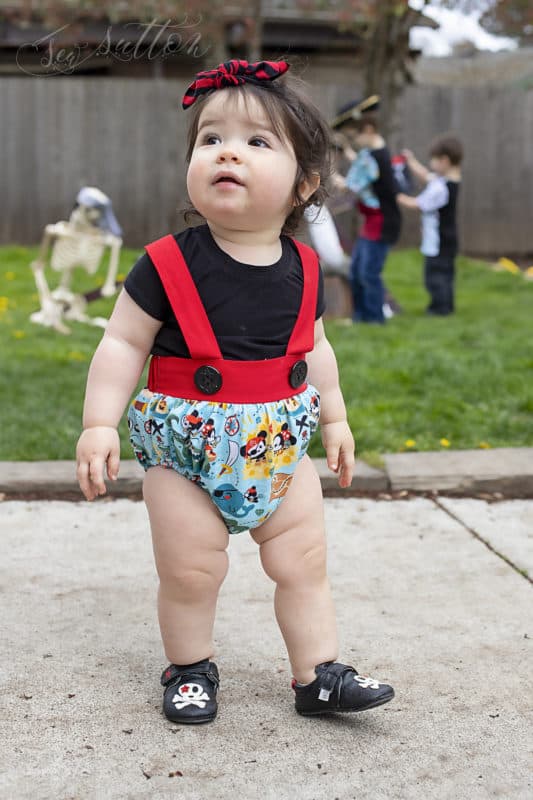
Finally, we have a last little hack for baby Samantha! Love a good suspender romper? Baby Samantha can fill that need and so easy to do without the skirt! Perfect for all the little ones out there. Check out the quick and easy hack below!
First, you’ll want to cut all the suspender, waistband, and romper pieces and sew together your waistband, and suspenders together as directed in the pattern.
Once you’ve done that’ you’ll sew your romper pieces right sides together and add your basting stitches just like the pattern instructions.
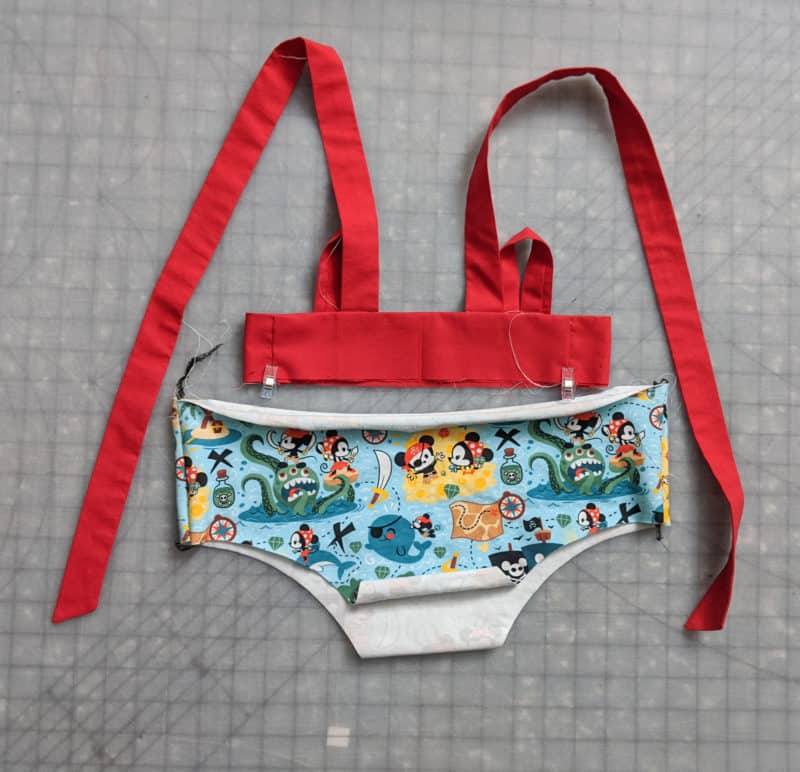
Now turn your romper inside out and insert your waistband in so right sides and raw edges are touching.
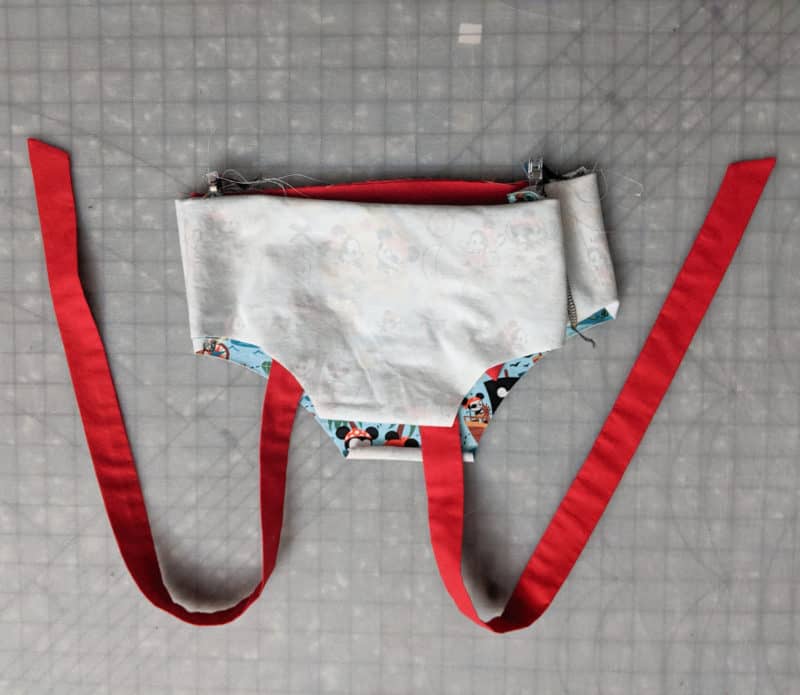
Gather your romper to be the same size as your waistband and continue by following the rest of the instructions in the pattern of attaching just the back to the waistband first.
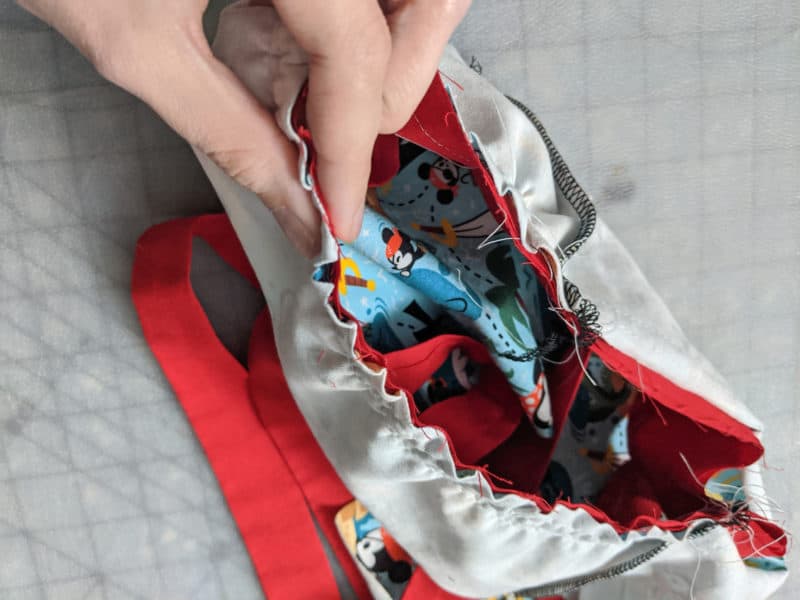
Then follow the rest of the steps of inserting the elastic, attaching to the front waistband and finishing the romper and your done! The only difference really is you won’t have the skirt layer between the waistband and the romper. Super easy, fast, and oh so cute!
Happy Sewing! – Michelle
Leave a Reply