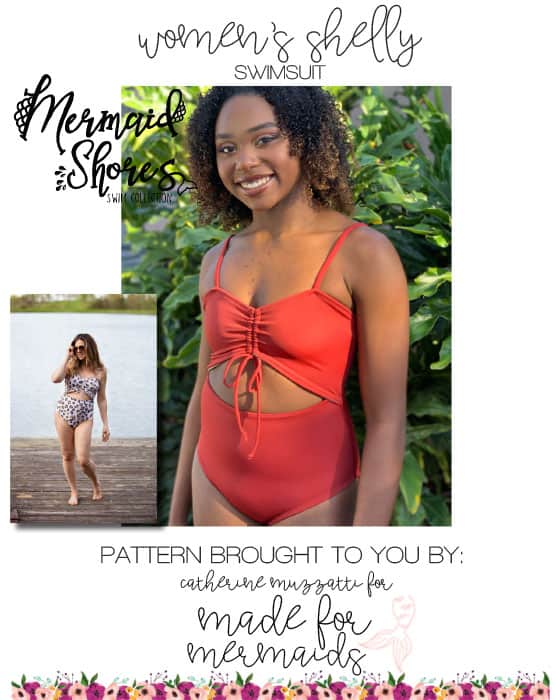
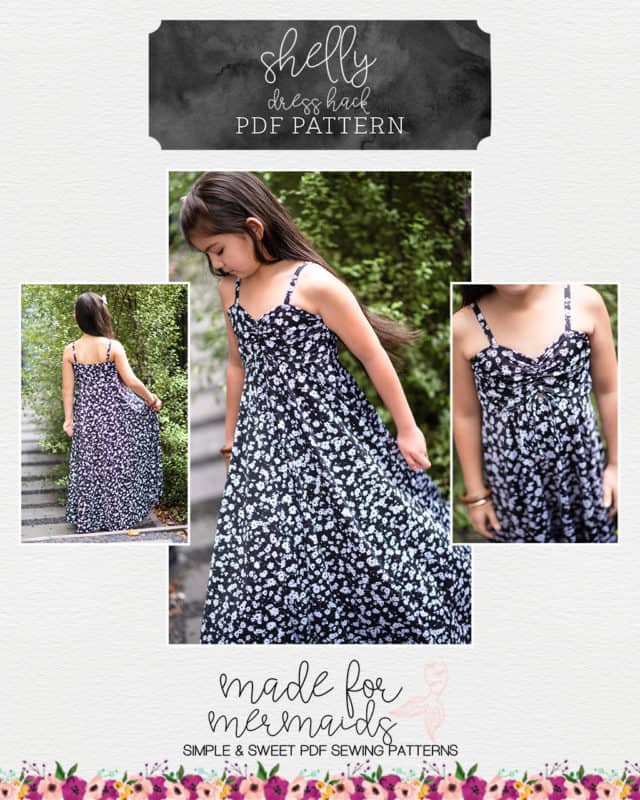
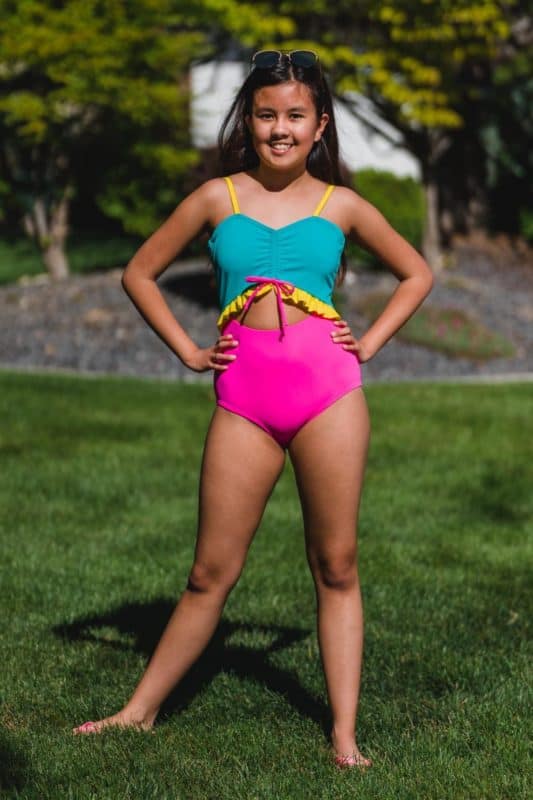
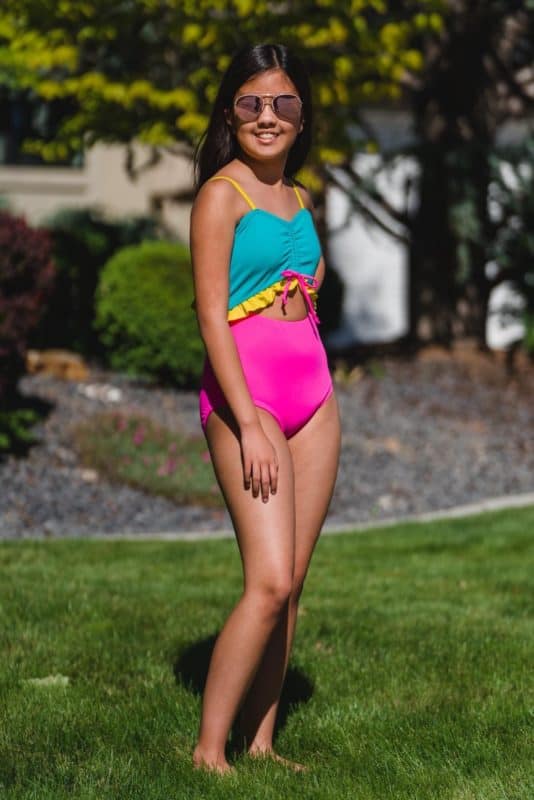
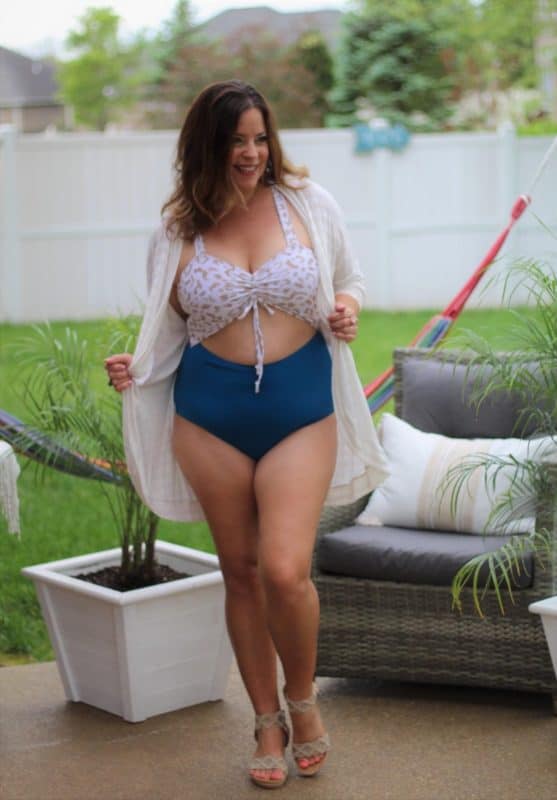
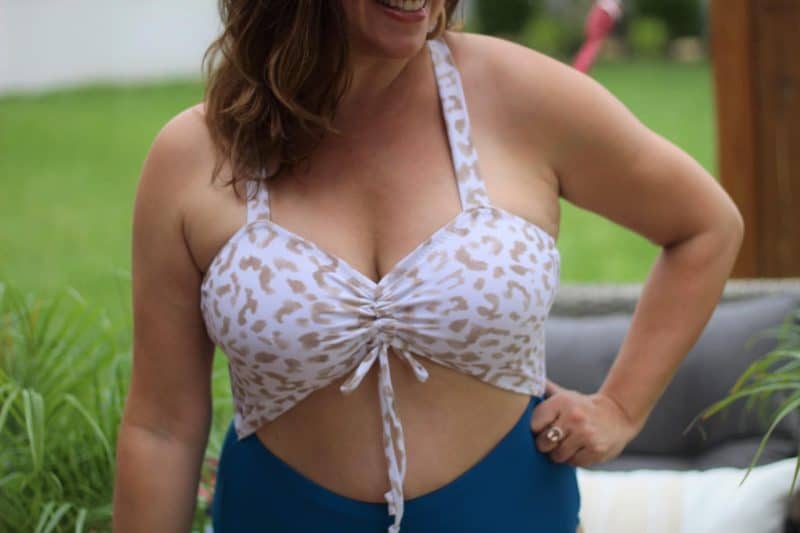
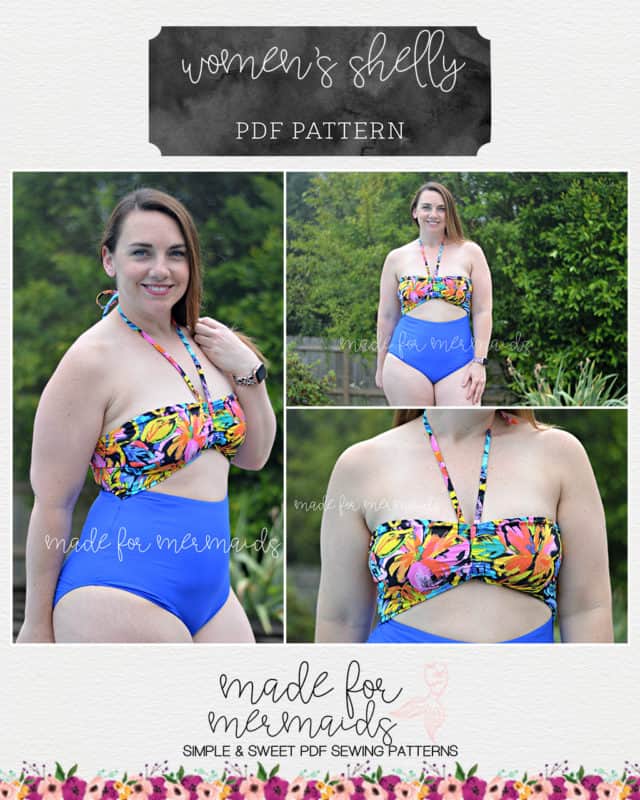
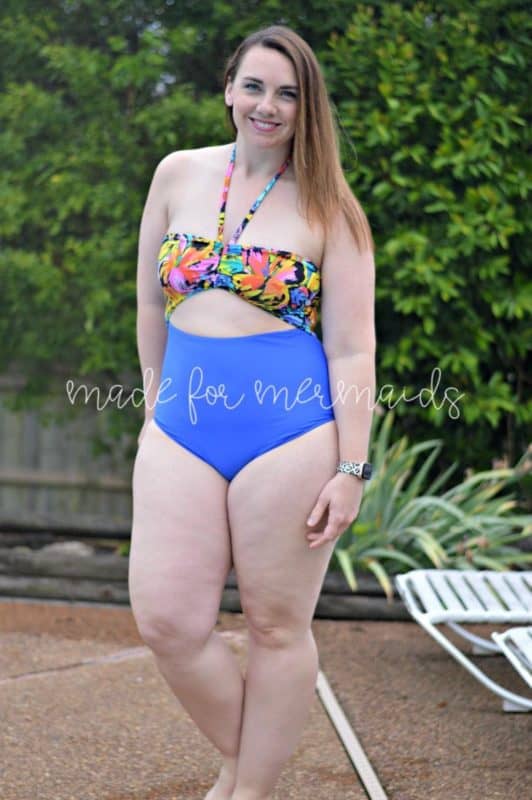
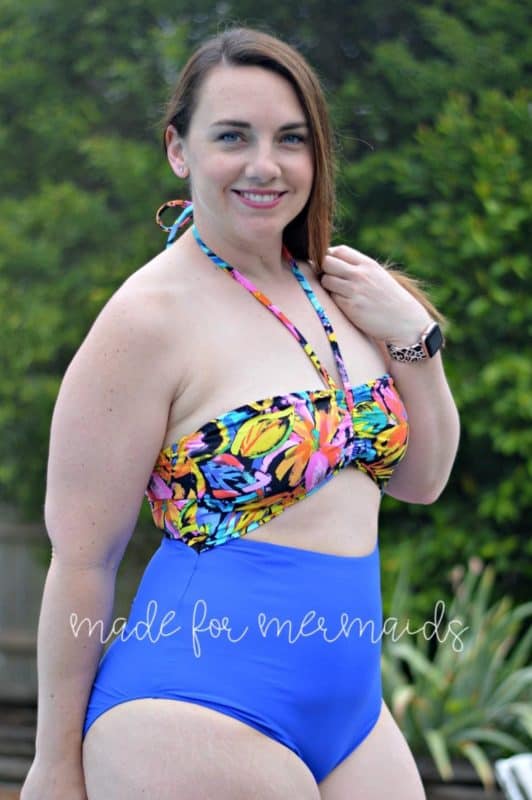
Shelly is finally here! We hope our newest Mermaid Shores collection brings a little sunshine your way, even if you’re only able to vacation to your backyard. 🙂 My daughter is OBSESSED with her Shelly, and is already requesting that I make her another.
We hope you and the little ones in your life love it just as much!
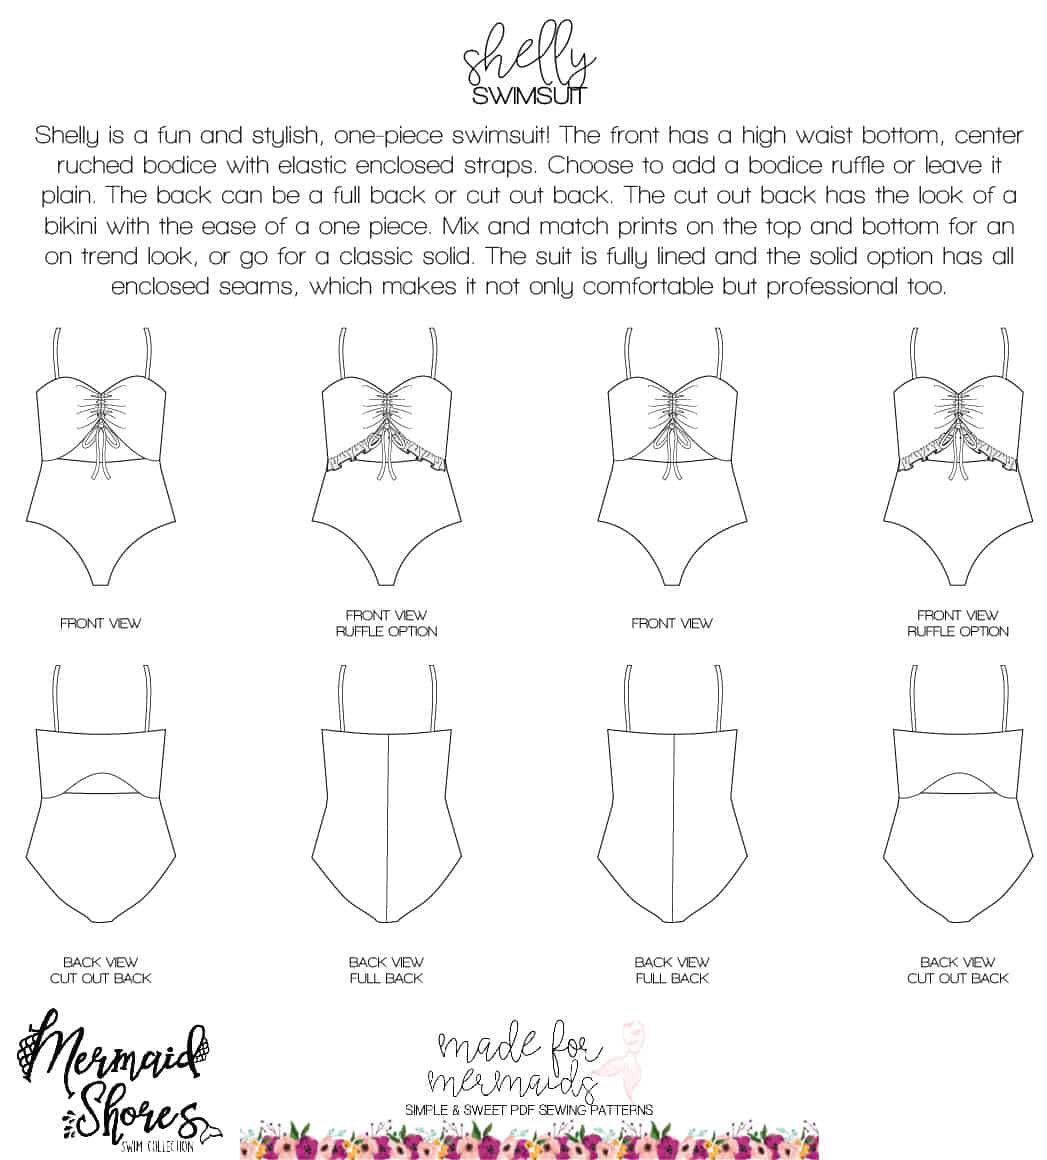
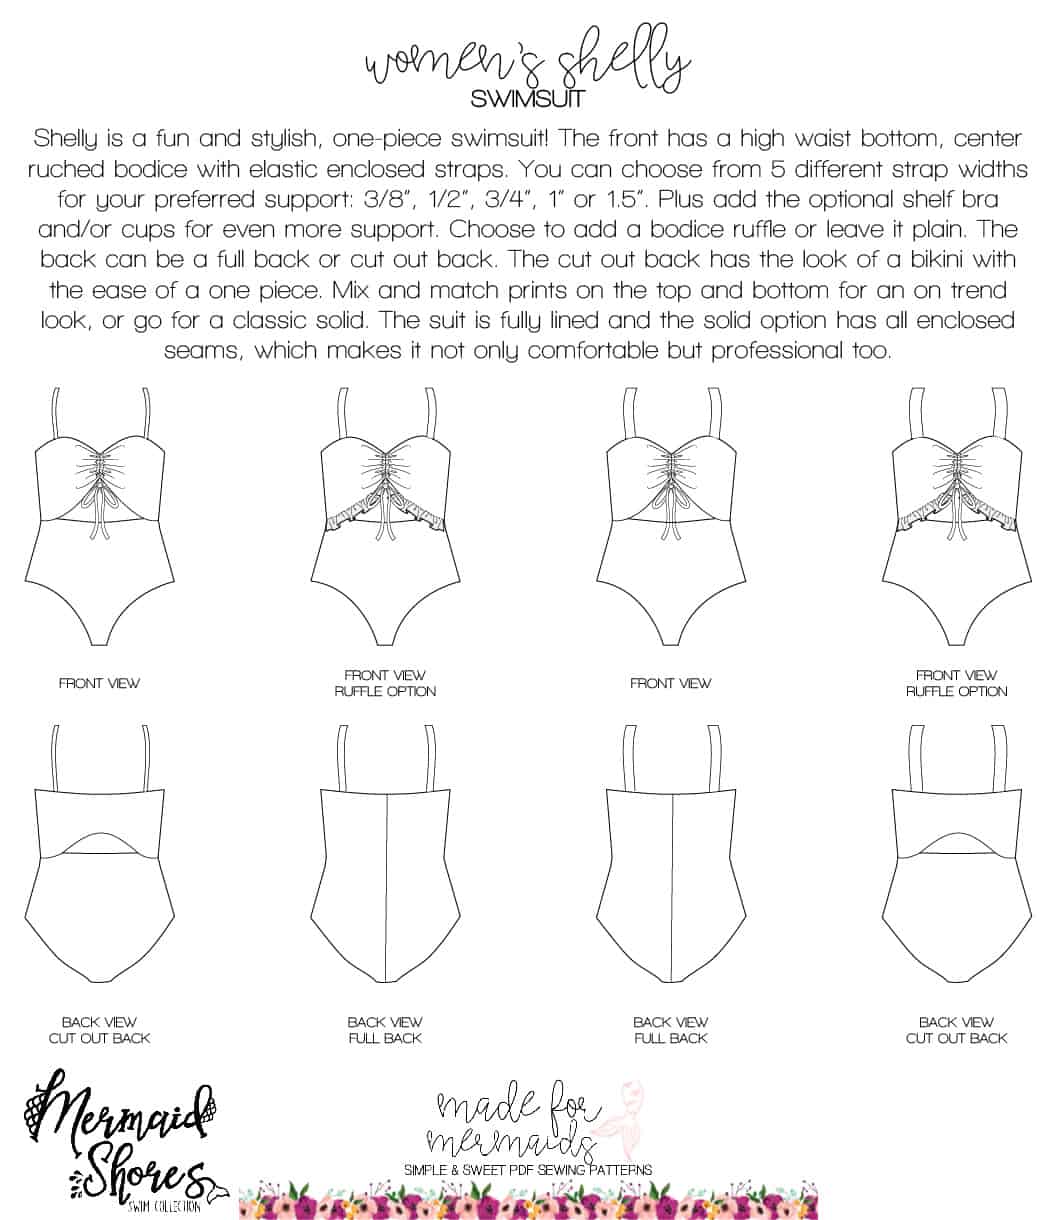
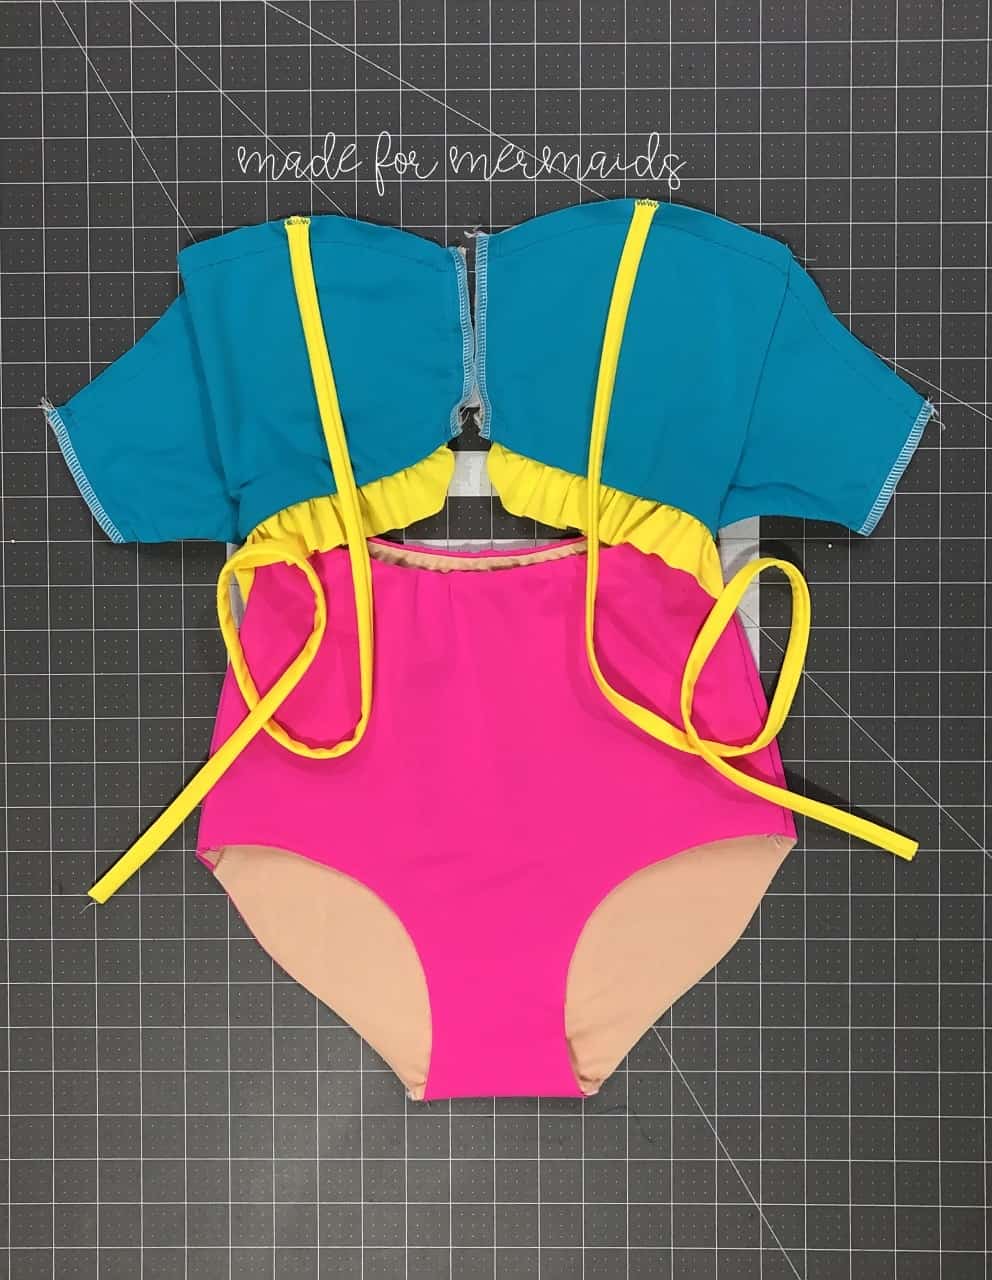
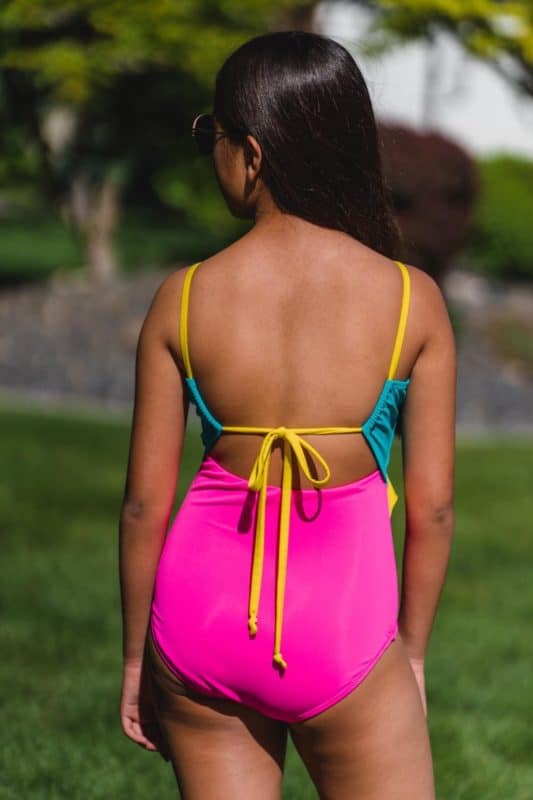
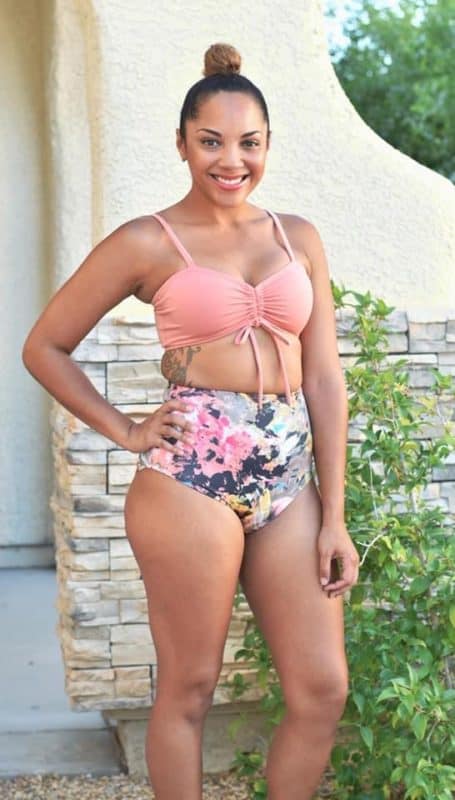
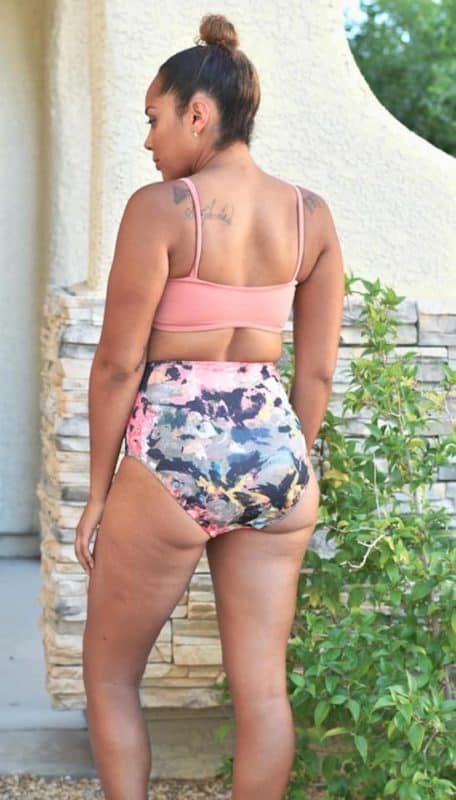
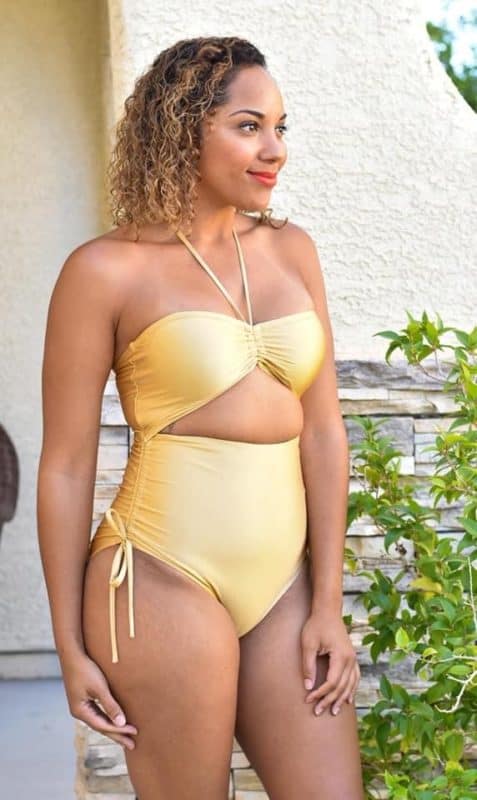
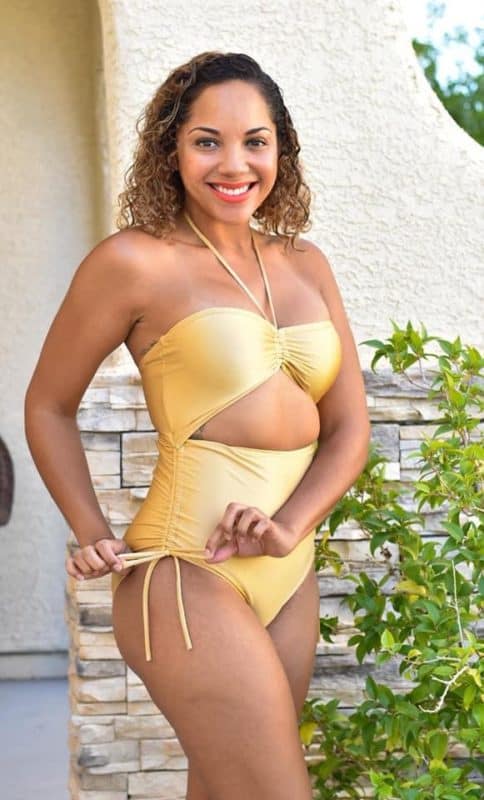
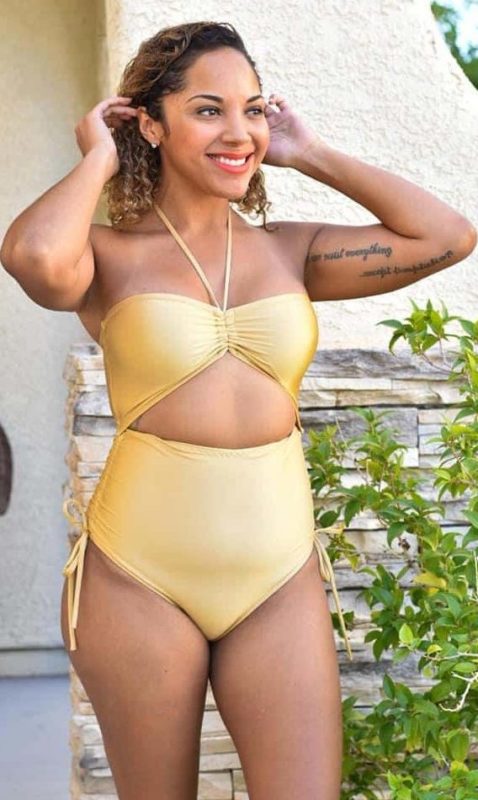
Choose from two front styles, two back styles, or mix it up with some of our Shelly hacks below. Take a peak at our other Mermaid Shores collection patterns at the end of the hacks, too; which would you add to a vacation capsule?
Dress Hack
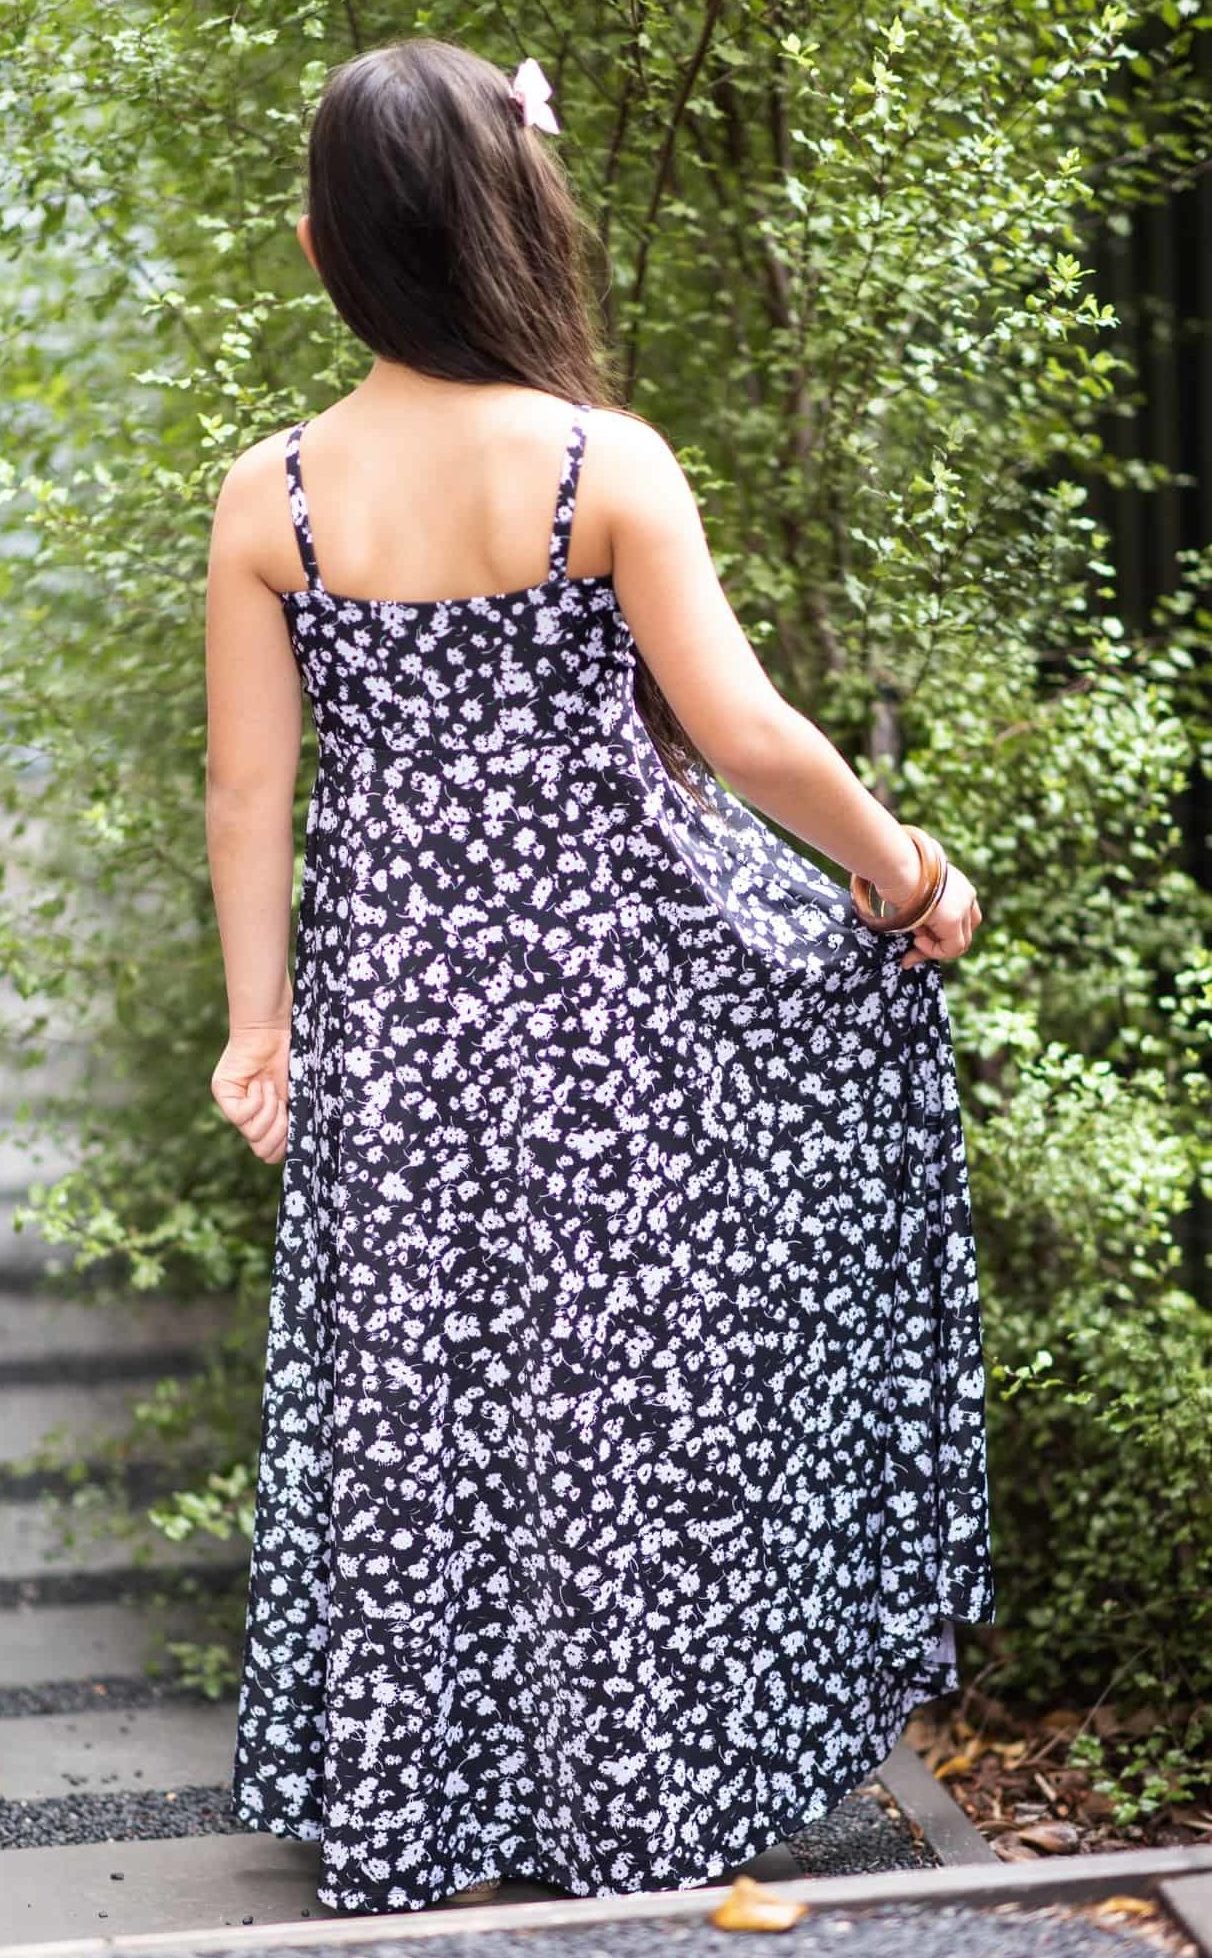
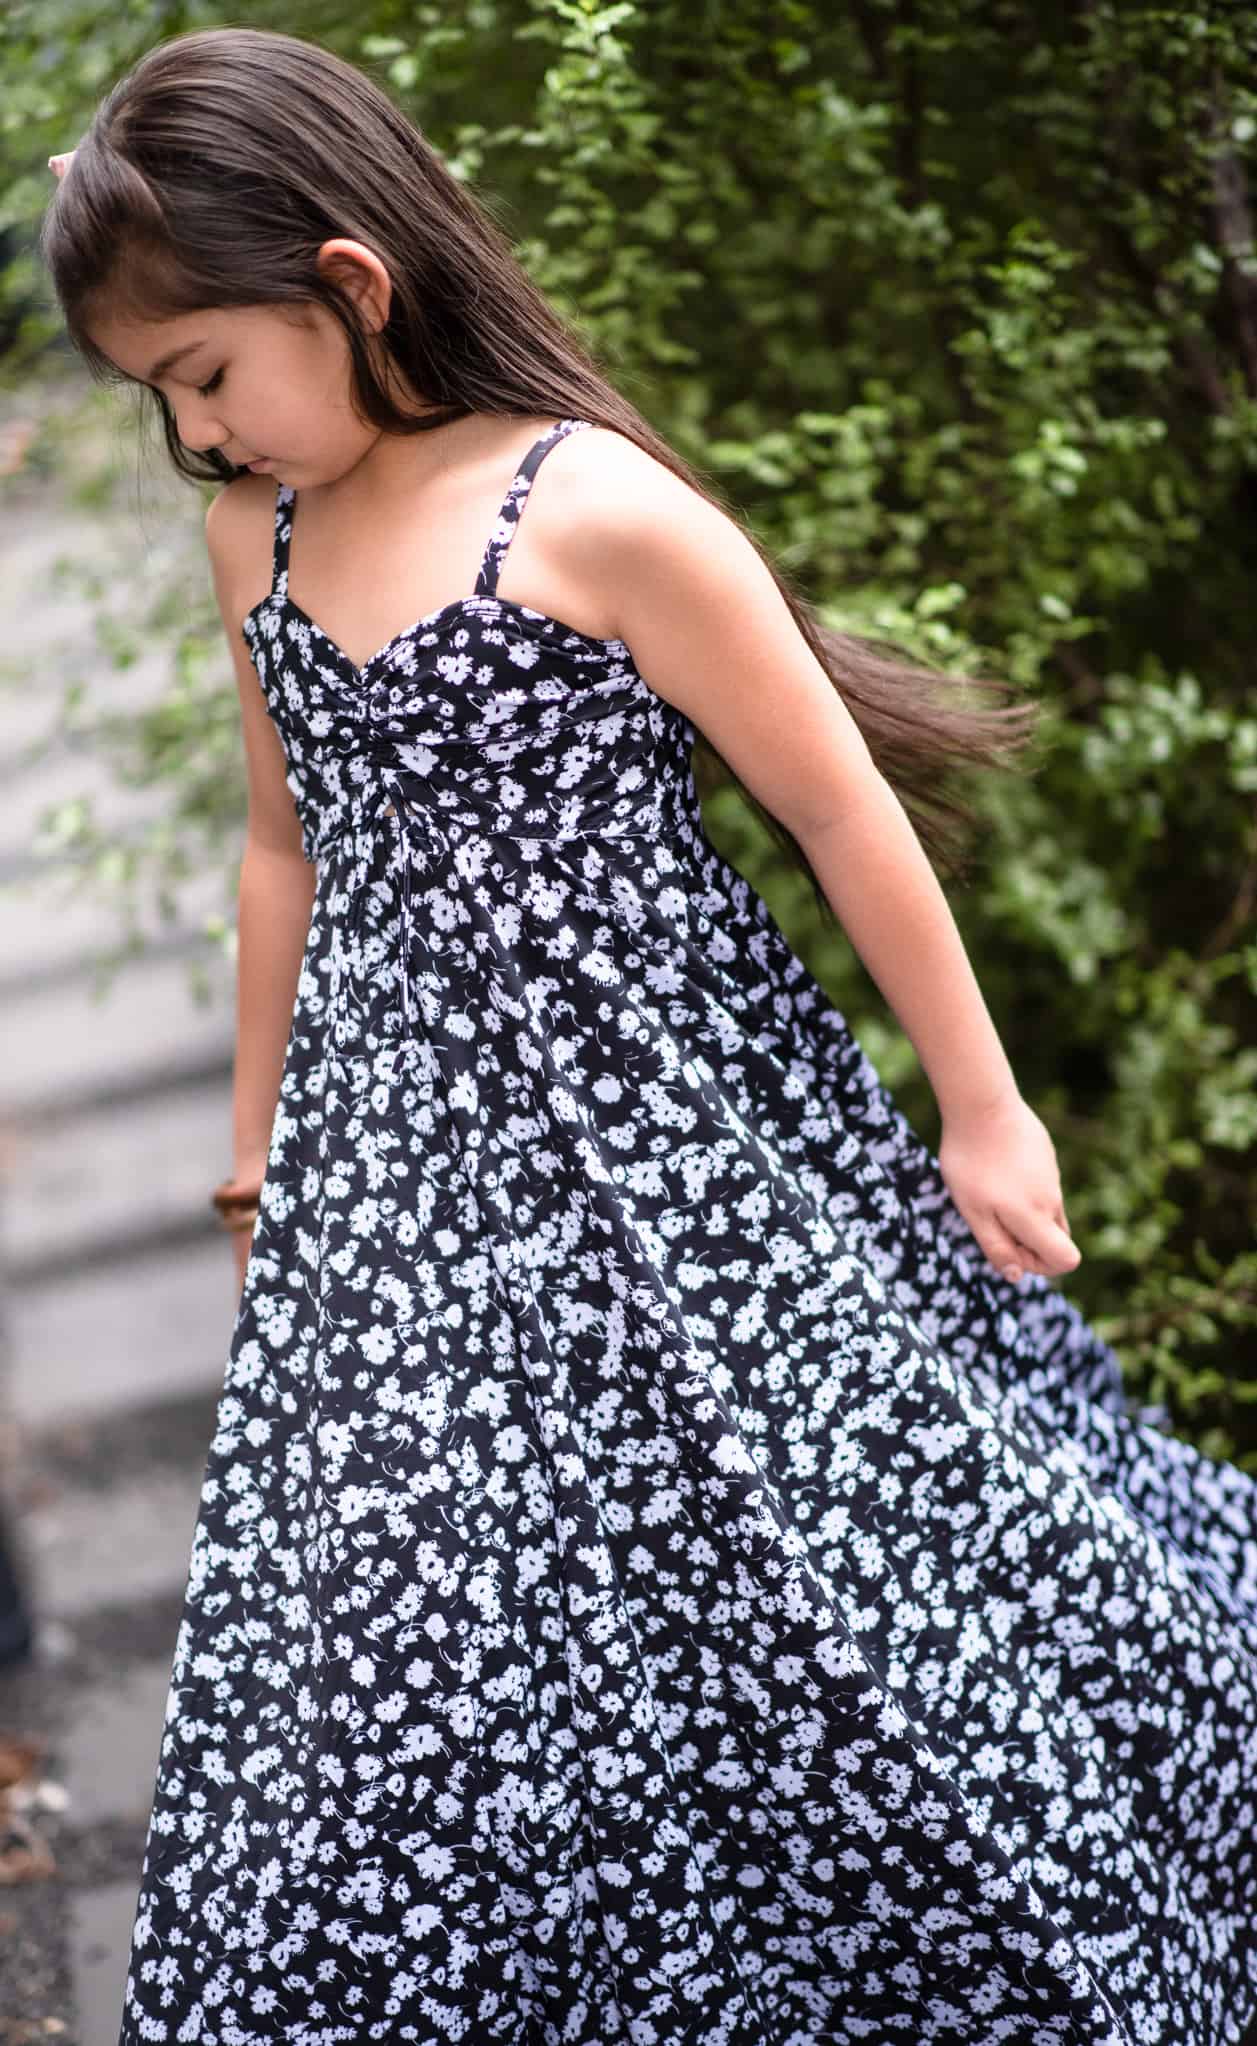
Turning the Shelly swimsuit into a sundress is a gorgeous hack that suits both girls and women. You can choose the amount of skin peeping out of the keyhole too.
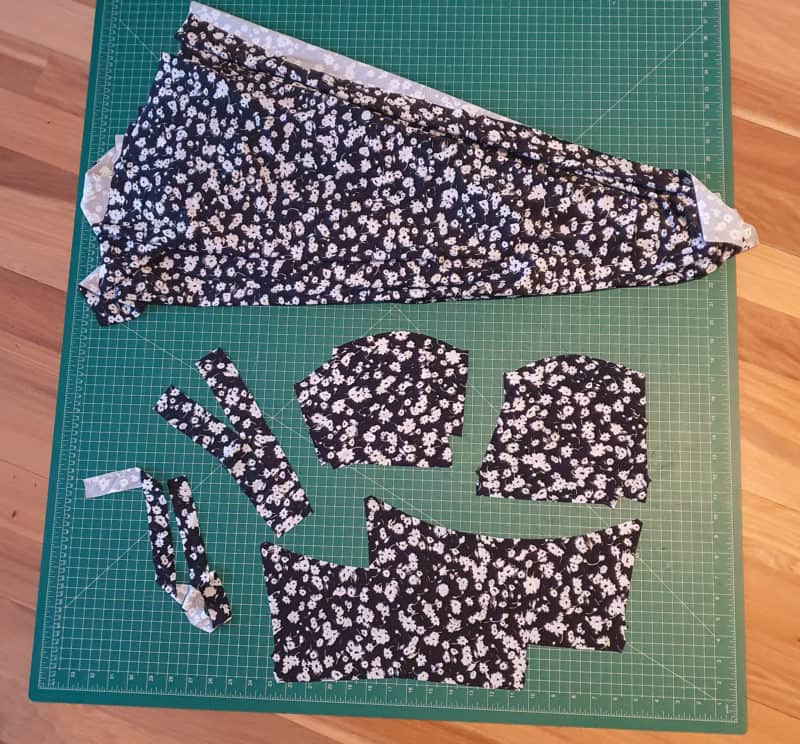
For the skirt pattern pieces, I used the Kaia pattern and cut 2 of the maxi half circle skirt pieces and 1 piece of 3/8″ elastic (the length used is the same as shown in the kaia pattern). Next, you will need to use your Shelly pattern pieces; cut 4 of the front bodice pieces mirrored (2 are main and 2 are lining), 2 straps, 1 centre tie on the fold and 2 back bodice pieces on the fold (1 main and 1 lining) that I will show you how to create.
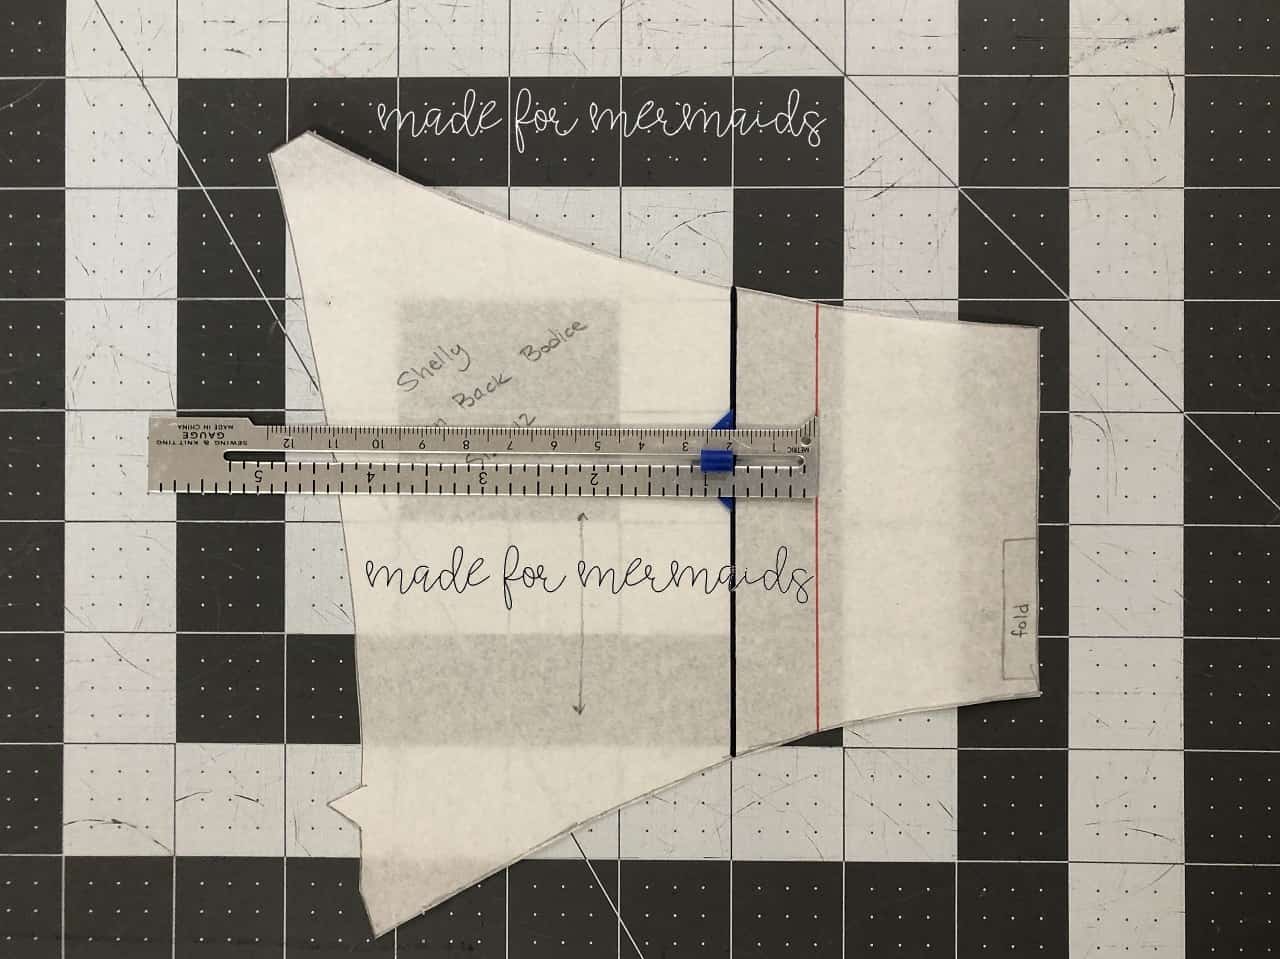
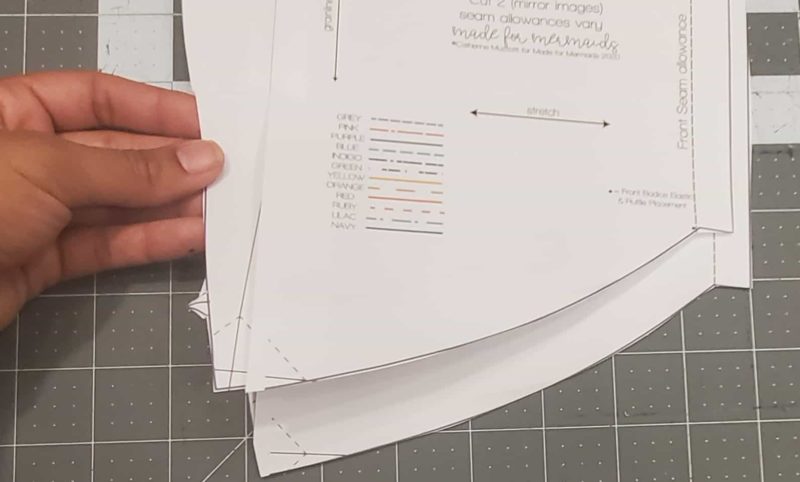
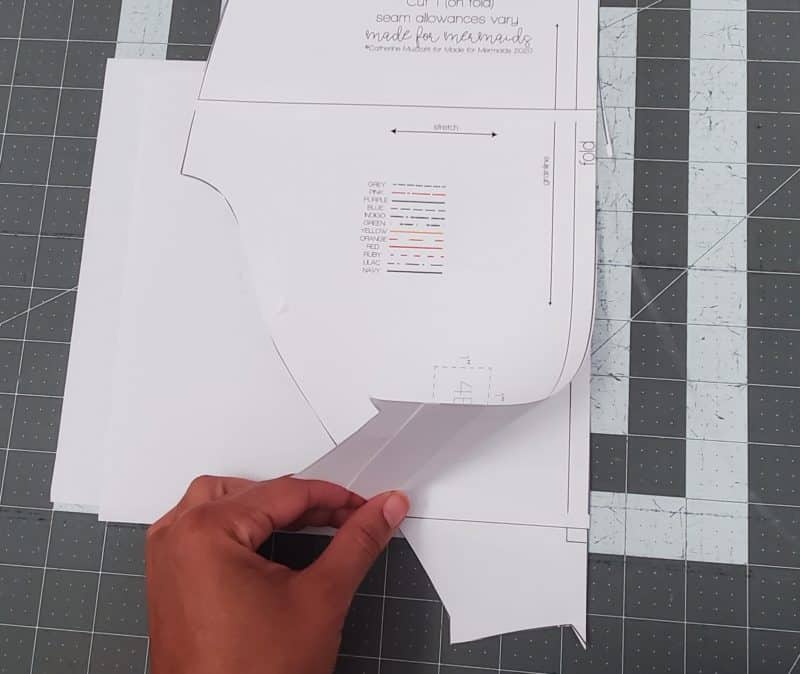
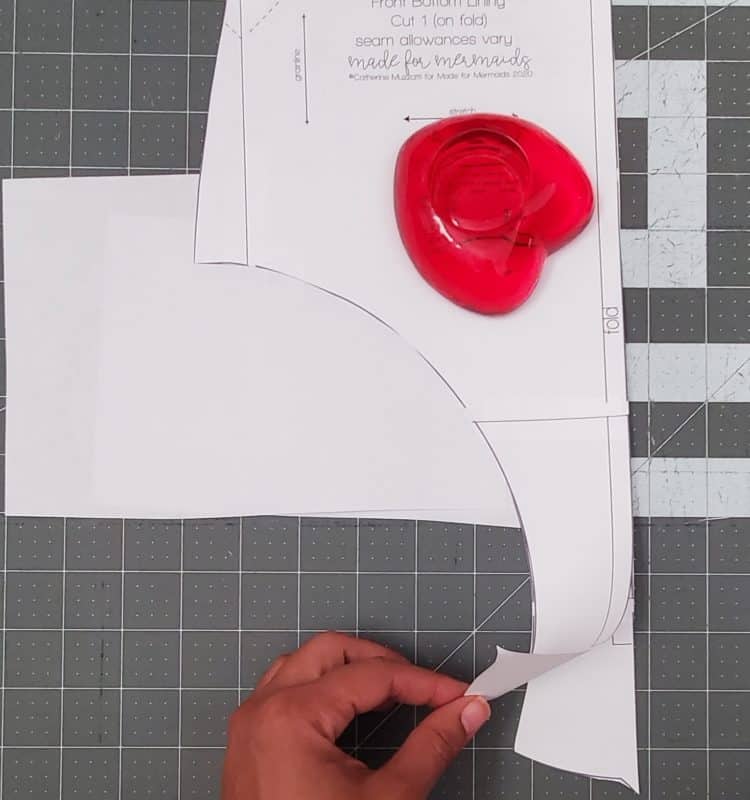
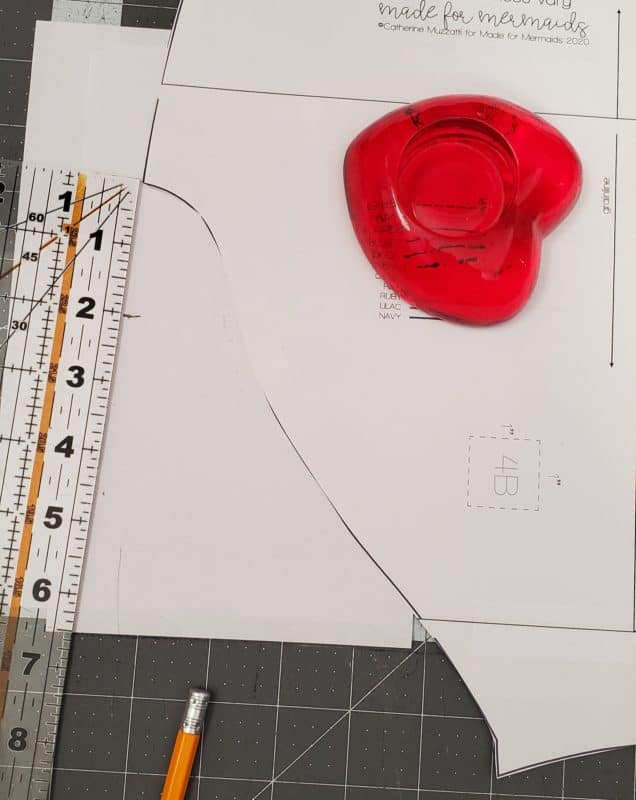
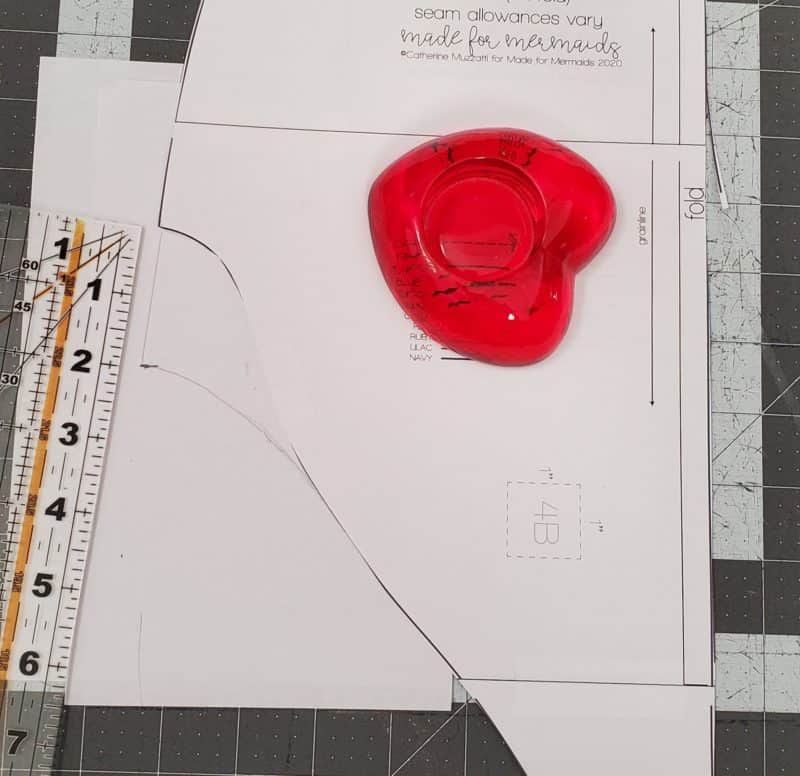
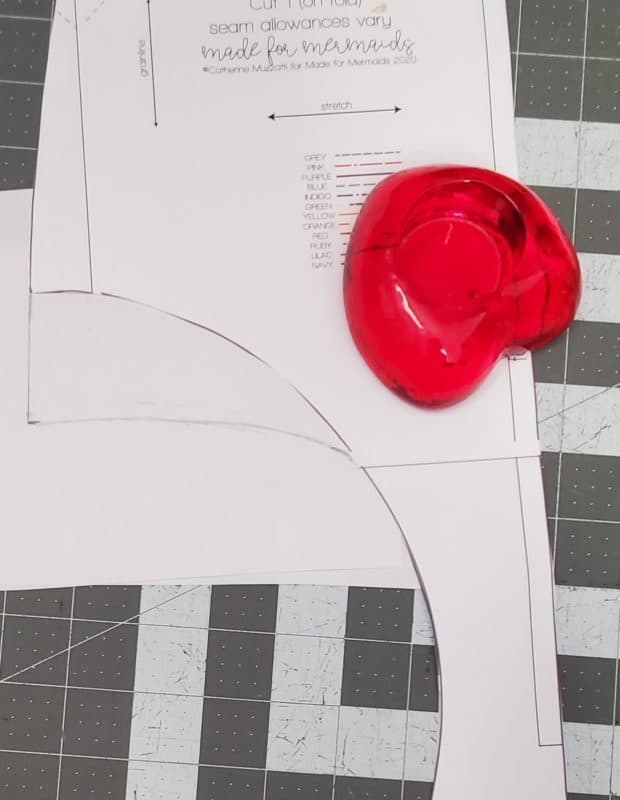
To create the back bodice piece, overlay the front bodice pattern piece onto the solid back pattern piece. Line up the notches and draw a line straight across from the bottom point of the front bodice as pictured. Now cut out your newly created back bodice pattern piece.

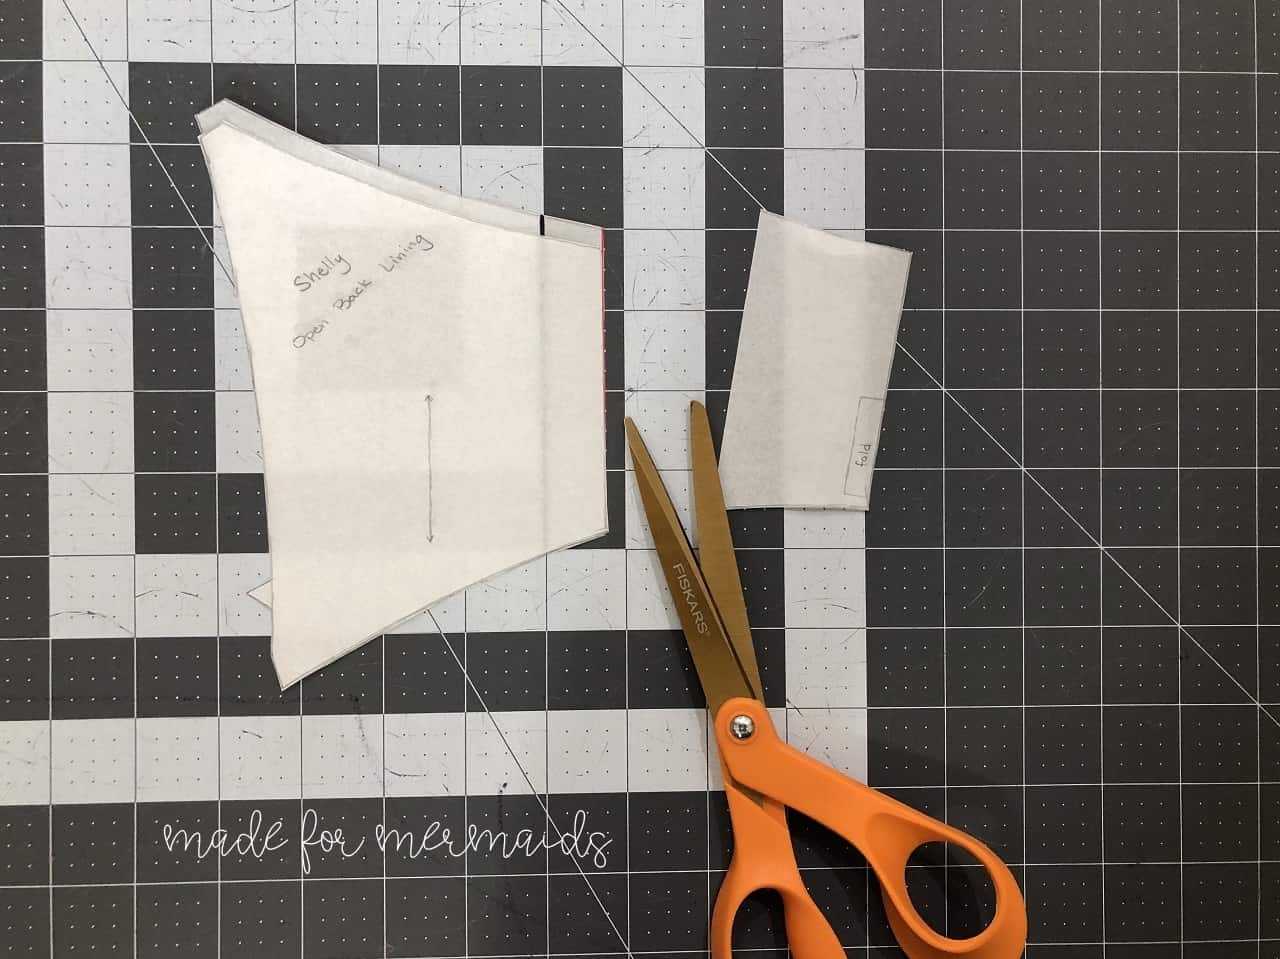
You will notice the centre of the back bodice has a curve to it but you just need to line it up at the top and bottom and cut on the fold (as pictured). Mark the strap positions onto the back bodice using the back solid pattern piece as a guide.

Sew your front bodice pieces as described in step three of the Shelly pattern. The only differences are that your lining and main are the same size and you do not need to attach the elastic along the bottom of the bodice.
Next take the front skirt you cut from the Kaia pattern and attach the elastic to the wrong side of the main fabric along the top edge with a 1/4″ seam allowance using your preferred stretch stitch, I used a zig-zag stitch. Fold over and top-stitch as per Kaia pattern.
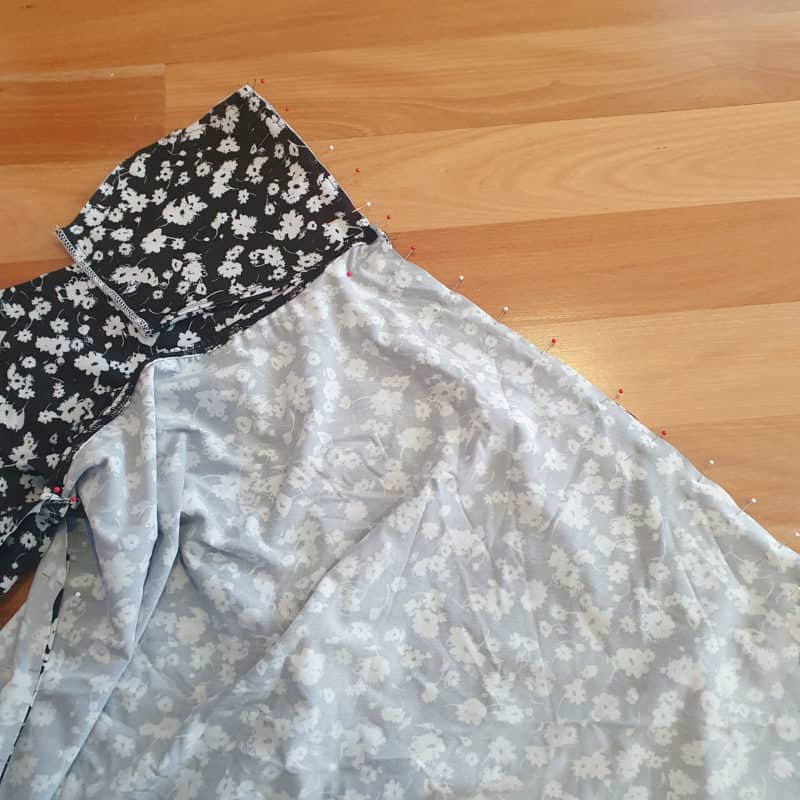
Attach the front bodice to the front skirt. To do this, lay the front bodice on top of the front skirt. Line the notch up to the top edge of the skirt and pin in place. Then baste the front bodice to the skirt. Do this for both sides of the front bodice. This is the front of the dress.
Next take your back bodice and lining pieces and place them wrong sides together and baste around all sides. Take the back skirt piece and sew the basted back bodice to the skirt. This is the back of the dress.
Lay the front dress over the back dress. Line up the bodice at the notches, the top bodice edge and skirt hem and pin in place. I like to pin the entire side seam before sewing. Sew the side seam and repeat for the other side.
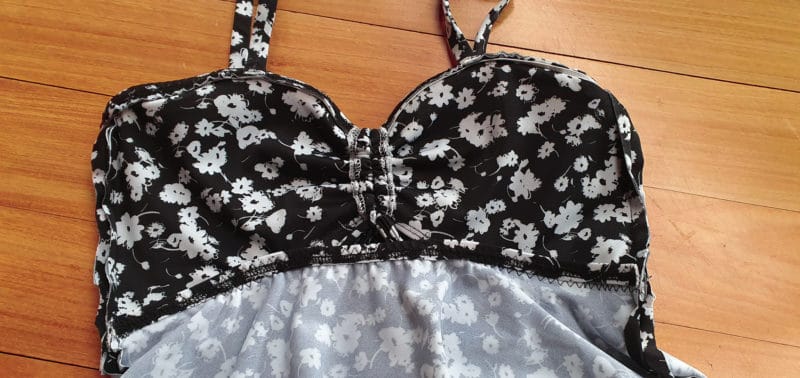
Complete sewing the bodice following steps 8 to 12 in the shelly pattern.
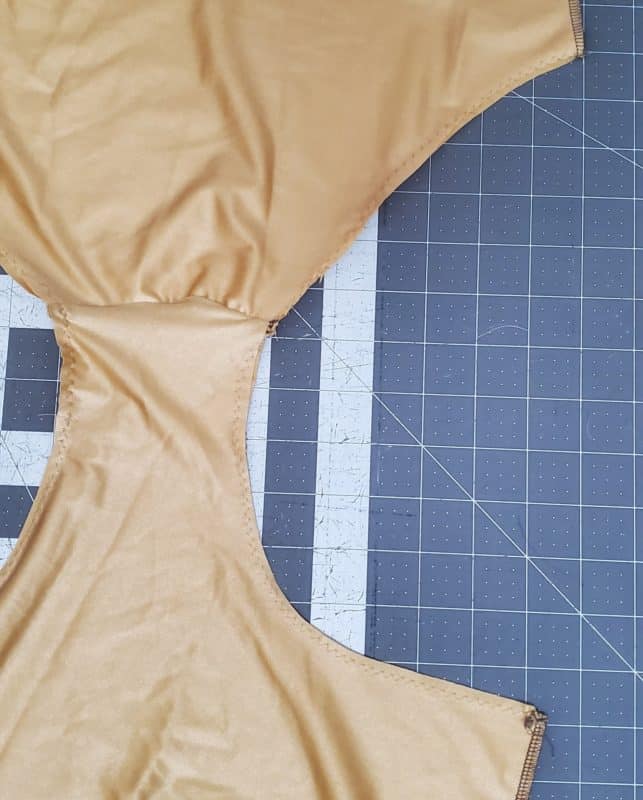
The final step is to attach the bottom edges of the bodice to the skirt to make a cute keyhole in the front. I used a zig zag stitch to attach my bodice to the skirt but you could choose to use a different stretch stitch to attach. Overlap the bottom edge of the bodice with the top edge of the skirt and it is up to you how big you decide to leave your keyhole at the front!
Happy Sewing! -xx Katy
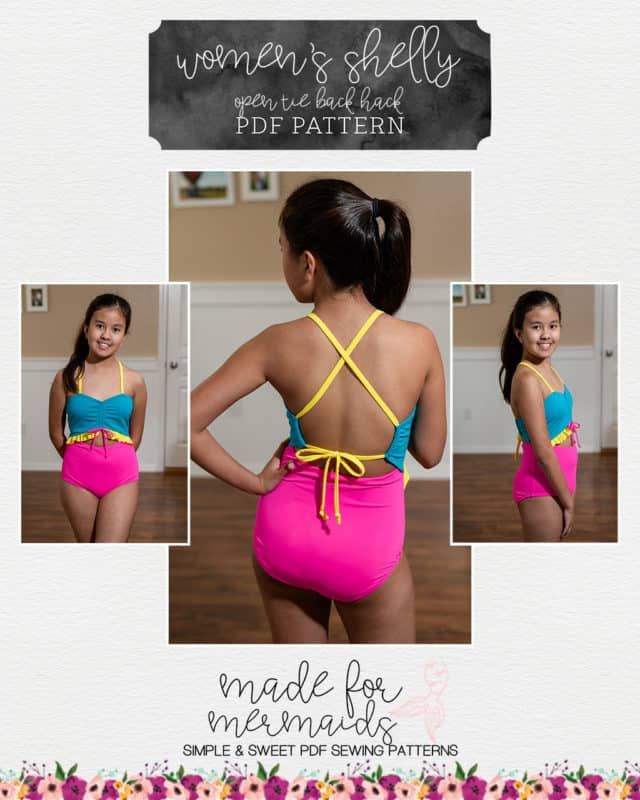
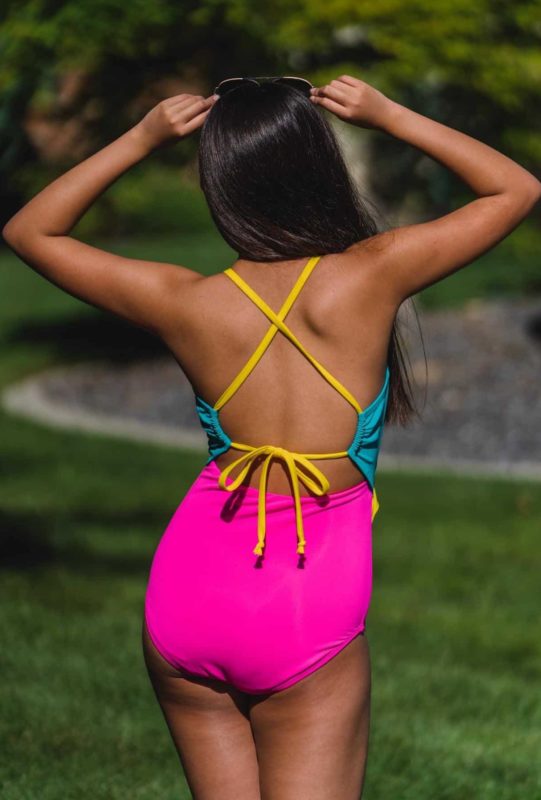
Open Back Hack
Let’s start by adjusting the back bodice piece and cutting new straps.
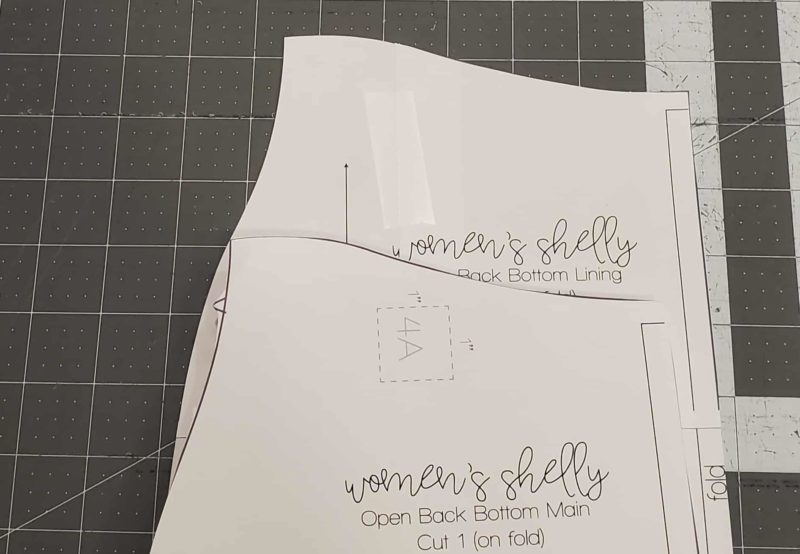
Grab your main back bodice piece and extend the strap placement line to the bottom of the piece. Measure 0.75” from the strap placement for the new cut line. Align the lining piece at the bottom edge and trim off the excess.
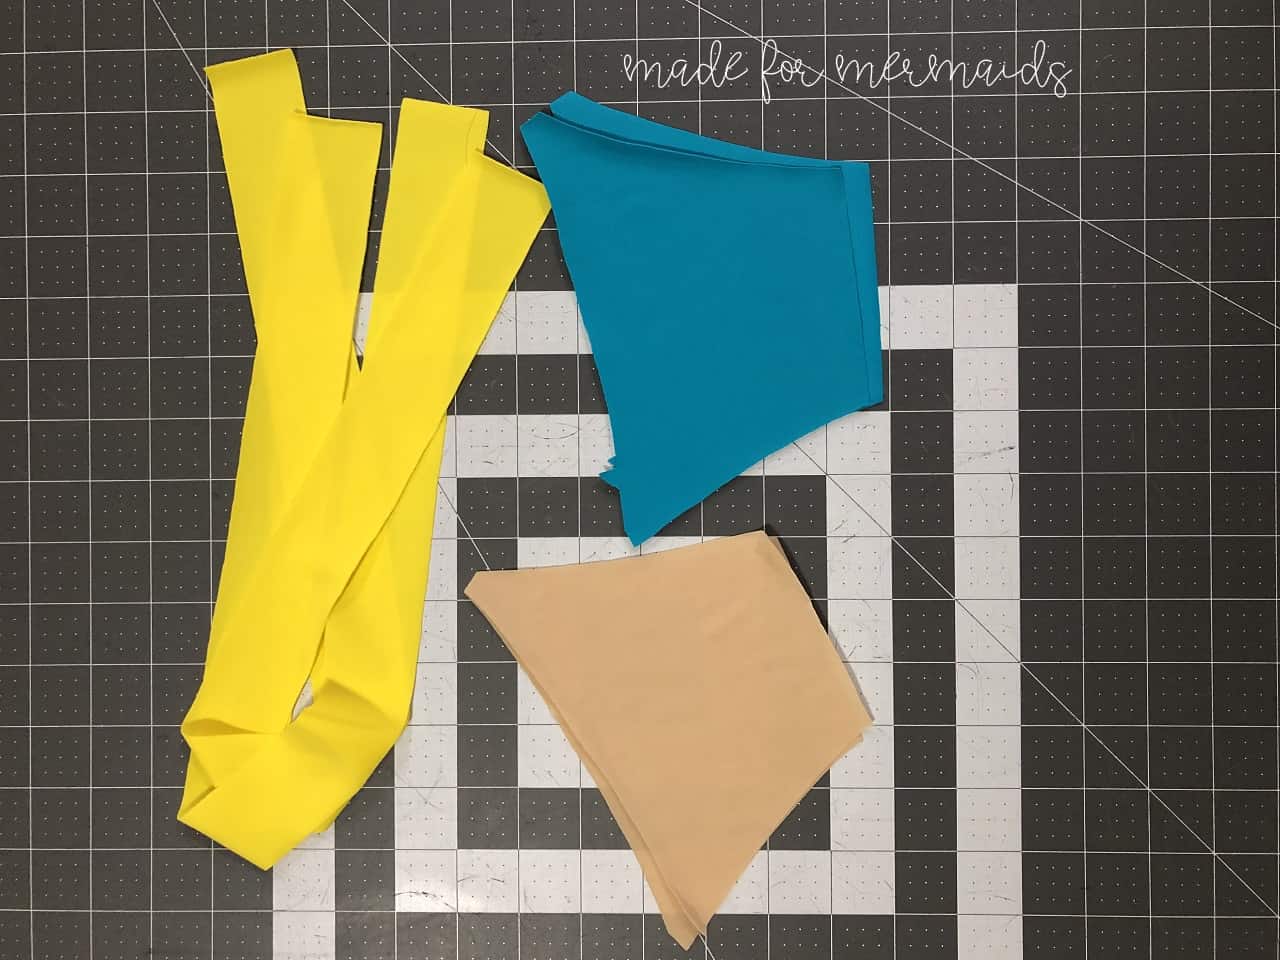
Cut mirror images of the back bodice main and lining. For youth size 12 straps, I cut two pieces 1.5”x25”. It is easier to cut the straps long and trim them down later. Construct the front of the swimsuit as written.
Open Back Construction:
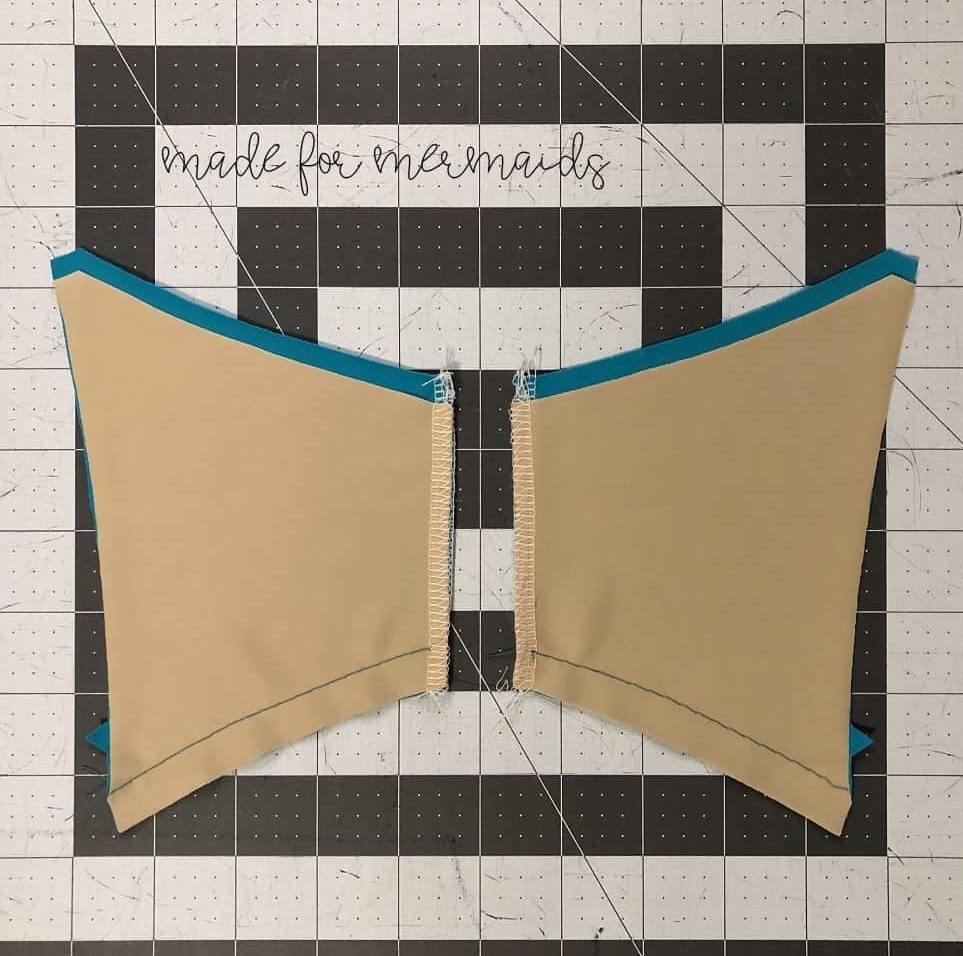
Finish the edges (optional) and baste the main and lining together along the bottom edge right-sides together. Add elastic starting 0.5” from the edge pulling taut as you sew. Remove the basting stitches, under stitch (optional), and baste the raw edges wrong-sides together. Construct the back bottom piece. Baste the back bodice and bottom pieces together, aligning at the notches.
Follow the tutorial for the side seam and crotch.
Sewing the Straps:
Sew right-sides together along the long edge with a 0.25” seam allowance and turn the straps. Sew the straps in place on the front bodice right sides together. Optional: press the seam towards the center back and sew one short end before turning.
Neckline Elastics:
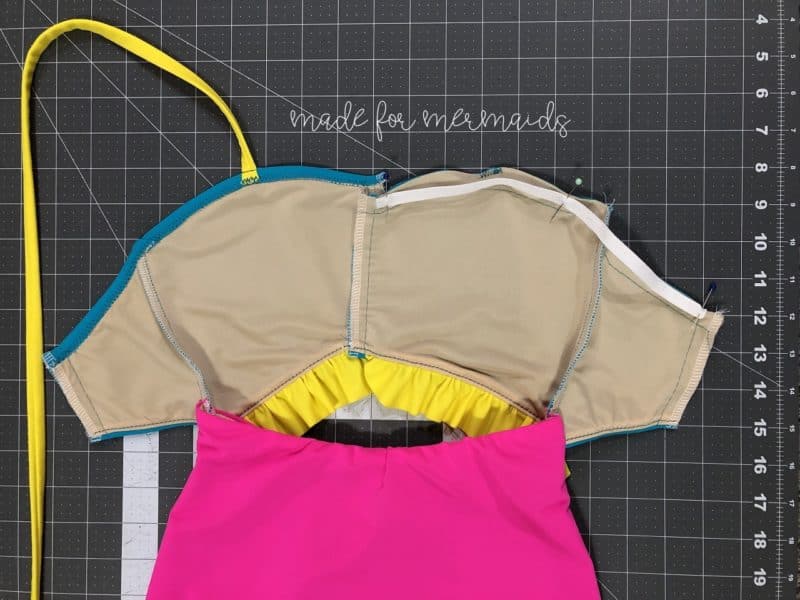
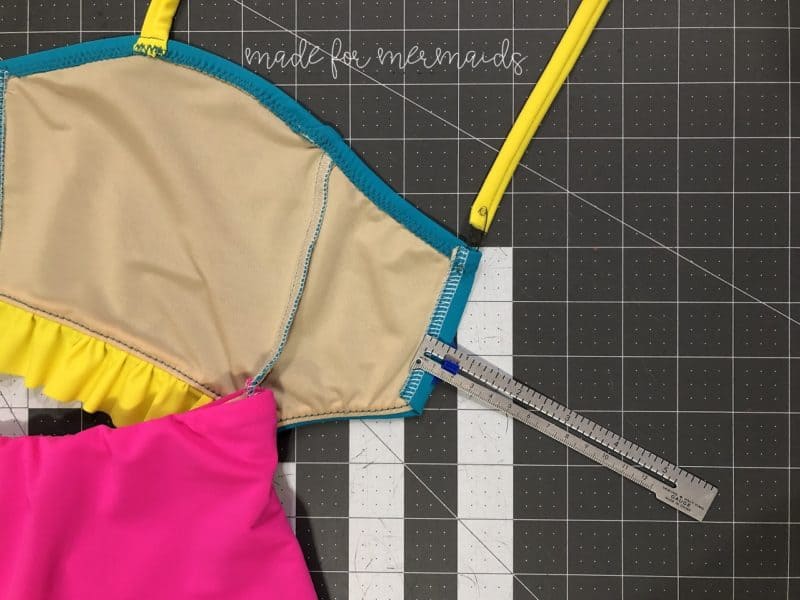
For the elastic length, I measured the neckline along one side and subtracted 1.5”. The length might need to be adjusted because the elastic only needs to stretch slightly to fit the neckline. Find the center of one bodice piece and elastic. Pin elastic 0.5” away from the center front edge, pin the center of the bodice, and pin 0.5” away from the back edge. Sew elastic in place and repeat for the other side. Sew the center front casing and leg elastic according to the tutorial.
Finishing:
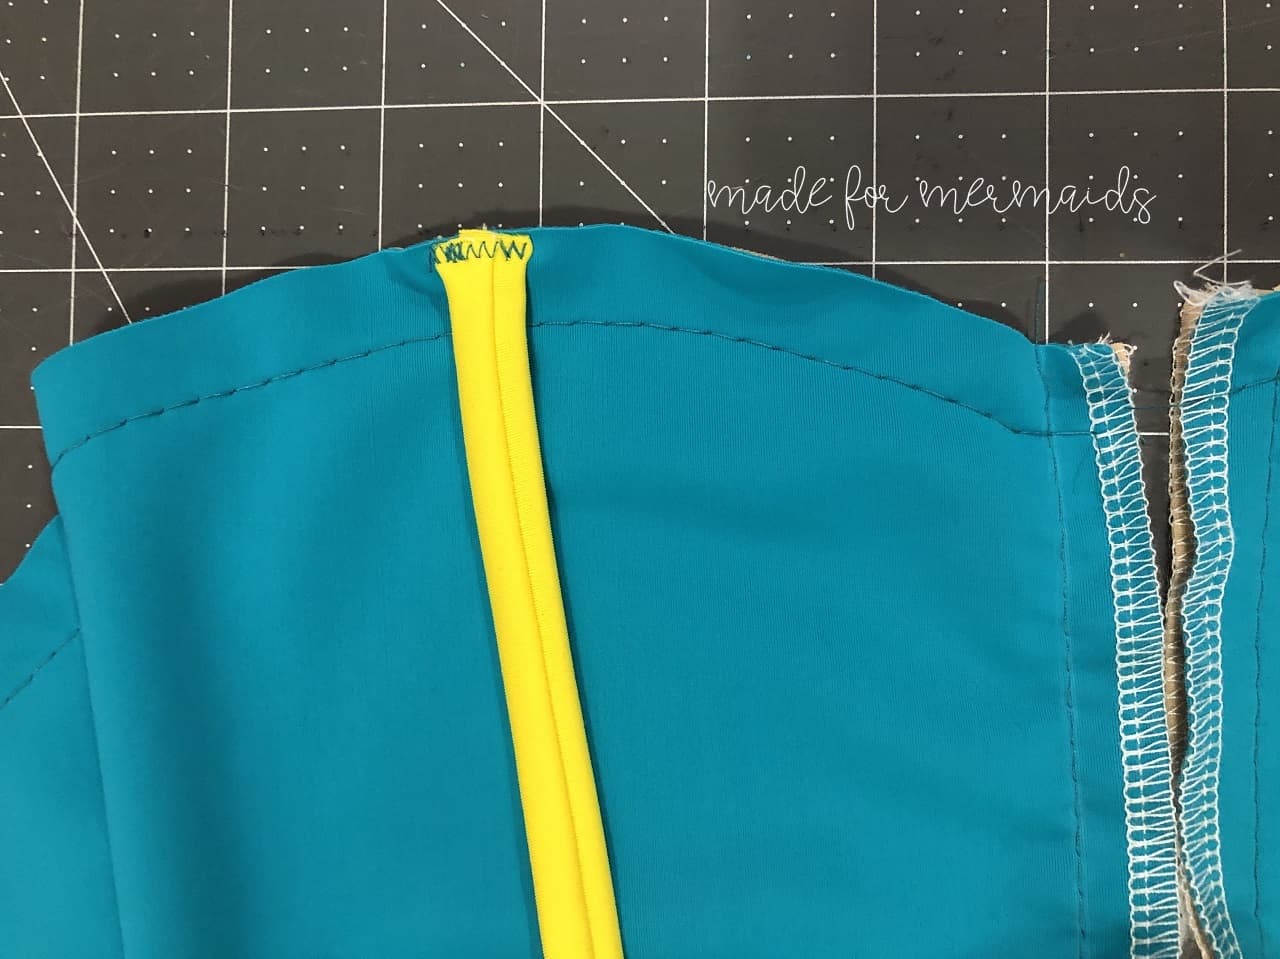
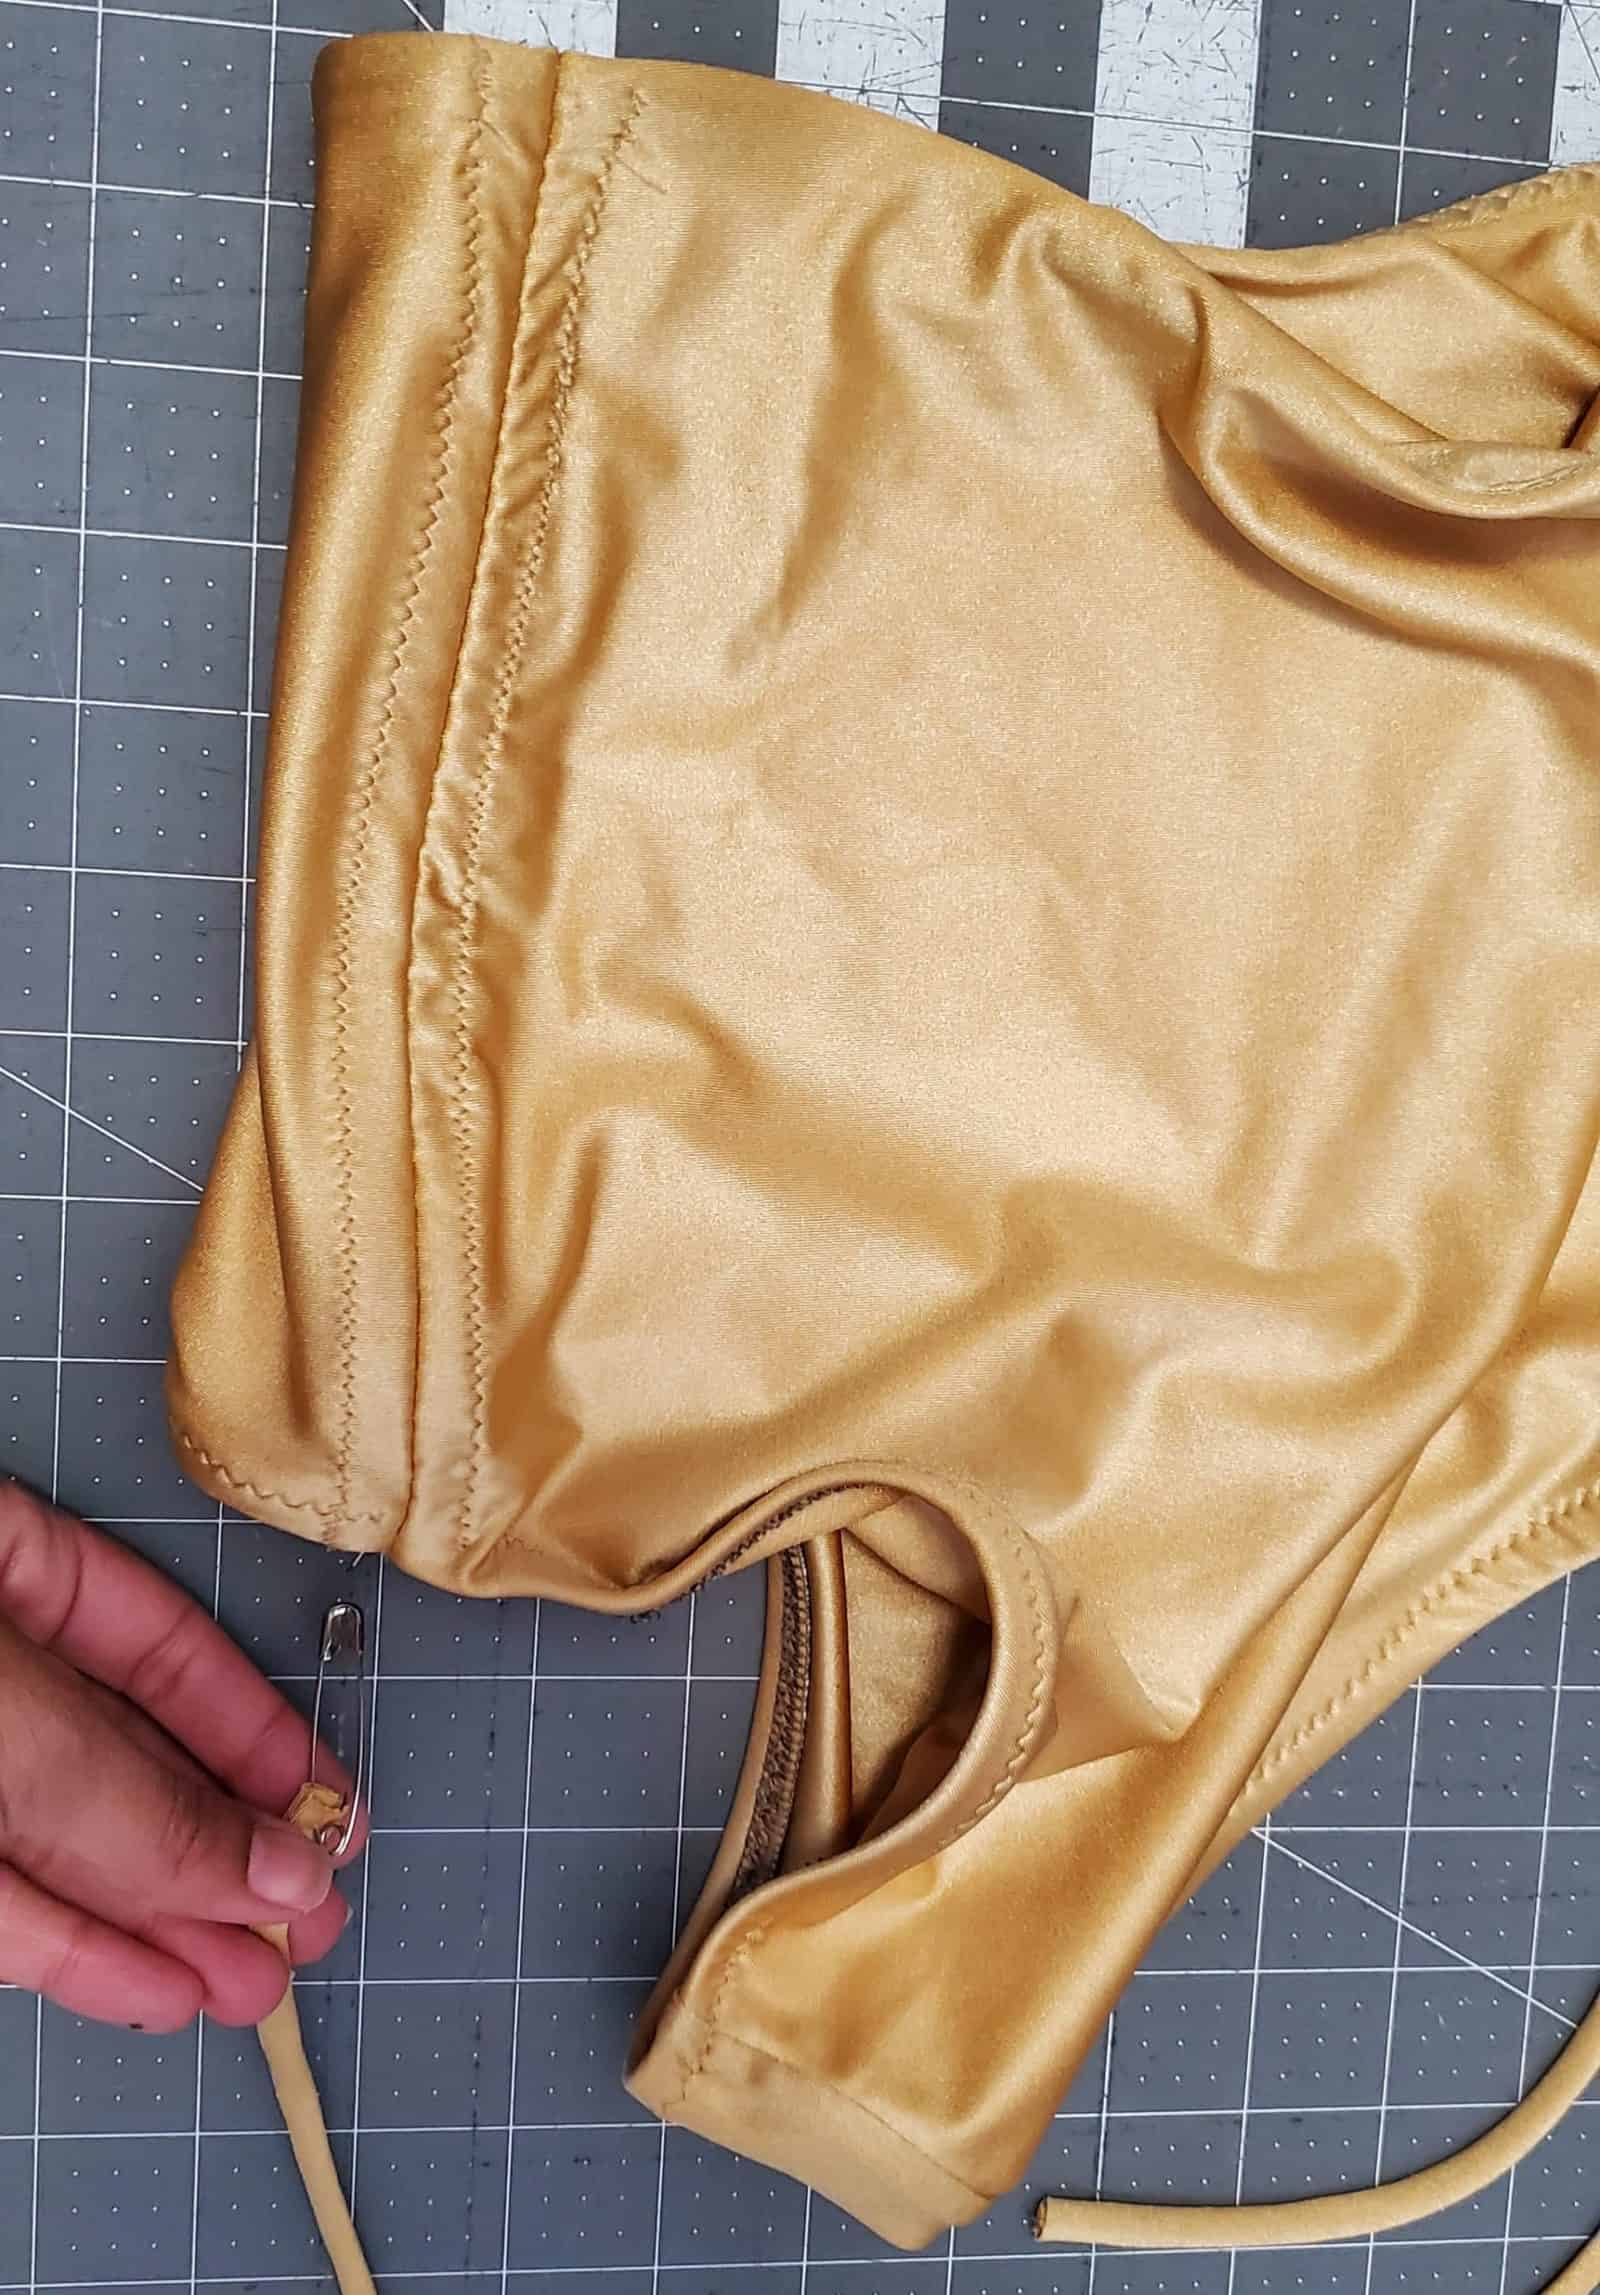
We’re going to make a casing for our straps. Fold the back edge towards the lining 0.5” and edge stitch in place. Use a safety pin to thread the strap through the casing. Make sure the straps are not twisted before you thread them through the casing. If needed, trim off excess length in the straps. Tie knots to finish off the ends of the straps. All set! -Alexandria
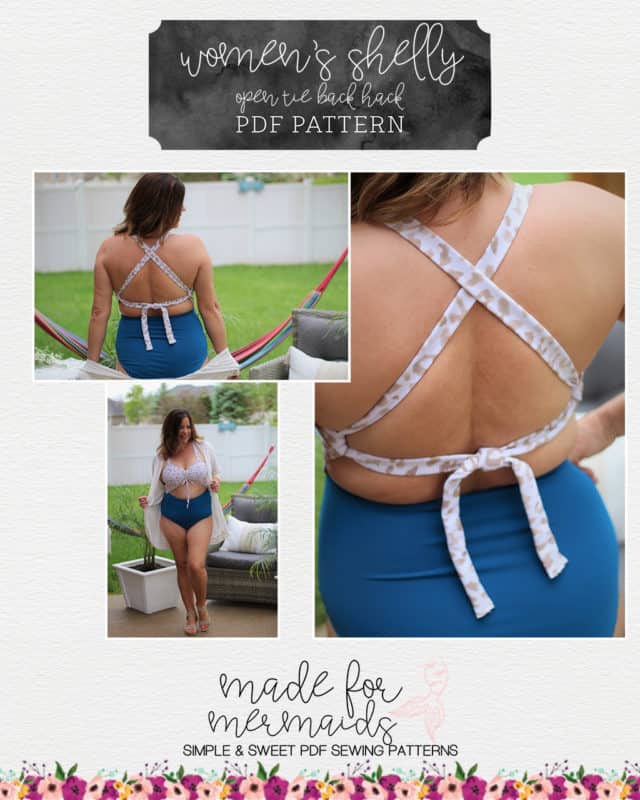
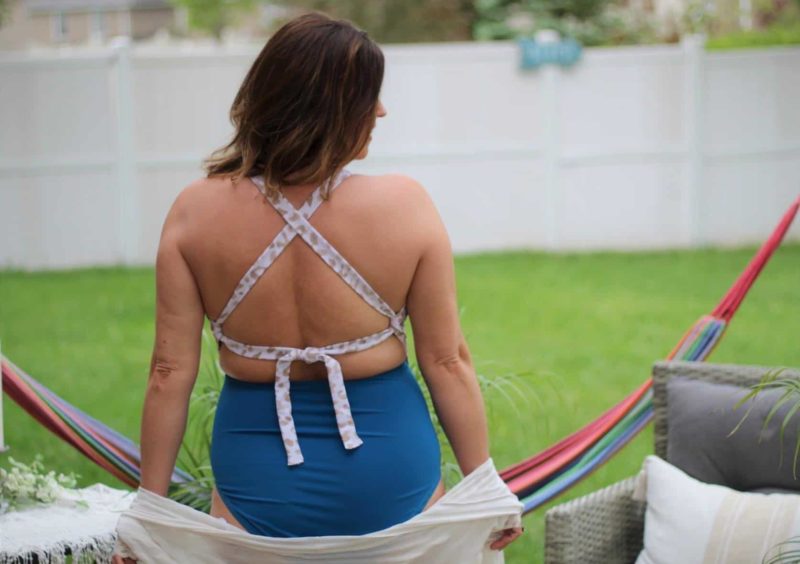
**This is shown in a girls size 12. There are a few modifications I would make for the women’s Shelly. Adjust the strap length and width, for myself I would cut my strap 2″x30″ or more if I were wanting a crisscross back. On the back bodice piece, cut 1″ away from the strap placement line and fold the casing 0.75″ away from the edge.
- Amy used the tie back hack, but also crossed her straps for a more halter-style look!
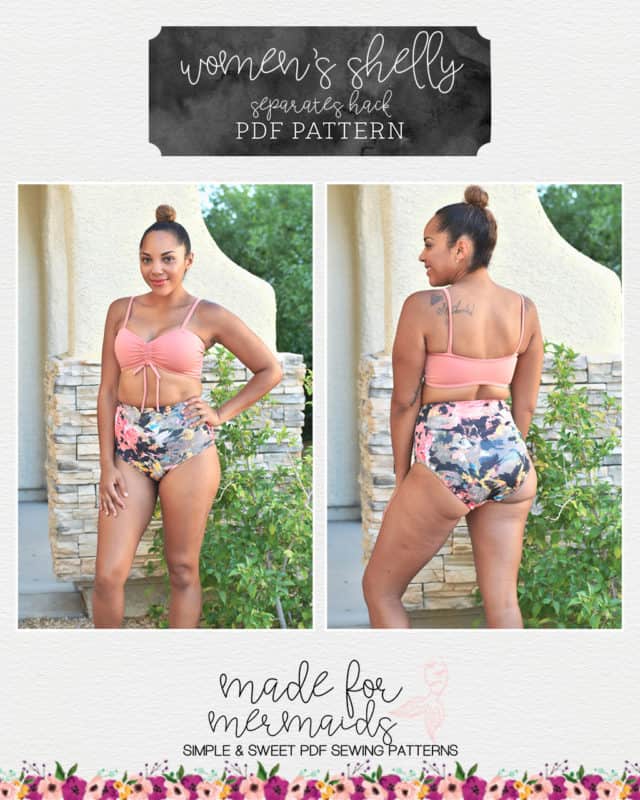
Separates Hack
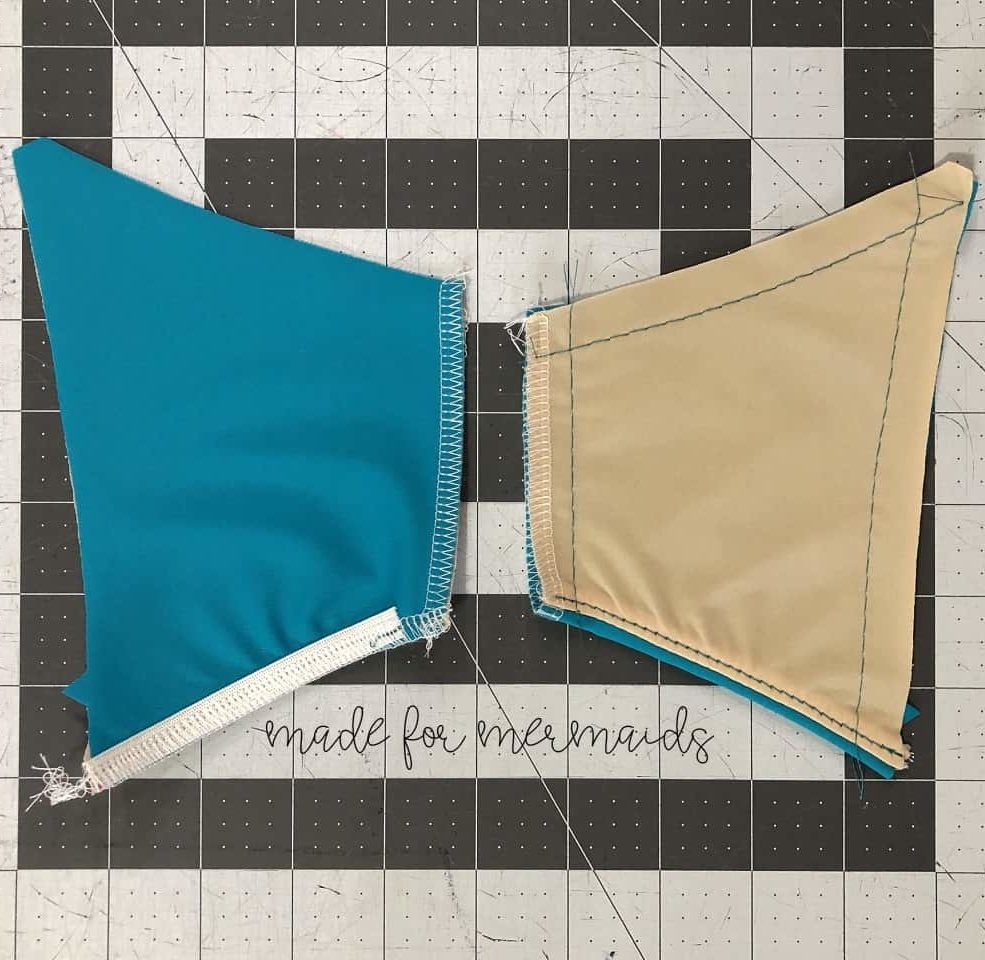
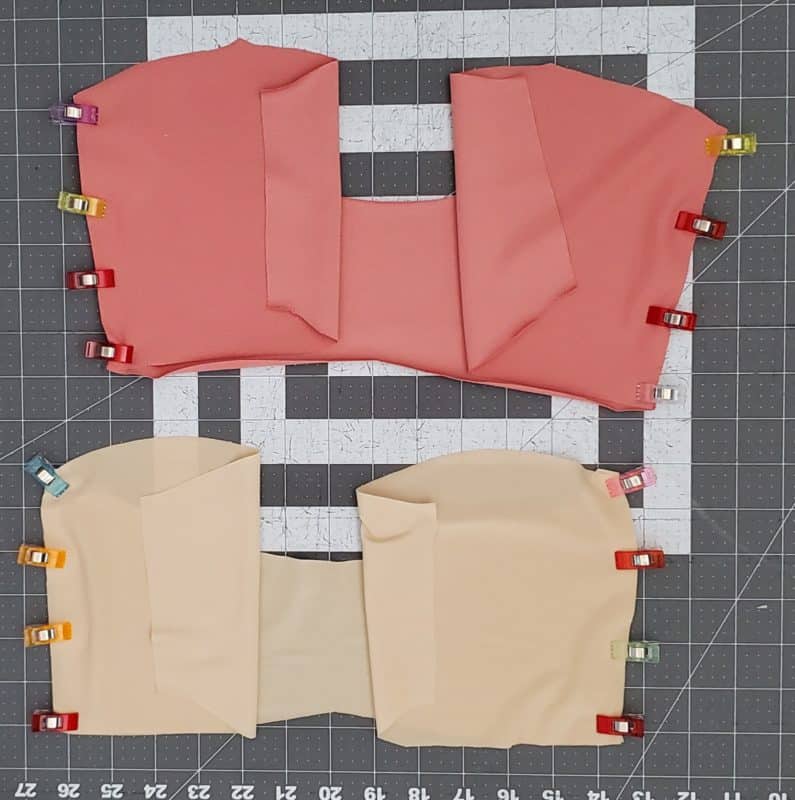
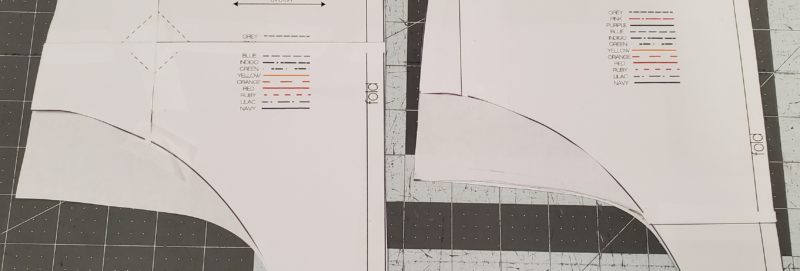
Making this suit as separates is super easy with a few modifications. For this hack you will need to take your main front and lining pieces, your open-back main and lining pieces, and your elastic pieces as if you’re doing the open back option. Take your front main and lining pieces and line up along the BOTTOM edges. Take your bottom main and lining pieces and line up along the TOP edges.
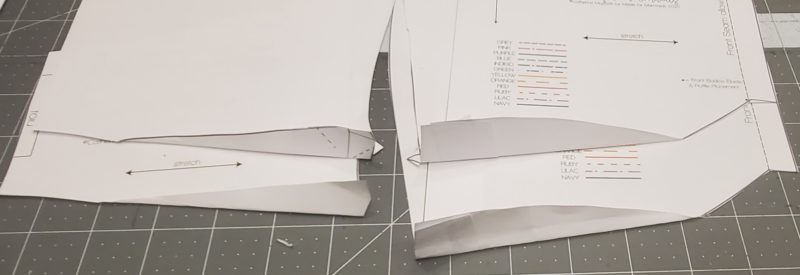
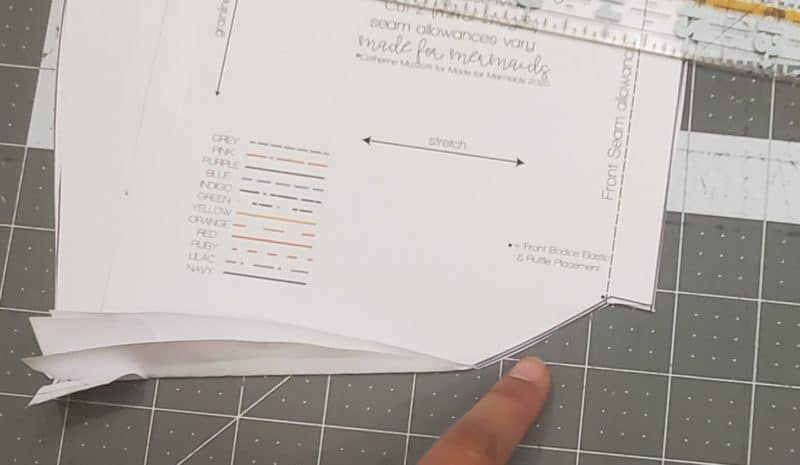
You’re going to remove the extra curve at the sides by folding your pattern pieces (fold the main and lining together still lined up at the edges) straight across, I went to just the top of the notches.
You can smooth out the curve from the center front of the top pieces too.
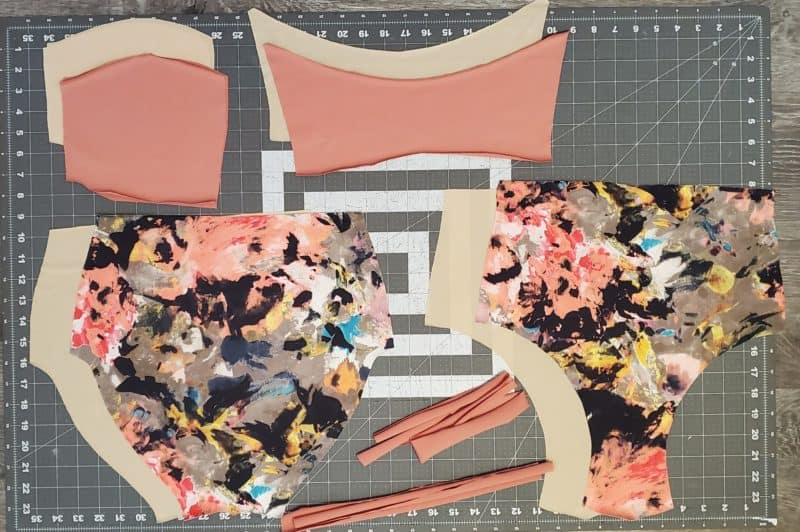
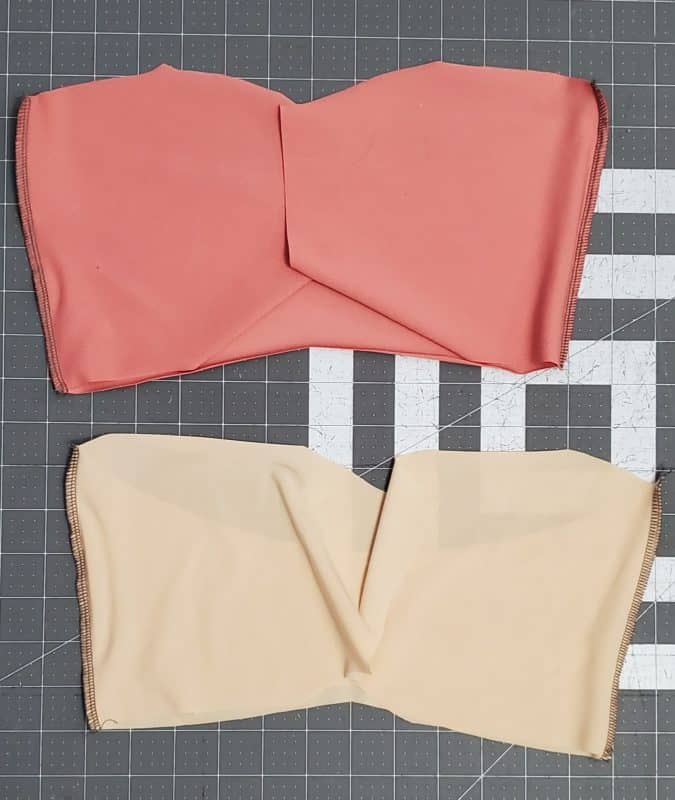
You’re now ready to cut your pieces. After cutting, take your front main piece and pin to the back main at the side seams. Repeat for the lining pieces.
Stitch them together.
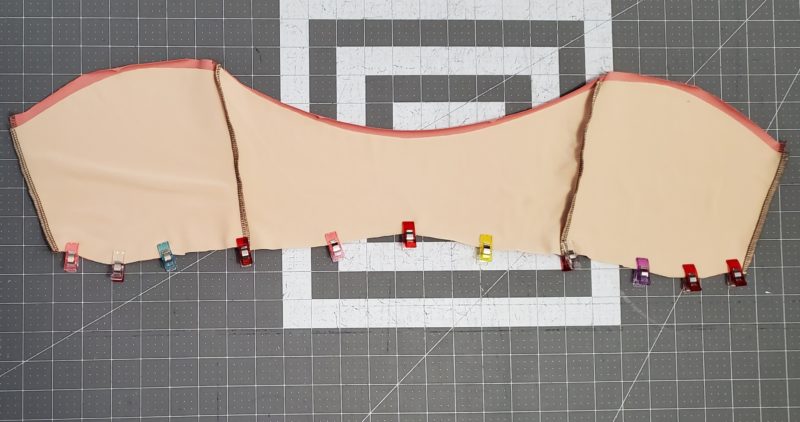
Open both the main and lining and place the them right sides together. Pin along the bottom edge.
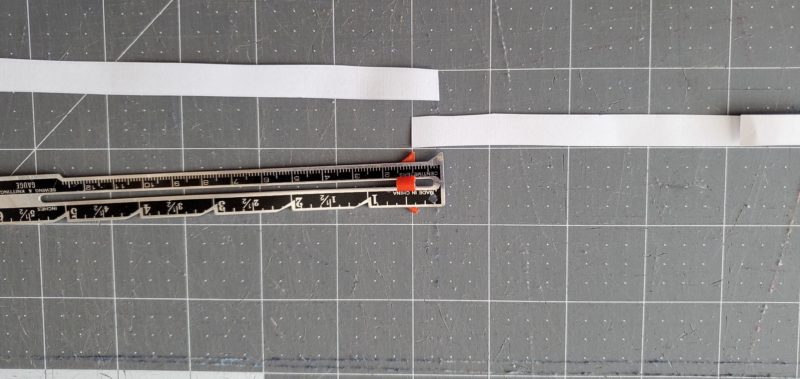
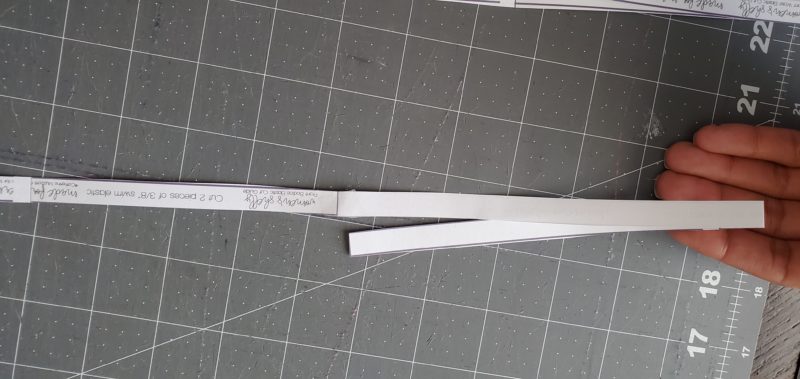
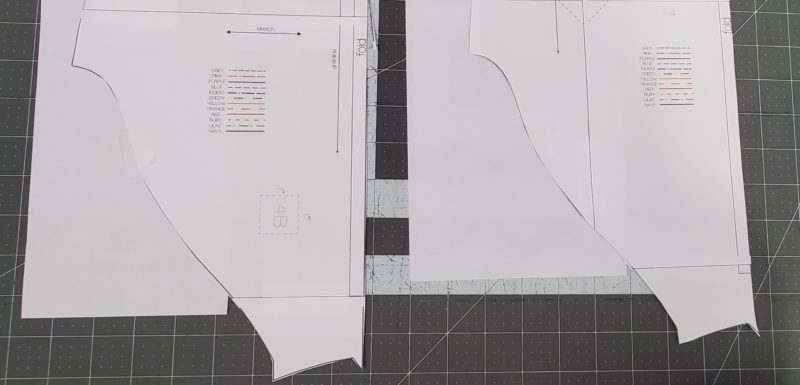
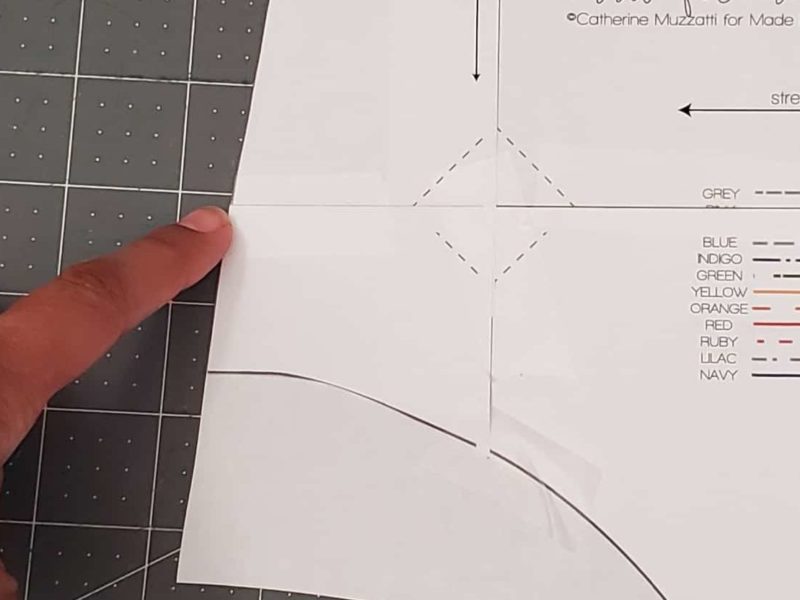
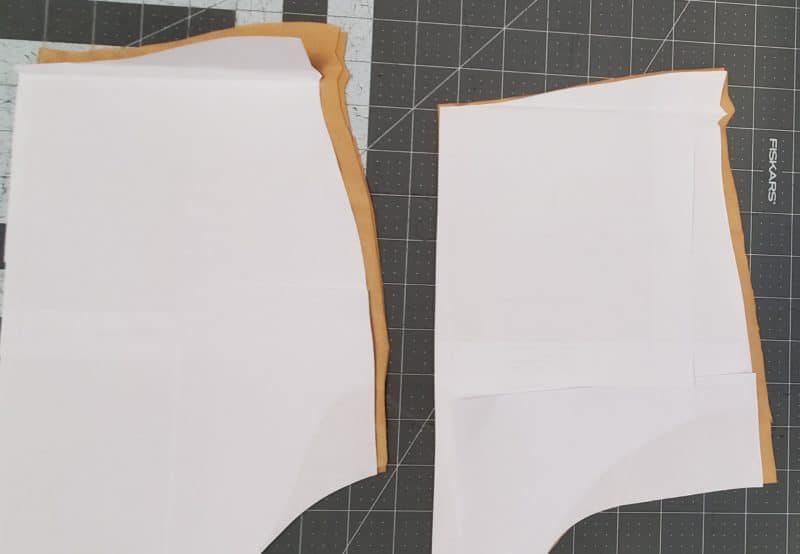
Baste them together along the bottom edge, nesting your side seams. To find the length of the top’s bottom elastic, I folded my lower back elastic piece in half and taped my lower front elastic piece to the lower back elastic piece (with the lower back elastic piece folded in half), overlapping 3/8″, I then cut this on the fold. In my mind that math made sense, and it worked! Lol *in the photos below, the piece on the right is the lower back piece folded in half*
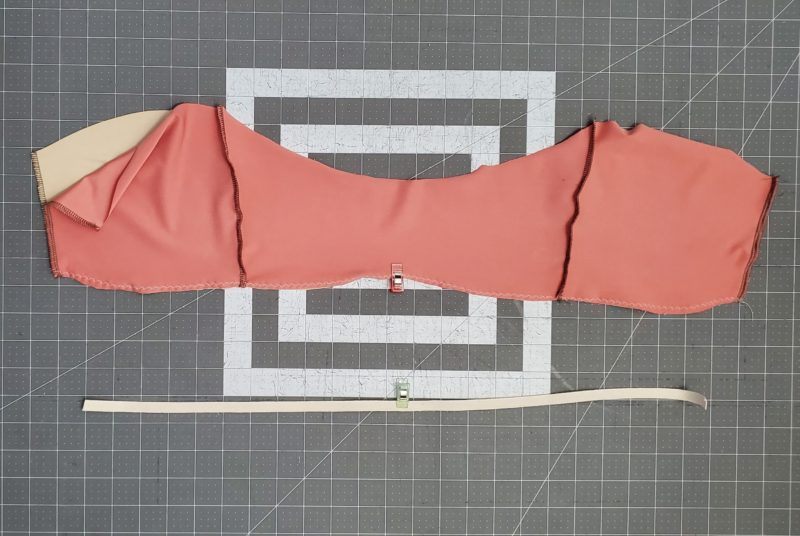
With the wrong side of your main facing up, find the center back of your top and the center of your elastic.
Pin your elastic to your top at the middle matching center points. At the sides, pin the elastic 1/2″ away from the side edge, you will now construct the rest of your top as you would per the regular tutorial, finishing the bottom elastic, straps, neckline elastic and so forth.
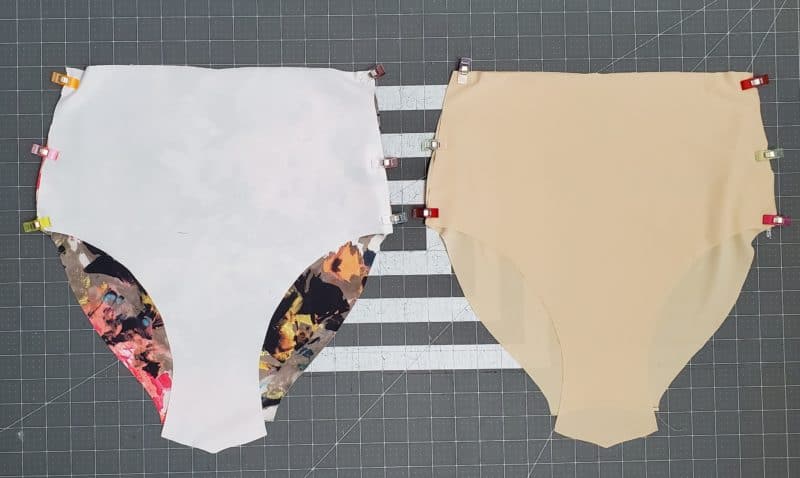
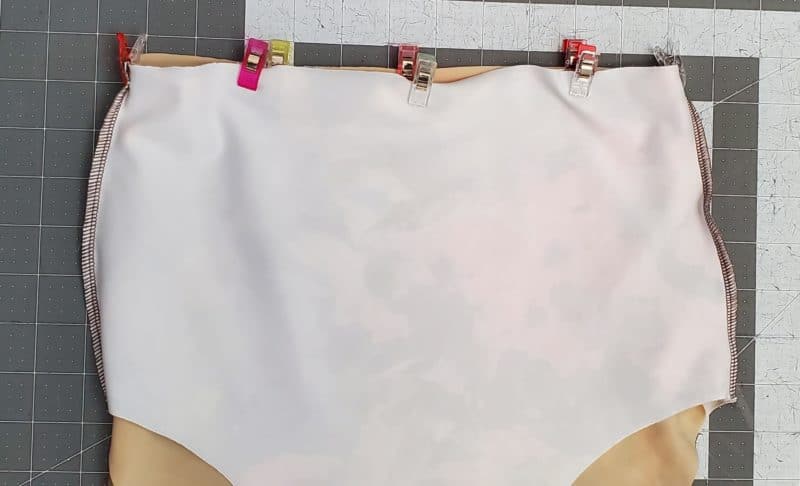
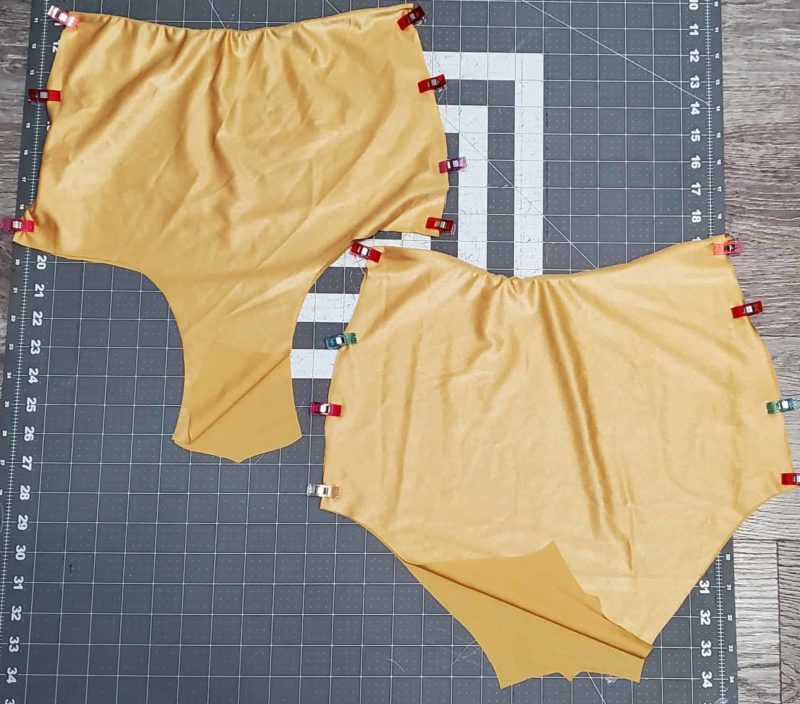
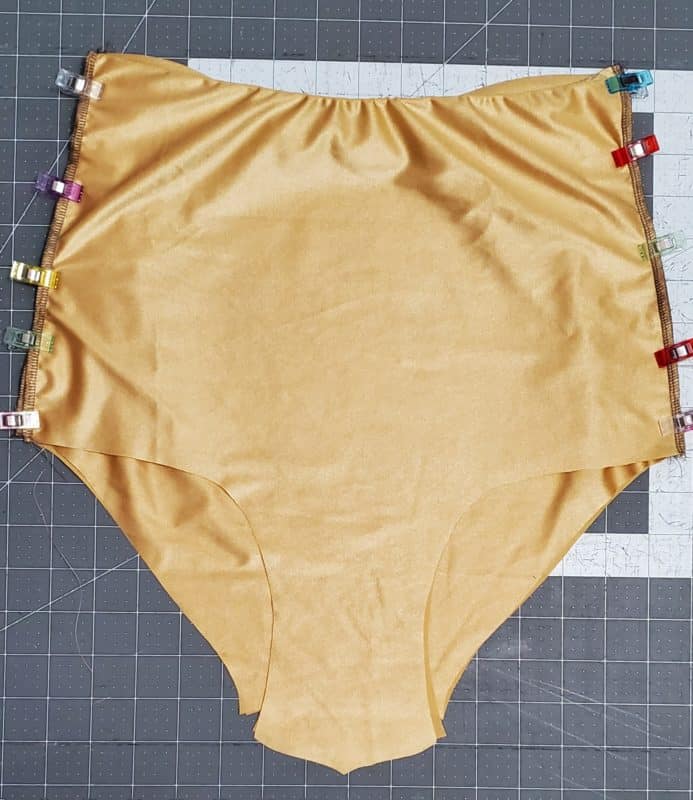
Now you are ready for your bottoms. Take your front and back main and pin together at the side seams. Repeat for the front and back lining.
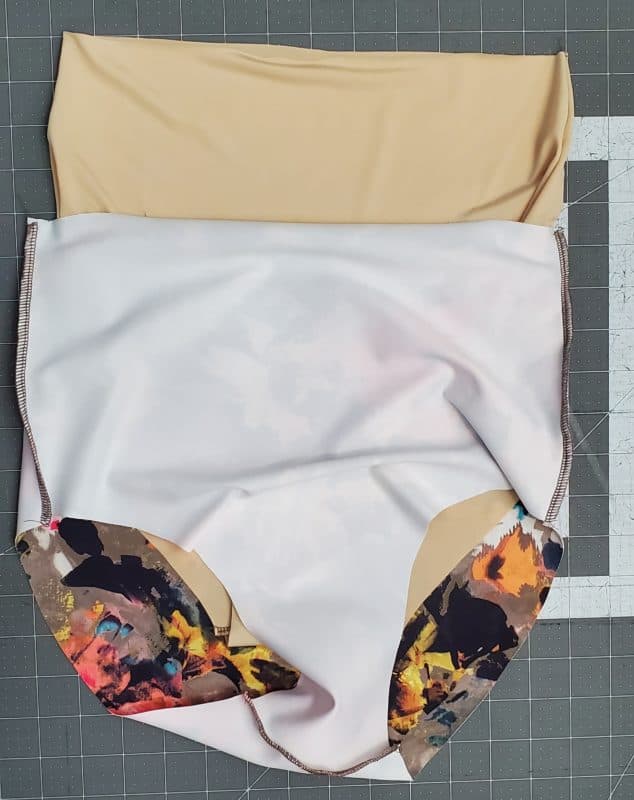
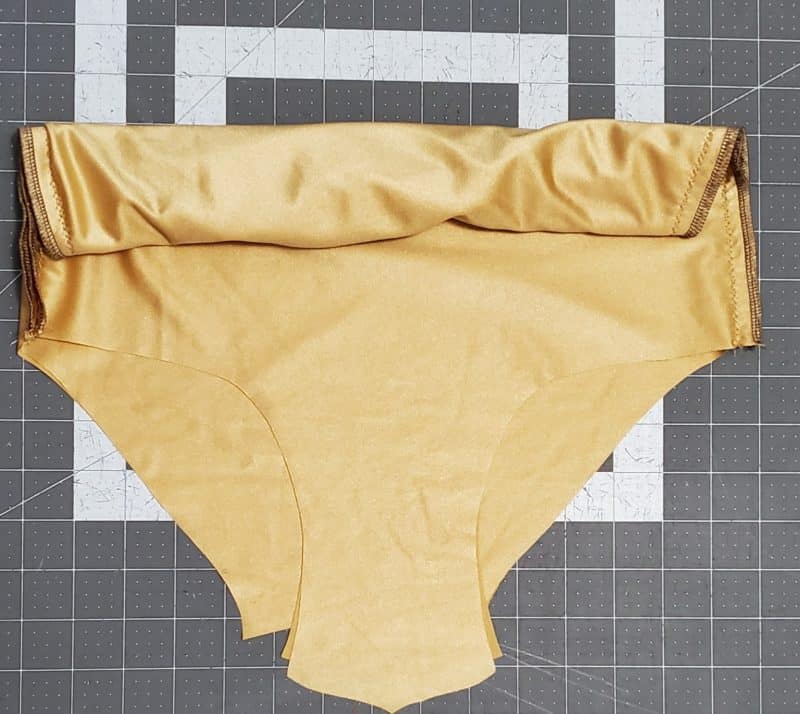
Stitch together at the sides. Pin the crotch seam of the main RST. Stitch. Repeat with the lining’s crotch seam. Then place your lining inside your main, right sides together.
Baste together along the pinned top raw edges.
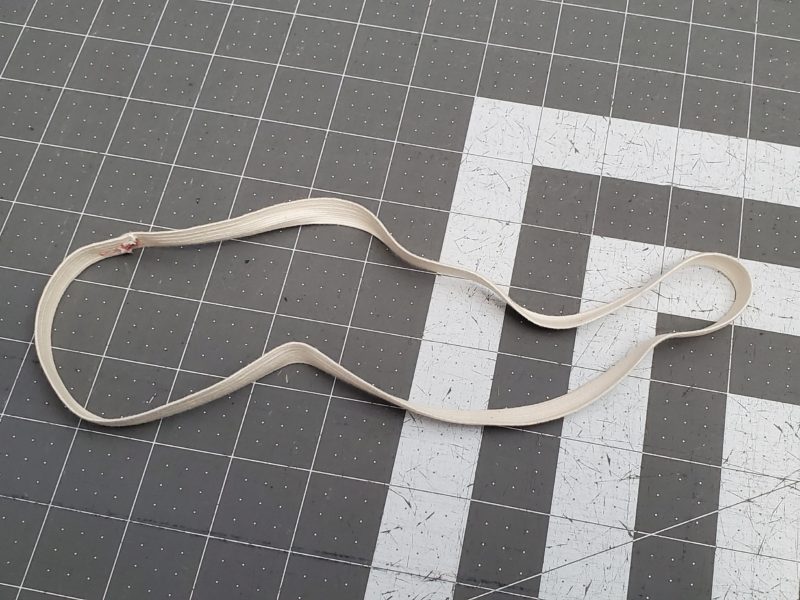
Now, for your bottom’s waist elastic. We are going to do this in the round. So, take your front and back bottom waist elastic pattern pieces, tape them together, overlapping 3/8″. This is your new bottoms elastic pattern piece, cut 1 in elastic. Overlap your elastic’s short edges and zig zag to secure. You now have a loop.
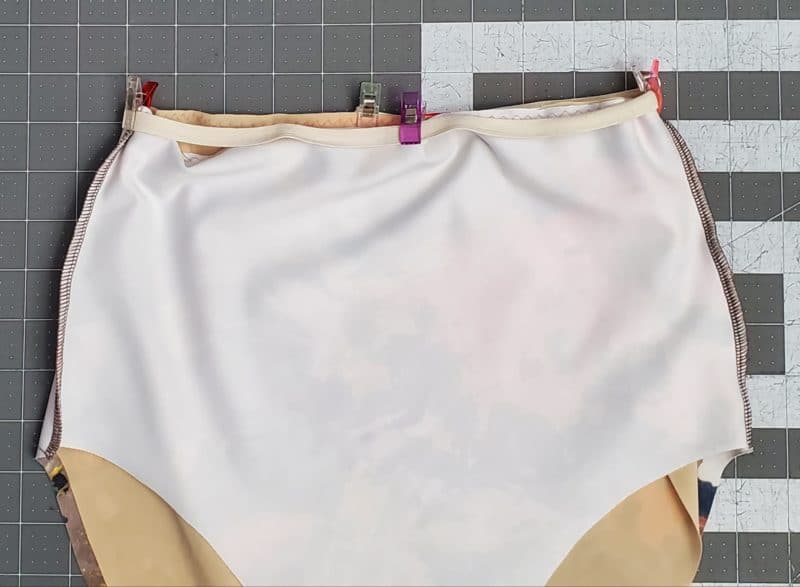
Quarter your elastic and the top edge of your bottoms.
With your bottoms wrong side of main facing up, pin your elastic to your bottoms, matching quarter points.
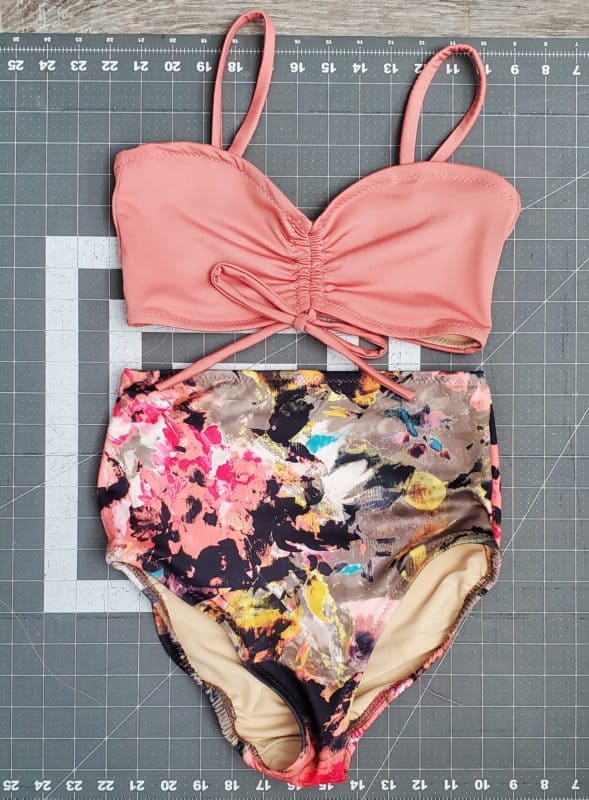
You will now finish the waist elastic and the leg elastic as you would in the tutorial from here on out. Thats it, you did it! You made the Shelly into a super cute two piece! –Stephanie
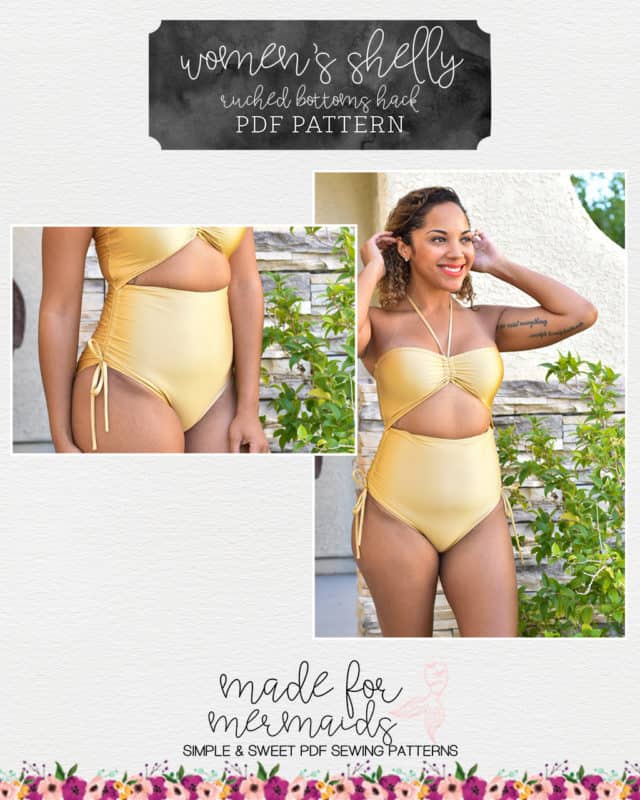
Ruched Sides Hack
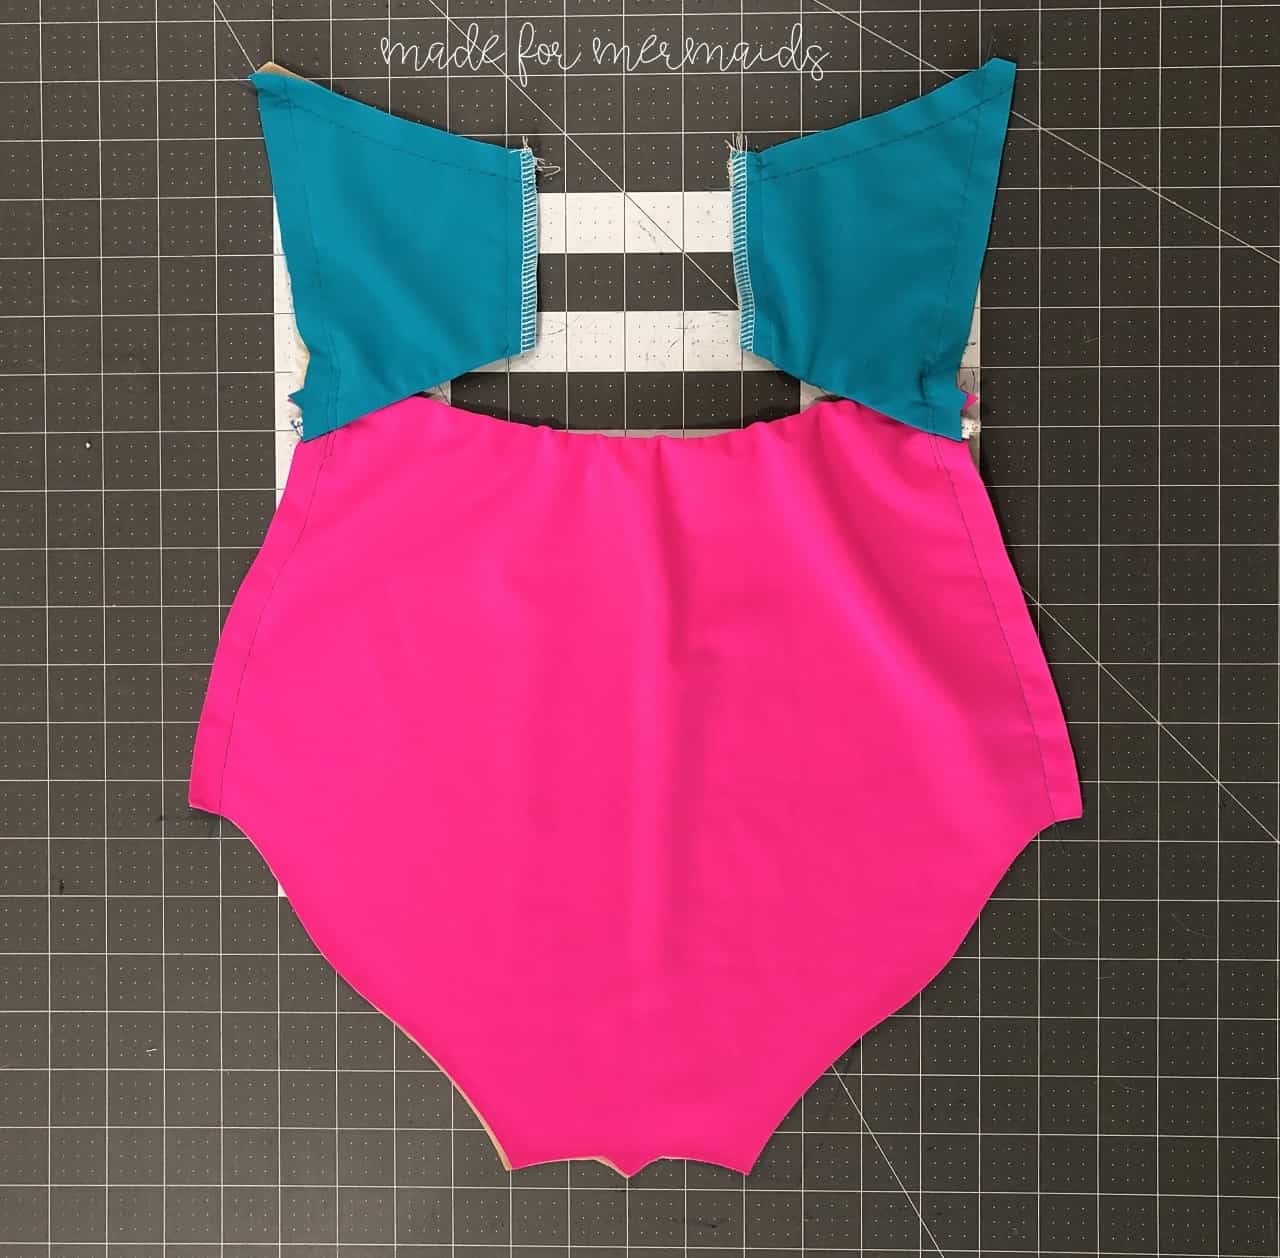
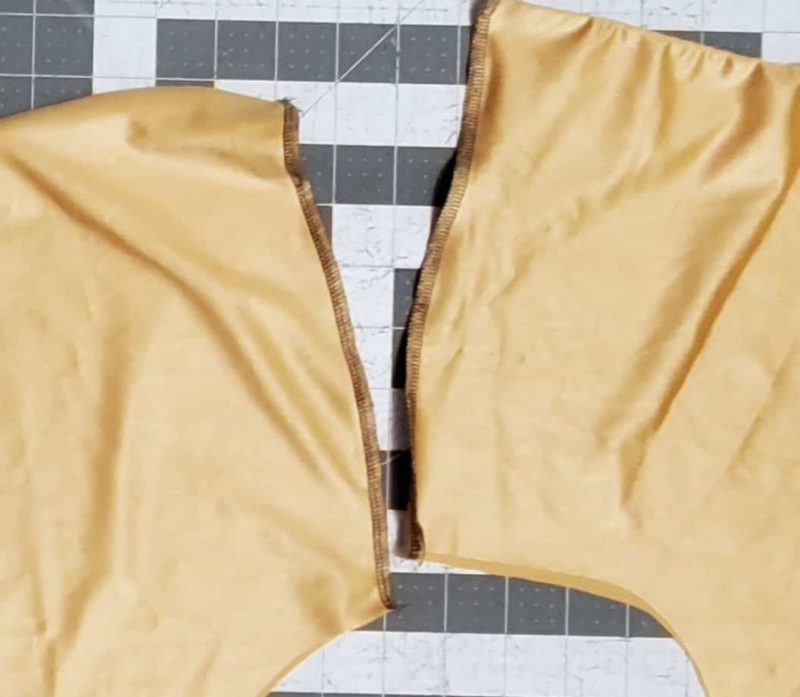
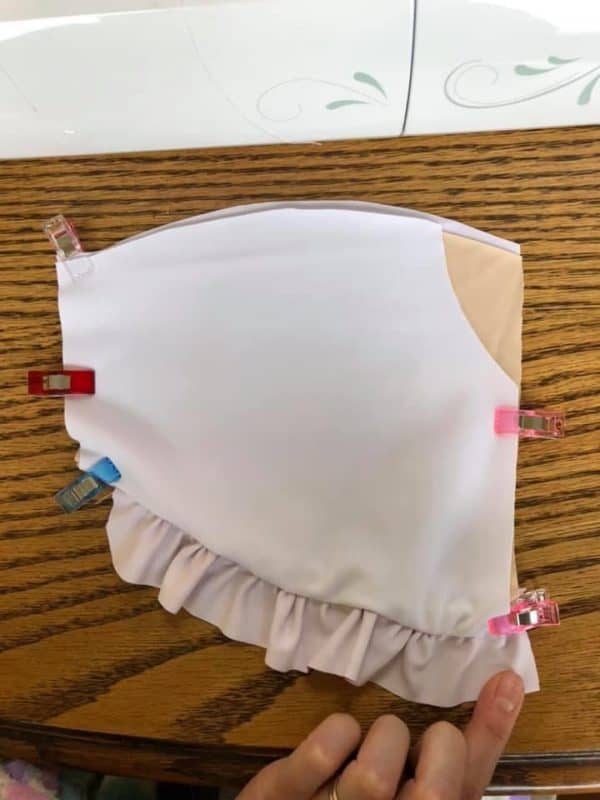
You can make the Shelly bottoms with the ruching at the sides for a super cute hack. This hack only works with the open back option, or the separates hack. Construct your entire top bodice front and back up until the point you would baste to your bottoms at the notches. Make note of where your notches are, but instead of basting, pin your front and back together RST at the side seams and sew together. Finish the straps and neckline steps and set aside. Now, to construct the bottoms. Take your front and back bottoms pattern pieces, main and lining, take a piece of paper, and tape it to each of your pattern pieces at the legs and sides.
Line up your front main and lining pieces at the crotch seam. Repeat for your back main and lining pieces.
We are going to alter the pattern pieces by making the side seam 2″ longer and blend it into the leg curve.
With your front main/lining and back main/lining pieces still lined up at the sides and crotch, cut through both layers at the line you drew.
These will not be your new pieces. When you cut your fabric you will also add 1/4″ seam allowance to your sides.
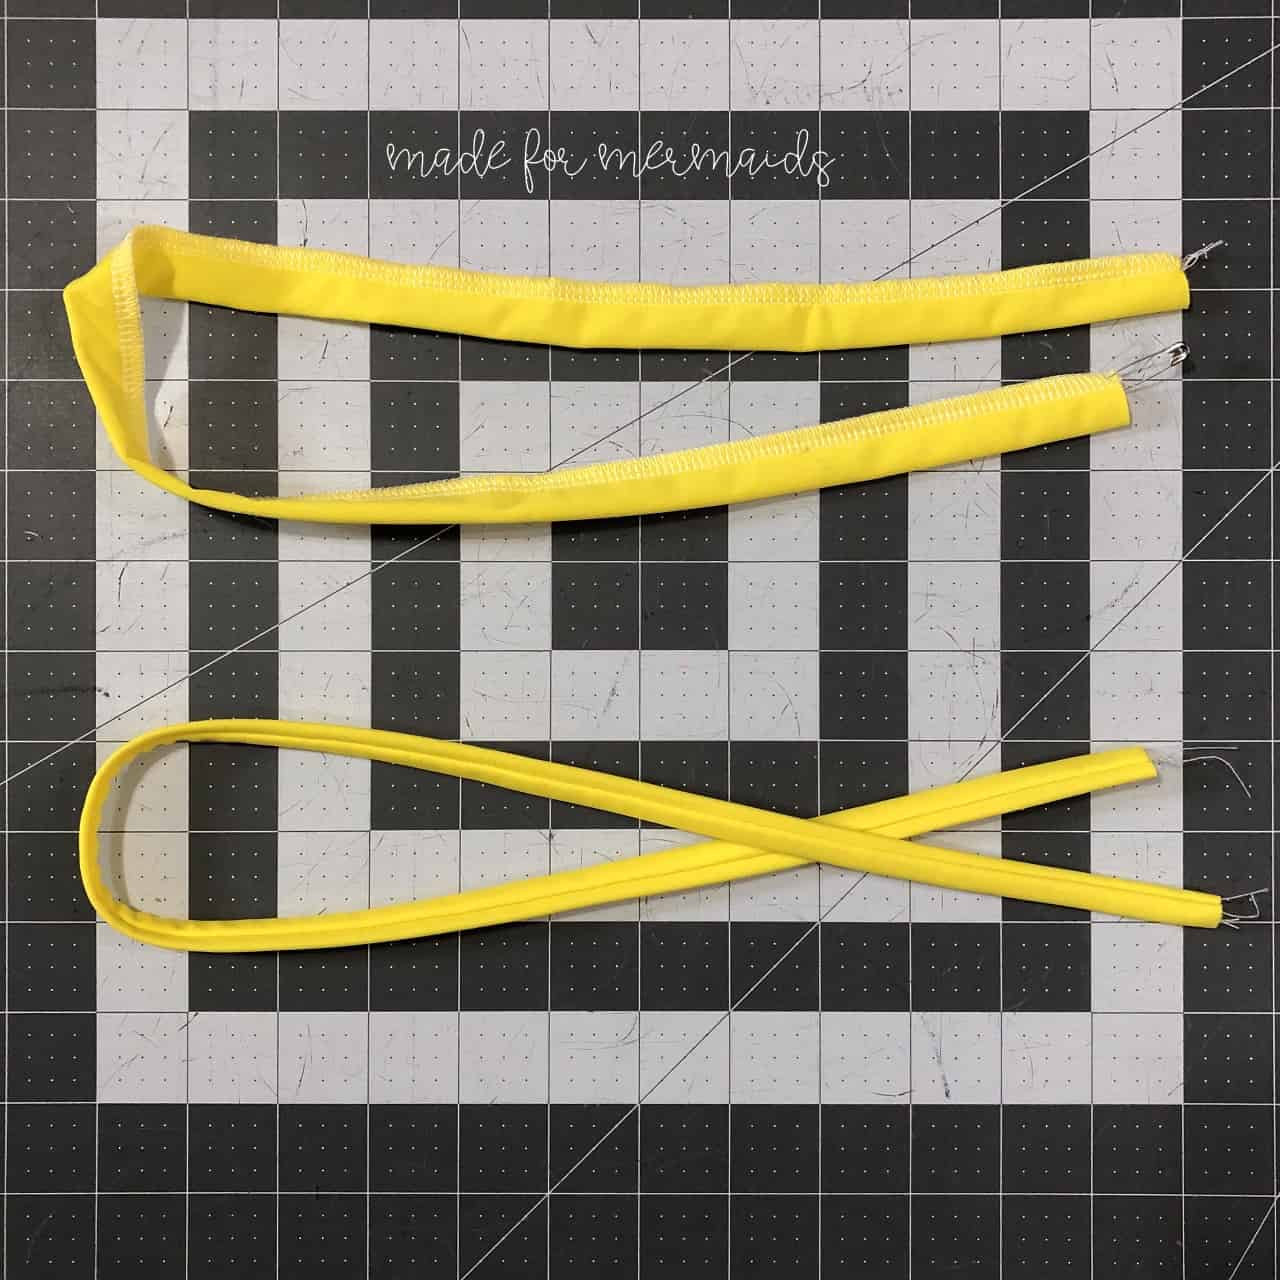
In addition to your front and back main/lining, you will also need two tie pieces. I went with 30″ by the same width as the ruched tie piece. Construct these the same as you would the top’s ruched tie.
Take your front pieces and back pieces and you are going to construct them as you would per the tutorial, front main to front lining, back main to back lining, basted right side together along the top edges. Except, when you attach your elastic, you will pin 1/2″ away from the side edges. Stitch in place
Understitch/topstitch as you would per the tutorial. Now, pin your front main and lining together at the side seams and stitch together.
Place your front and back right sides together and pin. Baste together at the sides.
You are now going to burrito roll your bottoms to finish your crotch seam, as you would in the tutorial.
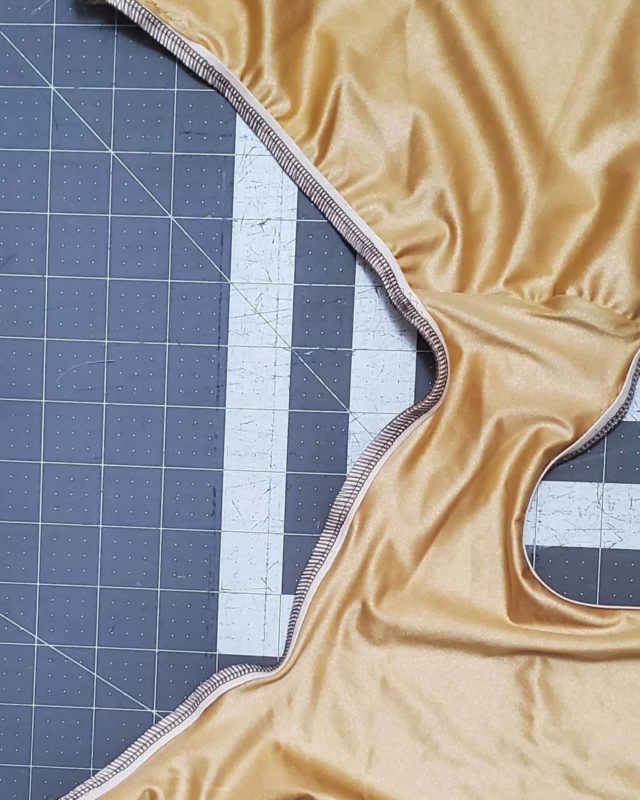
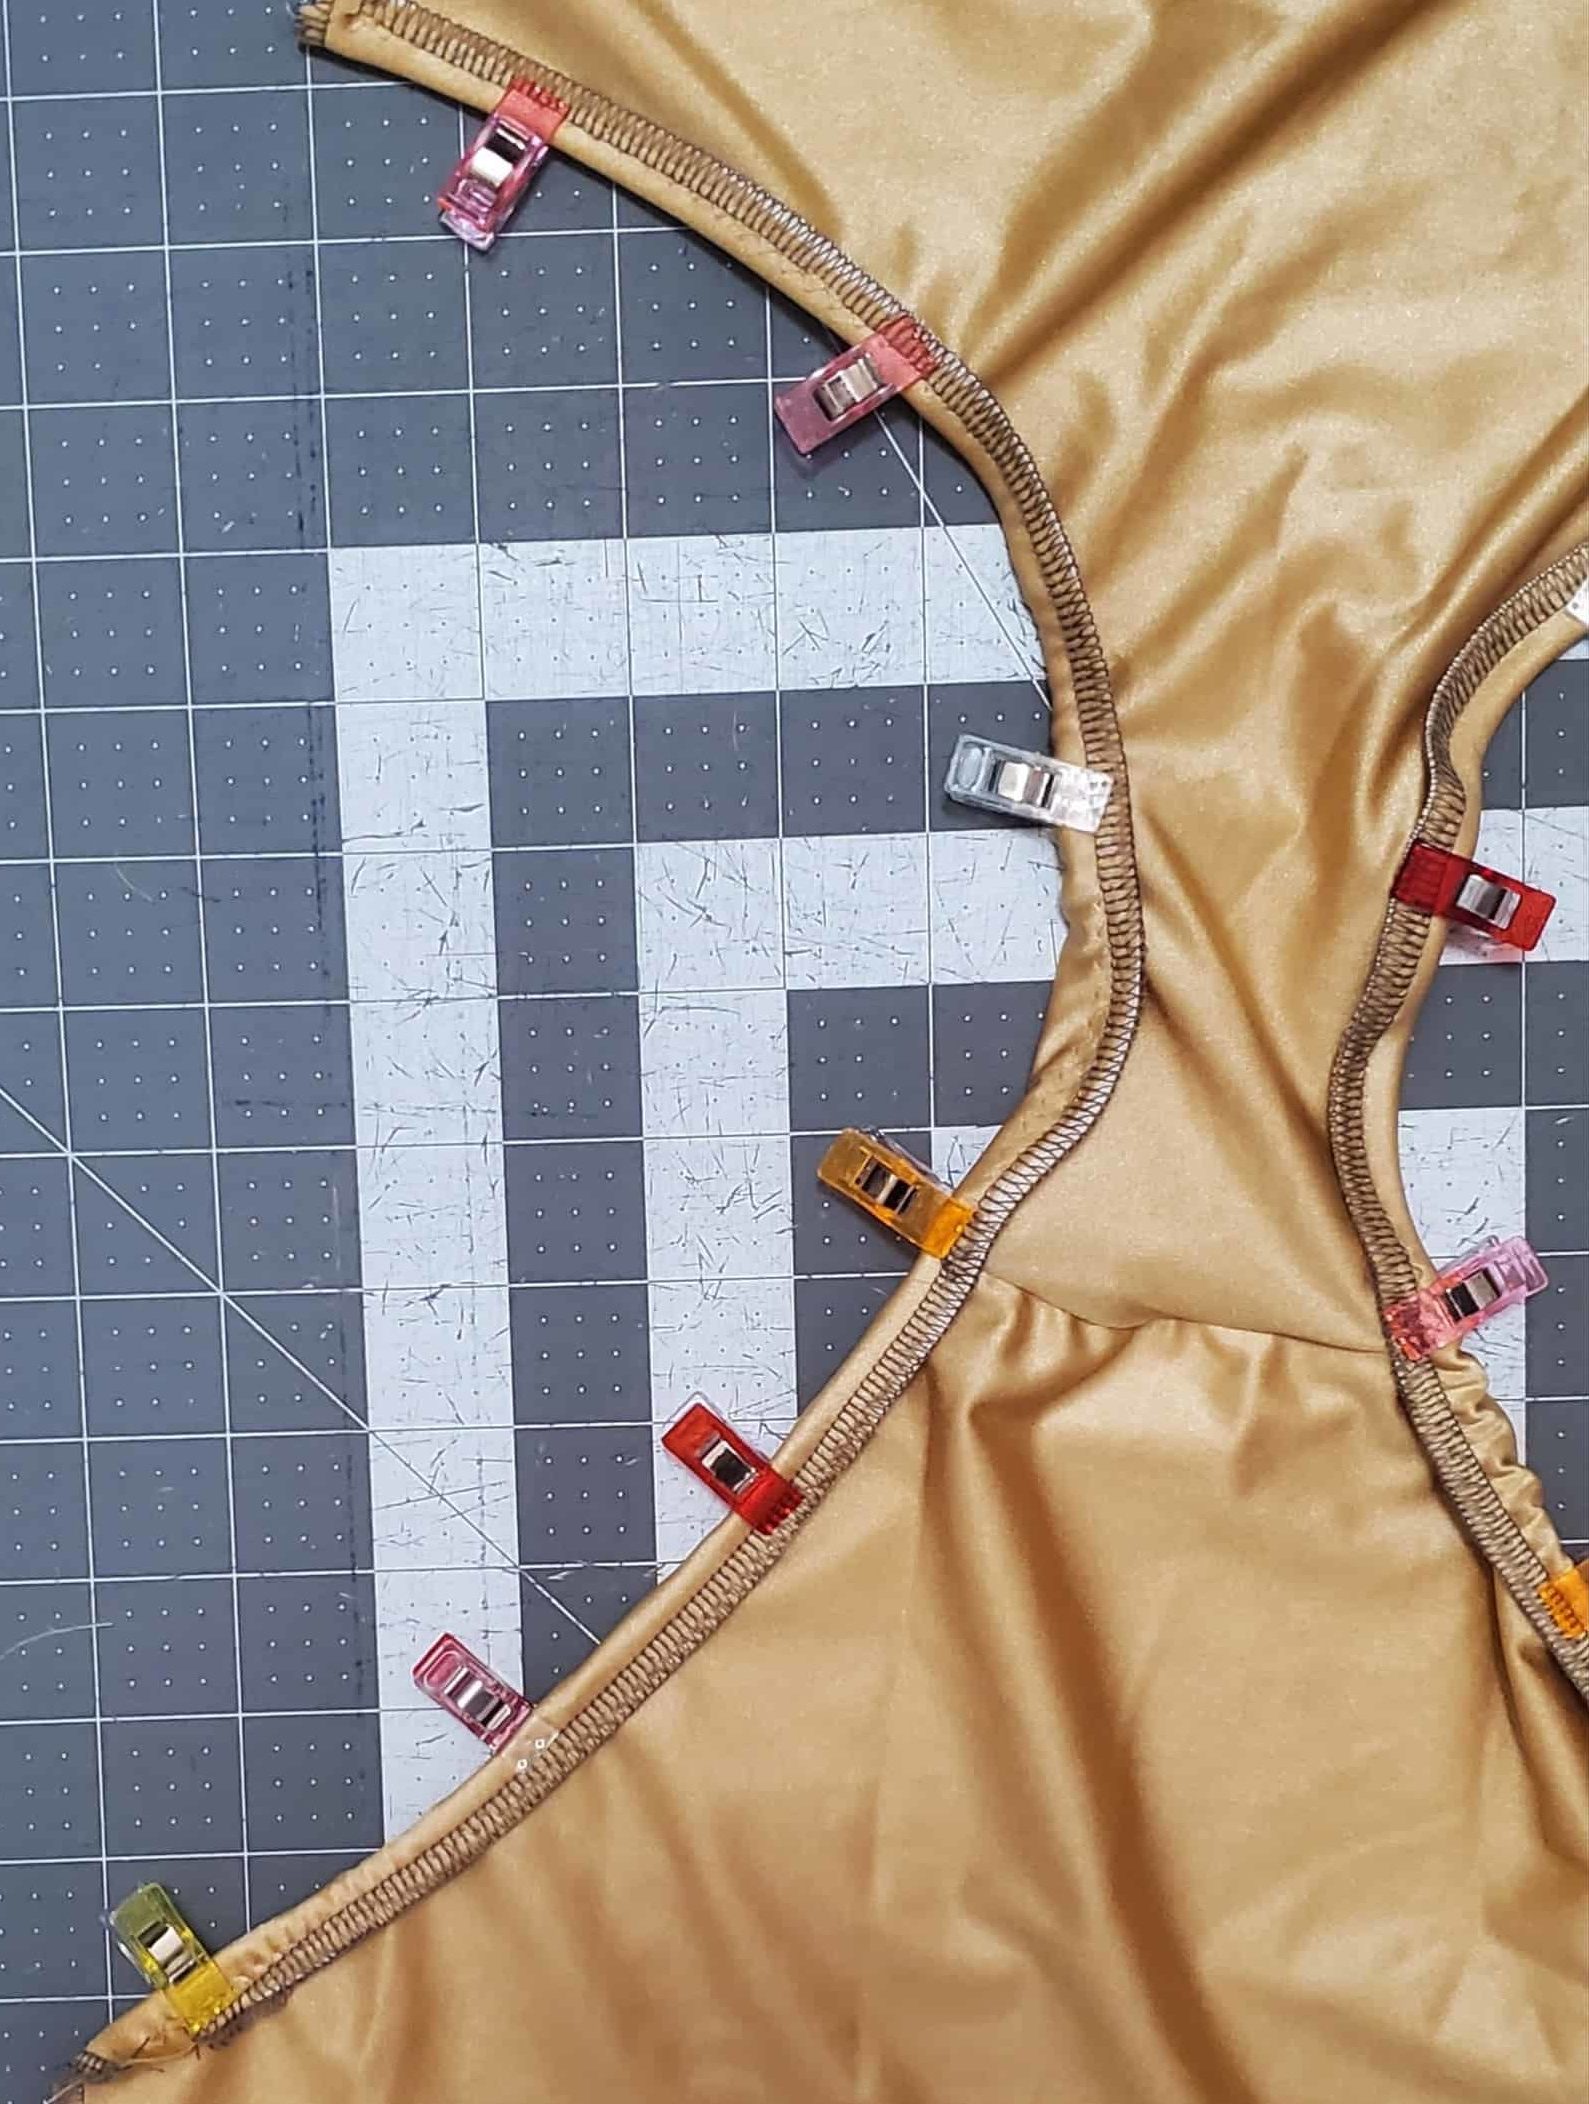
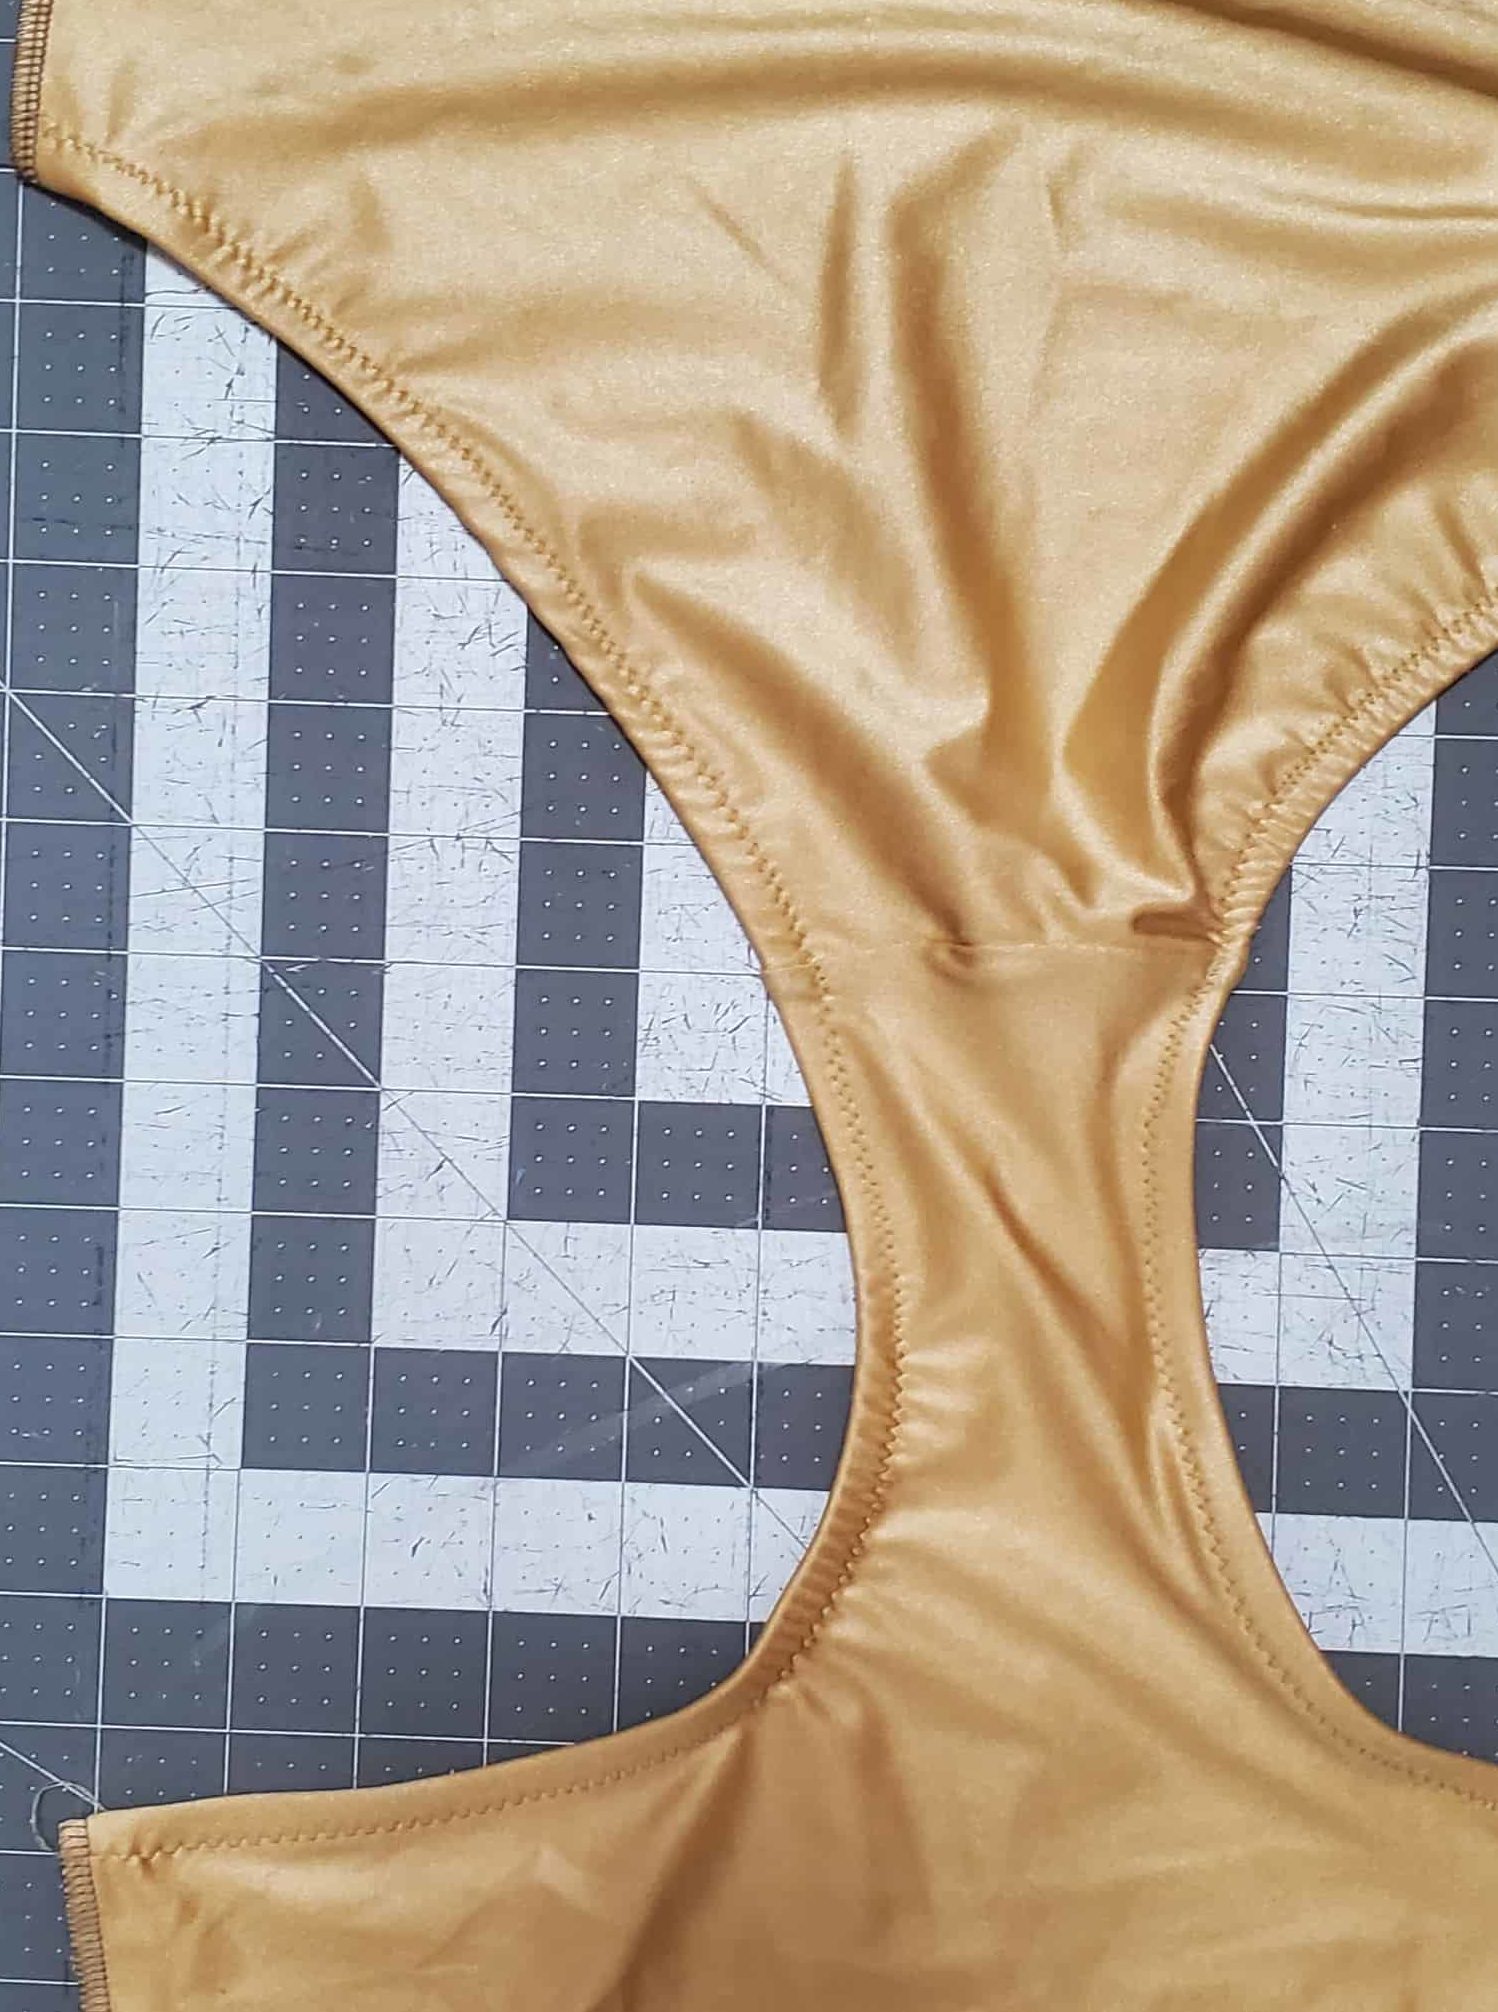
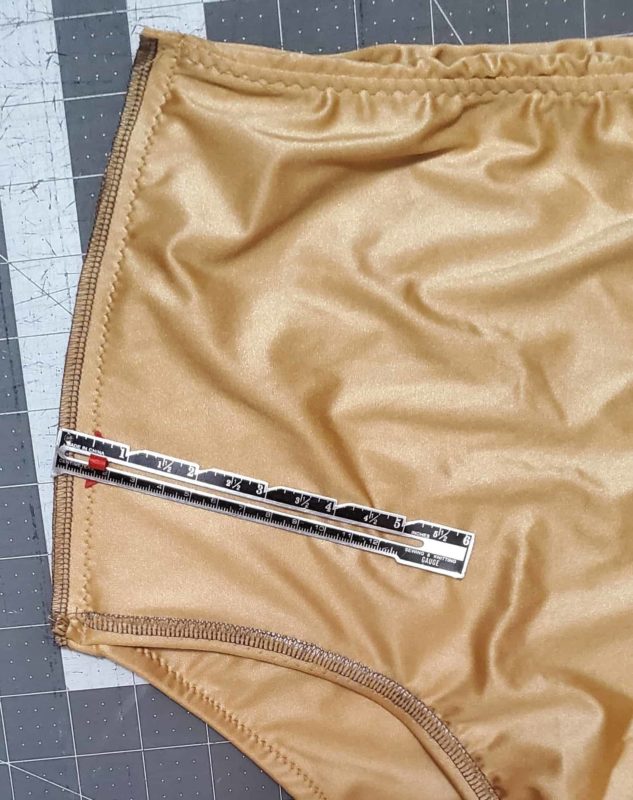
Remove your basting stitches at the sides. Open your bottoms up baste your legs main and lining together. For the leg elastic measurement, I removed 3/8″ from the pattern piece. Pin your elastic to your legs 1/2″ from the edges, keeping it the 1:1 ratio in the front and stretching to fit the back. Stitch in place.
Fold toward the wrong side and pin in place. Topstitch in place.
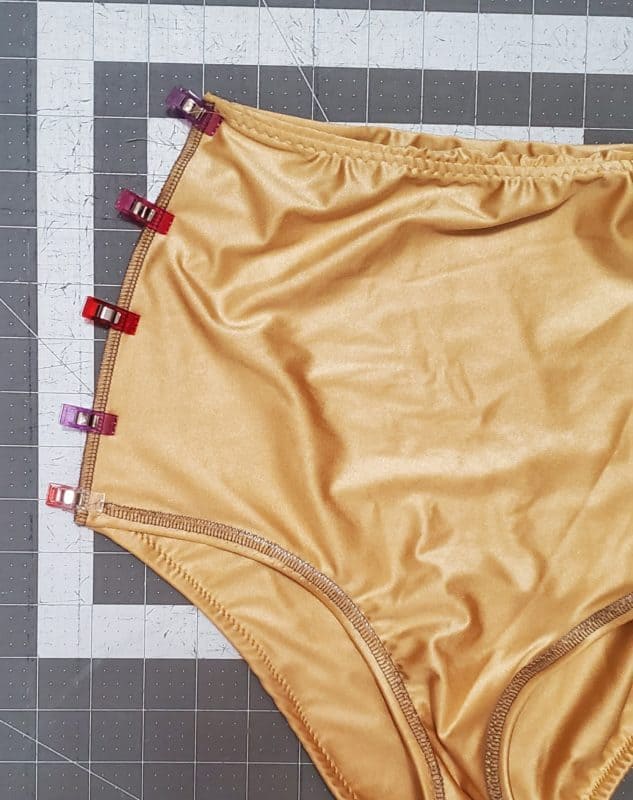
Fold your bottoms so the front and back main are RST. Pin at the sides. Sew the side seam with a 1/2″ seam allowance with your sewing machine. **Do not use your serger for this step**
Finger press your seam open and topstitch along the finished edges on both sides.
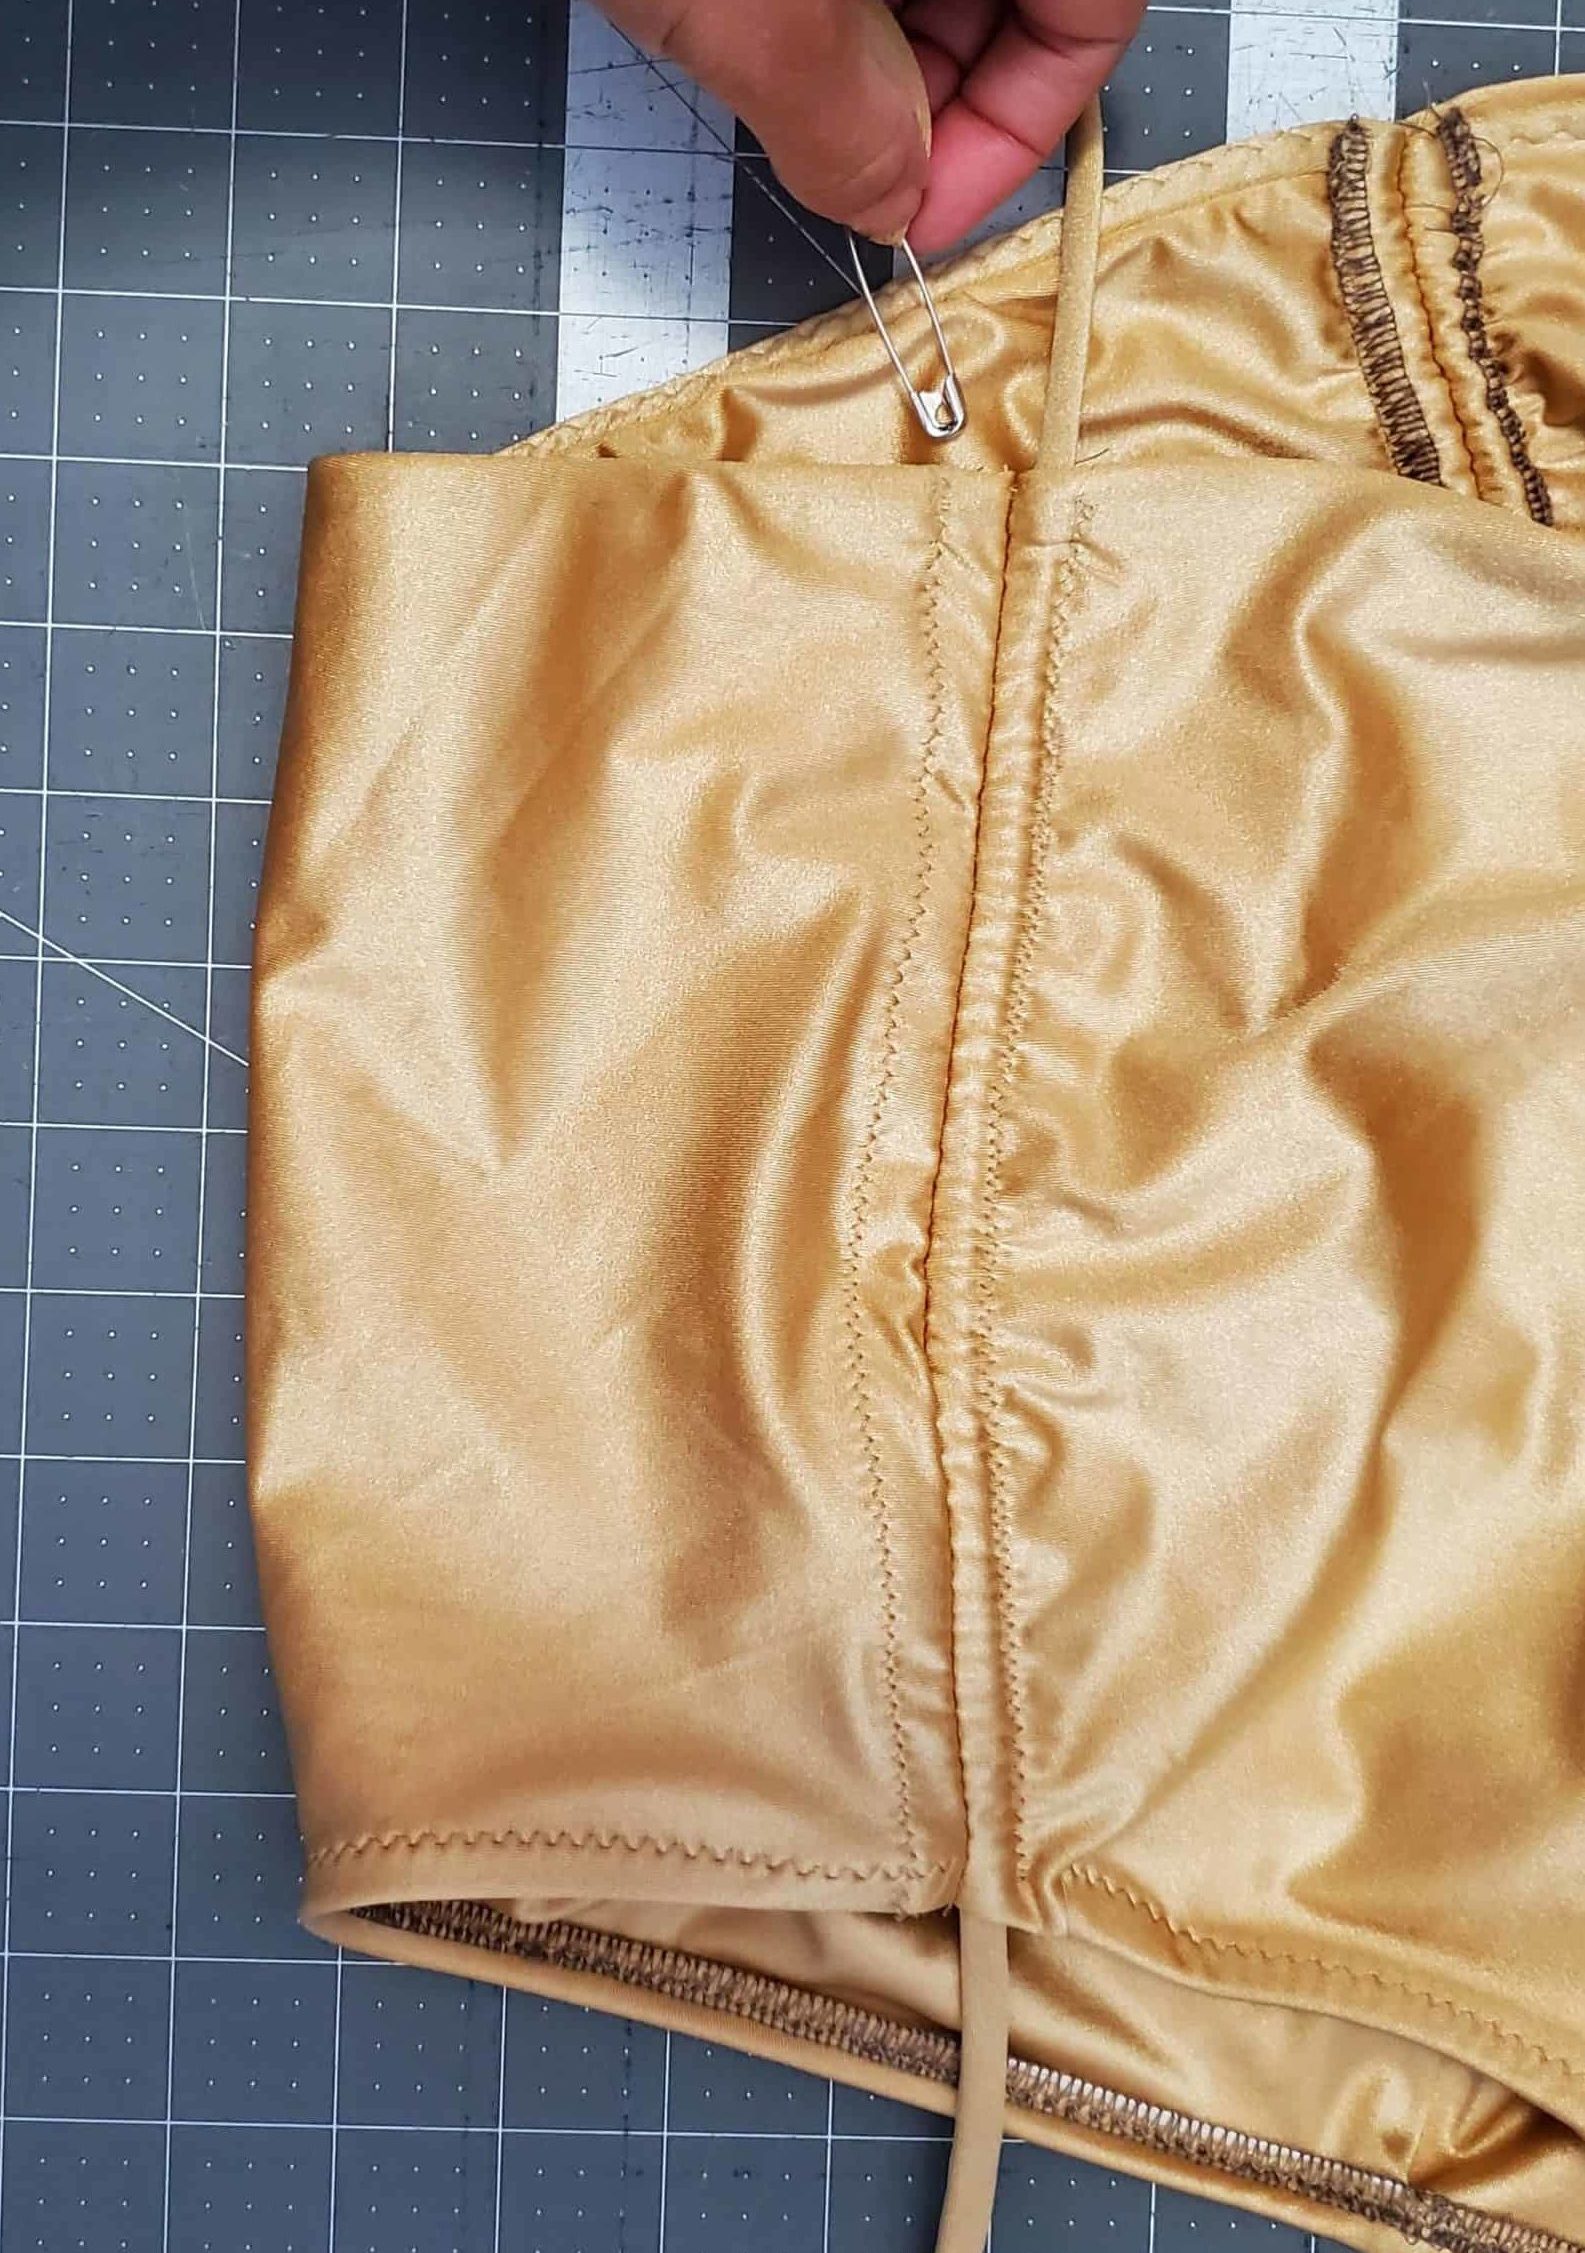
Use your favorite tool to thread your tie up one side and down the other, making sure to keep the tails even.
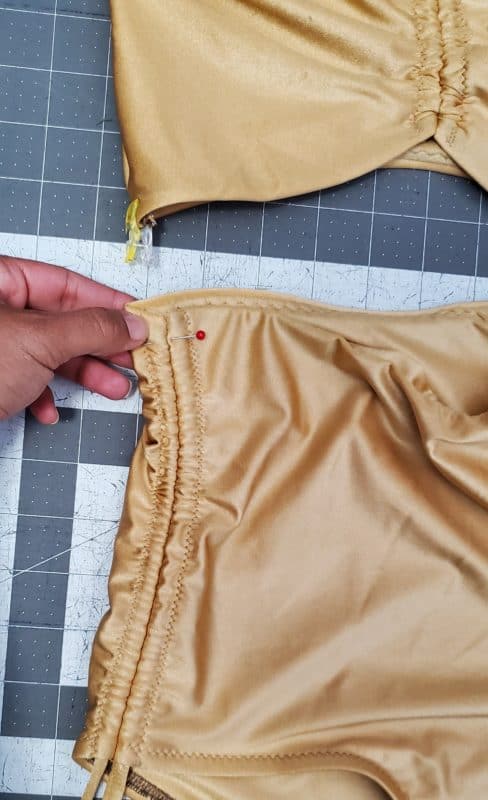
Keeping your tails even, and keeping the portion at the top of the bottoms where the tie is as flat as you can, place a pin where your notch would have been. Pin the top to the bottoms, overlapping the top over the bottoms and pinning, matching side seams where the notches would have been.
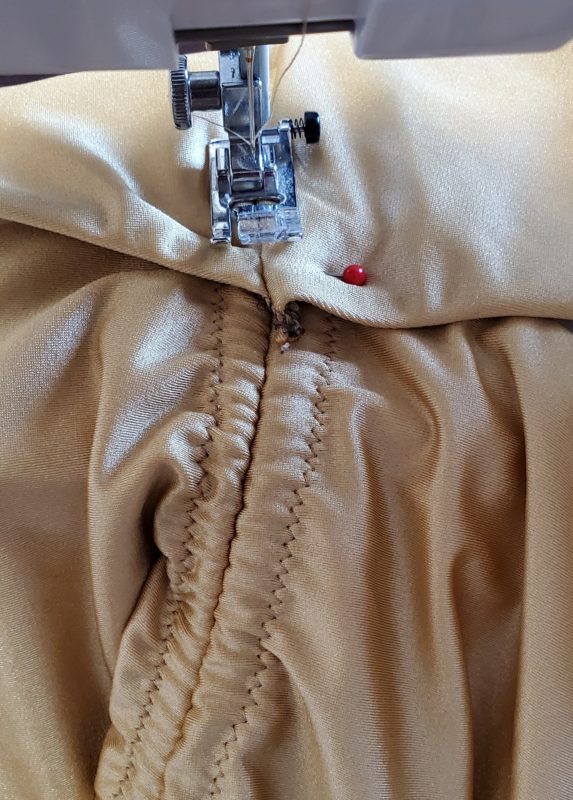
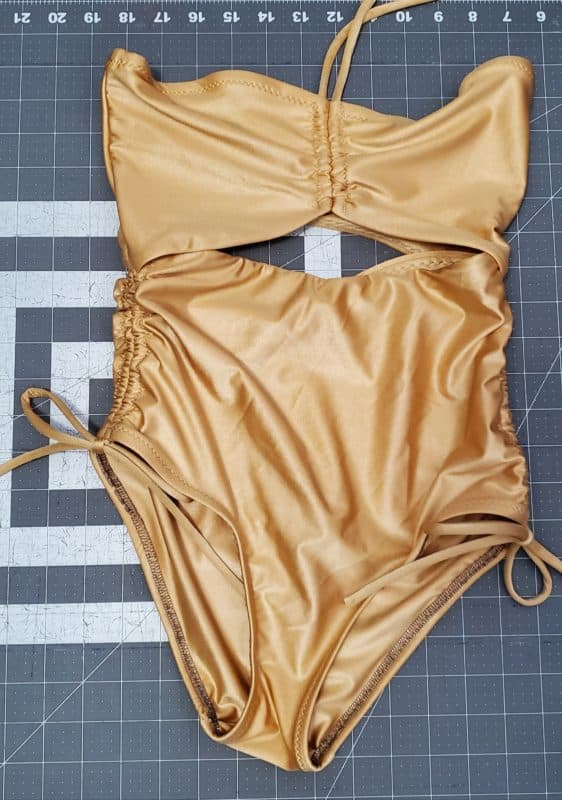
Using your sewing machine, topstitch the top to the bottoms. Going back and forth a few times to make sure its secure. You are finished! How cute are those side ties? I also did the strapless, center halter hack on this one! So fun that all of the Shelly hacks work so well with each other. You’ll get the perfect Shelly for you! -Stephanie
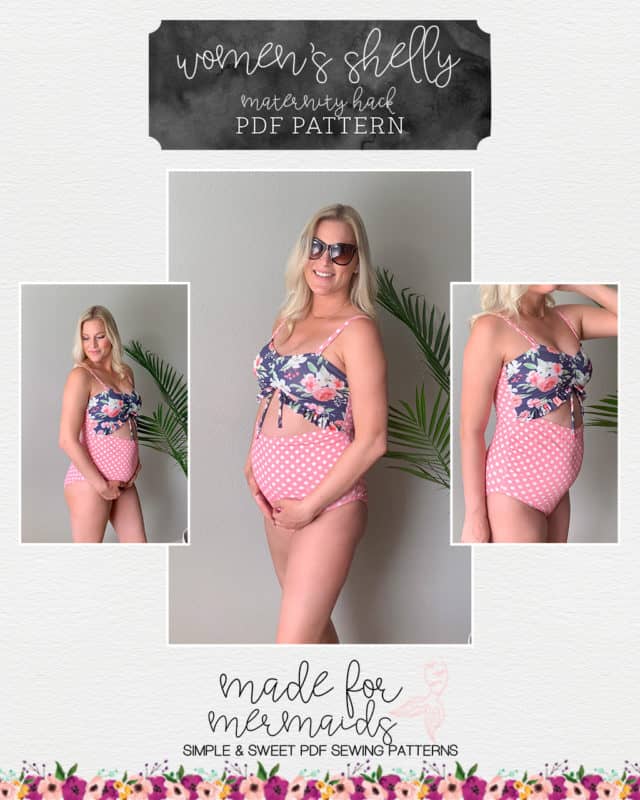
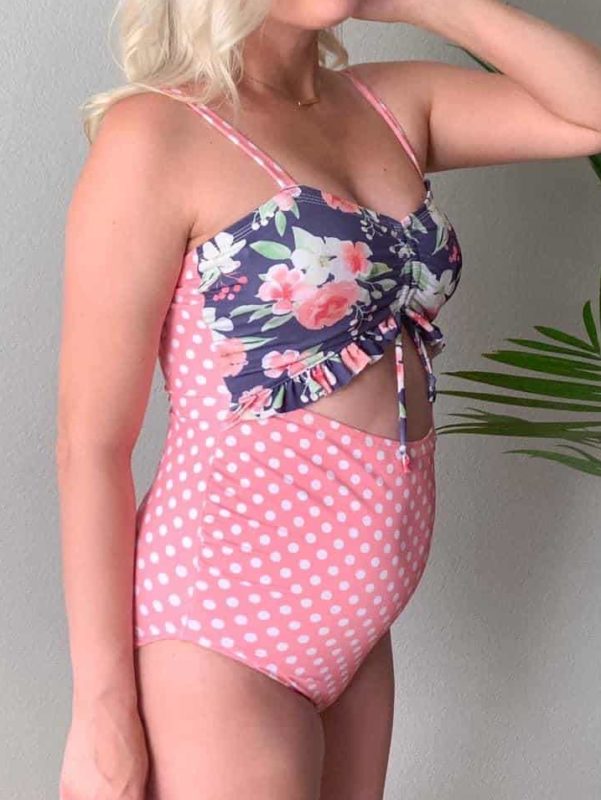
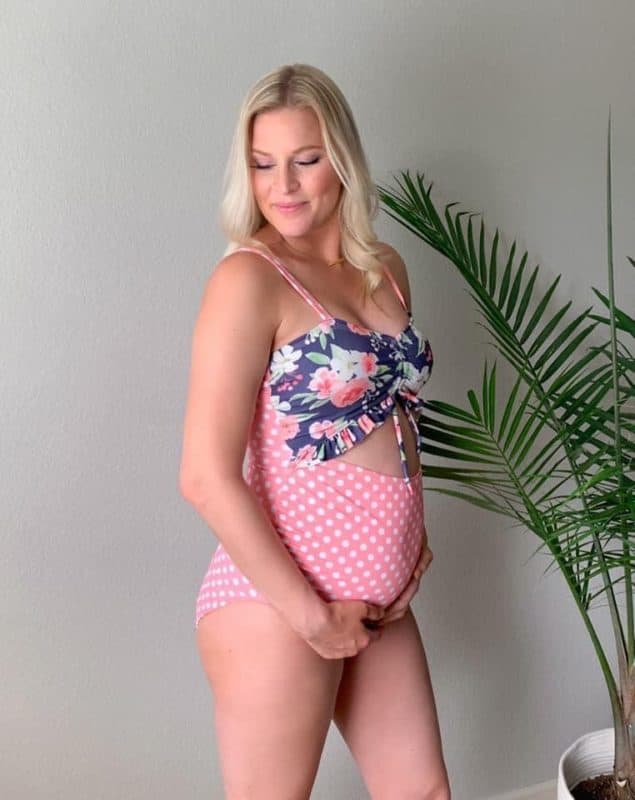
Maternity Hack
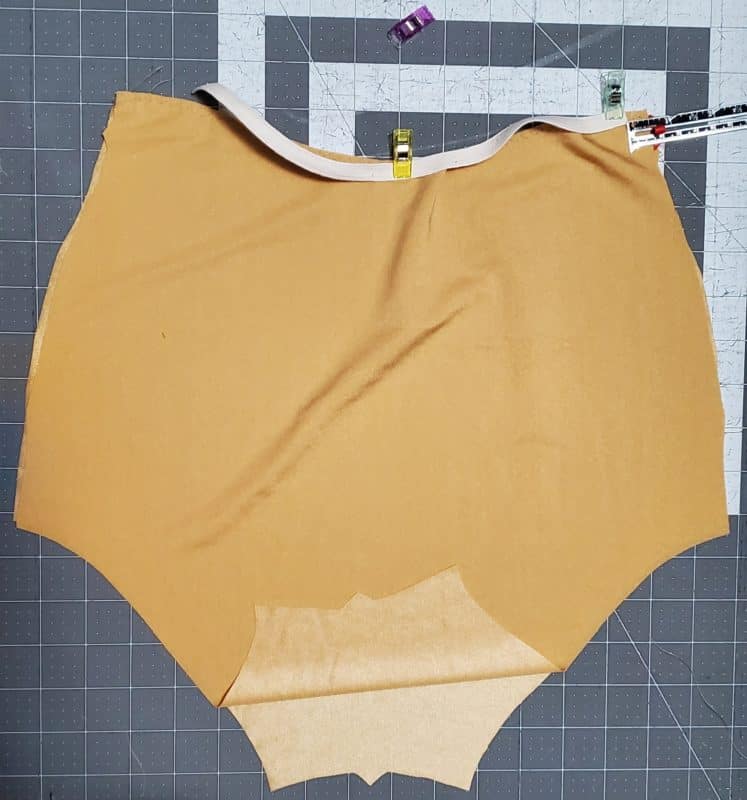
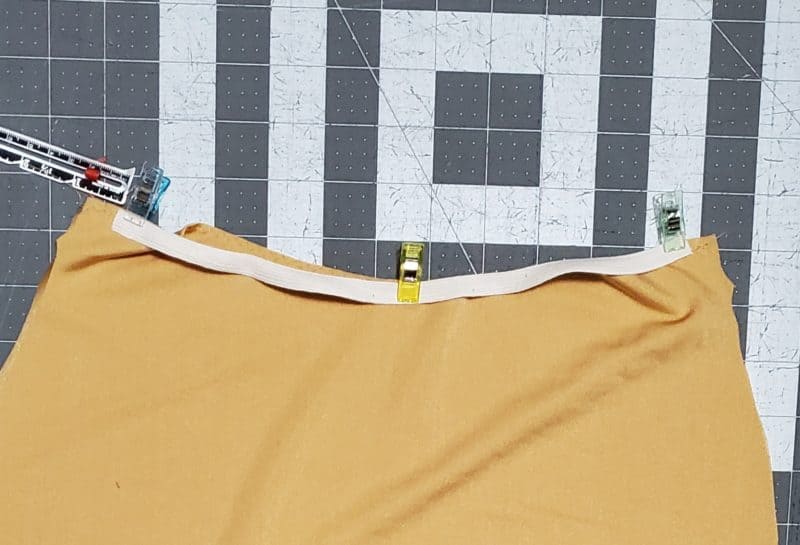
Looking to alter Shelly for maternity swim wear? You will want to add width as well as length to your front bottom piece. Additionally, you will need to add some width to your belly elastic.
For length, this will vary depending on belly size, but start with 3″ as a rough estimate. You can add/subtract as needed.
Likewise, the exact amount you need to add will vary; however, start with adding 2.5″ from the notches on the main bottom piece, and 1″ from the top of the newly measured waist.
You will then need to grade out to the 2.5″ marking, and then back in the 1″ marking. This will create a “bubble” on the side of your main bottom piece, but it will give more belly room. Cut your lining piece out to match.
Gather your new bottom pieces so that the new pieces are the same height as the original bottom pieces. Add elastic to the side seams to helps support.
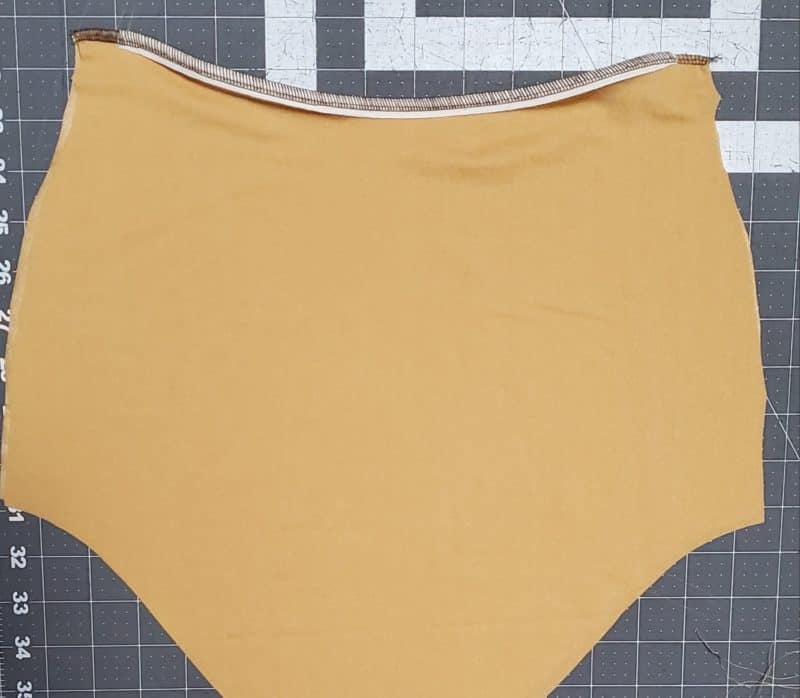
Finally, add roughly 1.5″-2″ to your belly elastic before attaching. Once you’ve cut your elastic, continue with the tutorial as written. For more help, check out our existing maternity swim hack over here.
Halter Hack
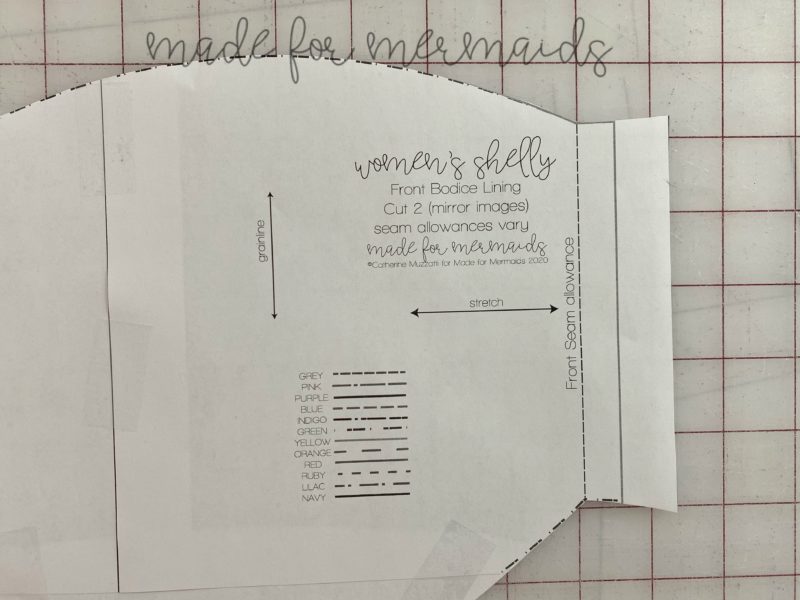
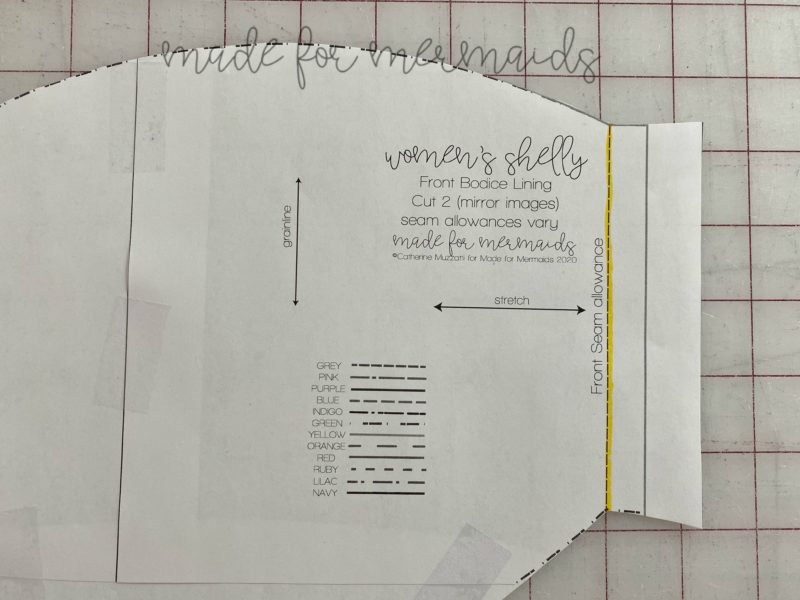
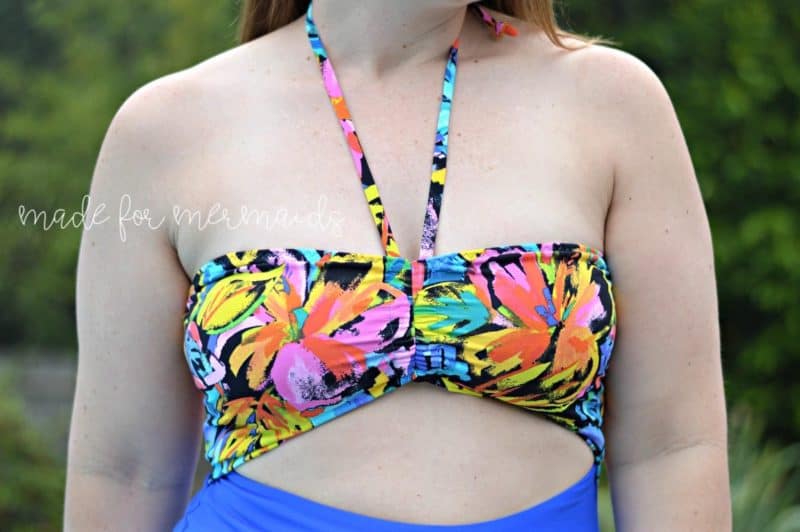
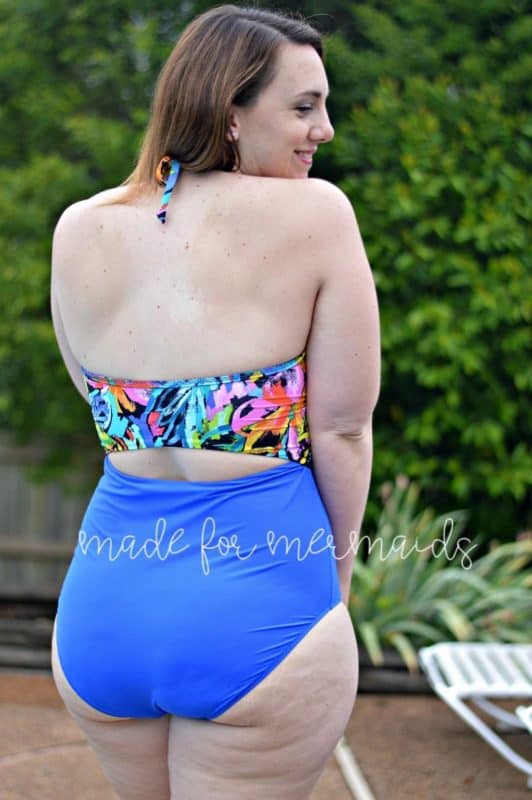
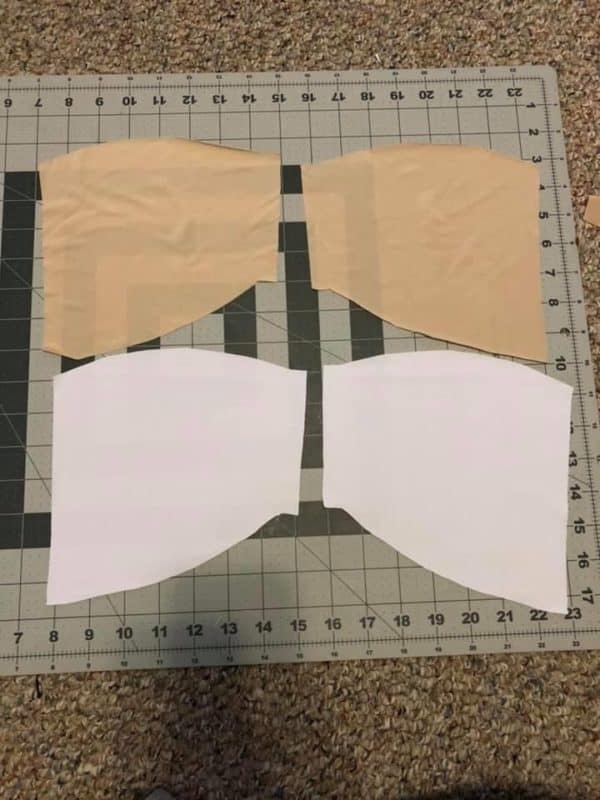
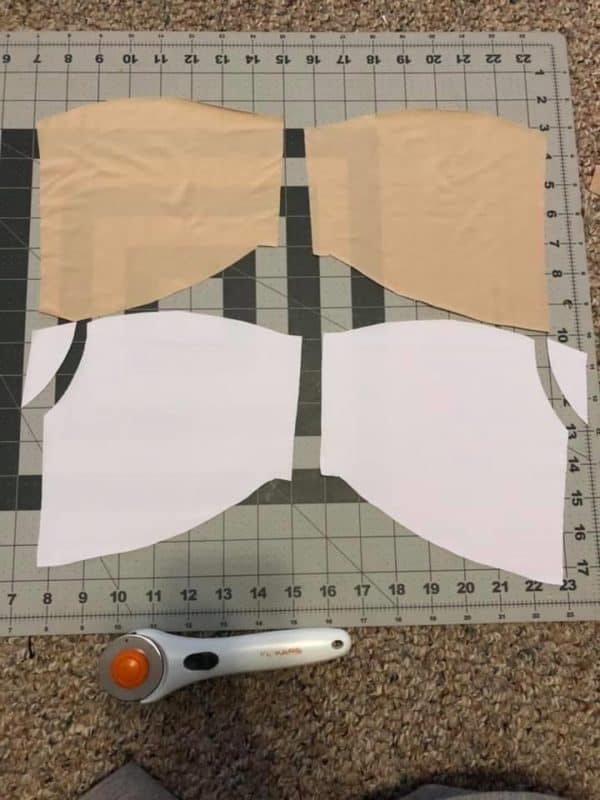
Want to have one center halter strap instead of the shoulder straps? Adjusting the bodice pieces are simple to allow for a center strap. Due to the center strap needing to help hold up the suit, you will need to widen the center tie to accommodate elastic. I cut my center tie the width of my fabric (approximately 58 inches). Since I have 3/8″ swim elastic on hand, I used the shoulder strap template from the pattern to determine the length of my tie piece. I constructed the center halter tie using the same method Catherine used in the tutorial for the shoulder straps. The bodice and lining pieces in the original pattern have a 1/2″ seam allowance in the center. When I cut out my pattern pieces, I left a longer tail on the bodice to give myself room to add in a larger seam allowance for my 3/8″ elastic tie.
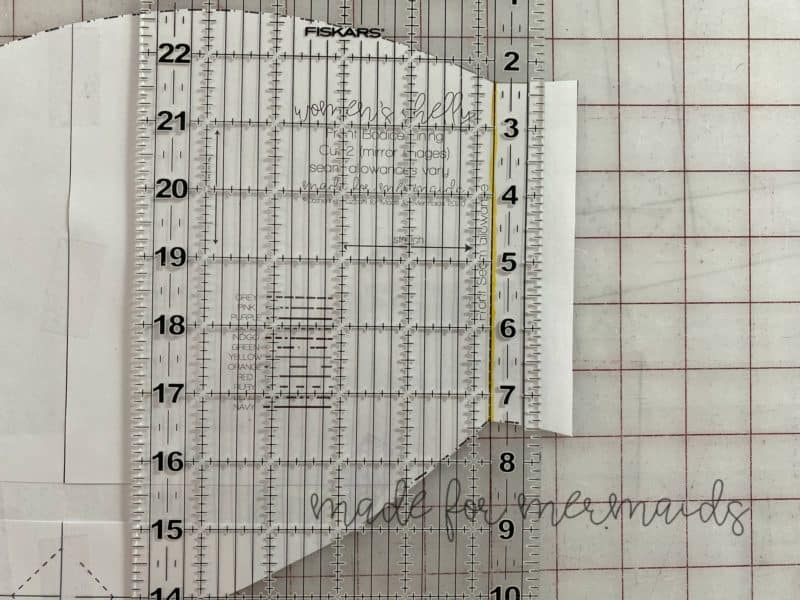
The front seam allowance dashed line is highlighted in yellow.
I chose to extend the pieces to 3/4″ seam allowance to make enough room for my tie in the center front bodice casing. I marked the new 3/4″ seam allowance in red on both the bodice main and bodice lining. Then I trimmed the excess paper to create my new pieces.
Construct the swimsuit per the tutorial until Step 10. You will need to shorten the elastic piece for the neckline by 0.5-1.0″ in order to tighten up the top of the bodice. The bodice will need to be a little tighter to stay in place with just the center tie compared to the two straps. Then, create the new, larger casing using the method in the tutorial. Thread the new elastic constructed center tie in the opposite direction for a different way to wear Shelly. Enjoy! -Stacey
Looking for another halter option? You could also keep the center as is, and lengthen the existing shoulder straps. For this option you would attach both straps in the front per the tutorial, but instead of attaching them in the back, tie a small knot at each end, then tie around your neck. That’s it! Just remember to extend your elastic to accommodate for the longer strap pieces.
Swim Cup Hack
This swim cup hack is super easy! Cut an extra lining piece for each of your Shelly top pieces; you will have six tops together (three of each side). Cut the corner out of the top outside edge of your outer most lining pieces. From this point, treat both lining pieces for each side as one single layer. You will be able to add/remove swim cups using the cut you made.
Mermaid Shores Collection
Whether you’re heading on vacation, or just lounging in your backyard, be sure to check out the rest of the Mermaid Shores Collection! They pair great with our Resort Collection, too!
Don’t forget to share all of your gorgeous makes in our Facebook group. We love, love, love seeing what you sew up! Happy sewing 🙂














Leave a Reply