It’s no secret that making swimsuits is my absolute favorite thing to do. I think it goes back to the dread of swimsuit shopping in my teens when I struggled to find suits that fit me. I needed one size top and a bigger size in bottoms, which narrowed my shopping choice down to one store in my area where you could purchase separates. These days, I take every opportunity to sew up my own swim suits to suit my current needs and style.
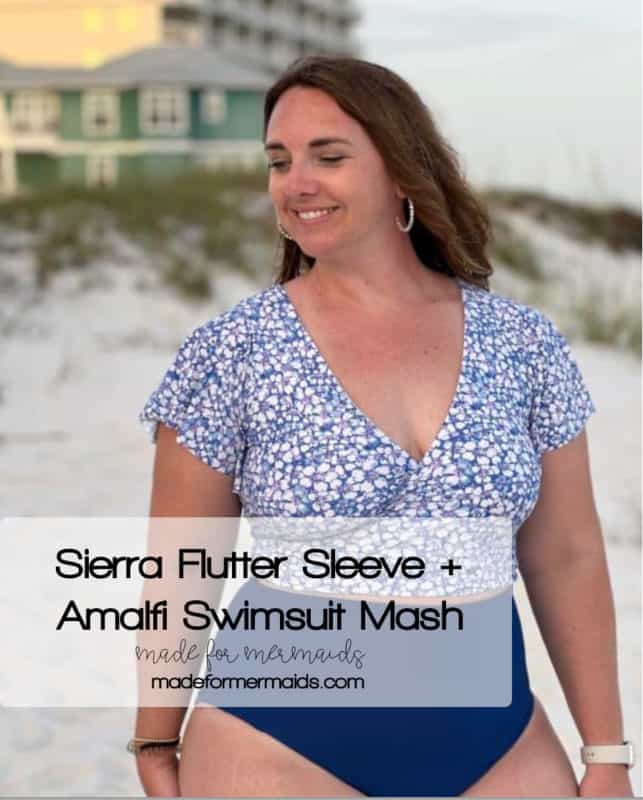
Made for Mermaids released the Amalfi Reversible 3-Piece swimsuit a few weeks ago. Of course, I already have three different Amalfi suits, but I have had this pattern mash up in my head for a couple of weeks now. I may love swimsuits and summer, but the summer sun does not always love me. I wanted to create a suit that could cover my shoulders as I unintentionally get a little too much sun on my shoulders.
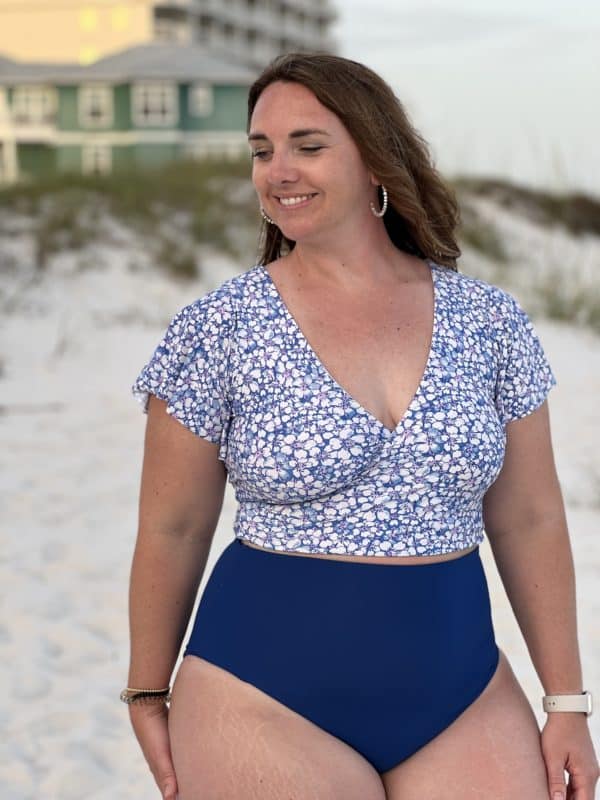
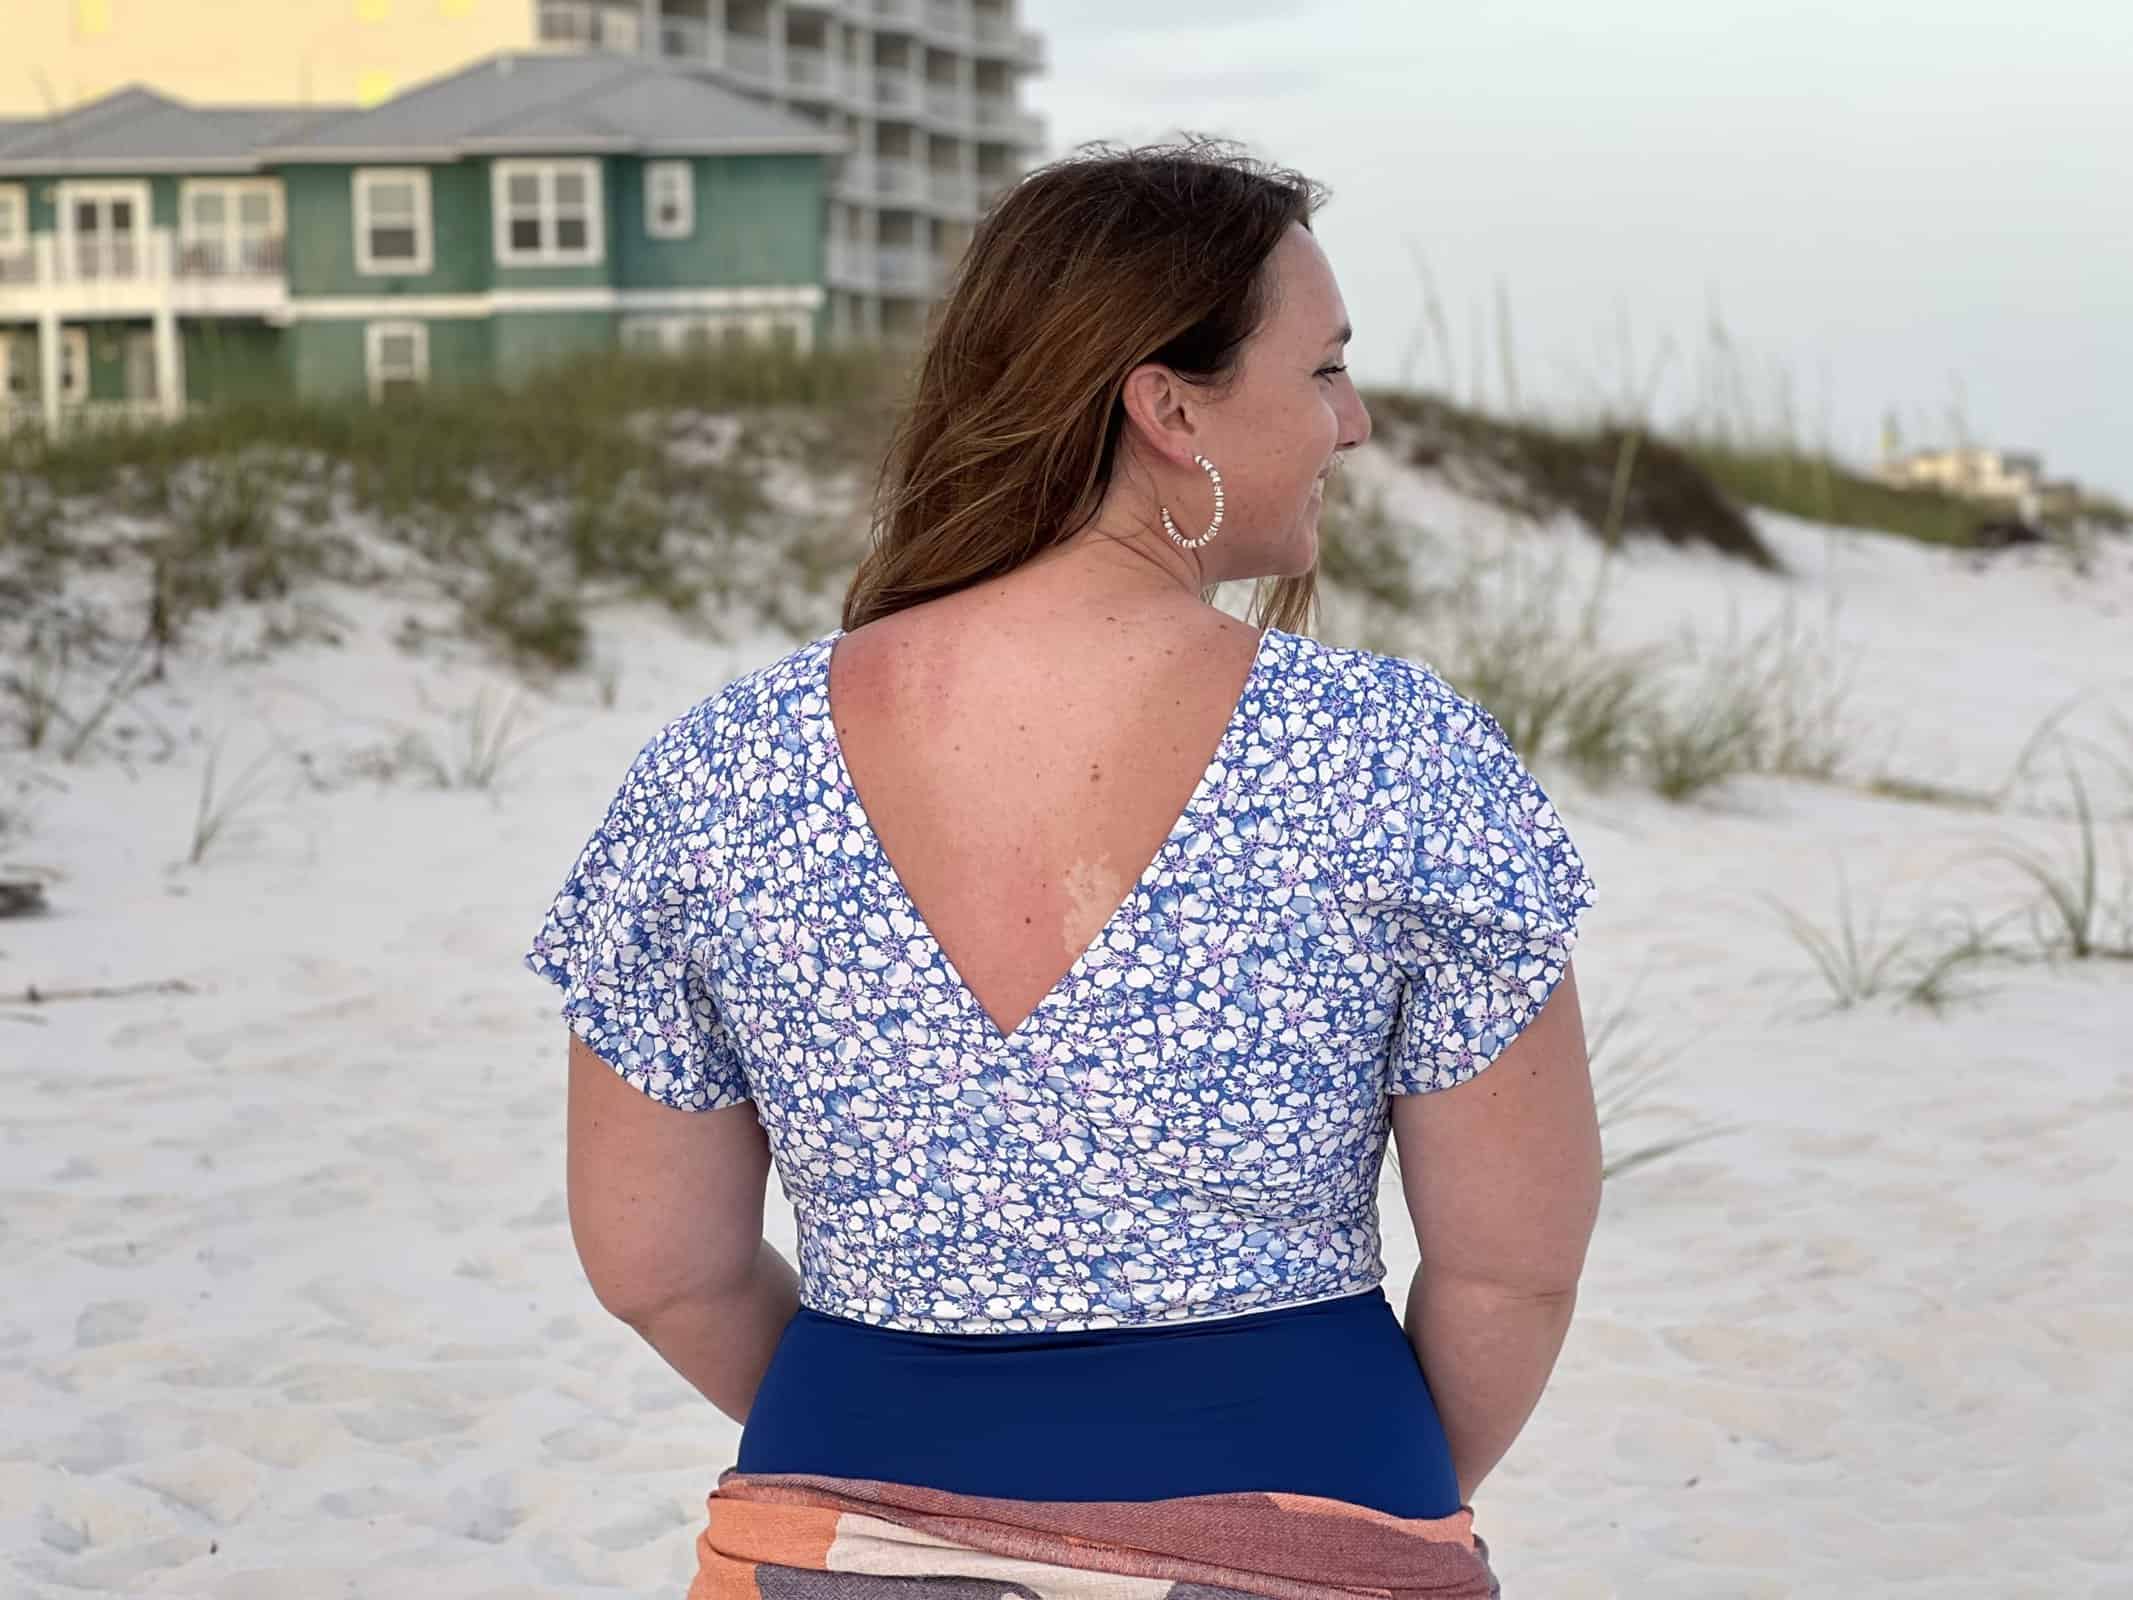
The flutter sleeve on the Sierra Peplum, Mini, Maxi and Romper pattern makes the perfect airy shoulder coverage that I was looking to add to a swim top. I decided to mash the Sierra sleeve with the Amalfi top pieces to make a non-reversible flutter sleeve swim top. Follow along below to make your own version of this mash up.
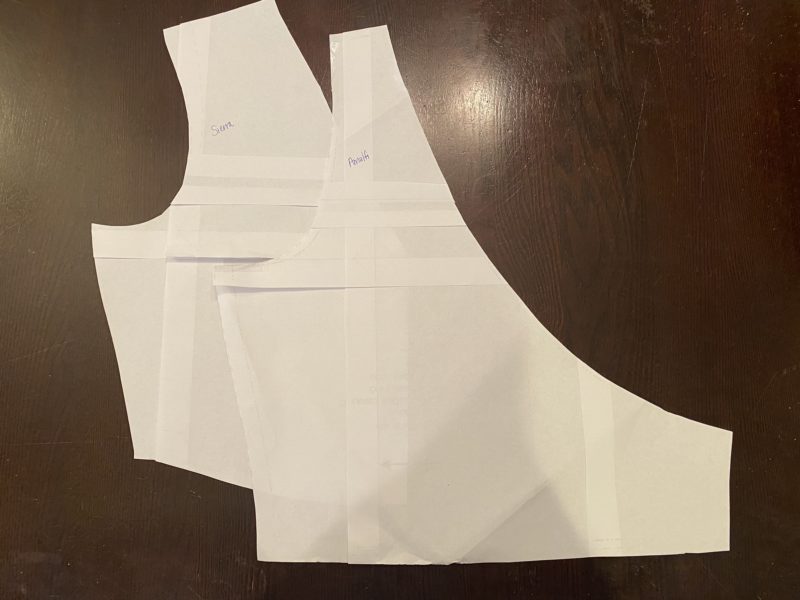
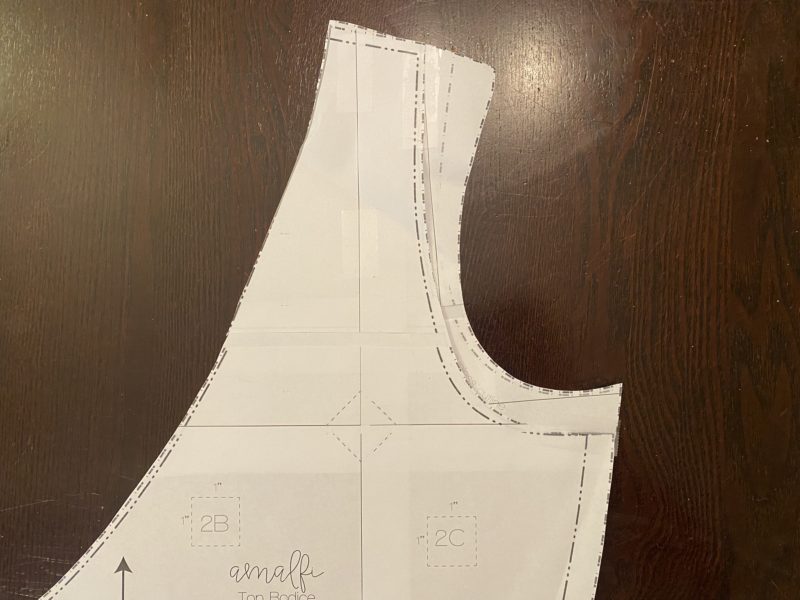
Before cutting your top and sleeve pieces, we need to adjust the top pattern piece of the Amalfi. Prepare your Amalfi pattern piece with your necessary adjustments (lengthening, shortening, etc). Also, prepare the front bodice piece from the Sierra pattern. I personally have to add height through the armscye; therefore, I made my adjustments to both pattern pieces. Then, I took my Sierra bodice pattern and placed it underneath the Amalfi pattern piece.
I lined up the shoulder seams and the side seams of the bodices. Due to the Amalfi being designed as a sleeveless pattern, the armscye will sit lower than Sierra.
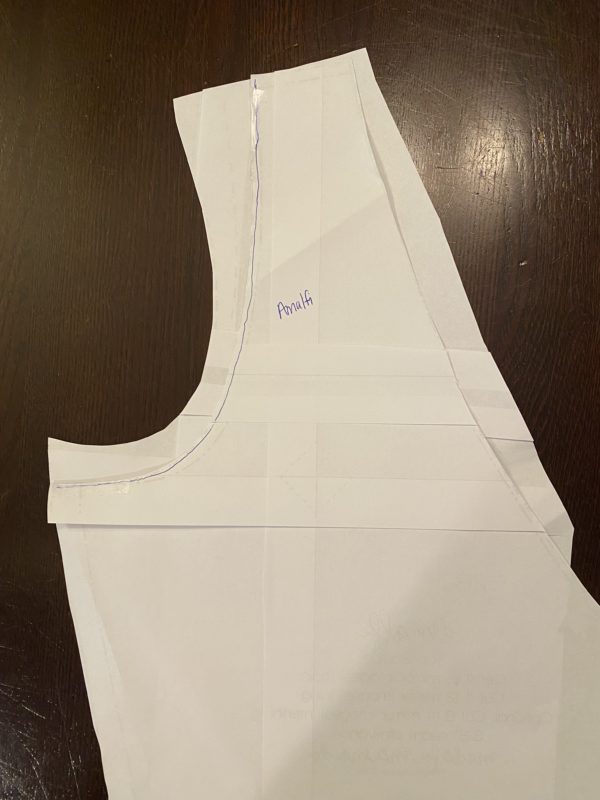
I trimmed off the portion of the Sierra bodice that we will not be using along the long front angle of the Amalfi.
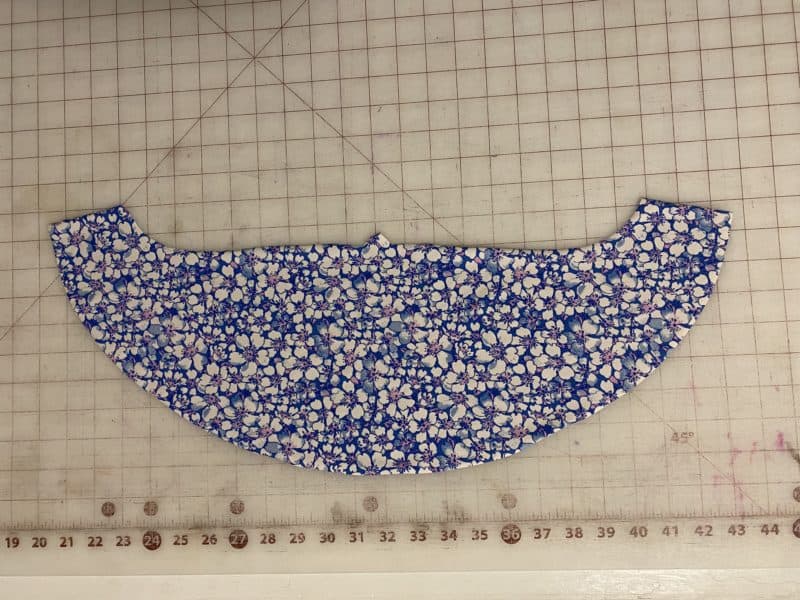
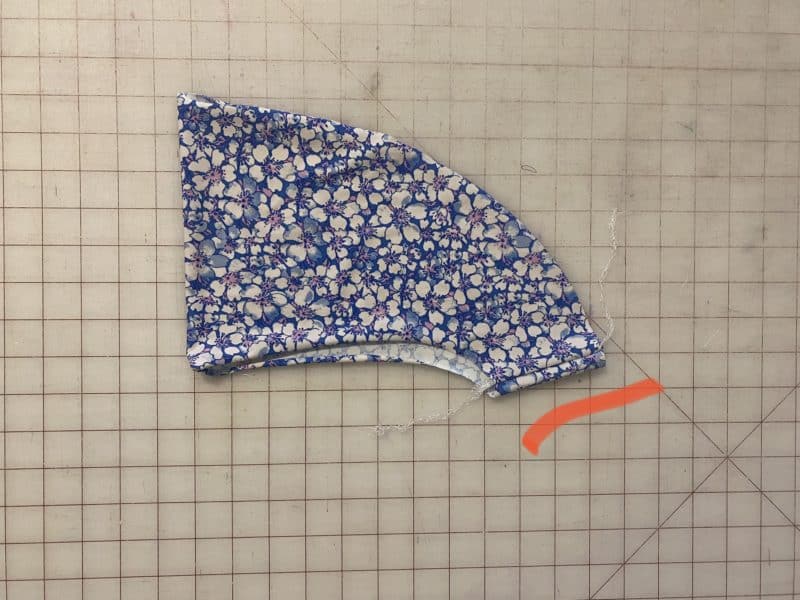
Now, our pattern pieces are ready to cut out. Cut out 4 bodice pieces with our new pattern piece (2 sets of mirror images) in both your main fabric and your lining fabric. You will also need to cut out 2 flutter sleeve pieces from Sierra (pictured below is one flutter sleeve piece). Due to the sleeve, this bodice will not be reversible like the original design of the Amalfi.
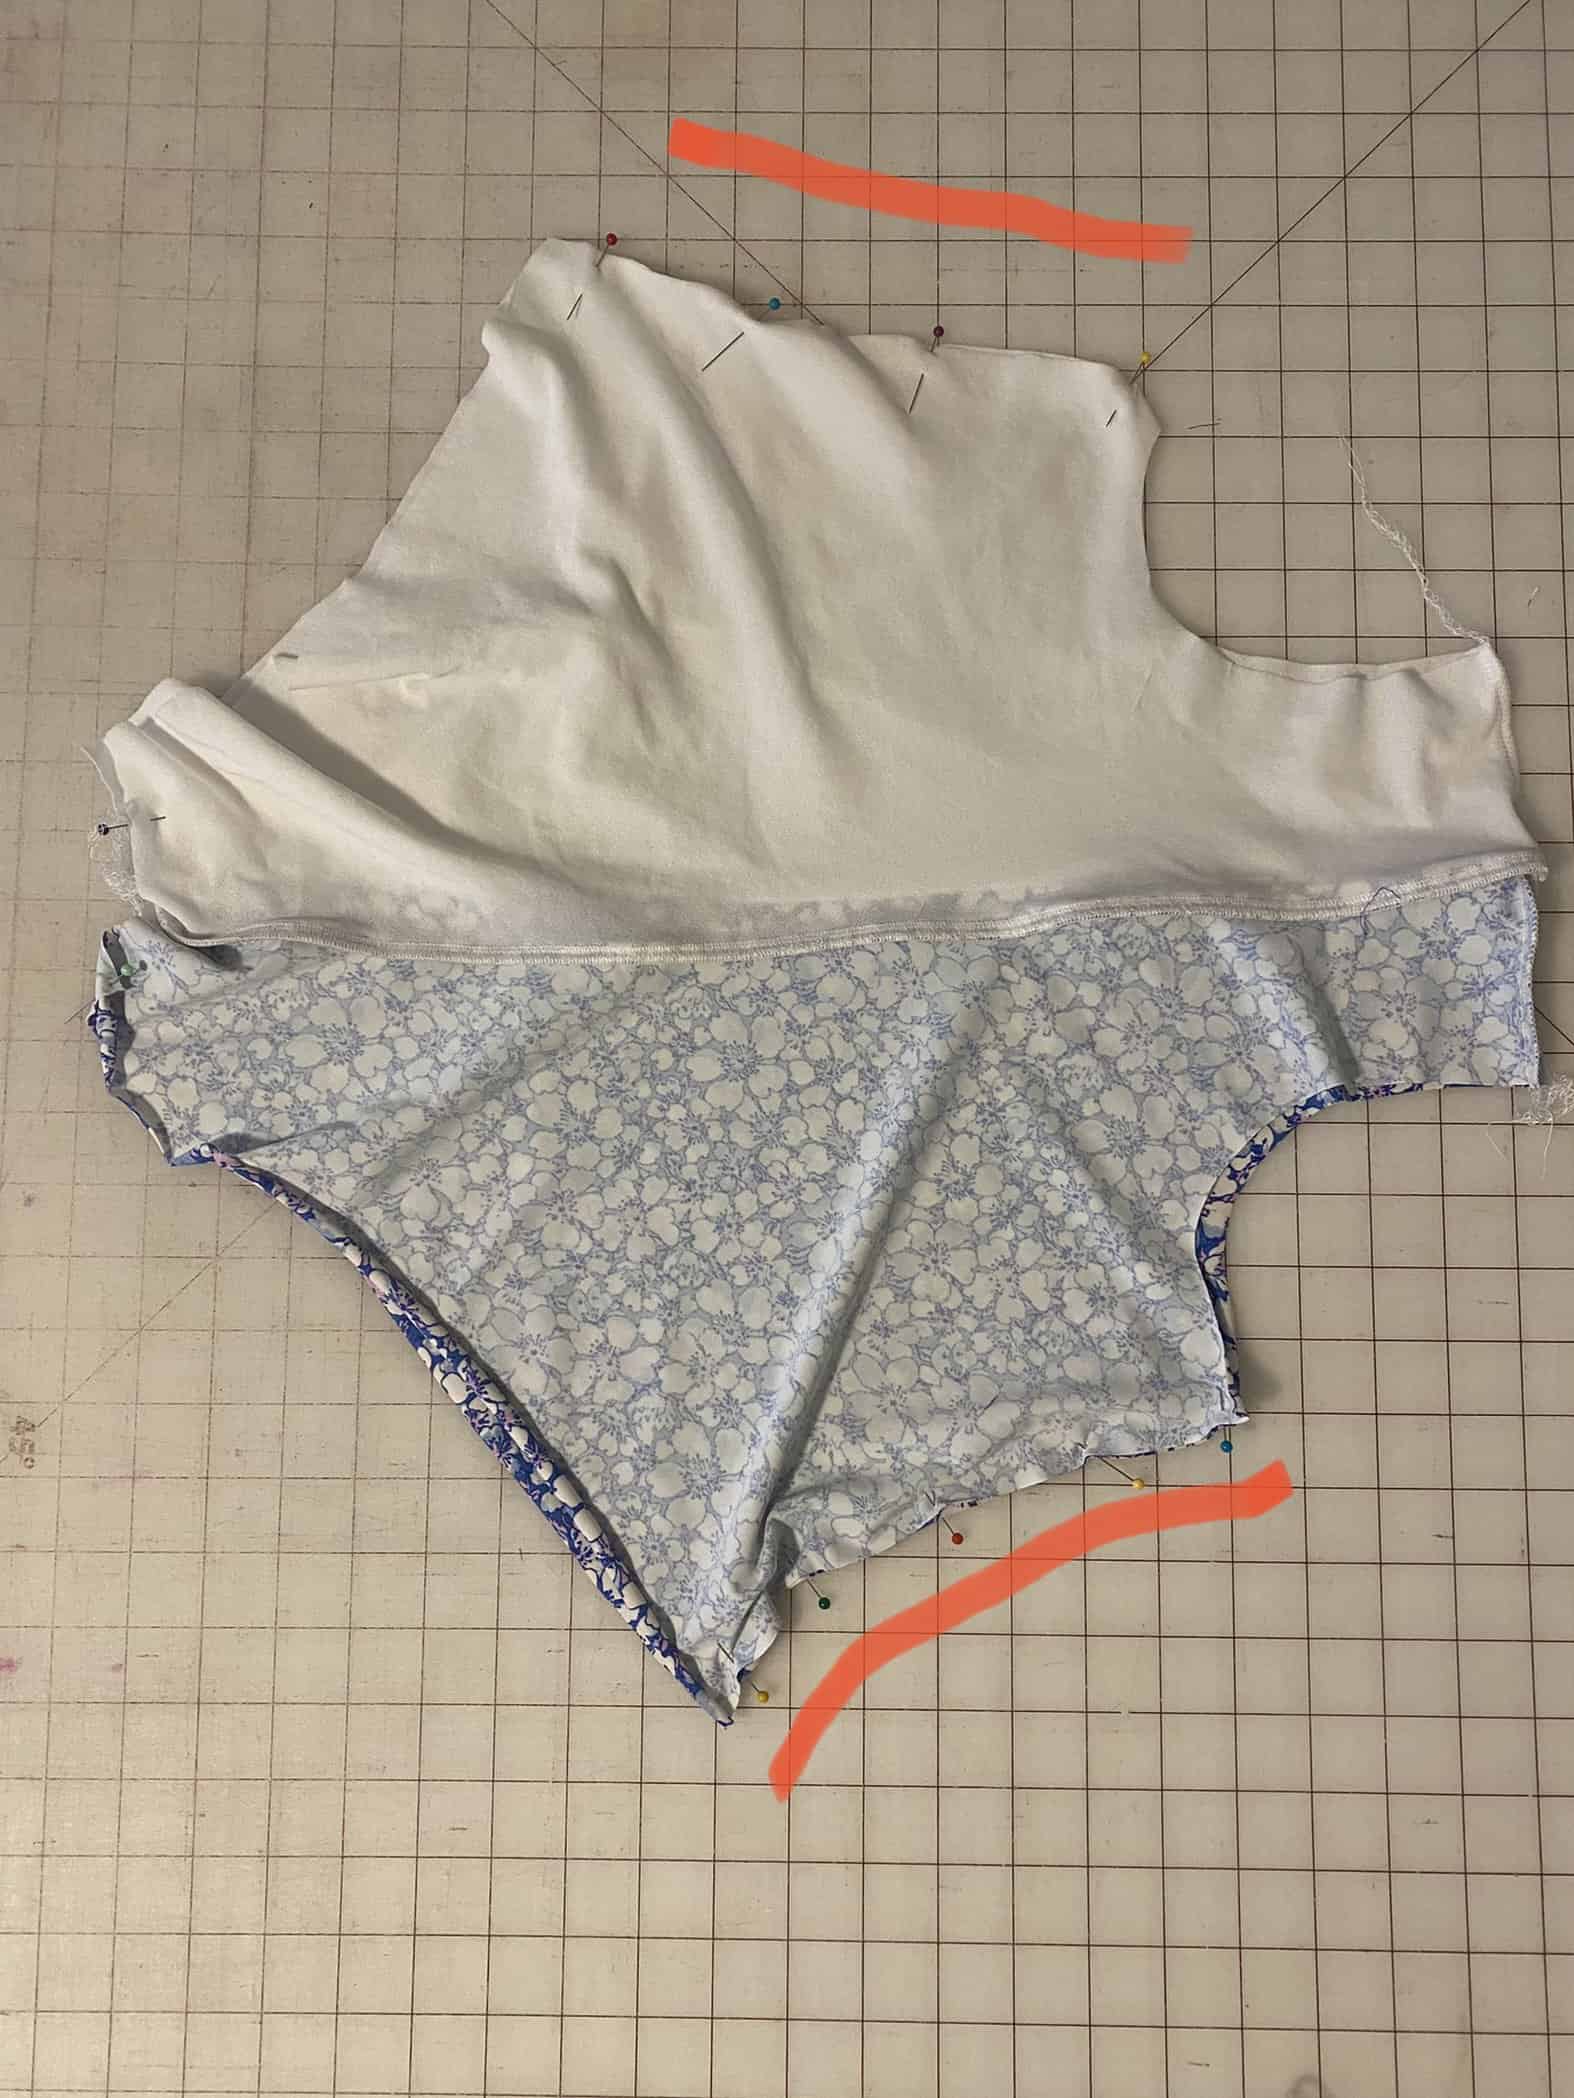
Sew the shoulder seams of the two main sets and the two lining sets. Then, sew the main and the lining together along the long front angle just as the Amalfi directions are written. Attach elastic to this seam.
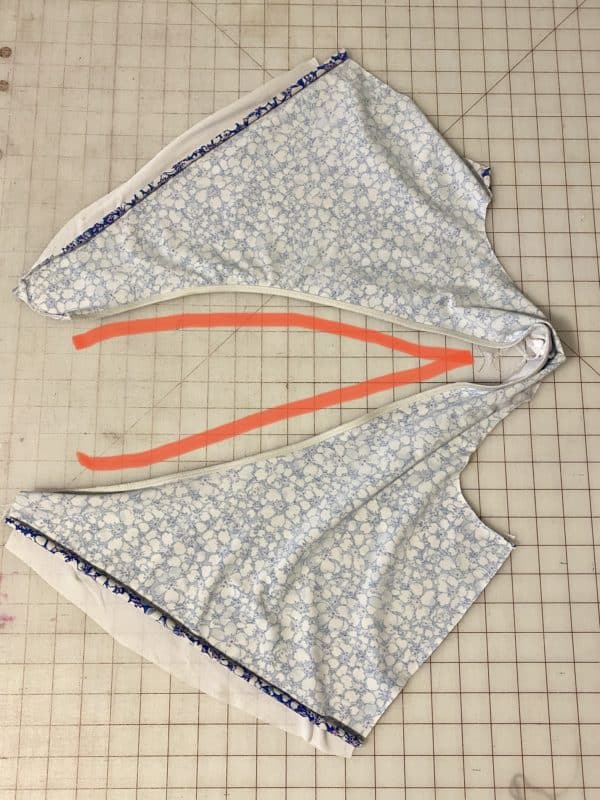
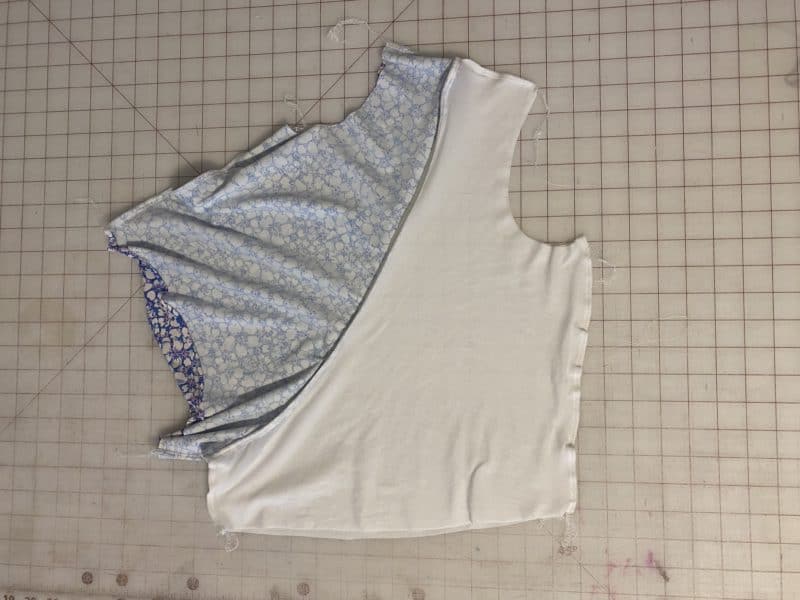
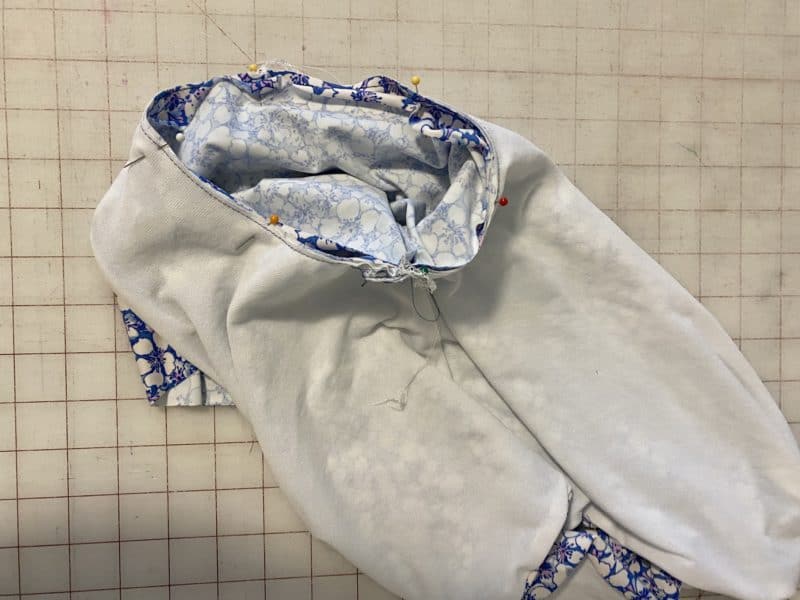
Turn the pieces right side out. Separate the main and the lining in order to be able to sew the side seams right sides together. You will not need to leave a hole in the side seam since we will be able to turn the bodice right side out through the unsewn armscye.
Here it is shown with the side seams completed.
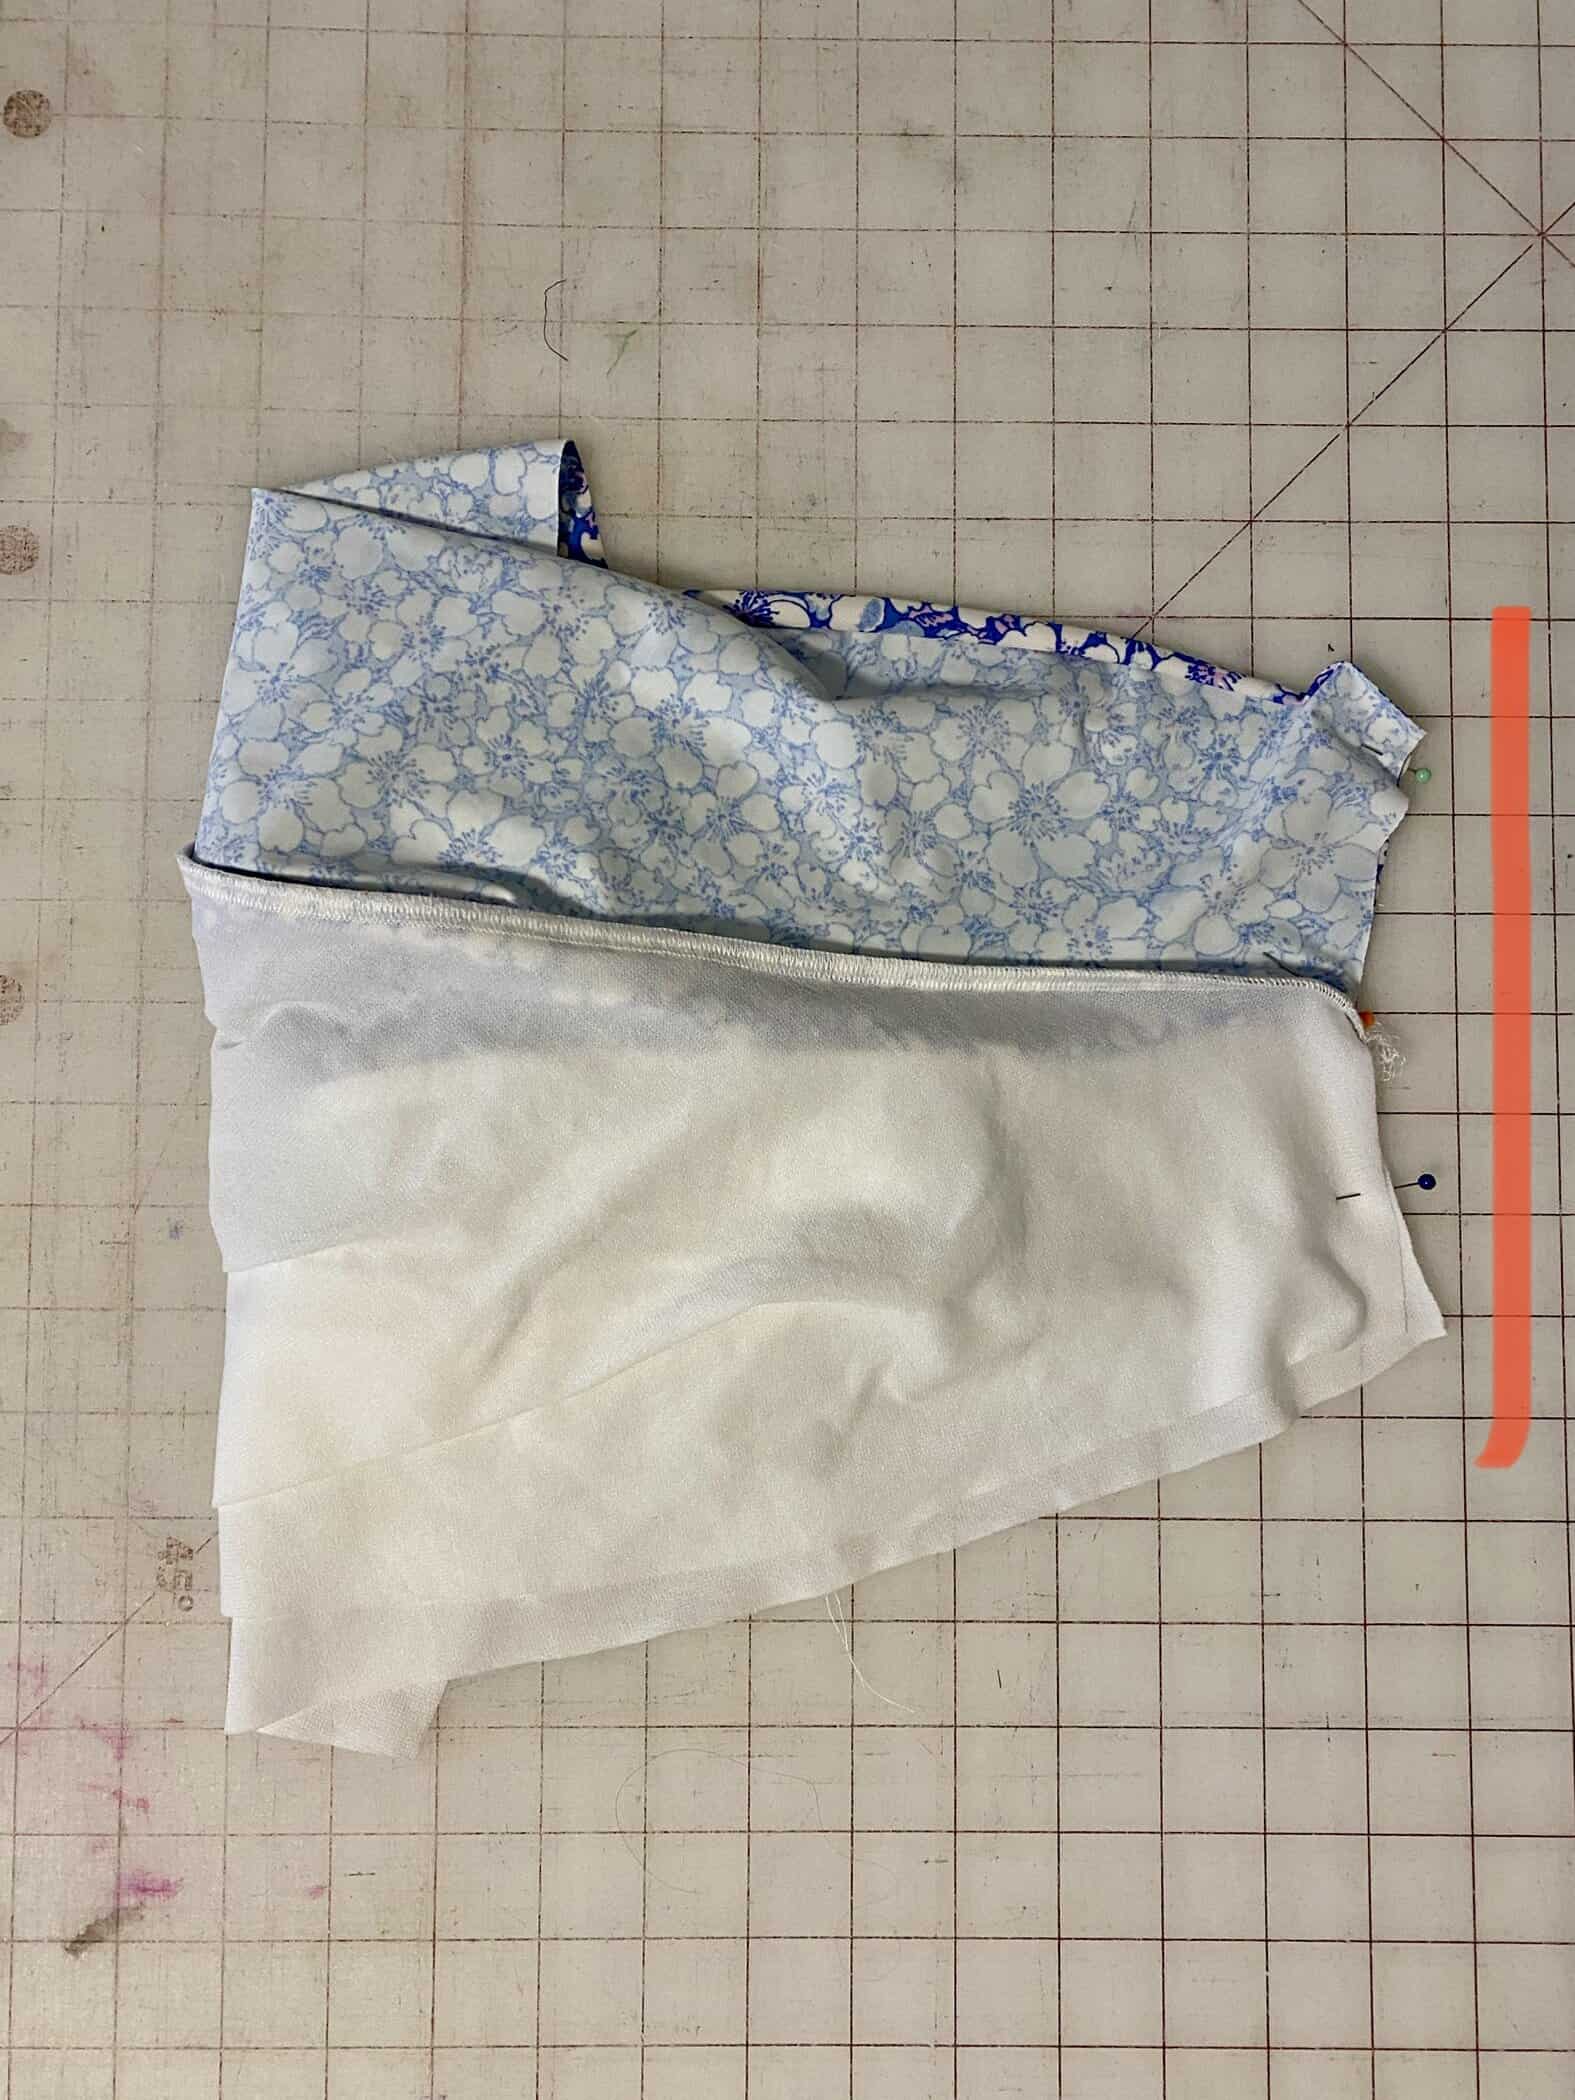
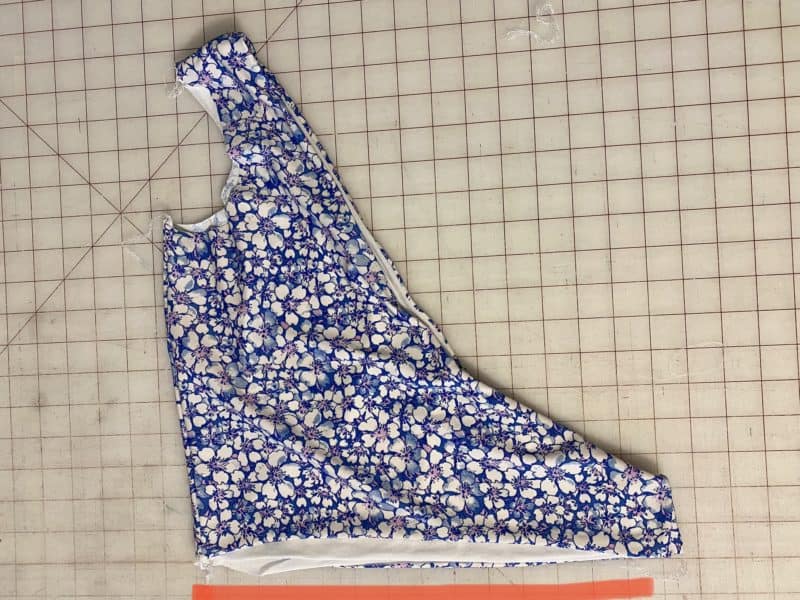
Turn the bodice right side out. Next, using the same method as the Amalfi pattern (the Amalfi pattern also includes a video showing these steps) sew the bottom seams together.
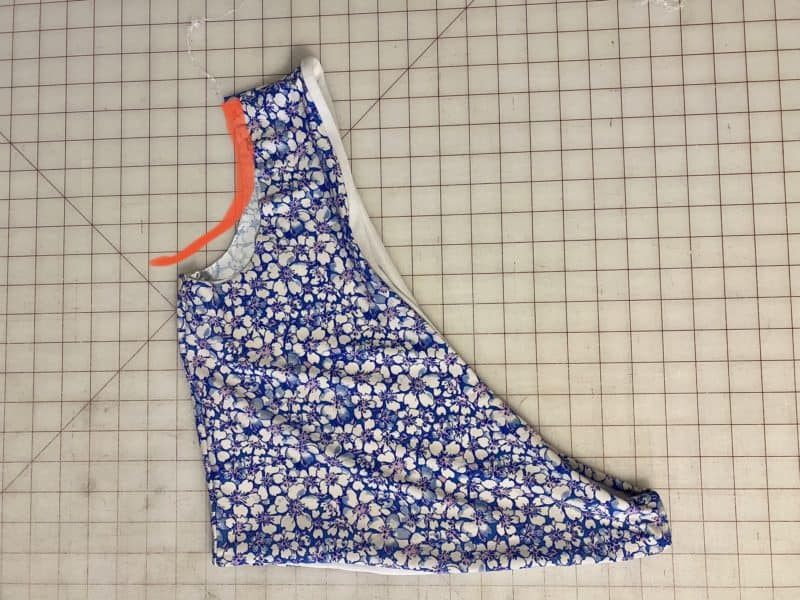
Turn right side out through the armscye. Then, baste the armscye main and lining fabrics together to make attaching the sleeve easier.
Sew the flutter sleeve together along its side seam.
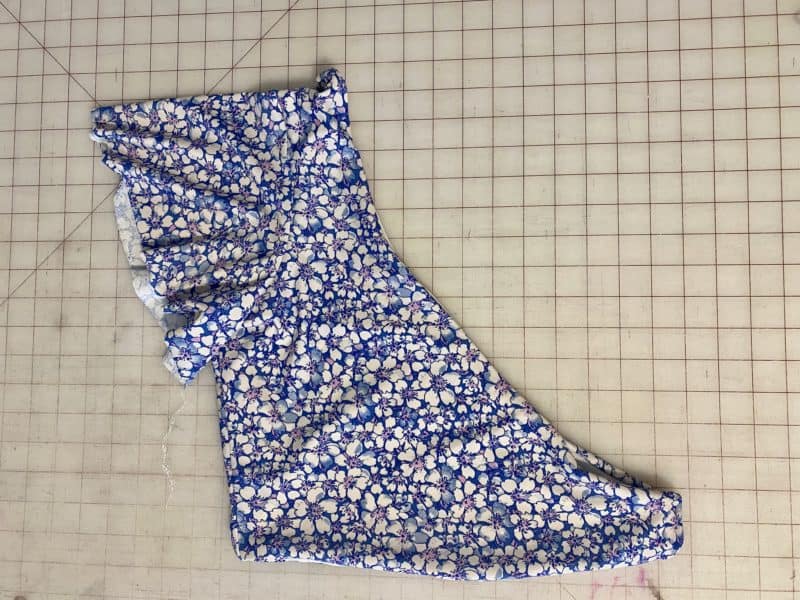
Then, attach the sleeve in the round. I chose not to finish the hem of the sleeve due to using swim fabric that will not fray. I did not want to add any bulk to the sleeve by hemming it as well.
Turn the bodice right side out, and it is complete. Repeat for the opposite bodice piece.
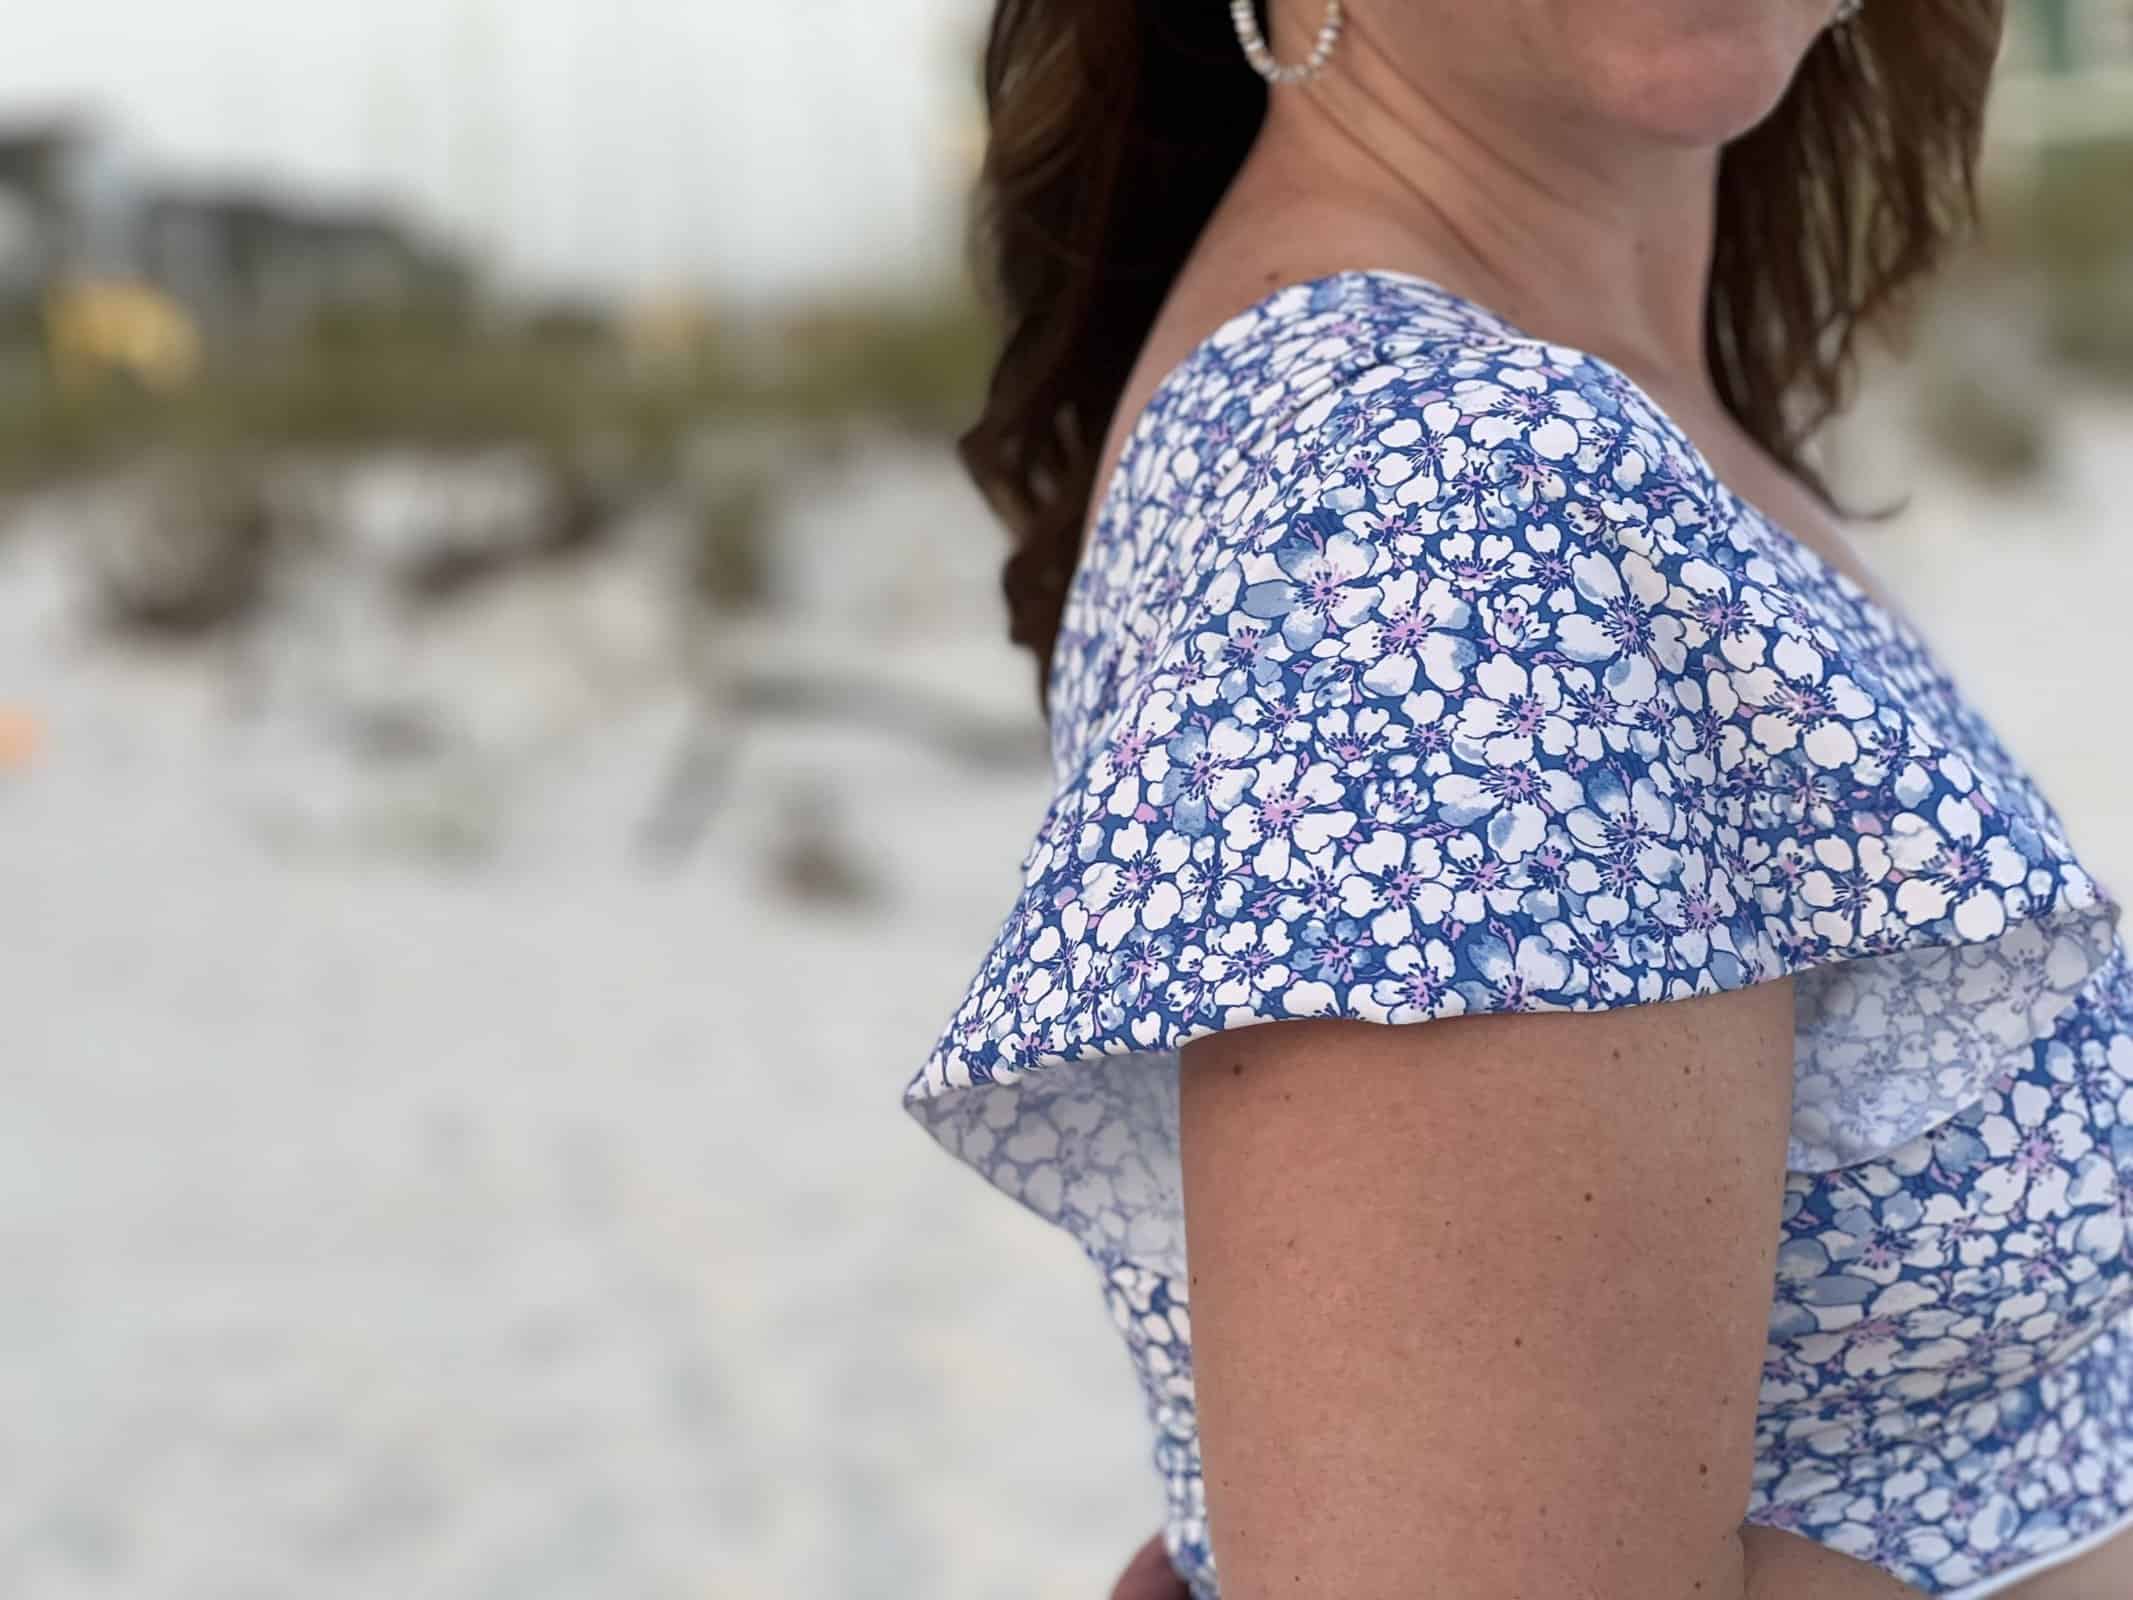
I love the look of the flutter sleeve, especially in this beautiful swim fabric from Boho Fabrics.
The Sierra sleeve can be added onto other patterns, too. Next up for me is the mash the Sierra sleeve with the Florence one shoulder top.
Thanks for joining me for another featured pattern mash up on the Made for Mermaids blog.
Stacey
Stacey is an outpatient physical therapist who found a love of sewing almost 7 years ago. She has two elementary aged boys who are very active in sports. Sewing is her outlet after the daily chaos settles each night.




Leave a Reply