Hello lovely Mermaids, there are 3 new releases for you all today- Sommer, Mama Sommer, and Baby Sommer! All of these patterns are already packed with options, but today I will show you how to mash/hack your pattern for even more options. The mashes and Hacks include: Juliette or Noelle Skirt Mash, A Sommer Swim Hack, Crop Top Hack, and a Shelf Bra Hack! 🙂 Don’t forget to grab your patterns while they are on sale for $7 each from now until May 14th midnight CST. You can also create your own bundle for even more savings! Use code BUY2SOMMER for $3off your bundle of 2 or code BUY3SOMMER for $5off your bundle of 3! Bundle discounts are only available during the release sale.
Juliette OR Noelle Skirt Mash
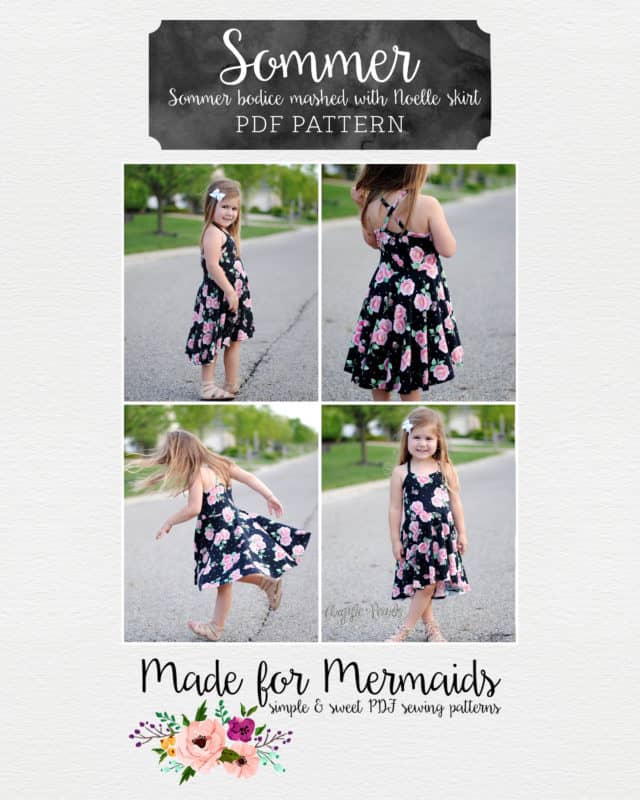
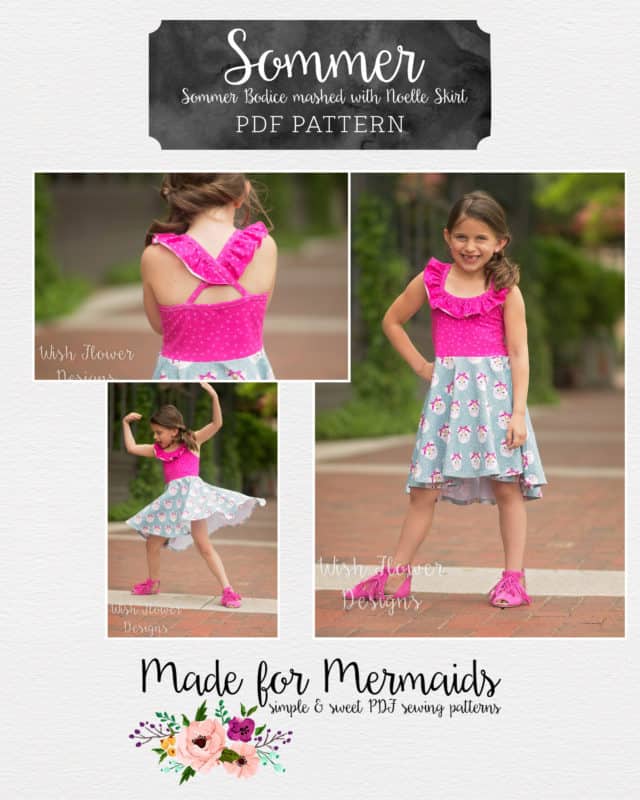
This mashup is super easy! The Sommer bodice mashes perfectly with the circle skirts from Juliette and Noelle. This is great for those who don’t like to gather or for those whose daughter’s love to twirl! For this one, just cut and sew and the NATURAL WAIST bodice of Sommer and then cut out your circle skirt from either the Juliette or Noelle pattern. Hem the skirt as instructed in those tutorials, attach the skirt to the bodice and you are done! Quick and oh so cute!
Sommer/Juliette Mash
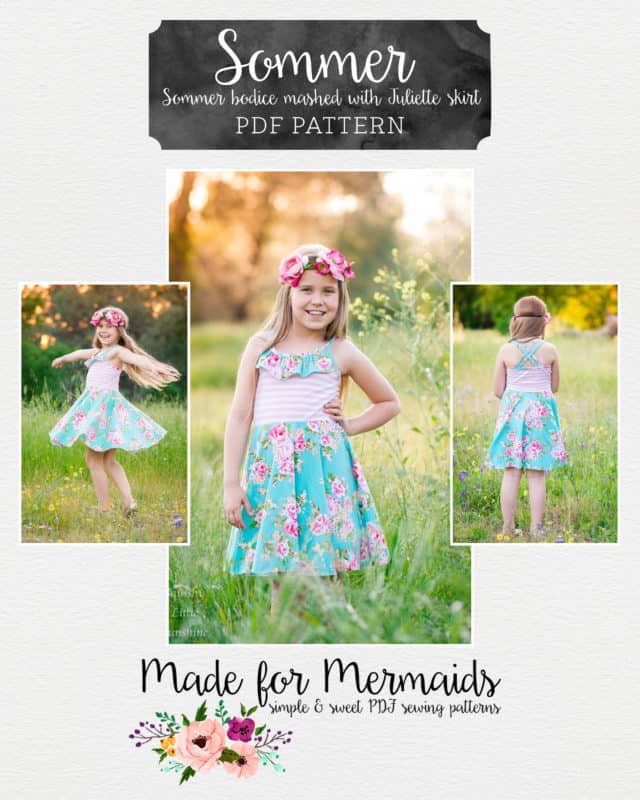
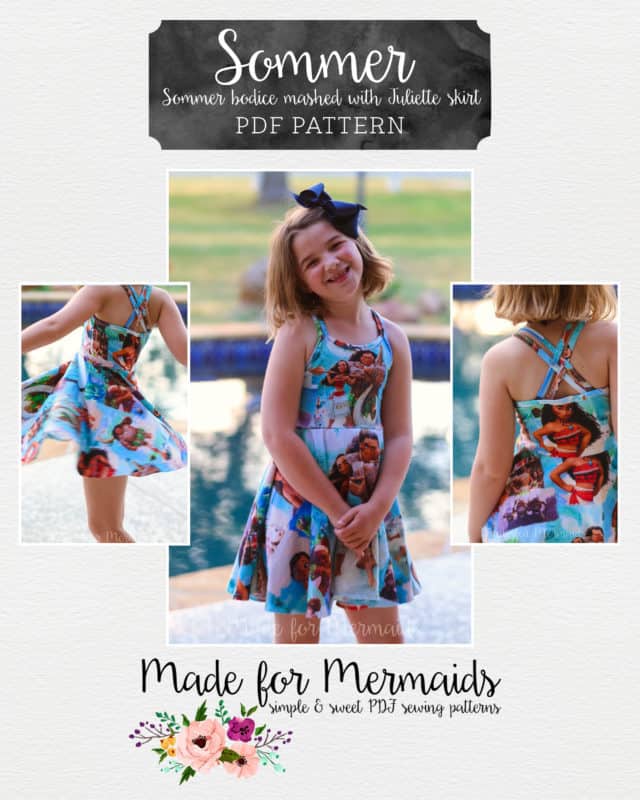
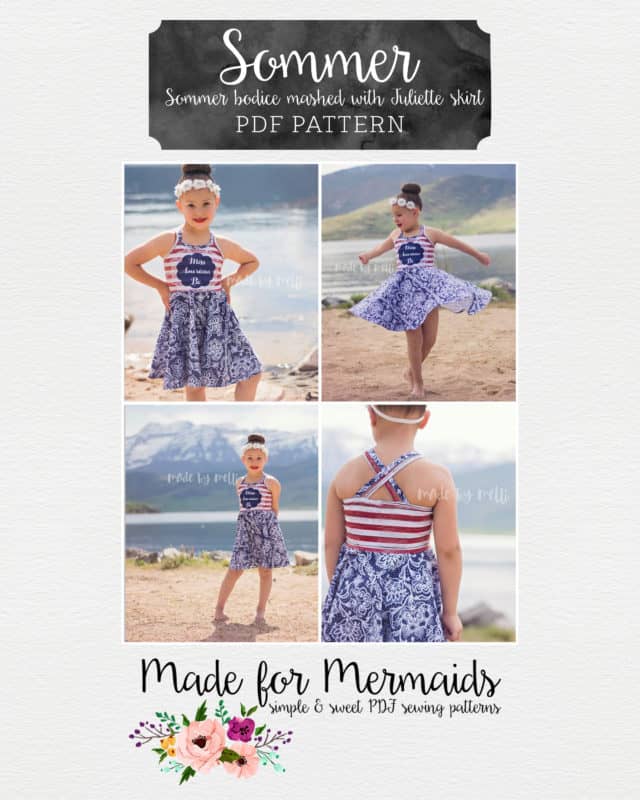


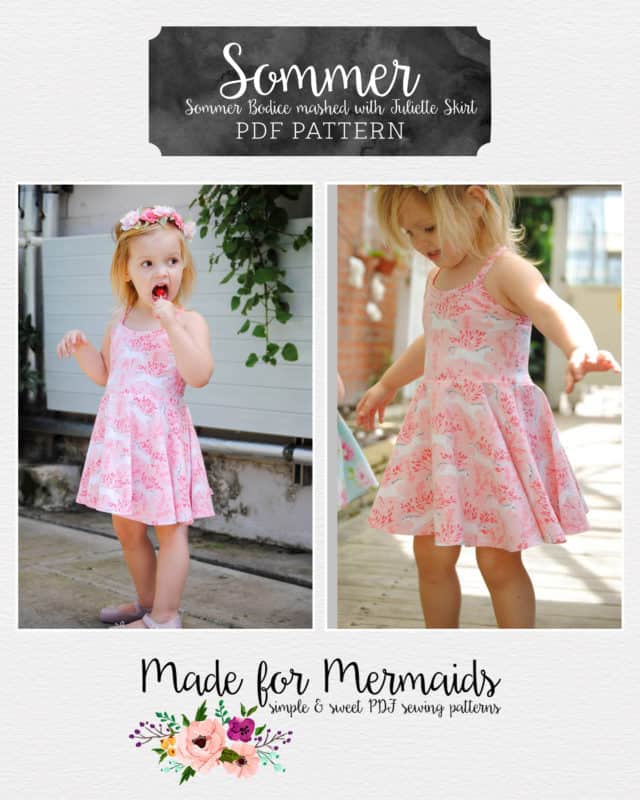
Sommer/Noelle Mash


Sommer Swim Hack
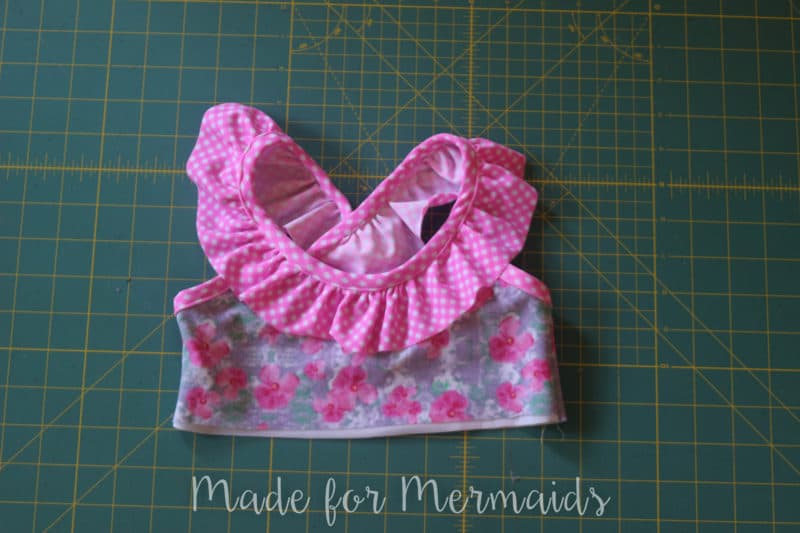
For this Hack, I will show you how to take the Sommer bodice and turn it into a swim top! Cutting at the empire waist line will give you a shorter bikini style top, and cutting at the natural waist line will give you a longer, tankini style top.
Supplies:
-Swim/Performance Fabric and Swim Lining Fabric
–Sommer Front and Back Bodice Pattern Piece, Front Neckline Binding Pattern Piece, and your choice of Back Neckline Binding Pattern Piece. I like to size down 1 width when making a swim top, but this is up to you!
-1/4″ and 3/8″ swim elastic
STEP 1: CUTTING
Cut 1 front and 1 back bodice piece on fold out of your MAIN fabric. Cut 1 front and 1 back bodice piece on fold out of your LINING fabric. Cut binding pieces. Cut optional Ruffles. 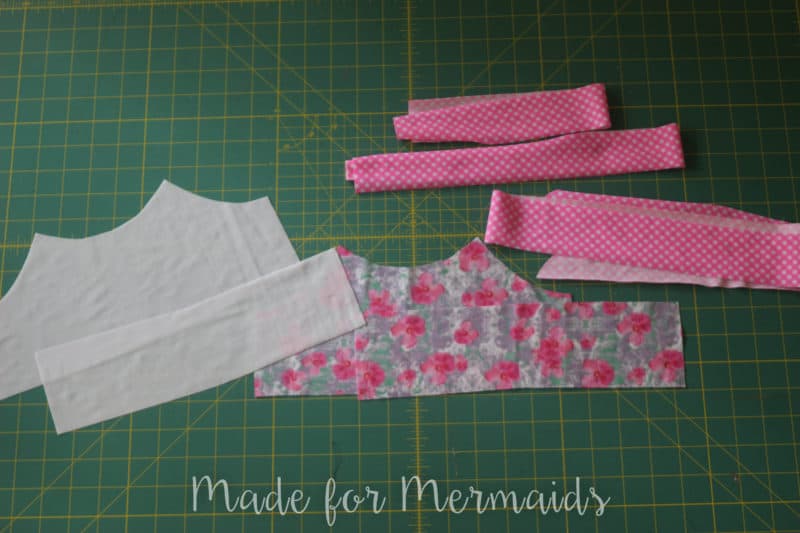
STEP 2: BODICE SIDE SEAMS
I like to line my swim bodice, but if you want to skip this step, you may sew the side seams together per the tutorial. Lay your front LINING piece WRONG side facing up. Lay the front MAIN piece on top of this, with the RIGHT side facing up.
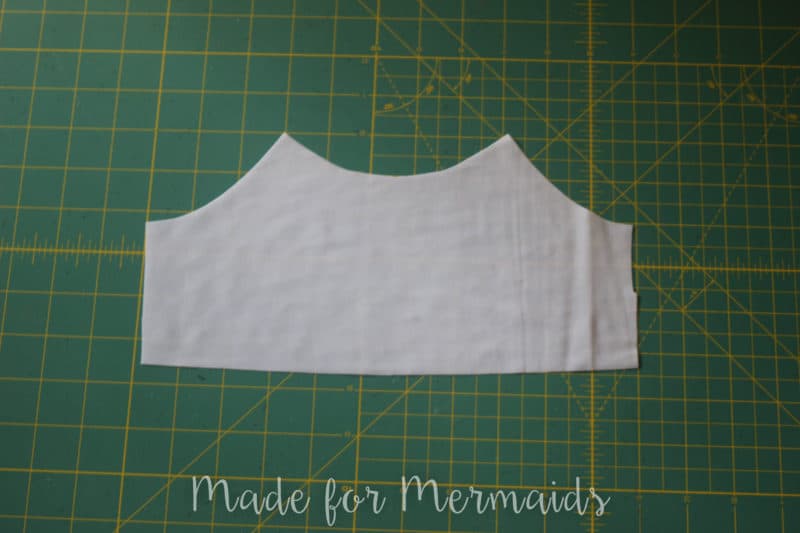
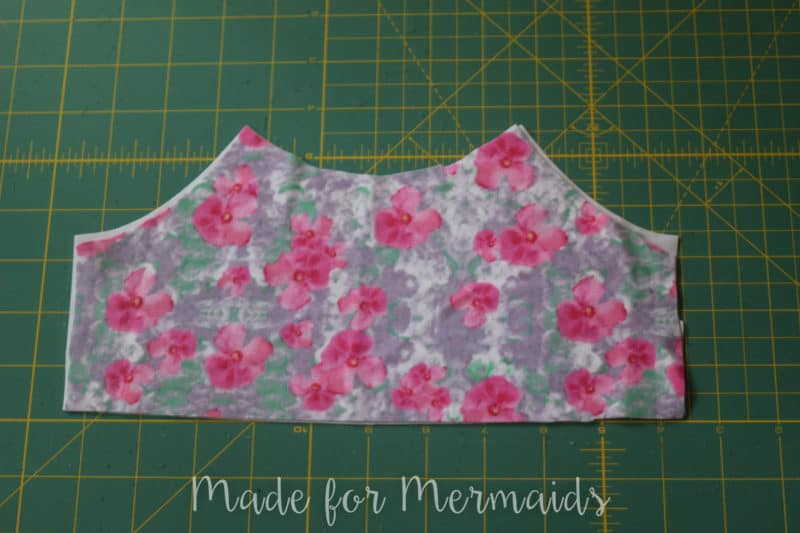
Lay your back MAIN piece on top of your front bodice pieces, RST. TIP-I like to pin in place along the side seams to make the next step easier.
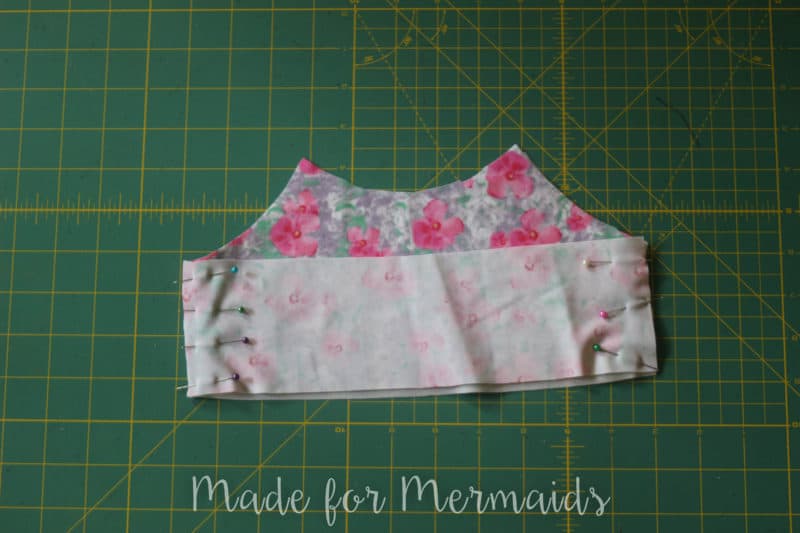
Keeping your pieces together, flip the front/back bodices pieces so that the RIGHT side of the lining is now face up. Place the back LINING piece on top, RST. Your bodice pieces should be layered as follows-Back bodice MAIN, front bodice MAIN, front bodice LINING, back bodice LINING. Pin in place along the side seams. Stitch or serge together along the side seams.
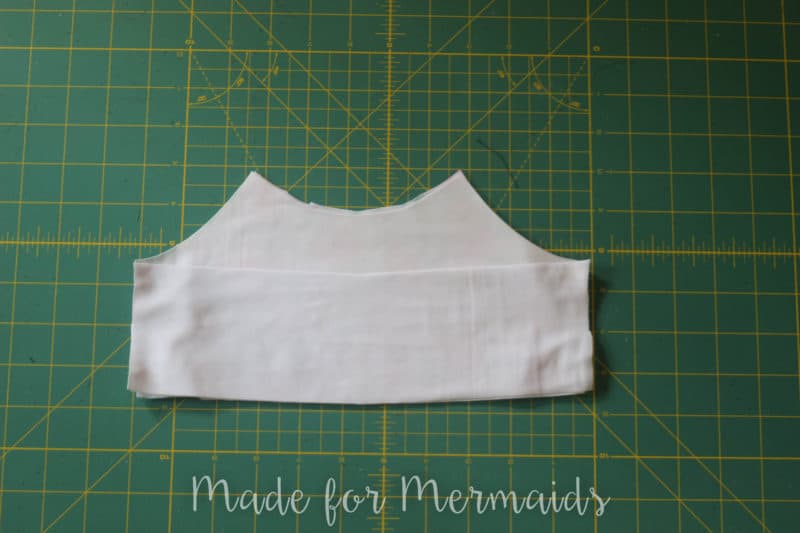
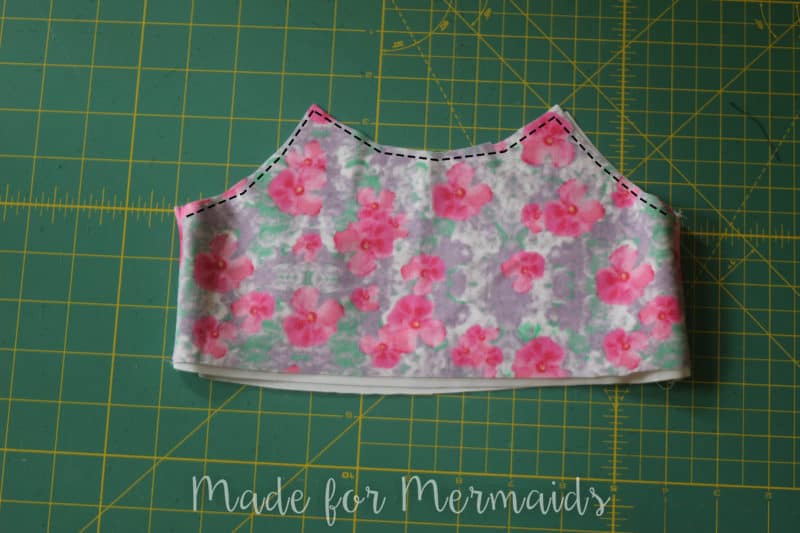
Flip the bodice pieces right side out. Your bodice should be connected at the side seams, with the seams enclosed. Optional-baste along the top bodice. This will help you when attaching the binding/swim elastic.
STEP 3: BACK BINDING
Attach the back binding per the tutorial. Then, baste the 3/8″ swim elastic along the top edge of the back bodice/armscye. I like to use a long zig zag stretch to do this.
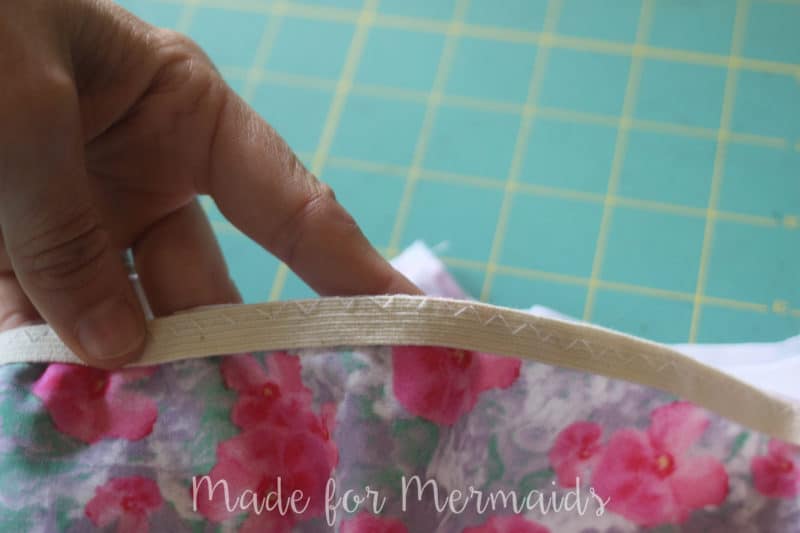
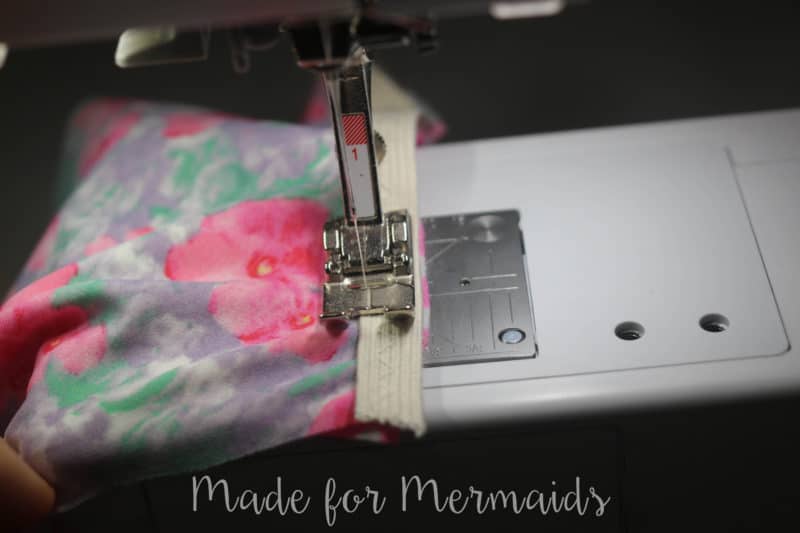
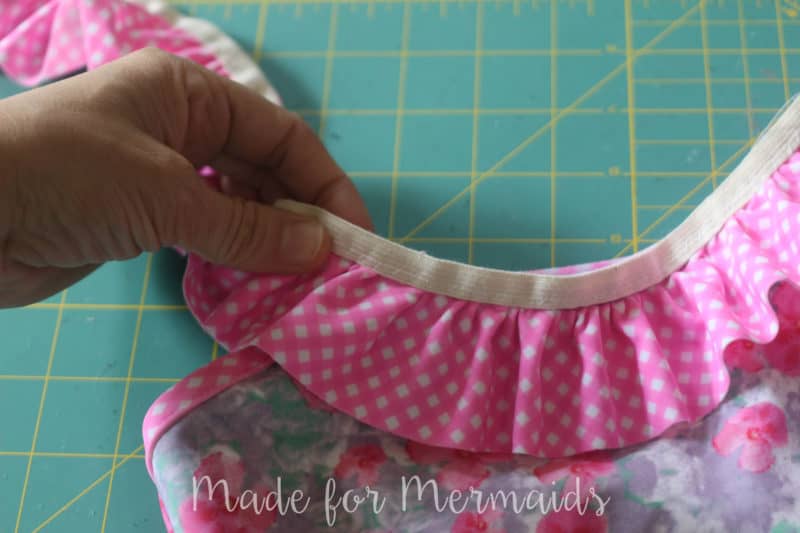
Fold the binding back over, as per the tutorial, this time covering the elastic with your binding. I find it REALLY helpful to use a LOT of clips/pins since swim fabric can be so slippery!
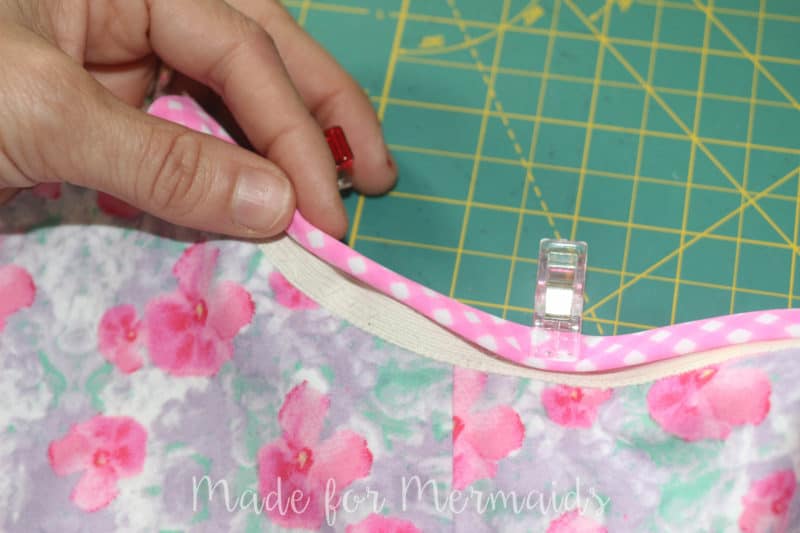
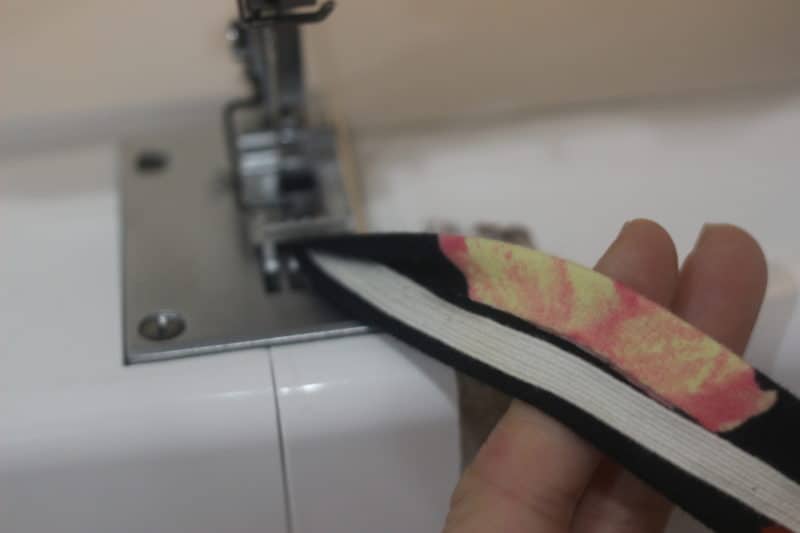
If you are making the double strap option, you will want to sandwich your elastic in between the straps. You could use 1/4″ swim elastic here instead, to make sure you have no elastic peaking out of the straps. Stitch binding in place as per the tutorial.
Step 4: FRONT NECKLINE BINDING
Attach binding as per tutorial, following the same steps above to add elastic along the neckline and in the straps. Attach straps to bodice as per the tutorial.
Step 5: HEMMING THE SWIM TOP
Baste 3/8″ swim elastic along the inside bottom edge of the top, stretching the elastic slightly as you attach. OR, get creative, add a cute ruffle at the bottom or the peplum skirt from Juliette pattern!!
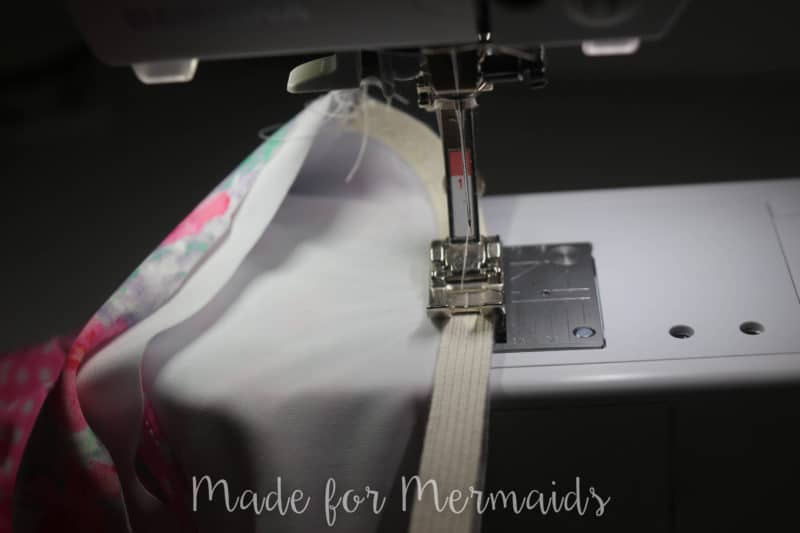
Hem the bottom edge by folding 3/8″ towards wrong side and topstitching in place. There you have it! A cute little swim top to pair with your favorite swim bottoms! And hint hint…these bottoms might just be a hint at an upcoming *swim* pattern!!
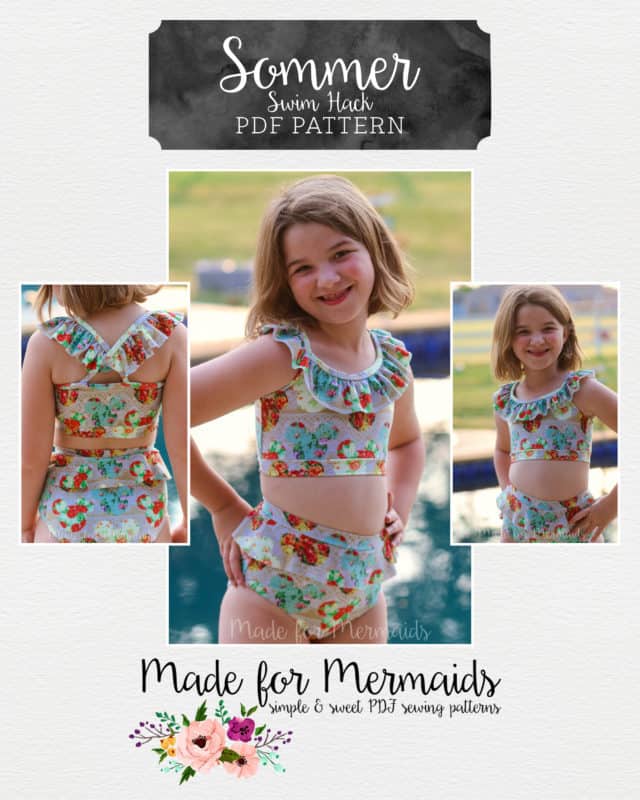


In these versions, our testers added the Juliette Peplum skirt to their swim top!
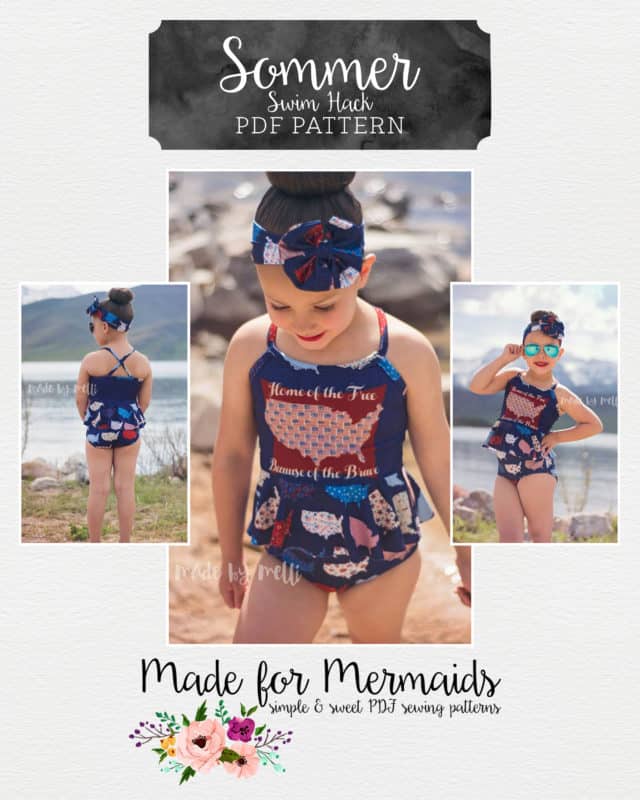
and here it is paired it with Bonny….SOOO cute!

Sommer Crop Top
This hack is super easy to do for all 3 patterns! You will cut all your pattern pieces out as per the tutorial, except for the skirt/romper pieces. Make sure you cut your bodice’s along the natural waist cutline for this hack! Construct the bodice as per the tutorial. Hem the bottom edge 1/2″ and you are done! If you try your crop on before hemming and decide you want more length, you could also add a hem band as described here. That’s it! The crop top is perfect paired with your favorite high waisted skirt, shorts, or pants. Our testers opted to pair it with a Mama Isabel Skirt, you could also use the skirt hack from Cassie or Joy too!


Sommer Shelf Bra or Lined Bodice
As SOON as I put Sommer into testing, I had testers asking about a bra shelf hack. So here you have it, a bra shelf hack! It works well for the older girls who may need a tiny bit of support as well! You can also use this method to line your bodice if you are using a thin knit and want more coverage.
ADDITIONAL Supplies:
-Lining fabric
-3/8″ or 1/2″ elastic. You can use wider elastic as well, see note in cutting step.
STEP 1: CUTTING
Cut 1 front and 1 back bodice piece on fold out of your MAIN fabric. You can use either the natural waist or empire waist cutline. Cut 1 front and 1 back bodice piece on fold out of your LINING fabric on the EMPIRE WAIST LINE. If you want to use wider than 1/2″ elastic, you should add a little length to the empire waist cut line. Cut binding pieces and skirt pieces as per the tutorial.
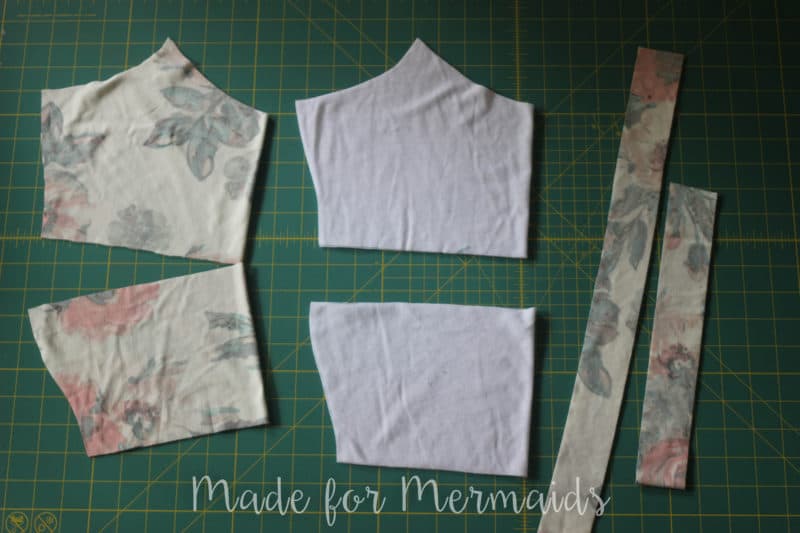
STEP 2: SIDE SEAMS
Sew side seams per tutorial, repeating with the bodice lining. If you would like to add sewing cups to your lining, go ahead and do so now.
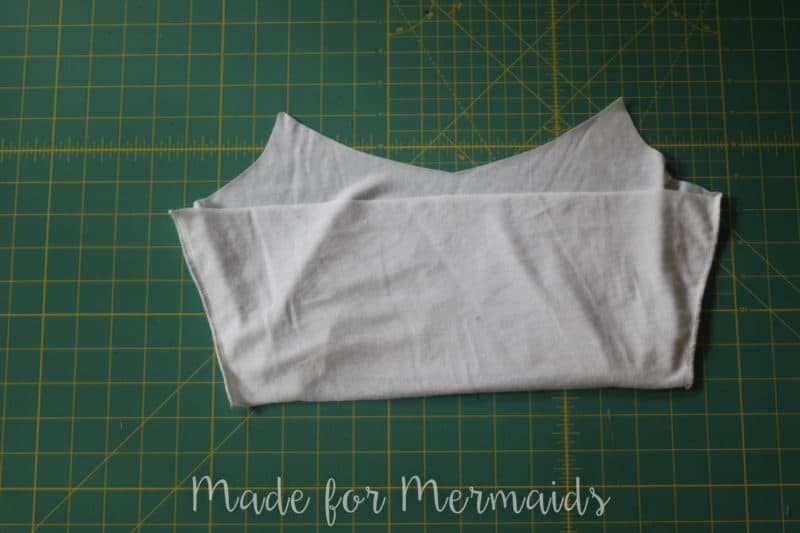
STEP 3: ELASTIC
Take your elastic and wrap it around your underbust. You want the elastic to be tight, but not too tight that it’s uncomfortable. Cut to size. Overlapping the ends of the elastic slightly, sew it together with a tight zigzag stitch, going back and forth several times to make sure it is secure.
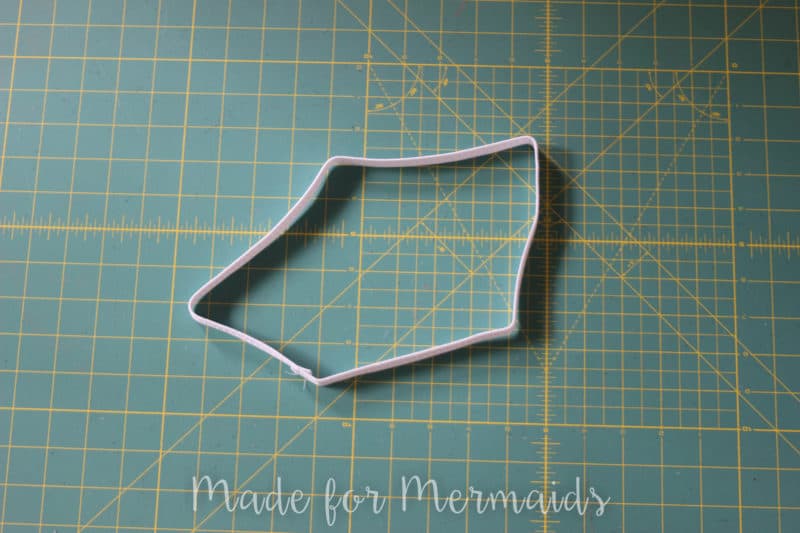
STEP 2: ATTACH ELASTIC
Quarter both the elastic and the bottom edge of the bodice lining.
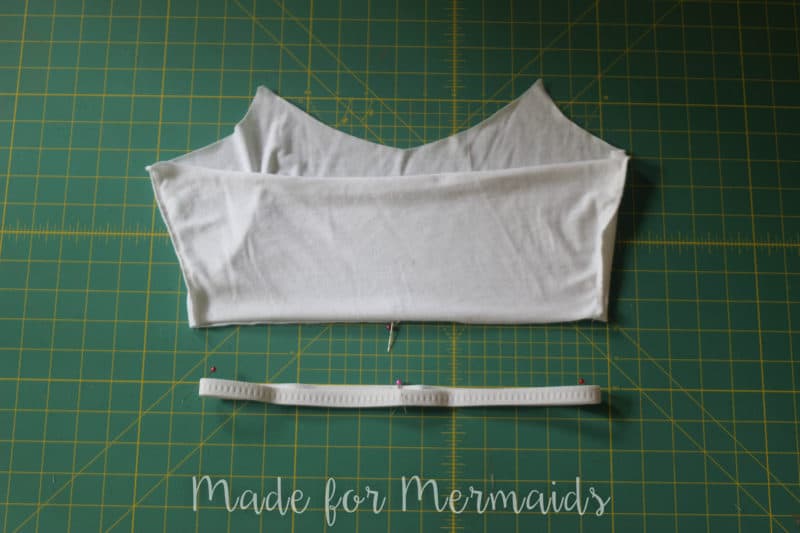
Attach elastic to the WRONG side of bodice lining, matching pins. Elastic will need to stretch slightly to fit the bodice. Serge along the bottom edge, being careful not to cut any elastic off. Alternatively, you may use a long zigzag stitch to attach the elastic to the bodice.
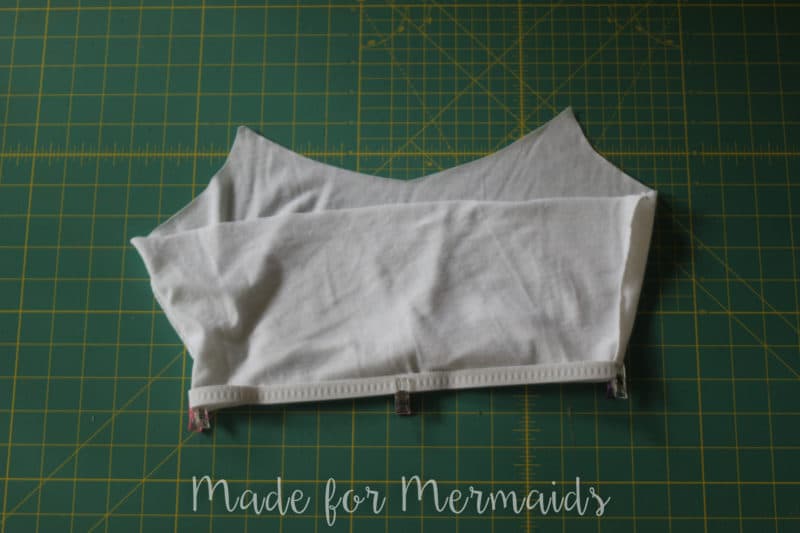
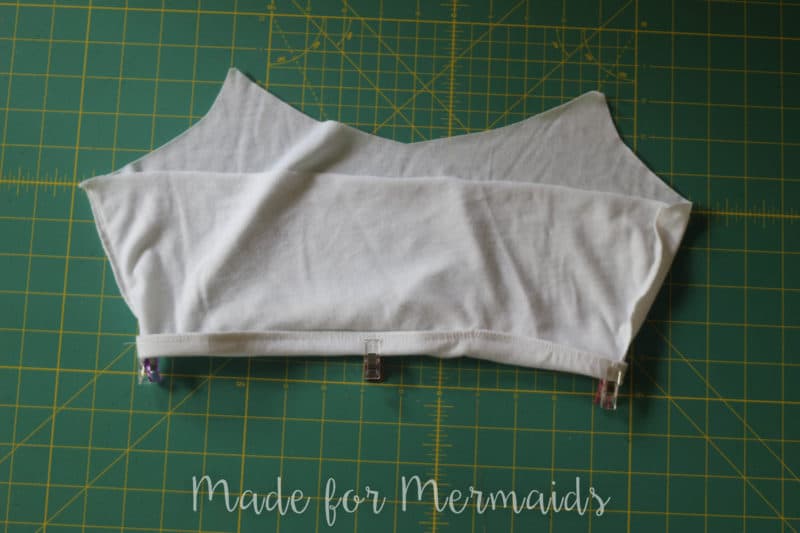
Hem the bottom edge of the bodice lining by flipping the elastic over once towards the wrong side. Stitch in place using a stretch stitch, long straight stitch, twin needle, or coverstitch machine.
Keeping your lining WRONG side out, place Bodice LINING inside of bodice MAIN, wrong sides together.
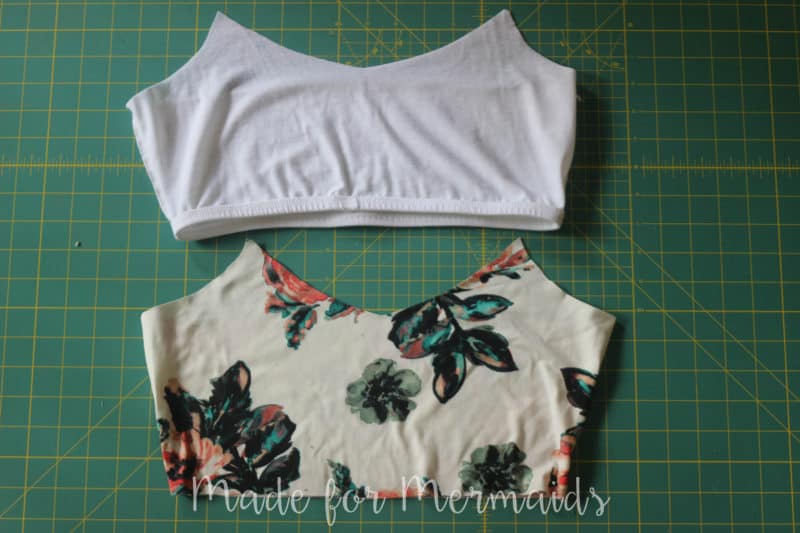
Baste lining to bodice all along the top of the bodice. This will make attaching the binding much easier.
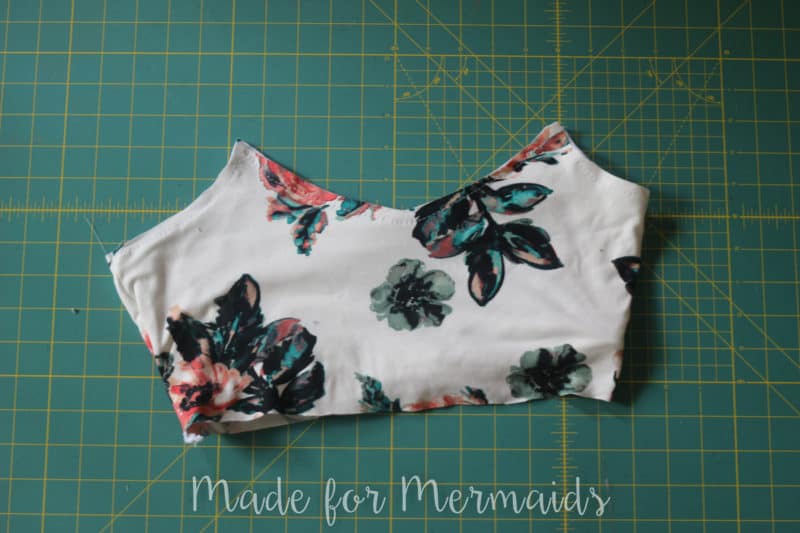

STEP 4: ATTACHING THE SKIRT
Complete bodice and skirt construction as per the tutorial. Attach the bodice to the skirt, making sure the bodice LINING is flipped up and out of the way. You do NOT want to attach the lining to the skirt if you are making a shelf bra.
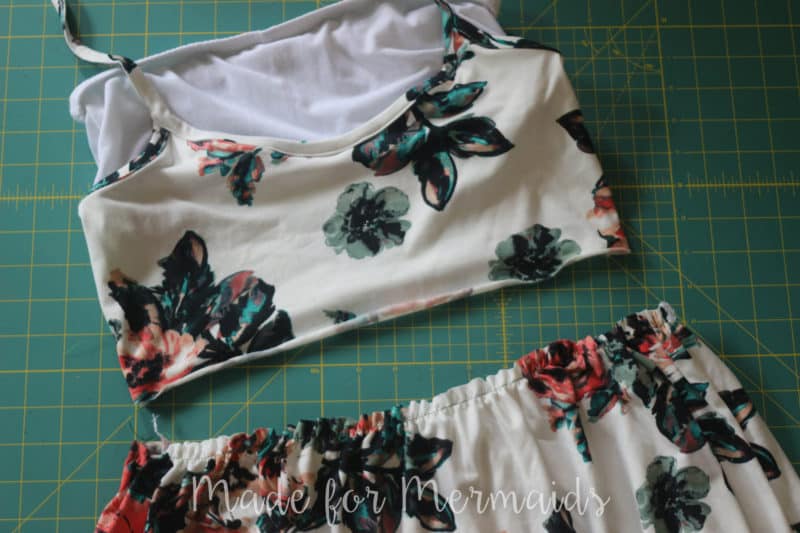
There you have it! All done!! Check out the ladies that added the shelf bra hack.

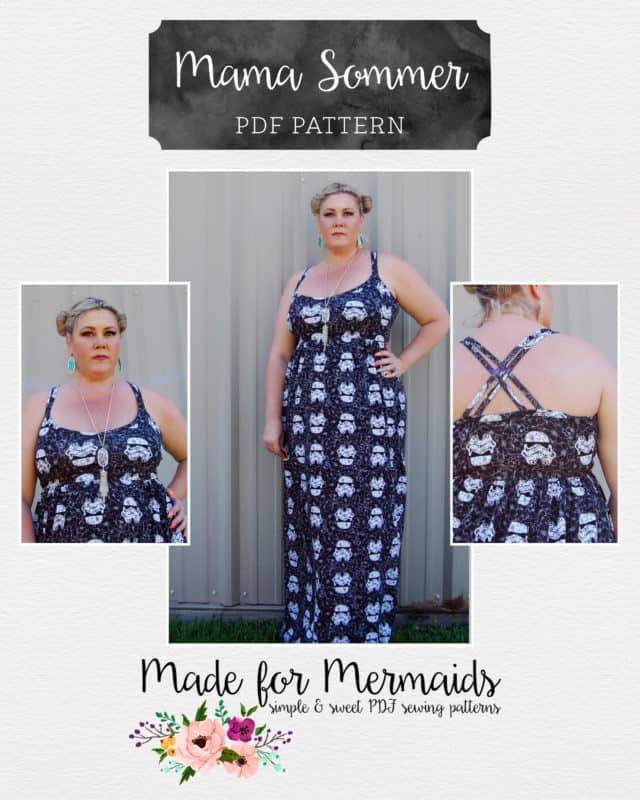

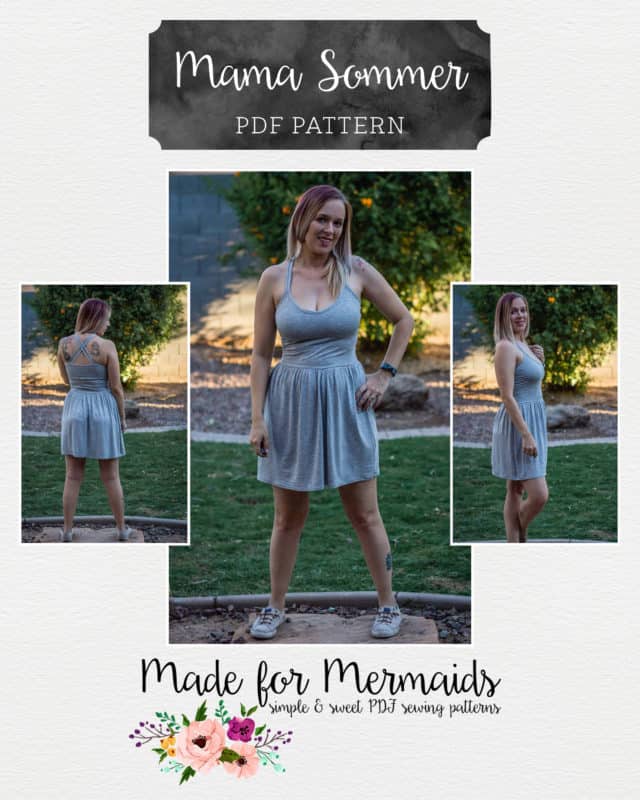

I can’t wait to see what you create using the Sommer, Mama Sommer, and Baby Sommer patterns. Check back later this week for a couple more fun hacks!!! Make sure to share in the Made for Mermaids Facebook group and on Instagram #madeformermaids #madeformermaidspatterns #sommerpattern #mamasommerpattern #babysommerpattern #sewallthesommers #sewallthesommerhacks

Leave a Reply