
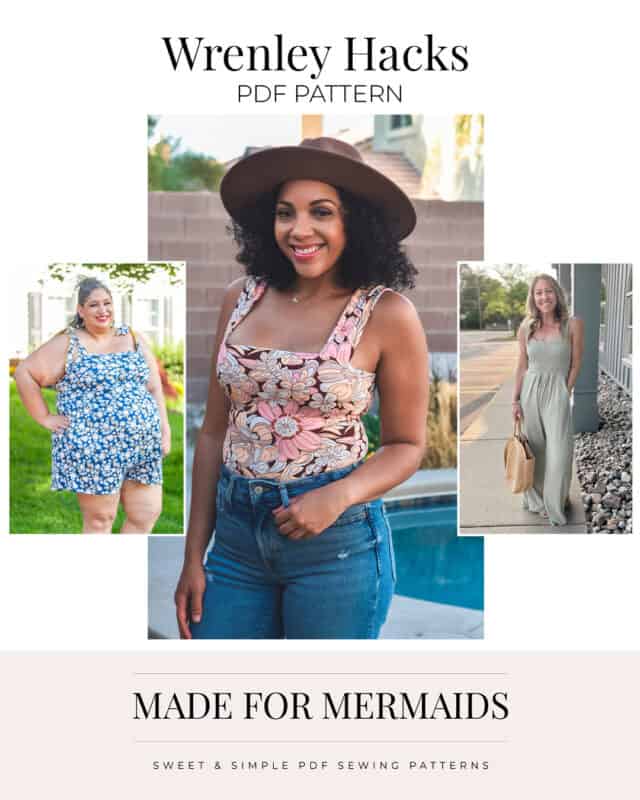
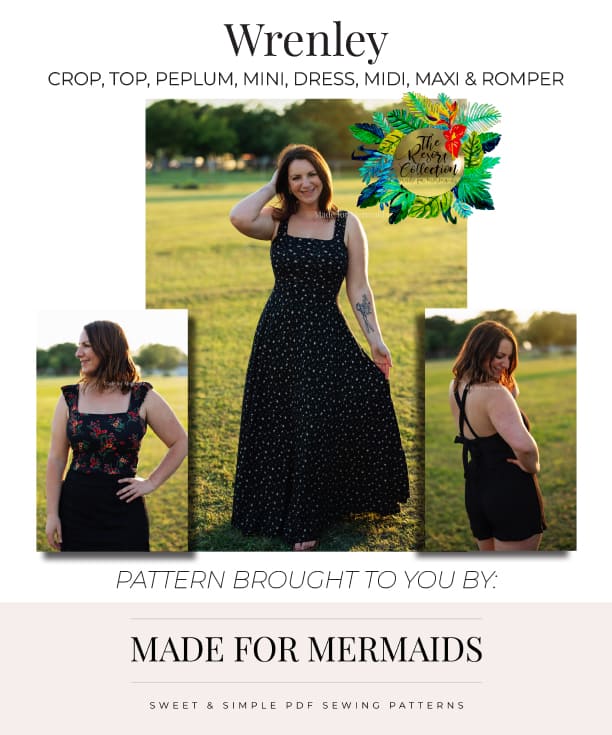
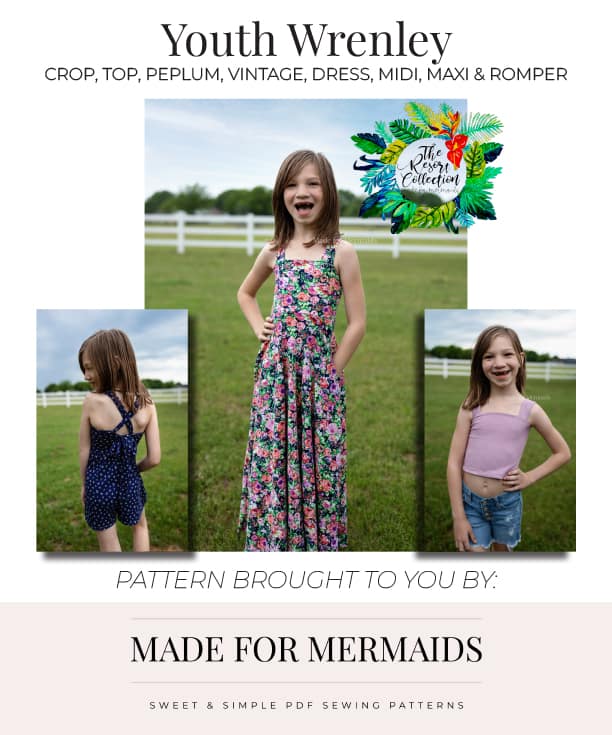
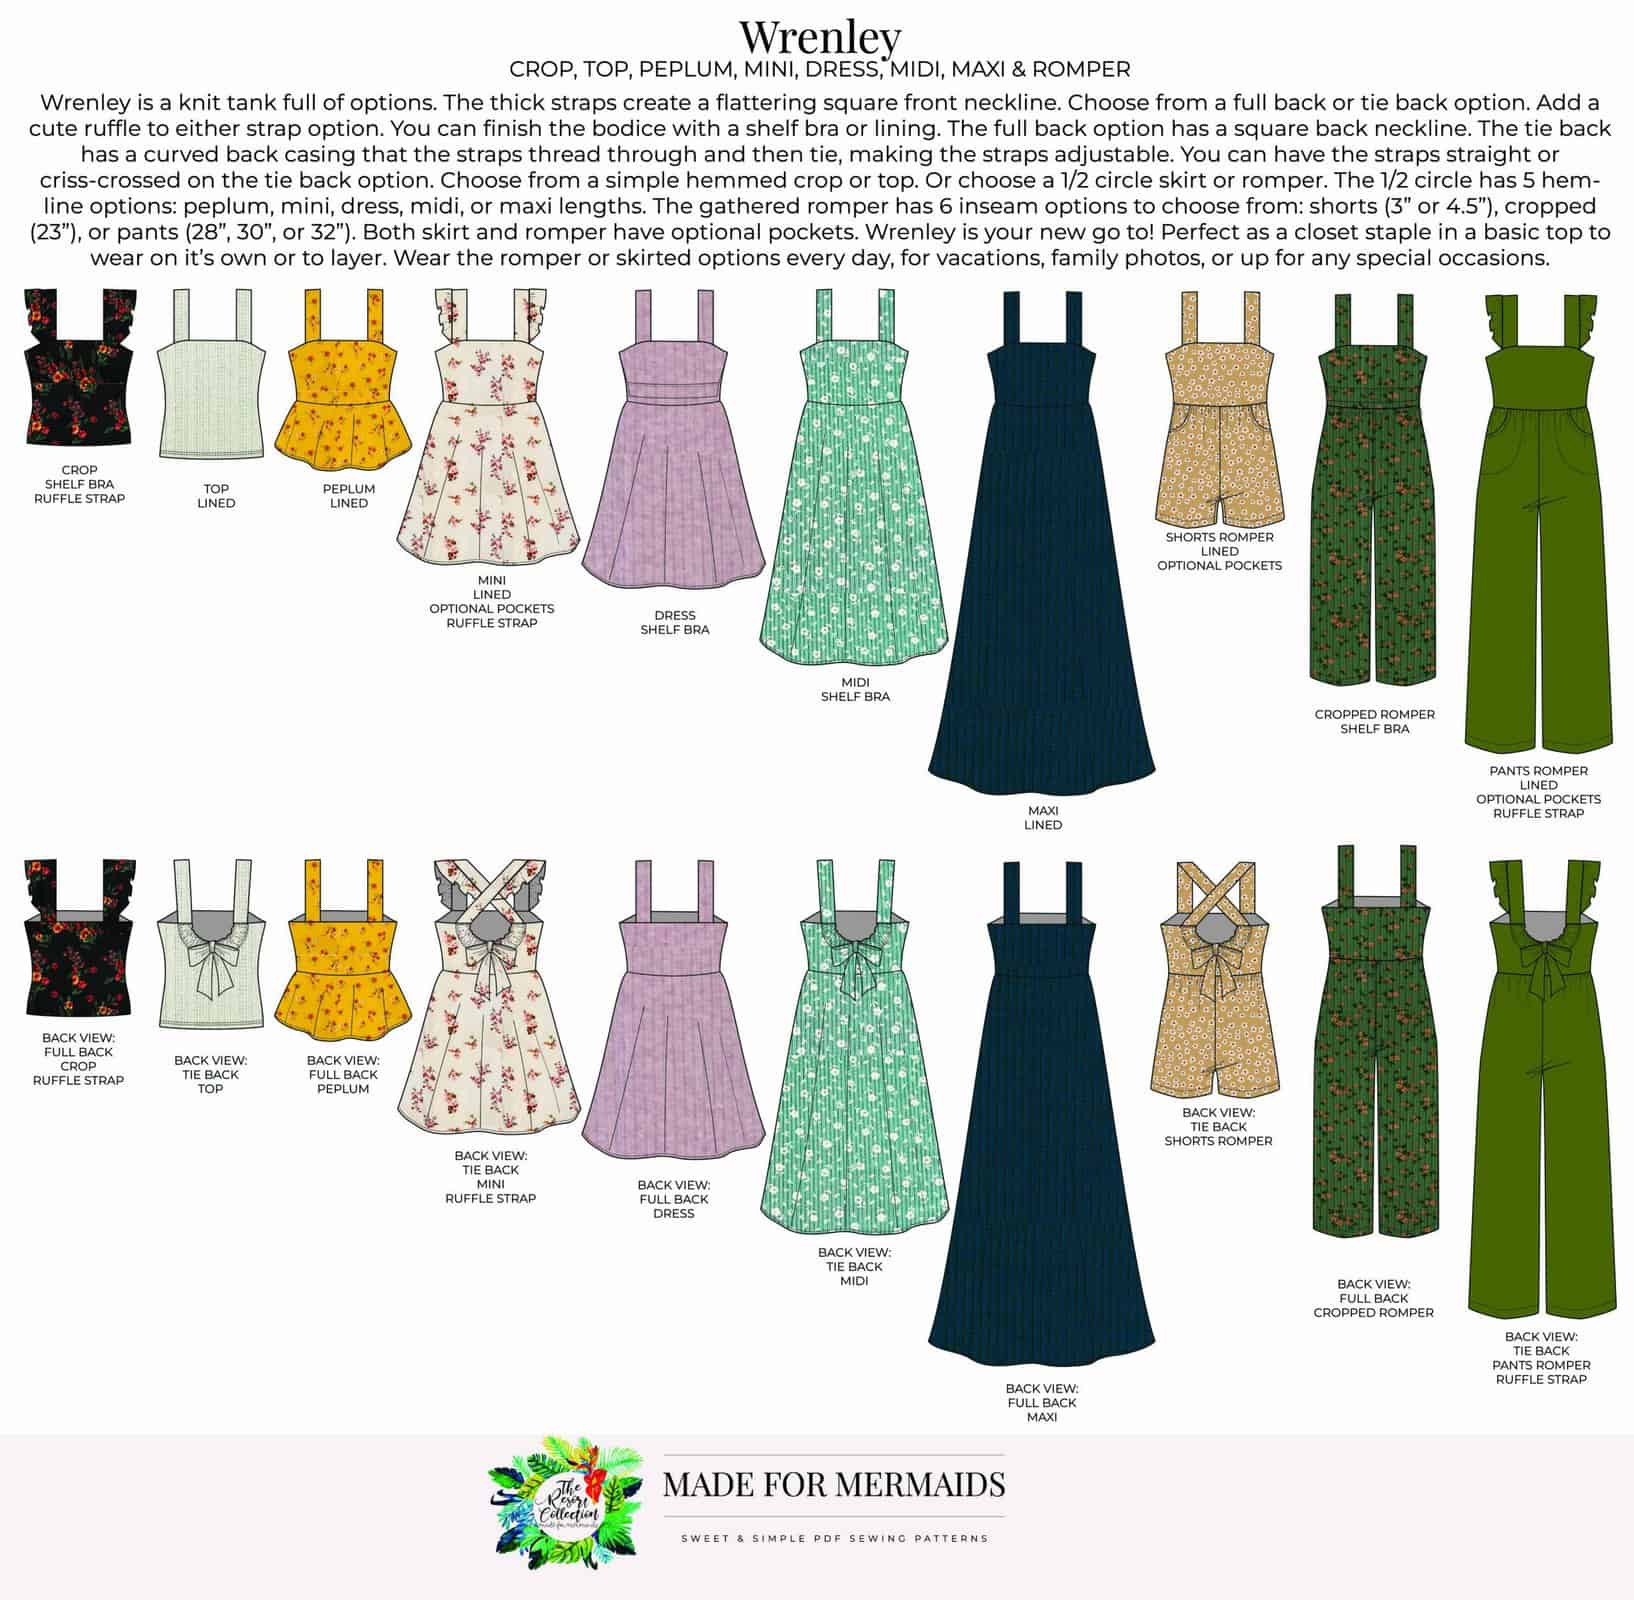
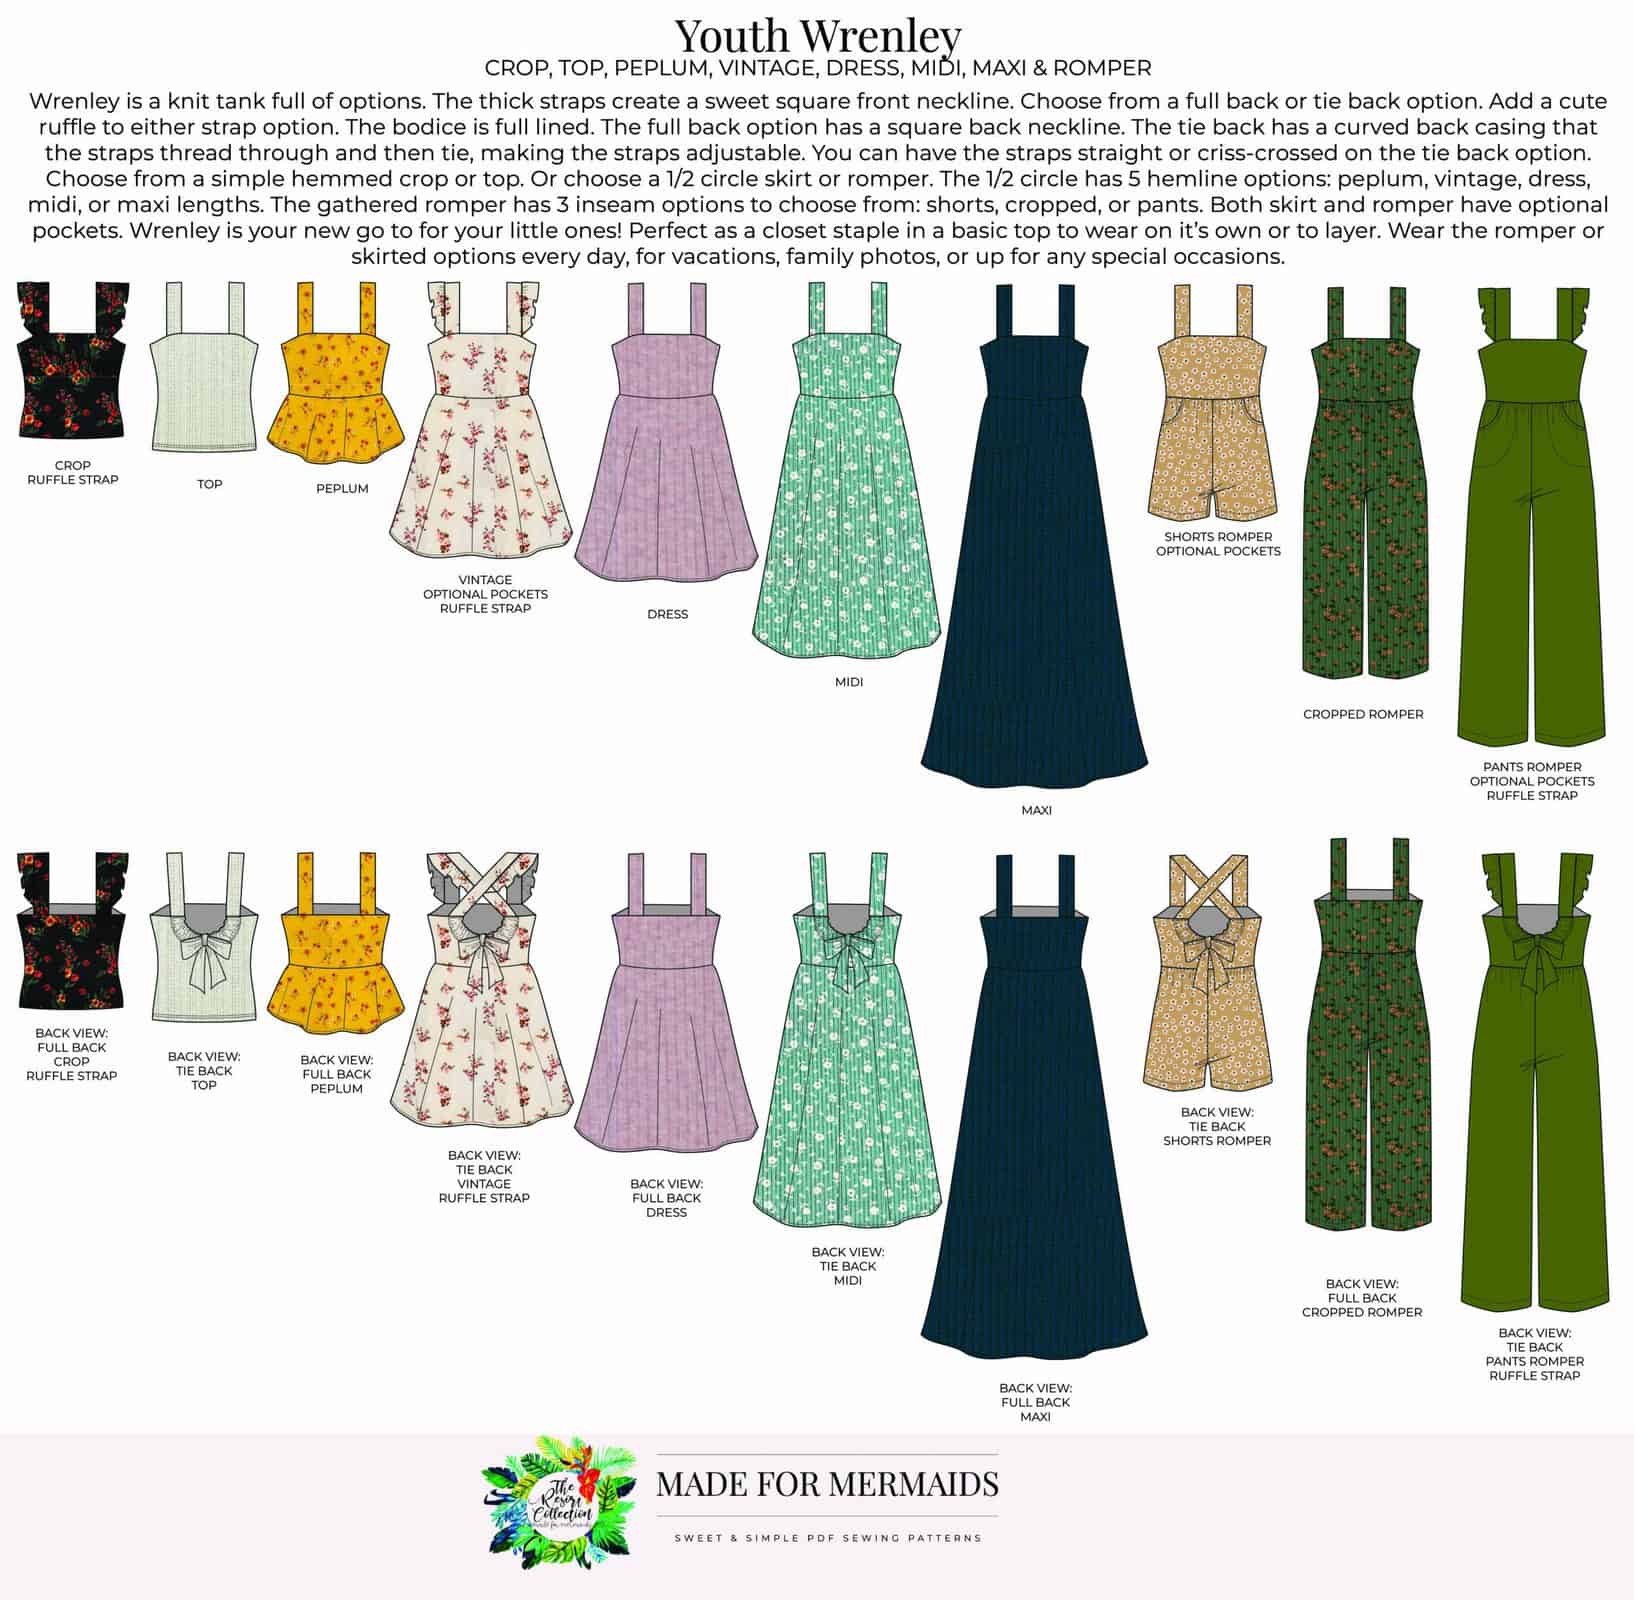
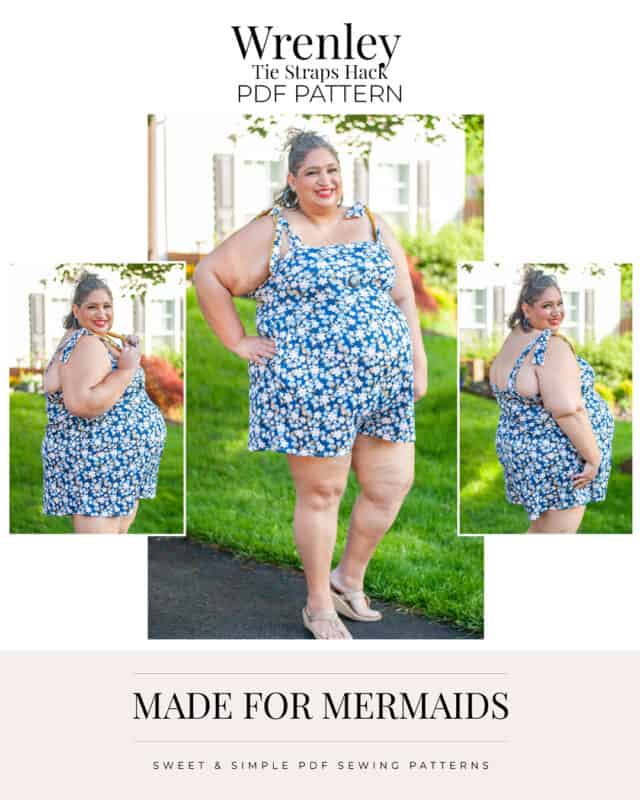
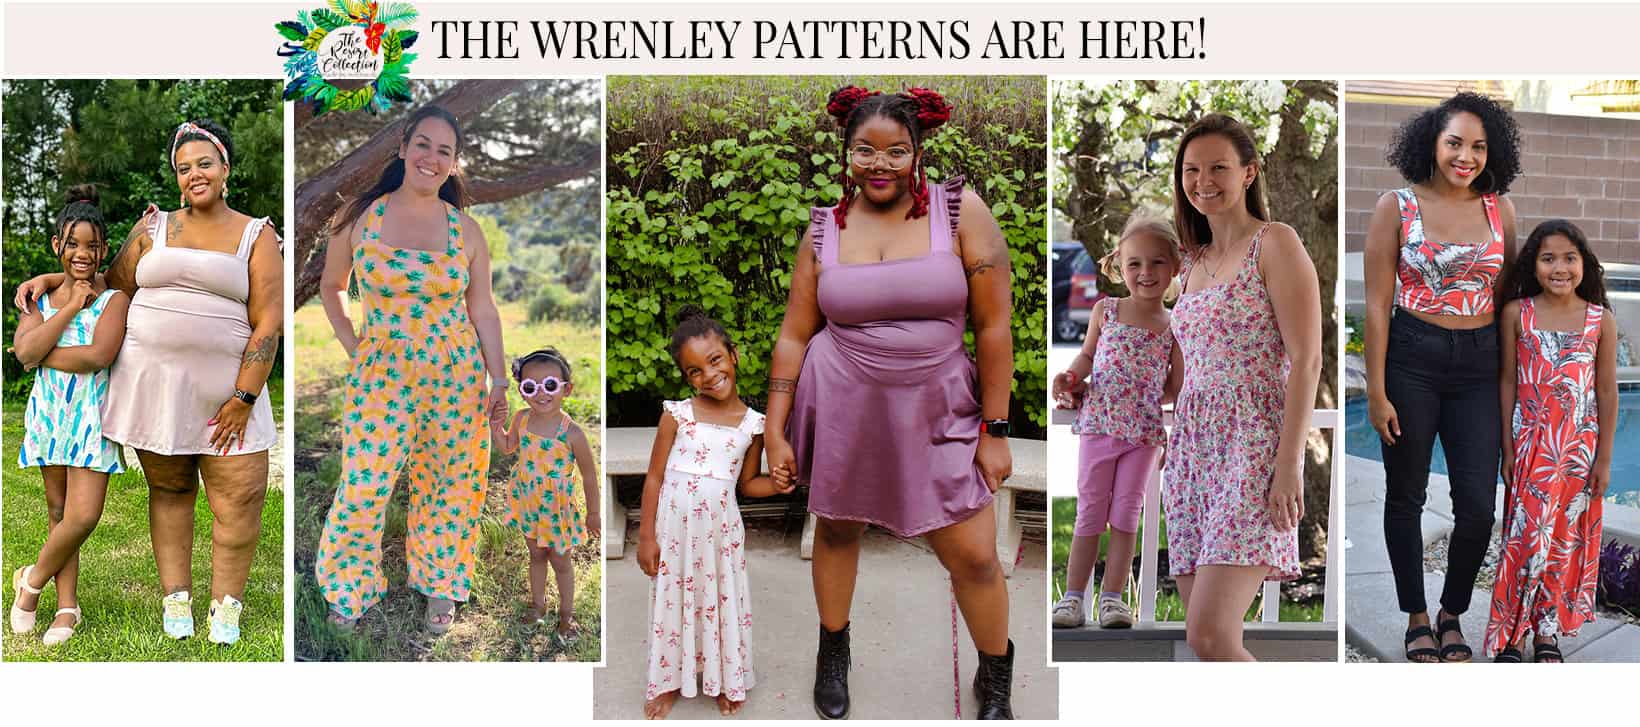
Our newest resort collection pattern is here and it will surely be your new favorite! Meet Wrenley. It’s perfect for wearing on its own or layering once the weather cools down. You can use it as an every day basic or dress it up for family photos, vacations or special occasions. It has SOOO many options, you’re sure to make it over and over again. It’s available in both youth and adult sizing, or grab the bundle to save if you want both.
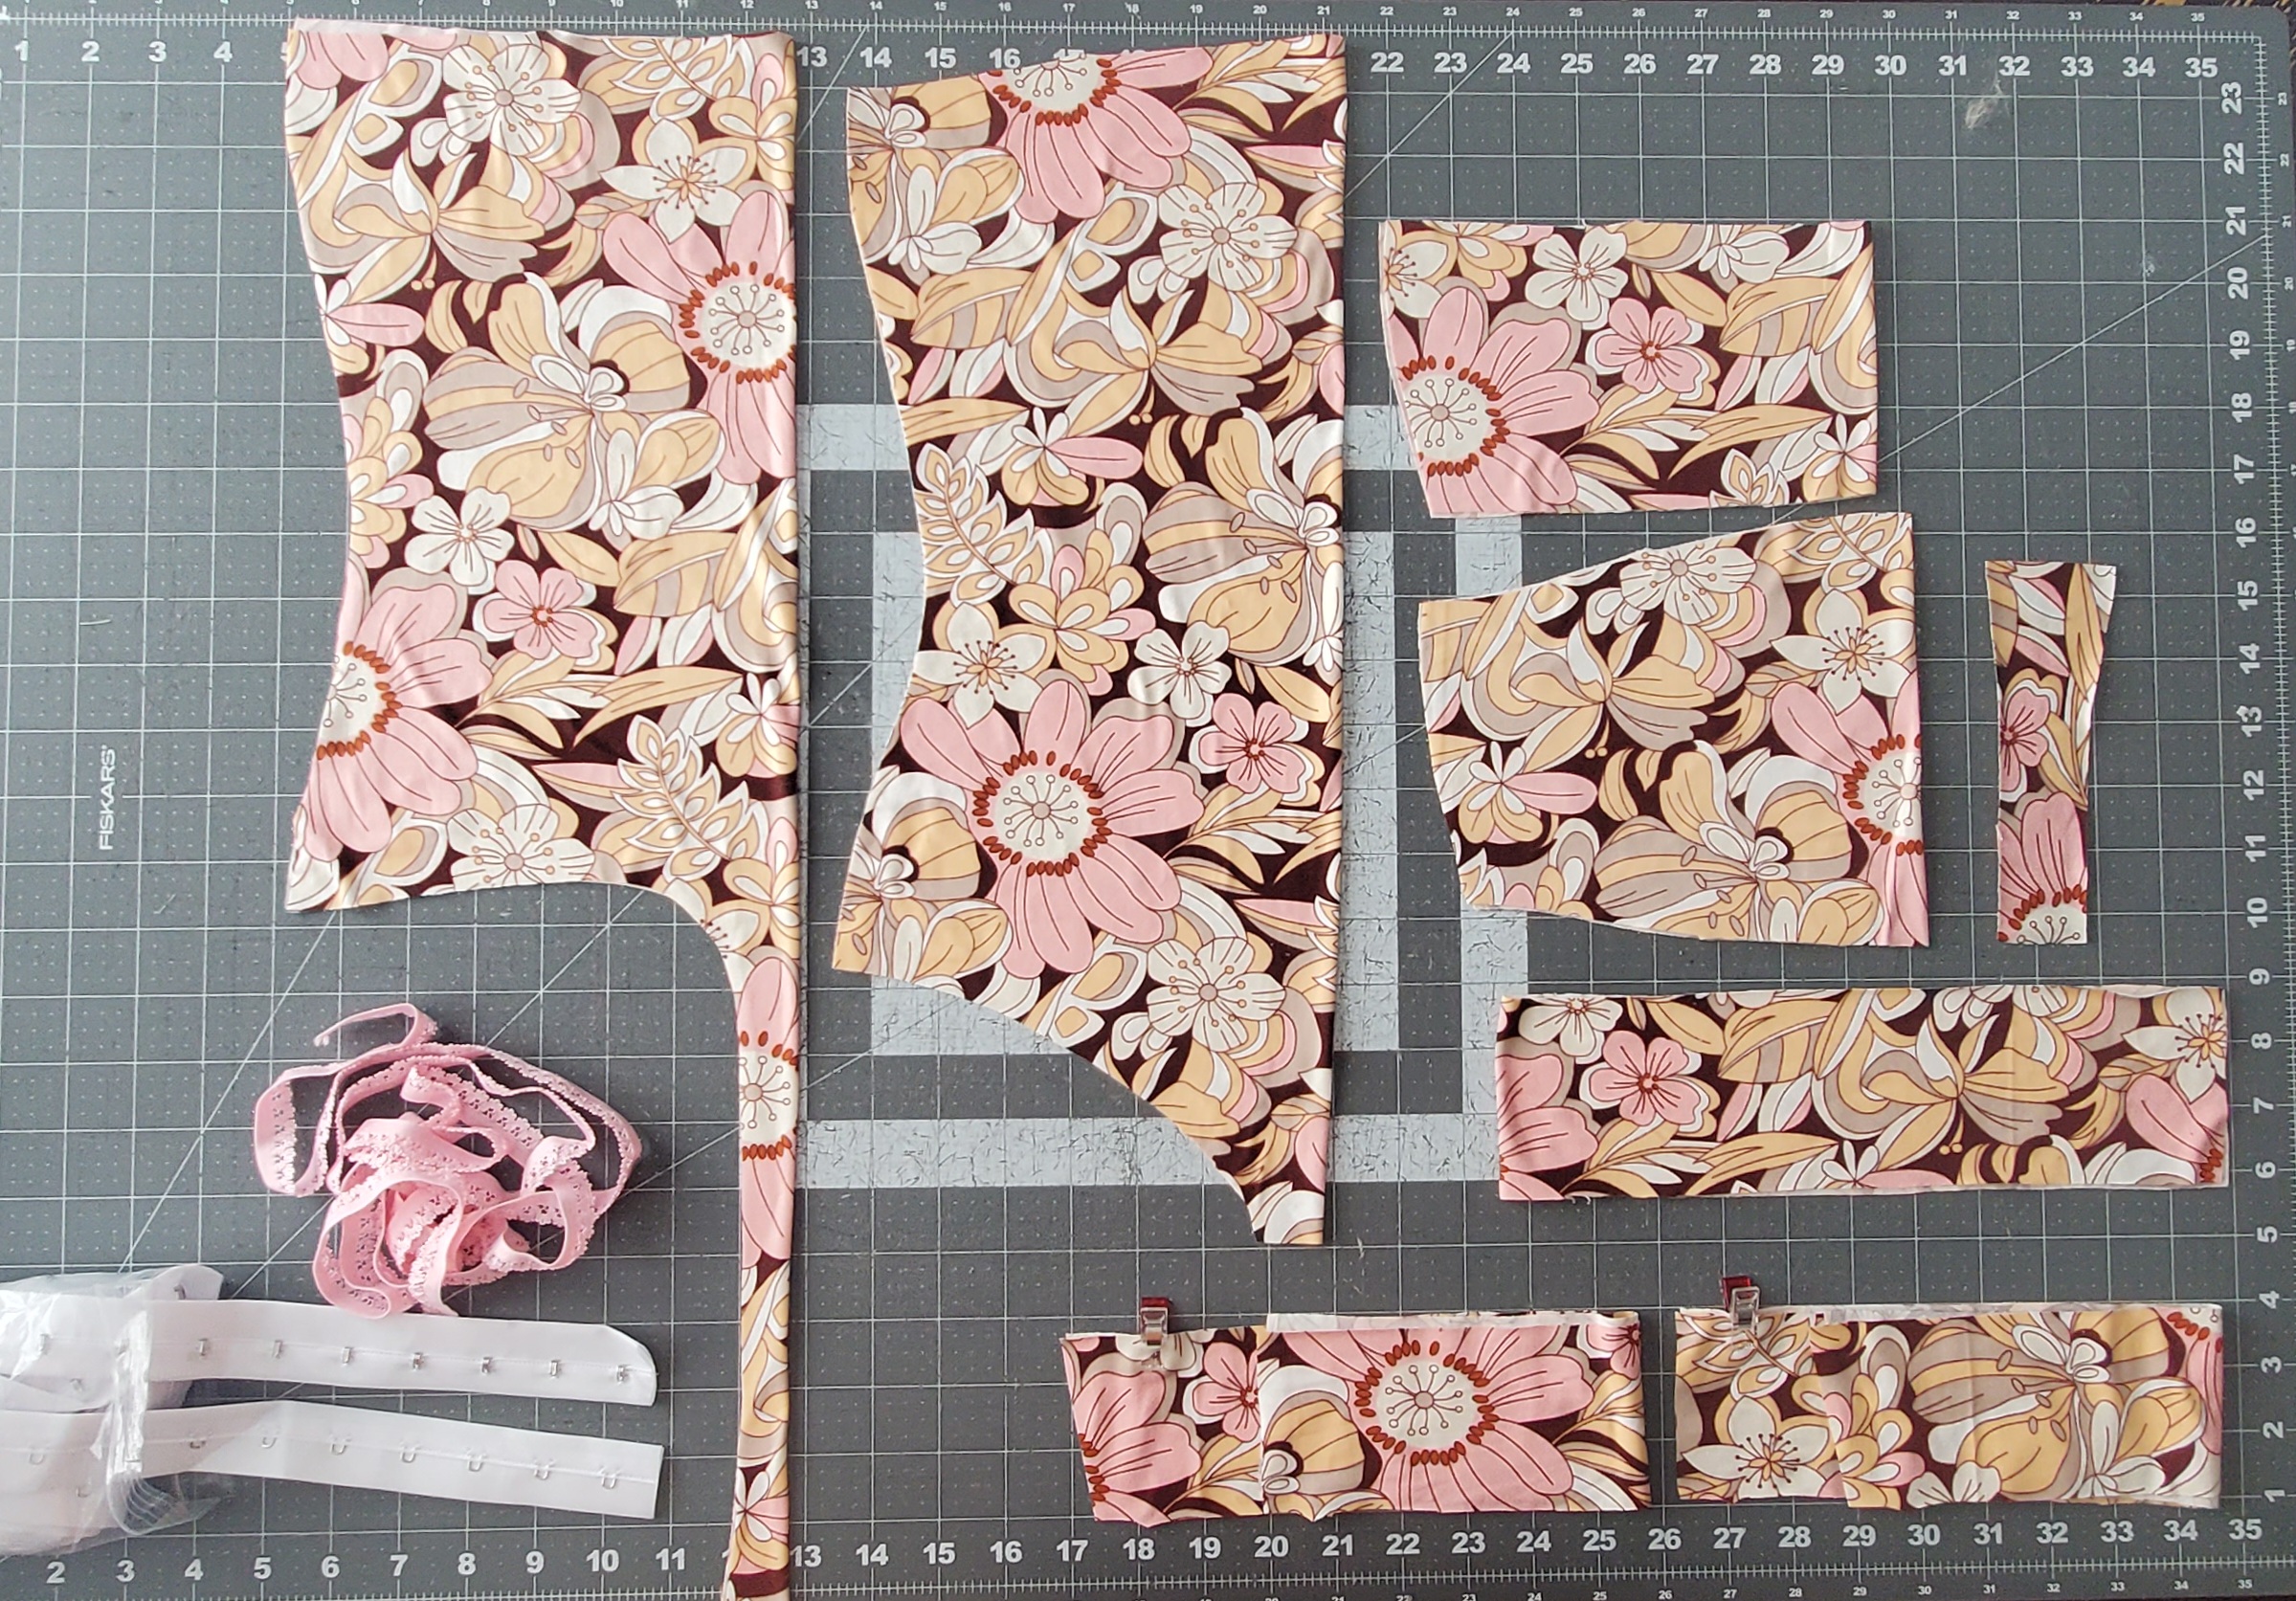
The thick straps create a flattering square neckline. Choose from a full back or tie back option. You can also add a ruffle detail to either strap option. The bodice is finished with a shelf bra OR a lining (youth is lined only). For the full back option, you’ll notice a square neckline, while the tie back option has a curved back casing that the straps thread through. The tie back makes the straps adjustable. You can opt for straight or criss-crossed straps on the tie back option. There are several hemline options – crop or top, half circle skirt or romper. The half circle skirt has five lengths – peplum, mini (vintage for youth), dress, midi, or maxi lengths. The romper option has SIX different inseam choices – shorts (3″ or 4.5″), cropped (23″), or three different pants inseam lengths (3 for youth, shorts, cropped, or pants). You can even add pockets to the skirt and romper options.

Getting Started
Before you purchase your patterns, there is a ton of helpful beginner information between the M4M and P4P blogs, in case you are new to knits, or new to PDF patterns in general:
- New to PDF patterns? Check out our helpful tips here
- New to sewing with knits? Brittany has some great info here
- Not quite sure how to measure yourself accurately? Don’t worry; check out the post here!
- Having issues printing? Most issues can be resolved by using our FAQs/troubleshooting tips
- Join our Facebook group here.
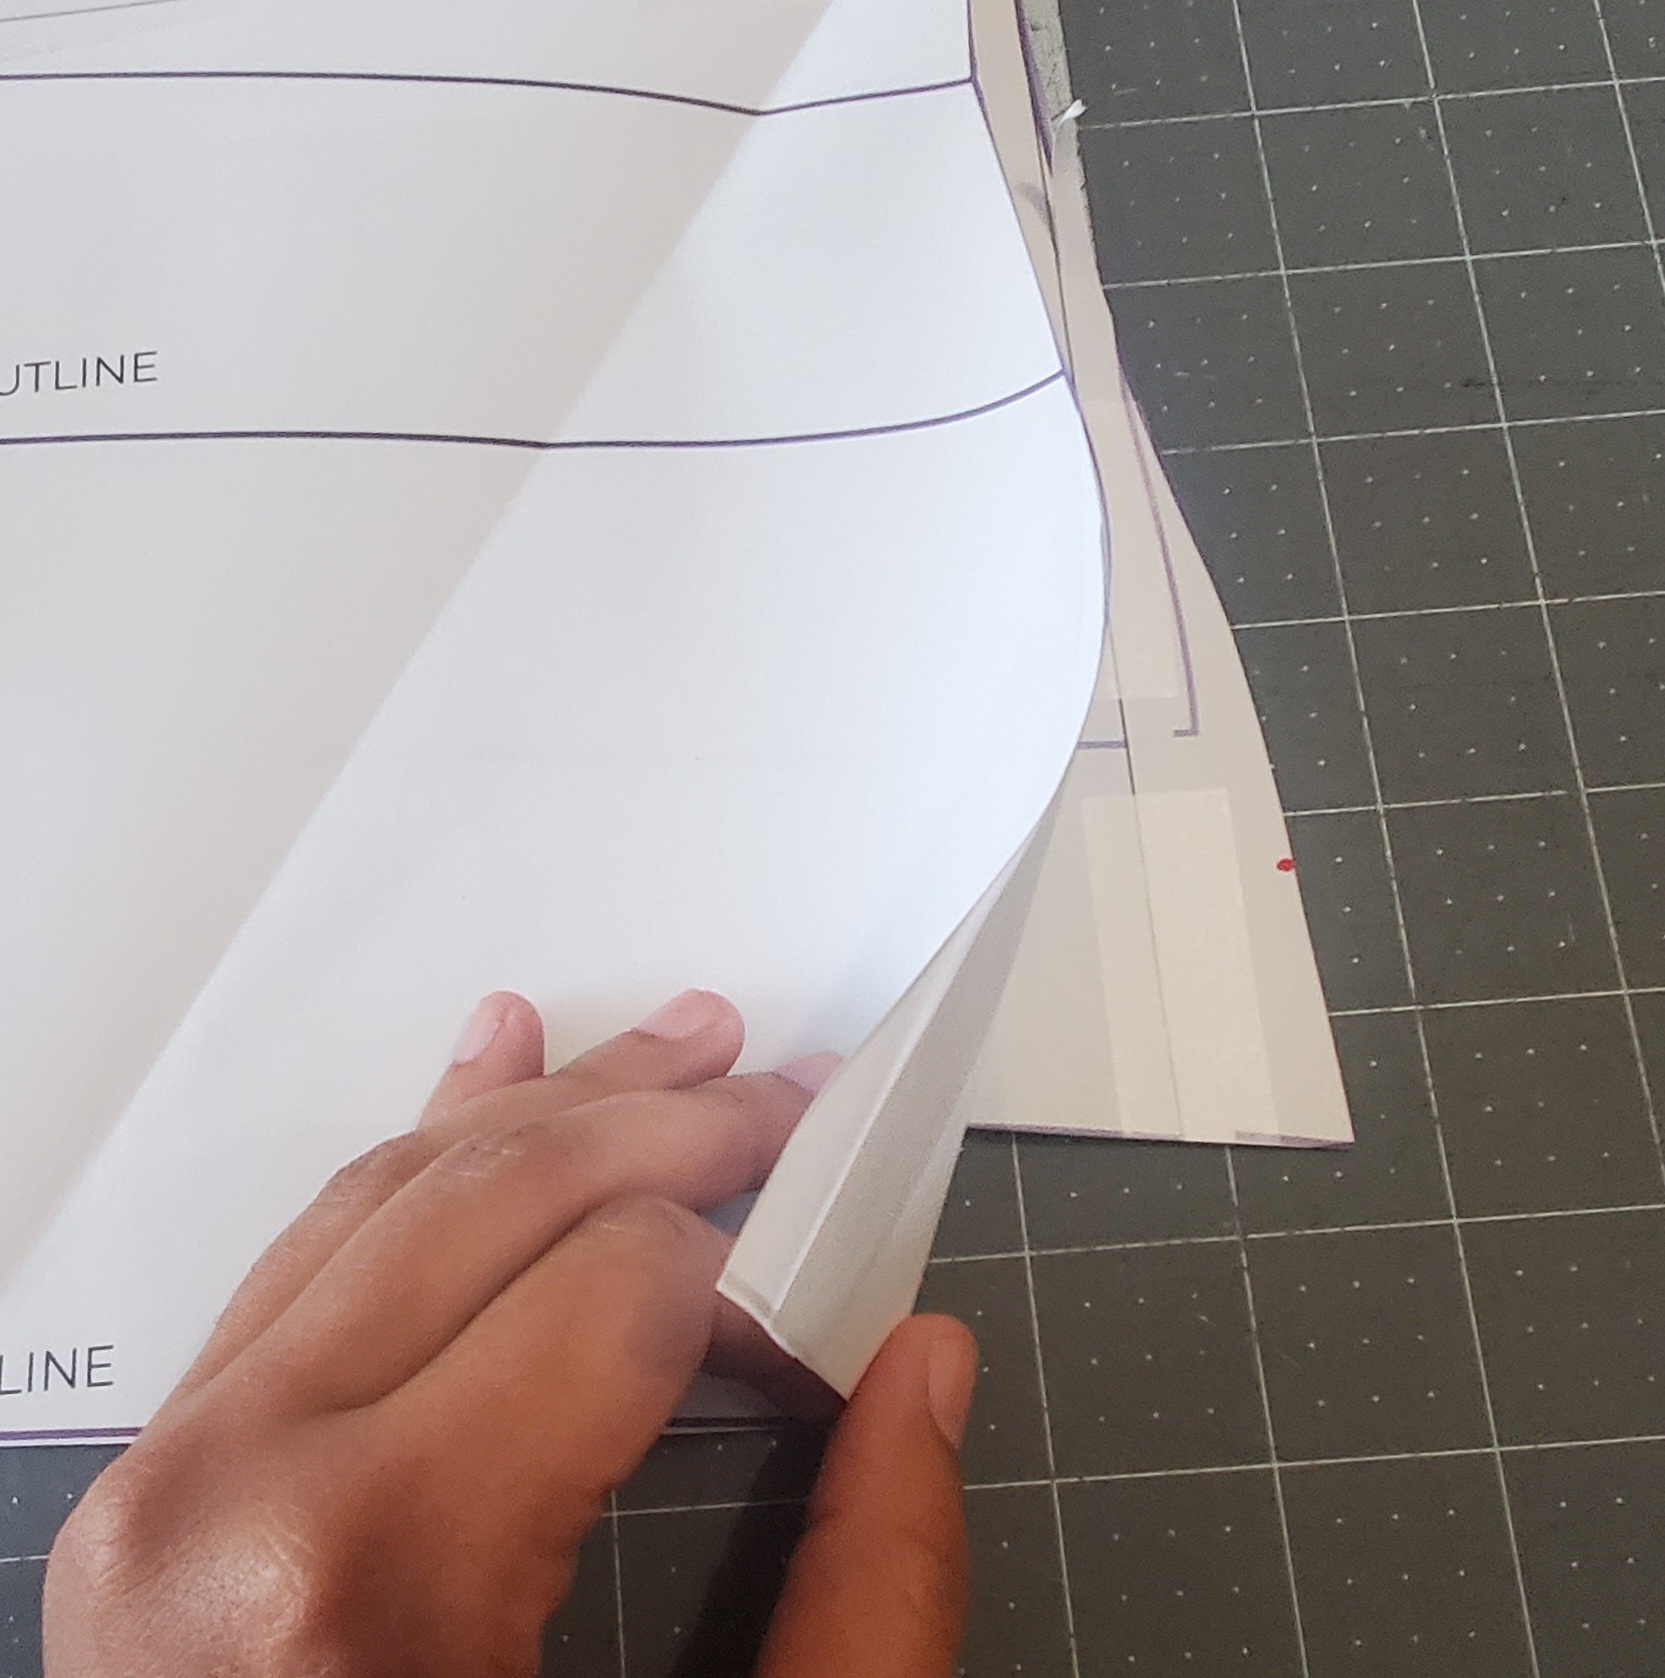
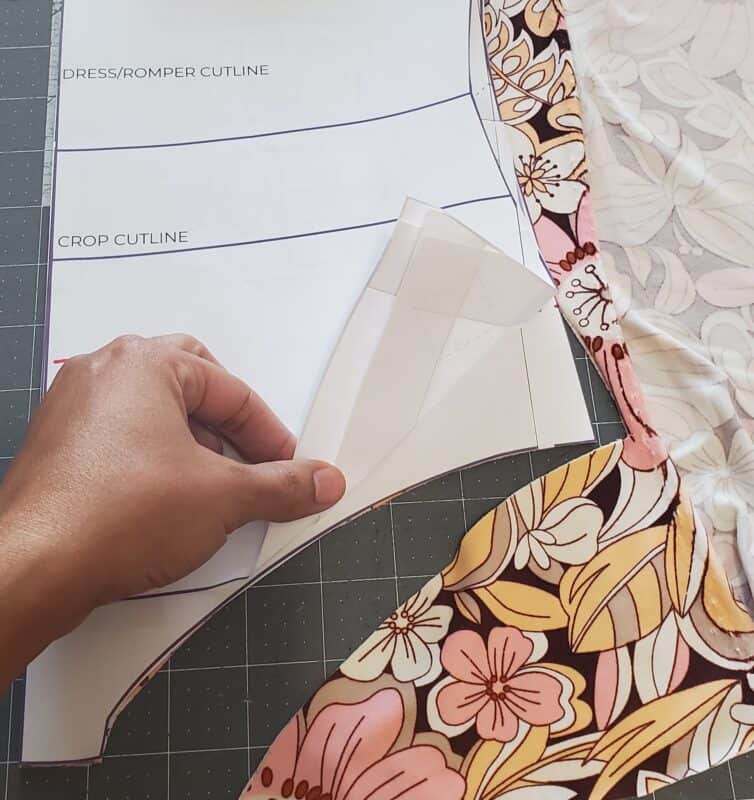
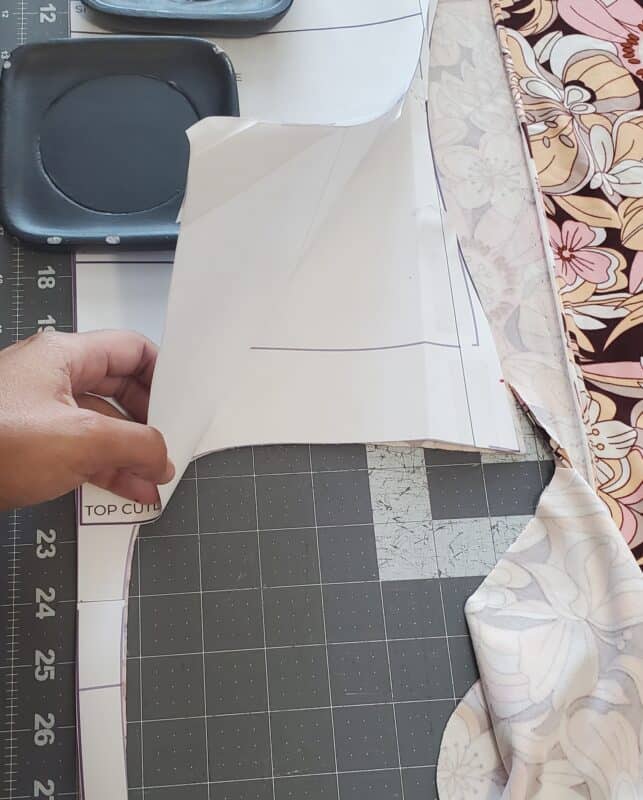
Choosing Your Options
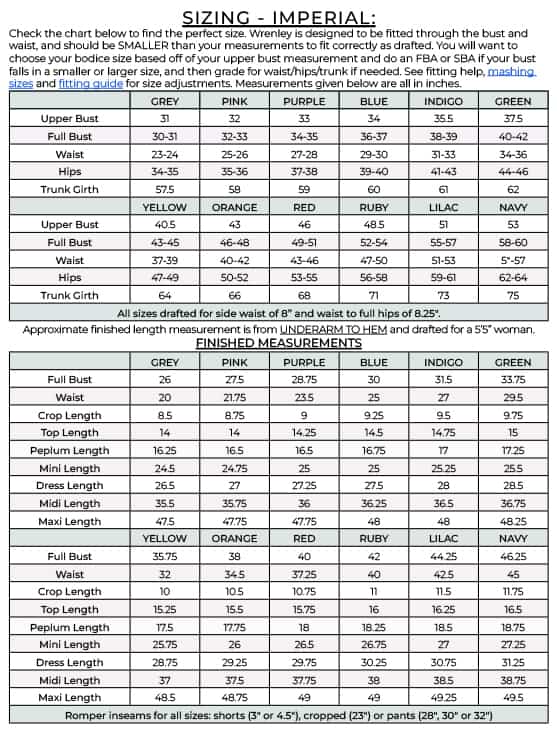
We have lots of tester photos in our FB group and on the site if you want to see a variety of photos of each option before you decide! Here is a quick snapshot of the different options:
Fabric + Notions
Wrenley is drafted for medium-weight knit fabric that has at least 40% stretch horizontally and some vertical stretch. Some great options are double brushed poly, ribbed knit with good recovery, cotton spandex, and high quality modal or bamboo lycra. Fabric with a softer drape and more vertical stretch, like rayon spandex, will “grow” with wear and feel looser and/or longer than the intended fit.
You may also need:
- Tie back option: very small (1″ x 2″) rectangle of knit interfacing for buttonhole
- ADULT: OPTIONAL enclosed elastic band for shelf bra: 1″ knit elastic
- OPTIONAL: 1/4″ clear elastic for added support
- OPTIONAL: 1/2″ interfacing or knit hem tape for hemming
Wrenley Hacks
I know what you’re thinking. Megan included so many options – how could we possibly still have room for hacks? That’s just how it goes over here! We hope you love the Wrenley hacks that our team couldn’t resist!
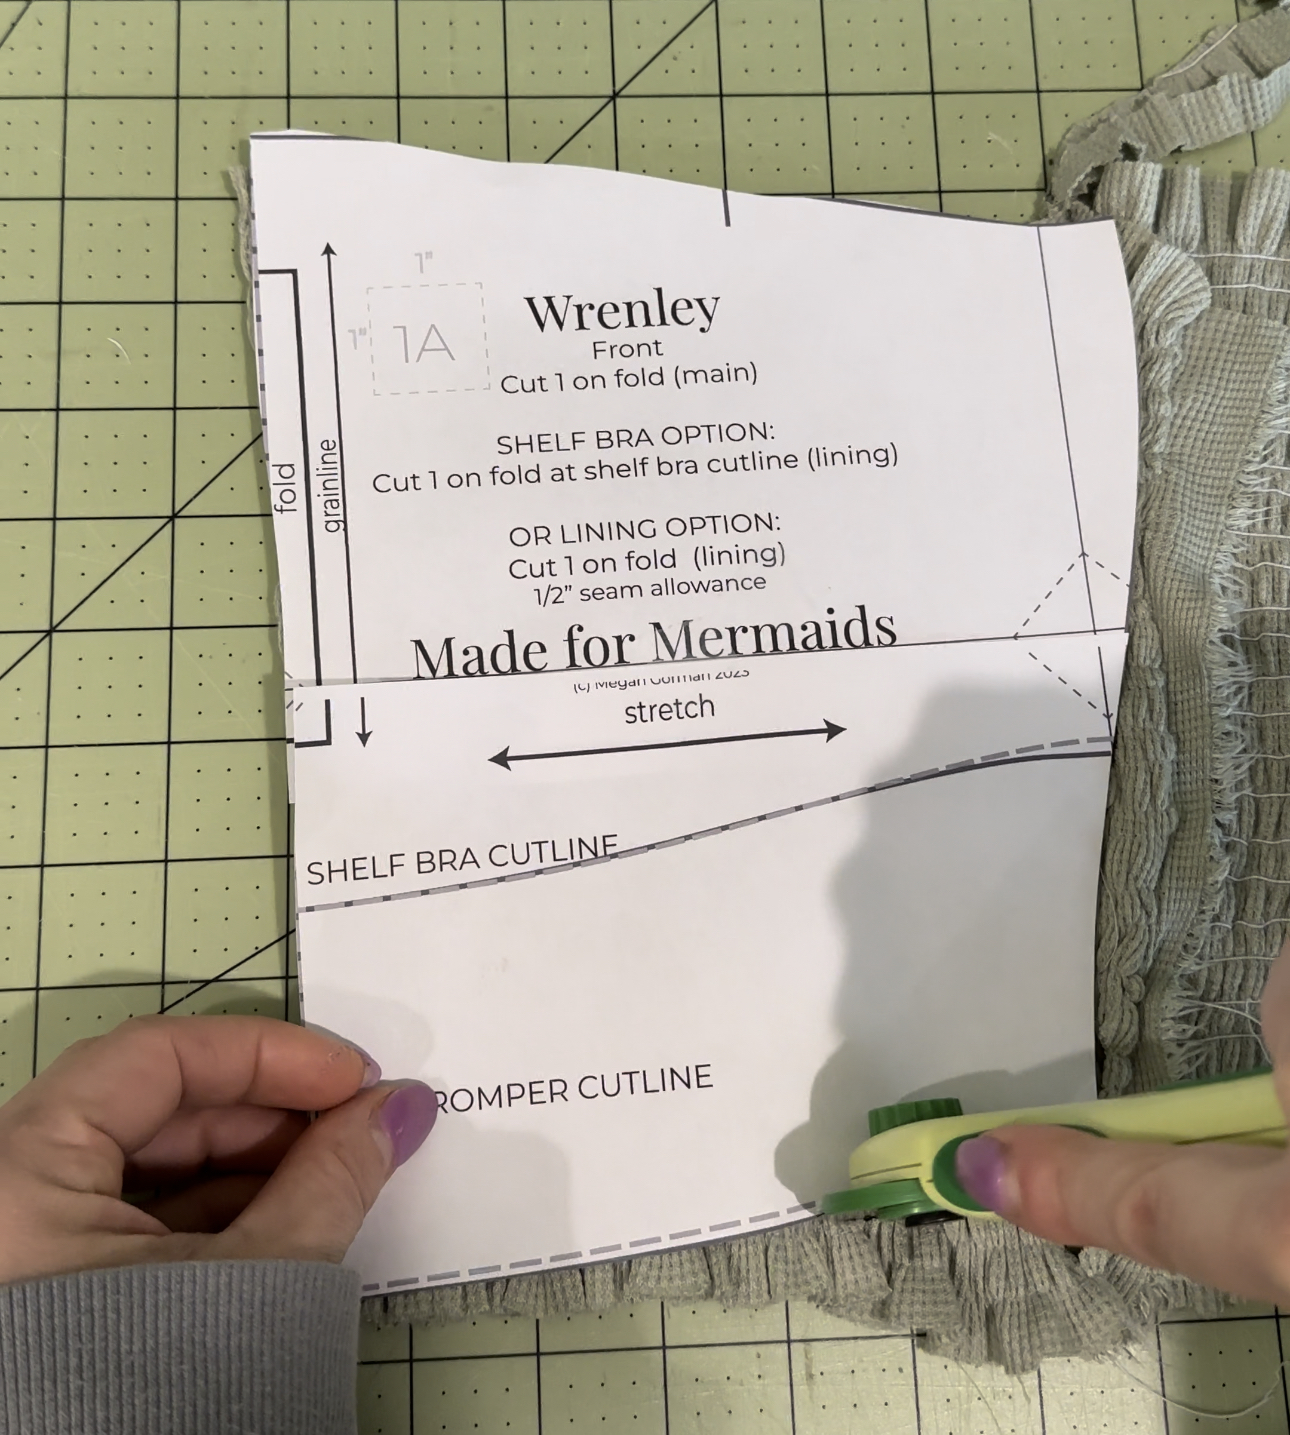
Shirred Hack
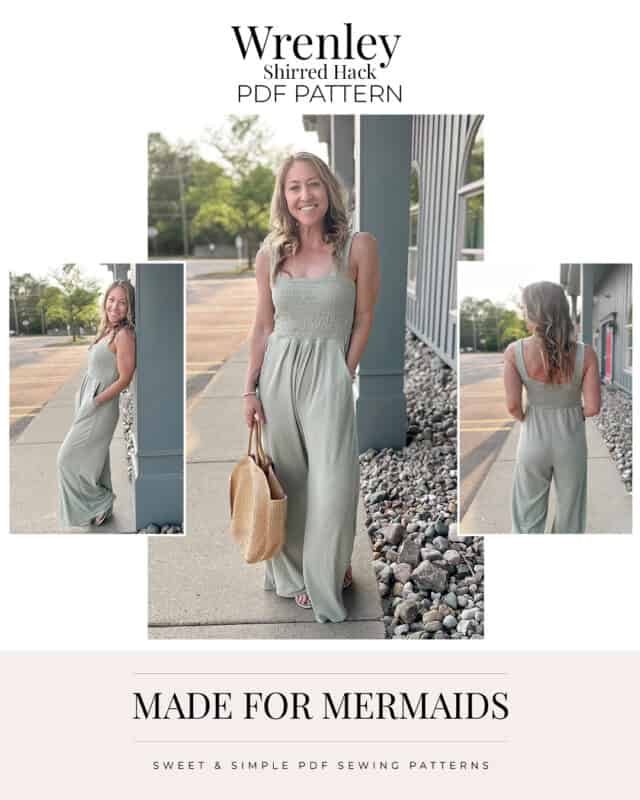
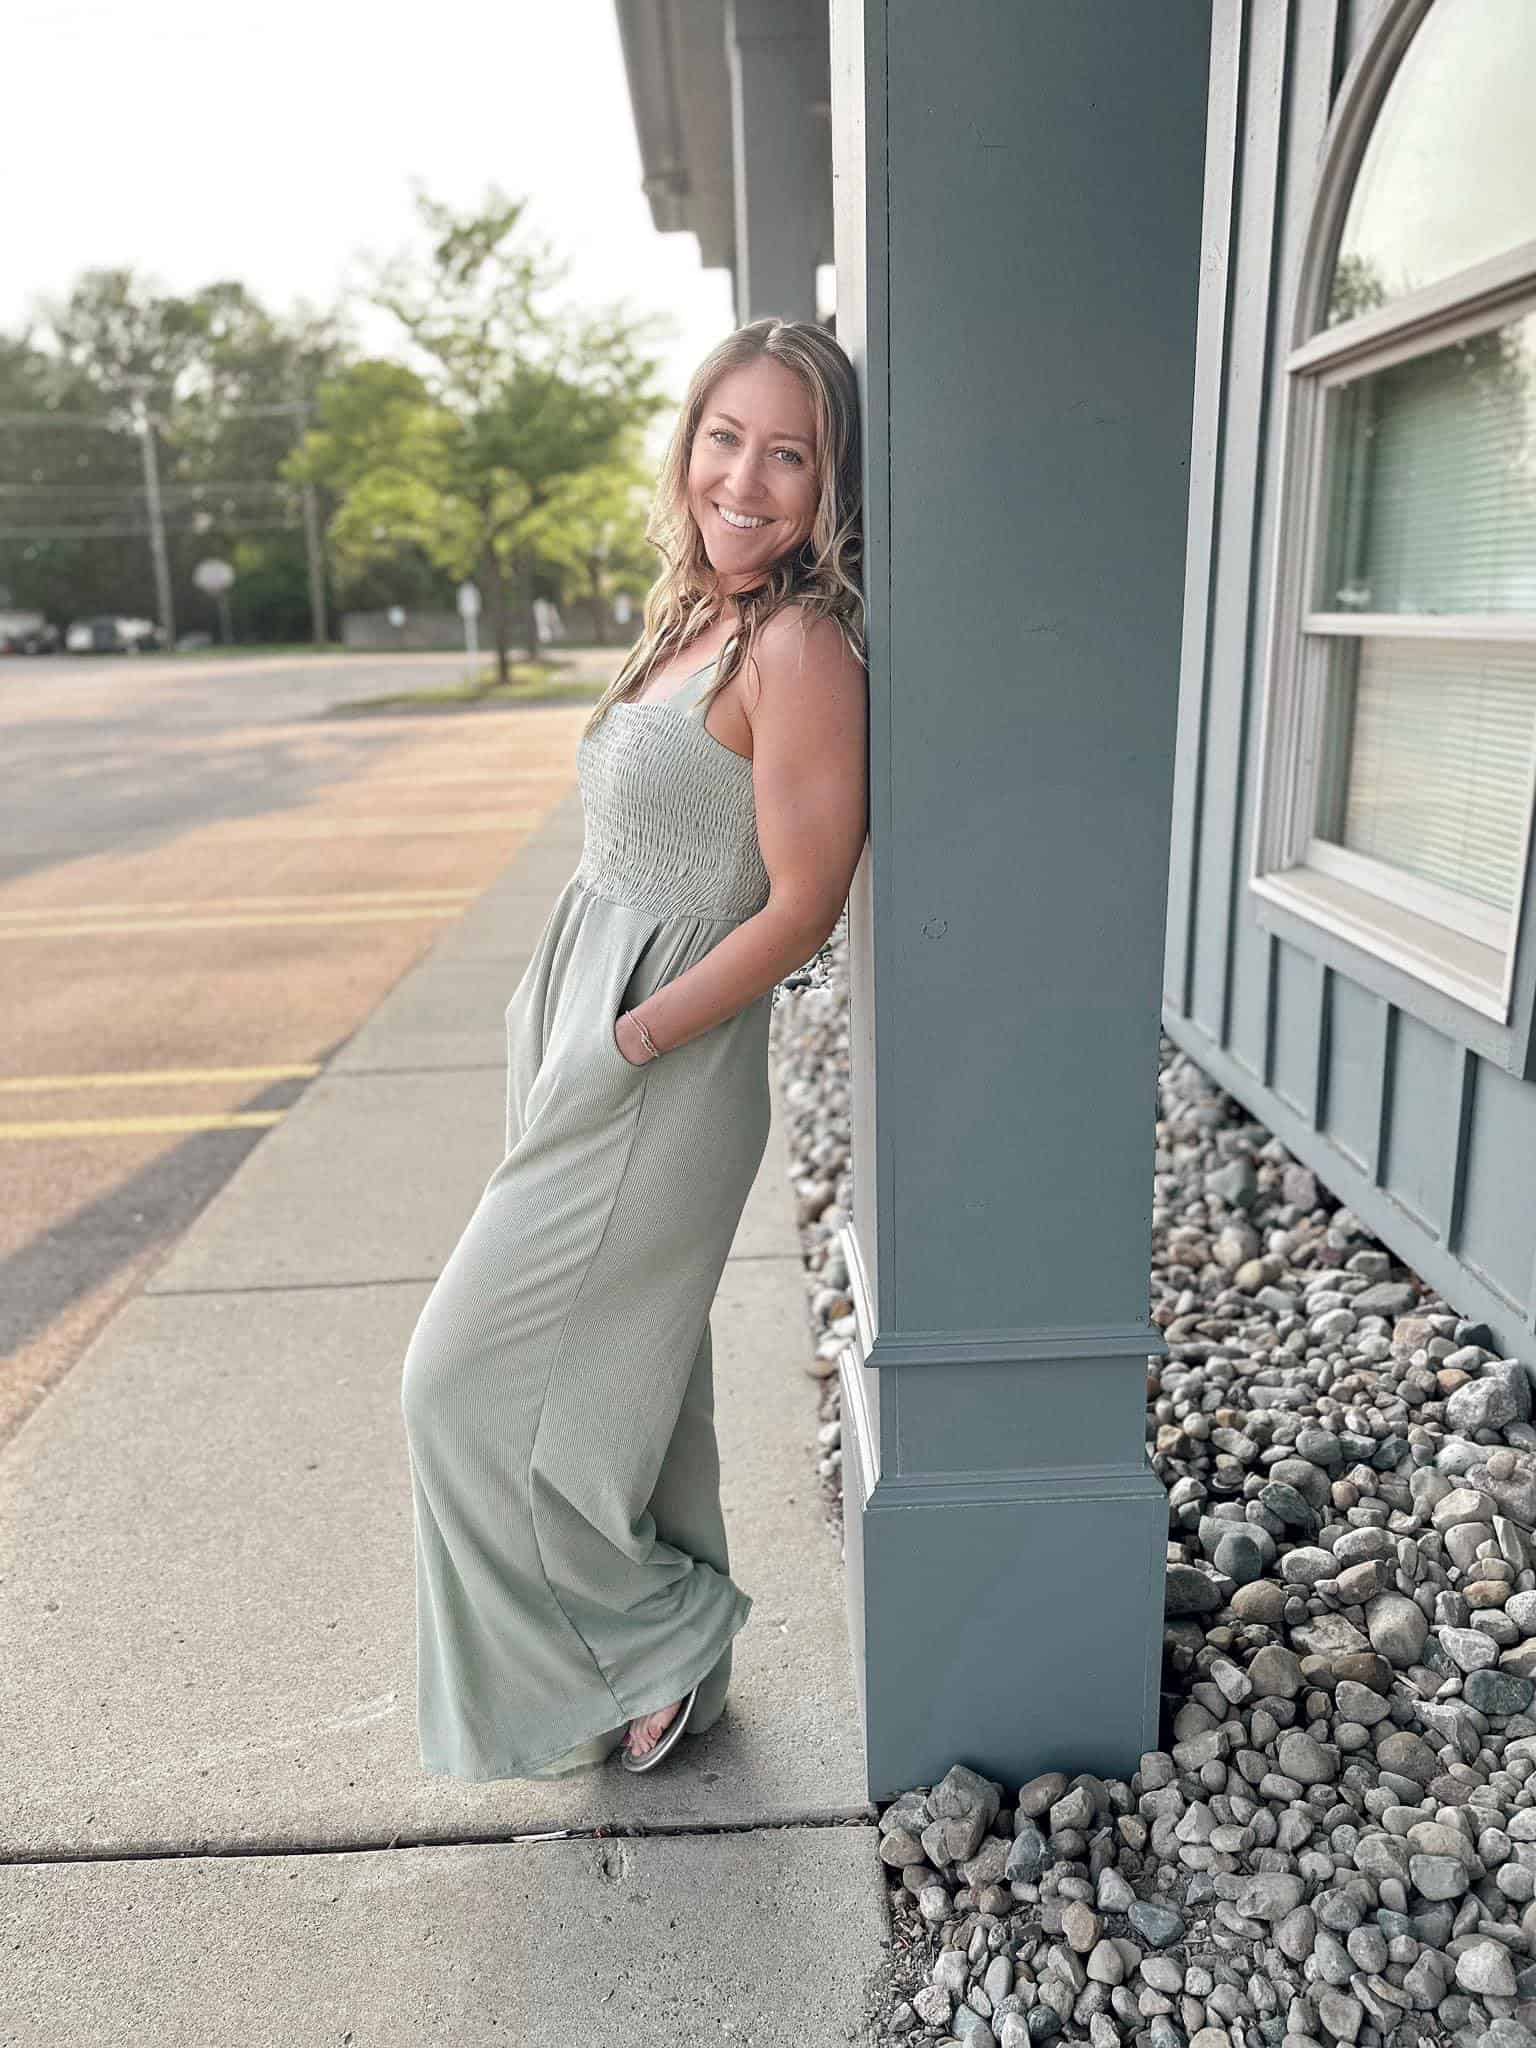
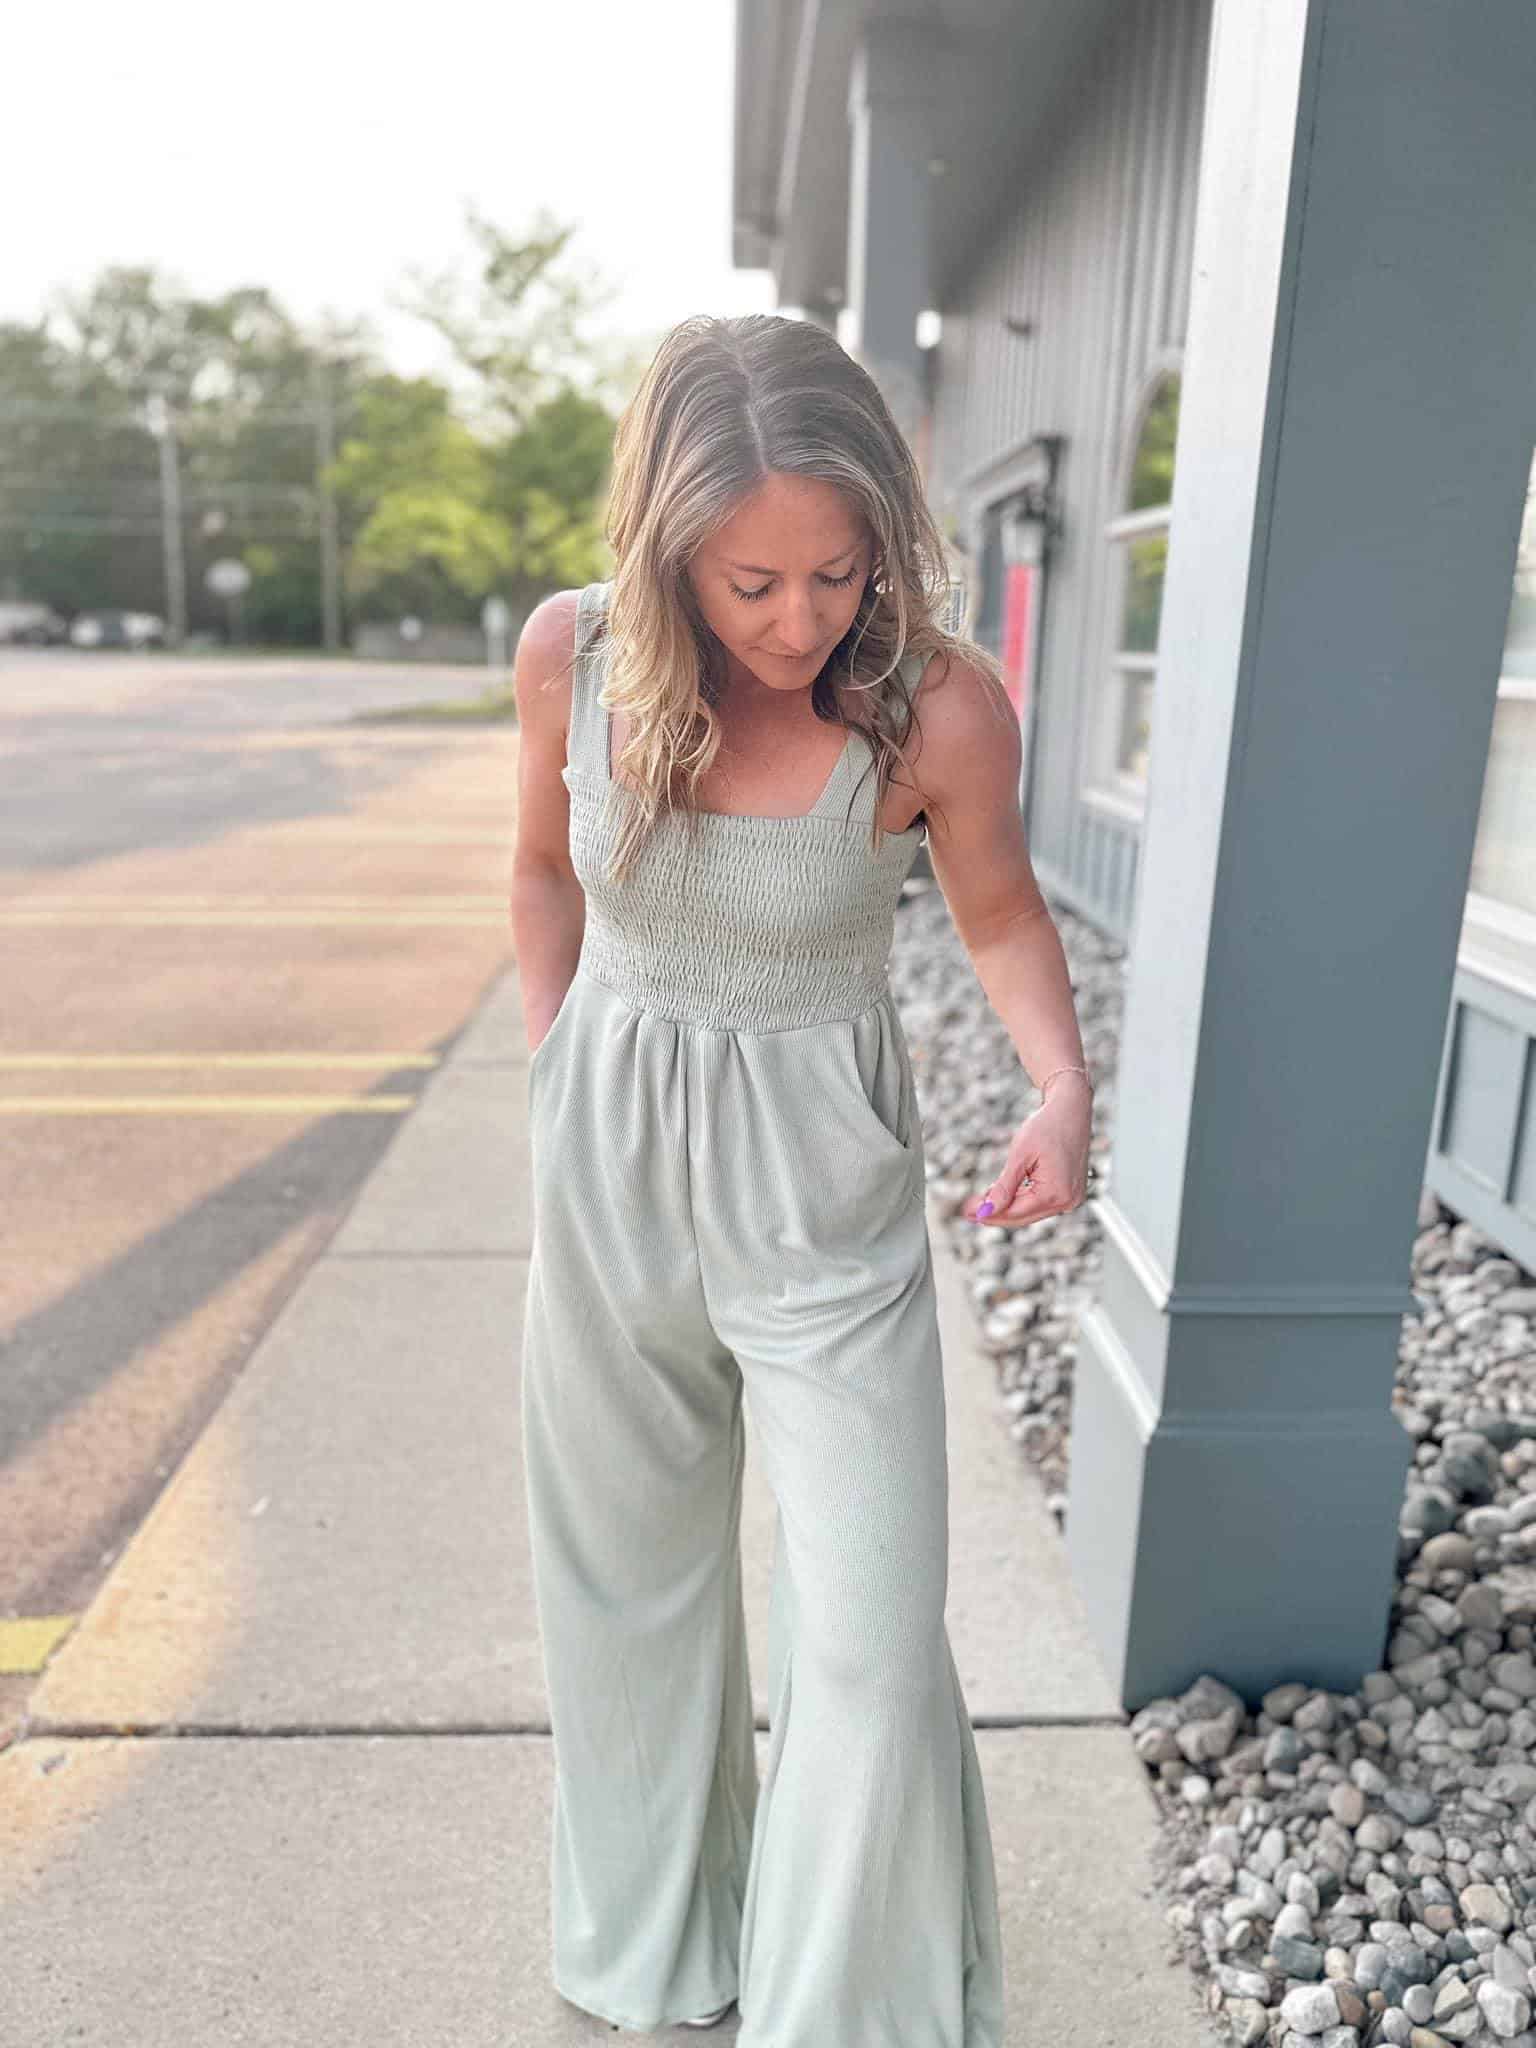
I’m sharing a super simple hack to re-create this viral jumpsuit I’ve seen floating around Pinterest!
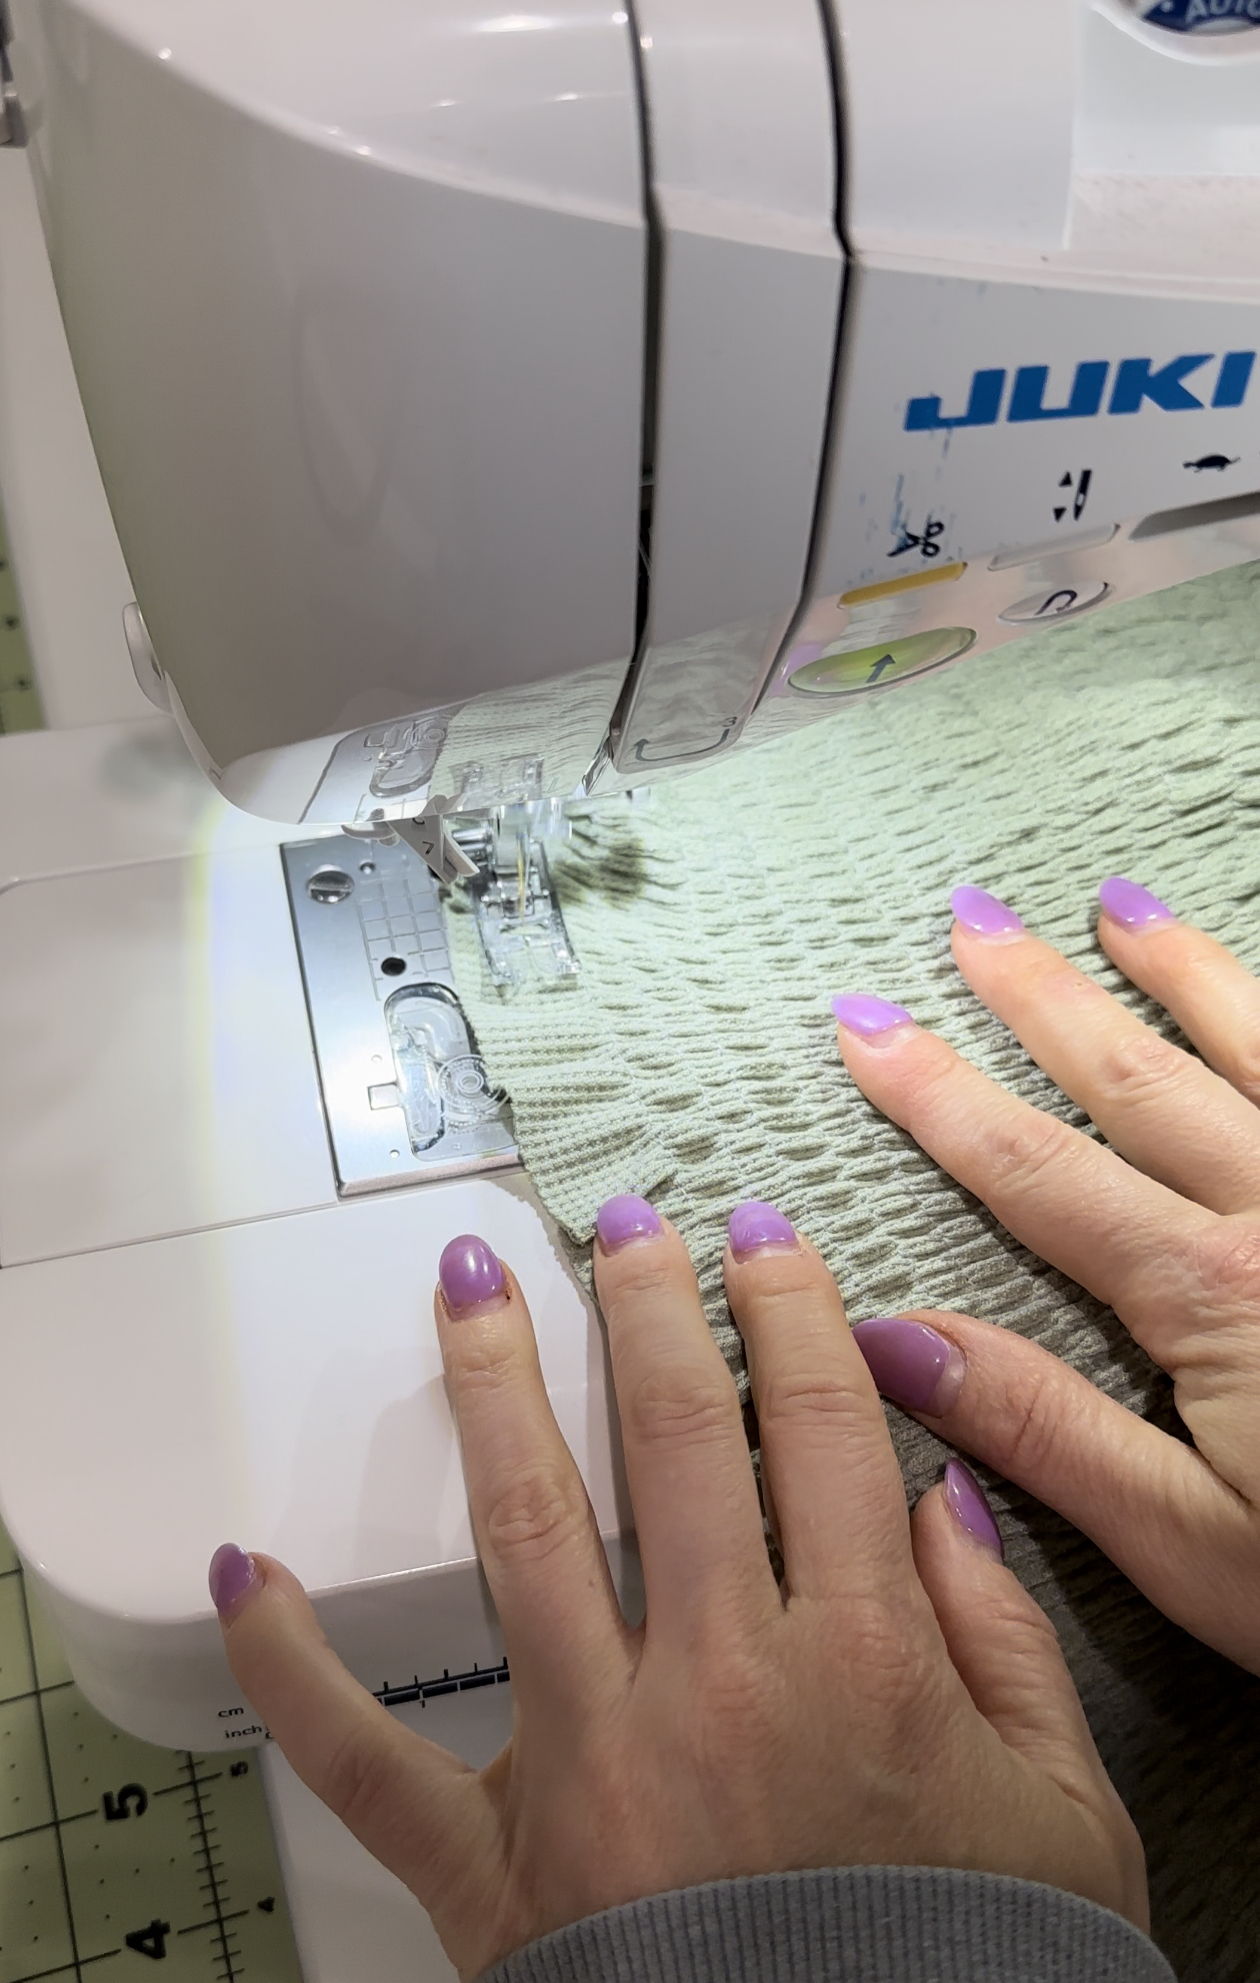
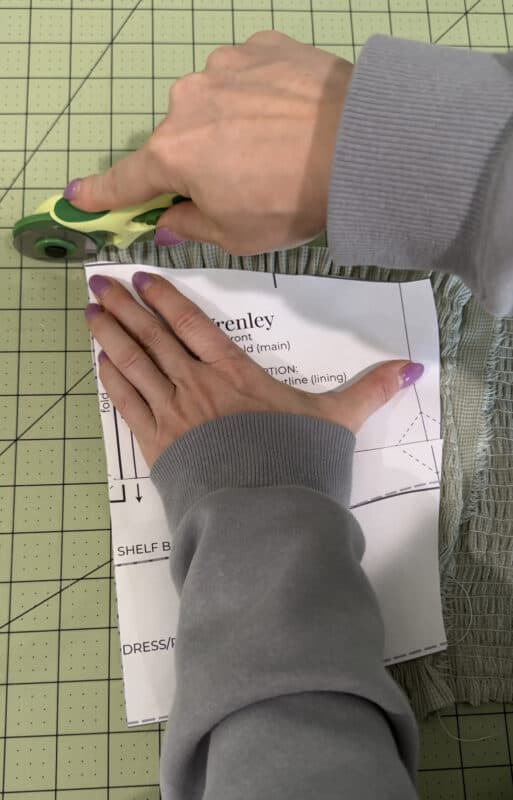
To make things extra easy, I decided to pre-shirr the fabric before cutting the bodice front and back pieces. I estimated that I would need about three times the width as the original piece to have it shirred enough to be the correct width needed. I did this for both the front and back bodice pieces, shirring two separate long chunks of fabric. I cut the fabric to be about an inch longer than the pattern pieces just to be sure it would fit nicely! If you are looking for a few helpful tips on how to shirr, check out my Instagram reel here.
After the fabric was shirred and steamed to help shrink it up evenly, I treated it as if it was plain knit fabric and cut out the pattern pieces. I used the shirred knit for the front and back main layers, and cut the lining from the plain knit fabric.
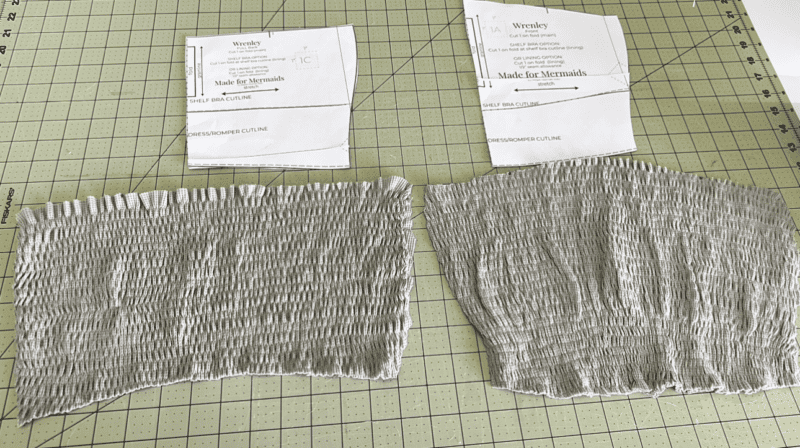
After the shirred front and back were cut, I followed the remainder of the tutorial just as it was written! Easy peasy but with a super cute result!!
NOTE: I did also modify the pant leg by giving it a bit more flare at the hem to match the inspiration jumpsuit more closely.

-Cassie
Wrenley + Venice Mash / Bodysuit Hack
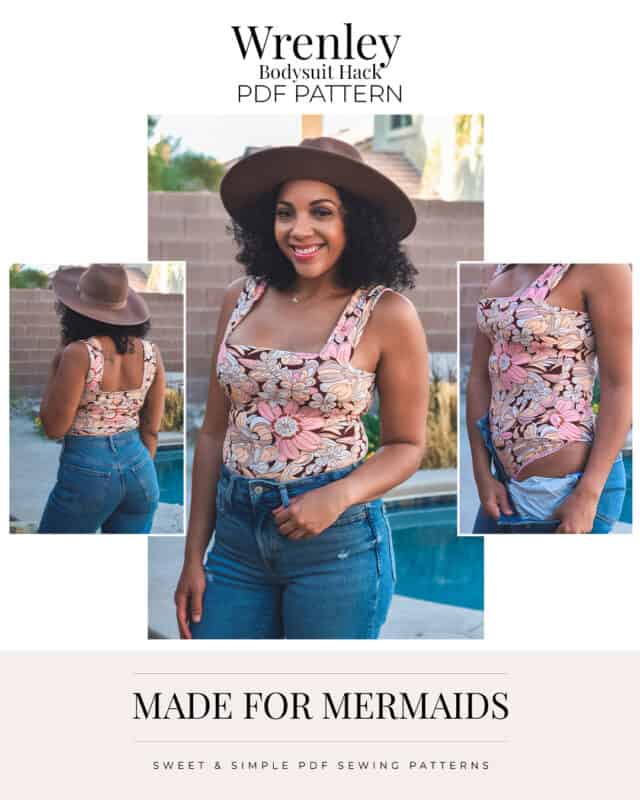
Even though she’s the romper queen, Stephanie slays in a bodysuit too!
If you like bodysuits, the Wrenley bodice mashed with the Venice bodysuit will be your new go-to! A mash made in heaven!
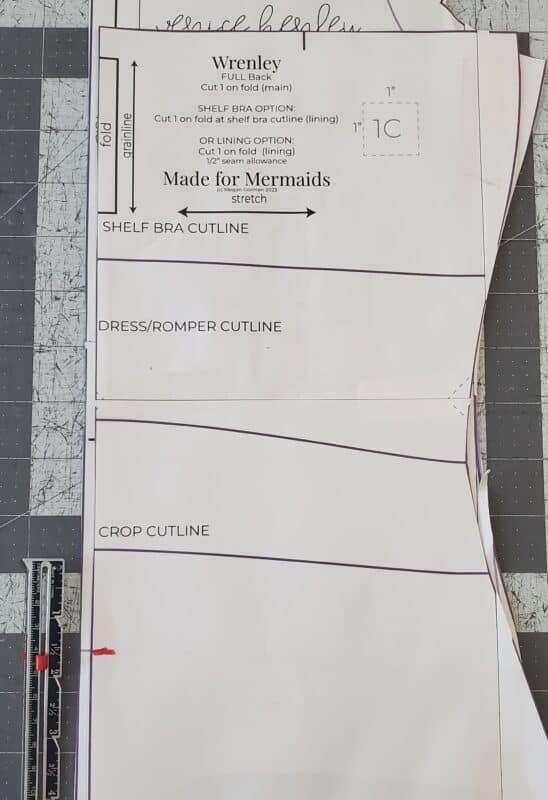
To start, take your Wrenley front bodice pattern piece. I recommend printing the actual patterns for this mash, not using a projector, so dust that printer off! Place the bodice pattern piece over your Venice front piece, matching the armscye.
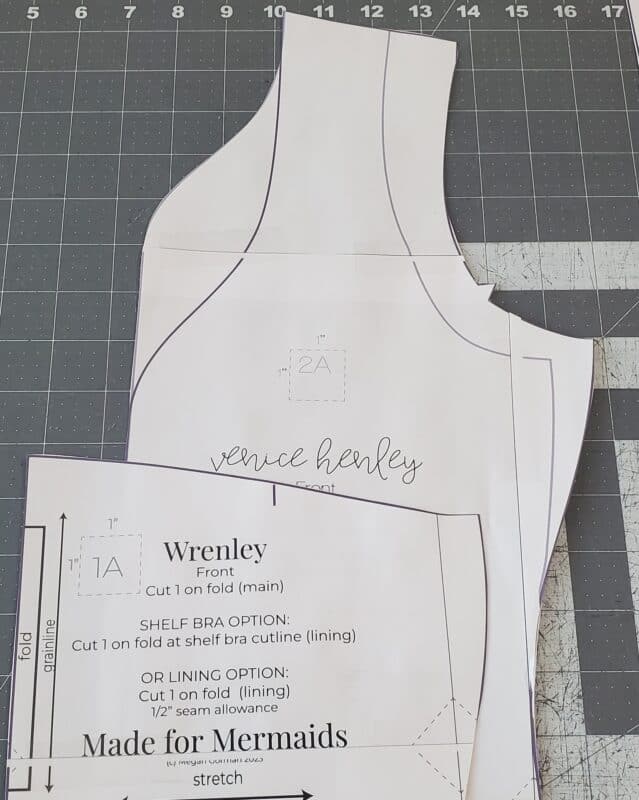
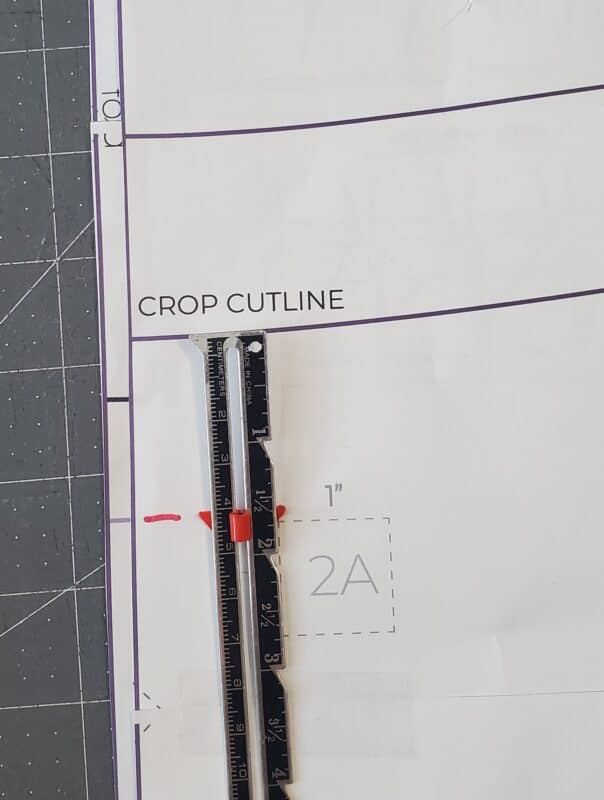
I then marked on my Wrenley piece where the Crop cutline is on the Venice piece, and measured the distance between that marking and the Crop cutline on the Wrenley.
Tape your patterns together. I did this along the fold line since you’ll be folding your pieces to be out of the way and don’t want them taped together where you’ll be folding.
For your back pieces, you will take the measurement between the crop lines for your front pieces and use it as a guide to place your back Wrenley pattern piece over the Venice pattern piece. You want those Crop cutlines the same distance. Your armscye will not line up like it does on the front. Notice how my Wrenley is higher than the Venice; that’s ok!
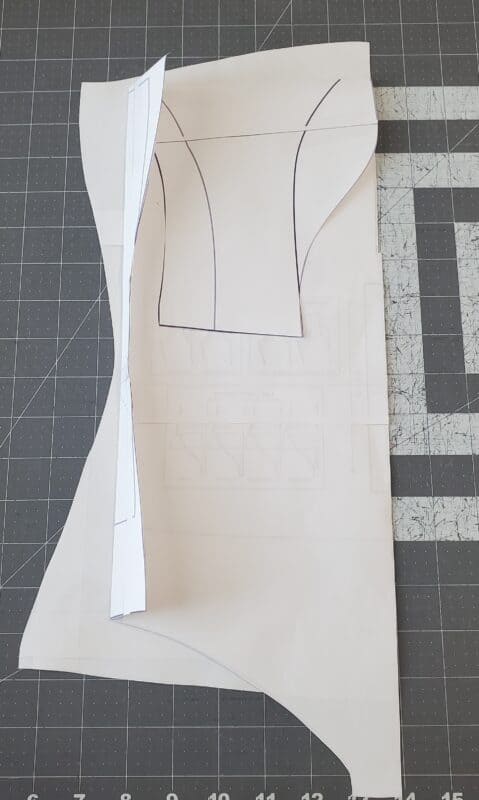
Once both are taped together you will treat as one front and back piece. You now are going to fold your Venice piece to the back along the top and the sides so all you see from the front is the Wrenley top and sides.
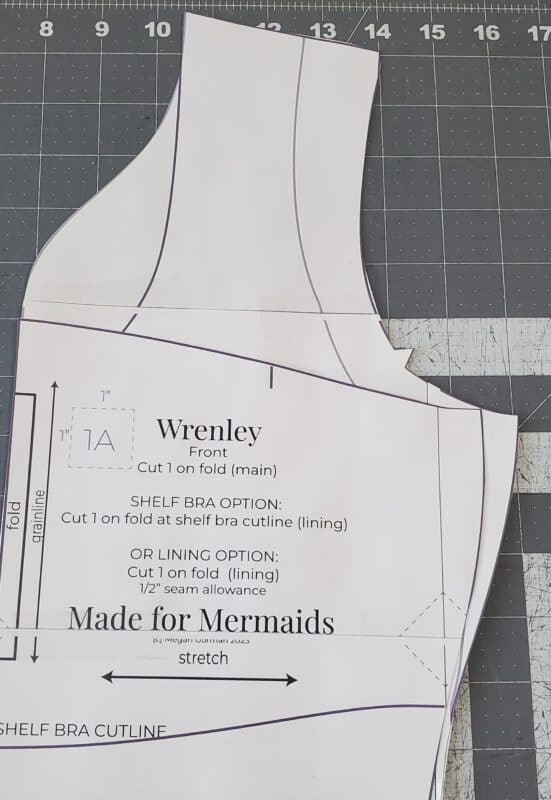
Turn your piece back around, unfold the sides so it’s facing back out and mark on your Venice piece where the two patterns meet along the hip. Then, fold your Wrenley towards the front, that way you can follow the cutlines for the crotch and legs of the Venice when you cut.
I recommend using pattern weights so you can fold your side fold back once you get to the marking at the hip without disturbing your fabric/pattern.
To cut you will start at the crotch, with your Wrenley folded up and out of the way, and your Venice sides NOT folded out of the way, following the cutlines of the Venice crotch and legs, and a little up the side until you get to the mark you made on the hip. Now carefully fold your Venice sides back out of the way and continue cutting the sides and the top using the Wrenley sides and top.
You will now have your front and back mashed pieces! Follow the instructions to finish the straps, top, sides, and shelf bra using the Wrenley tutorial, and finish the legs and crotch using the Venice tutorial. & that’s it! Your pieces will look like this:
The finished product will look like this, the cutest bodysuit ever!
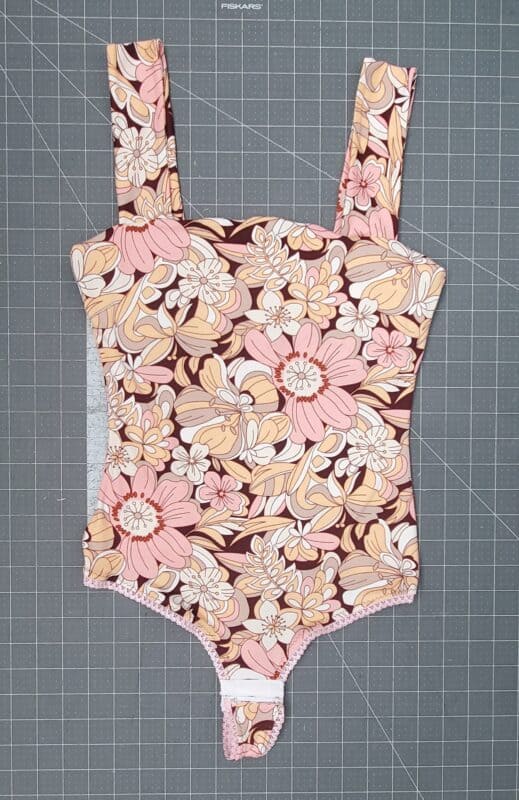

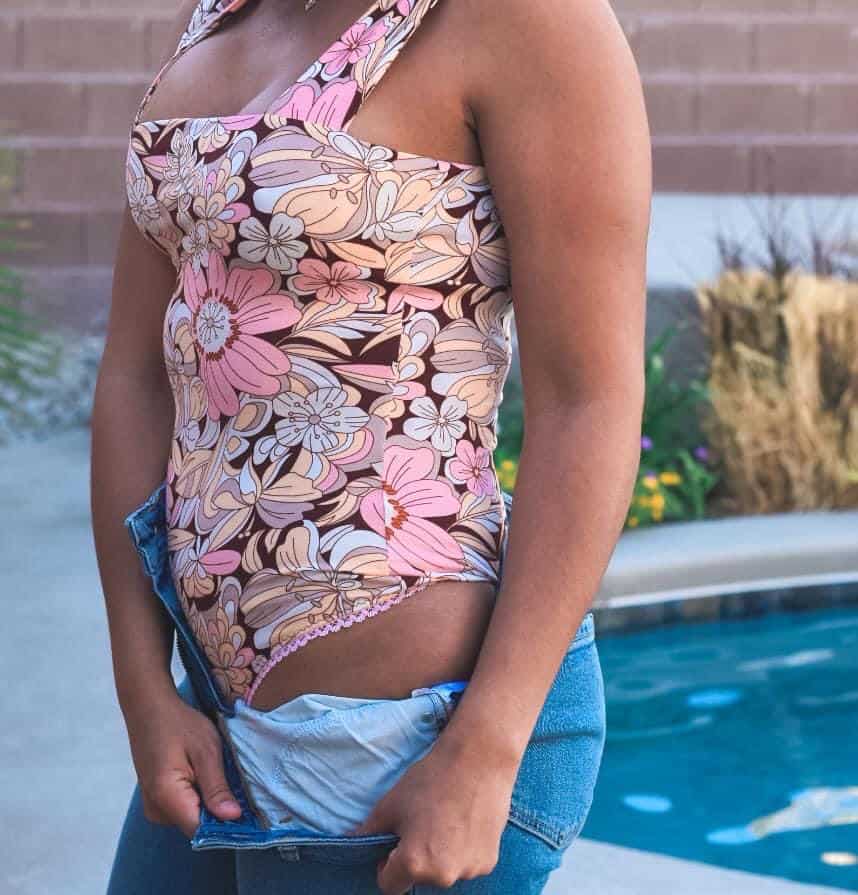

-Stephanie
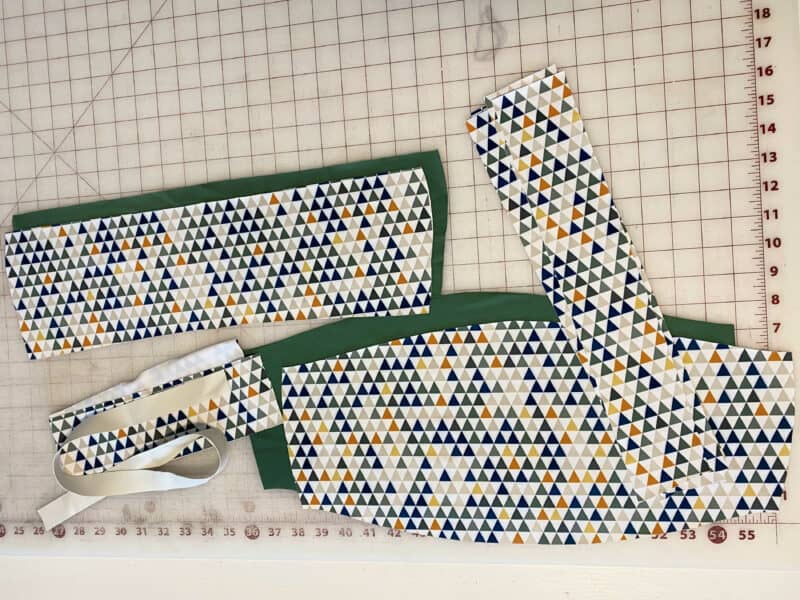
Swimsuit/Sports Bra Hack
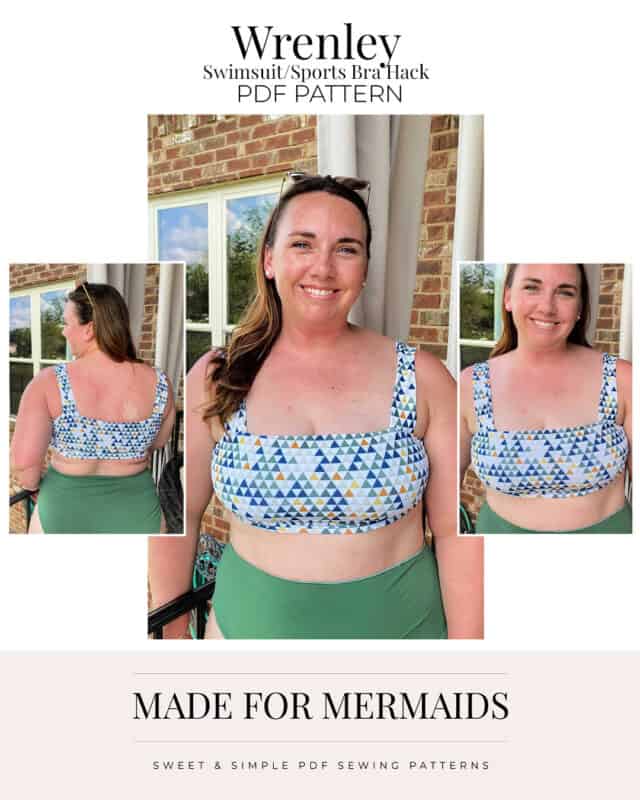
There are several different options when it comes to using the Wrenley pattern as a base for a swimsuit top, and I am here to show you the most simple way! For this hack, you will need the shelf bra pattern pieces for the front and back, strap pieces, and shelf bra band.
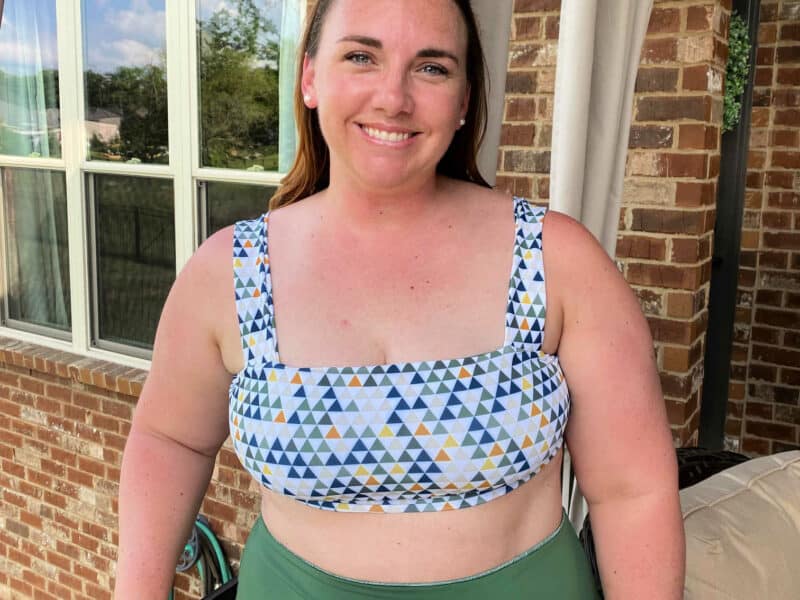
I chose to cut both my main and my lining out of swim fabric since I like the added compression given by the lining being swim fabric. You will also need swim elastic. I used 1/4″ swim elastic for the seams and 1″ swim elastic for the band. OR if you’re making a sports bra, use 1/4″ clear elastic for the seams and 1″ knit elastic for the band.
I constructed the top the same way the pattern tutorial suggested for sewing the regular bodice with a shelf bra. I added 1/4″ swim elastic to both seams on each strap piece for extra support.

I also added 1/4″ swim elastic to the seam along the top of the front bodice and back bodice.
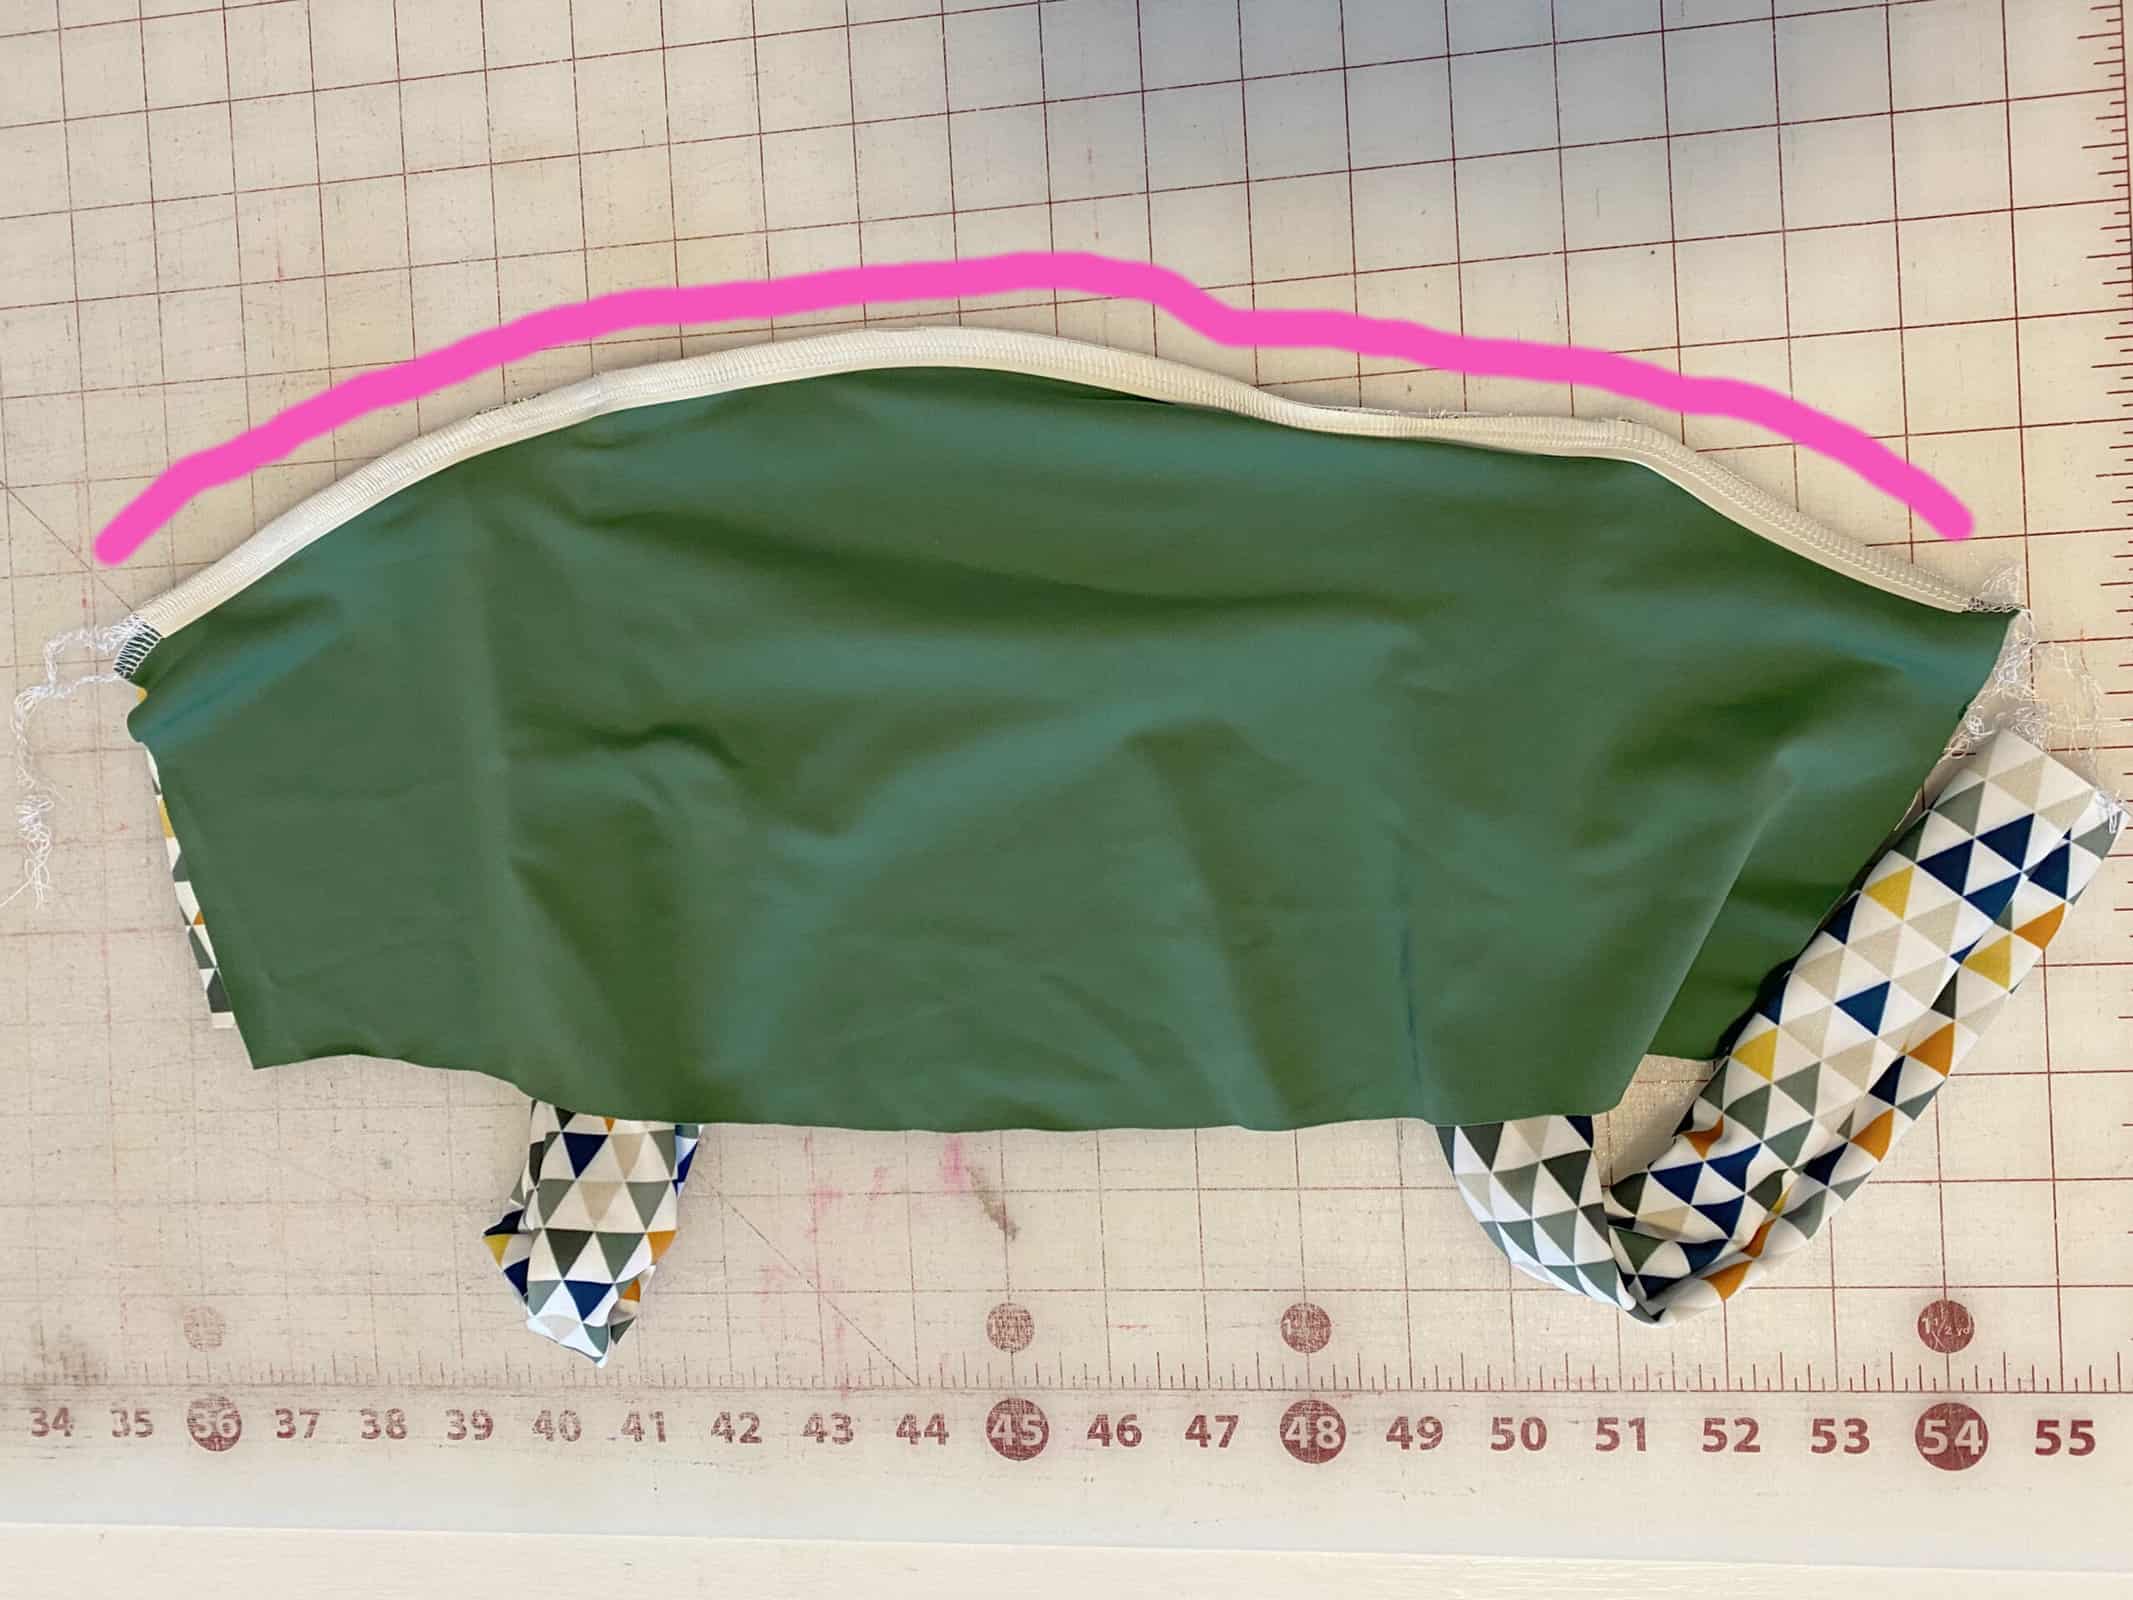
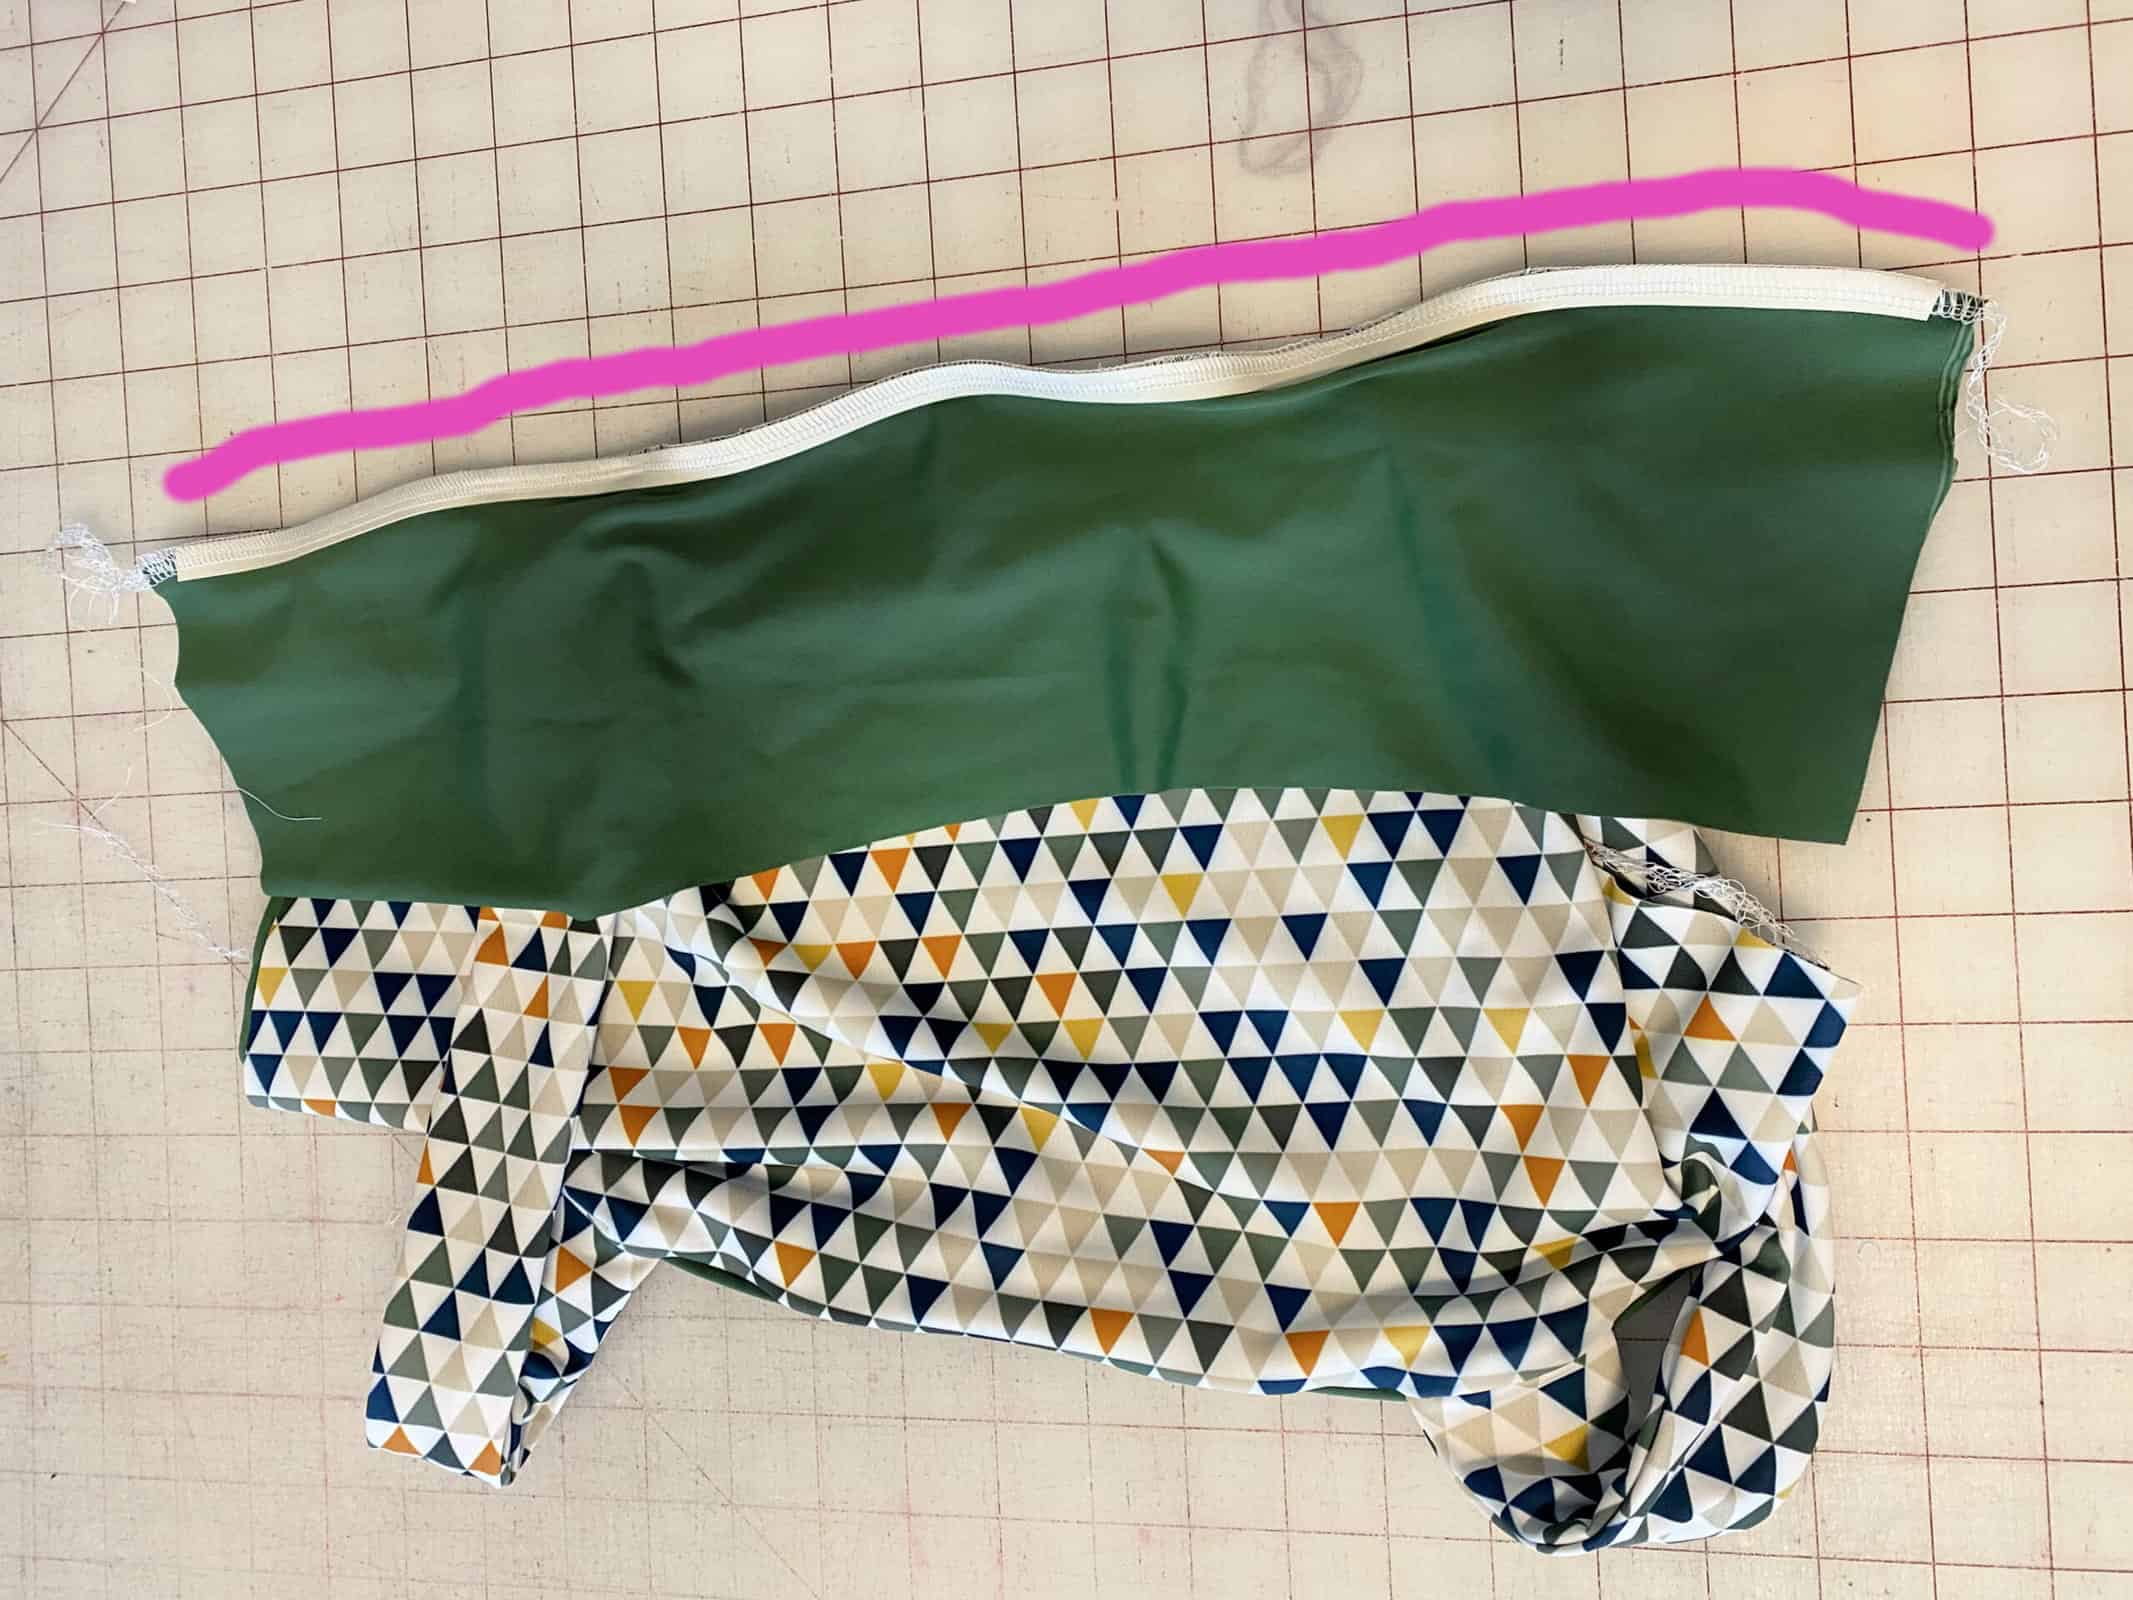
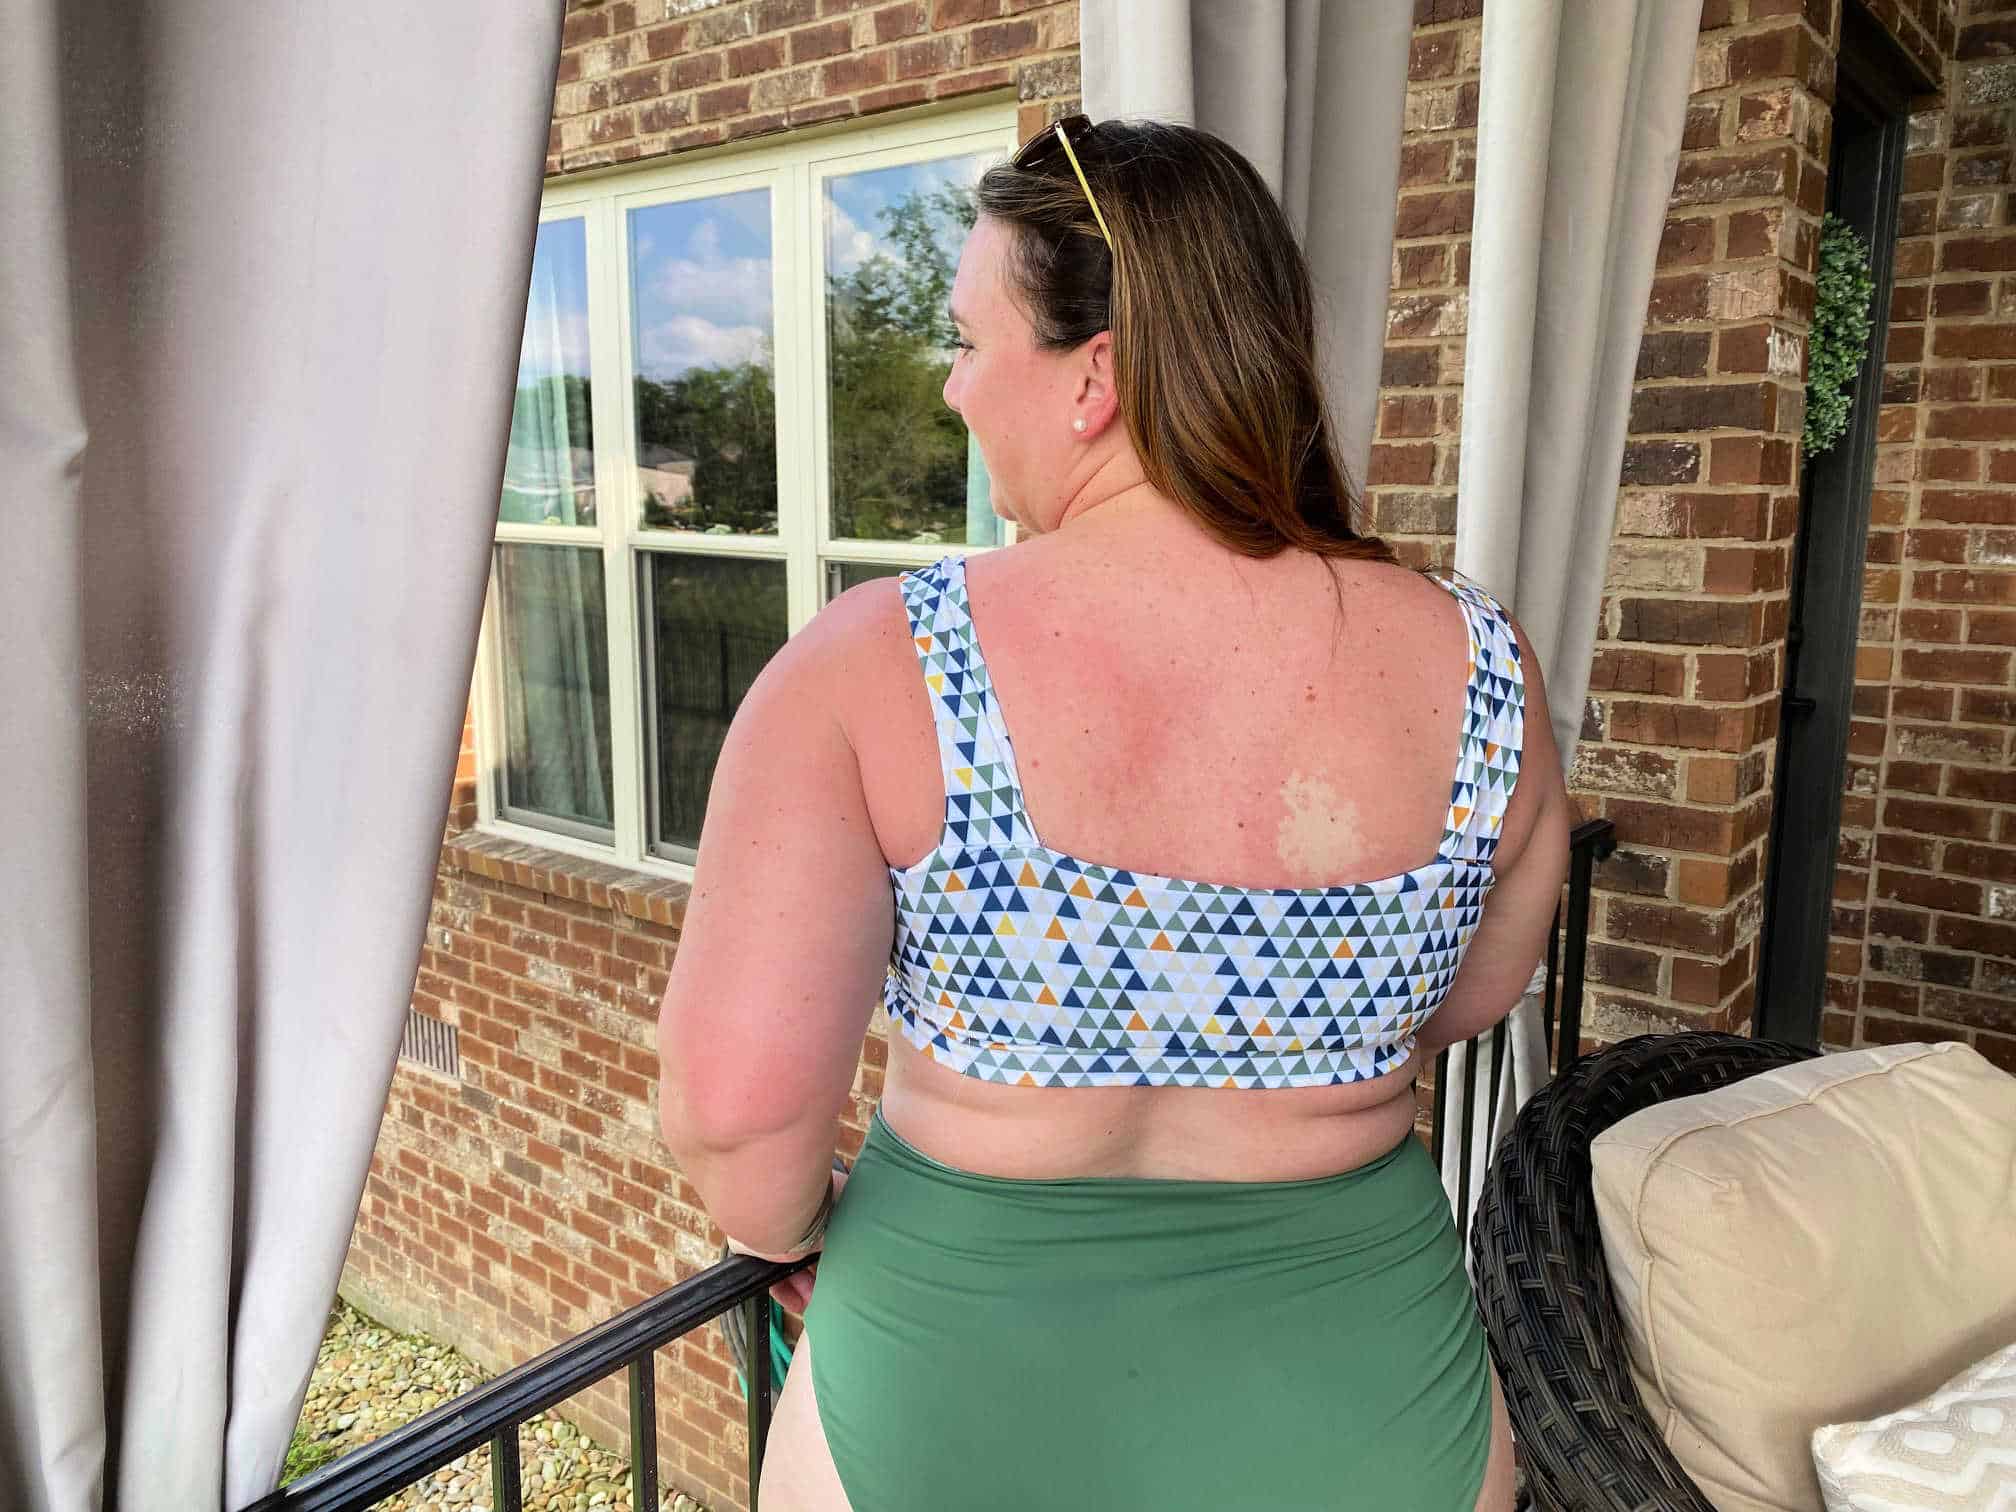
After sewing the side seams per the pattern tutorial, I attached the shelf bra band with the 1 inch swim elastic inside the band. Super simple swim hack! You can also play around with the pattern pieces and use the tie back, ruffle strap, or even use the crop length for more coverage. I paired my swim top with Amalfi bottoms and love the end result!

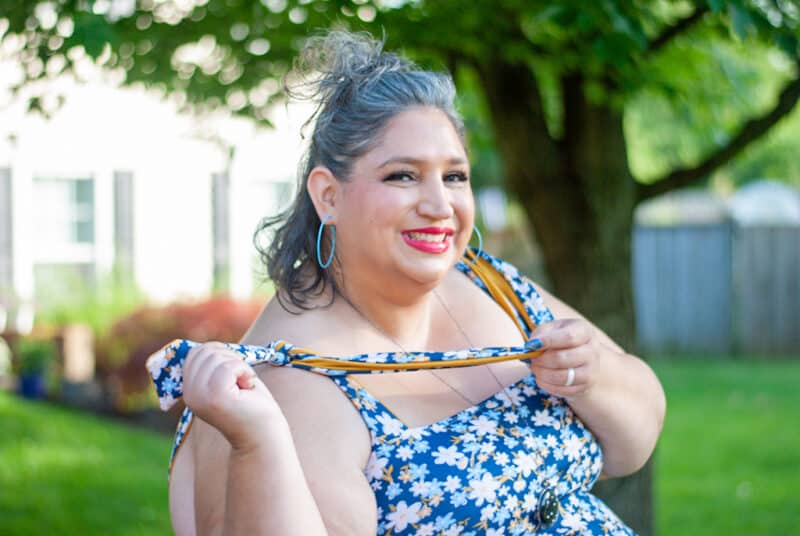
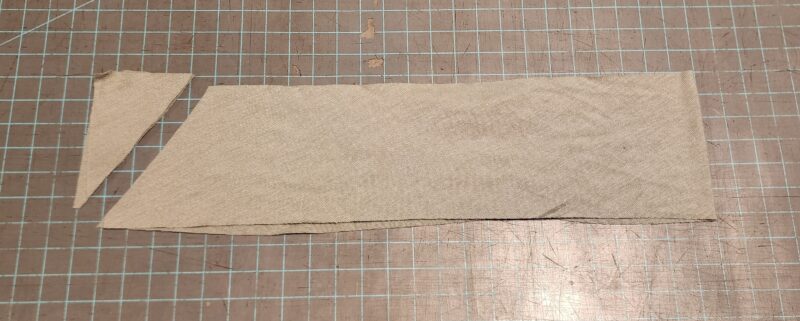
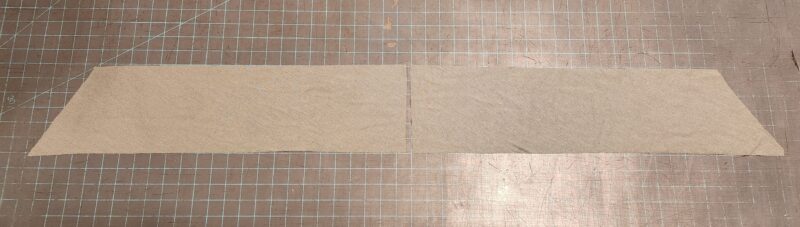
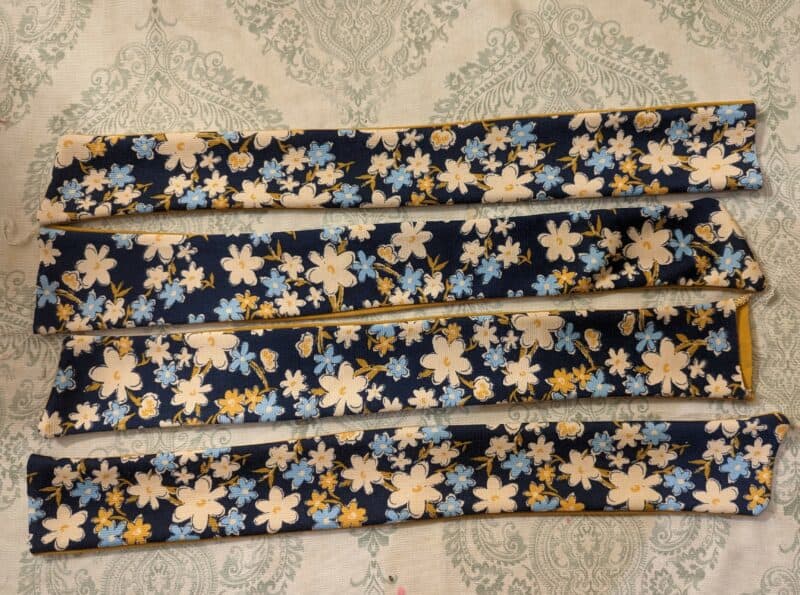
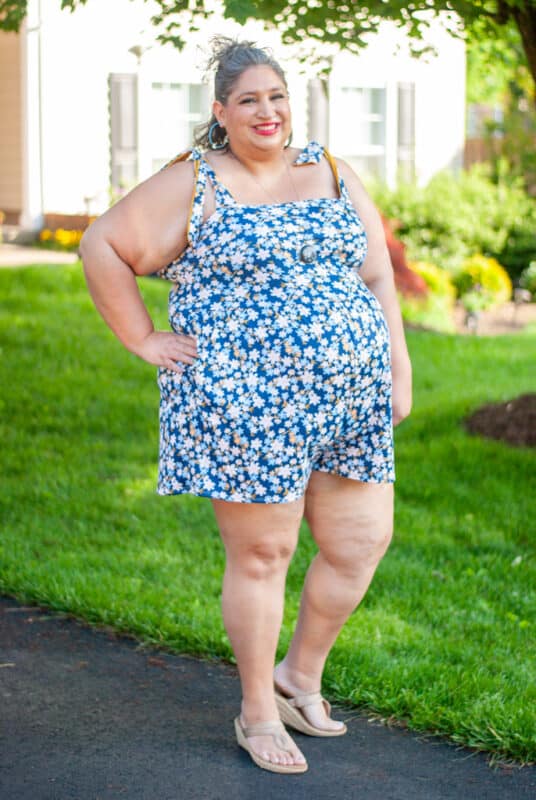
Tie Straps Hack


Don’t forget to share with us on your favorite social media platform – we can’t wait to see your take on Wrenley!
Leave a Reply