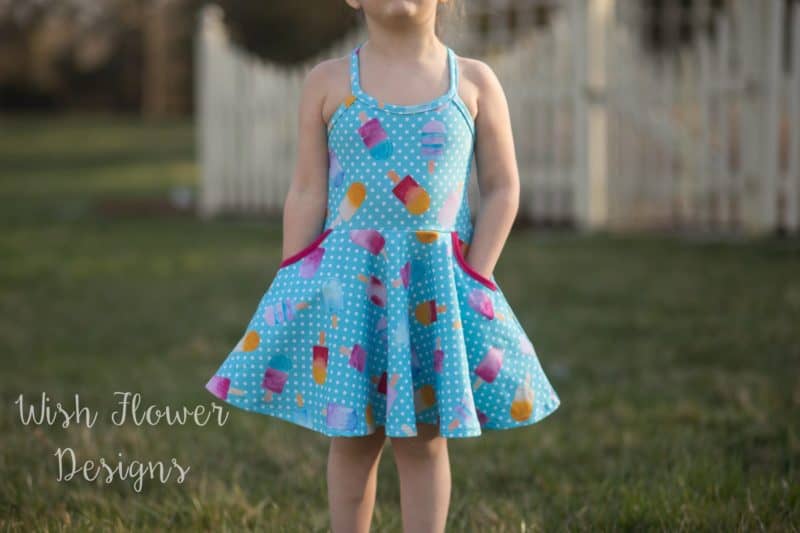
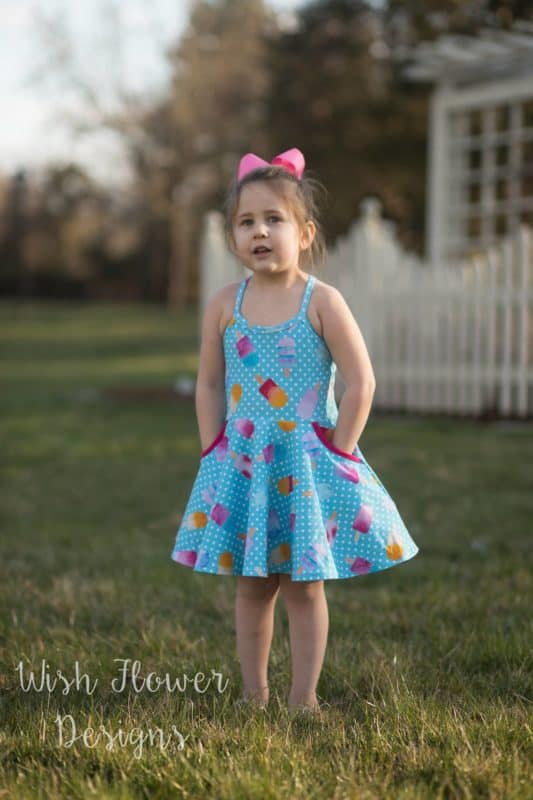
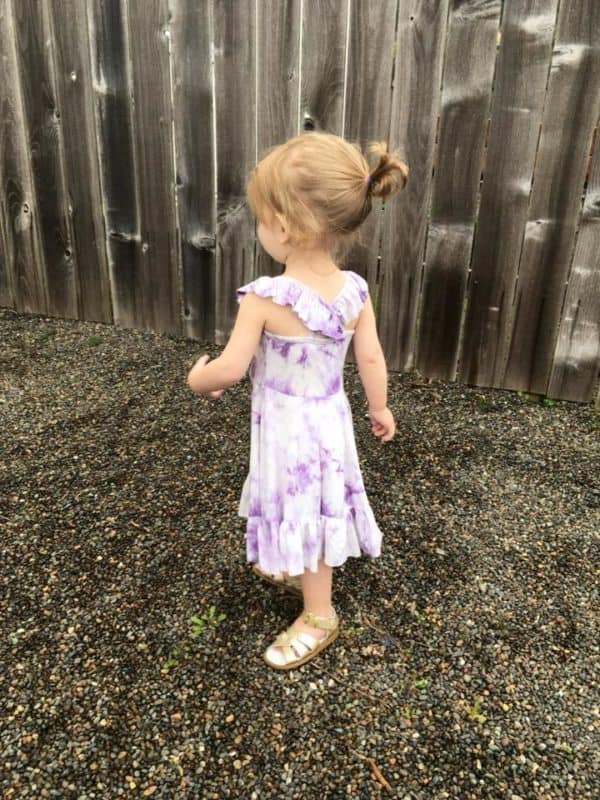
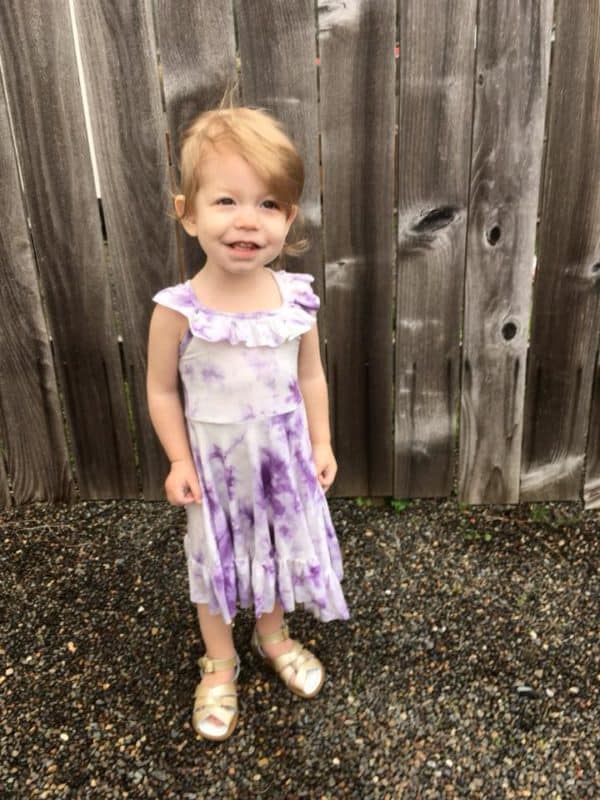
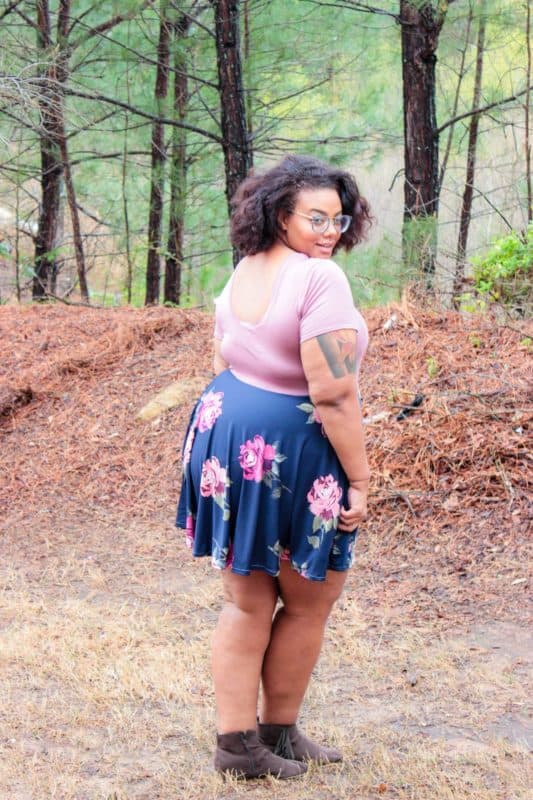
Adeline, Baby Adeline, and Mama Adeline (and Dolly, too!!) are already packed FULL of options, but you know how we love our hacks! The girls’ Adeline pattern is an all knit dress that features a full circle skirt in vintage, dress, ruffle, or maxi length; scoop back or keyhole back; sleeveless, short, half, or bishop sleeves; AND, optional slat pockets. Baby Adeline offers much of the same sweetness: full circle skirt in dress or ruffle length, scoop back or keyhole back; sleeveless, short, half, or bishop sleeves; and the additional option of a romper bottom (that can be made from woven!!). Mama Adeline options include a full circle skirt in mini and dress length, or a half circle skirt maxi; sleeveless, short sleeve, half sleeve, or bishop sleeve; inseam or slat pockets; keyhole back or scoop back; and high or scoop neckline.
LOVE the Adeline skirt but want to wear it separately? Check out the Mama Joy separates hack or the Mama Cassie separates hack; both will work beautifully for Mama Adeline!
We’re so excited to share EIGHT more of our favorite mashes/hacks with you:
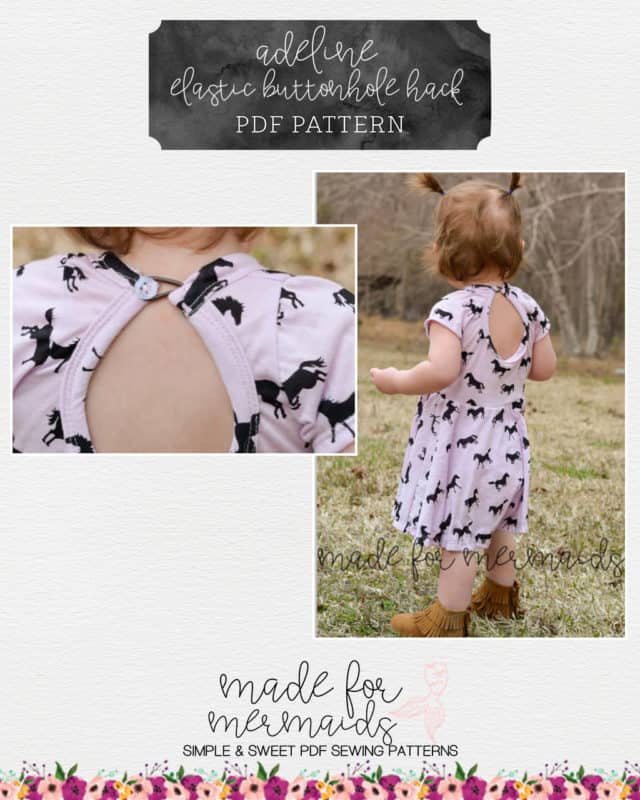
Elastic Buttonhole
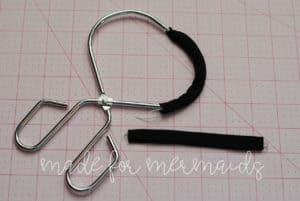
For this simple hack, the only materials needed are a thin elastic hair tie and a single button.
Assemble the dress as instructed up until the binding section. Follow the pattern instructions to bind your keyhole.
Now, take the keyhole neckline binding pattern piece and cut at the lighter lines for your size (where the binding meets up with your neckband ends on your pattern piece), then add in your seam allowance to create your new neckband binding pattern piece. Using the newly measured neckband binding, attach as instructed; be sure to enclose your keyhole binding within the neckband binding.
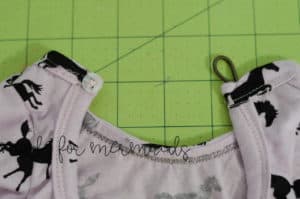
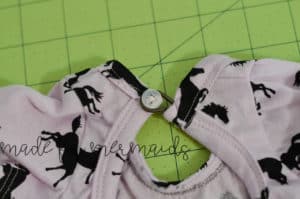
On whichever side you choose to add in the elastic loop, I found it easiest to add the ends up the elastic loop into the very end of the neckband binding once I folded it over. Finally, just add in your button on your opposite neckband end and voila! – Courtney
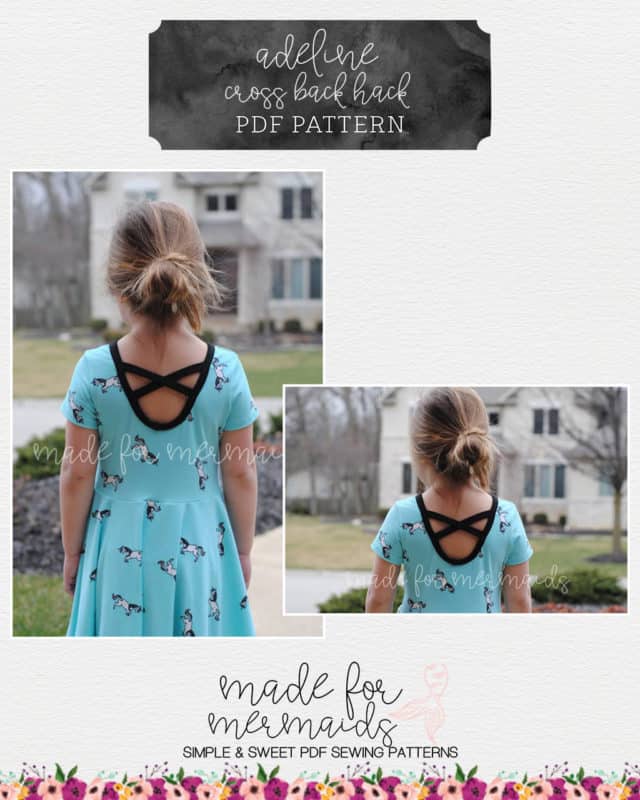
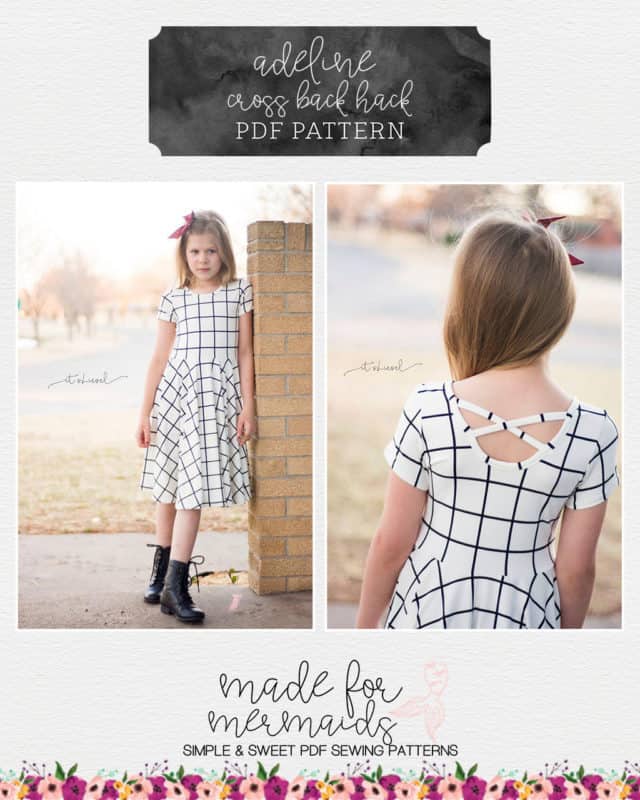
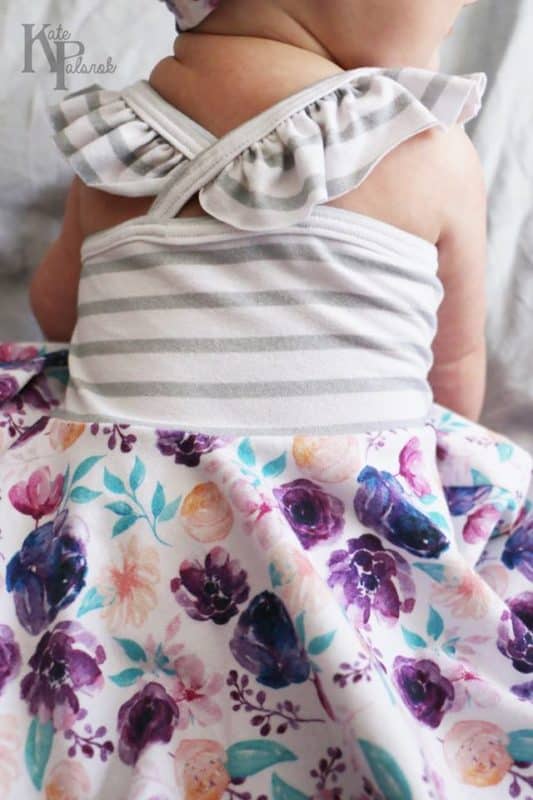
Cross Back Straps
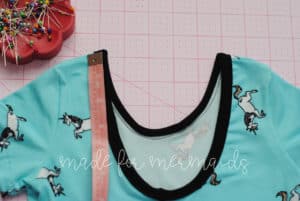
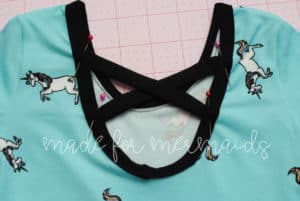
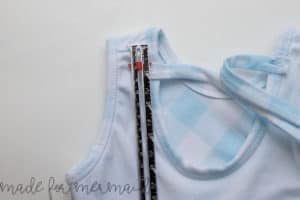
For this hack, first finish your dress per the pattern tutorial. Lay your finished dress out flat and measure down from the shoulder seam to find the placement of the top part of the strap. You may place the straps wherever you wish, but as a general guide, the top strap should start about 1.5″ down from the shoulder seam for sizes 1/2-4, and then 2″ down from the shoulder seam for sizes 5 and up. Mark the placement with pin.
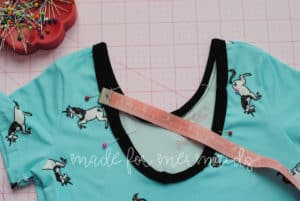
Using a tape measure or ruler, measure from the top placement marks you just made diagonally to the opposite side of the scoop and mark the desired placement for the bottom of the straps with pins as well. Measure how far the diagonally placed pins are to determine your strap length. My pins are spaced 5″ apart, and I want to make my straps 90% of that length to keep them from having slack or drooping. (You can always make the straps the exact length and shorten after the fact, I just know for dbp I need to shorten them a bit to keep them from drooping)
Cut your two strap pieces 1.5″ long by however wide you measured. (mine are 1.5″ x 4.5″). Fold your strap pieces right sides together and sew/serge them together to make a tube using a 1/4″ seam allowance.
Use your favorite turning method and turn your strap pieces right sides out and give them a press. You may topstitch with a stretch stitch if desired, but that’s not necessary. Stitch your strap pieces inside your binding at the markings. You may wish to baste them on and have your model try it on to make sure you like the placement beforehand securing them completely! – Jody
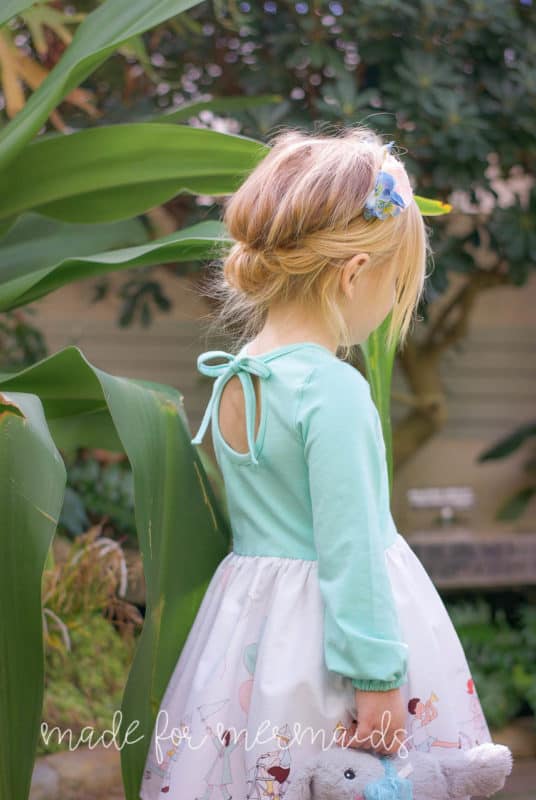
Tie Straps (for Scoop Back)
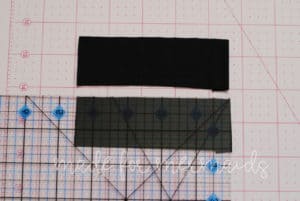
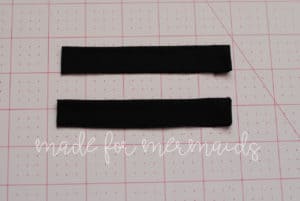
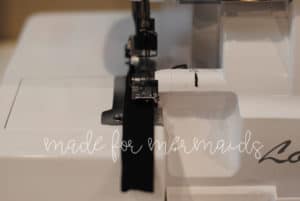
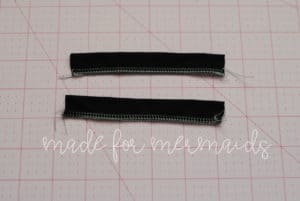
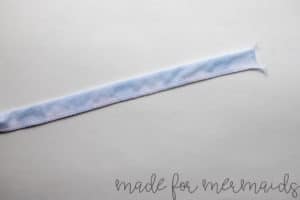
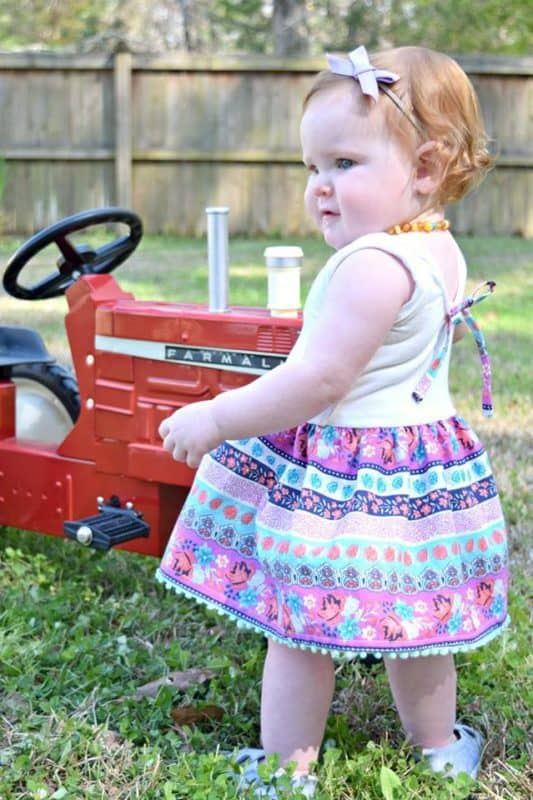
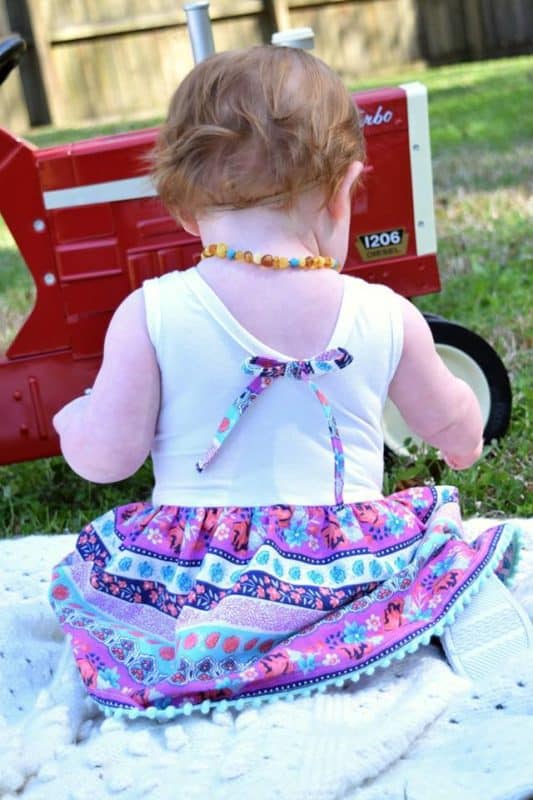
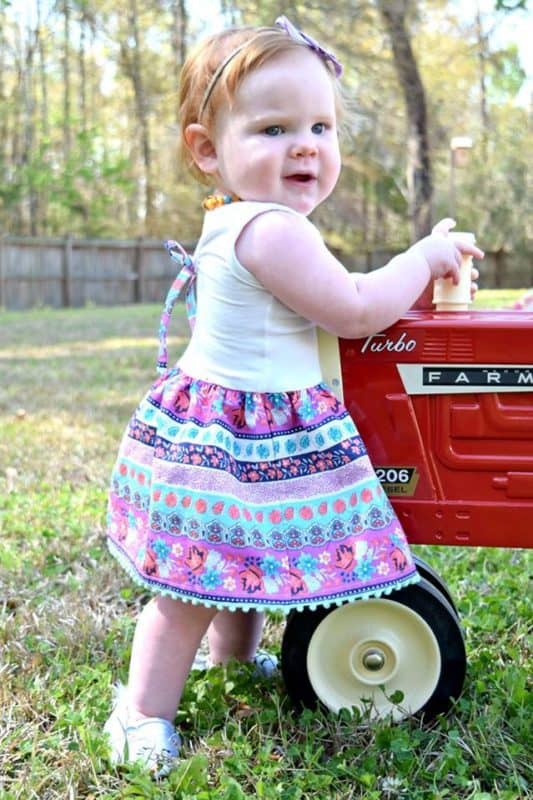
The scoop back of the Adeline has such potential to add some really cute, and trendy looks. For this Adeline, I added two ties at the top of the back neckline to give a tie back look. First, I made my Adeline without any alterations to the scoop back pattern. Next, I cut two strips, each one 1.5″ long by 15″ wide (with the stretch going across the width). This size dress was a size 3, so the width of your ties might need to be longer or shorter depending on the size you’re making. The strips were then placed right sides together with the long raw edges together, and sewn with a 1/4″ seam allowance.
I also sewed one end of each tube with a 1/4″ seam allowance to close the end.
Next, I turned the tubes right side out and ironed it flat.
I wanted my ties fairly high up on the back. I initially measured down 1″ from the shoulder seam and basted them there. After trying the dress on her, I moved them up to 5/8″ from the shoulder seam and sewed them on there. You might have to baste them on first and then try on the dress to determine how far down you want to have your straps. -Anna
Charlotte Sleeves
Amira here! I love all things girly and sweet, so when I saw the Adeline dress, it was love at first sight! I have a passion for puffy sleeves, lol, and thought to myself how adorable the Charlotte sleeves would look on the Adeline dress! I just had to mash these two patterns. I loved the results of the mash, so I decided to share how to create this look with you!
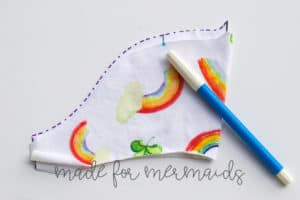
First we are going to cut the Adeline bodice, and Charlotte sleeves. You will assemble the shoulder seams as shown in the Adeline tutorial. You will want to add the bands to the bottom of the Charlotte sleeves before attaching them to the bodice; use the Charlotte tutorial to see how to attach the bands. Once you have the shoulder seams sewn and the bands on the sleeves, you can begin your mash!
Make sure to mark the gathering points on the sleeve from the Charlotte pattern pieces. Then, we sew two rows of gathering stitches. I like to gather at 1/4″ and then again at 5/8″.
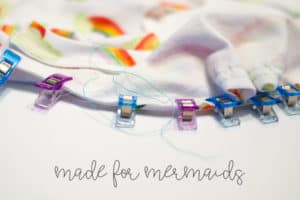
We are going to match the center notch of the sleeve to the shoulder seam. You will want the right side of the bodice touching the right side of the sleeve. Pin or clip the sleeve to the bodice. Start clipping or pinning at the center point, then pin each end point.
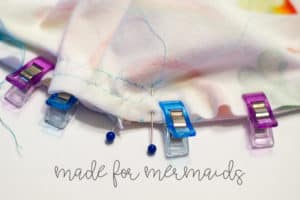
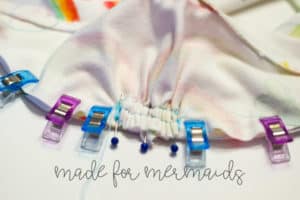
Continue pinning the sleeve onto the bodice, working from the outer points moving towards the center. You will have a bit of excess sleeve fabric after you pin the the sleeve to the bodice. This is where your gathering stitches should be. I like to place a pin at the start of my gathering area. ( This is the pin shown next to the blue clip, the other pin is there to denote my center point. )
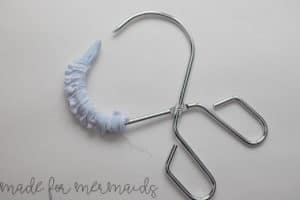
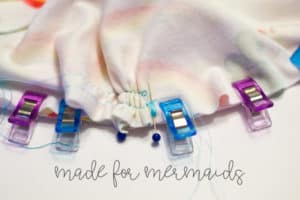
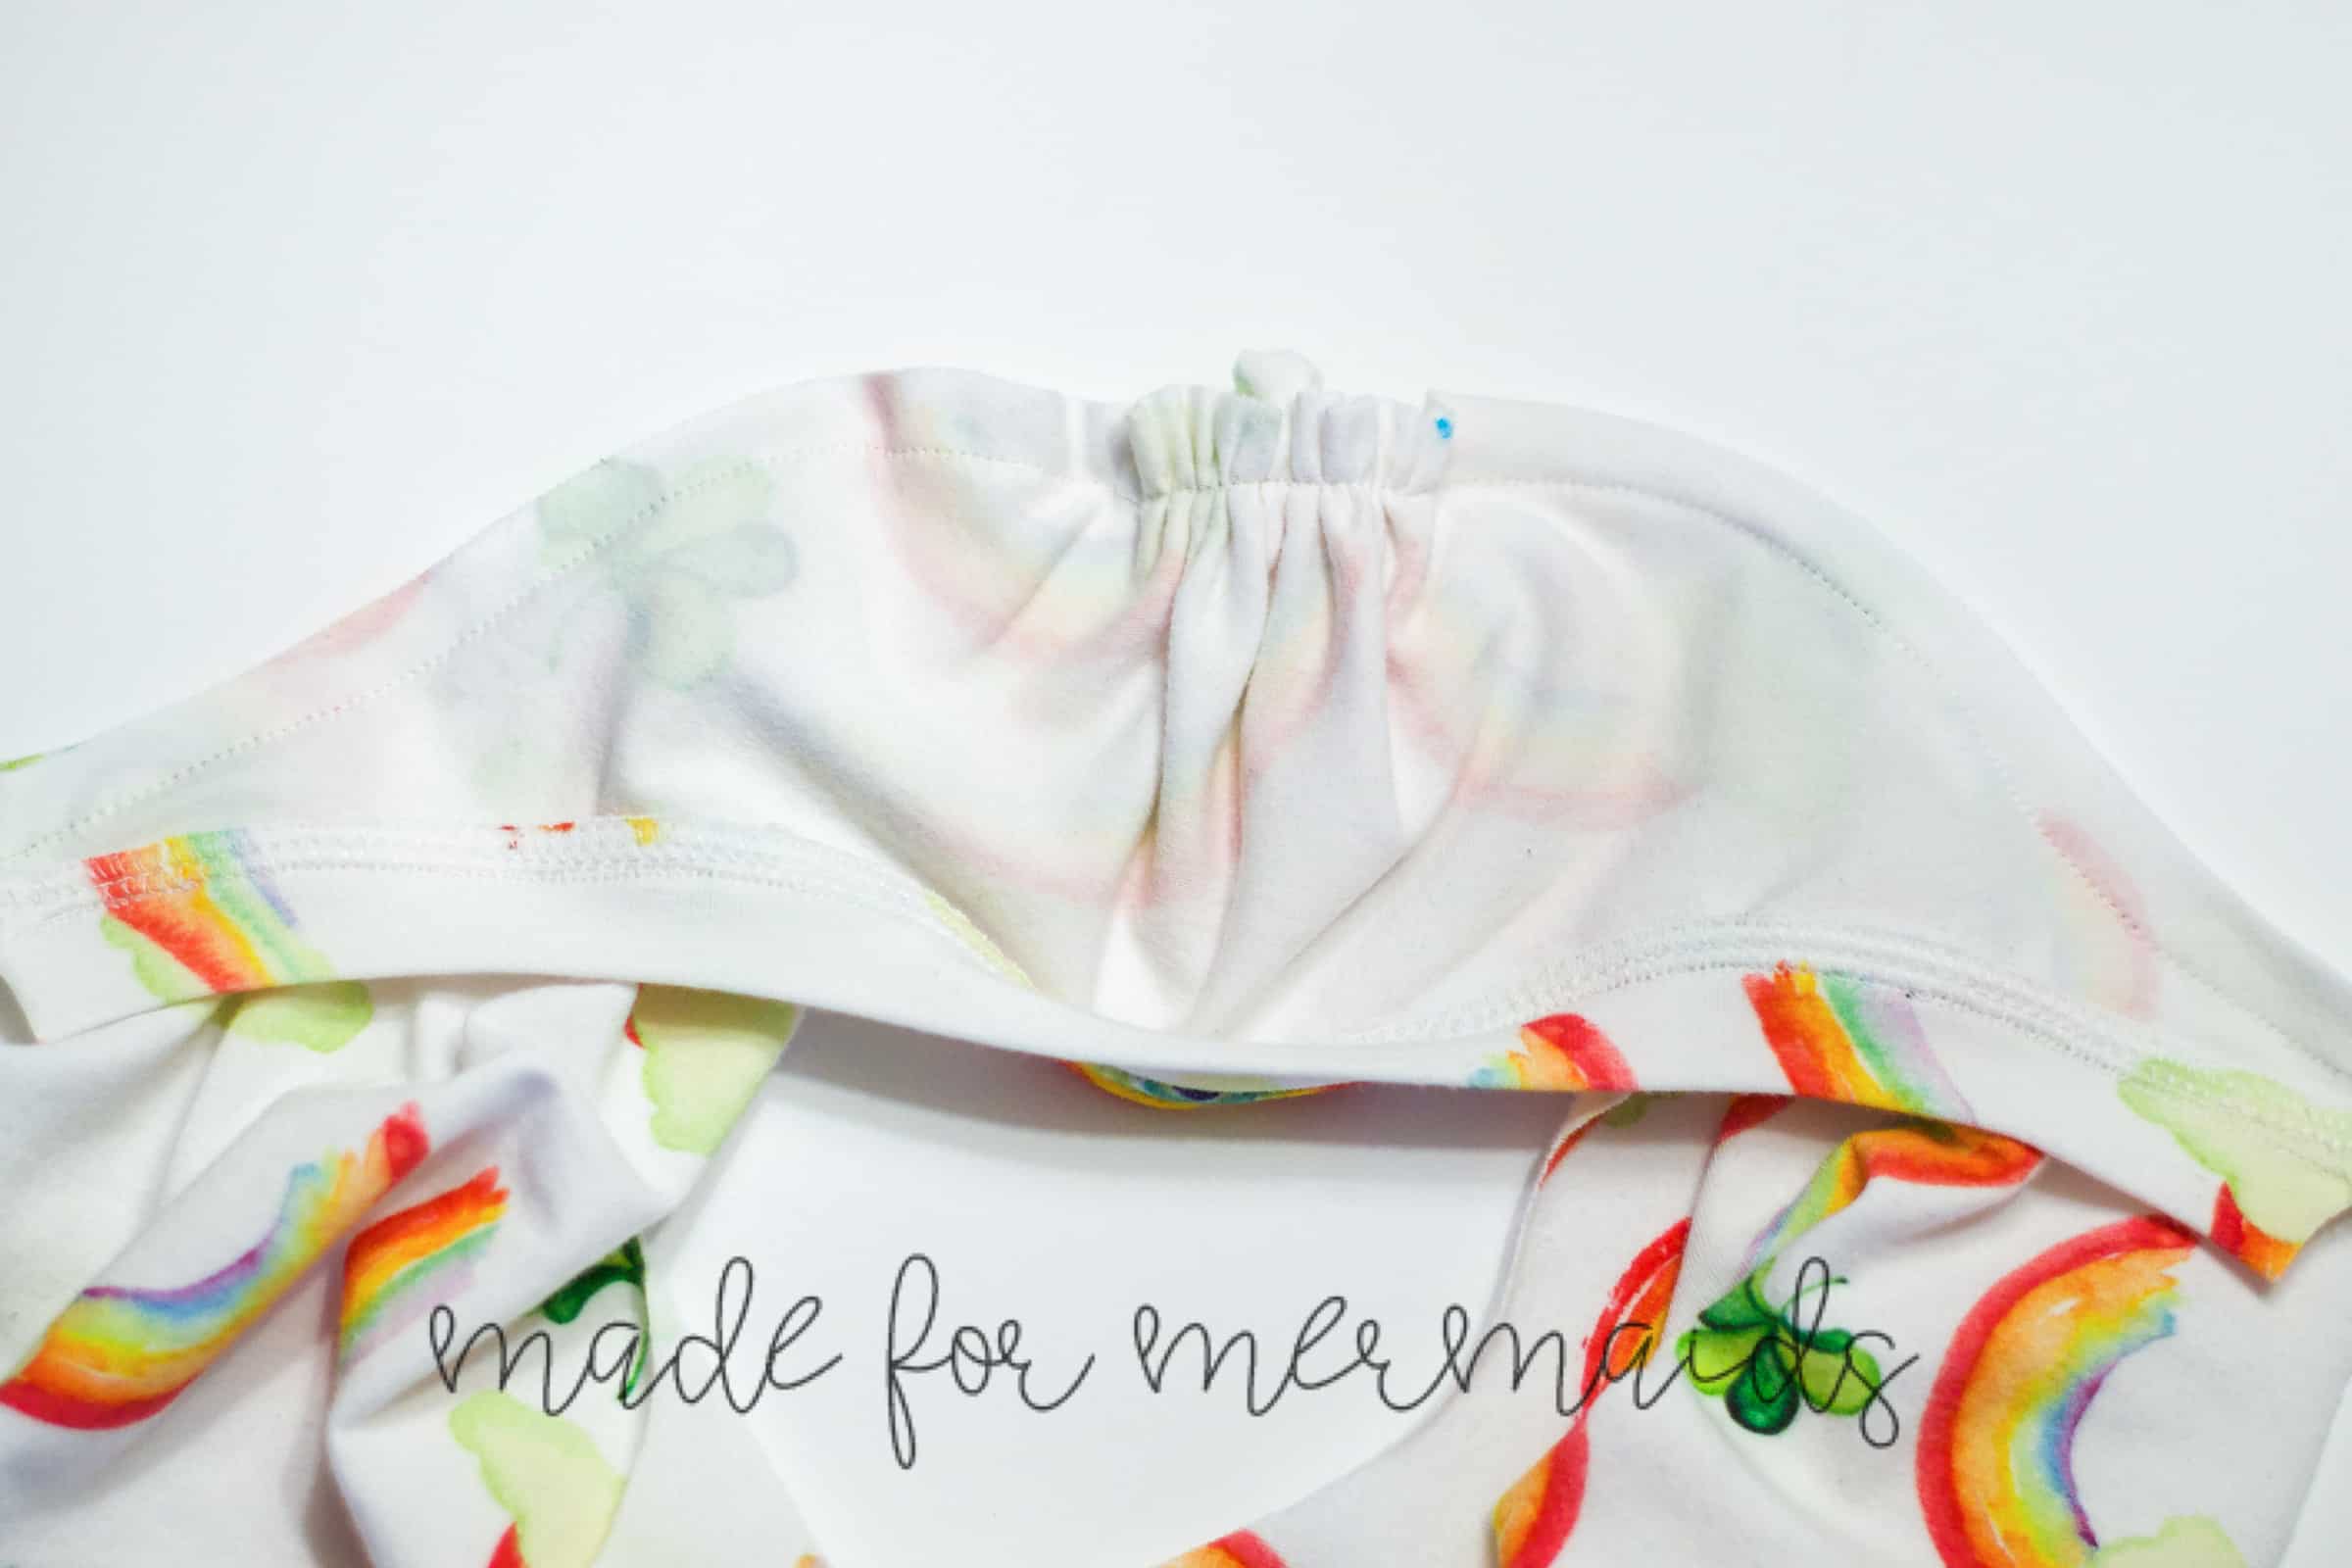
Gather the sleeve fabric to the bodice. I keep my gathering between the pinned area, and then repeat on the other side of the sleeve. Note: I wind my extra thread around the pin, you can also tie the thread. Securing this thread will help to keep the gathering in place.
Stitch the Sleeve to the bodice with the sleeve facing up. Make sure the gathers stay in place as you go over them. ![]() Repeat this process with the other sleeve. Once the sleeves are attached, line up the front and back bodice, as well as the sleeves. Stitch the side seams. At this point you will have your bodice almost complete. Refer back to the Adeline tutorial to finish your dress. –Amira
Repeat this process with the other sleeve. Once the sleeves are attached, line up the front and back bodice, as well as the sleeves. Stitch the side seams. At this point you will have your bodice almost complete. Refer back to the Adeline tutorial to finish your dress. –Amira
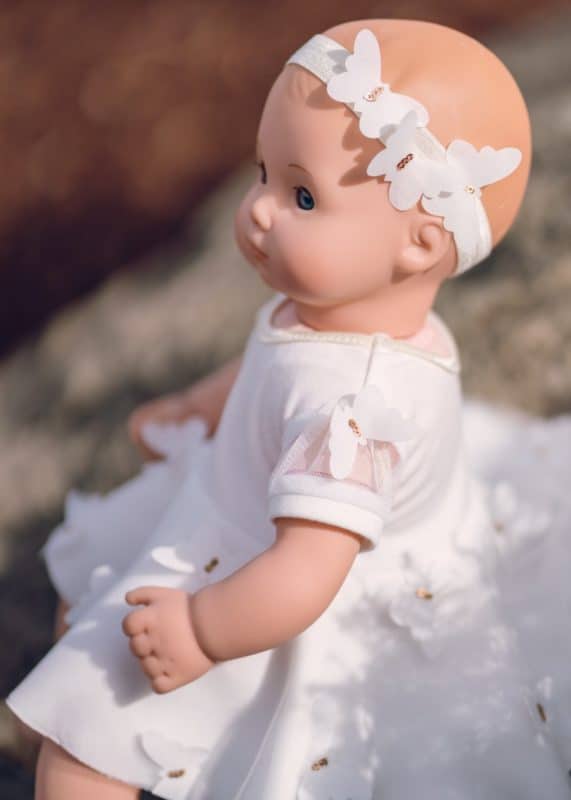
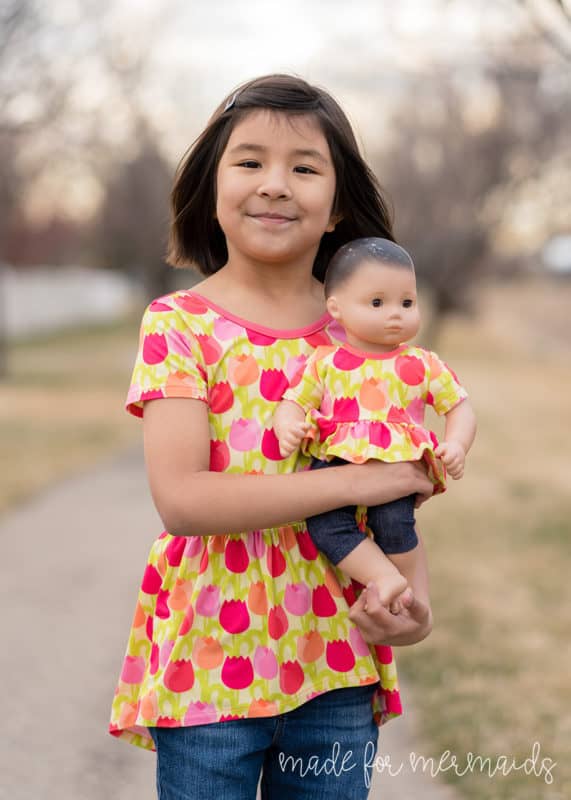
The Charlotte sleeve hack is just as cute on Dolly!!
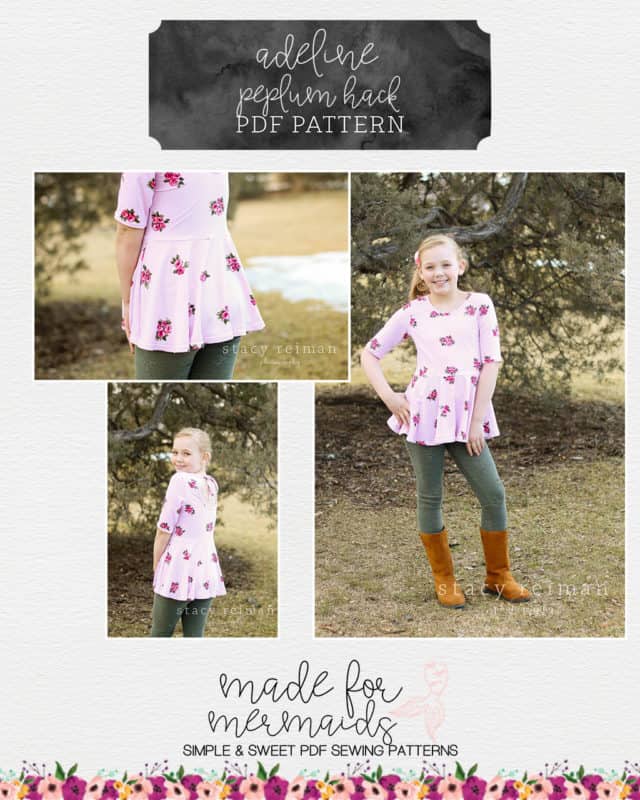
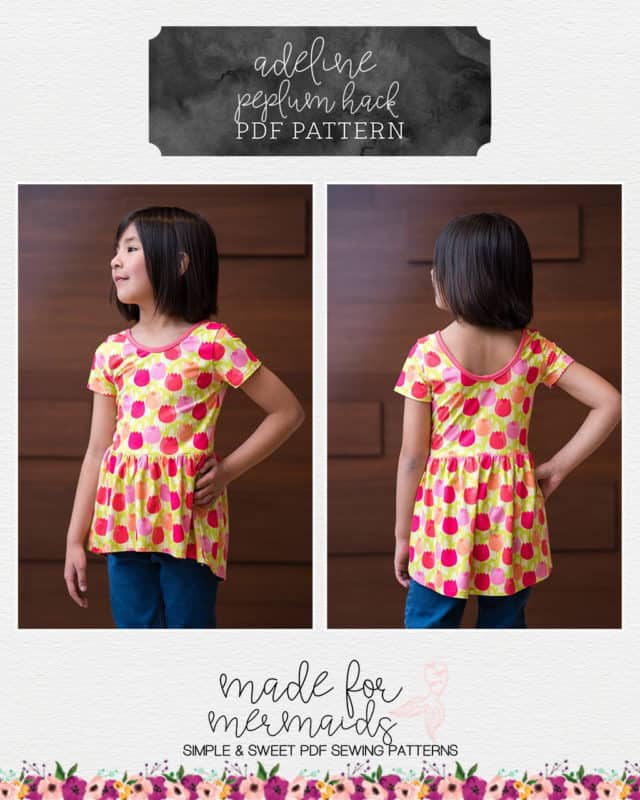
Peplum Top
For this hack, you will need your Adeline bodice pieces and your choice of peplum pattern – Joy, Juliette, and Noelle will work, or you can use the Riley peplum as a guide and trace a peplum line onto your Adeline skirt.
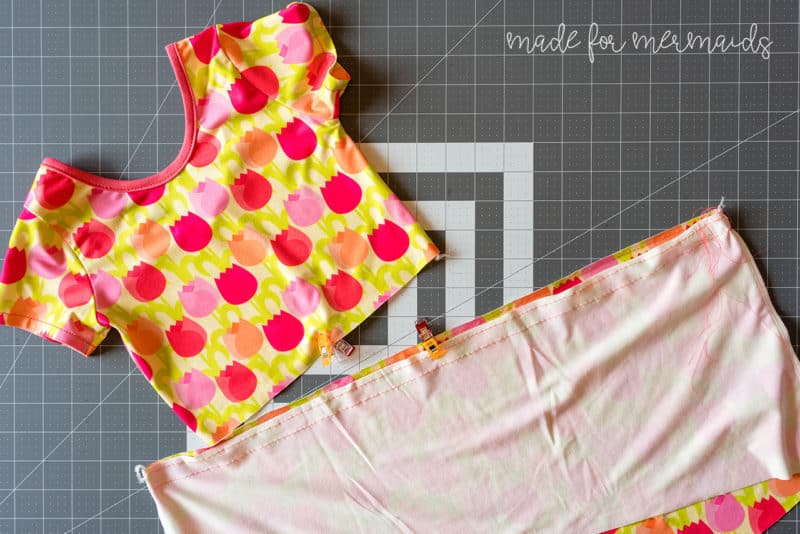
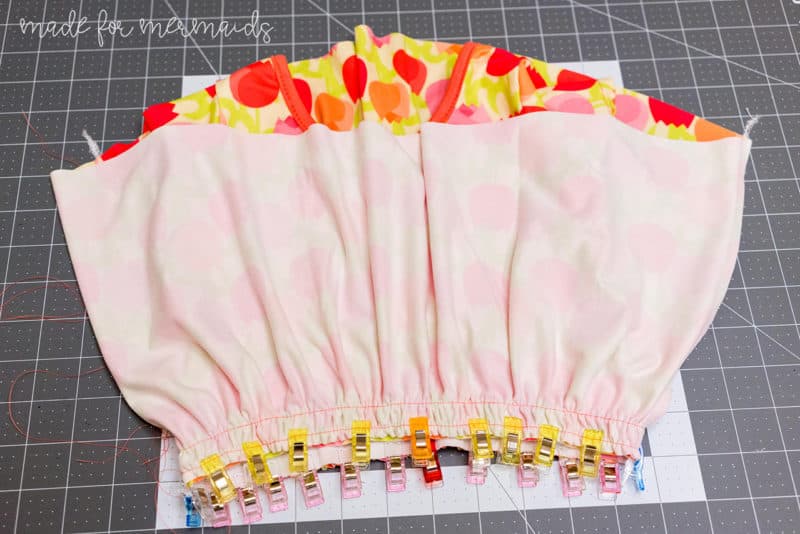
Construct your Adeline bodice following the directions in the tutorial. Grab your chosen peplum (you will also construct this using the tutorial for the pattern you chose – pictured below is a gathered Joy peplum).
Slip your bodice inside your peplum with right sides together and match the raw edges. If you’re crazy like me, use a ton of color coordinated clips so you can tell front from back. Stitch your bodice and peplum together. Finish the hem and you’re all done! –Alexandria
P.S. This hack worked for Dolly too!
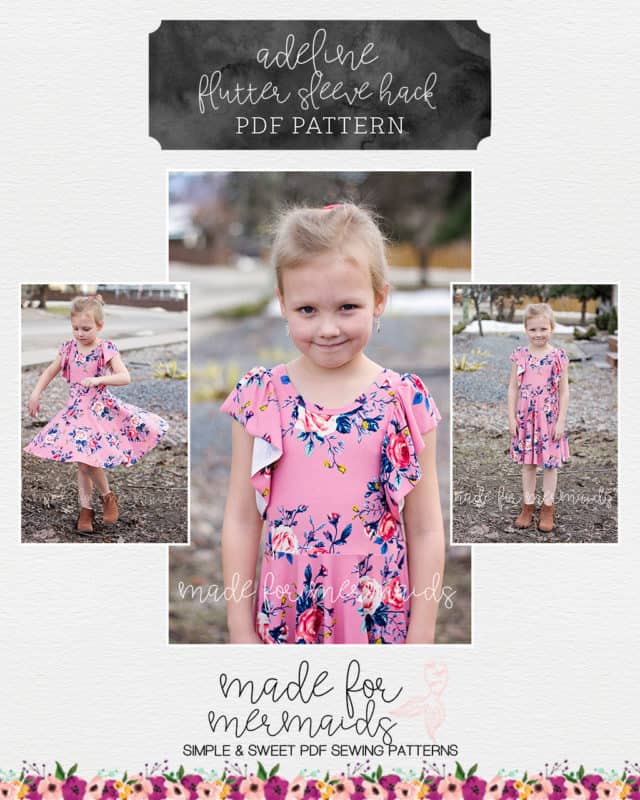
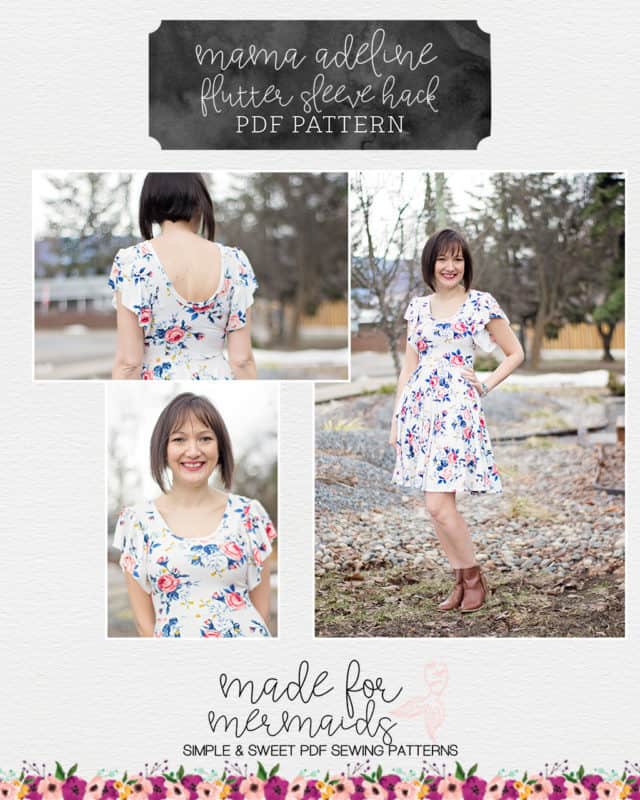
Flutter Sleeves
Adeline has so many gorgeous options but there is nothing like a pretty flutter sleeve. Something about a flutter sleeve makes me think of Spring and Adeline is the perfect dress to add them too. This hack is so simple that it really doesn’t even require a tutorial. I used the flutters from the Ella sew-a-long found here. Cut the flutters as per the measurement chart in the post, and then add them to Adeline in the same method shown on day 3 of the sew-a-long found here. I found that the flutters work best using the sleeve cut line on the bodice of Adeline. You will want to use a 1/2 inch seam allowance to attach the flutters as well. Flutter can be added to either the girls or the Mama pattern. Both of these are shown with the scoop back option, but the keyhole option would be equally cute
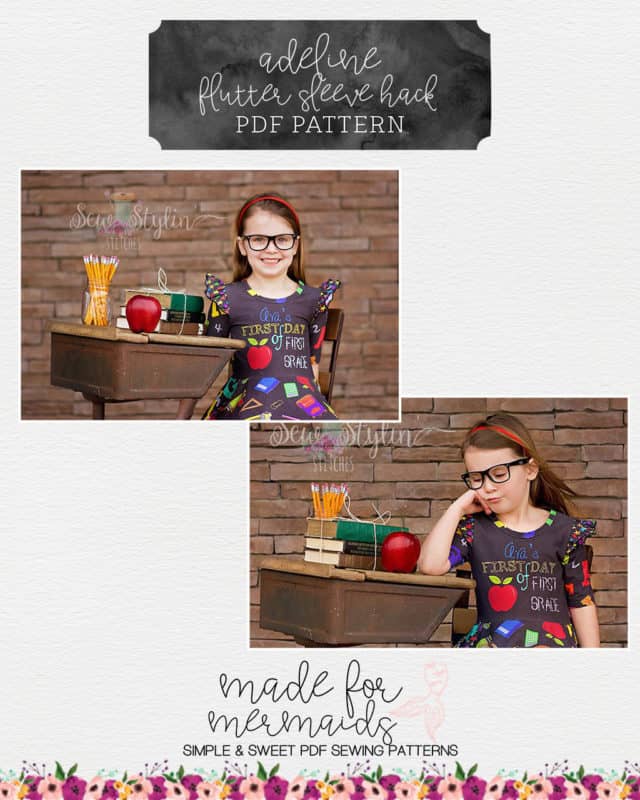
One of our testers added the flutters from Ainsley which makes another fun option! For this hack, you would just layer the ainsley flutter in between your bodice and sleeve. Cute and quick! – Angela
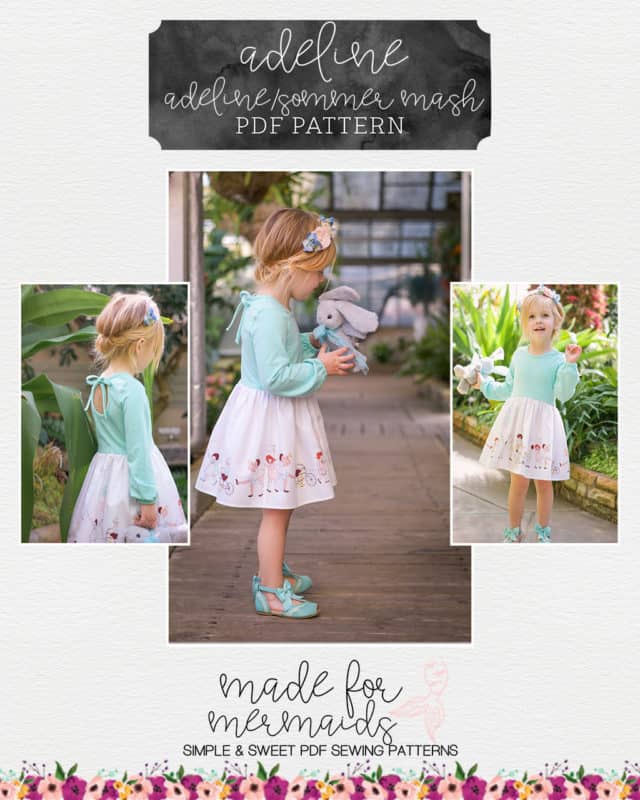
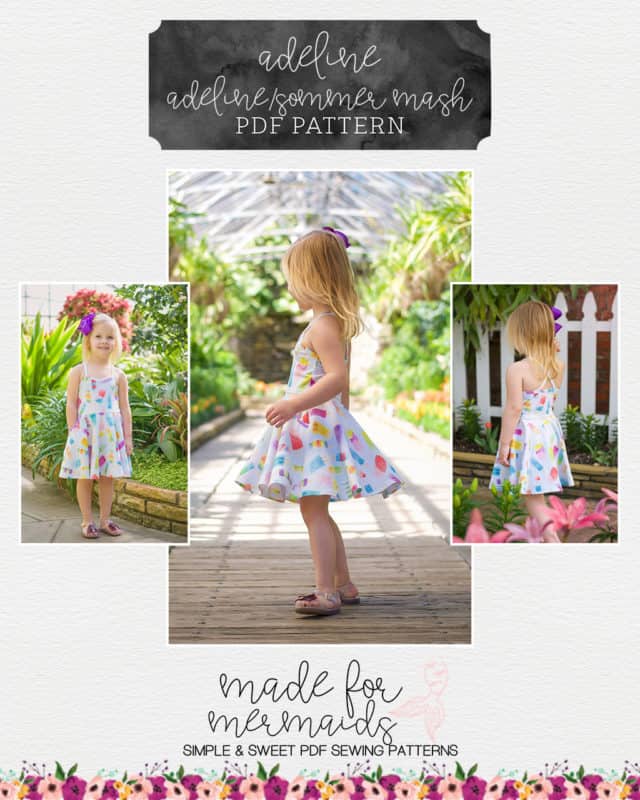
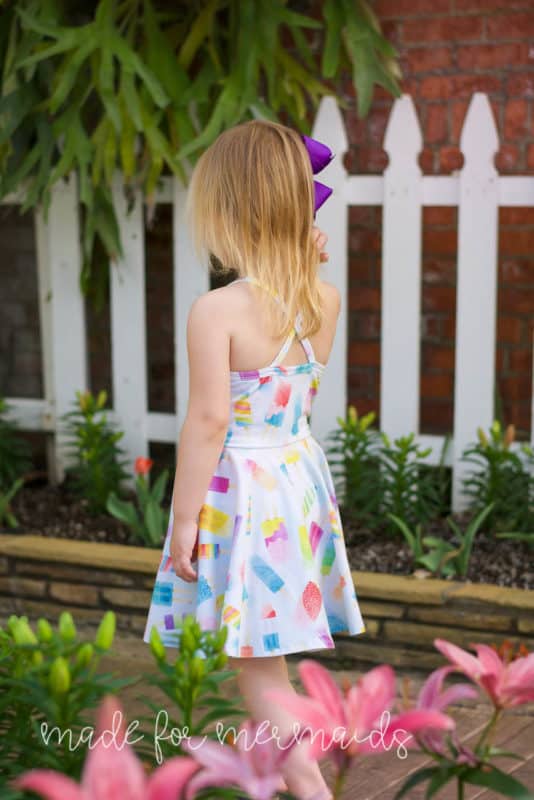
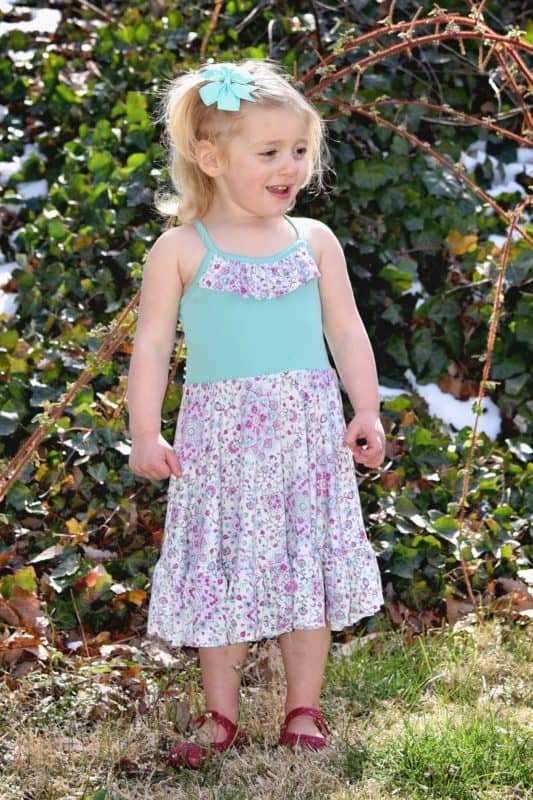
Adeline/Sommer Mash (for girls and babies!)
The Adeline/Baby Adeline skirt mashes beautifully with the Sommer/Baby Sommer bodice:
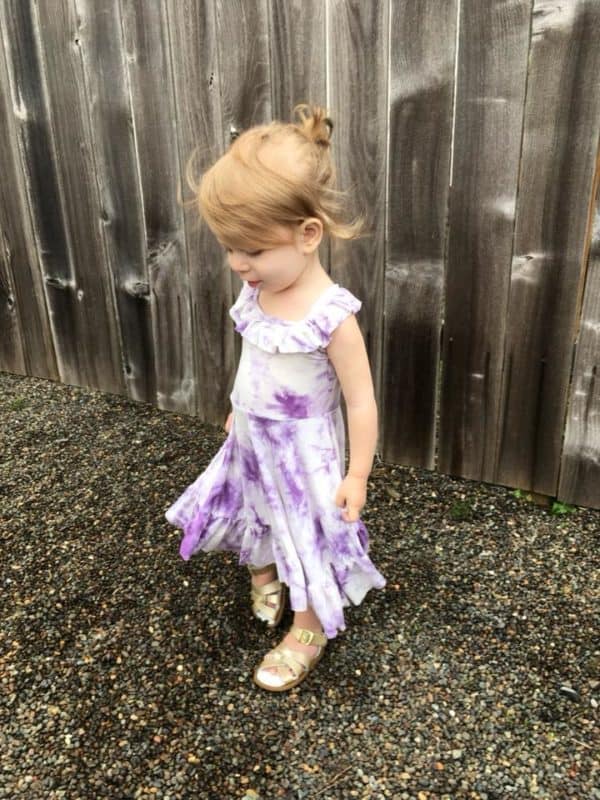
And, how cute is the Adeline bodice mashed with the Sommer skirt?!
Nursing Hack
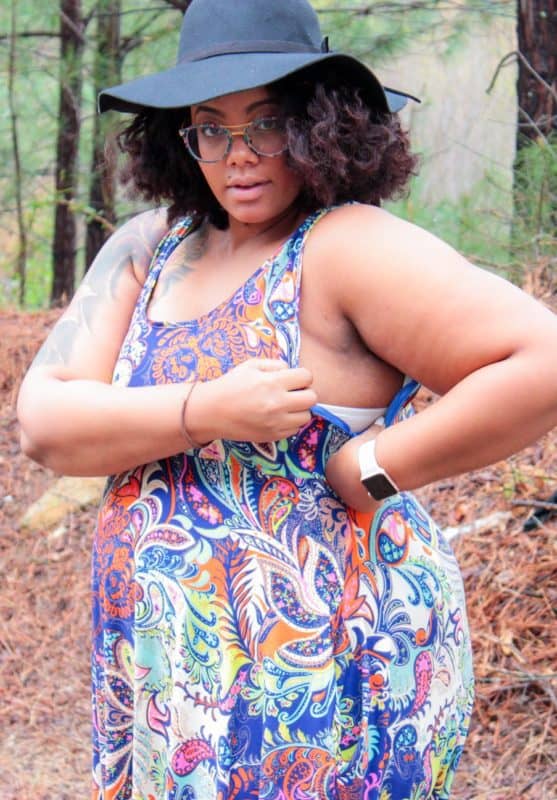
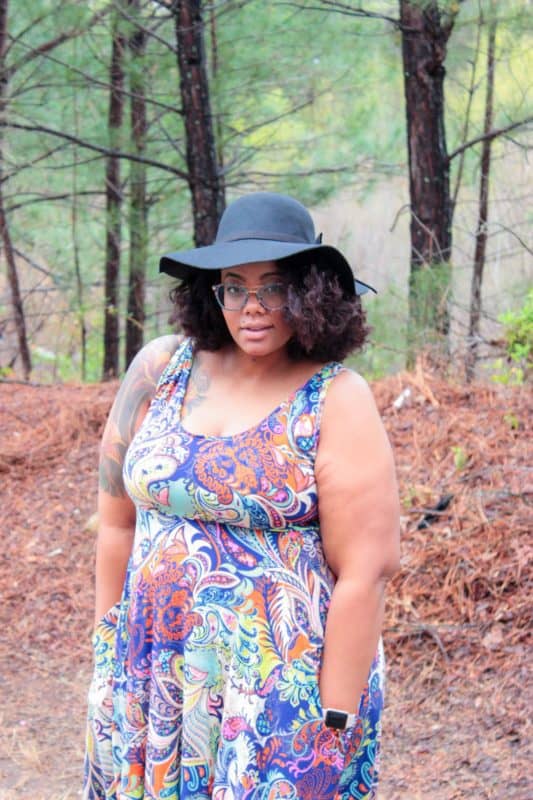
‘Tis the season for all the cute spring and summer dresses. When you’re a nursing mom, this can sometimes mean you don’t get to join in the fun of sun dresses; luckily you can enjoy Mama Adeline with this epic and easy nursing hack!
Additional materials needed:
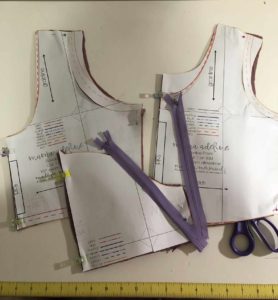
- 2 invisible zippers
- 1 invisible zipper foot (optional)
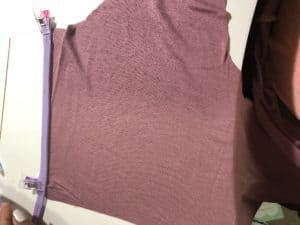
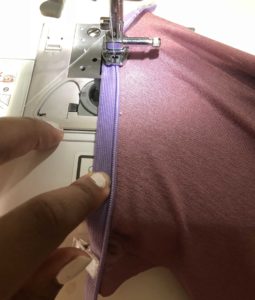
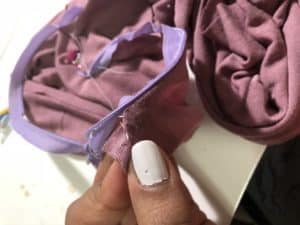
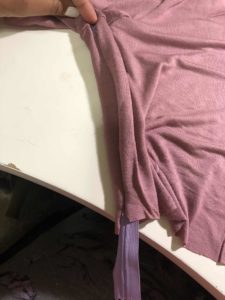
Begin assembling pattern per instructions. Attach the shoulder seams. Attach the invisible zippers in the side seams. Make sure to leave a 1/2″ seam allowance at the bottom to attach the skirt.
After inserting zippers, you’ll refer back to the pattern as written to attach the sleeve in the armsyce. You can use a serger if you feel comfortable. I take the knife off just to make sure I don’t end up breaking anything.Continue with directions as normal! -Aaronica
We can’t wait to see all the beautiful Adelines you sew up! Don’t forget to share your Darcey hacks with us in the Made for Mermaids Patterns Group page on Facebook or on Instagram. We love to see what you’ve created!





















Leave a Reply