
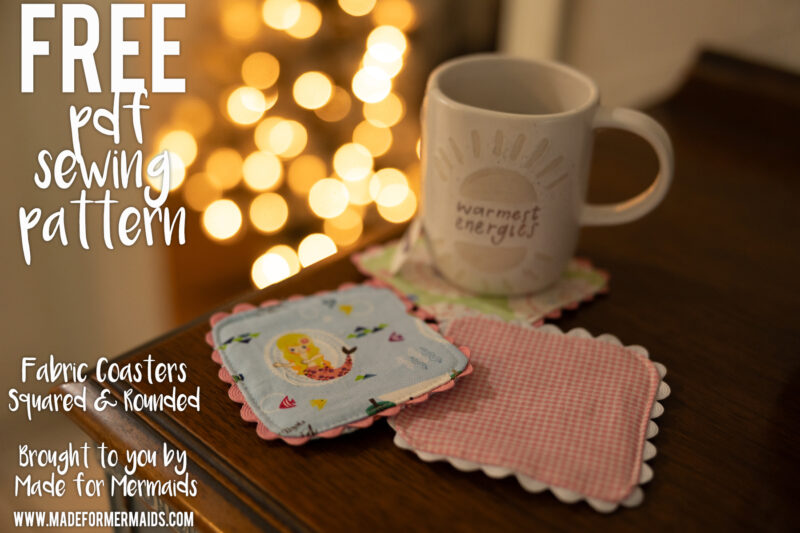
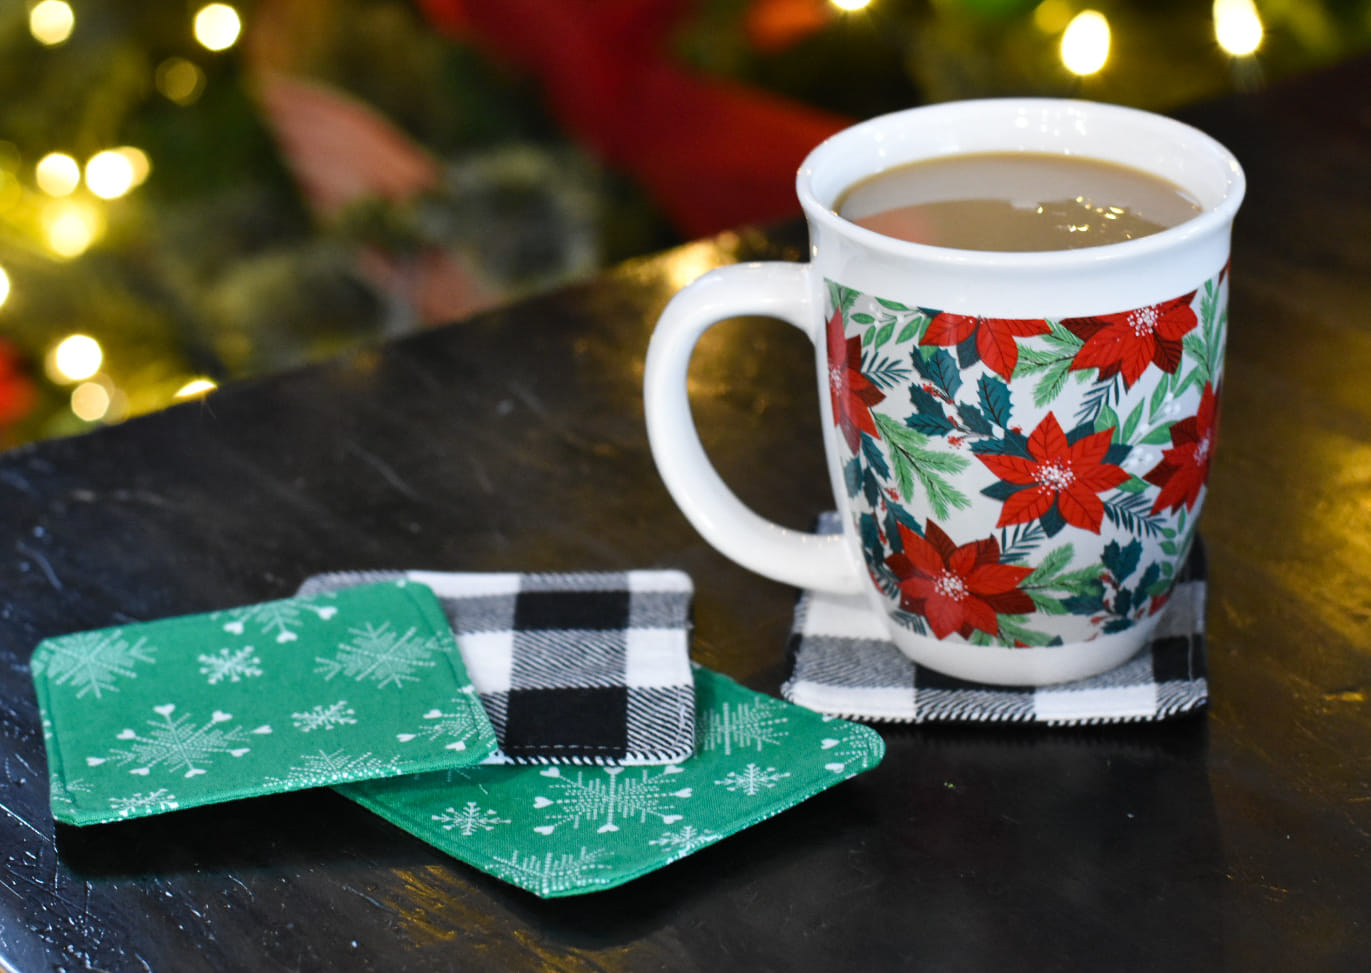
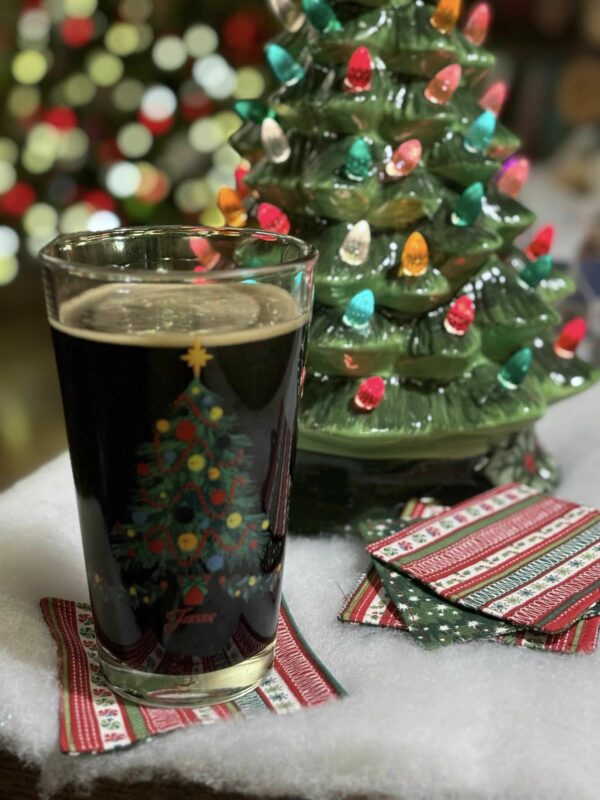
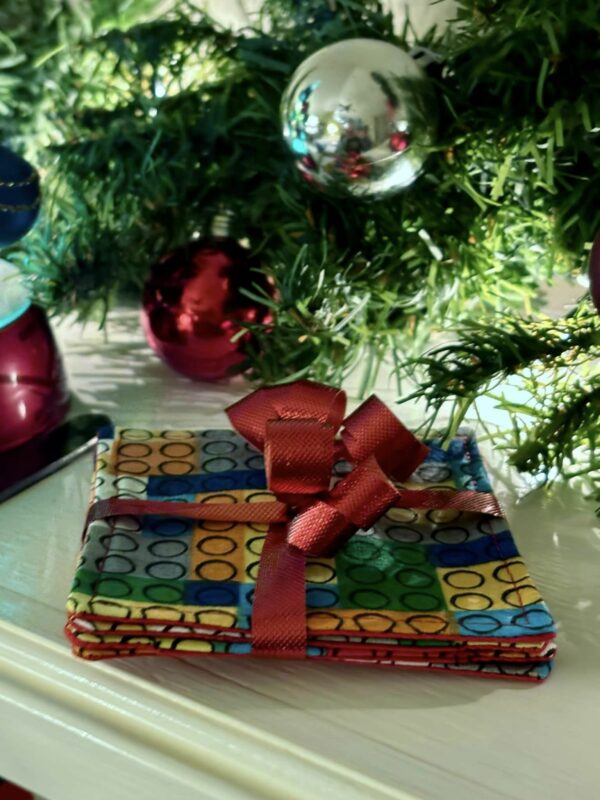
Fabric coasters are on deck for the 3rd day of Christmas freebies, and they are so quick and easy! Pair them with our fabric tray, table runner, pot holders, bowl covers, kitchen sponge & cleaning cloth, or bowl cozy for a cute and functional gift!
SUPPLIES:
- Scrap fabric- quilting cotton, flannel, etc.
- Fusible interfacing
- Optional- batting instead of interfacing for a thicker or quilted coaster.
LET’S GET STARTED!
Seam allowances are included on pattern pieces.
Step 1: PREPPING
Go grab the pattern here! The pattern is 100% free, but you do need to add it to your cart and checkout. Then, it will always be available to download from your account. The pattern is a no-trim pattern; if you need help putting the pattern together, pop over to the faqs and troubleshooting page or ask in our Facebook group .
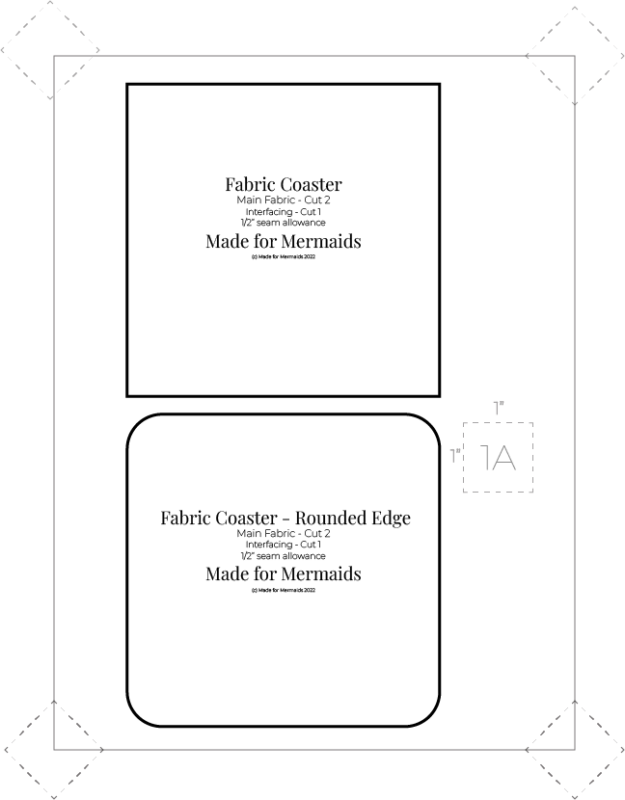
Print and assemble the pattern. Alternatively, you can use the projector file if you’re using a projector. Pattern layout below:
Step 2: CUTTING
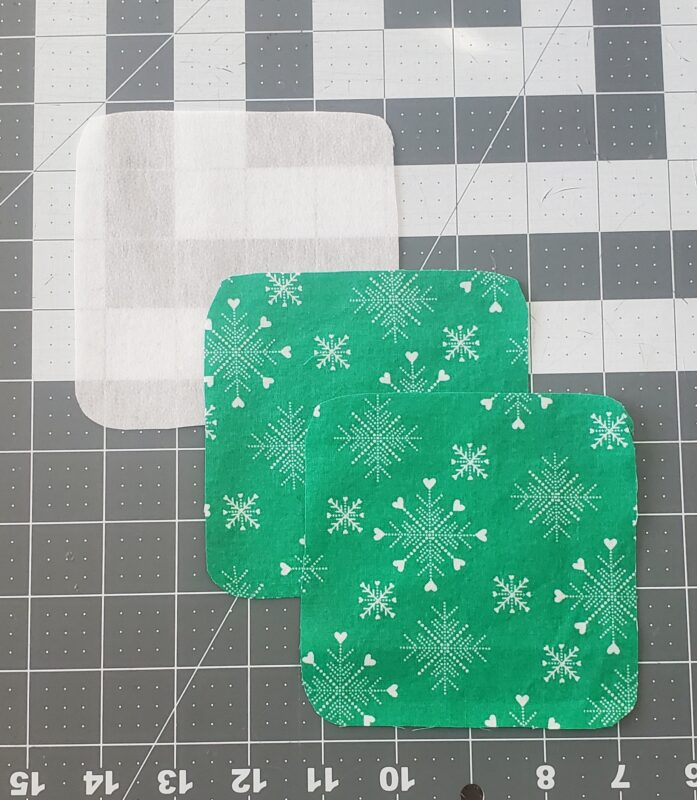
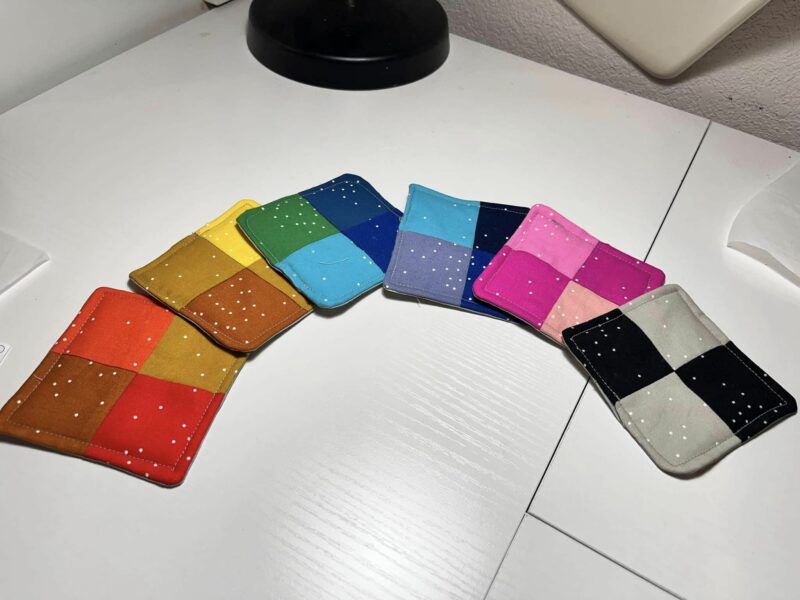
For either the square or rounded edge coaster, you will need 1 interfacing OR batting and 2 main fabric for each coaster you wish to make. I like to make them in sets of four. You can also make the coasters reversible if you have more than one color or pattern you’d like to incorporate. The piece is 4.5″ x 4.5″ if you don’t want to print the pattern.
Step 3: SEWING
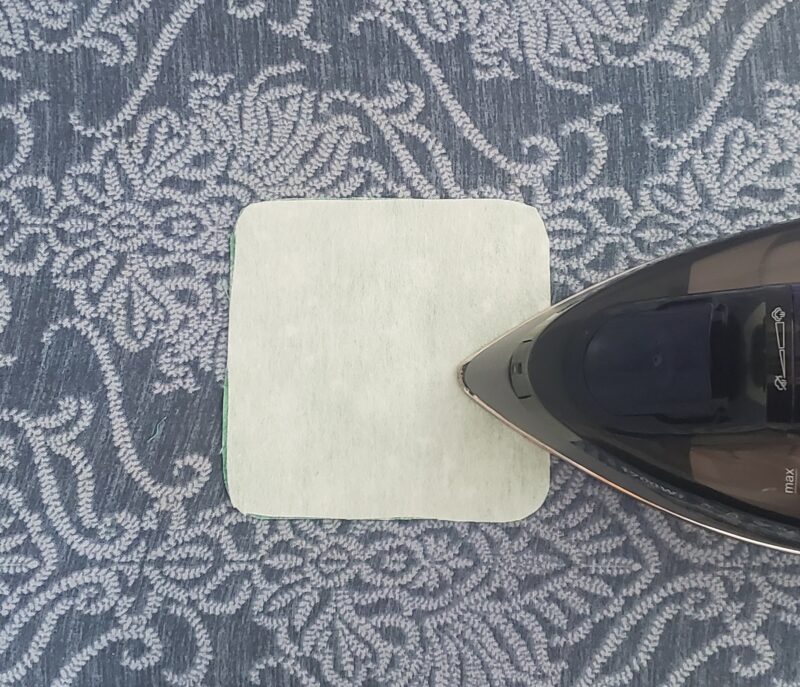
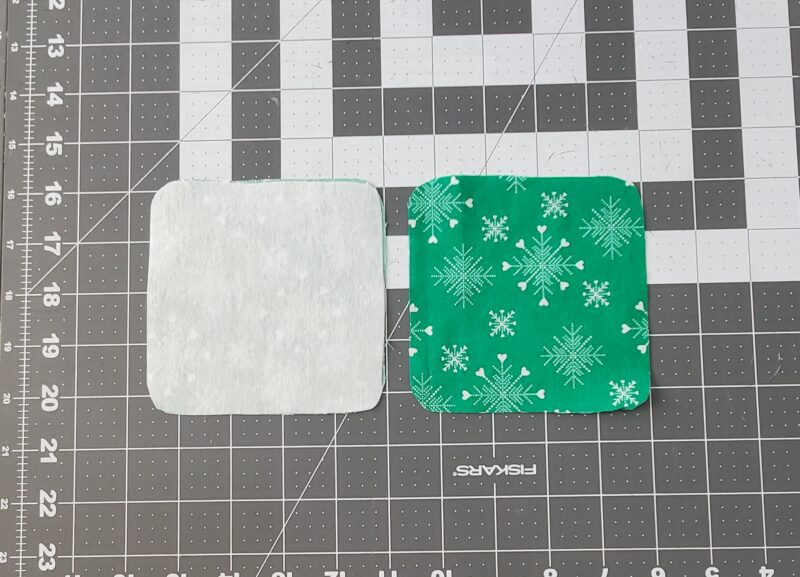
These are so, so quick! It will probably take you longer to read the steps than it will to finish making a coaster. First, follow the directions included with your fusible interfacing to attach your interfacing to the wrong side of your main fabric (either piece).
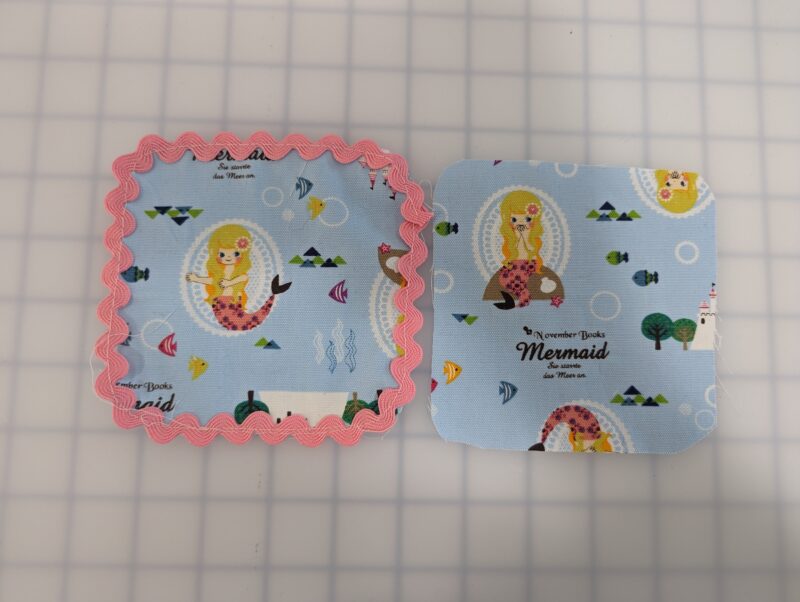
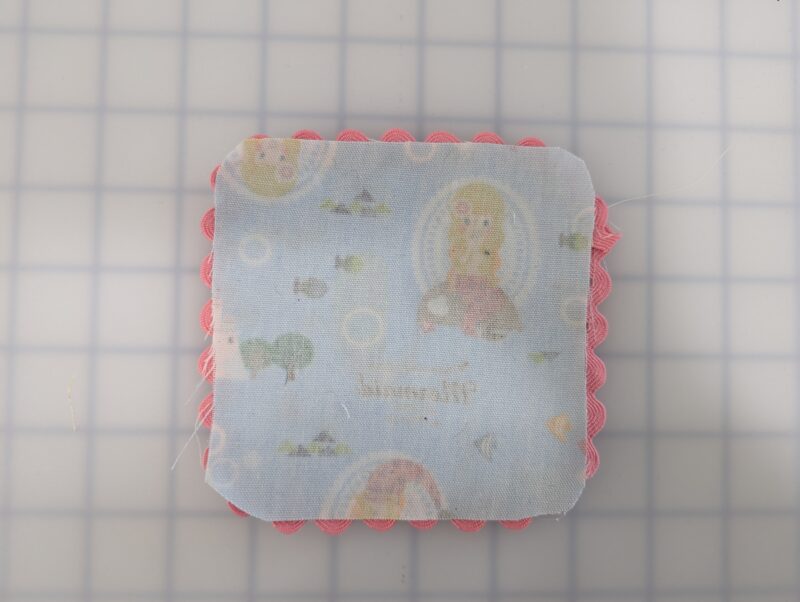
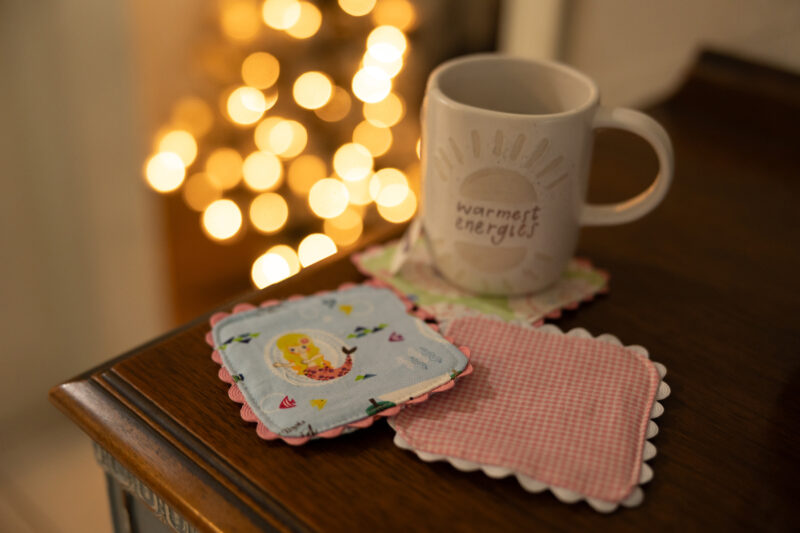
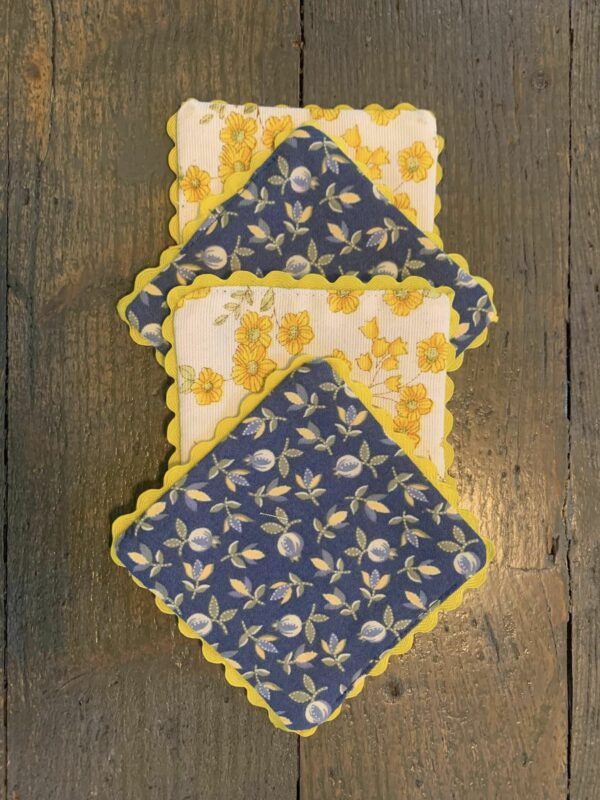
Layer your main fabric pieces with right sides together. The interfacing will be visible at this time since we fused it to the wrong side. If you want to add any ricrac or trim BASTE on one coaster piece, keep the seam allowance in mind. Note- I changed my seam allowance to 1/4″ on my ricrac so it would be simpler for me to sew.
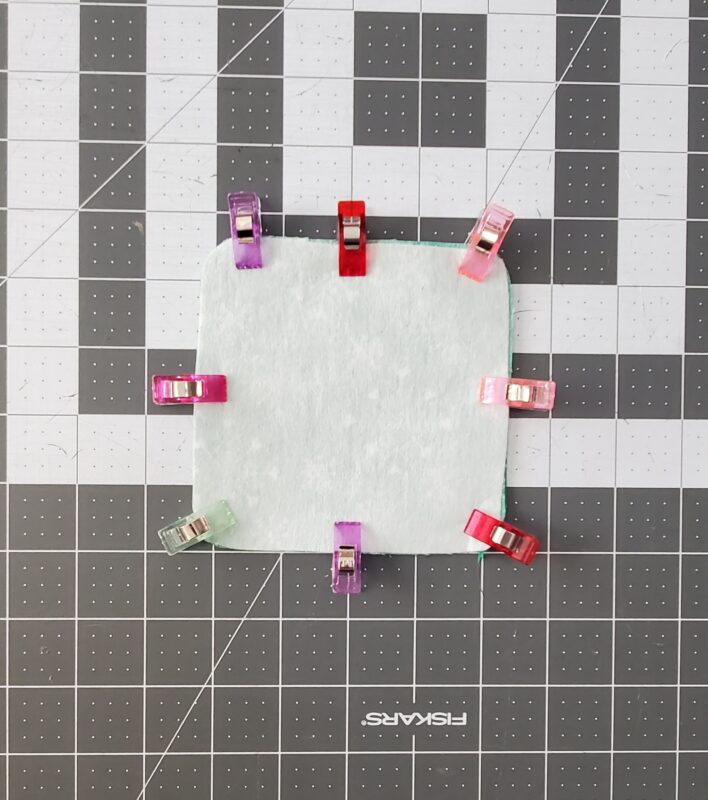
Pin or clip around the outer raw edges.
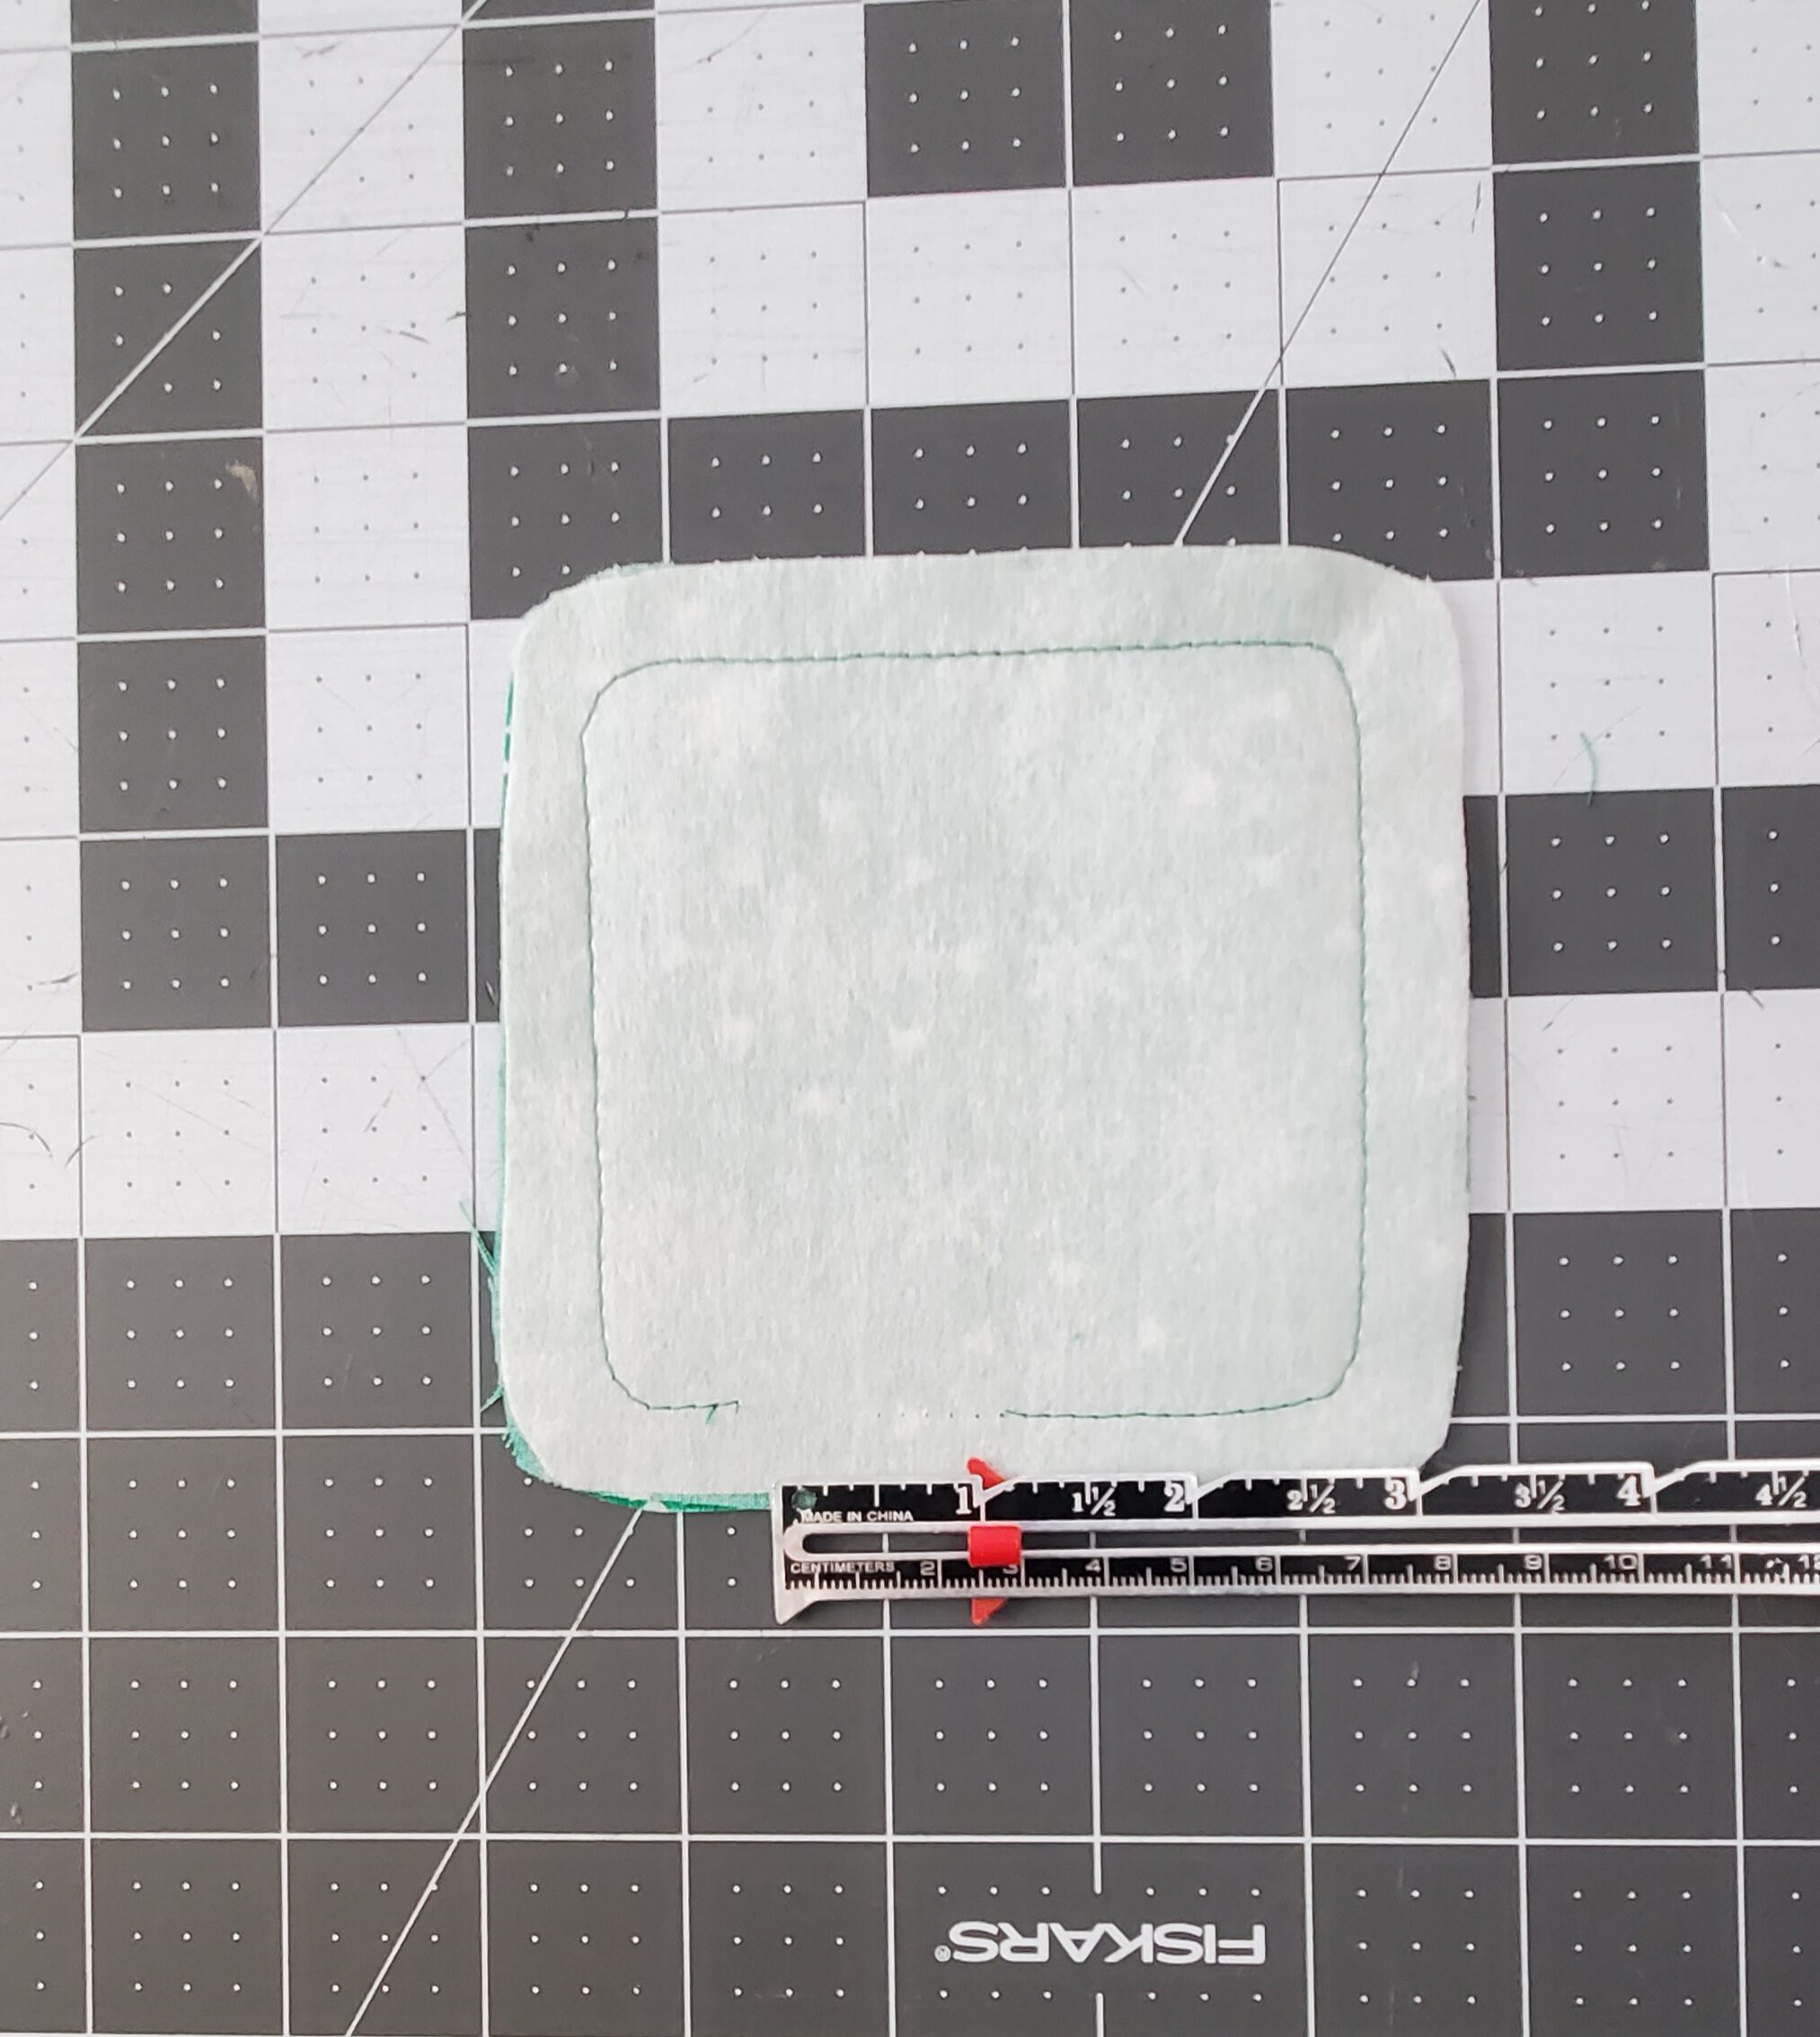
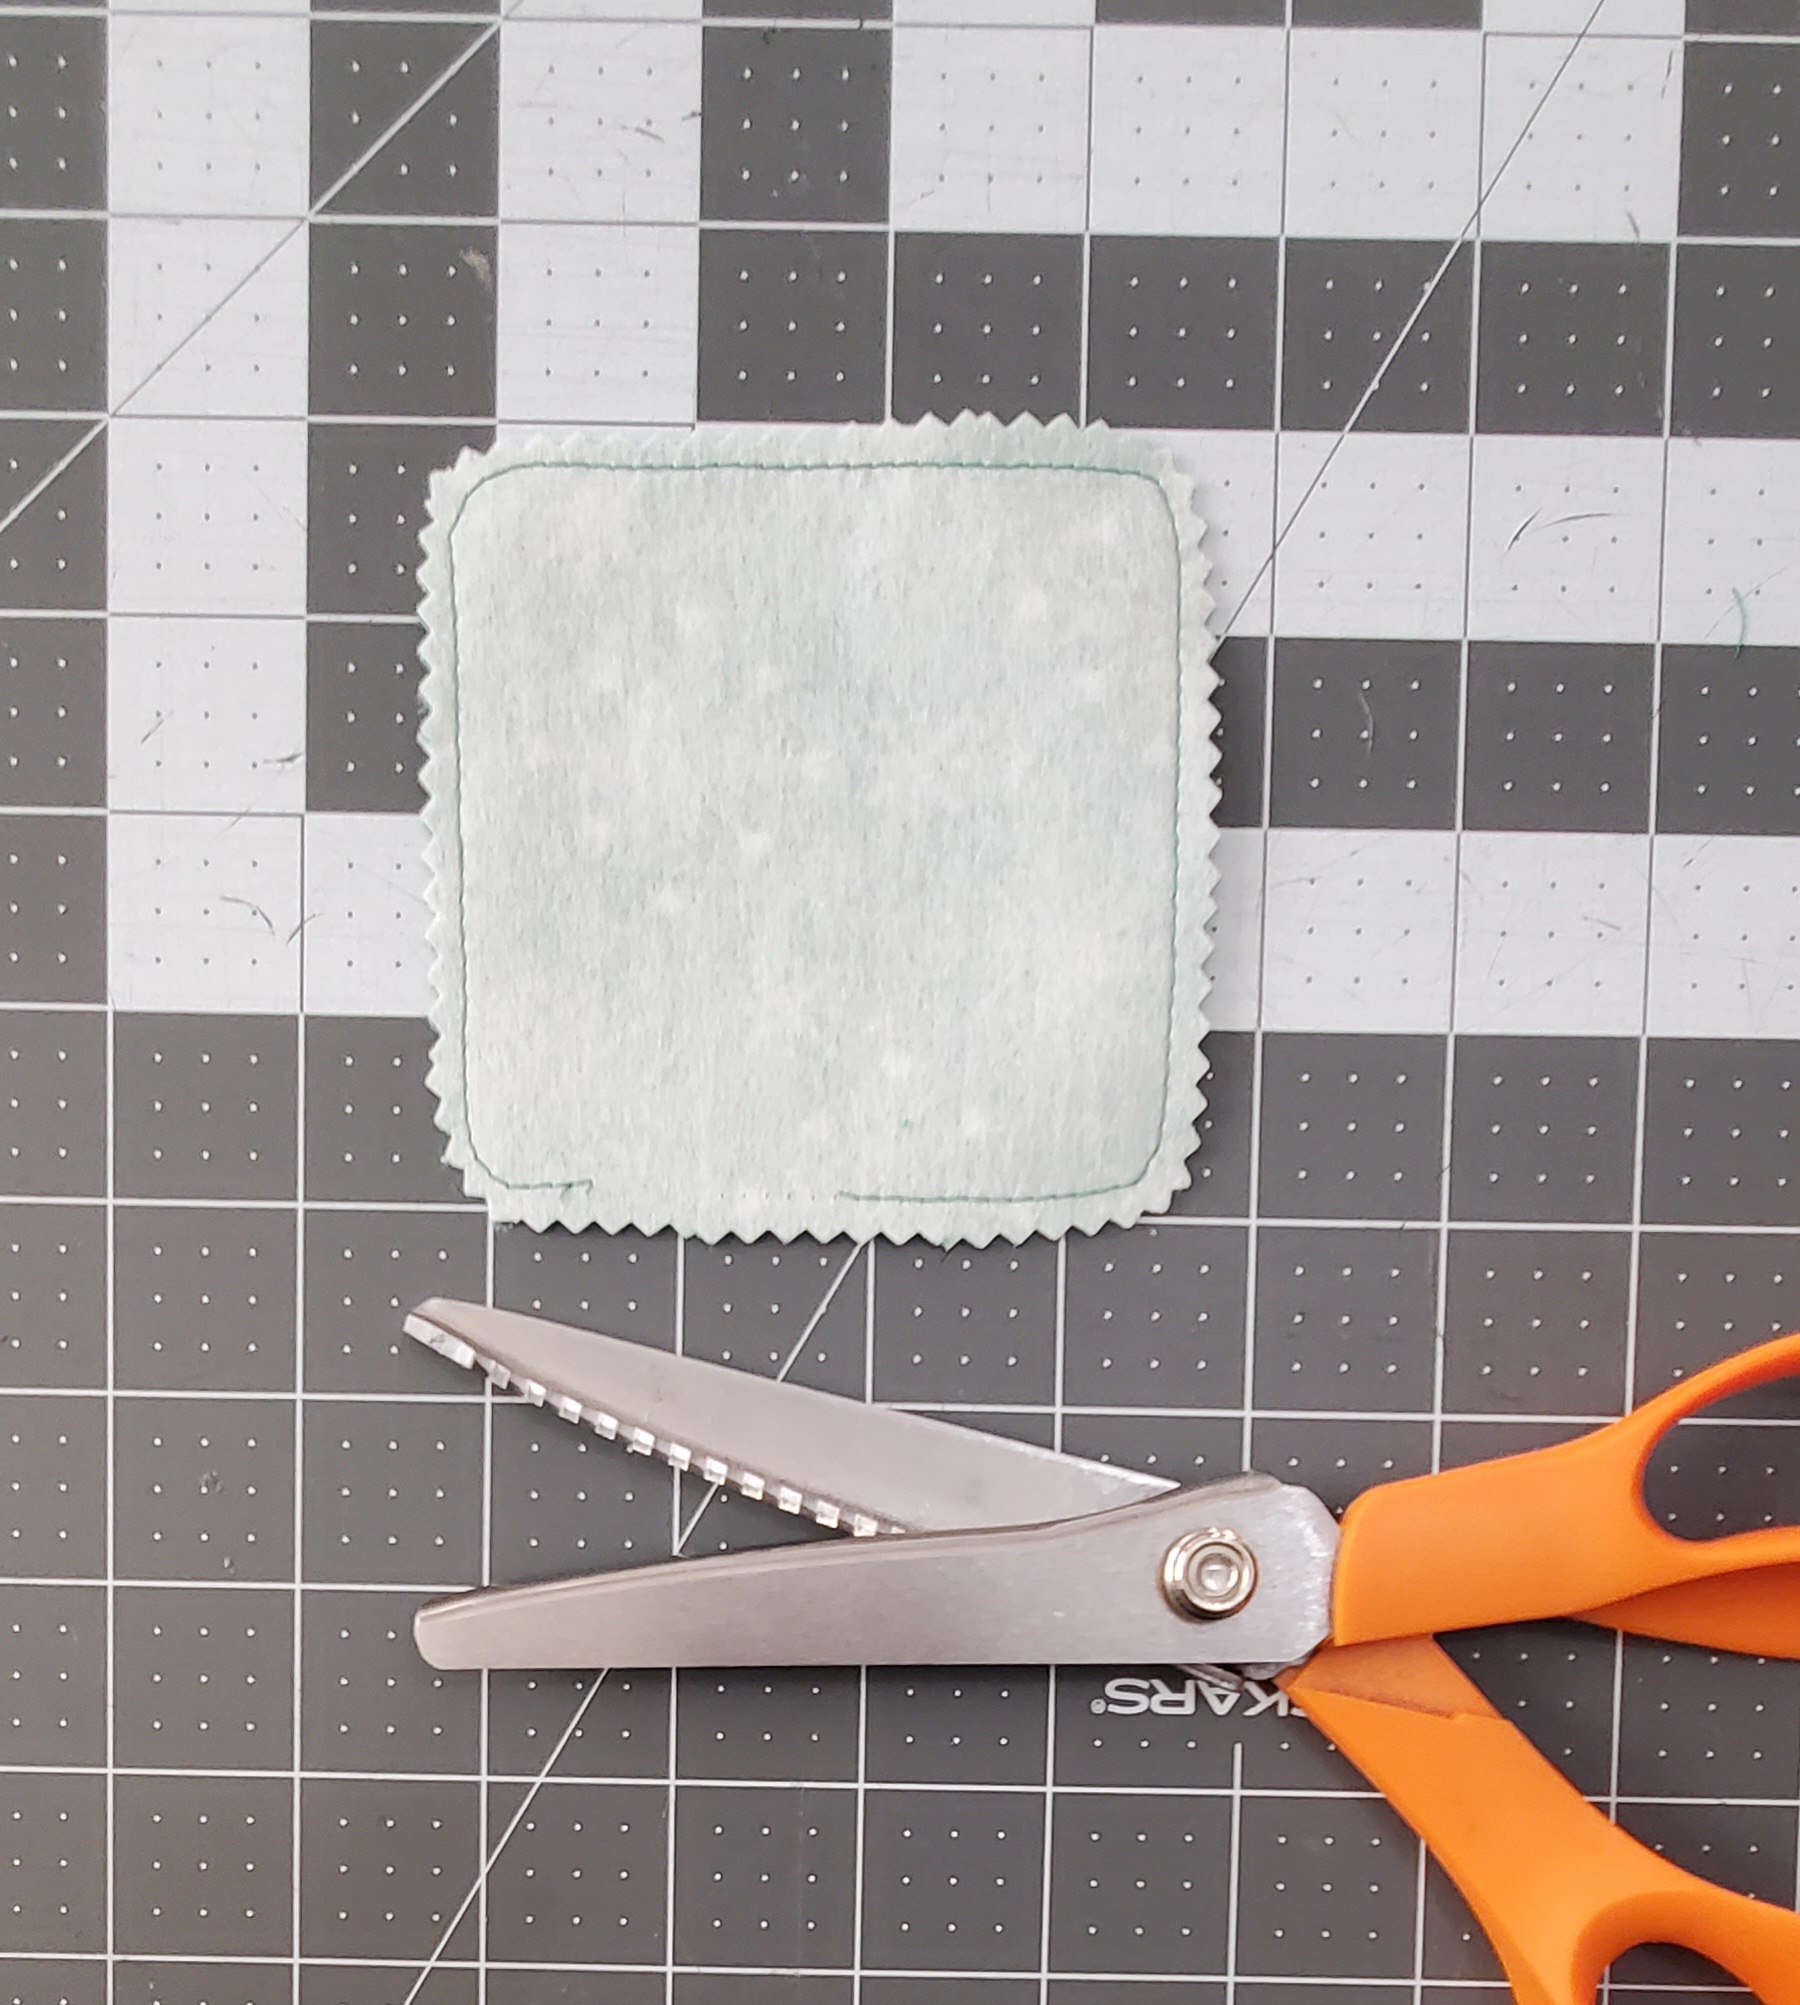
Stitch with 1/2″ seam allowance using a straight stitch. Leave a 1″ opening to turn your coaster right side out (see photo below on left). To prevent fraying, use pinking shears to trim the seam allowance.
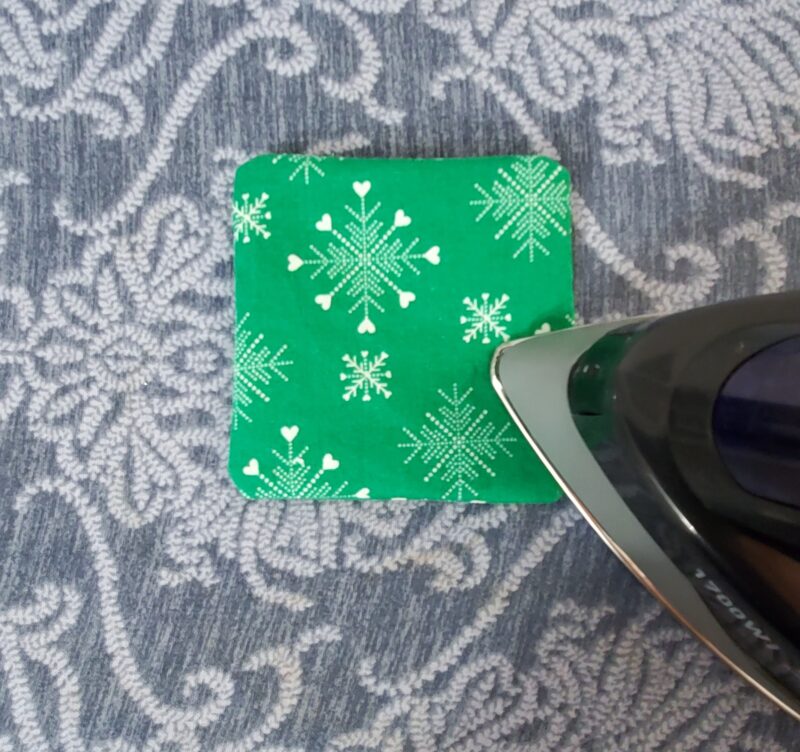
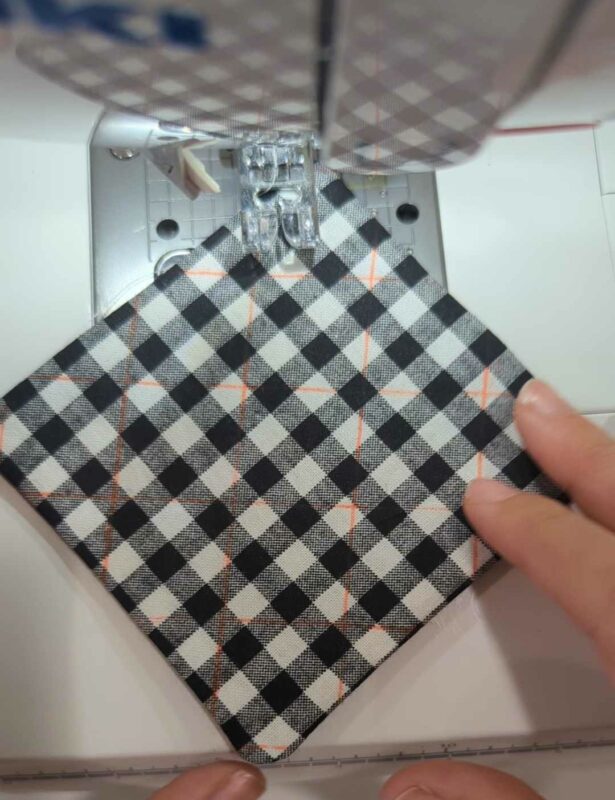
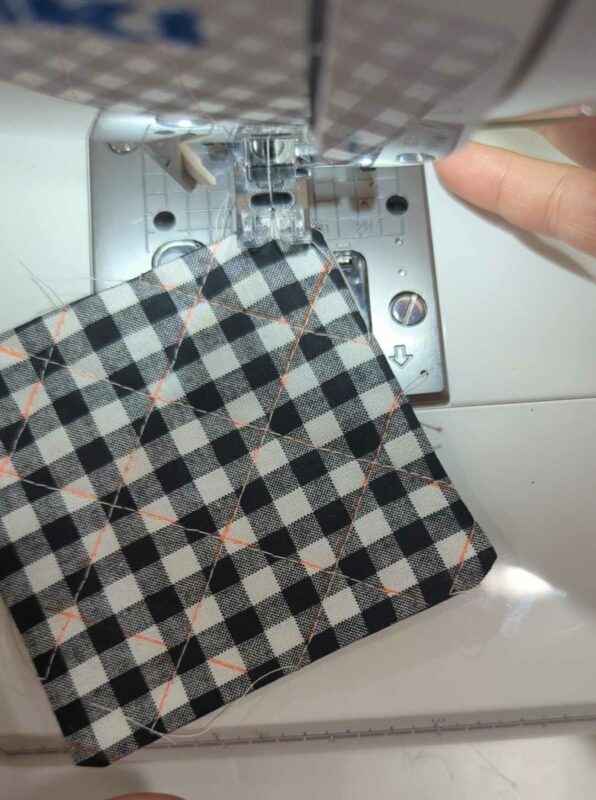
Turn coaster right side out. Press for a crisper finish. You can also use your favorite turning tool to push out the corners as much as possible, especially if you opted for the square corner coasters. If you’d like to add some quilting, simply use a fabric pen to mark your design, then sew!
Topstitch around the edge of your coaster. This will also close up your 1″ opening. You can use a regular straight stitch, or a decorative stitch if you prefer.
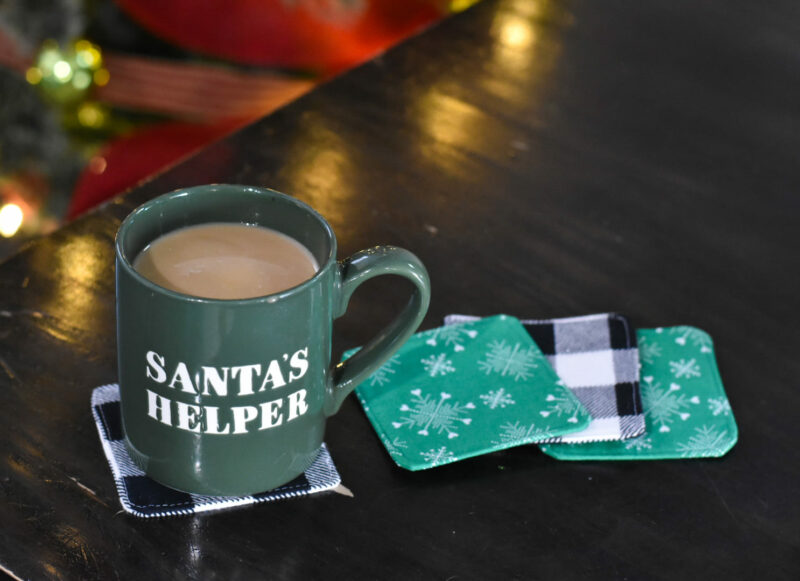
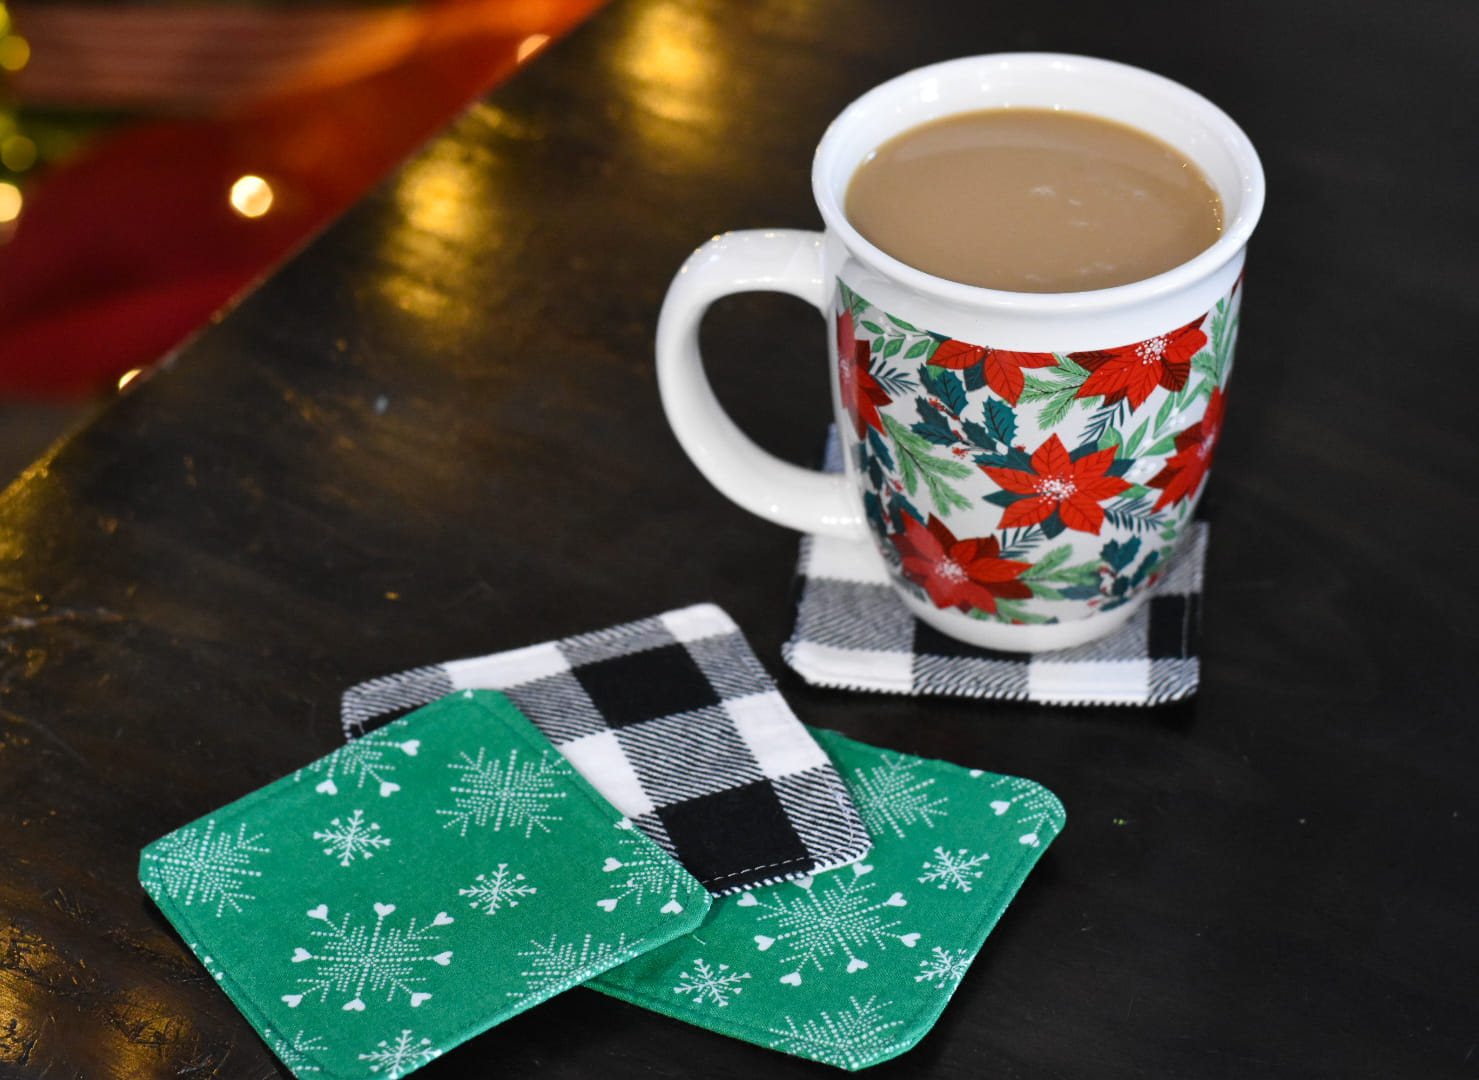
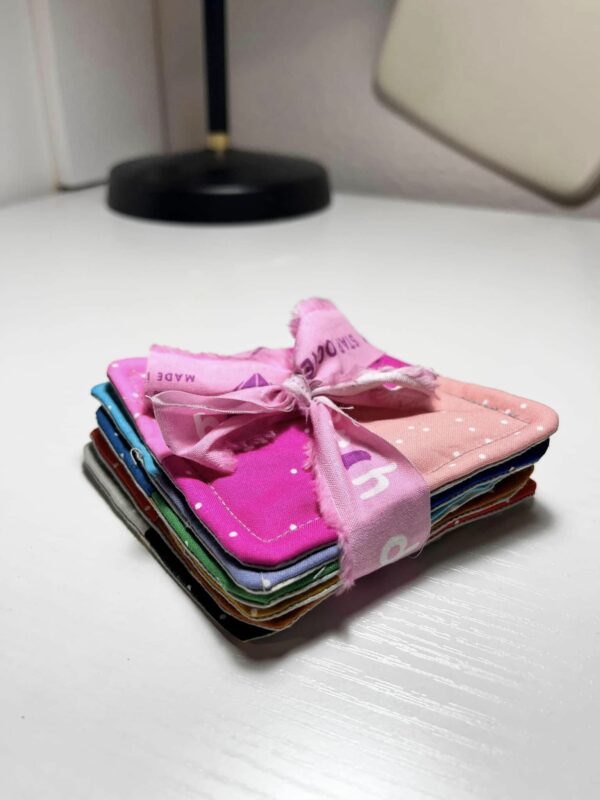
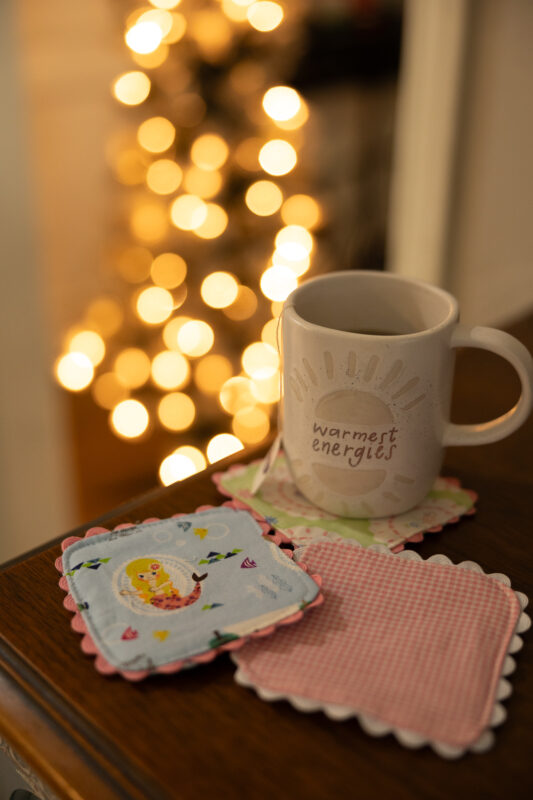
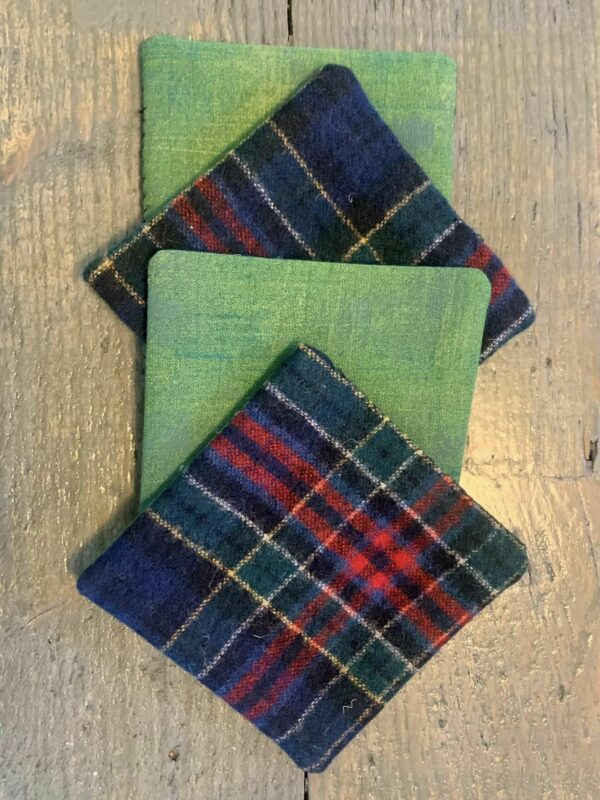
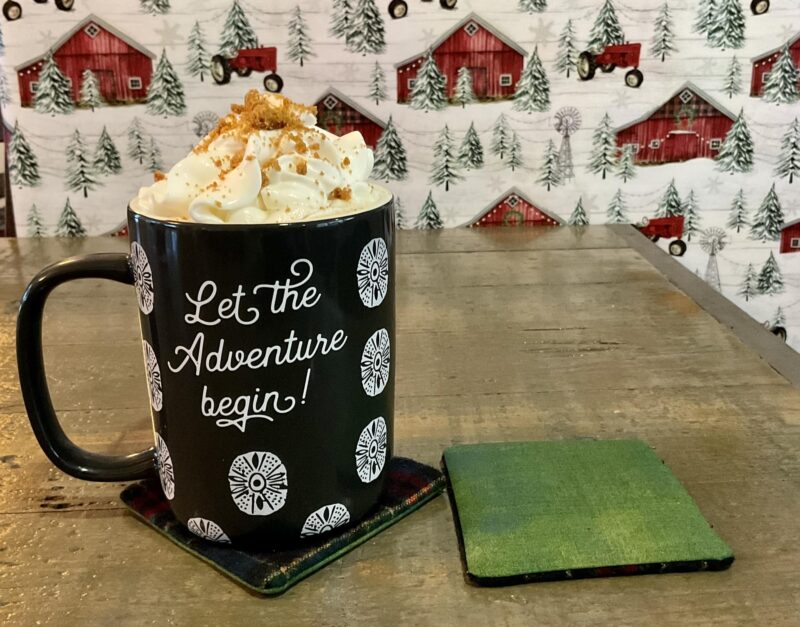
Enjoy your coasters!
DECEMBER 1 – 12, 2023
DAY 1 –TOASTER TREAT PLAY FOOD + PLUSHIE
DAY 2 – FABRIC KEY FOB




Leave a Reply