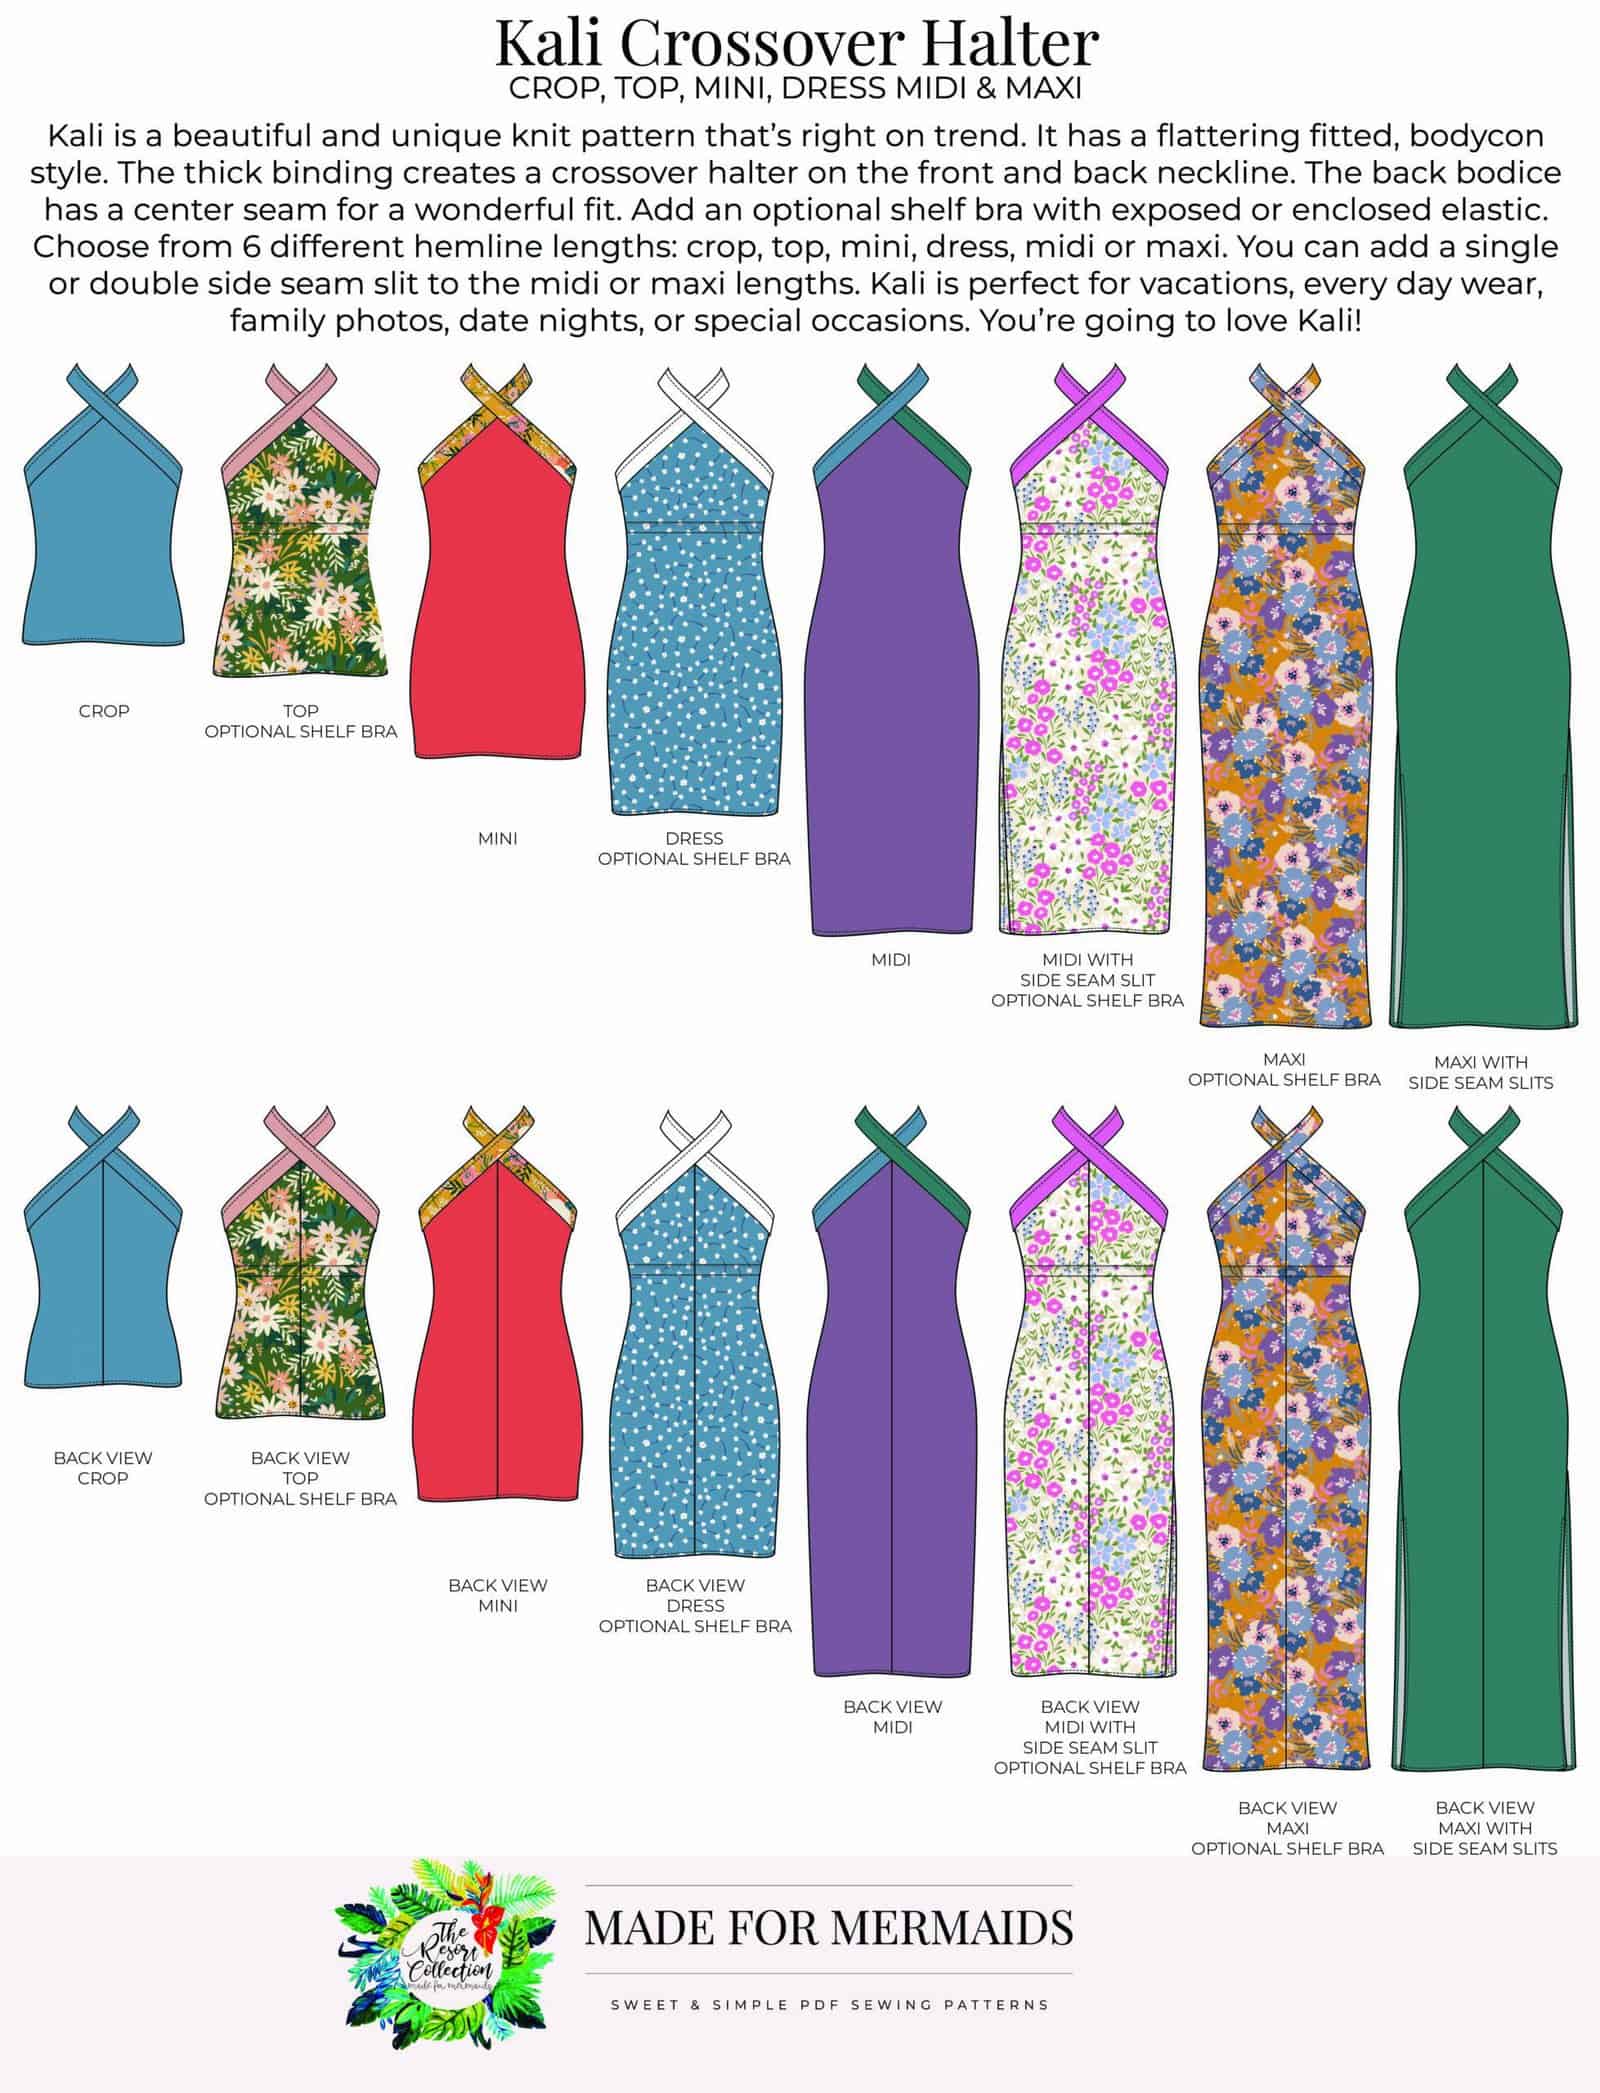
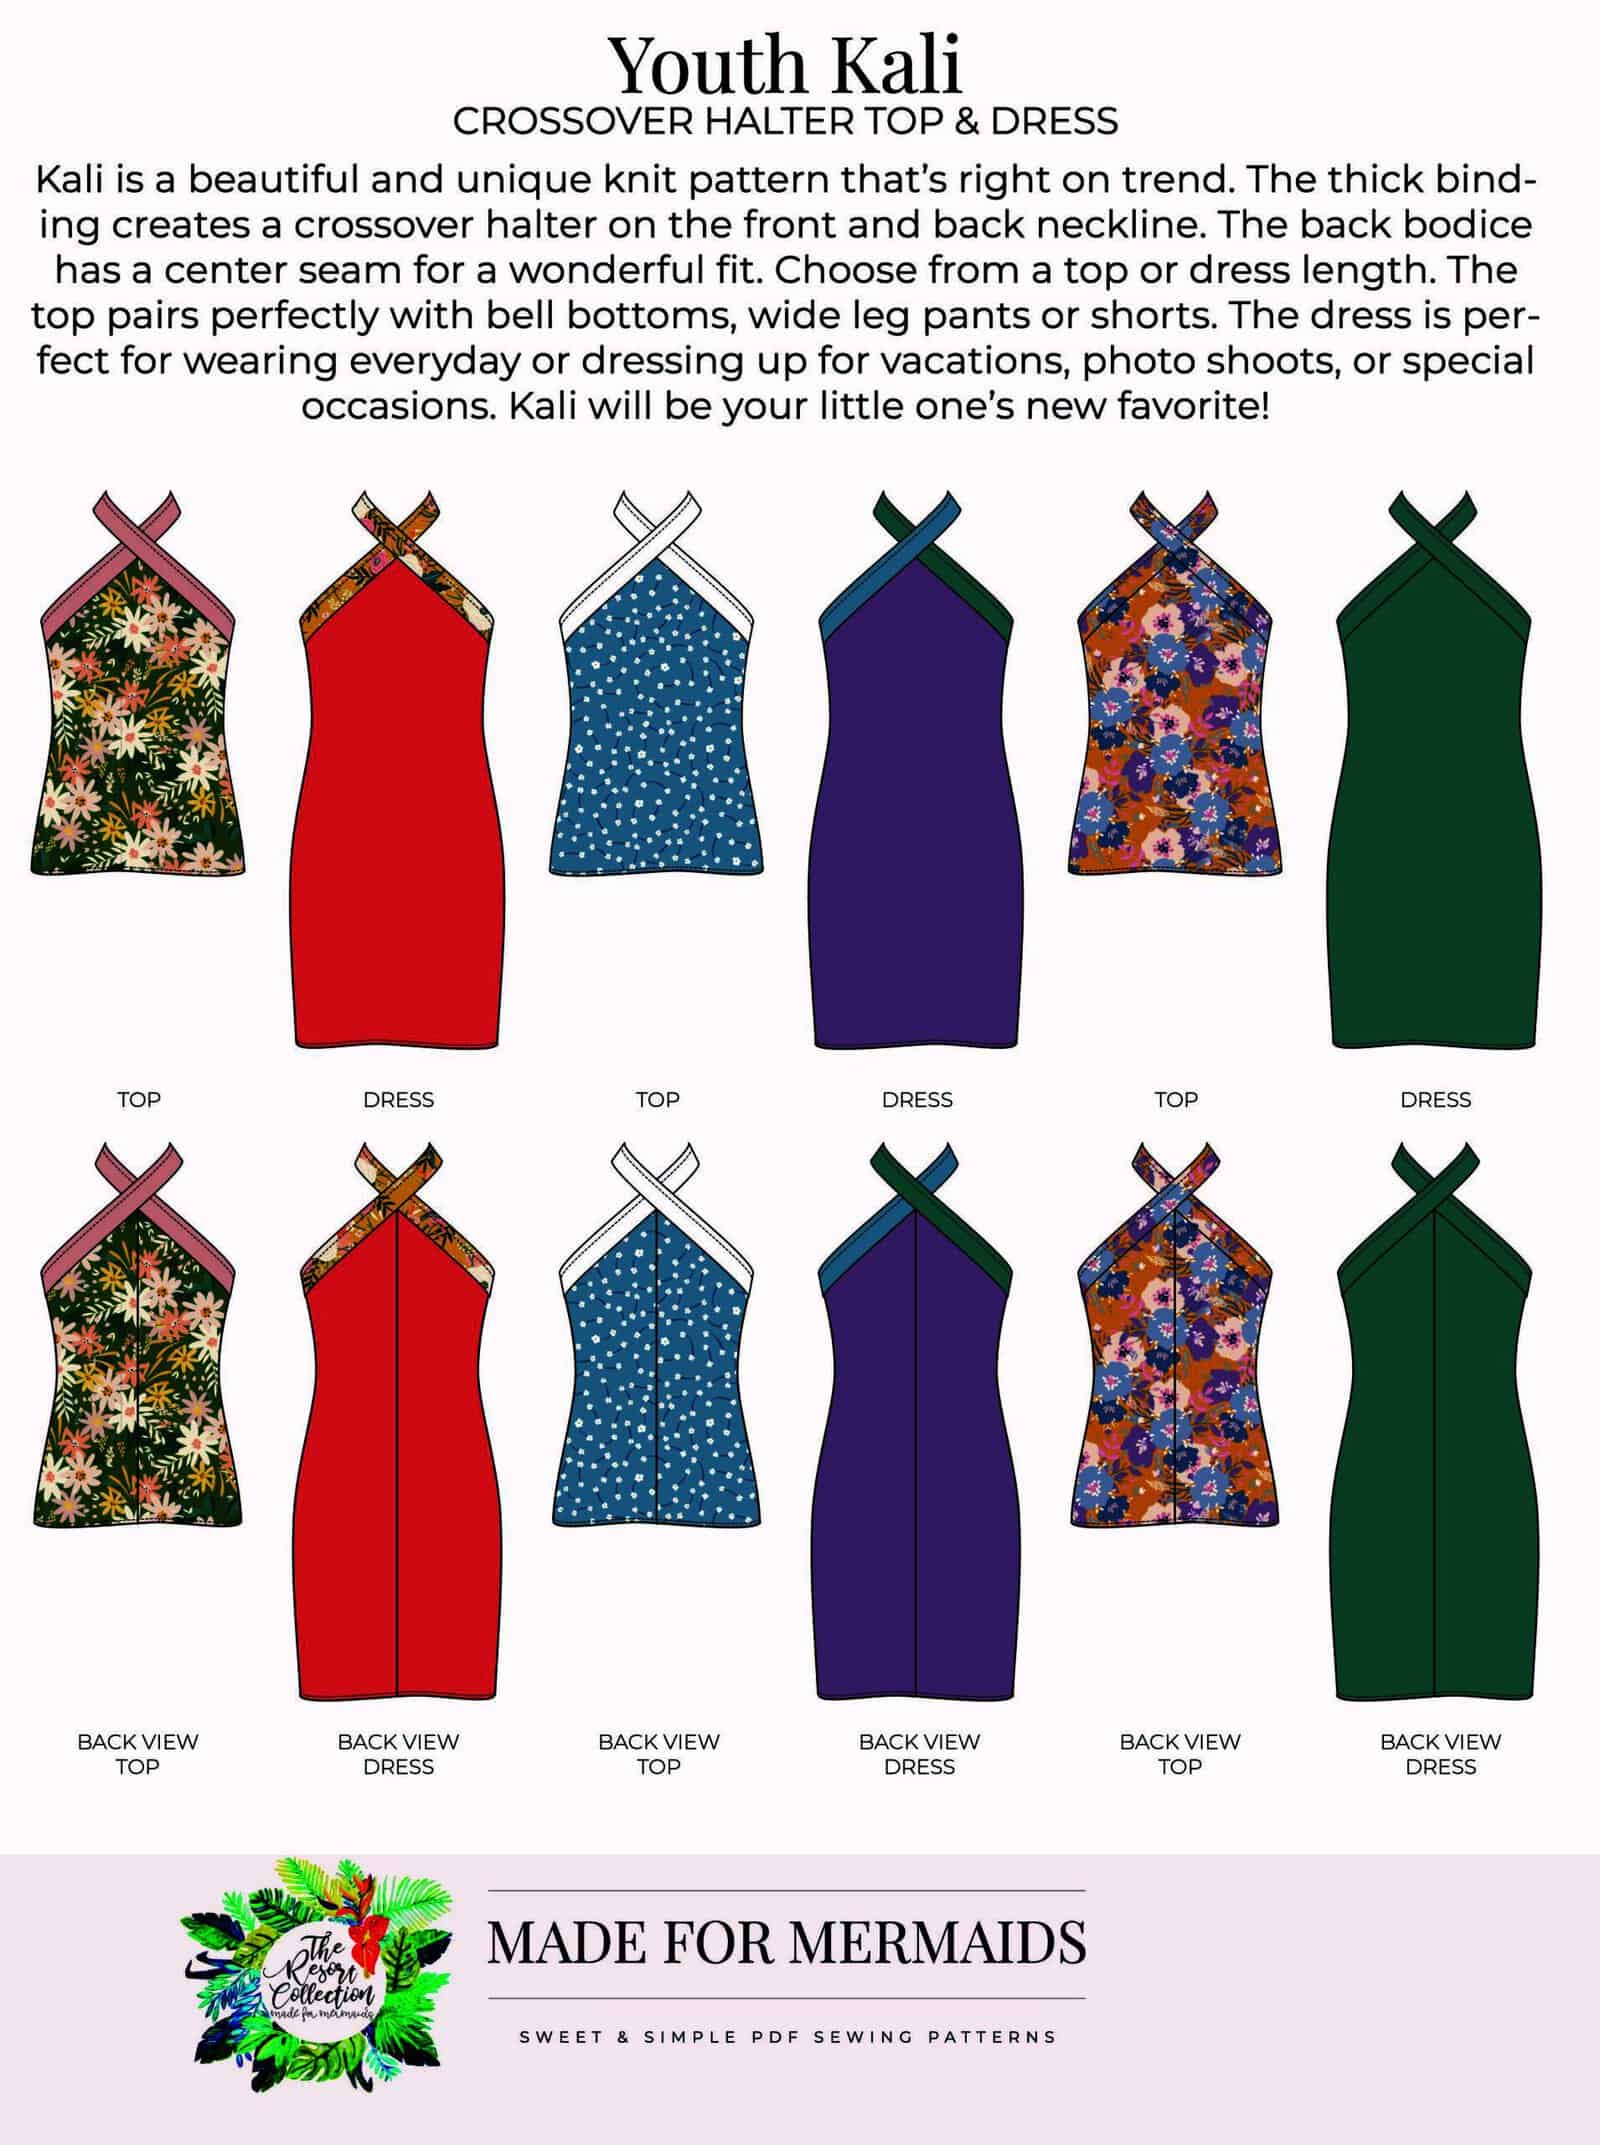
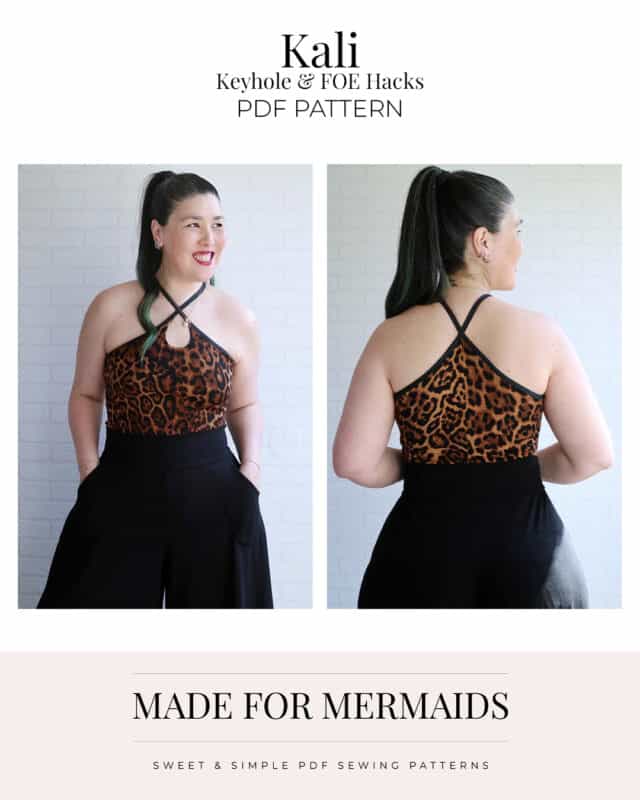
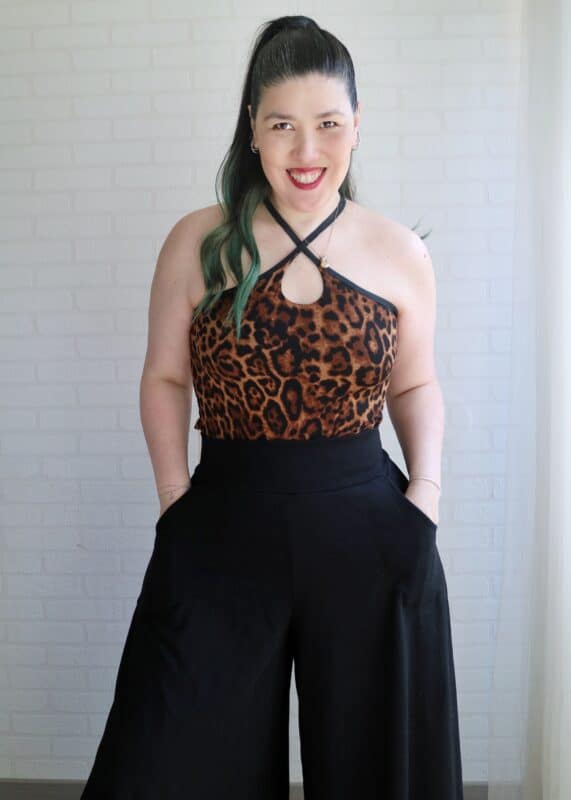
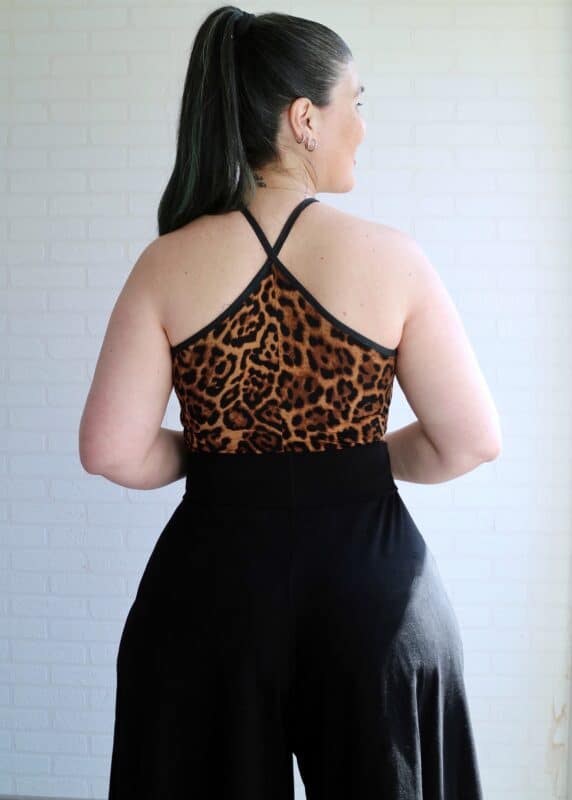
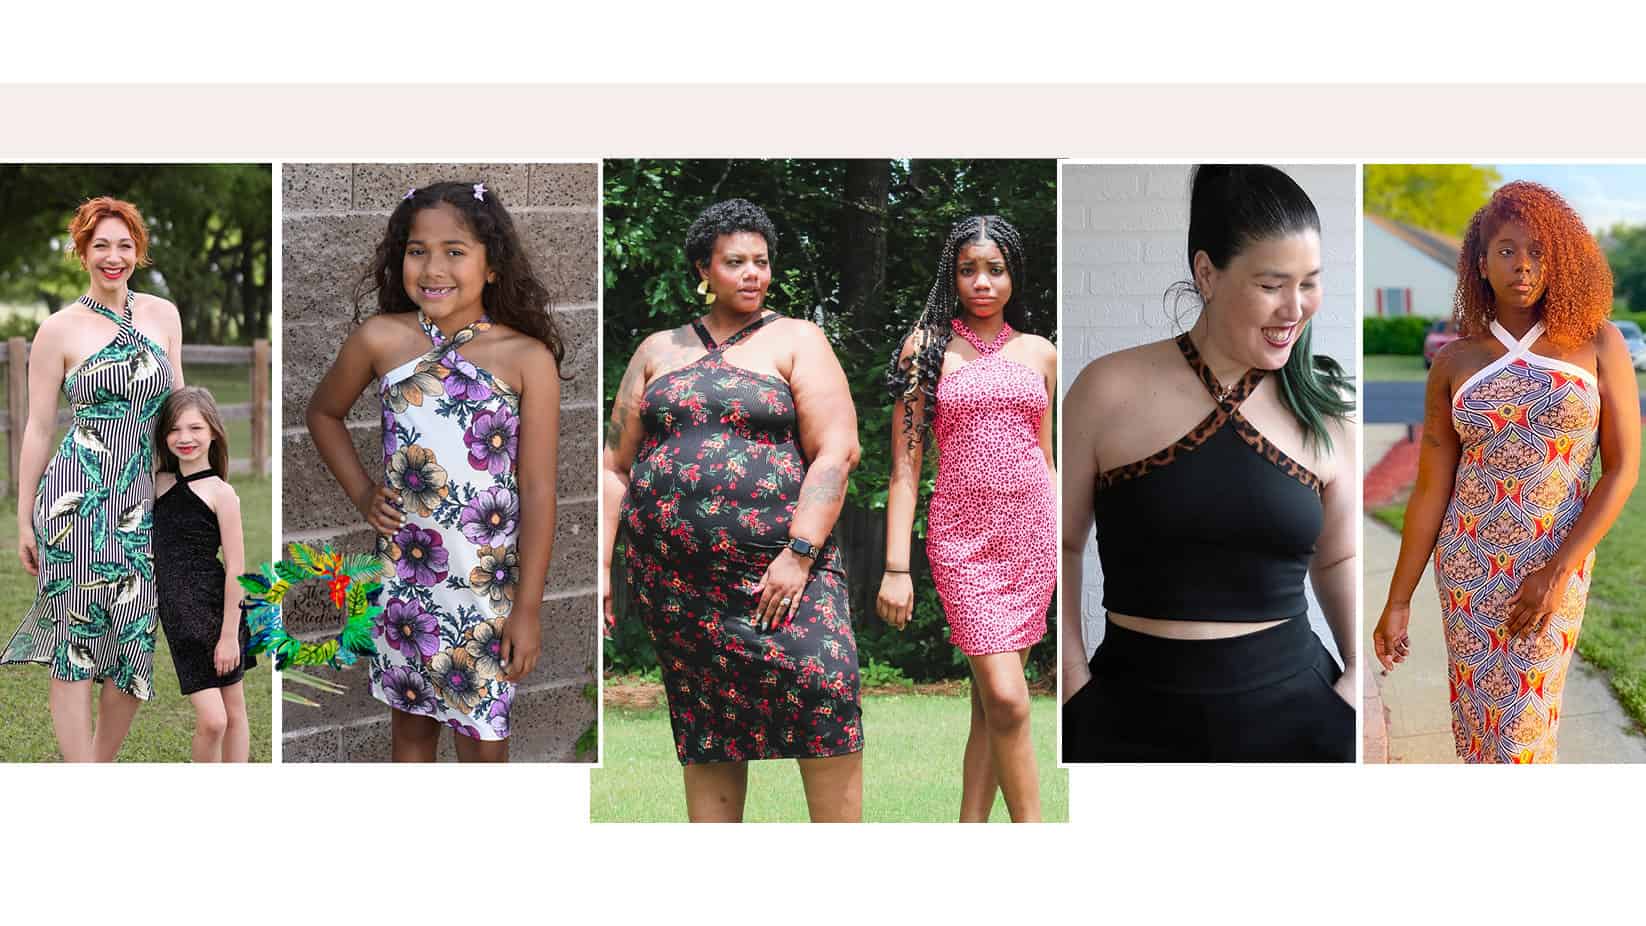
Kali is the newest set of patterns to hit the Resort Collection! Kali will be perfect for the warmer weather; it can easily be dressed up or down, making it perfect for any upcoming vacations or special events! Available in youth and adult sizing, Kali is a knit crossover halter that’s right on trend! The bodycon style is flattering and has a wonderful fit to the back seam. The thick binding crosses at both the front and back necklines to finish the bodice and create the straps. Adult Kali has an optional shelf bra and six hemlines (crop, top, mini, dress, midi, and maxi!!). Both the midi and maxi options have optional side seam slits. The Youth Kali pattern includes both a top and a dress option.
Getting Started
Before you purchase your patterns, there is a ton of helpful beginner information between the M4M and P4P blogs, in case you are new to knits, or new to PDF patterns in general:
- New to PDF patterns? Check out our helpful tips here
- New to sewing with knits? Brittany has some great info here
- Not quite sure how to measure yourself accurately? Don’t worry; check out the post here!
- Having issues printing? Most issues can be resolved by using our FAQs/troubleshooting tips
- Join our Facebook group here.
Choosing Your Options
We have lots of tester photos in our FB group and on the site if you want to see a variety of photos of each option before you decide! Here is a quick snapshot of the different options:
Fabric + Notions
Kali is drafted for fabric that has 60% stretch. Brushed poly, brushed ribbed knit, cotton lycra, athletic knit, etc. are all great options! Fabrics with less recovery, such as rayon spandex and ITY, may “grow” with wear and fit longer than intended. They are not recommended for the binding pieces.
You may also need:
- Shelf bra option – 1″ knit elastic
- OPTIONAL but strongly recommended: knit interfacing
- OPTIONAL but strongly recommended: wash away hem tape
Kali Hacks + Mash Ups
Sonia, Jess, and Livia are on the blog today with several easy hacks and mash ups for you!
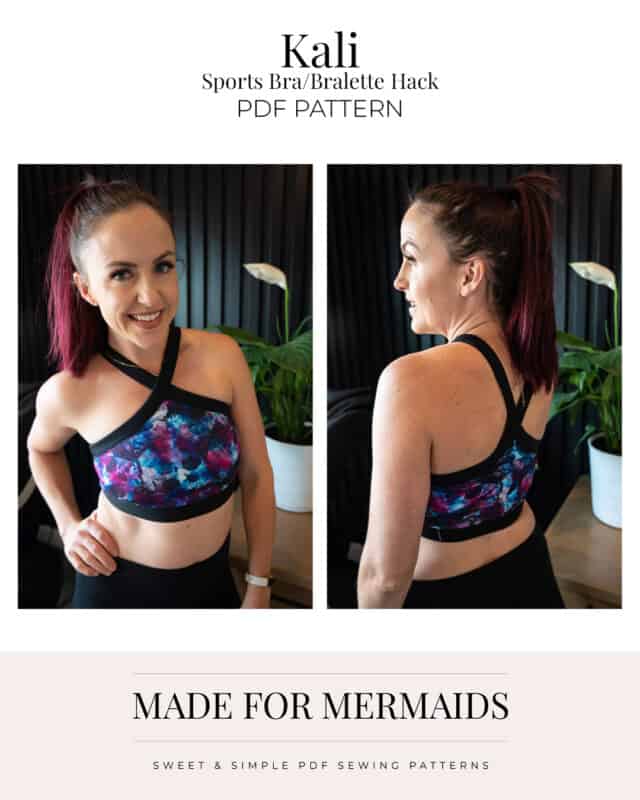
Sports Bra/Bralette Hack
Hi friends! Sonia here with the super simple Kali sports bra or bralette hack! Let’s get into it 🙂
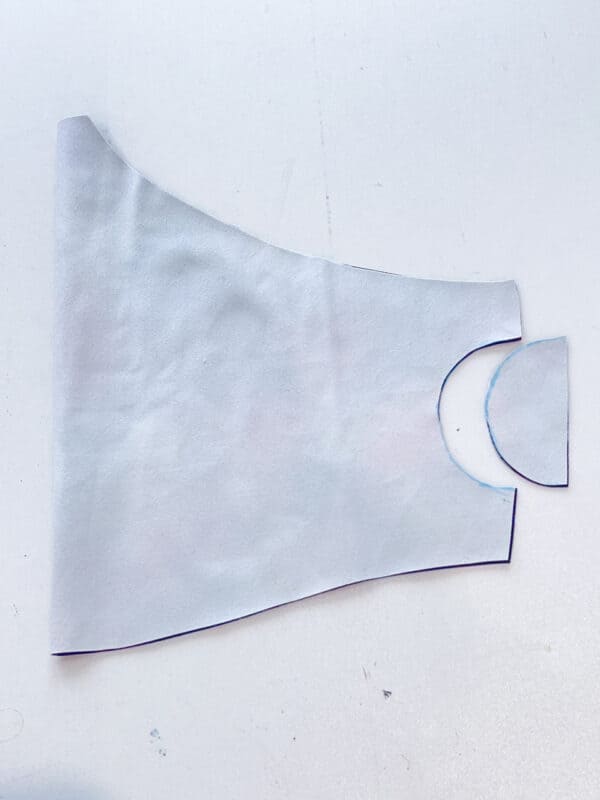
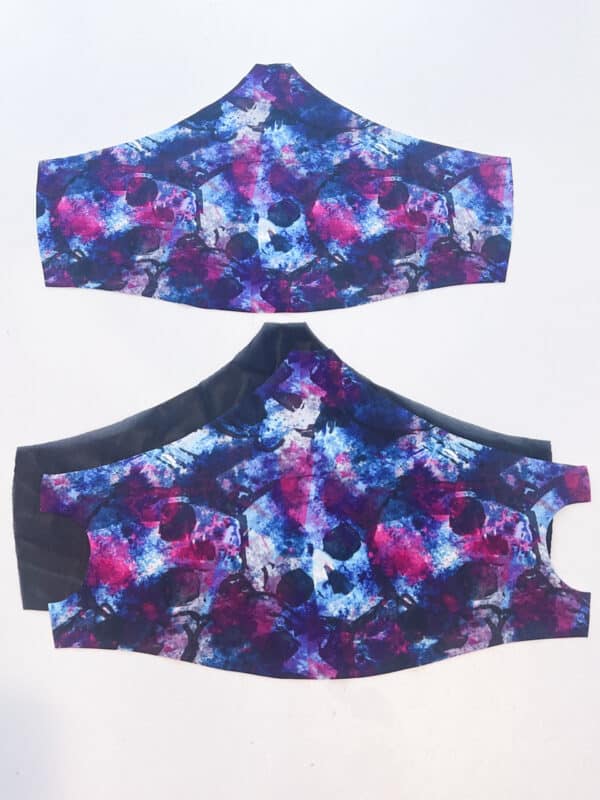
All we’ll need for this hack is to cut three of the shelf bra piece: one exterior, one lining, and (if you want to add cups) one power mesh.
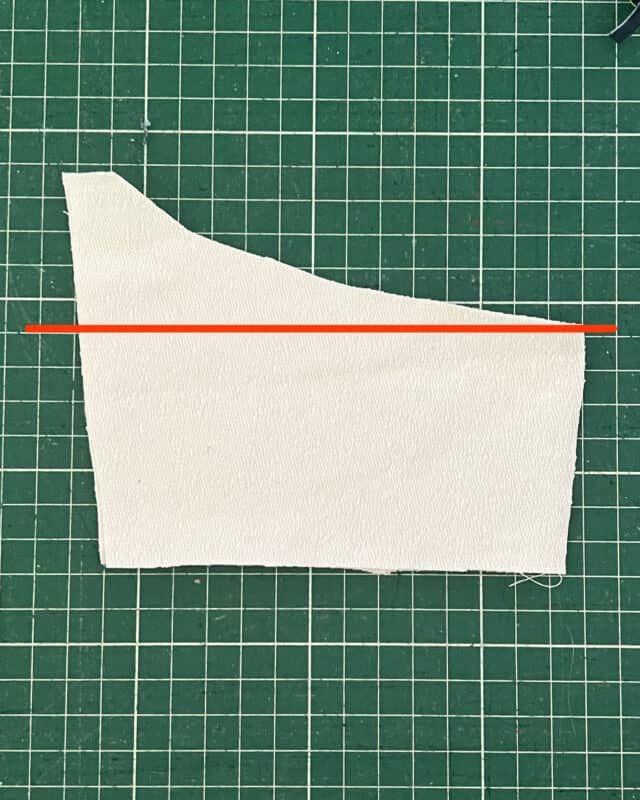
If you’re adding cups, cut a half-moon from the side of the lining piece, so we have space to slide the cups in. You can finish this edge with a serger if you like.
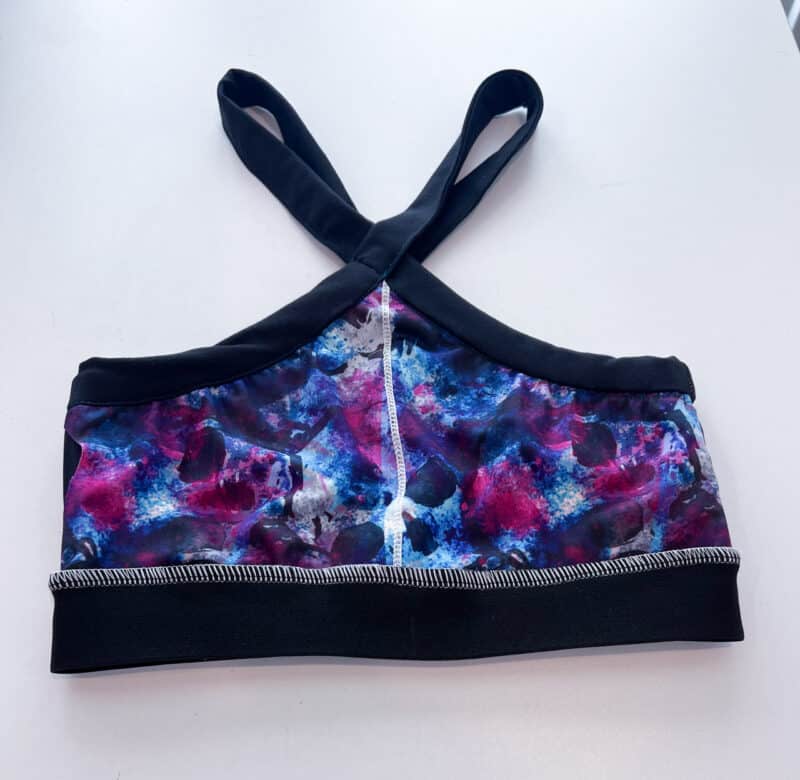
Here are what our pieces will look like!
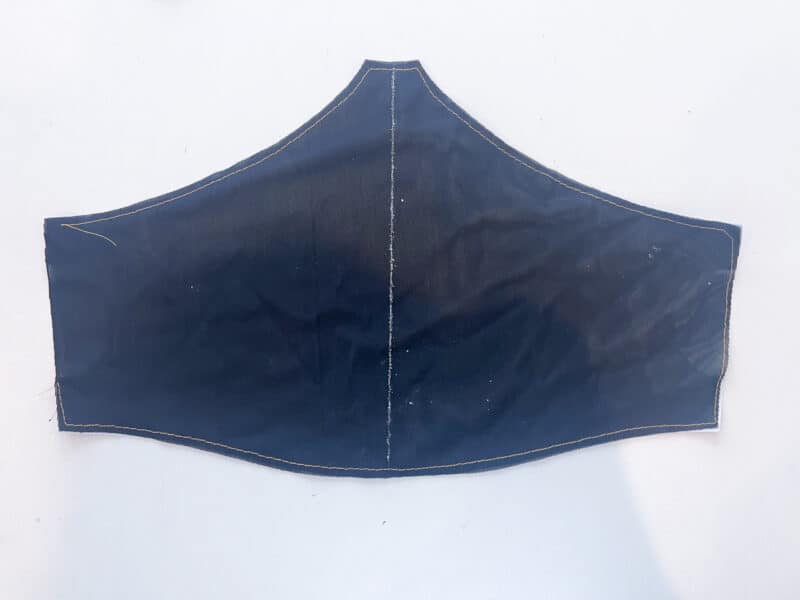
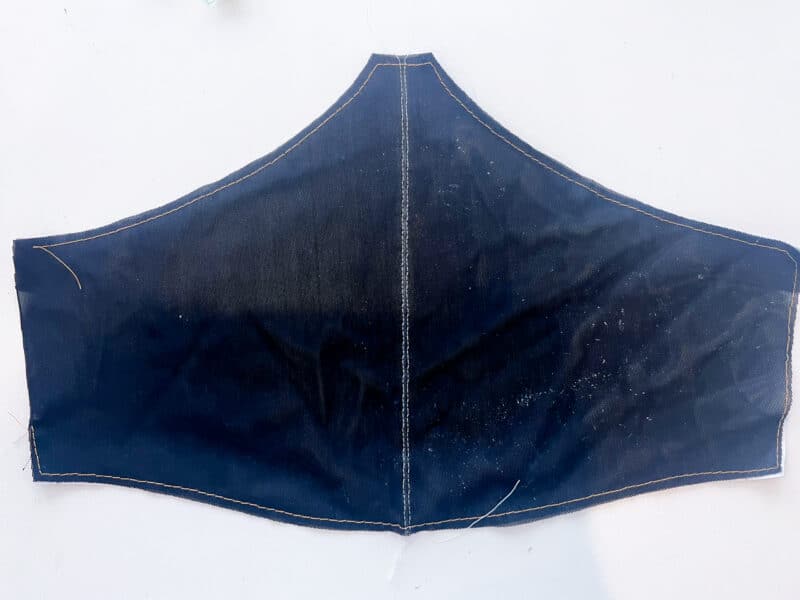
Next, baste the powermesh to the lining, and measure across to find the middle. Draw a line here, and stitch a vertical line. This helps your cups stay put!
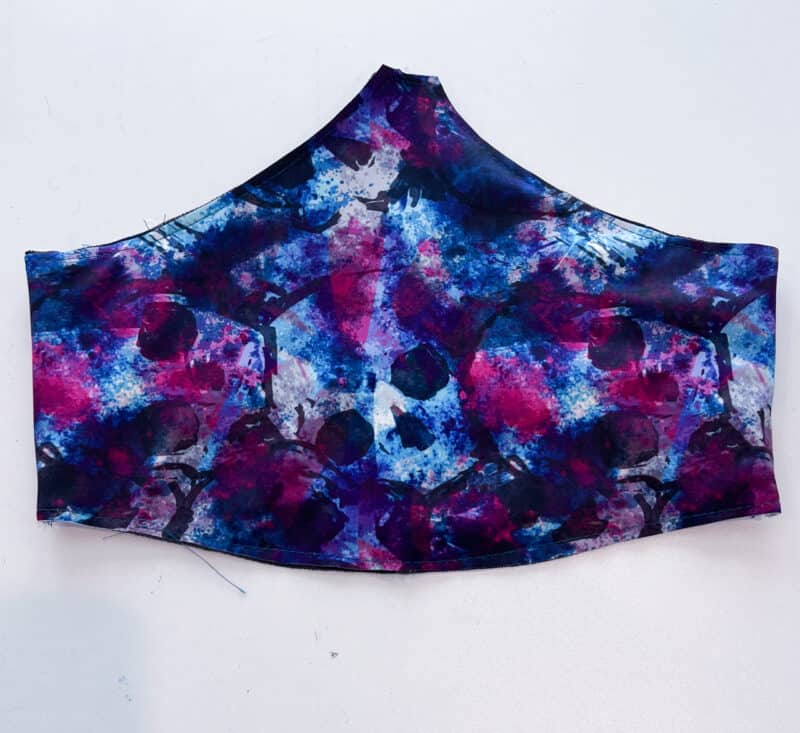
Now, assemble bralette per pattern by sewing the side seams RST of the lining front and back, and the exterior front and back. Turn the exterior RS out, place the lining inside it (with wrong sides together) and baste all the way around the armscyes, front, and along the bottom too.
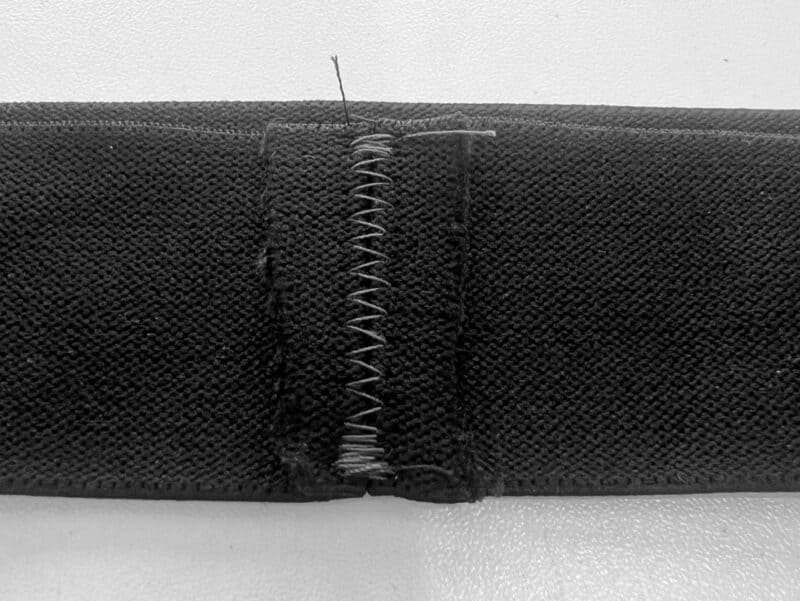
Sew your underbust elastic together but instead of overlapping, sew RST with a straight stitch, press the SA out to the sides. Using a wide zig zag stitch, topstitch the seam so the wings stay out. This looks much cleaner if going for an elastic-only option (instead of encased elastic).
Sew the elastic on the bottom (make sure to disengage your knife if you’re using a serger so the elastic doesn’t get cut) and then sew your straps on per-pattern. That’s it, your cute new bralette is done!
Thanks for joining me for this cute and simple hack!
Livia’s Mash Up
When I find a pattern I love I immediately get inspired to play with it. I just want to be able to make and wear it in as many different ways as possible.
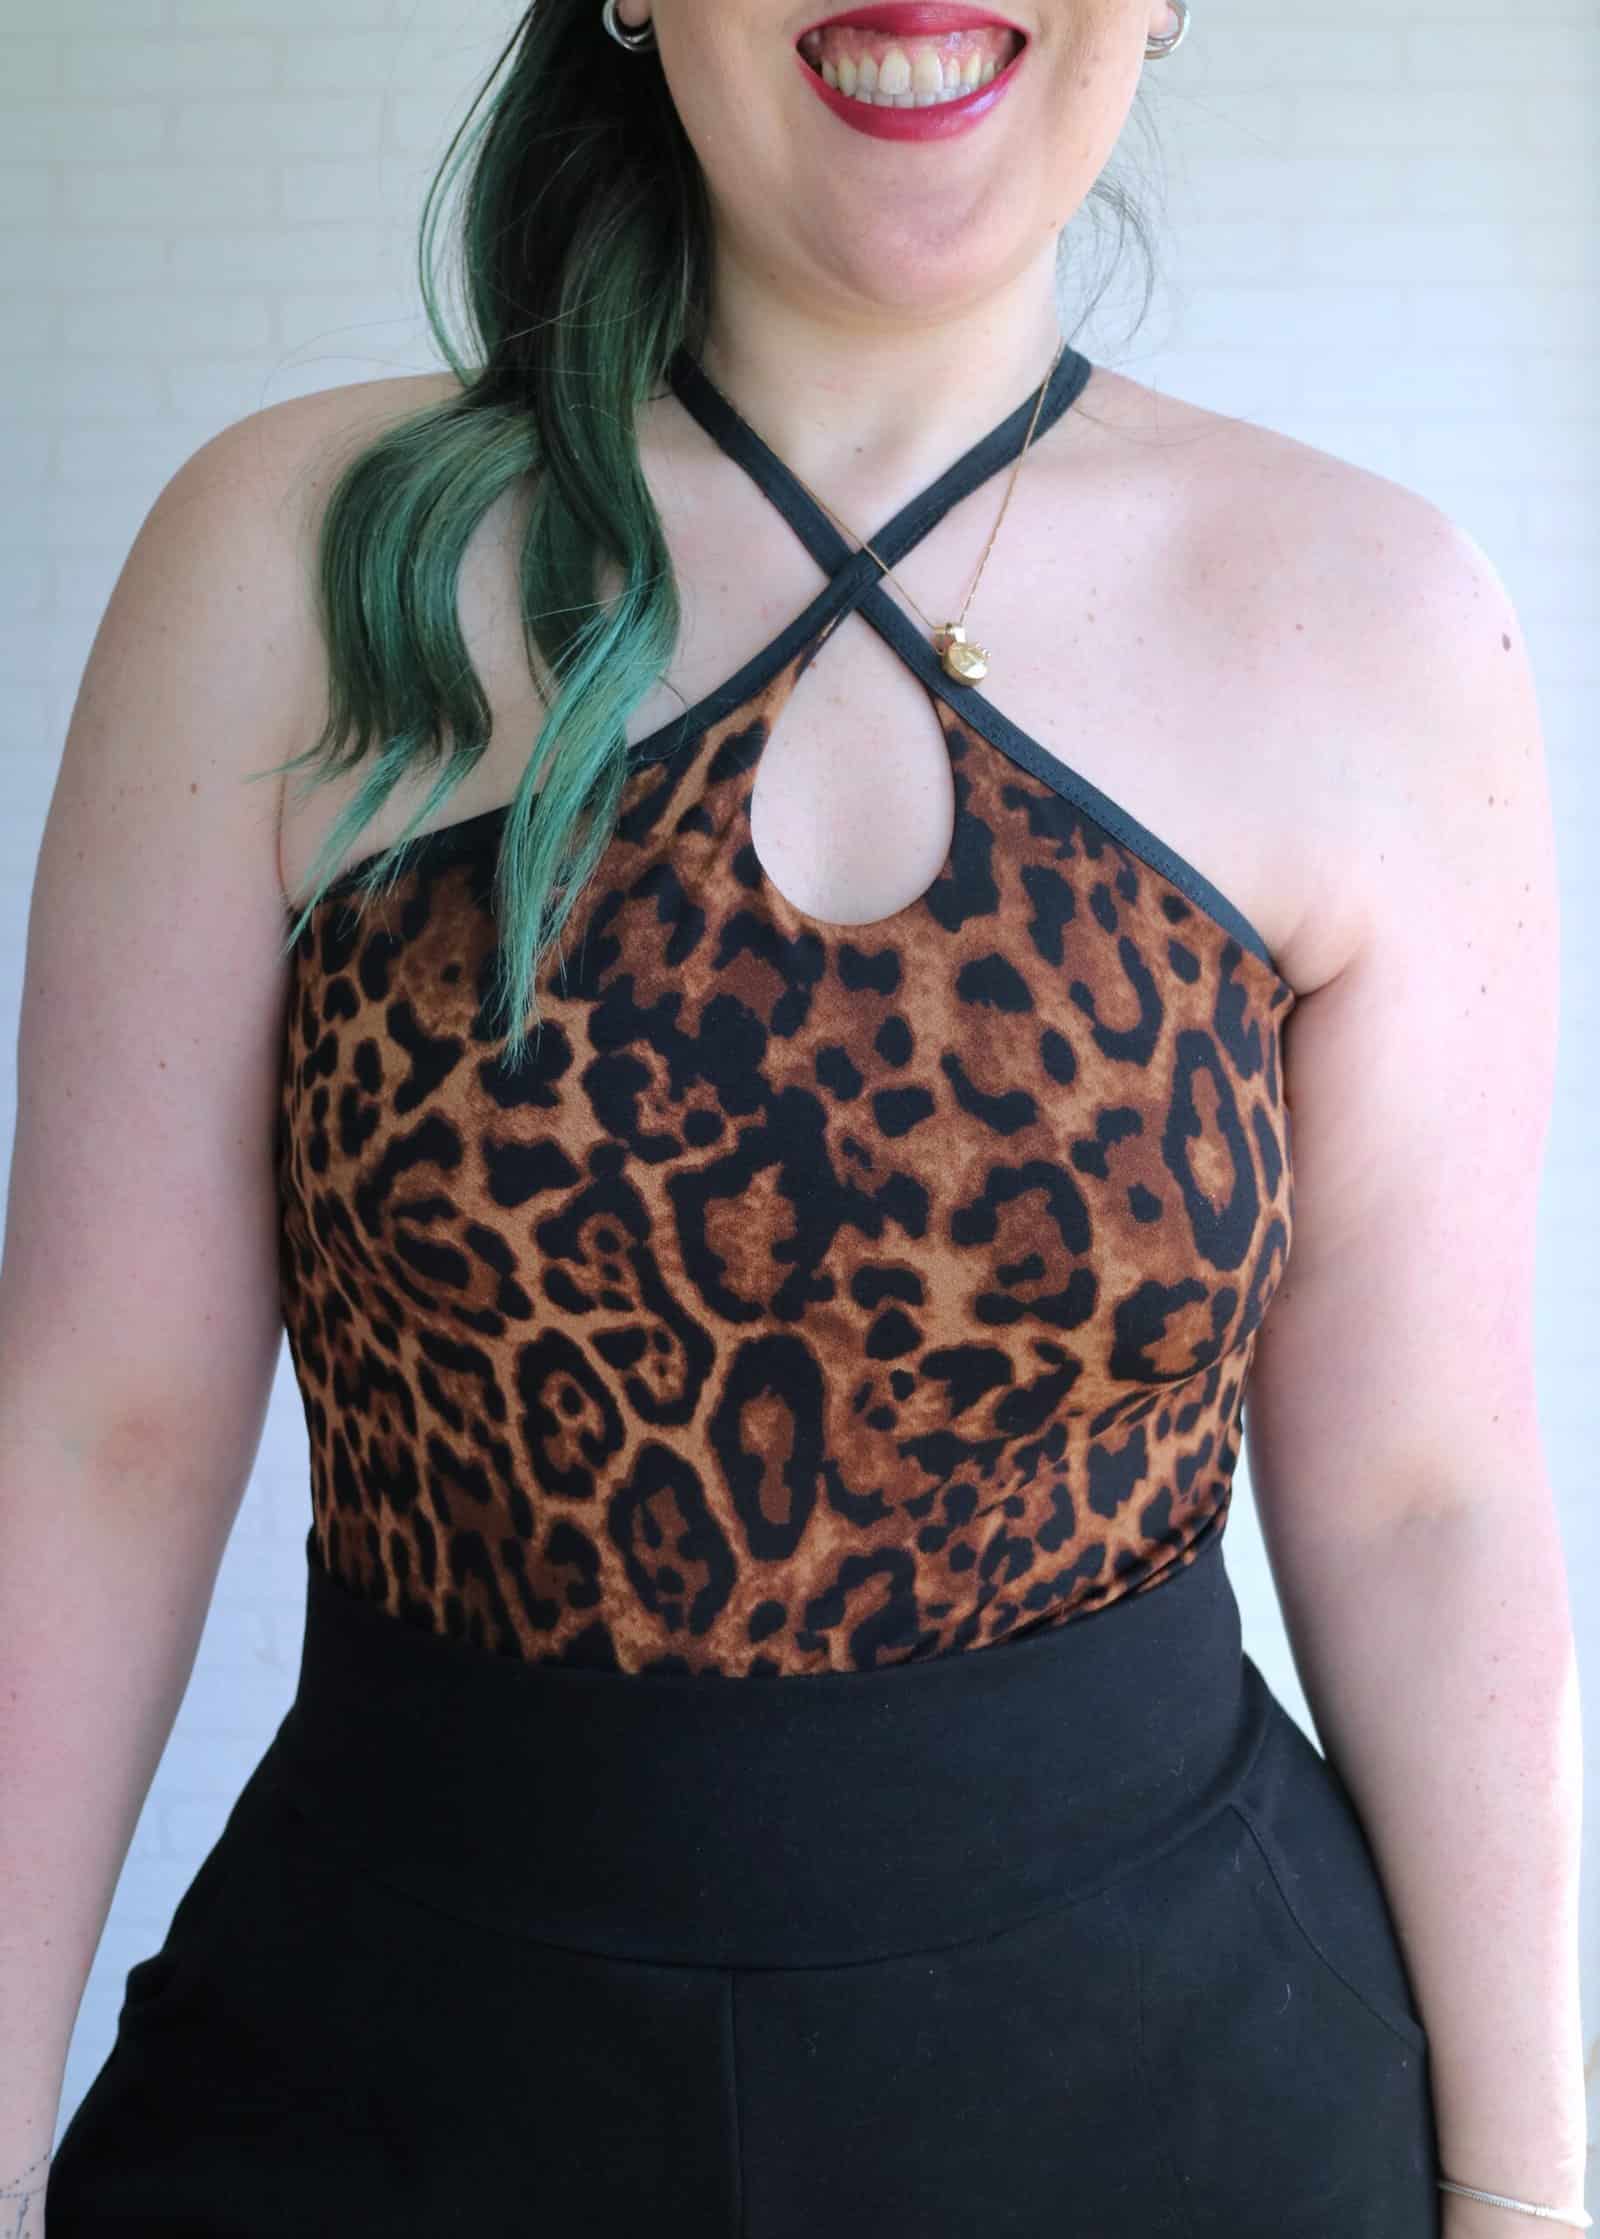
With that in mind… I had an absurd amount of fun with Kali! It started with “Let’s add a keyhole to the front bodice” and ended with:
- Keyhole
- FOE instead of binding
- Halter style
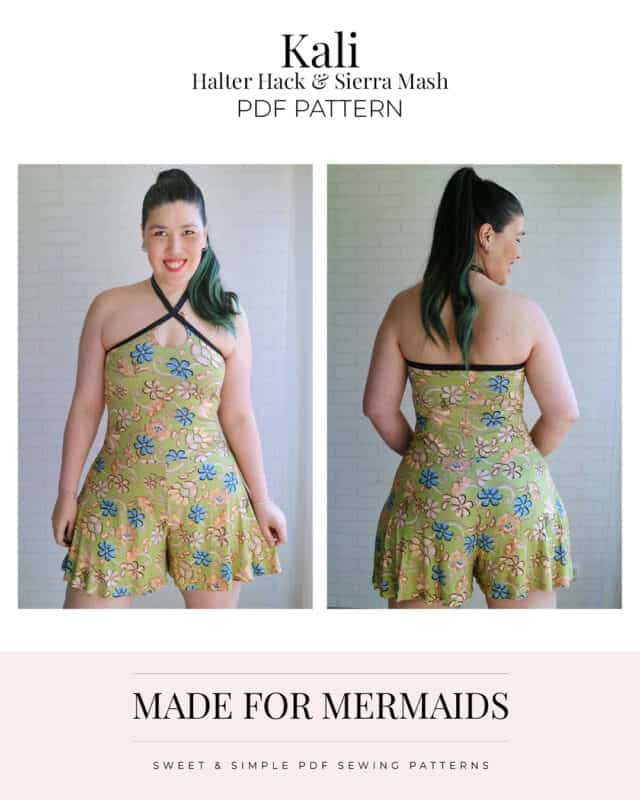
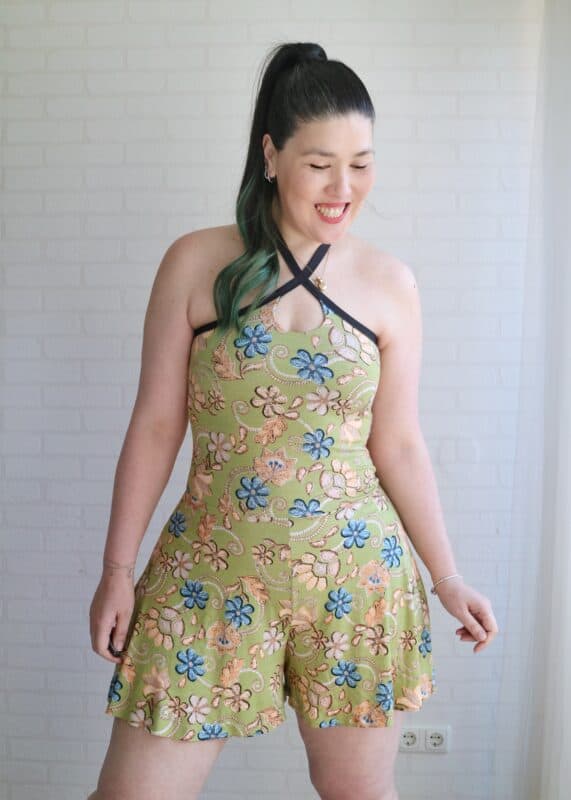
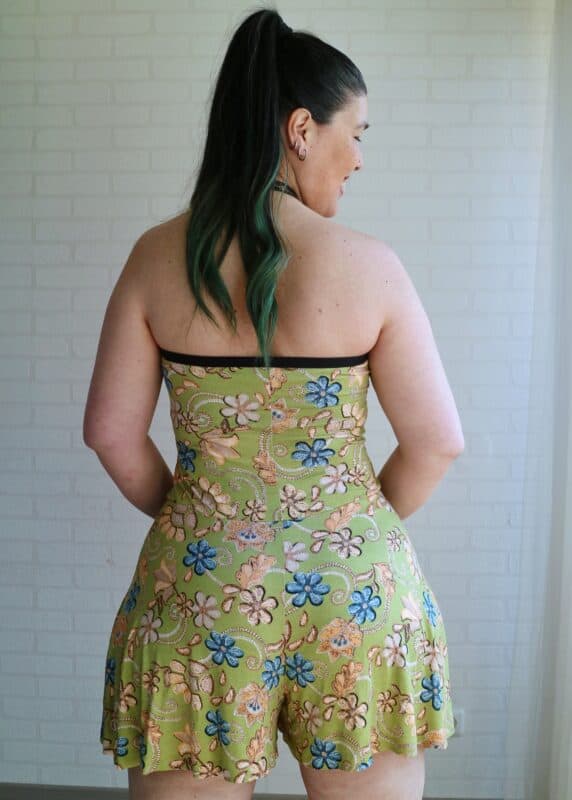
- Romper (mashed with Sierra)
Those are all fun and simple hacks and can be made on their own. So just pick and choose the ones you like! 😉
Keyhole Hack
What you’ll need:
- All the pattern pieces for your Kali of choice (mine was the crop with shelf bra)
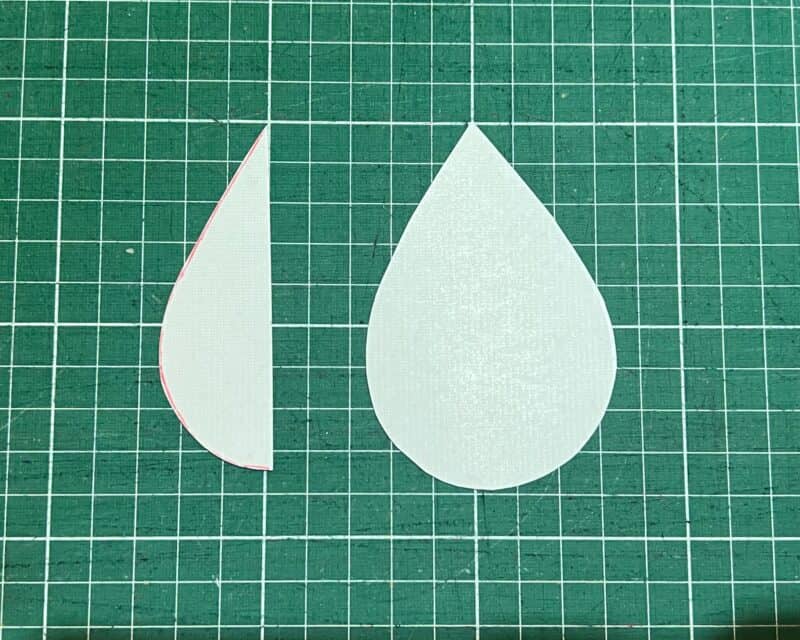
- A tear-shaped template
- Your regular sewing materials
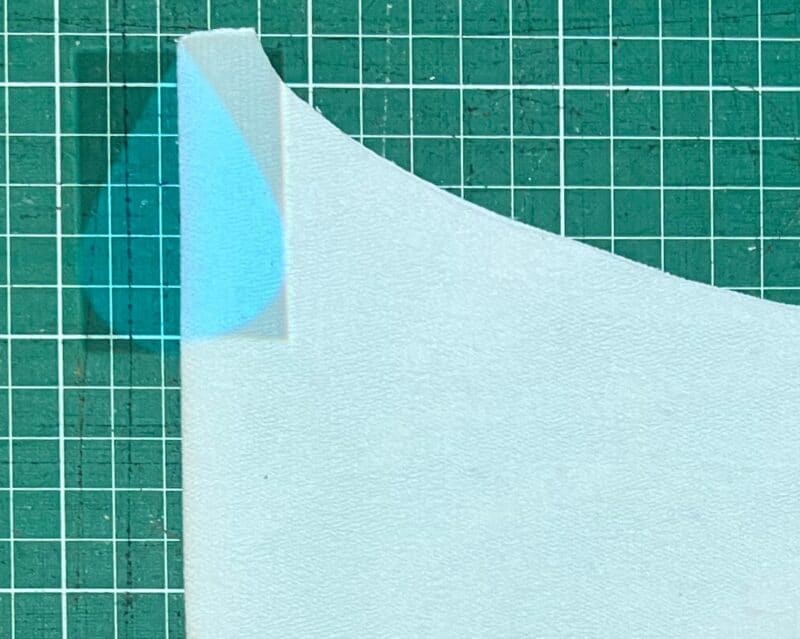
For the keyhole template, I found the easiest solution to simply Google “tear clipart.” You can then either trace or print it to your desired size, and if you’re a projector user you can project it direct to your pattern piece. Easy peasy!
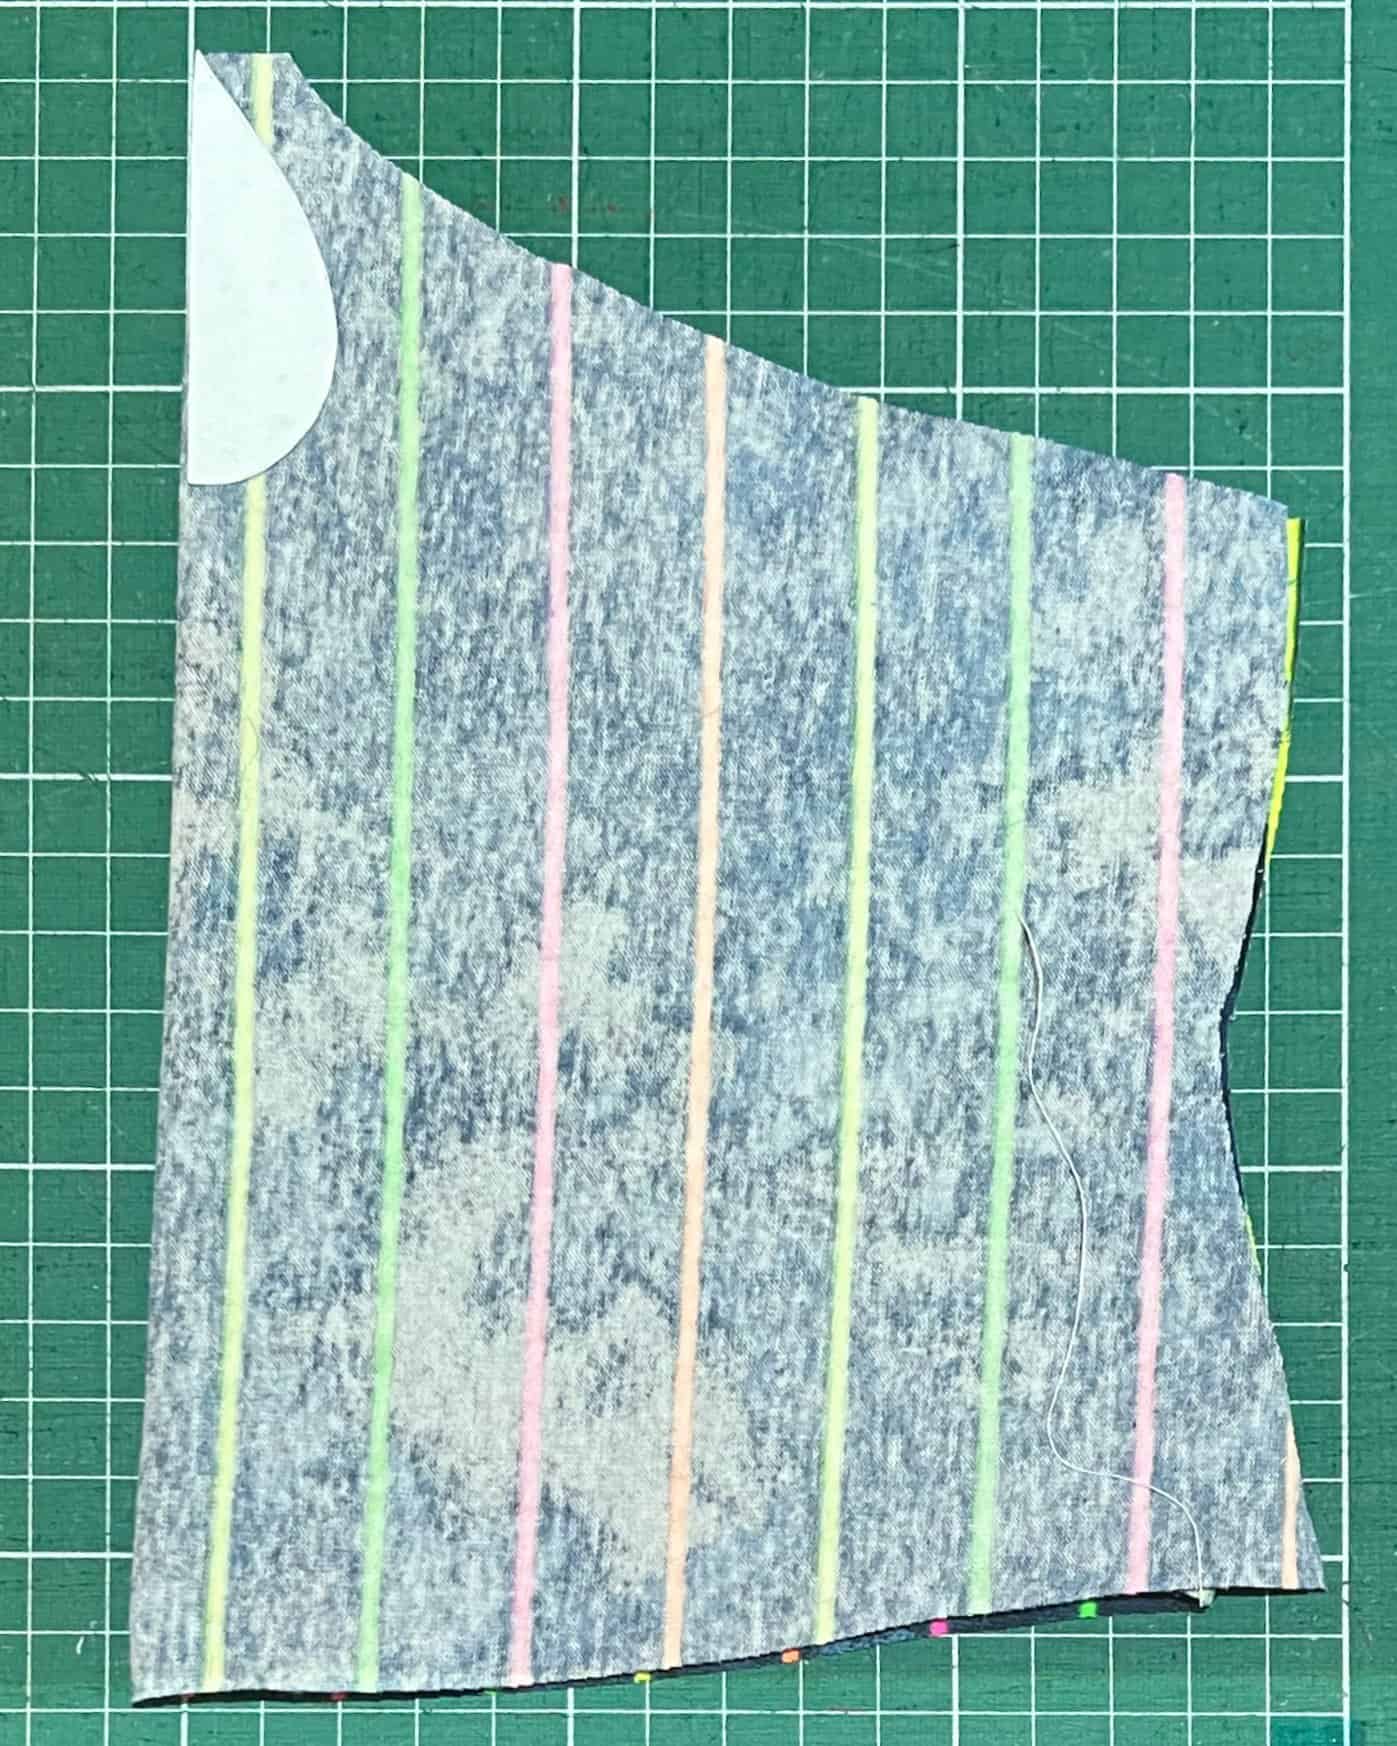
When picking the size of the keyhole, keep the seam allowance in mind. Your tear template should be “size wanted minus seam allowance”. I suggest using a 1/4″ allowance for it.
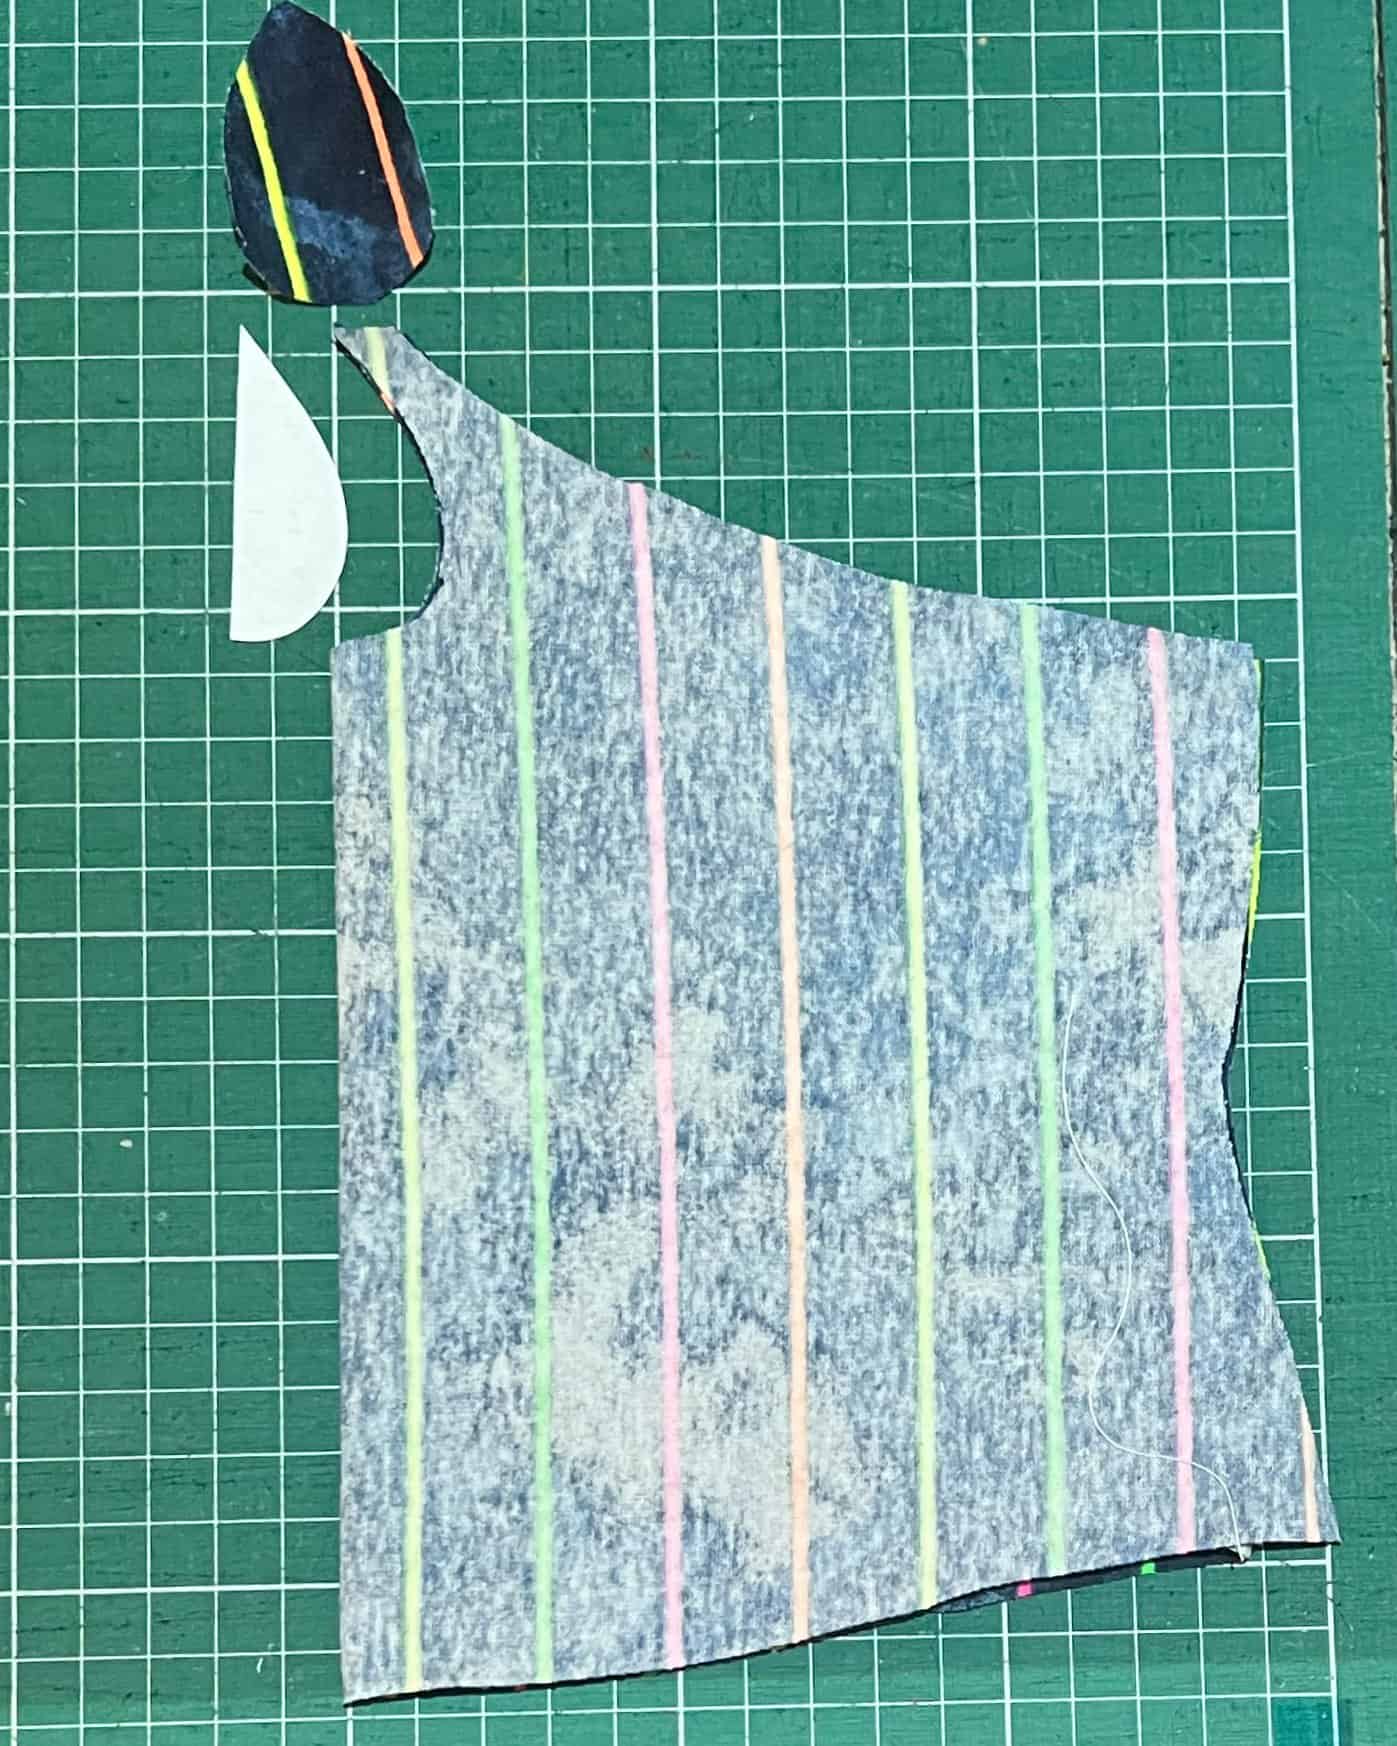
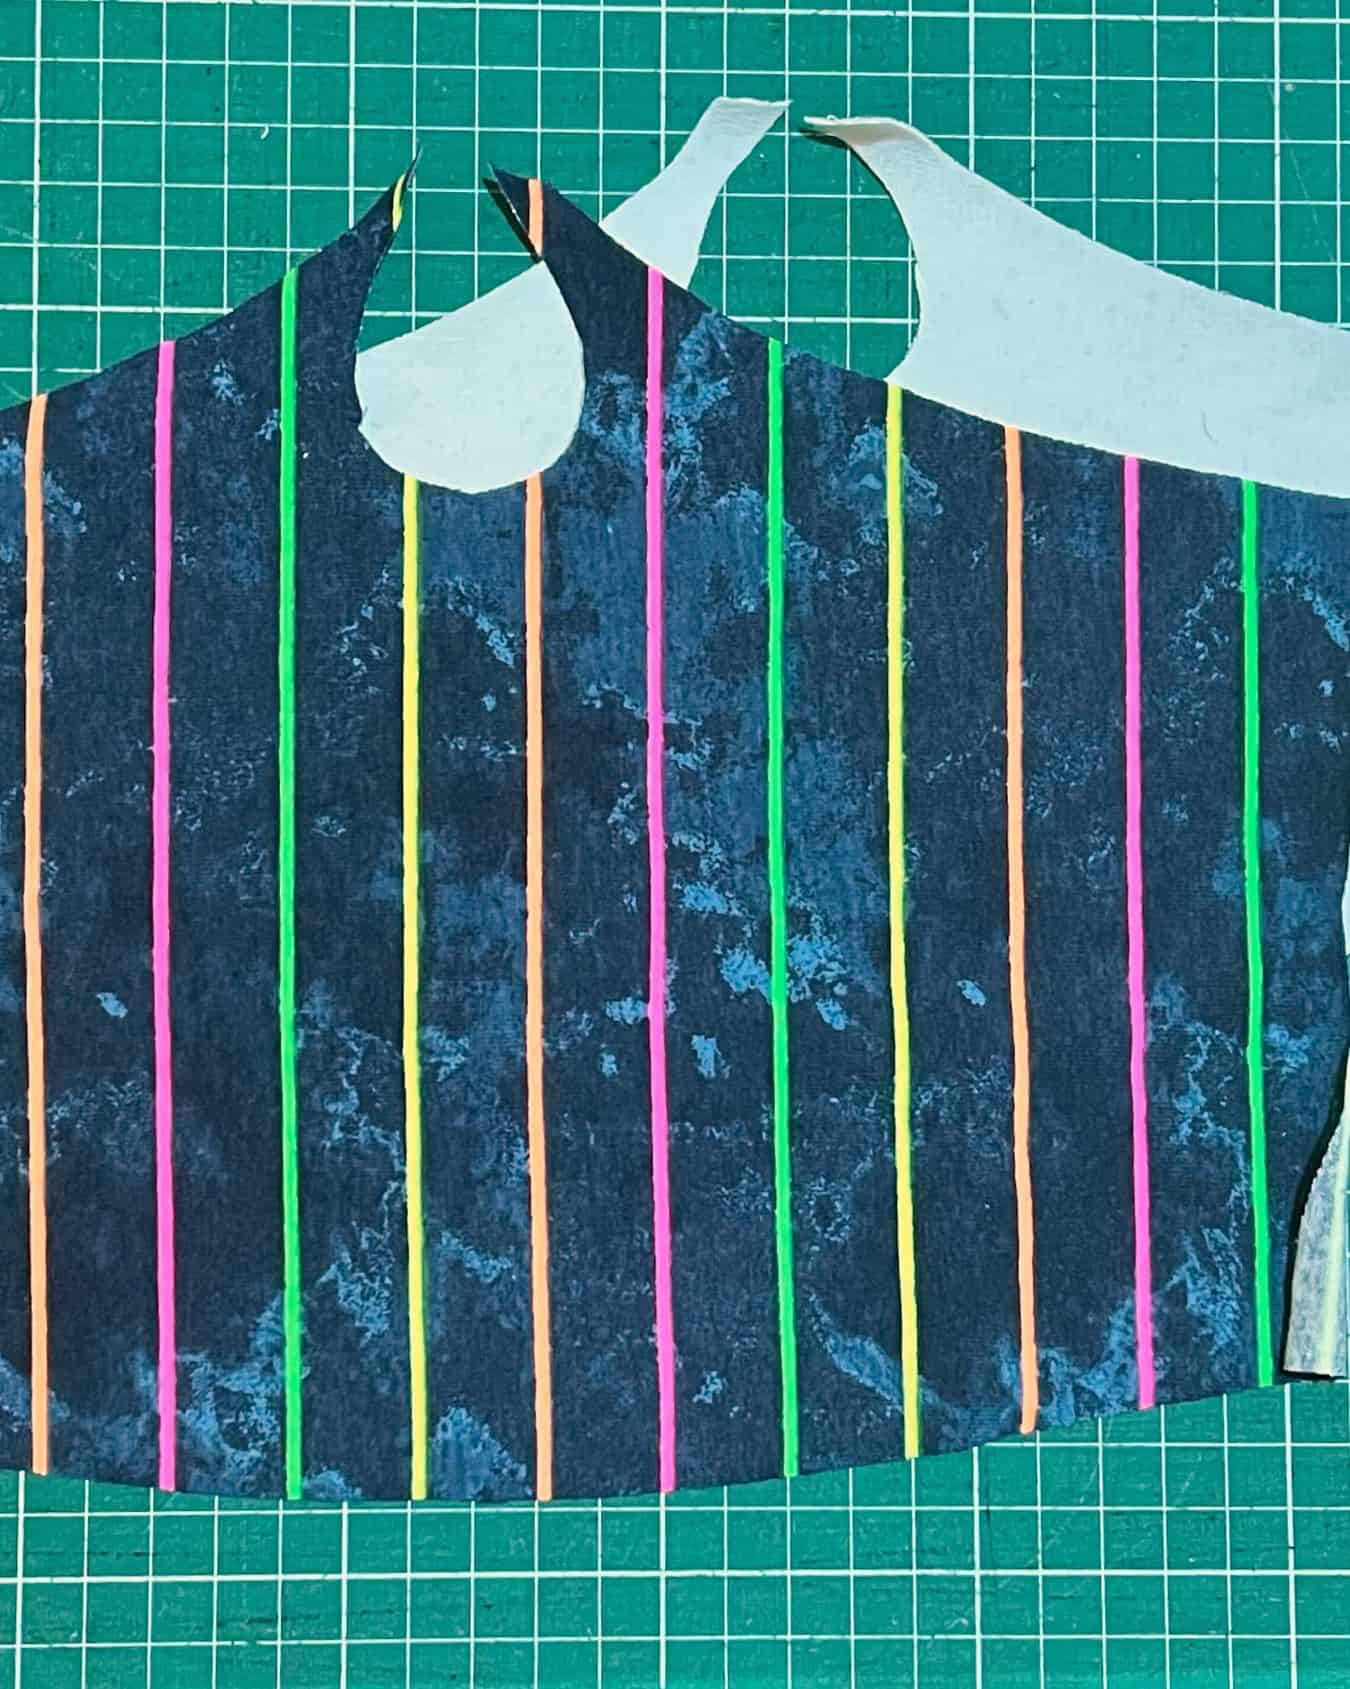
Align the top of the tear template to the top center of the front bodice and cut both main and shelf bra.
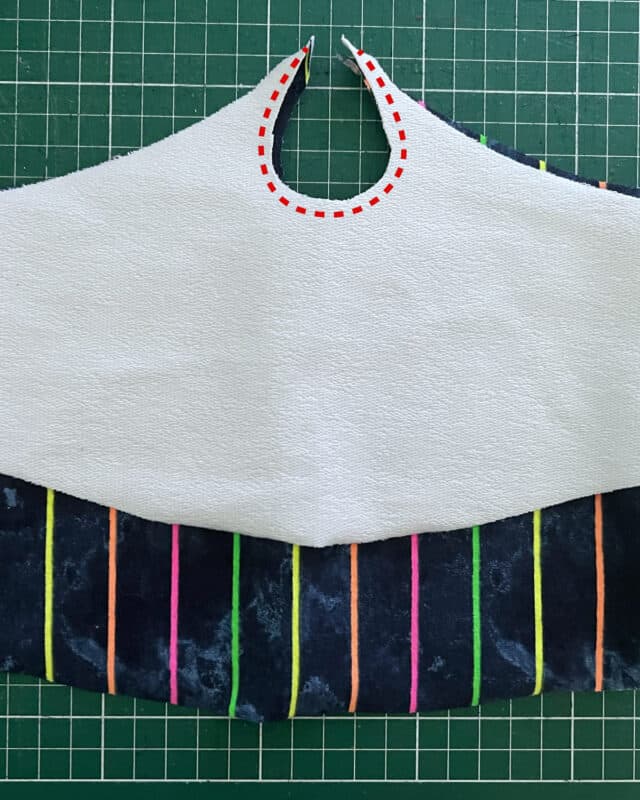
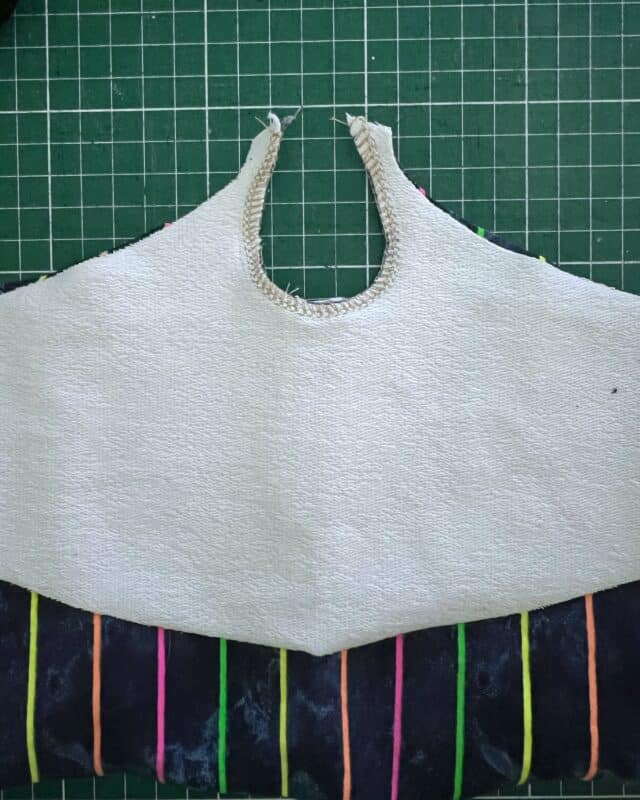
After sewing the side seams, place the shelf bra and bodice right sides together and sew the keyhole as illustrated below.
Flip the shelf bra to the inside of the bodice, give the keyhole a good press an steam to help shape it back into place in case it stretched out a bit while sewing, and finish your Kali as per pattern instructions.
If you don’t want to add a shelf bra, you can finish the keyhole by hemming it or using binding or foe.
And on that note…
FOE (fold-over elastic) Hack
I suggest using a wide FOE for this one.
The reason is that it’s more comfortable to wear, plus it will require minimal to no alterations to the pattern pieces.
If not making the keyhole, try to get FOE that matches the width of the original binding. If you can’t find it or prefer a skinnier strap, you’ll need to shave a bit of the “center peak” of the bodice so you don’t end up with an uncovered gap there.
For the rest, it’s a simple matter of substitution.
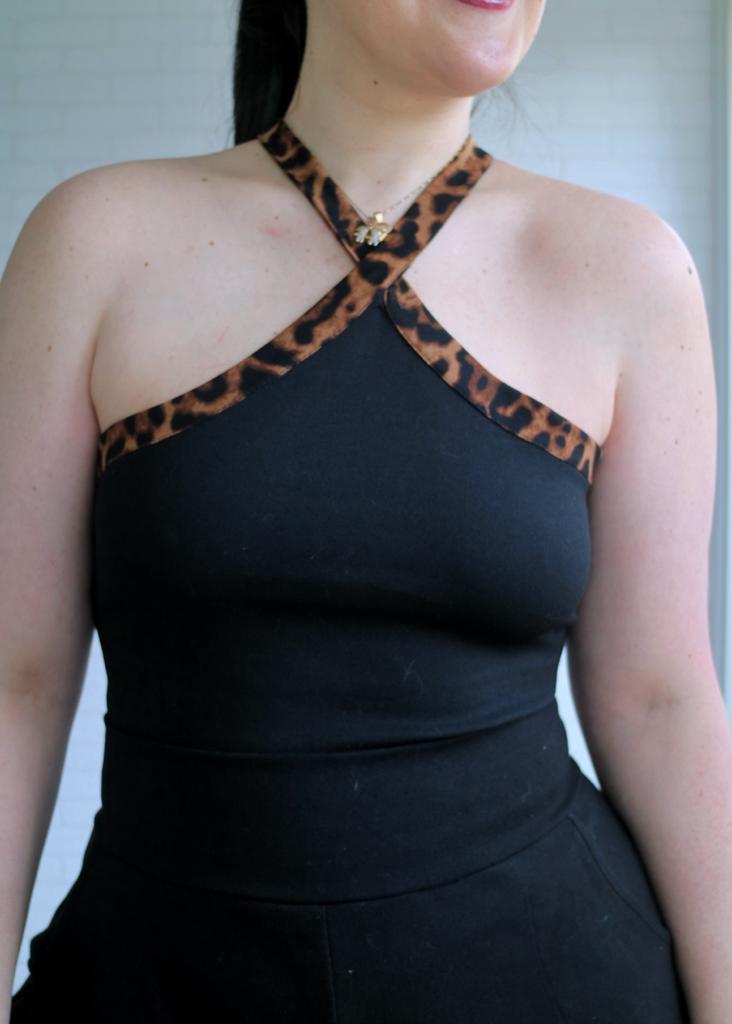
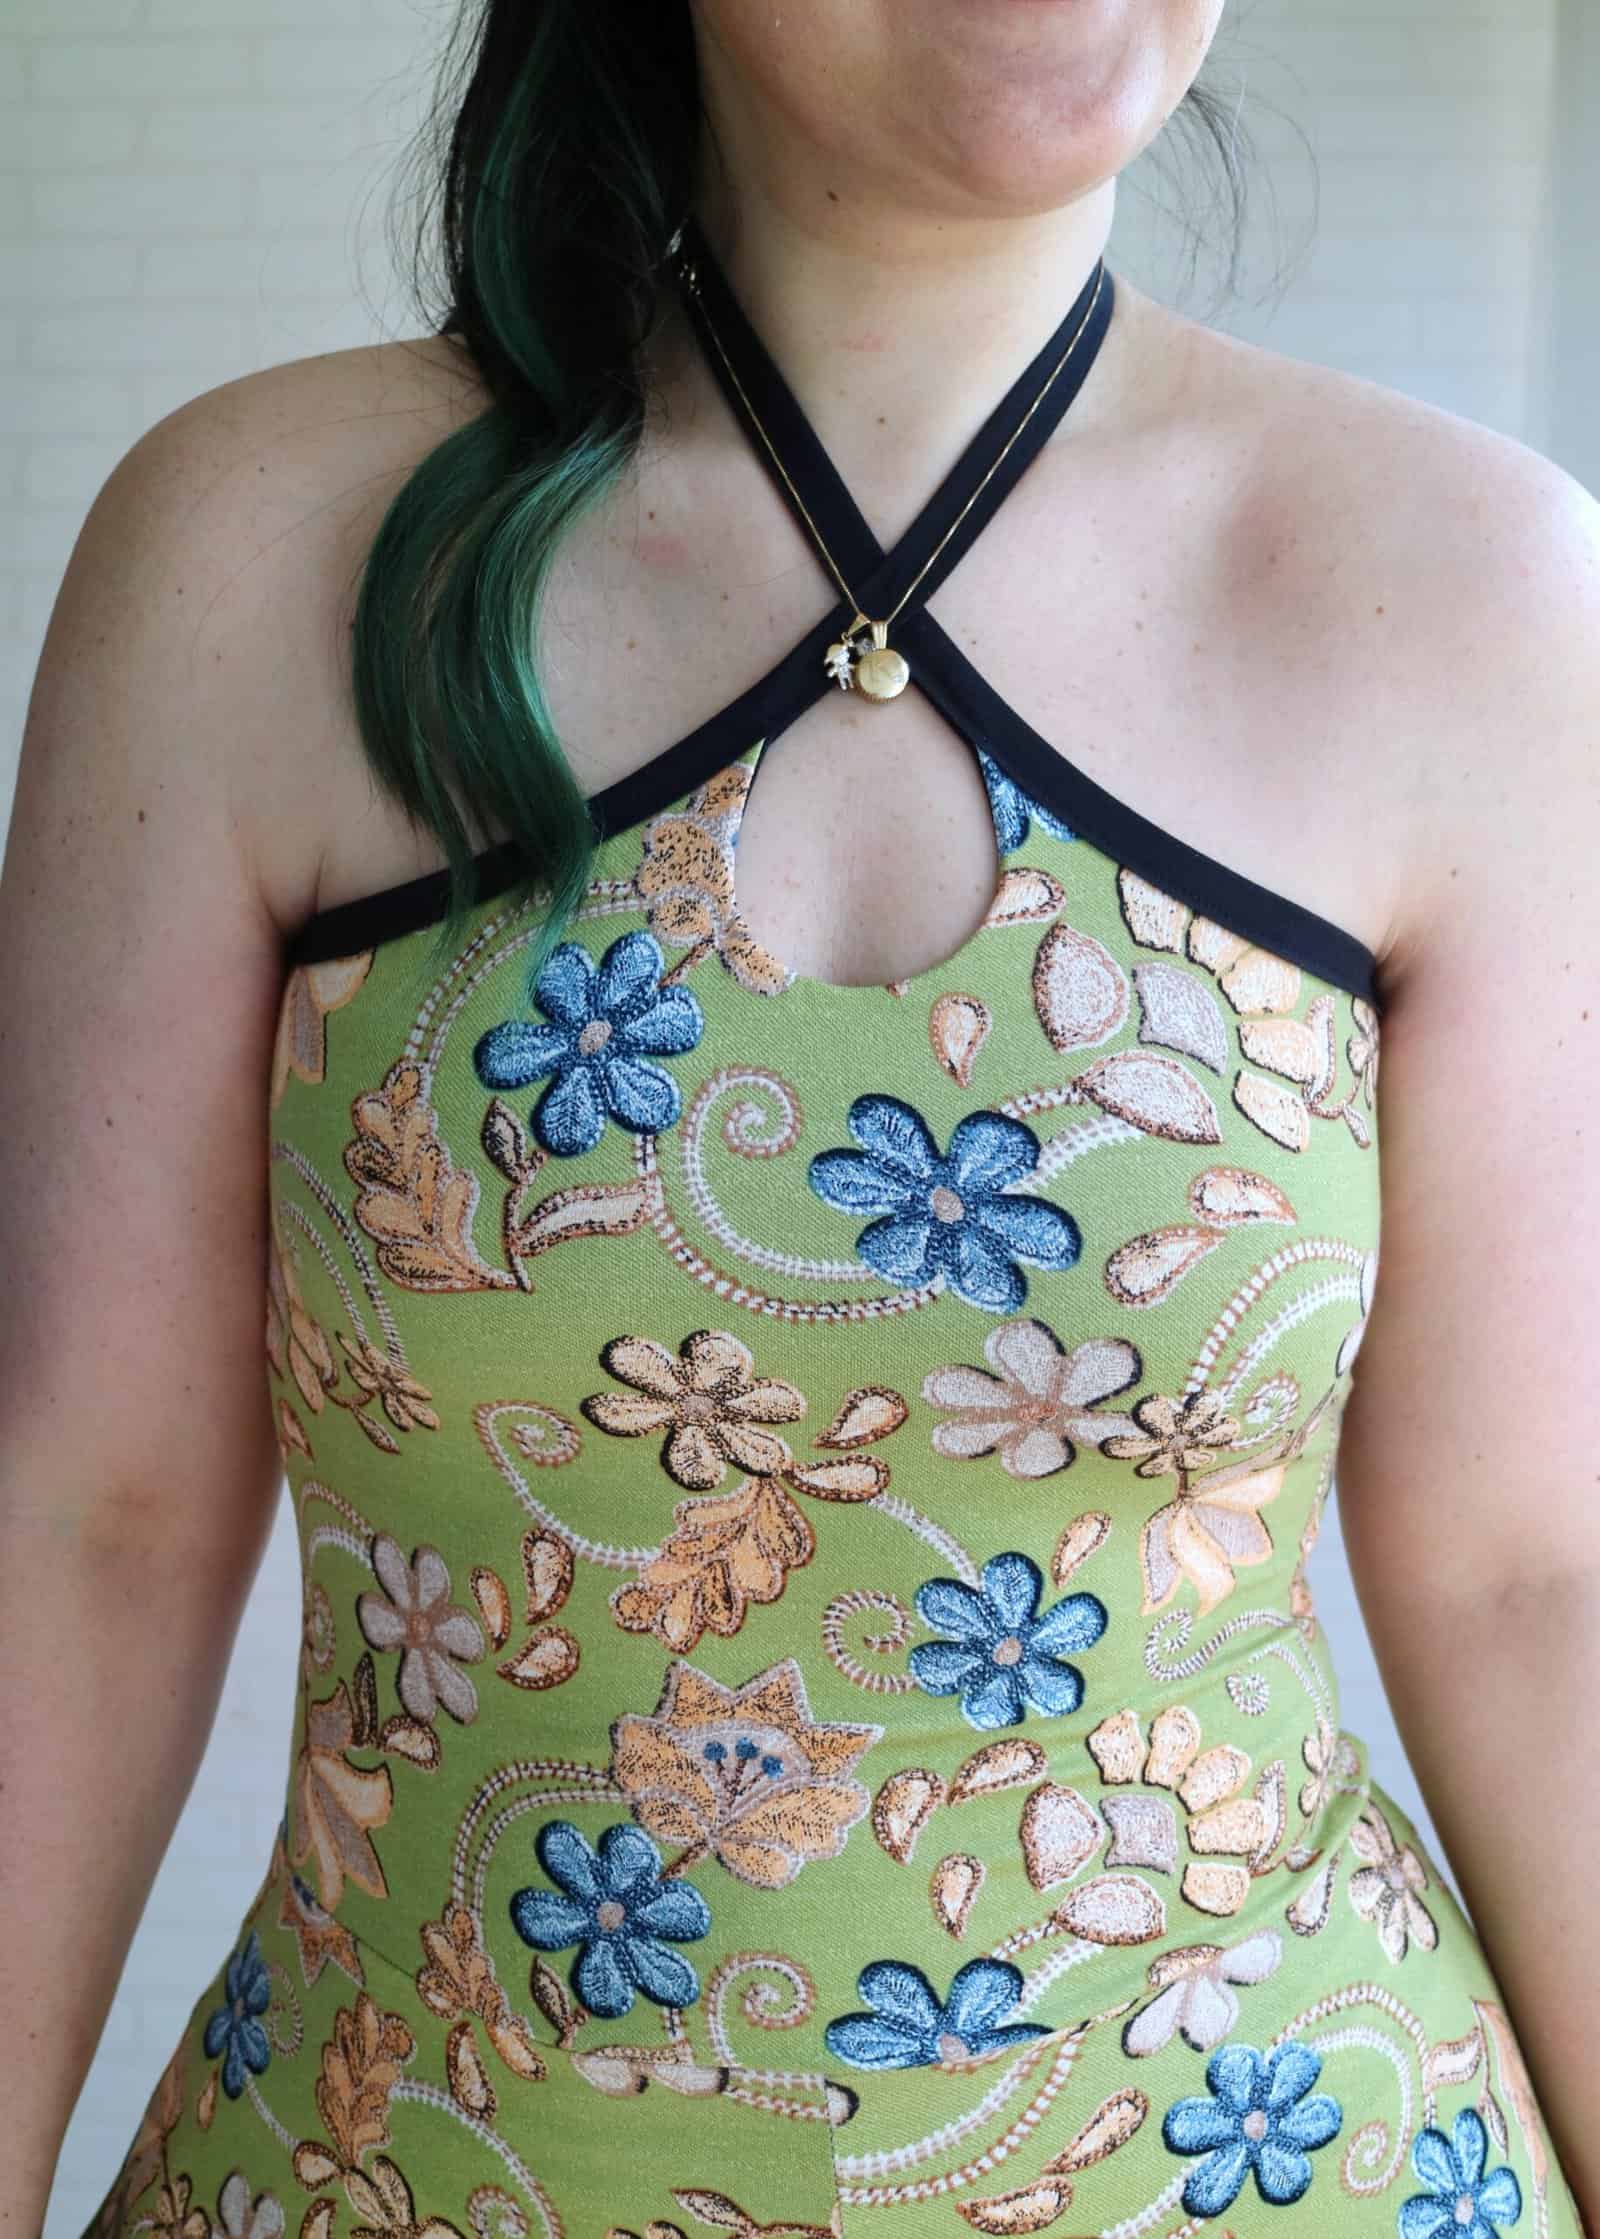
Both Kalis I made for this post use FOE. The animal print one uses a 1 1/2″, and the floral a 2″ one.
Here’s a close-up comparison between both and the original pattern binding. To complete this hack, you’ll follow the Kali tutorial as is, simply replacing the binding with FOE.
- FOE
- Original fabric binding
- FOE
Halter Hack
This one is super simple!
Start by cutting all the pattern pieces necessary for your Kali of choice, and then cut the back bodice, straight from one armscye to the other.
For the binding, you’ll need only one piece, long enough to go all around the bodice and your neck, plus a bit extra (you can always trim the excess later). I eyeballed this one and sewed it with a slight tension all around the bodice.
To close around the neck, you can either make the binding extra long and tie it on the back, or add a closure to it. I opted for a bikini clasp for mine, but it has been playing hide and seek with me, so for now I’m wearing it tied. lol
That’s it! You’re all set with your halter option!
Kali Crop + Sierra Shorts Mash
I’ve been dying to give the Sierra culottes option a go, and this halter mod was the perfect opportunity to pair with the halter hack.
NOTE: You will need to do the halter hack, or another modification, in order to use this romper hack! The Kali straps as is in the original tutorial will not give you enough room.
Here you’ll need to pay special attention to the pattern lengths in relation to your trunk measurement, especially if you’re tall and/or have a longer torso. The wisest way to go would be to make a muslin. But if you’re like me, and just want it done in one go, here are a few tips and tricks that I use:
- Make the crop a bit longer.
Then you can baste it with the shorts, try it on, and adjust the length if necessary. - Made a mistake and cut it too short?
Add a waistband to make up the difference; it’s a very cute detail! - And if all fails, hem the crop, and add a waistband to the shorts.
Faux romper it is!
For this hack, cut your Kali crop length pieces, and the Sierra shorts pieces. Construct both per the pattern tutorials, with the exception of the Kali neckline that you will need to modify as mentioned above. Then, attach the crop and shorts, right sides together, at the waist opening. All done!
That’s it! Four easy modifications that you can do to make Kali your own.
I hope this was helpful and if you have any questions, feel free to reach out!
xxx, Livia.
Kali + Naomi Mash
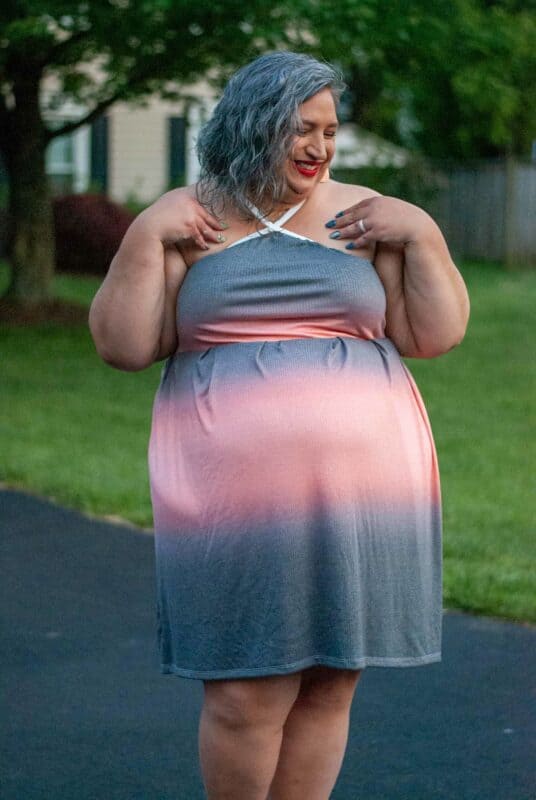
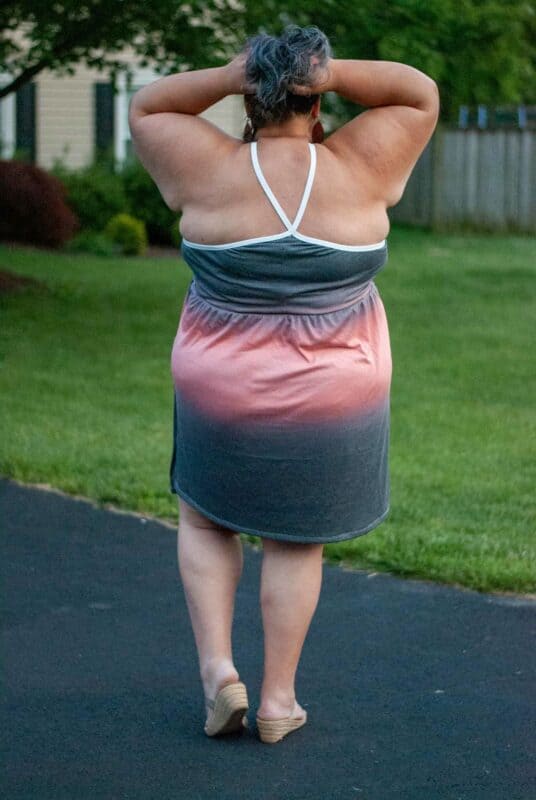
Love the look of Kali, but prefer something other than a bodycon style for the bodice? Naomi and Kali make a perfect summer match!
- Kali Pattern
- Naomi Pattern
- Elastic for the shelf bra (recommended)
Note: Make sure your front skirt and front bodice are facing each other!
#kalipattern #madeformermaids





Leave a Reply