
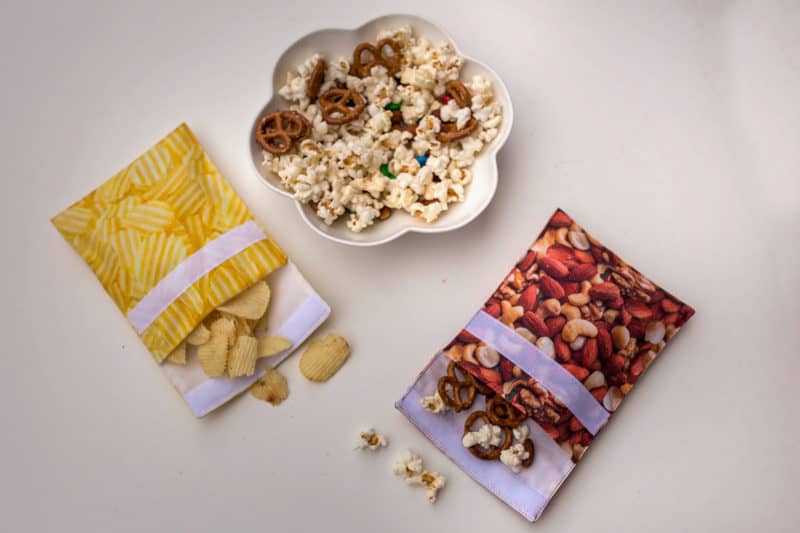
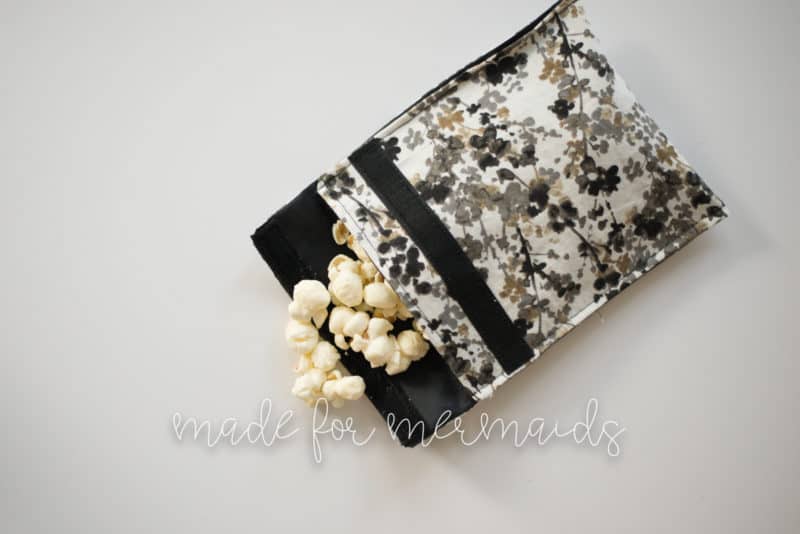
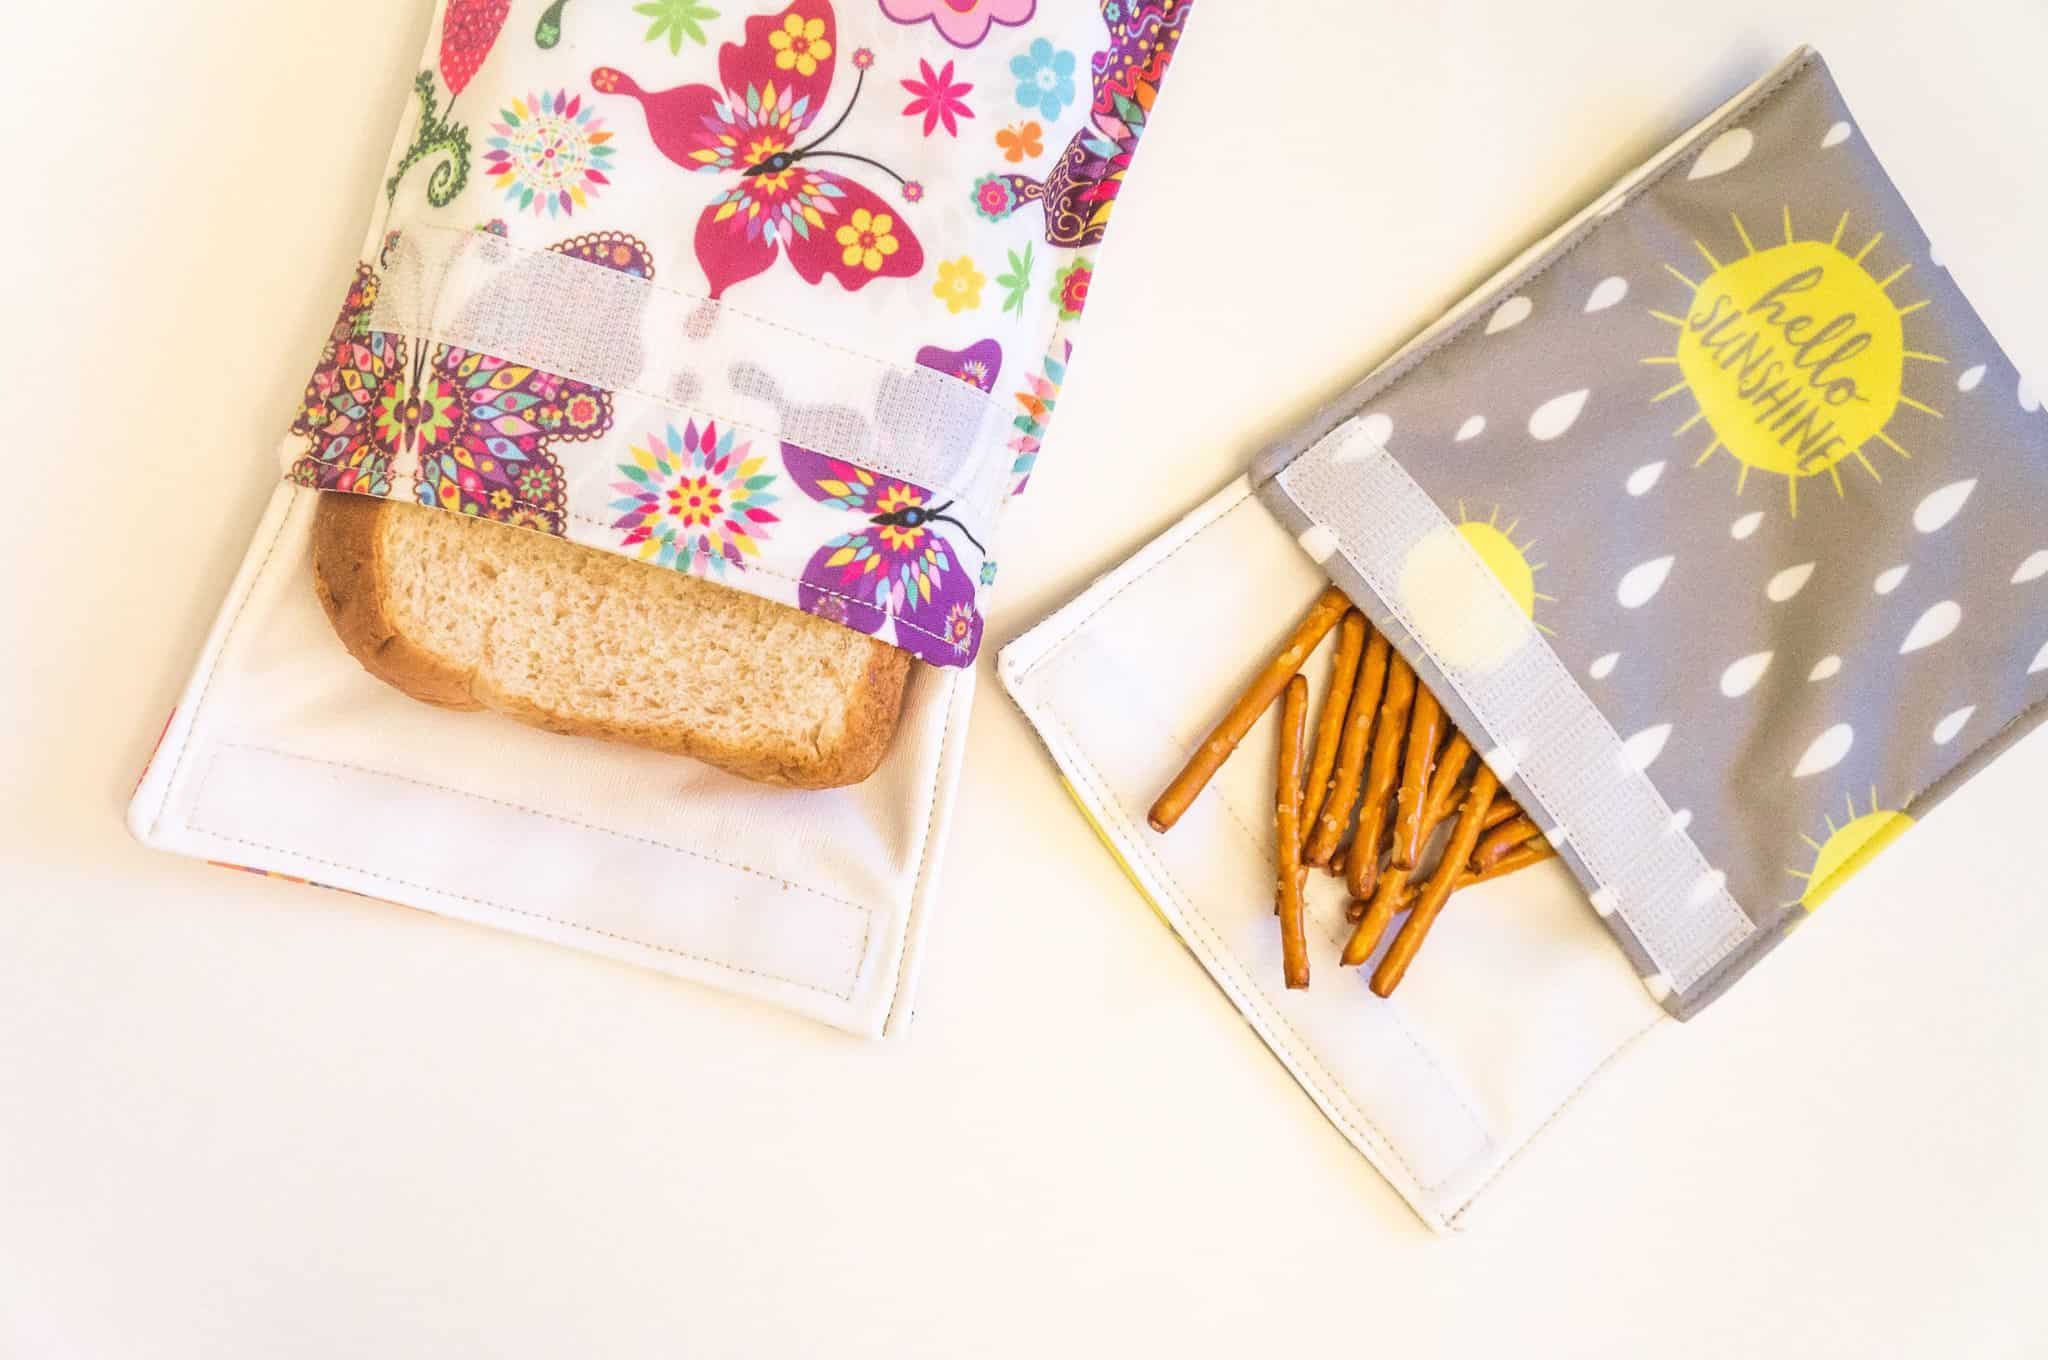
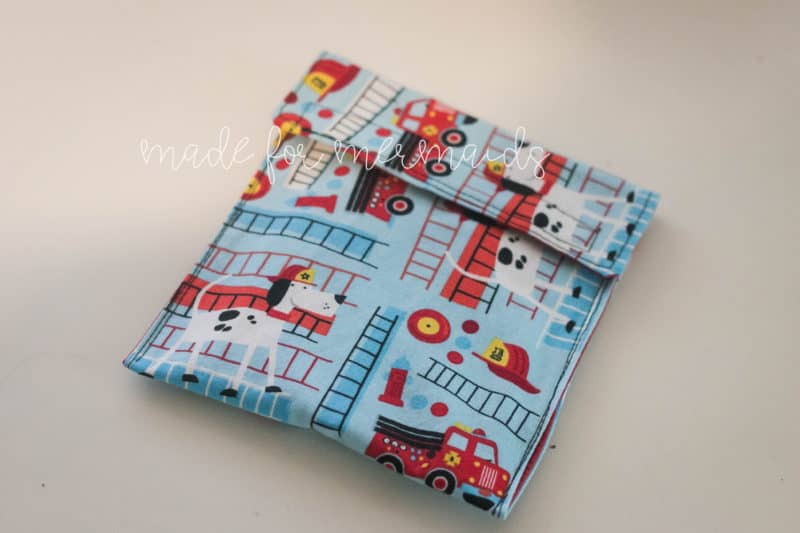
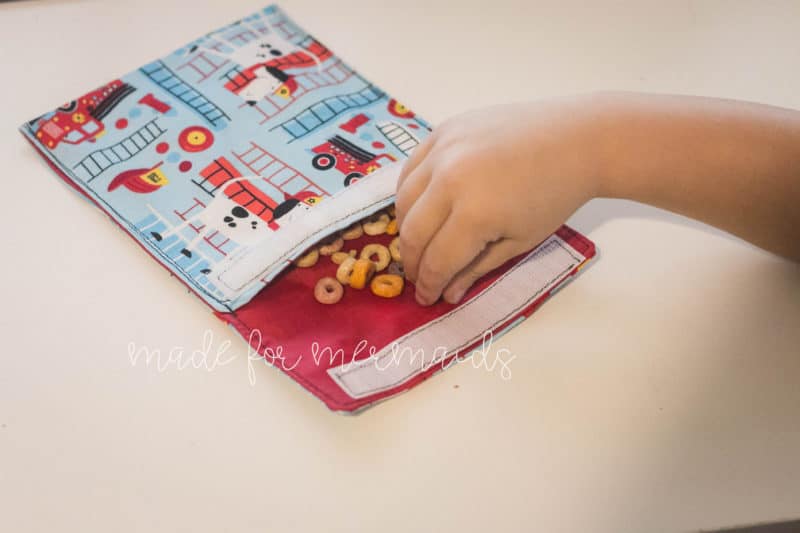
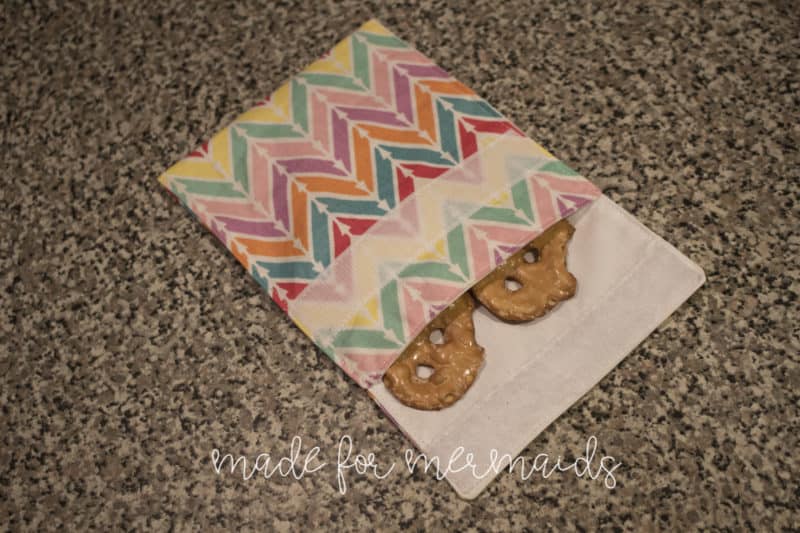
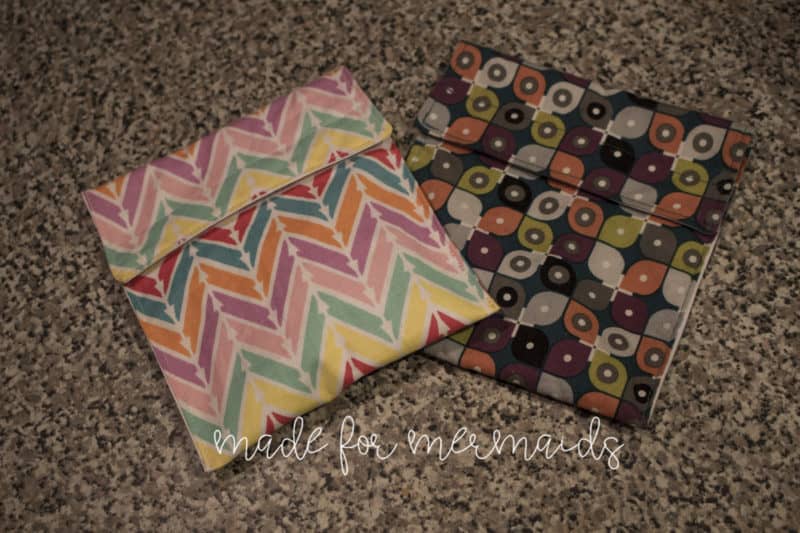
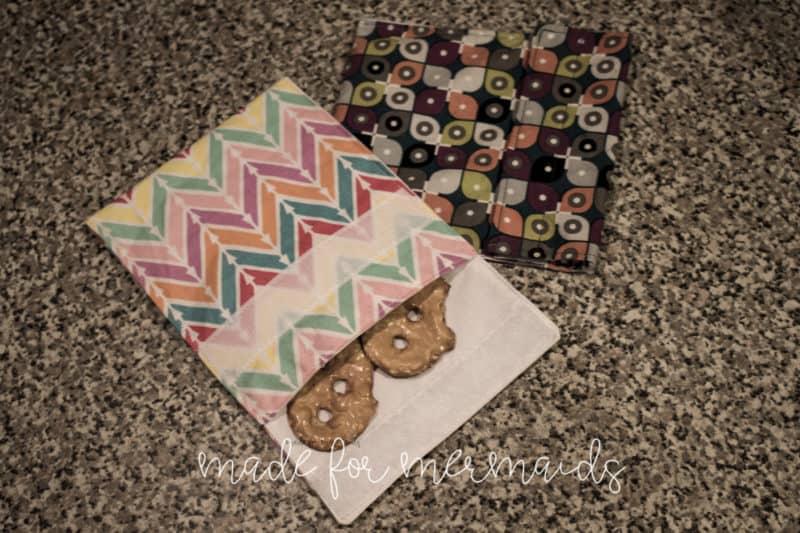
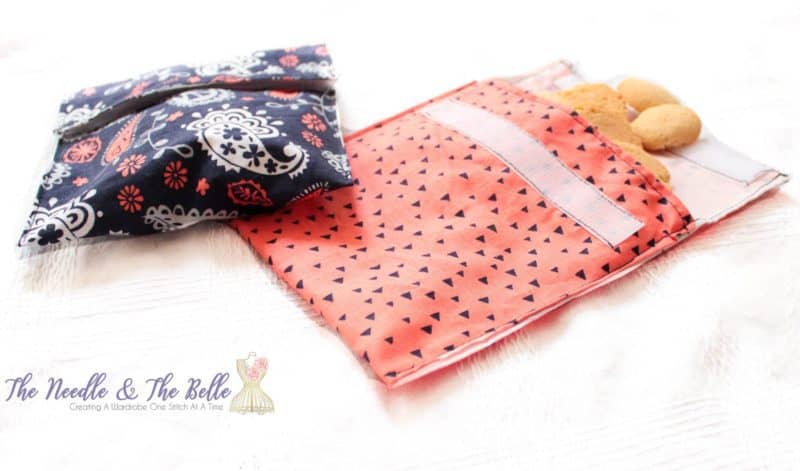
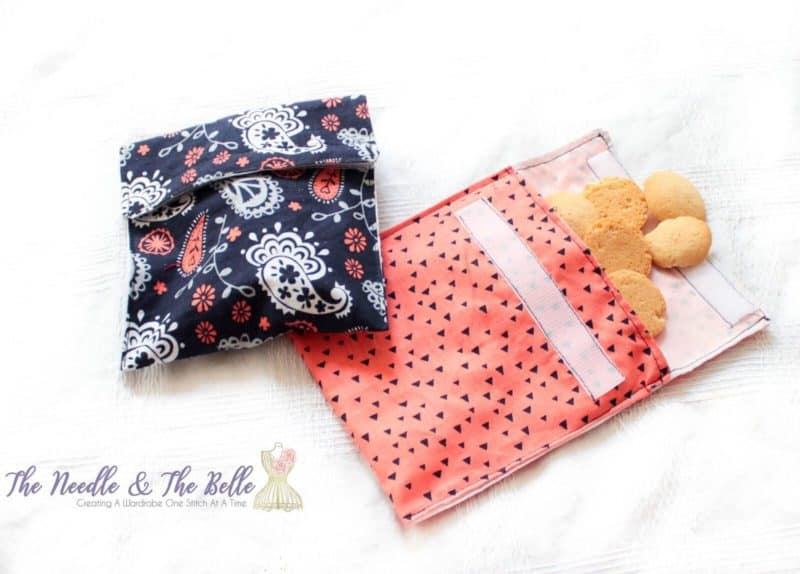
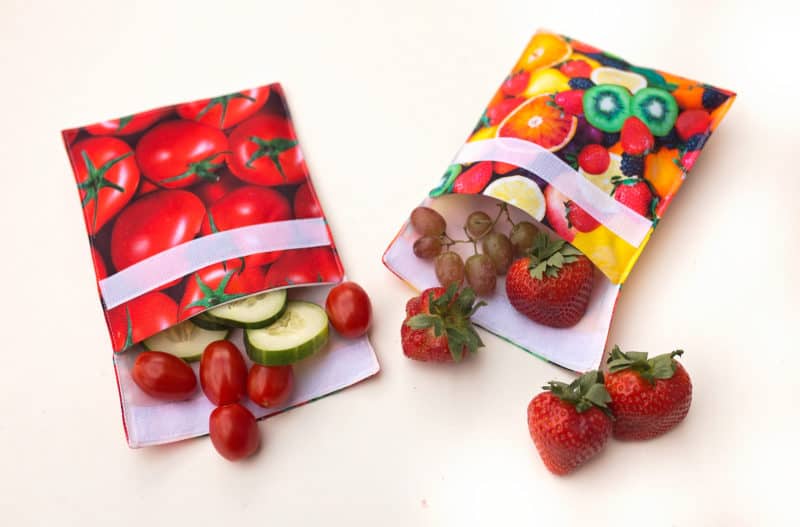
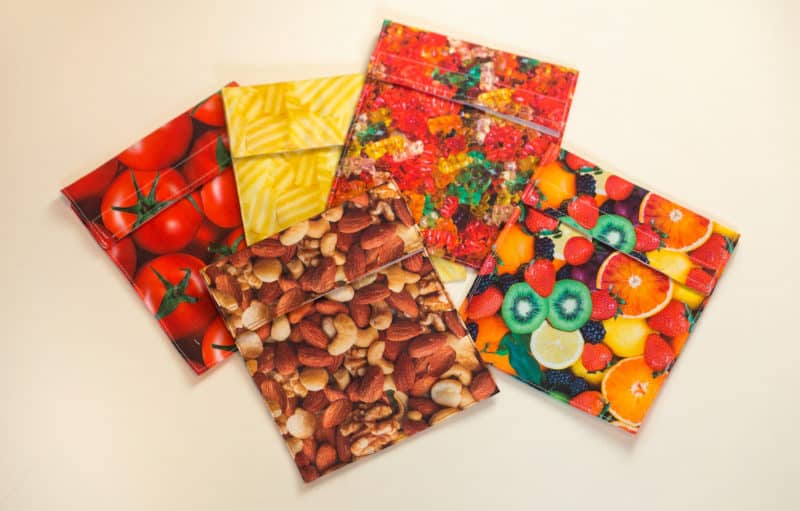
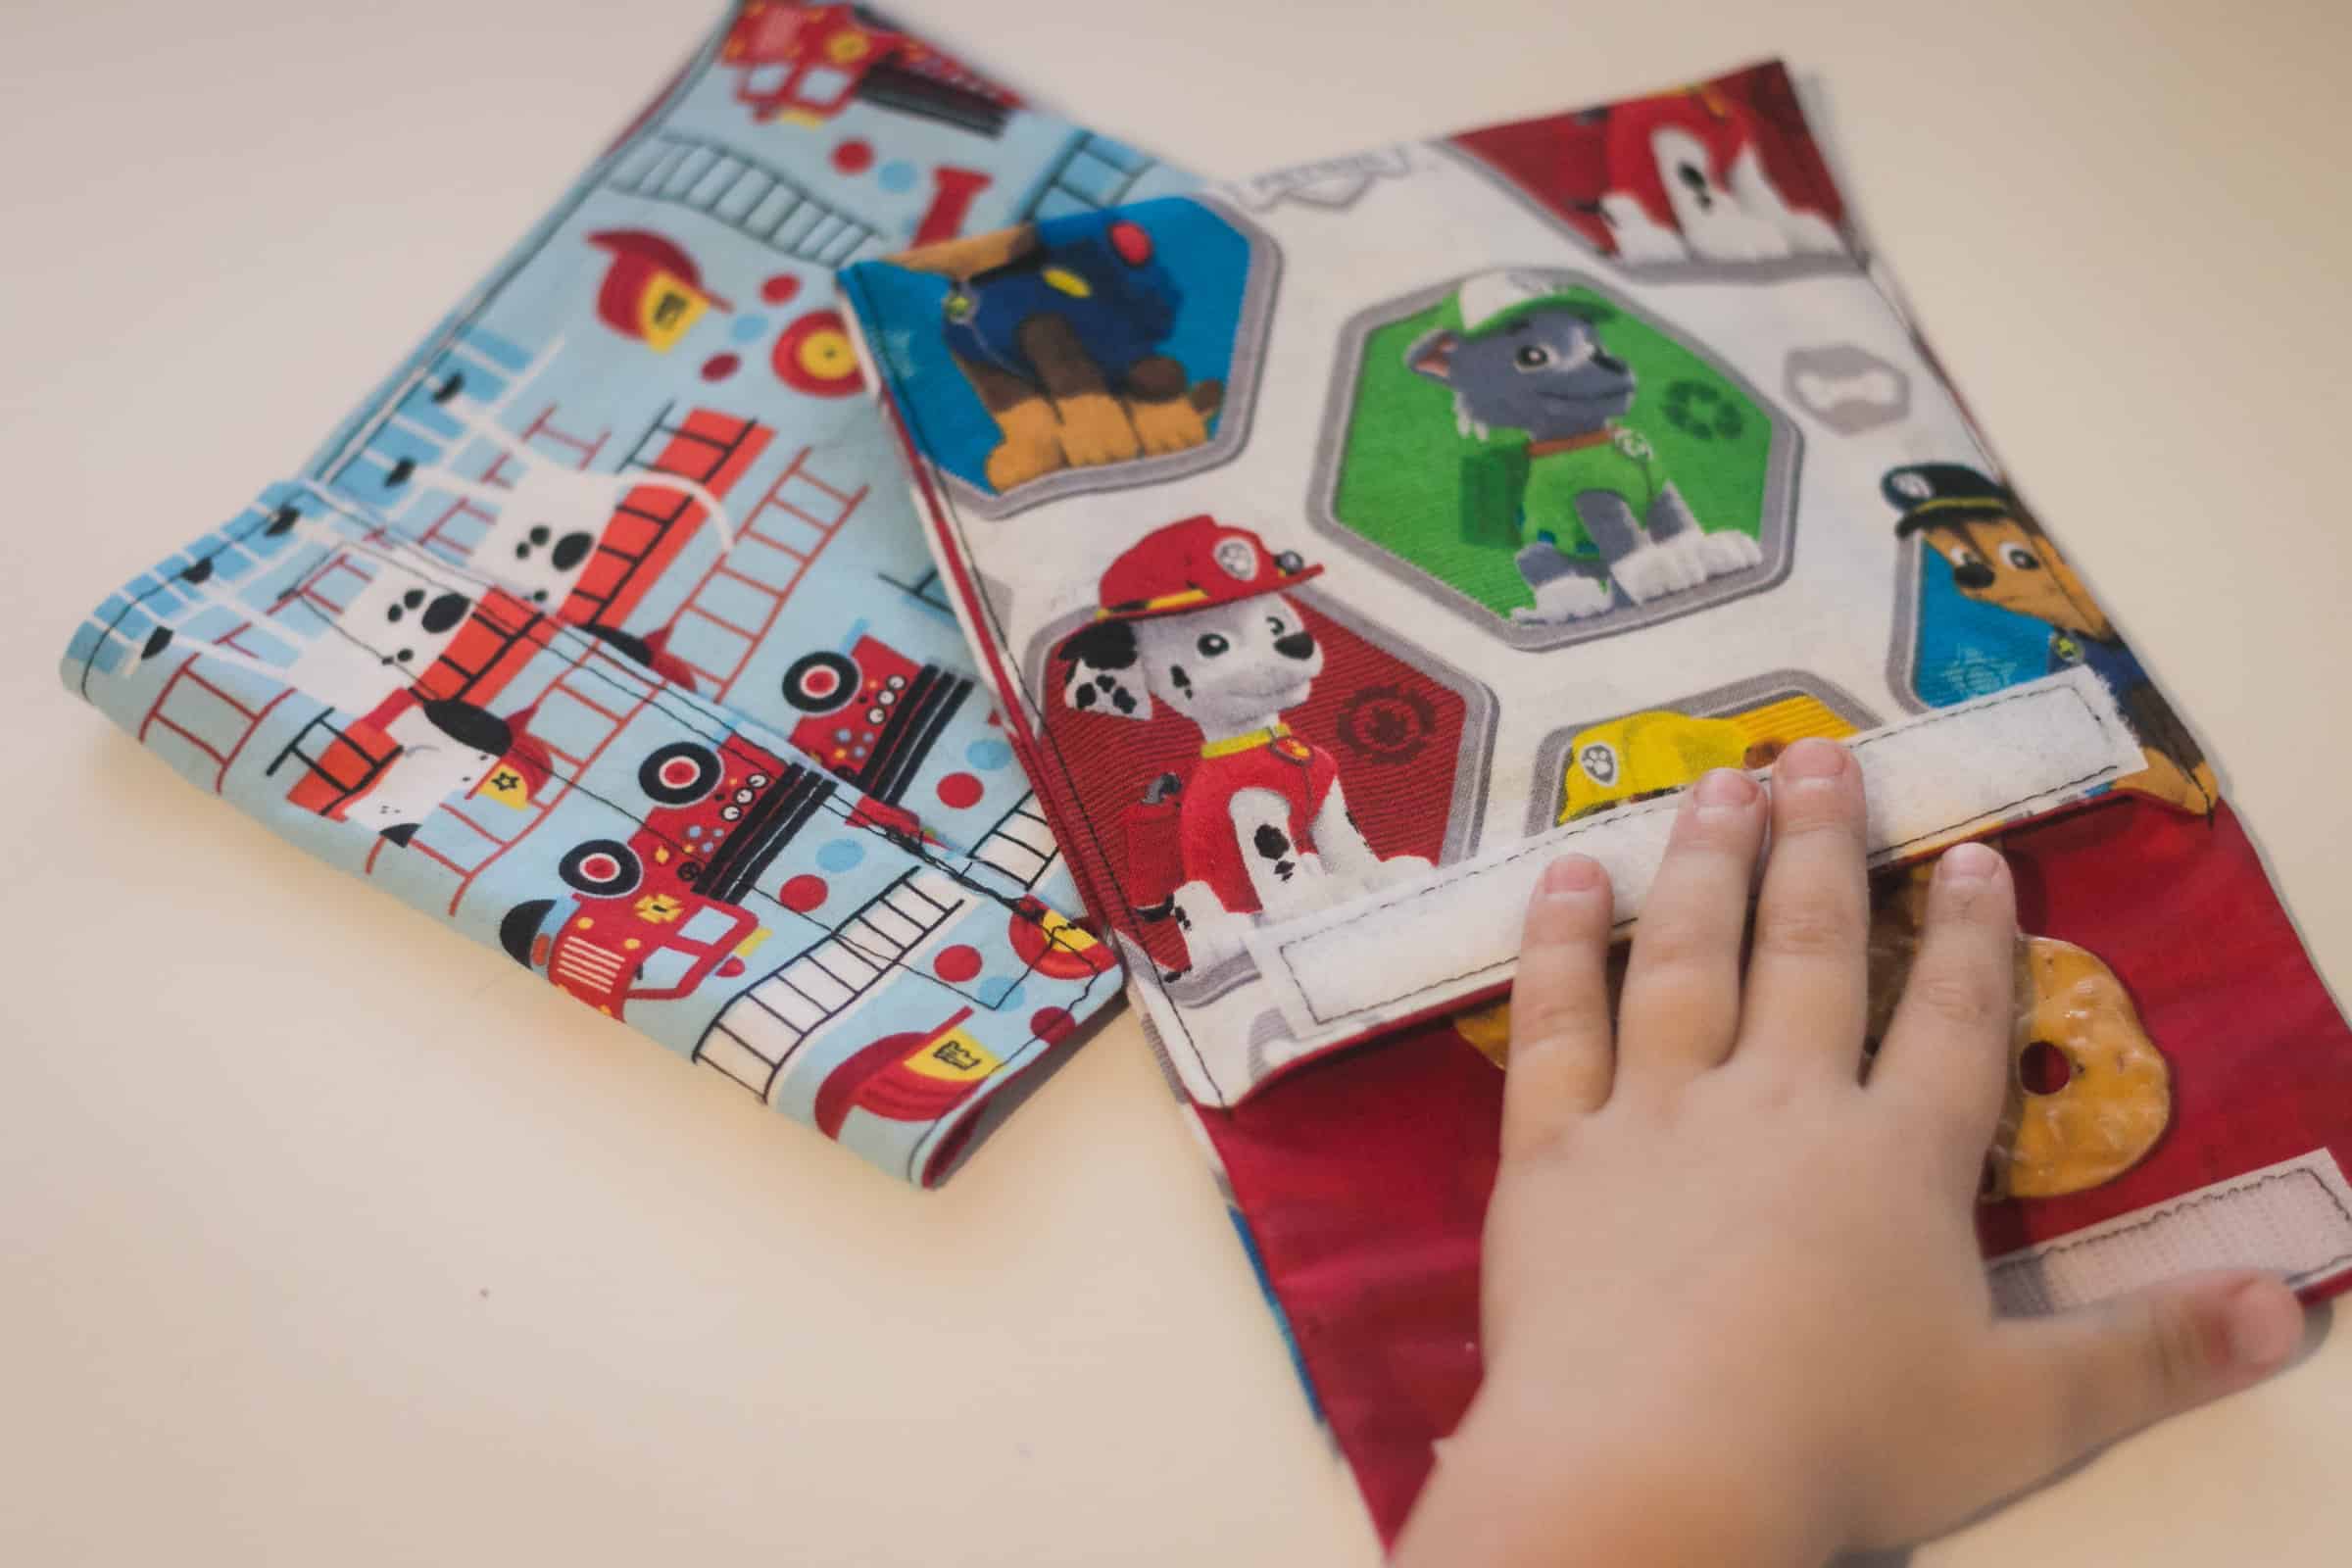
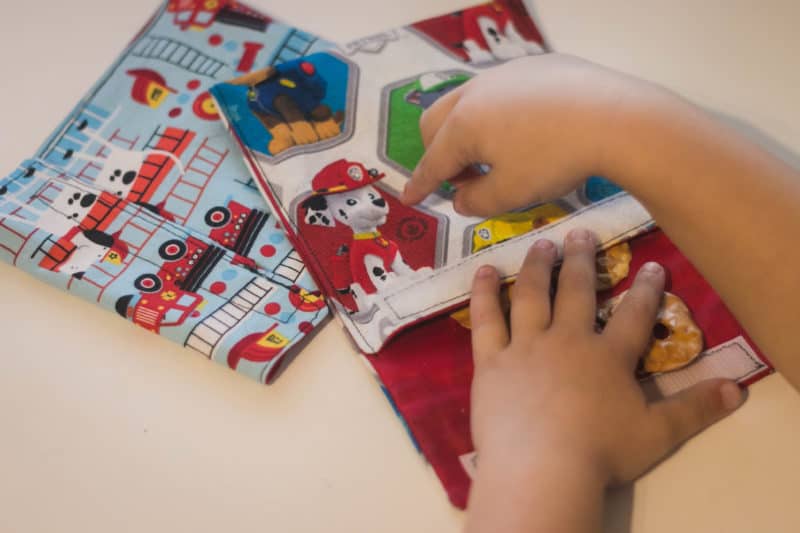
It’s day 8 of our 12 days of Christmas freebies already! I’ve been meaning to make reusable snack bags forever; we go through a ton of ziplock bags for school. Since making these, we have cut down on our ziplock bag use a ton! These are a quick sew and great for on the go. They are big enough for a small sandwich and snacks like dry cereal, cookies, pretzels ect.
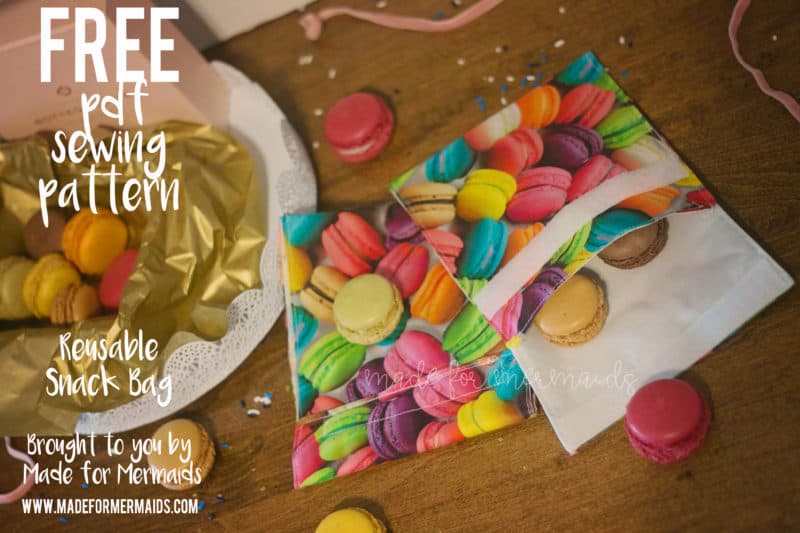
Let’s Get Started!
1/2″ SEAM ALLOWANCE INCLUDED
You can download the Snack Pattern Pieces in the Freebies section of the website right HERE!
Supplies:
- Fabric: Cotton woven like quilting cotton for main and lining.
- Ripstop nylon, ProCare waterproof fabric OR food grade PUL.
- 5″ of 1 inch Velcro
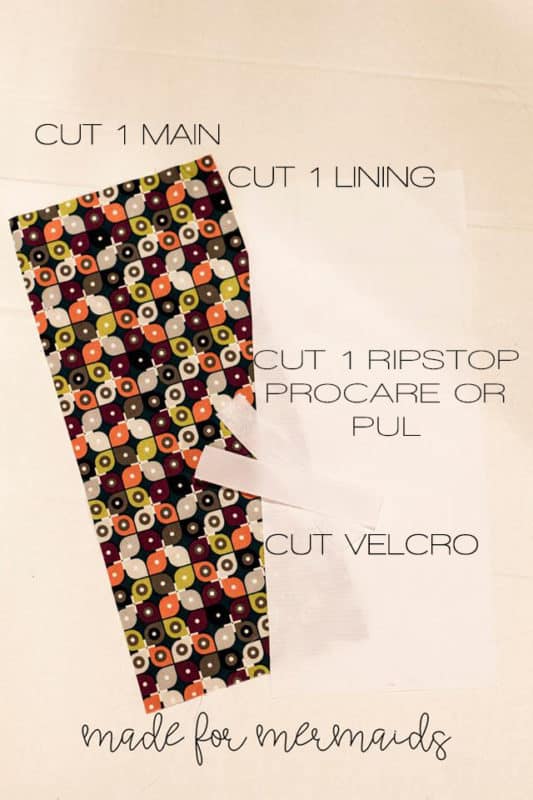
Step 1: CUTTING
Assemble and cut out your pattern pieces. If you don’t want to print, you can from the measurements below.
Cut 1 main (cotton)- 6.5″ x 15″
Cut 1 lining (cotton- note you can skip this layer if you want a thinner snack bag)- 6.5″ x 15″
Cut 1 Ripstop, ProCare or PUL- 6.5″ x 15″
Cut 5″ strip of velcro.
Step 2: MAIN ASSEMBLY
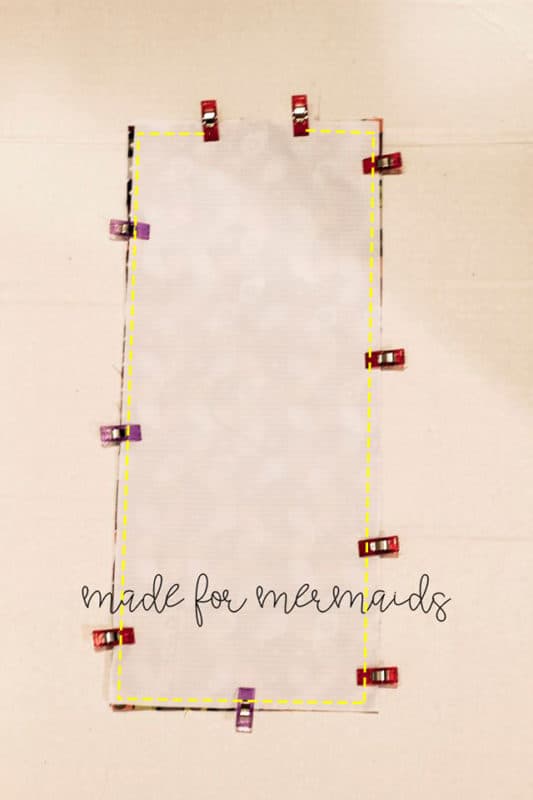
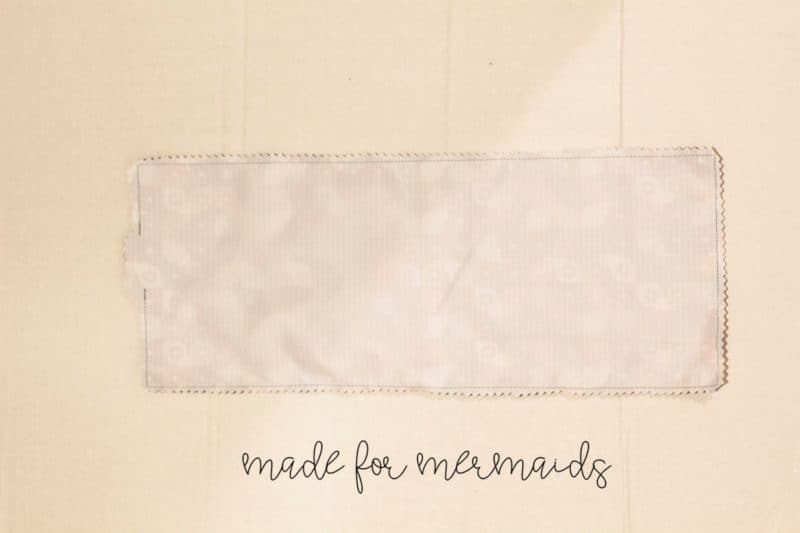
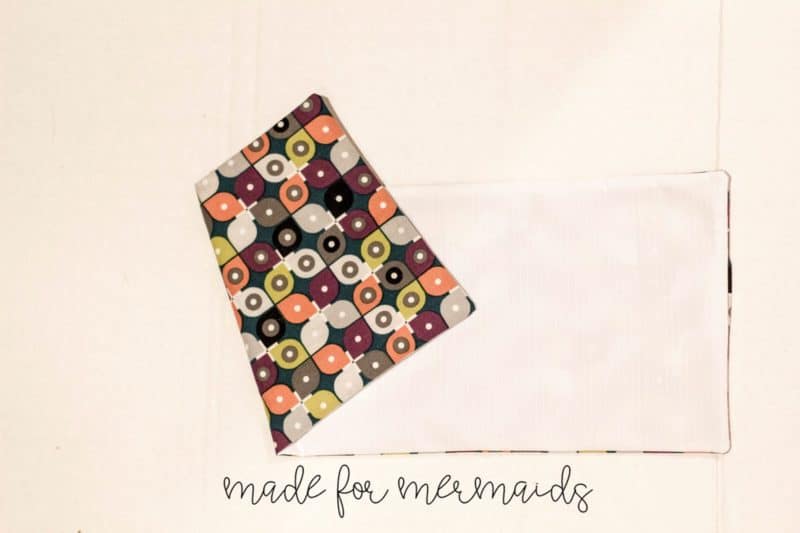
You are going to sandwich your fabric pieces together. Lay your lining right side up, ripstop right side up and main fabric right side down. Pin or clip you pieces together. Note- you can baste your ripstop to your lining if it’s moving too much. Sew all the way around with a 1/2″ seam allowance, leaving a 2″ space to turn.
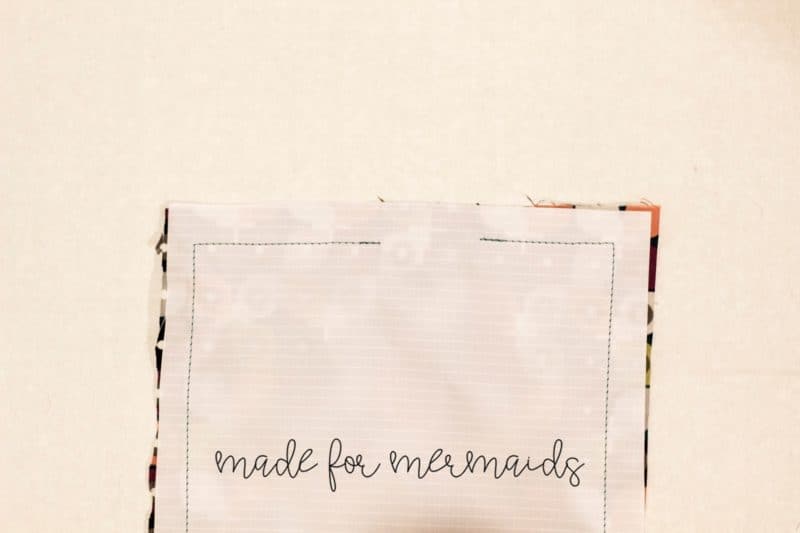
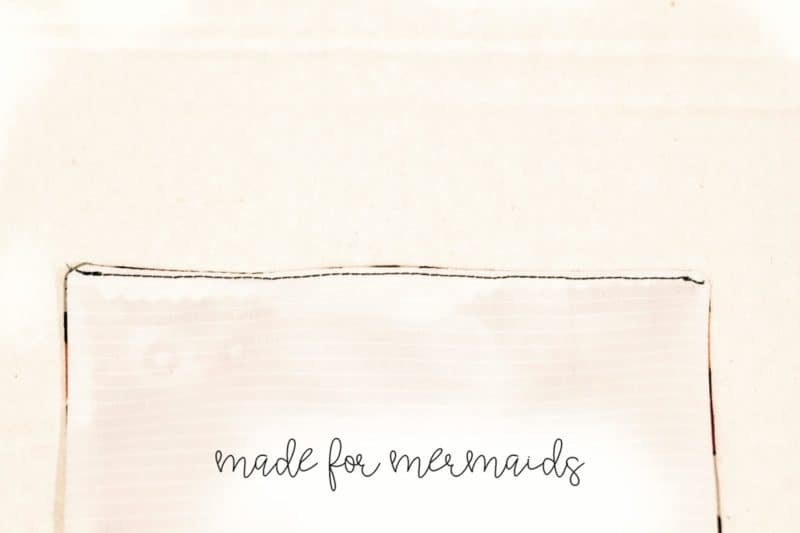
Trim your seam allowances and clip the corners. I like to use pinking shears for this step. Turn your piece inside out, you can lightly press on a low temperature, careful not to melt your nylon. Tuck your seam allowance in where you left the opening. Stitch along top edge, closing the opening.
Step 3: FINISHING
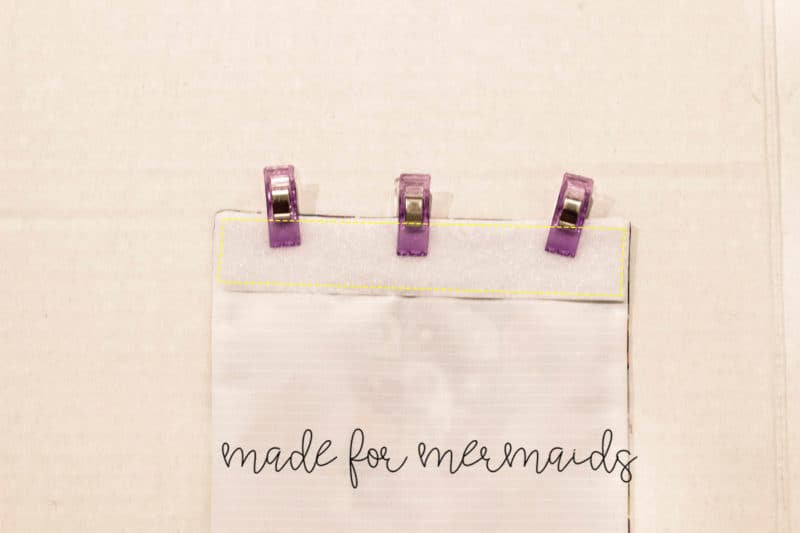
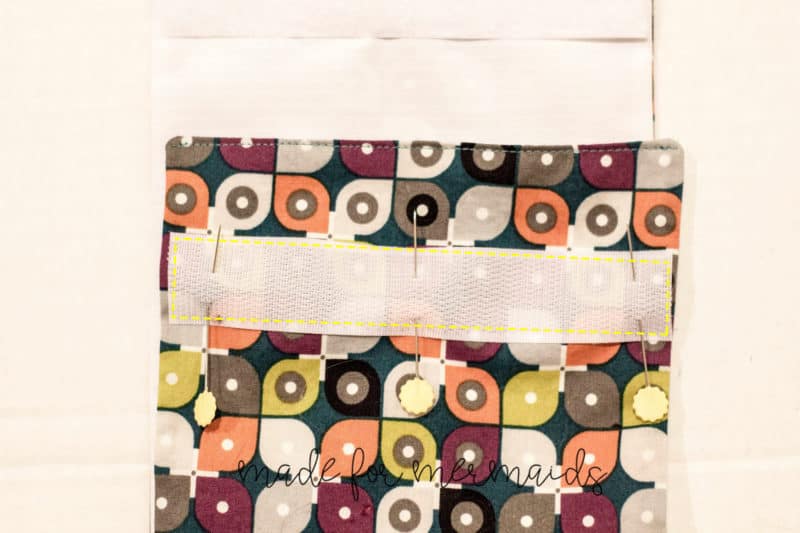
On the opposite end from where you just closed the opening, attach your first piece of velcro. Place the loop side (fuzzy side) of the velcro along the edge of the ripstop side of your bag and top stitch it in place. Your next piece of velcro (hook side) is going to be placed 1 inch down for the edge that you already top stitched close. Again pin in place and top stitch to hold.
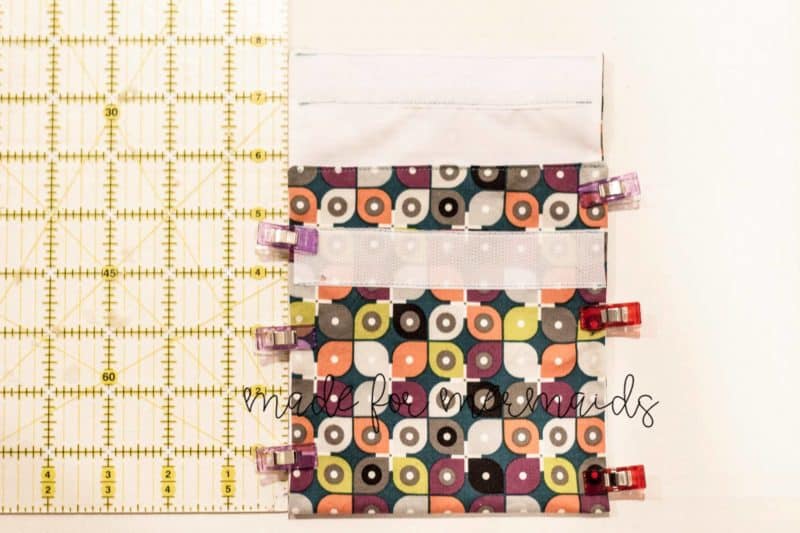
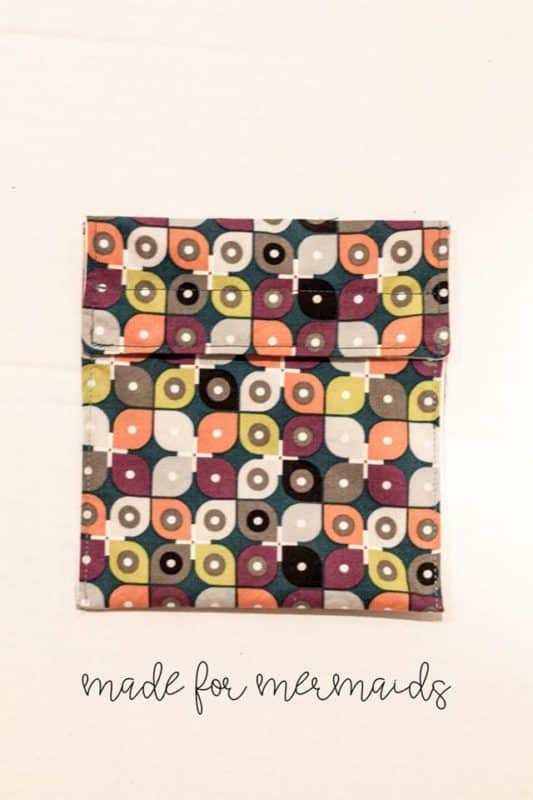
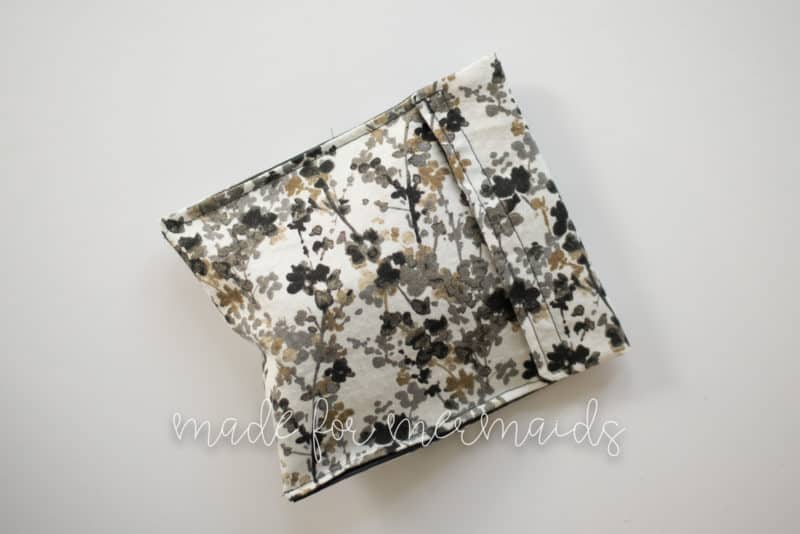
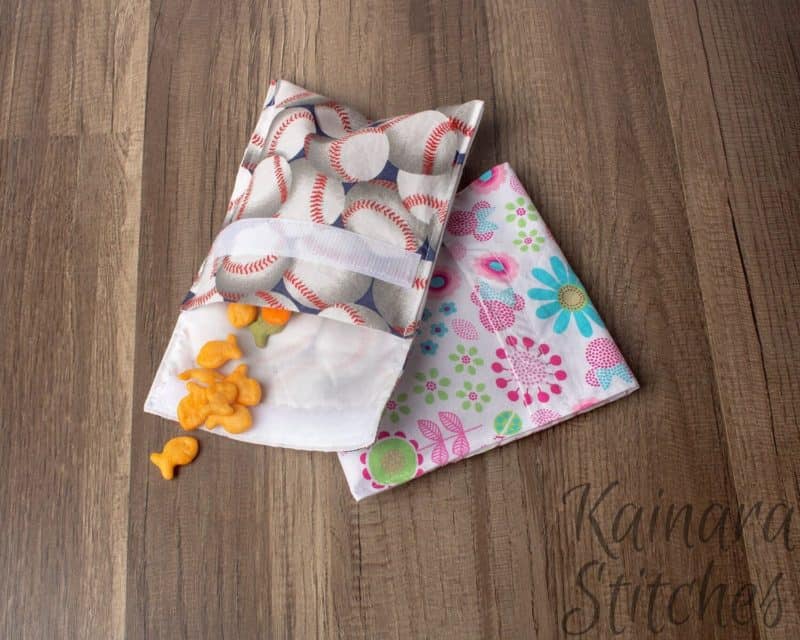
Now you are going to fold your bag ripstop/PUL sides together. You want the bottom to be folded up 5.75 inches, pin or clip in place and sew 1/8th from the edge on both sides from the very top all the way down to the fold at the bottom. To use, fold over the top so your velcro meets and voila you have a reusable snack bag!
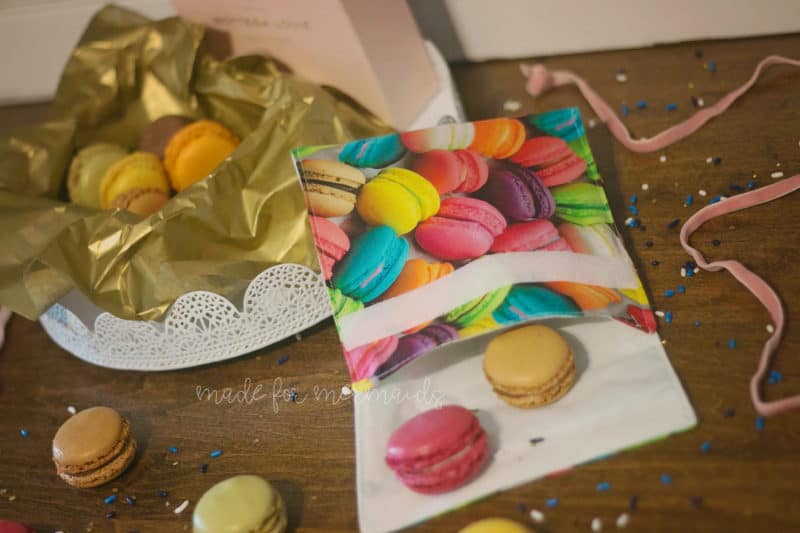
You little ones will have so much fun choosing fabrics for their snack bags! I hand wash the bags, I’m sure they would be fine in the washing machine, but I wouldn’t put them in the dryer. I tend to just wipe out the inside and ours haven’t gotten dirty on the outside yet but a quick wash with some dish soap and then just hang to dry is what I would suggest.
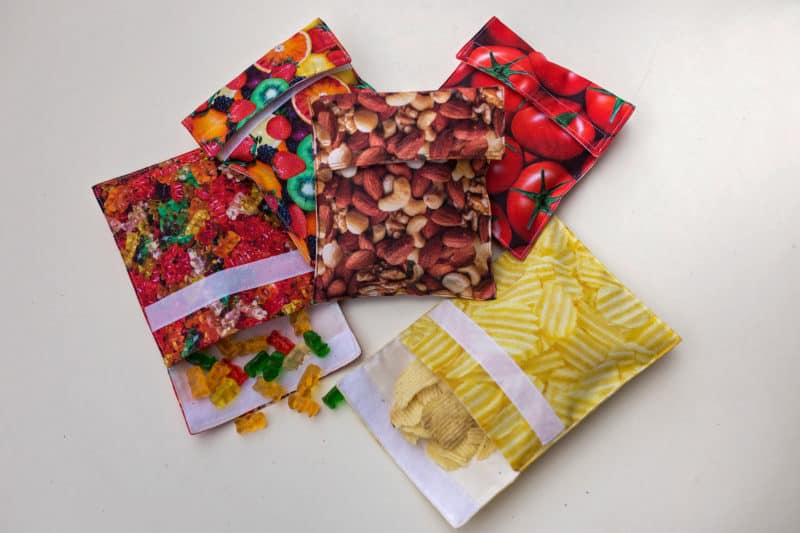
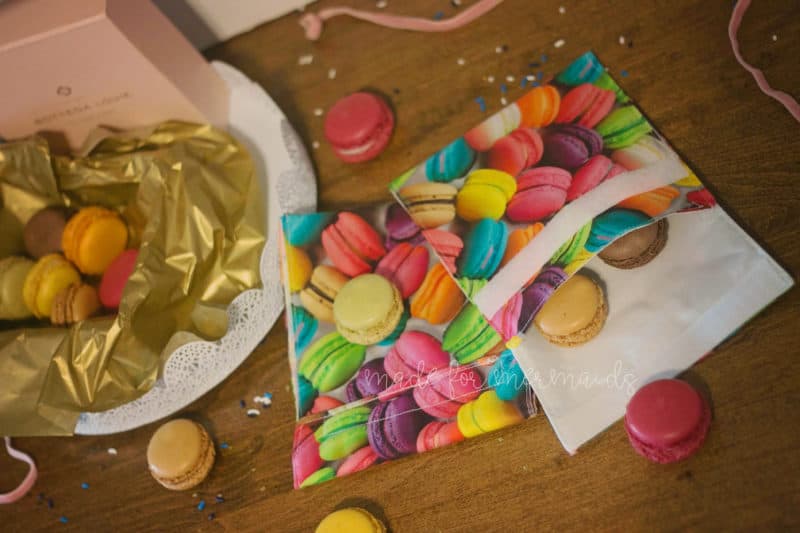
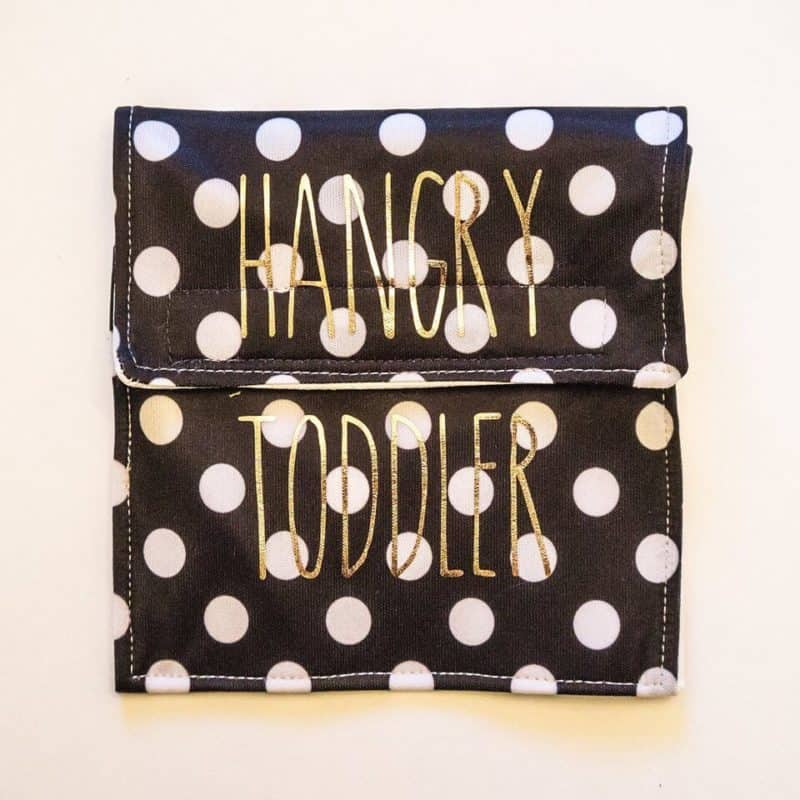
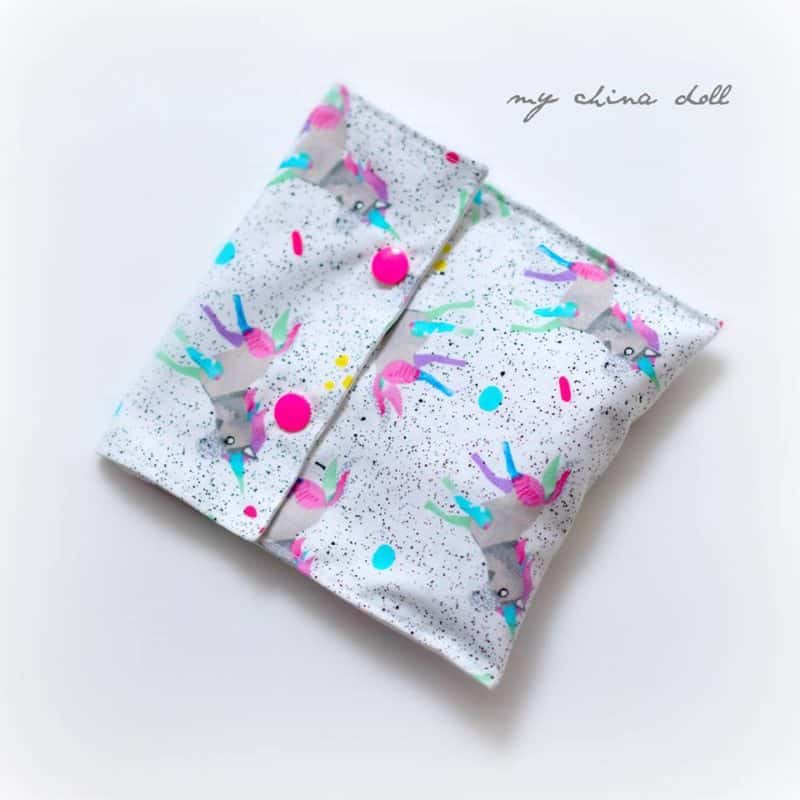
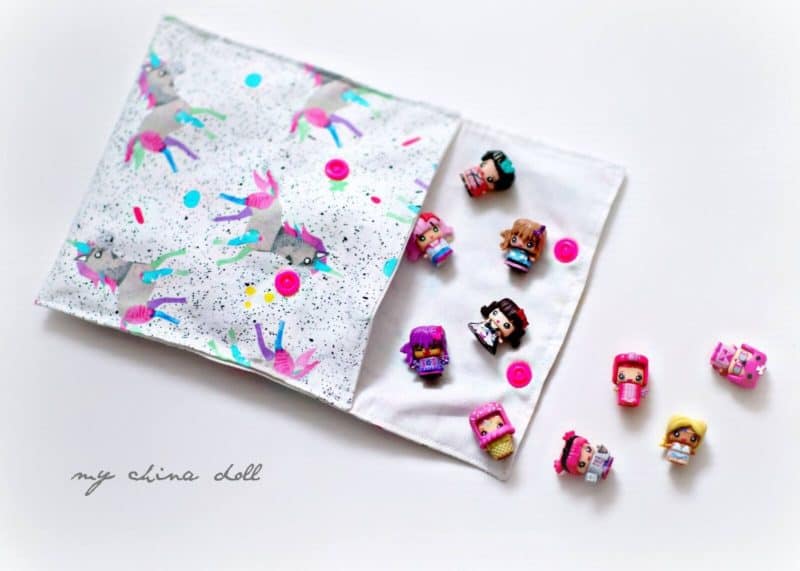
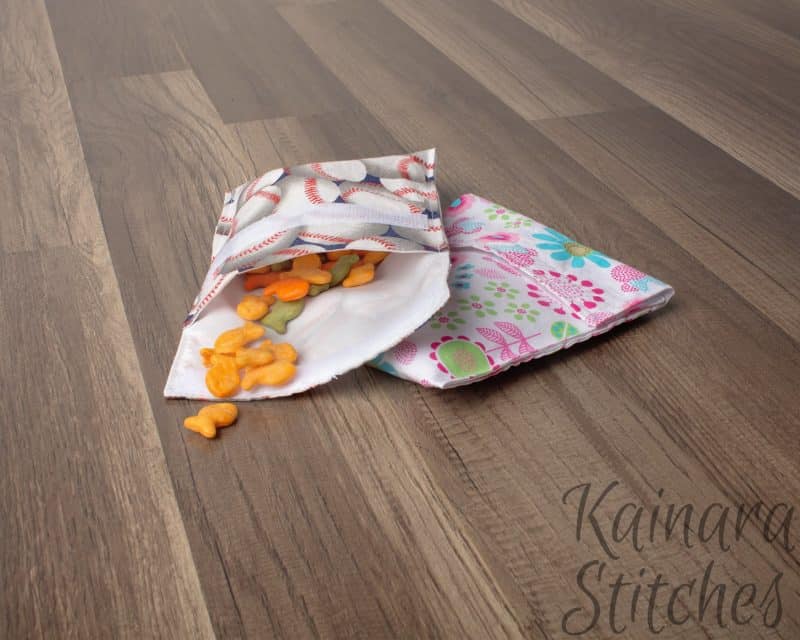
Take a look at some of our awesome tester photos and make sure to show us the reusable snack bags that you sew up in our Made for Mermaids Pattern Group! on Facebook.
Made for Mermaids’ 12 Days of Christmas Freebies
DECEMBER 1 – 12, 2017
DAY 1-BARNACLE BUDDIES
DAY 2-HAIR SCRUNCHIES
DAY 3-TREE GARLAND
DAY 4-SYDNEY SAILOR BOWS
DAY 5- MASON JAR PIN CUSHION
DAY 6 – HAND WARMERS
DAY 7 – OVEN MITT


In the list of items needed are cotton and rip stop fabric, but in the sewing Recipe it states about a lining fabric. What is the lining fabric?
Hi! You can use regular quilting cotton as a lining.
Thank you so much for this pattern! I’m excited to make a few of these for sending in my kids’ lunchboxes. Can’t wait to eliminate the plastic baggies! I do have a question – what is the purpose of the lining fabric? It doesn’t seem like would be visible under the PUL so is it just to provide a little extra thickness? Thanks!