
It’s tiiiiiiime! If you can believe it, this year marks our NINTH year of 12 Days of Freebies!! We always love racking our brains to come up with really simple, fun patterns that don’t take too many supplies or time. We hope you can use these not only during the holidays but all year long too. These are great projects for beginners and little ones if they want to help. We hope you enjoy these freebies as our little way to say “thank you” to our sewing community. We hope these freebies (and our freebies from previous years – 2015, 2016, 2017 2018, 2019, 2020, 2021,and 2022) make your holiday gift-giving a little less stressful and little bit brighter. Don’t forget to come back each day to see what new freebie we have for you and ‘PIN” them for later! 🙂
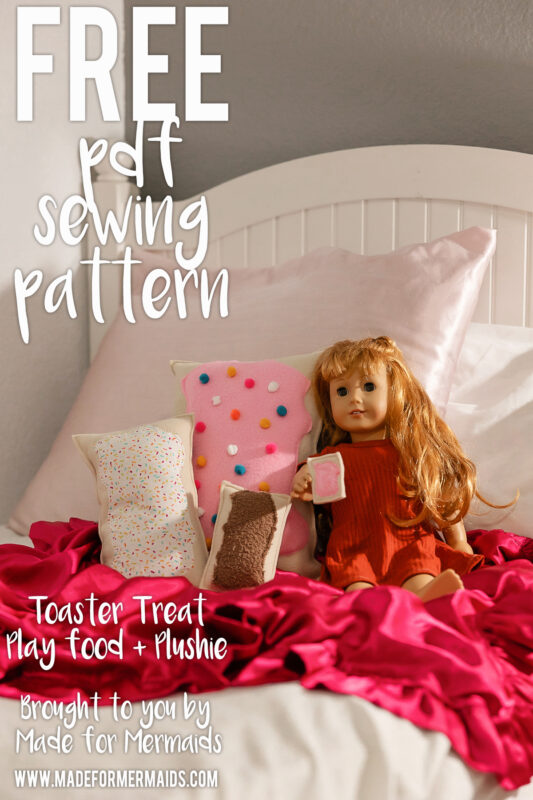
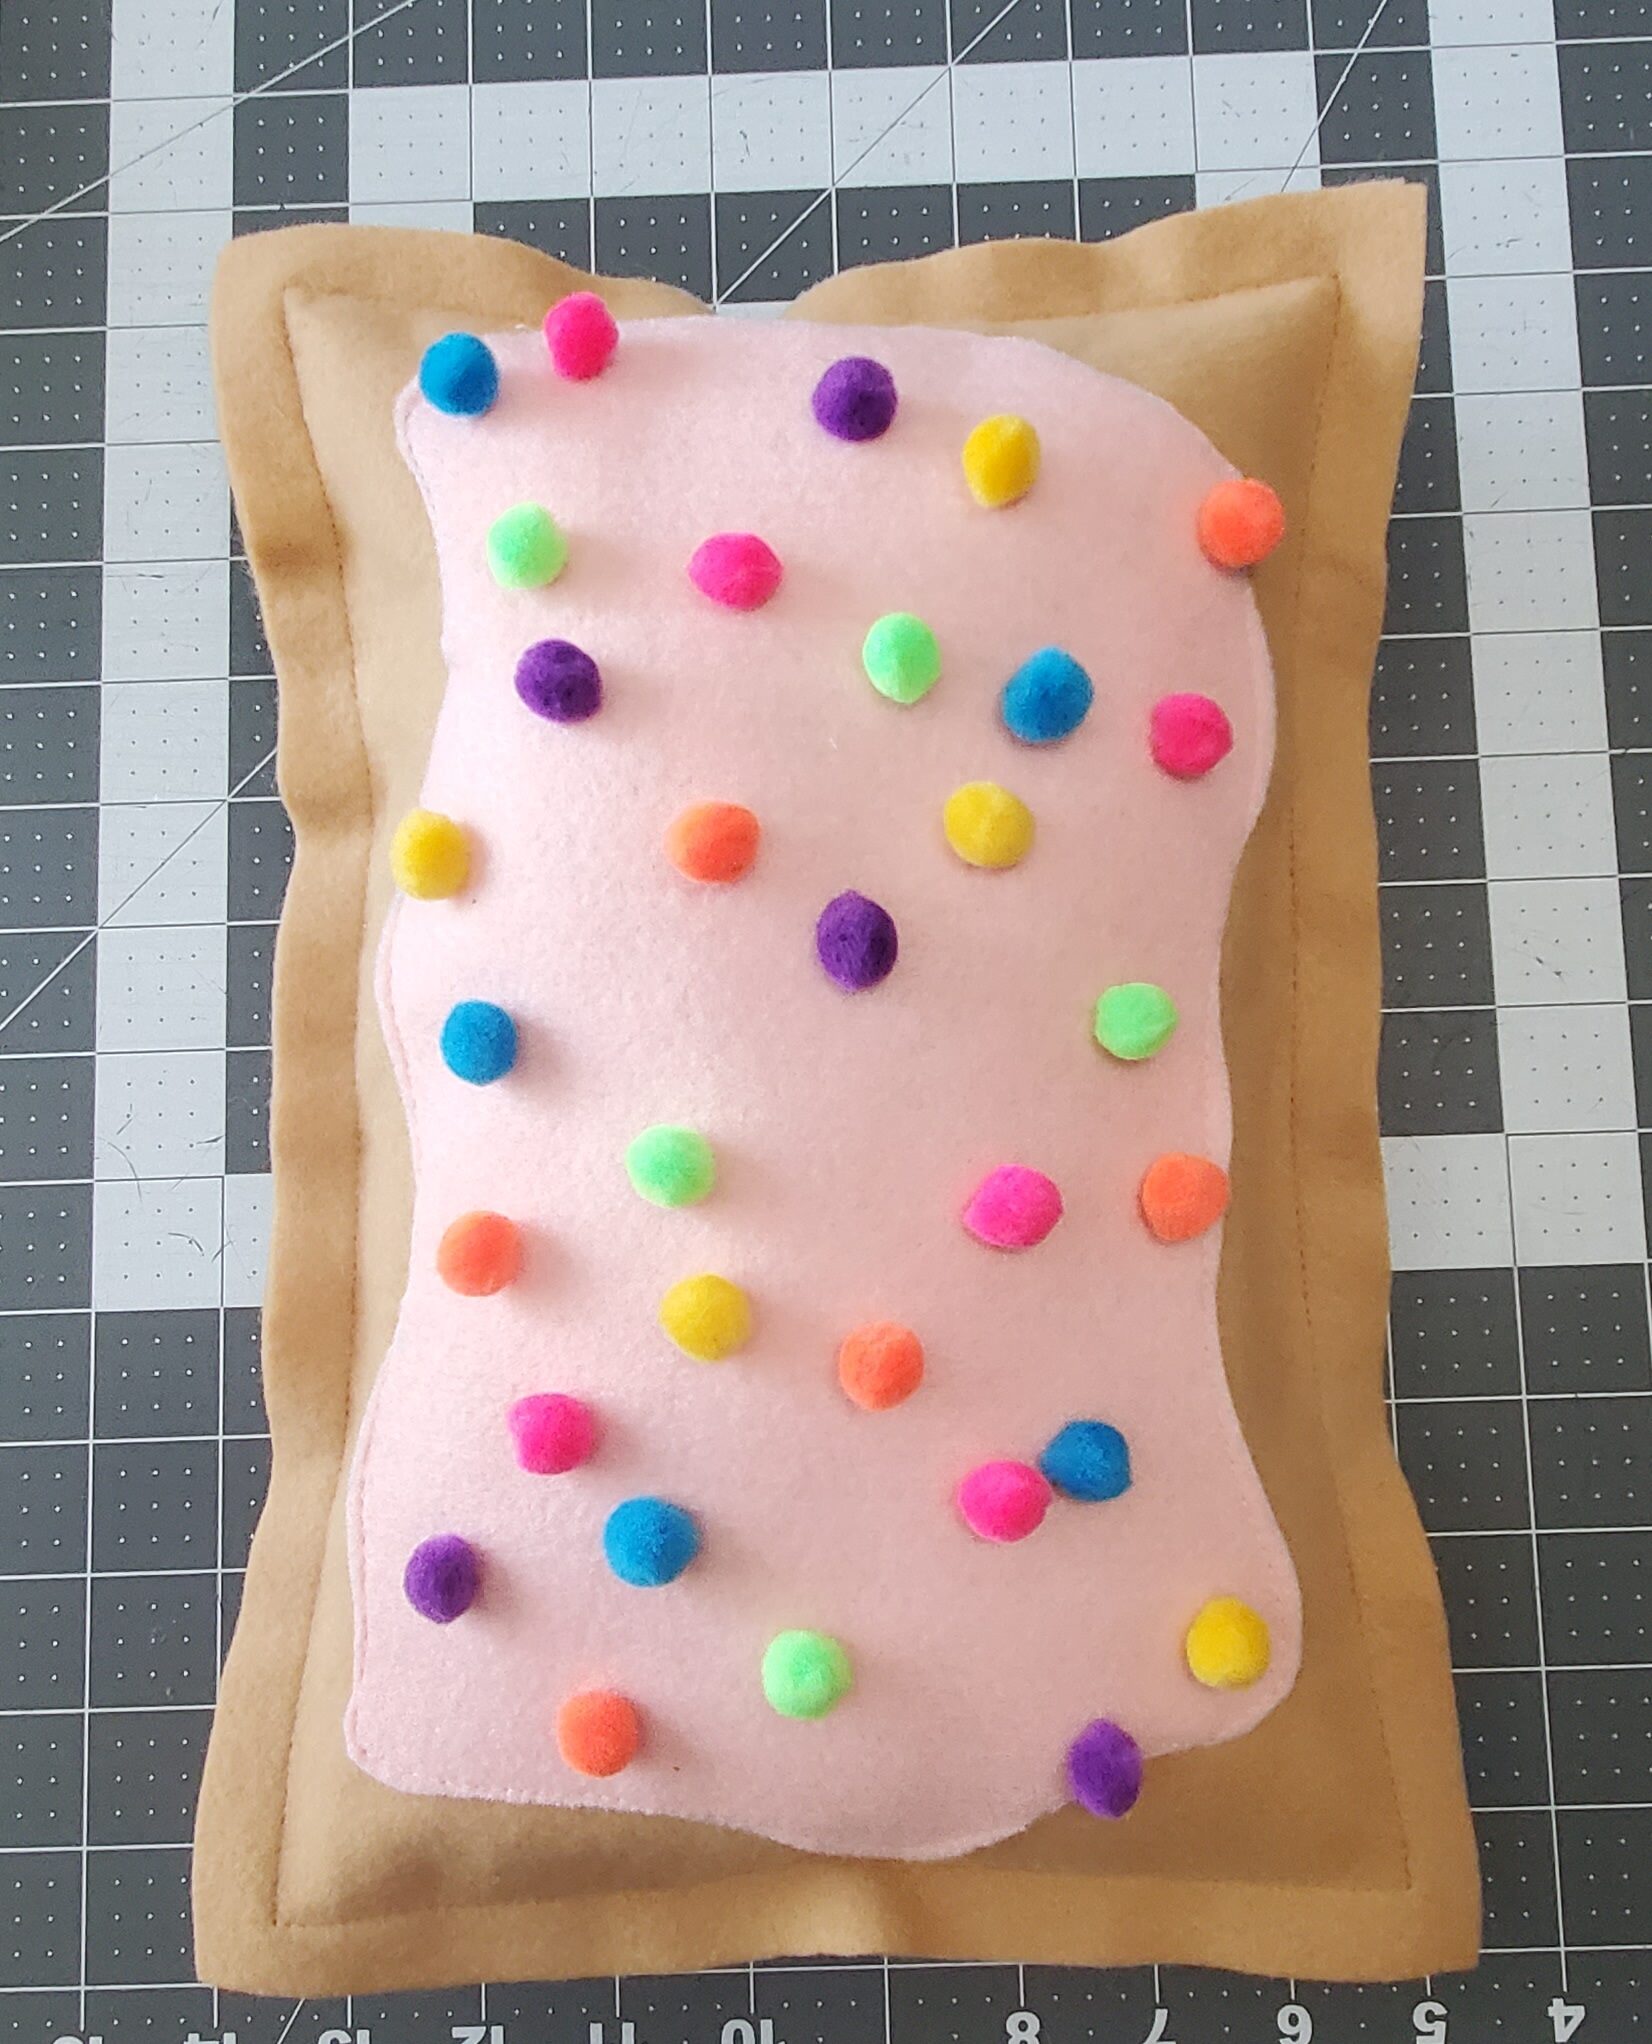
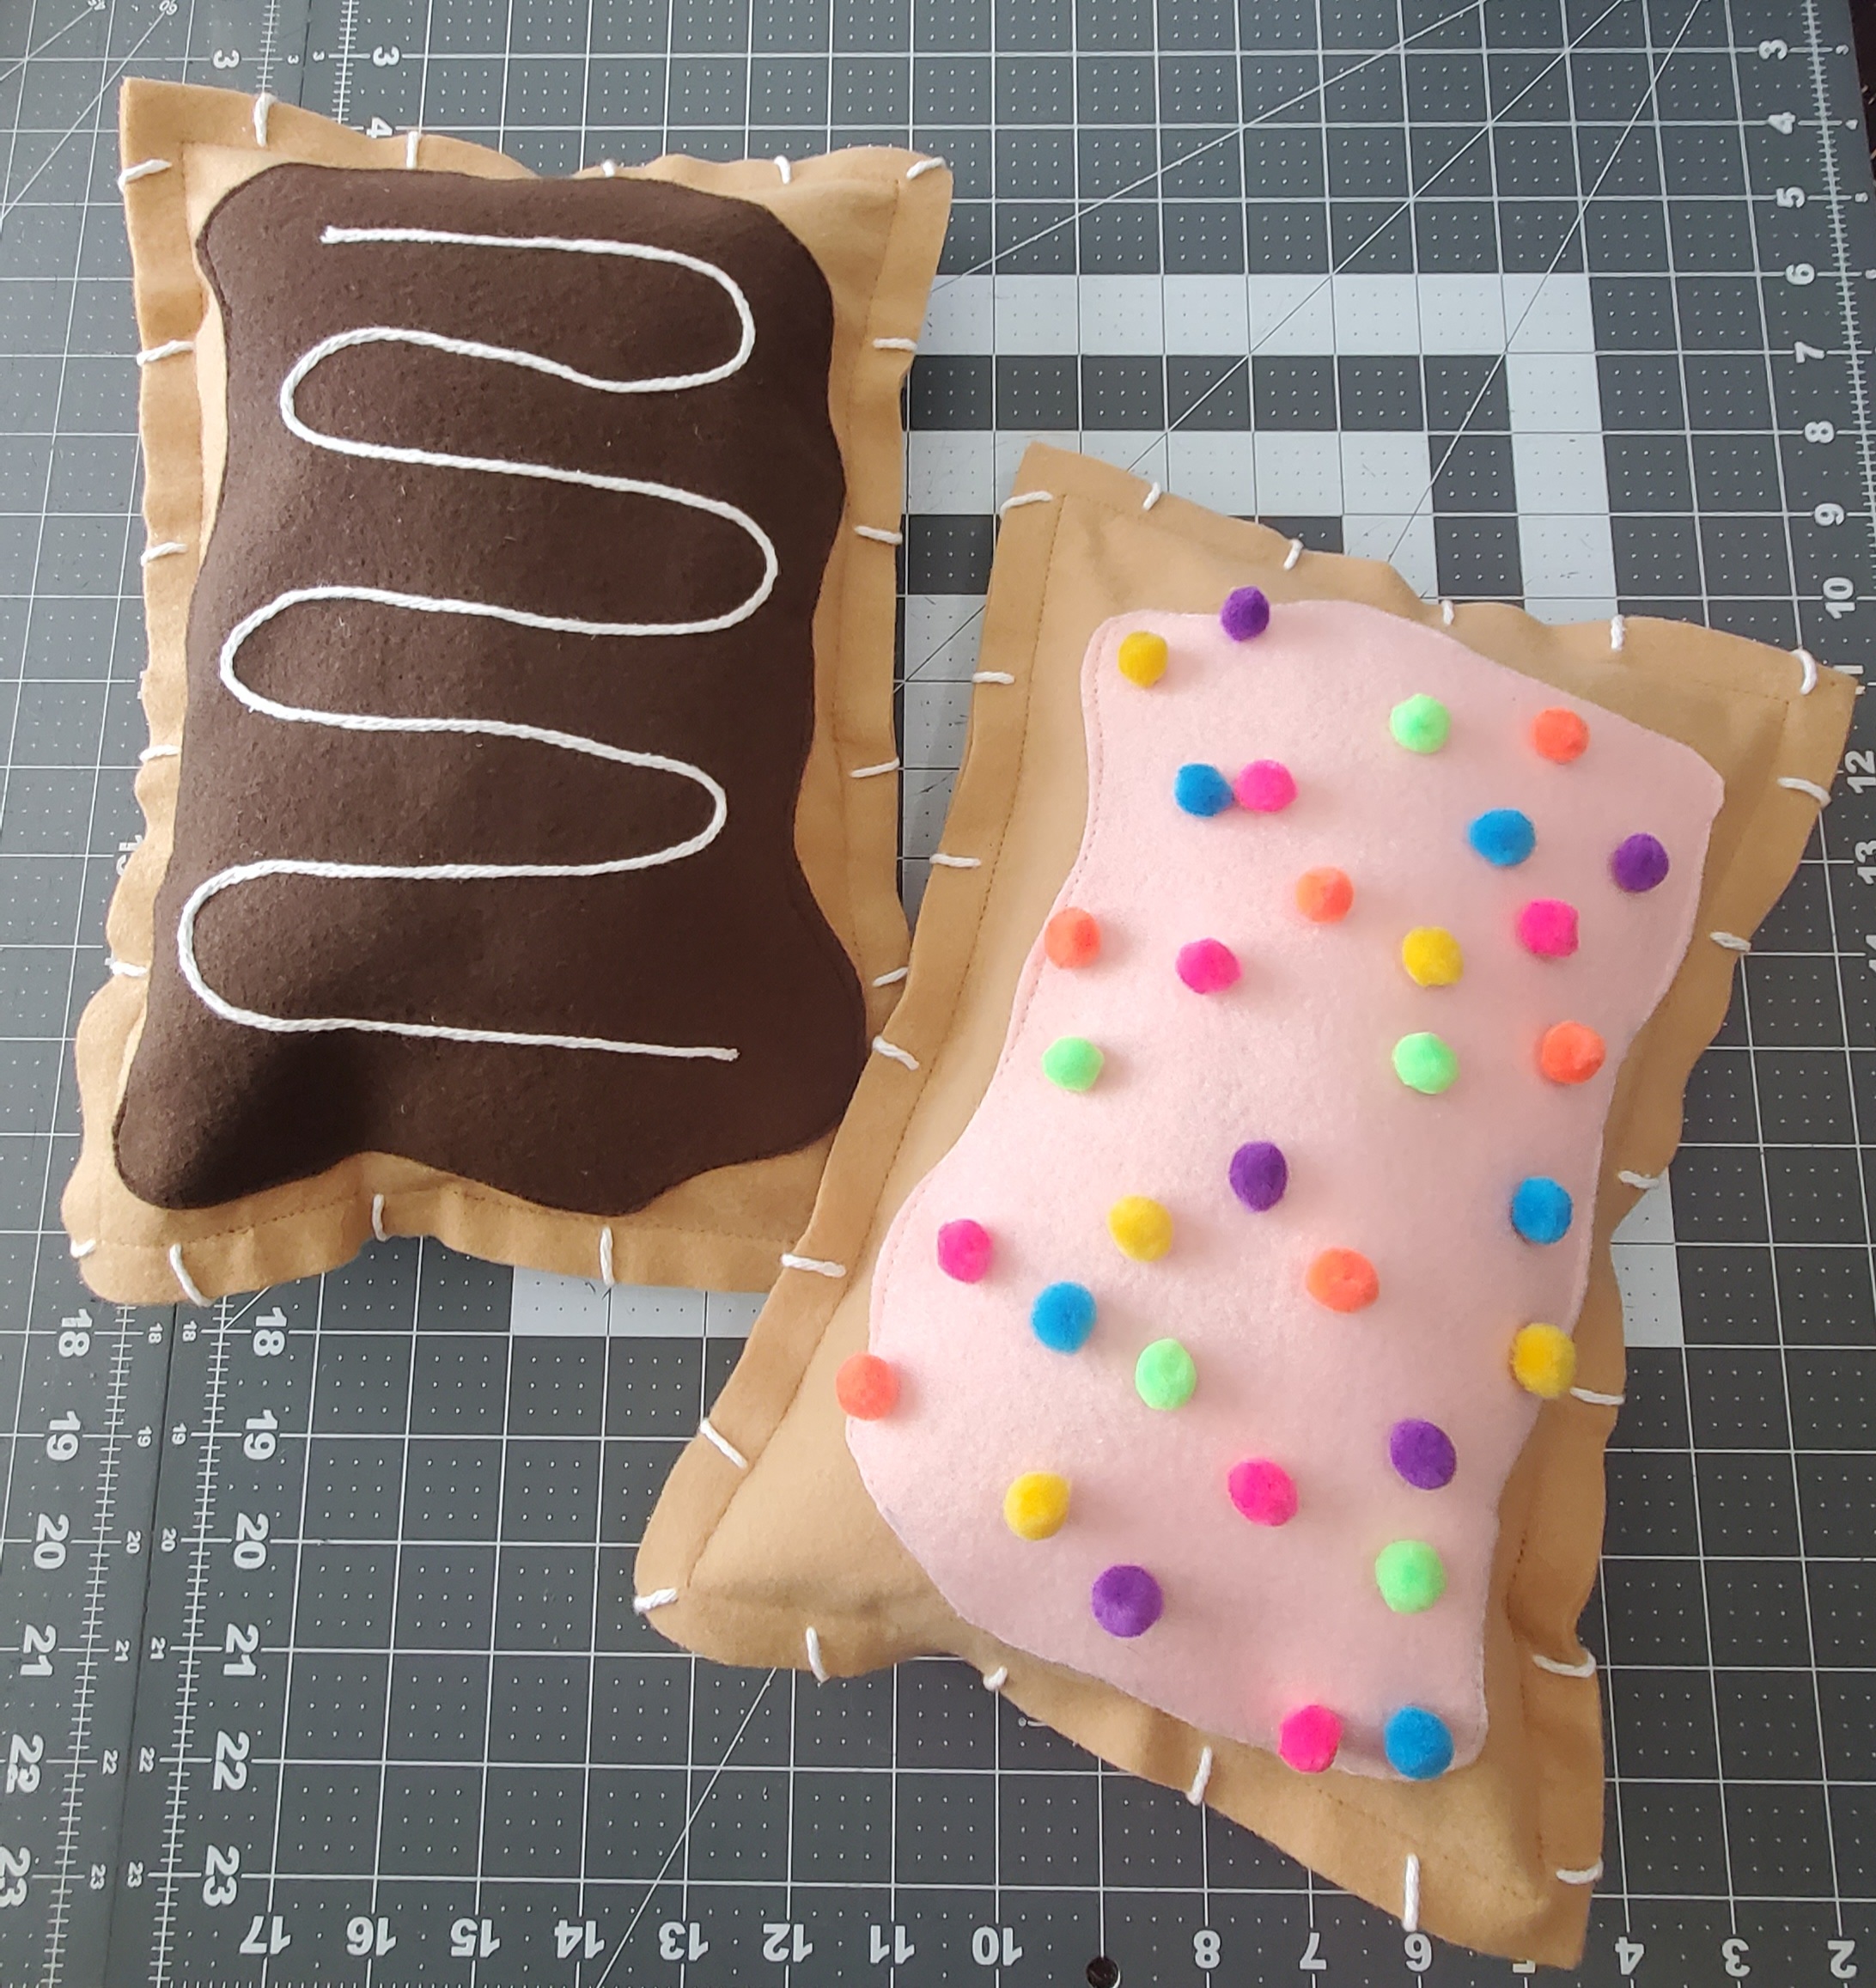
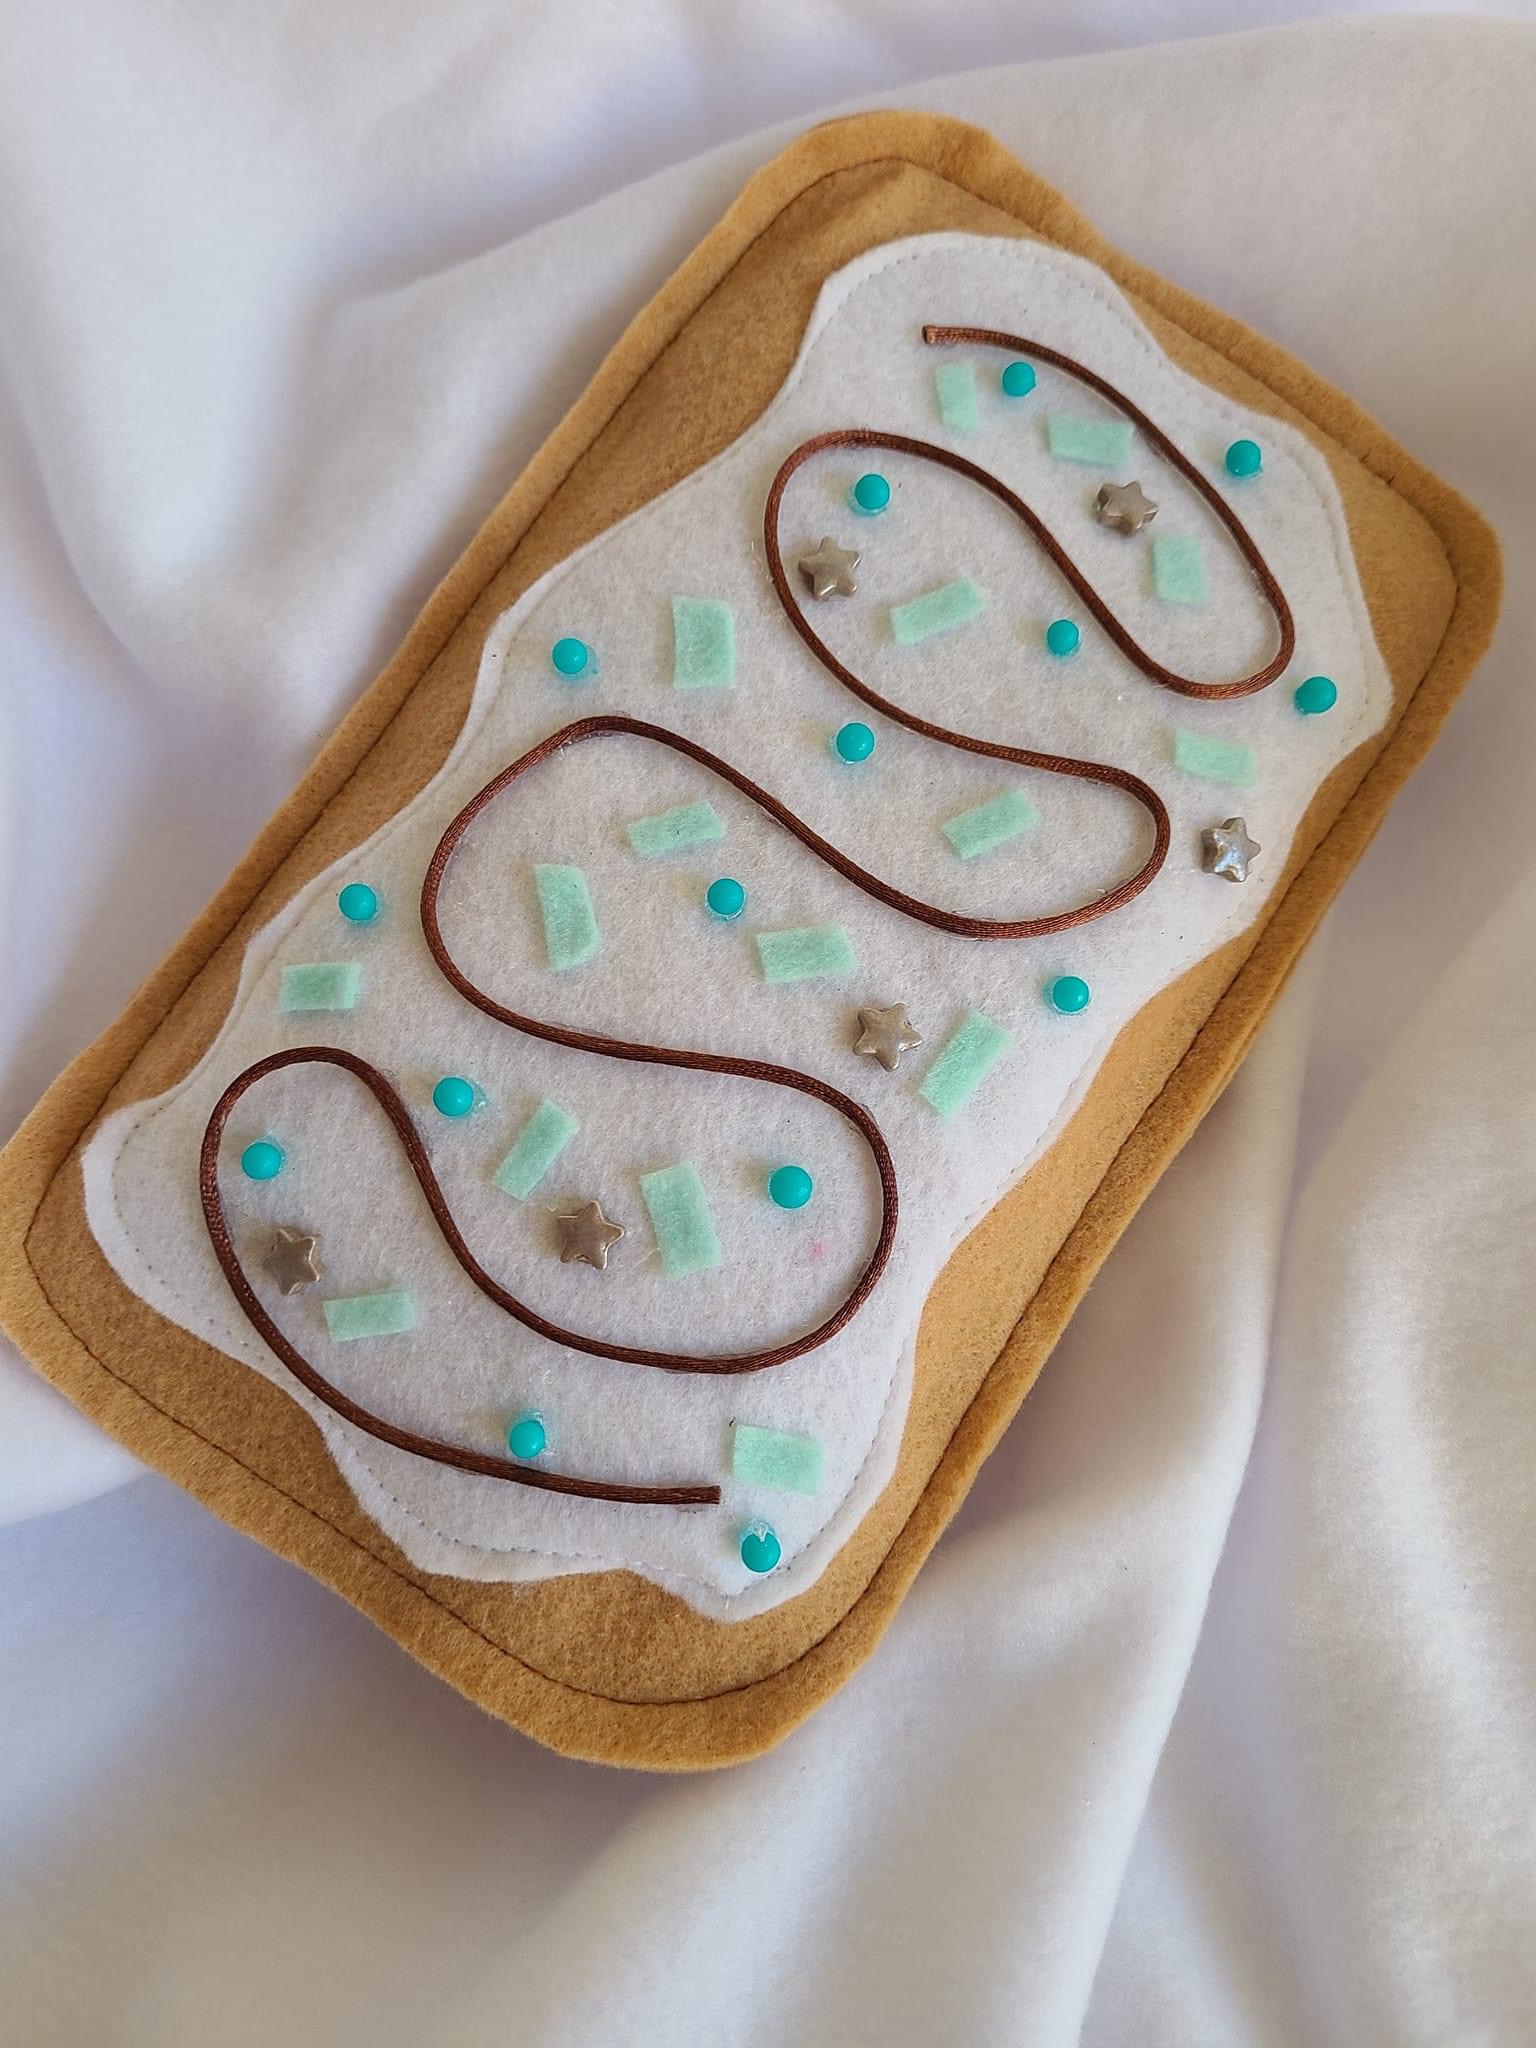
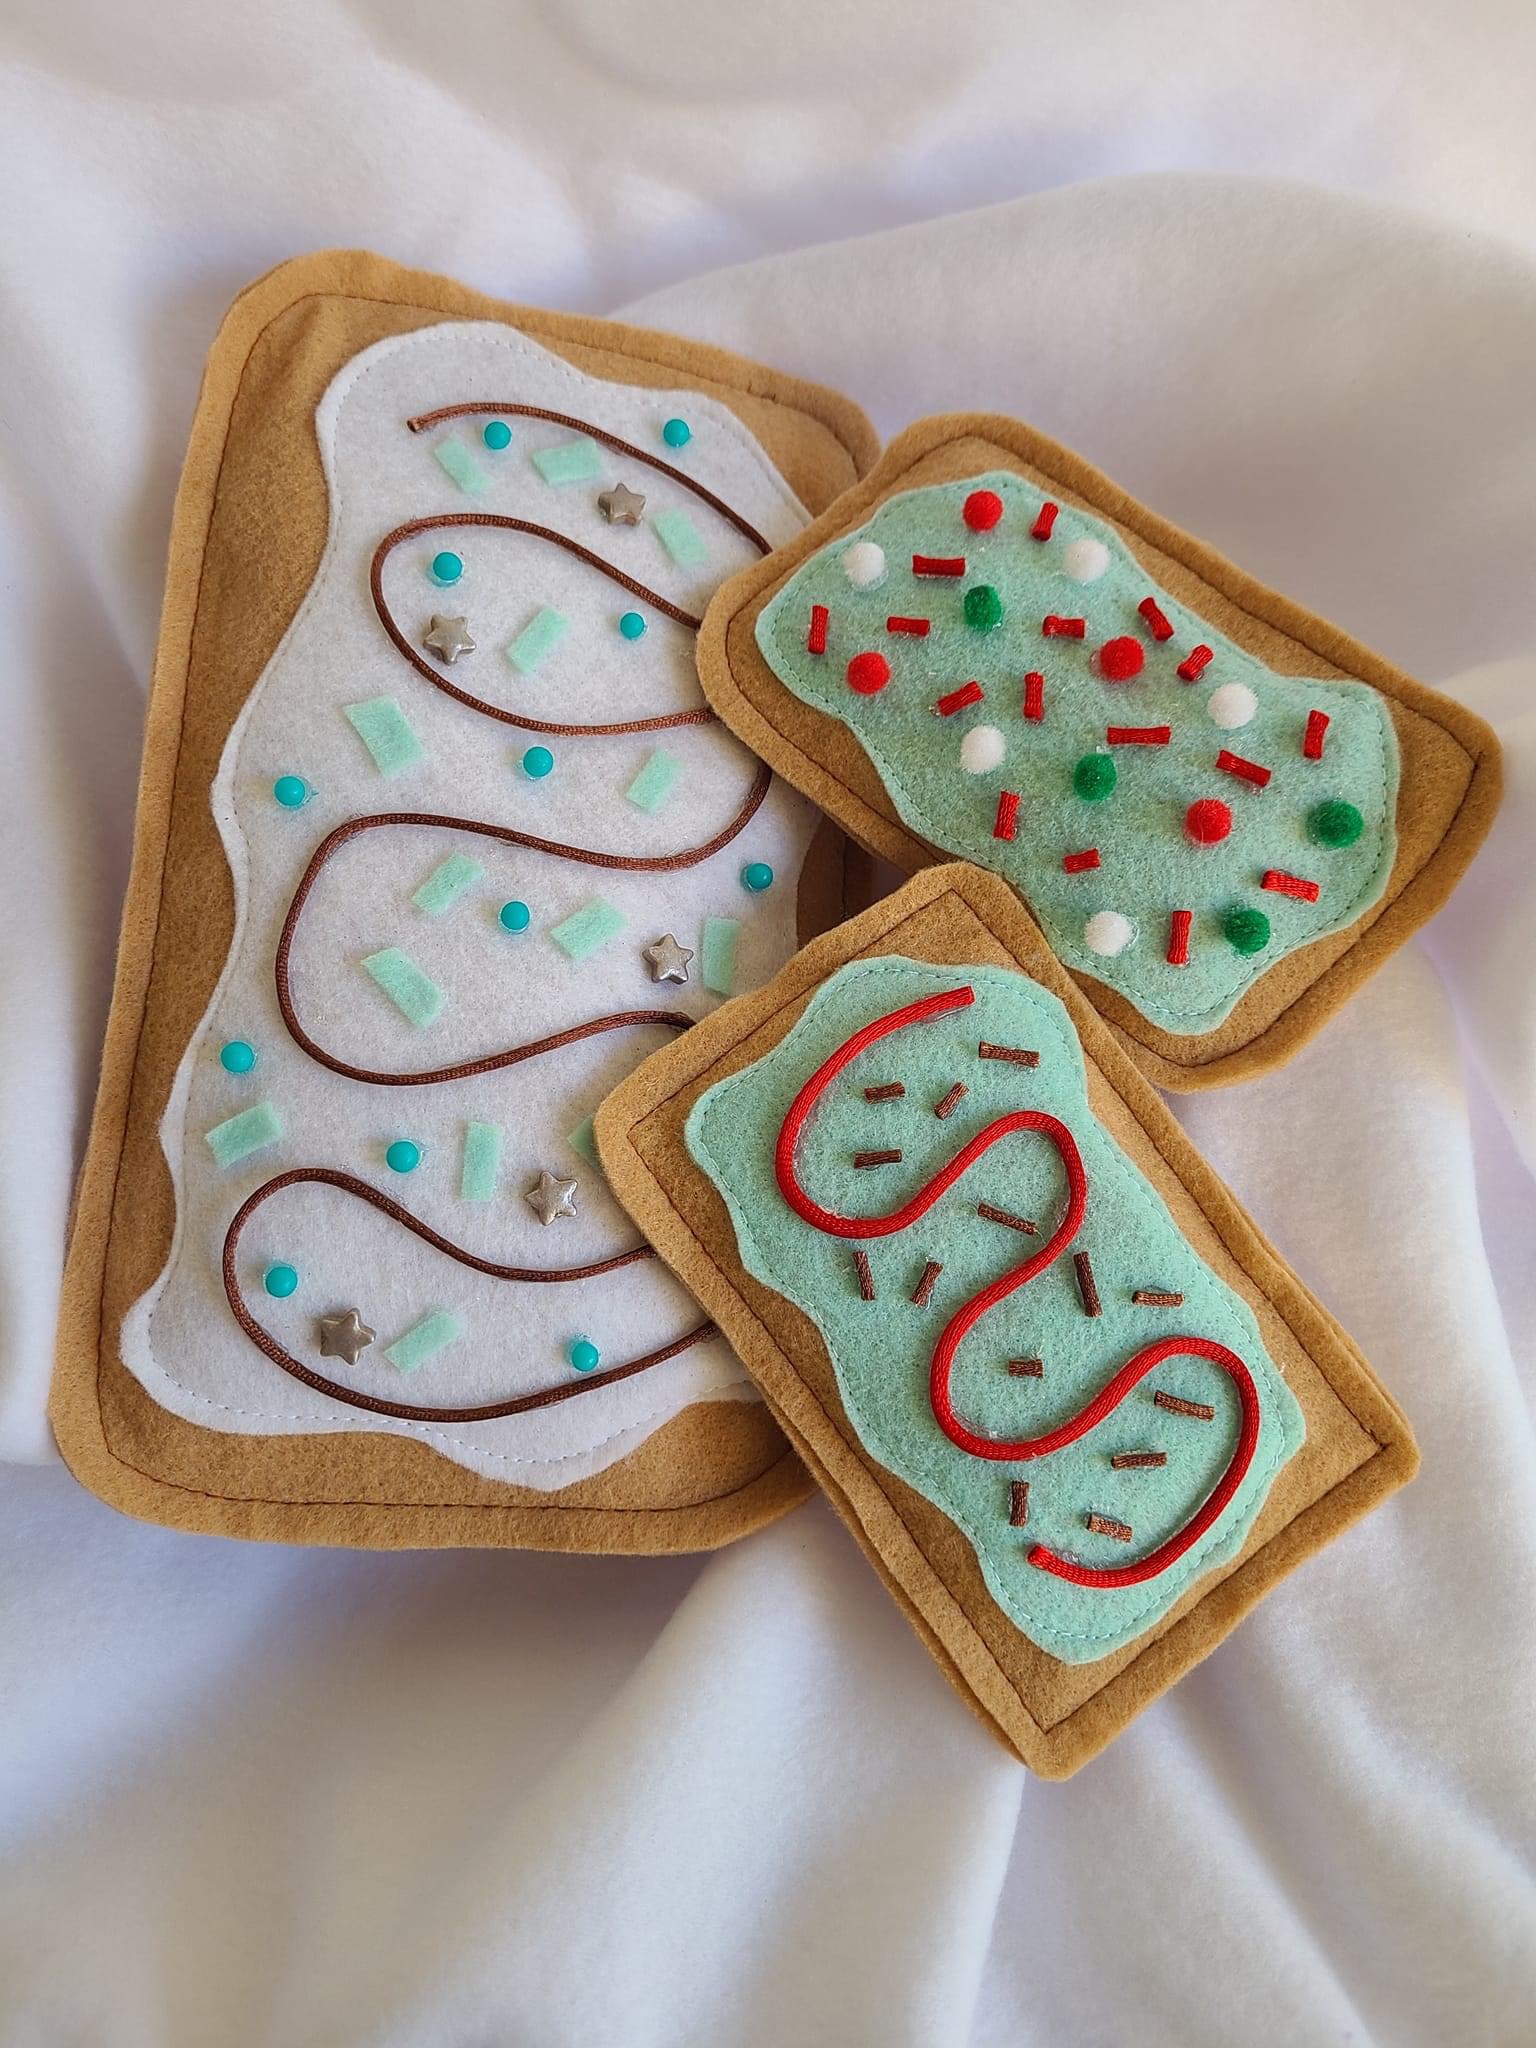
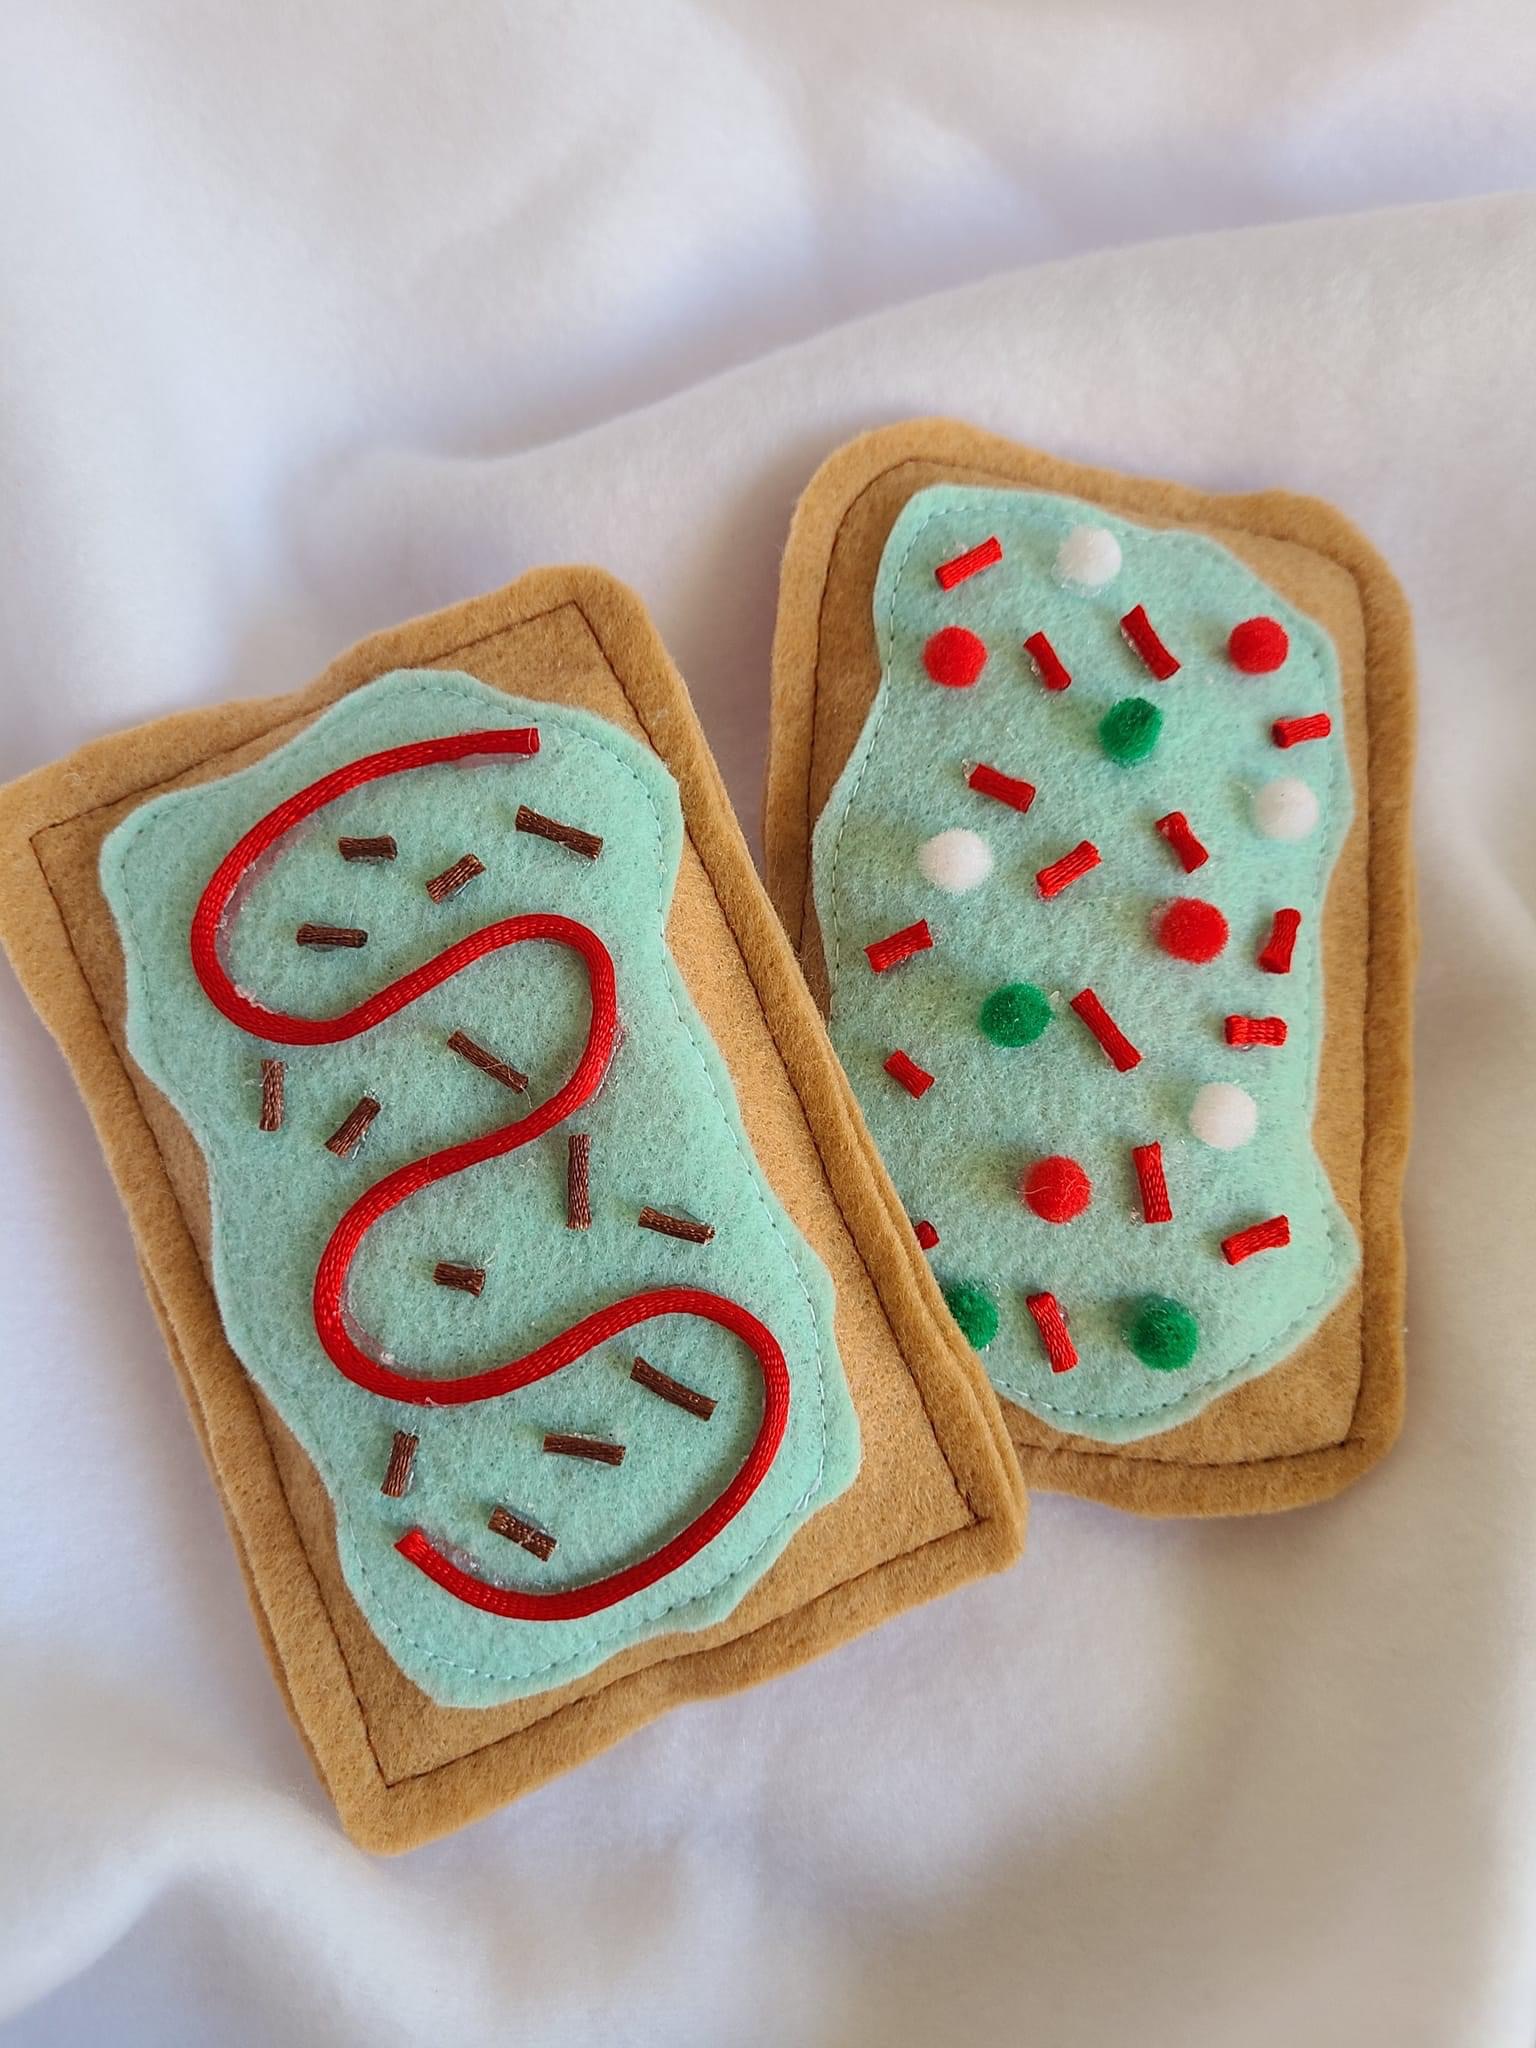
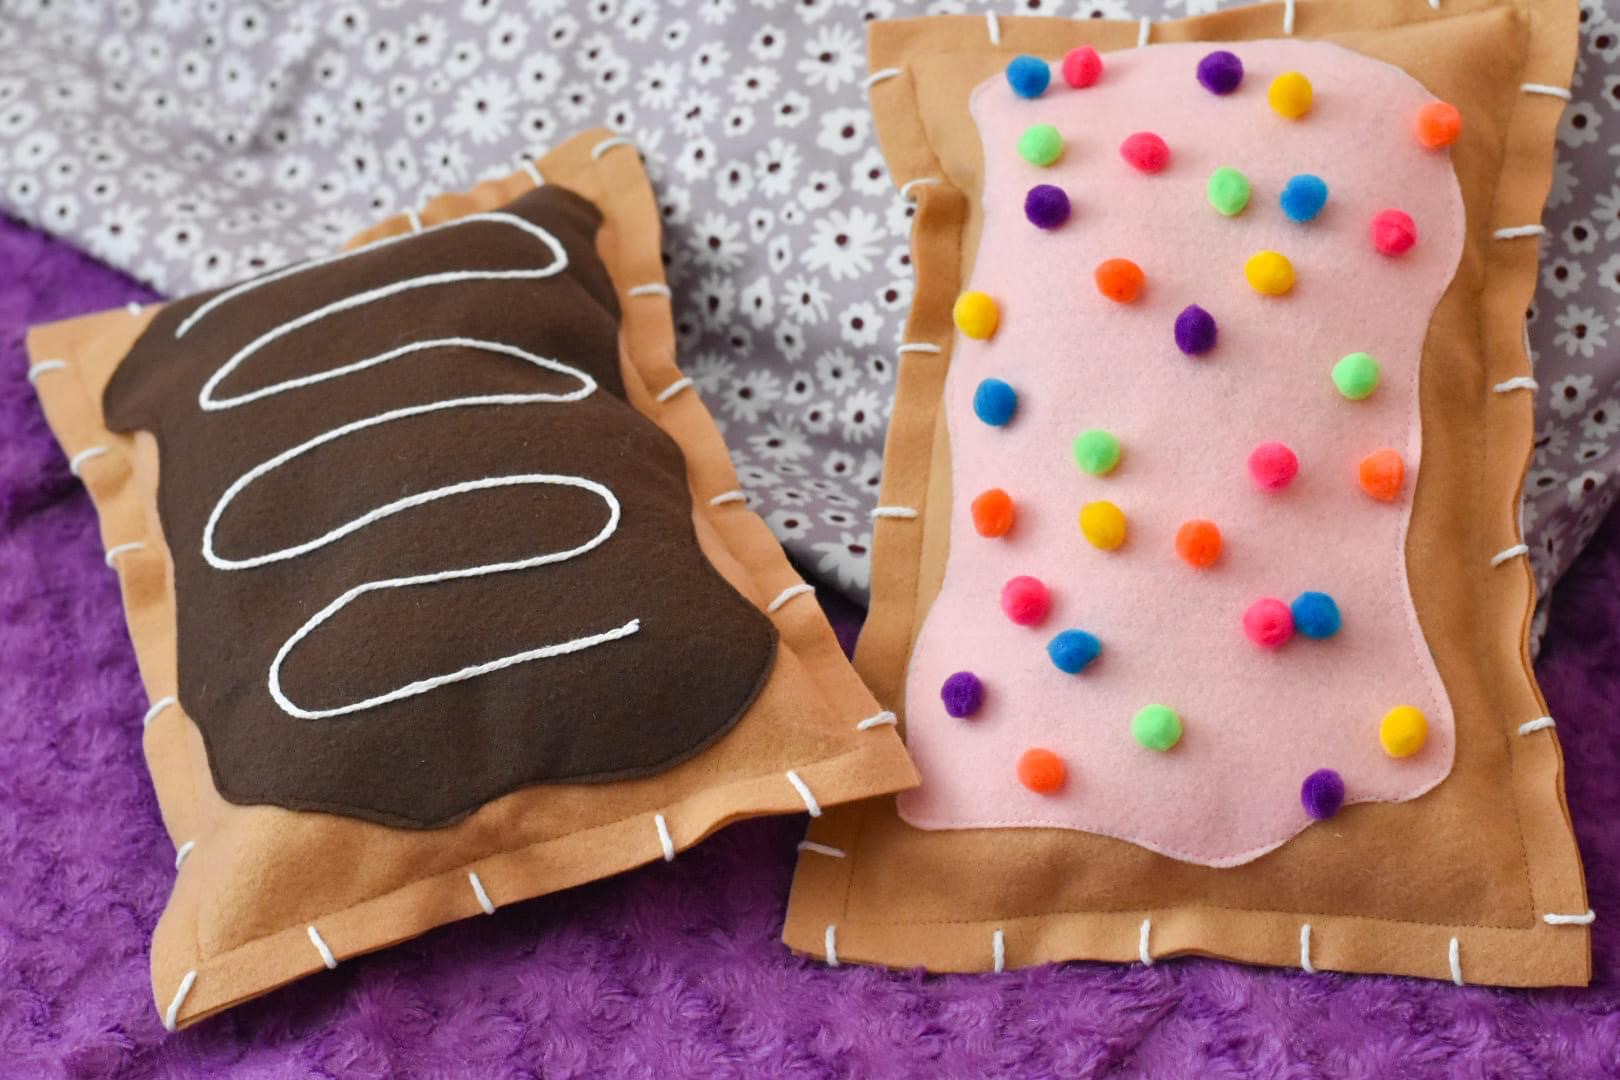
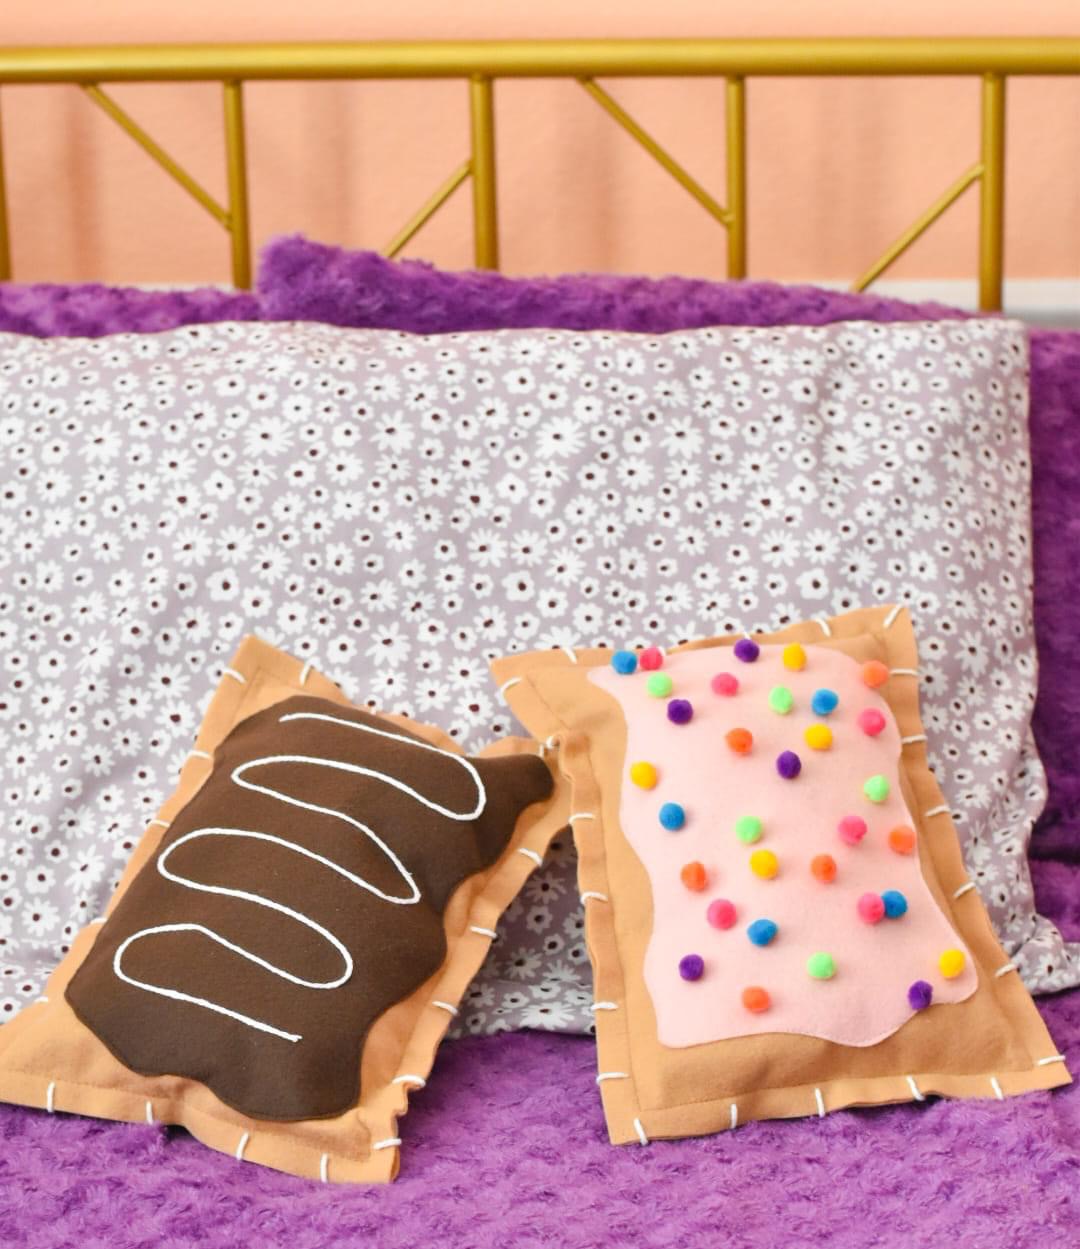
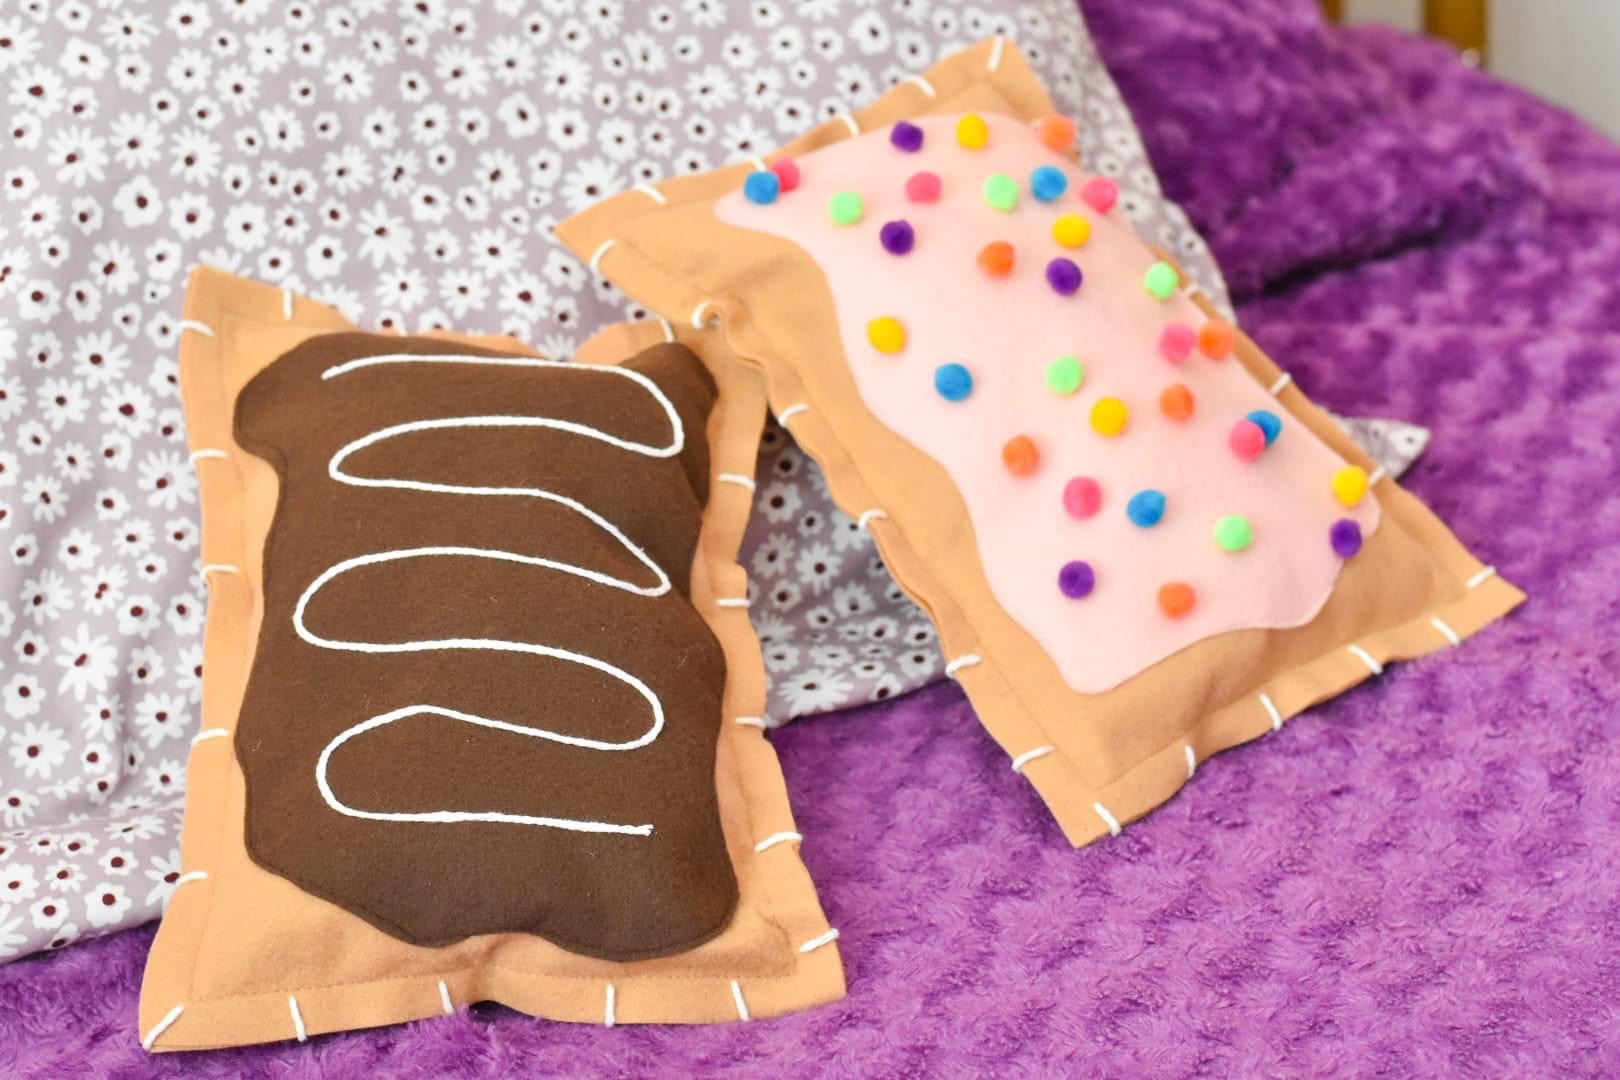
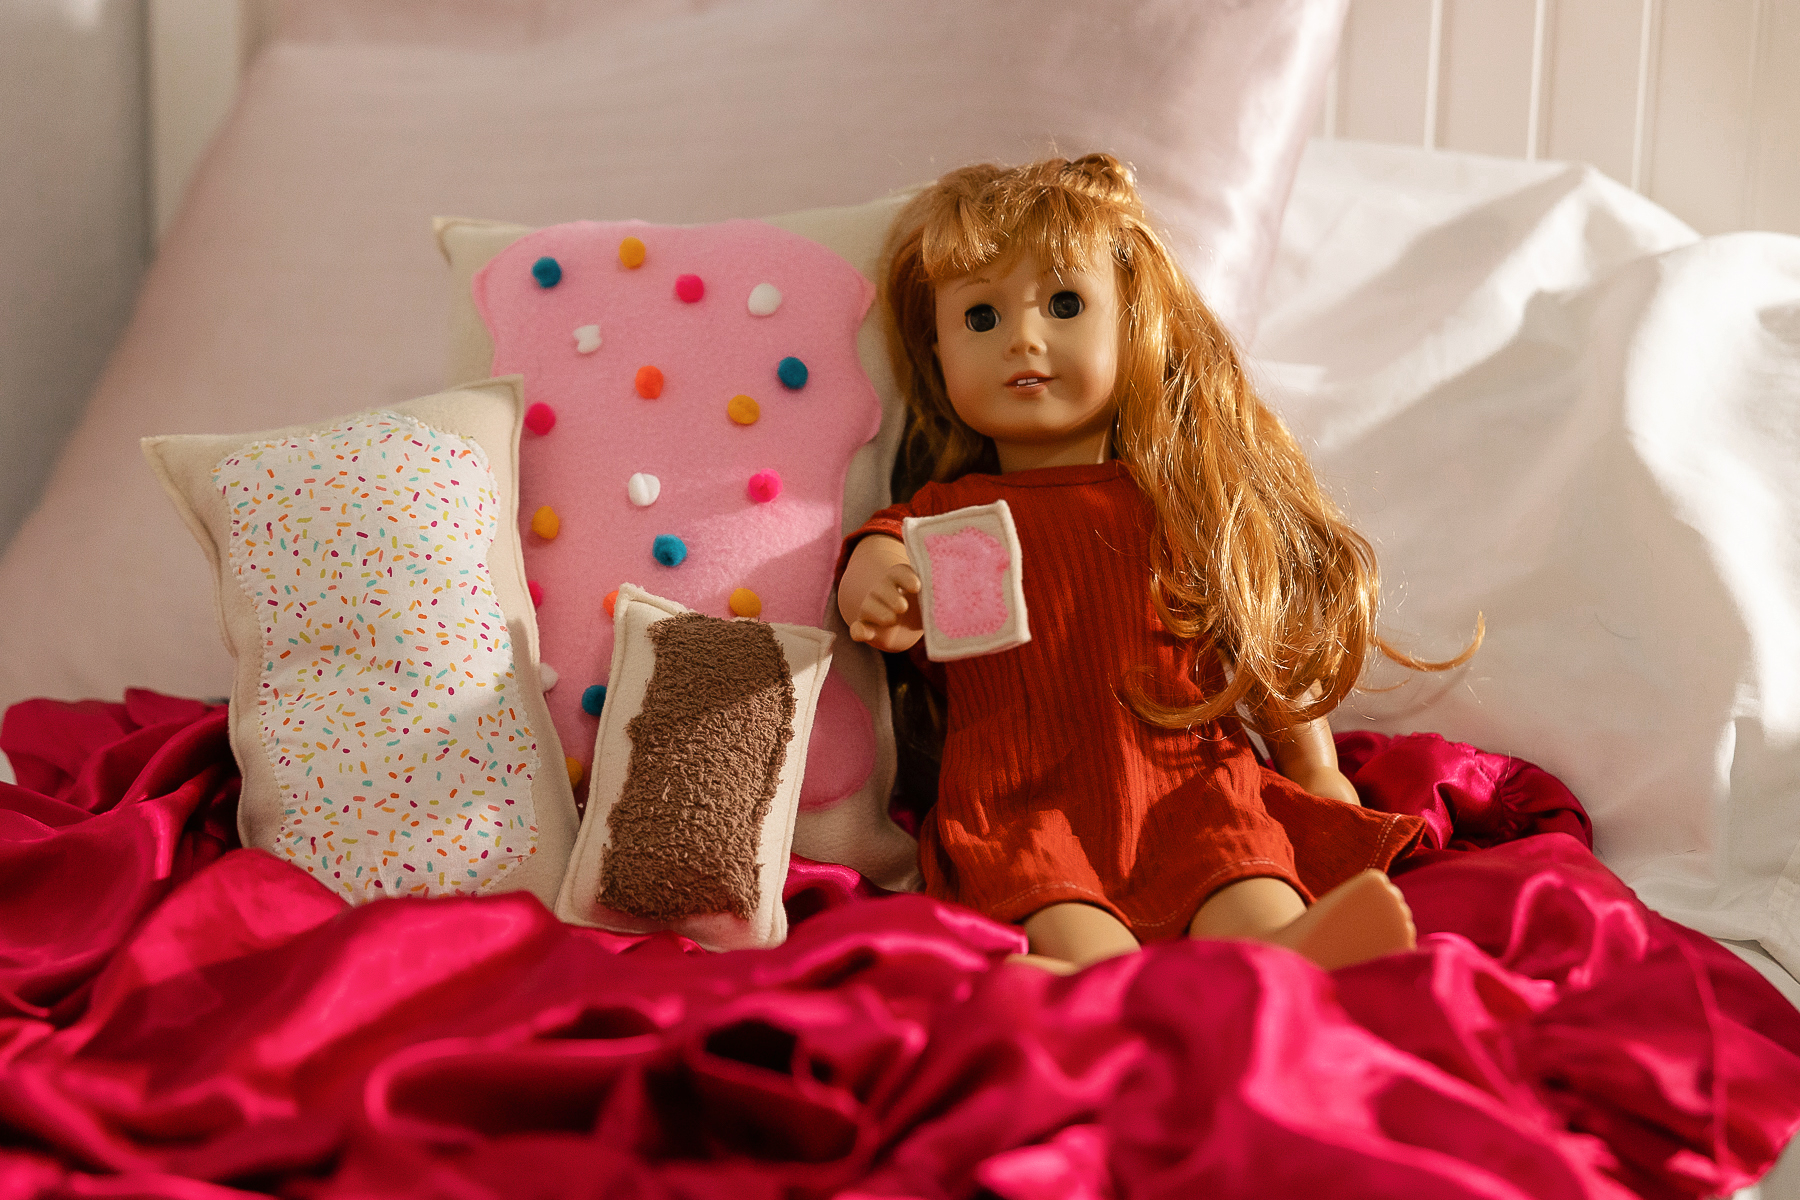
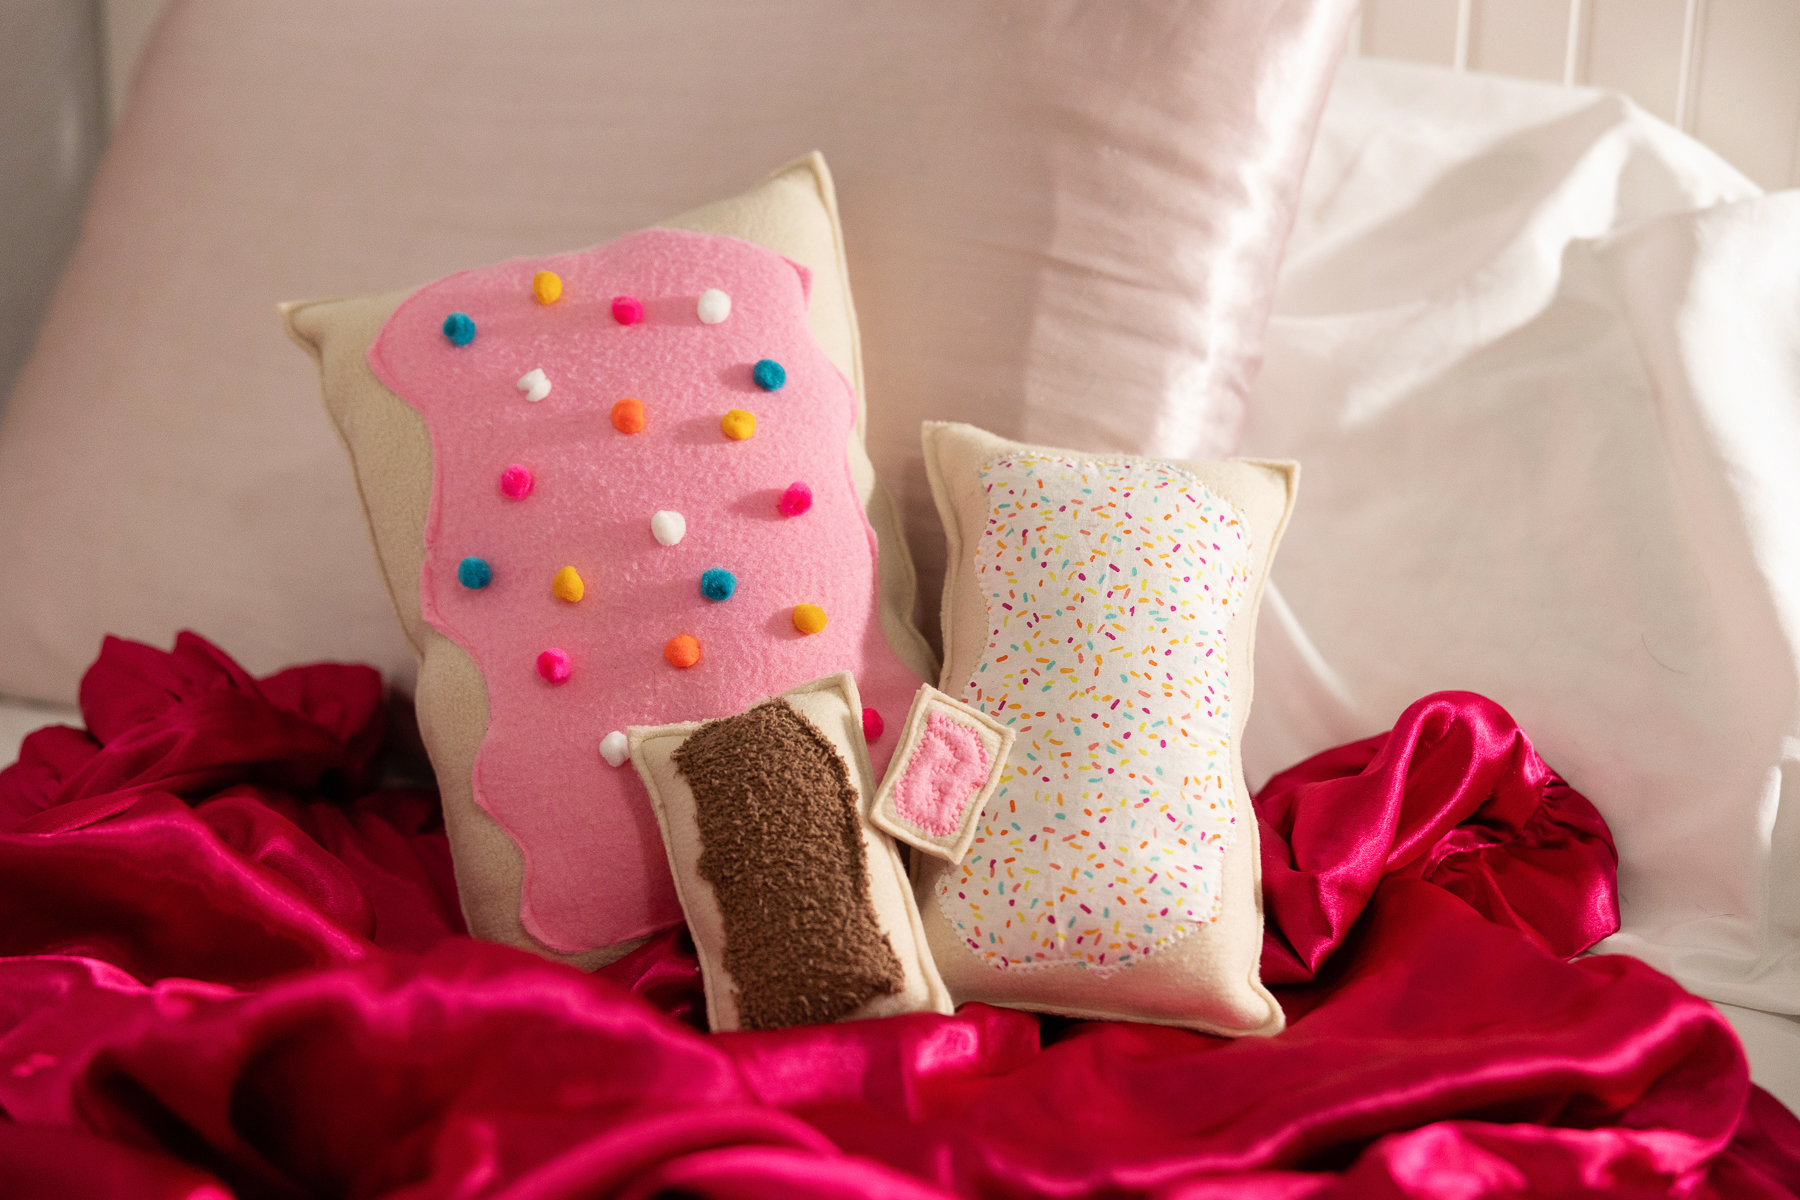
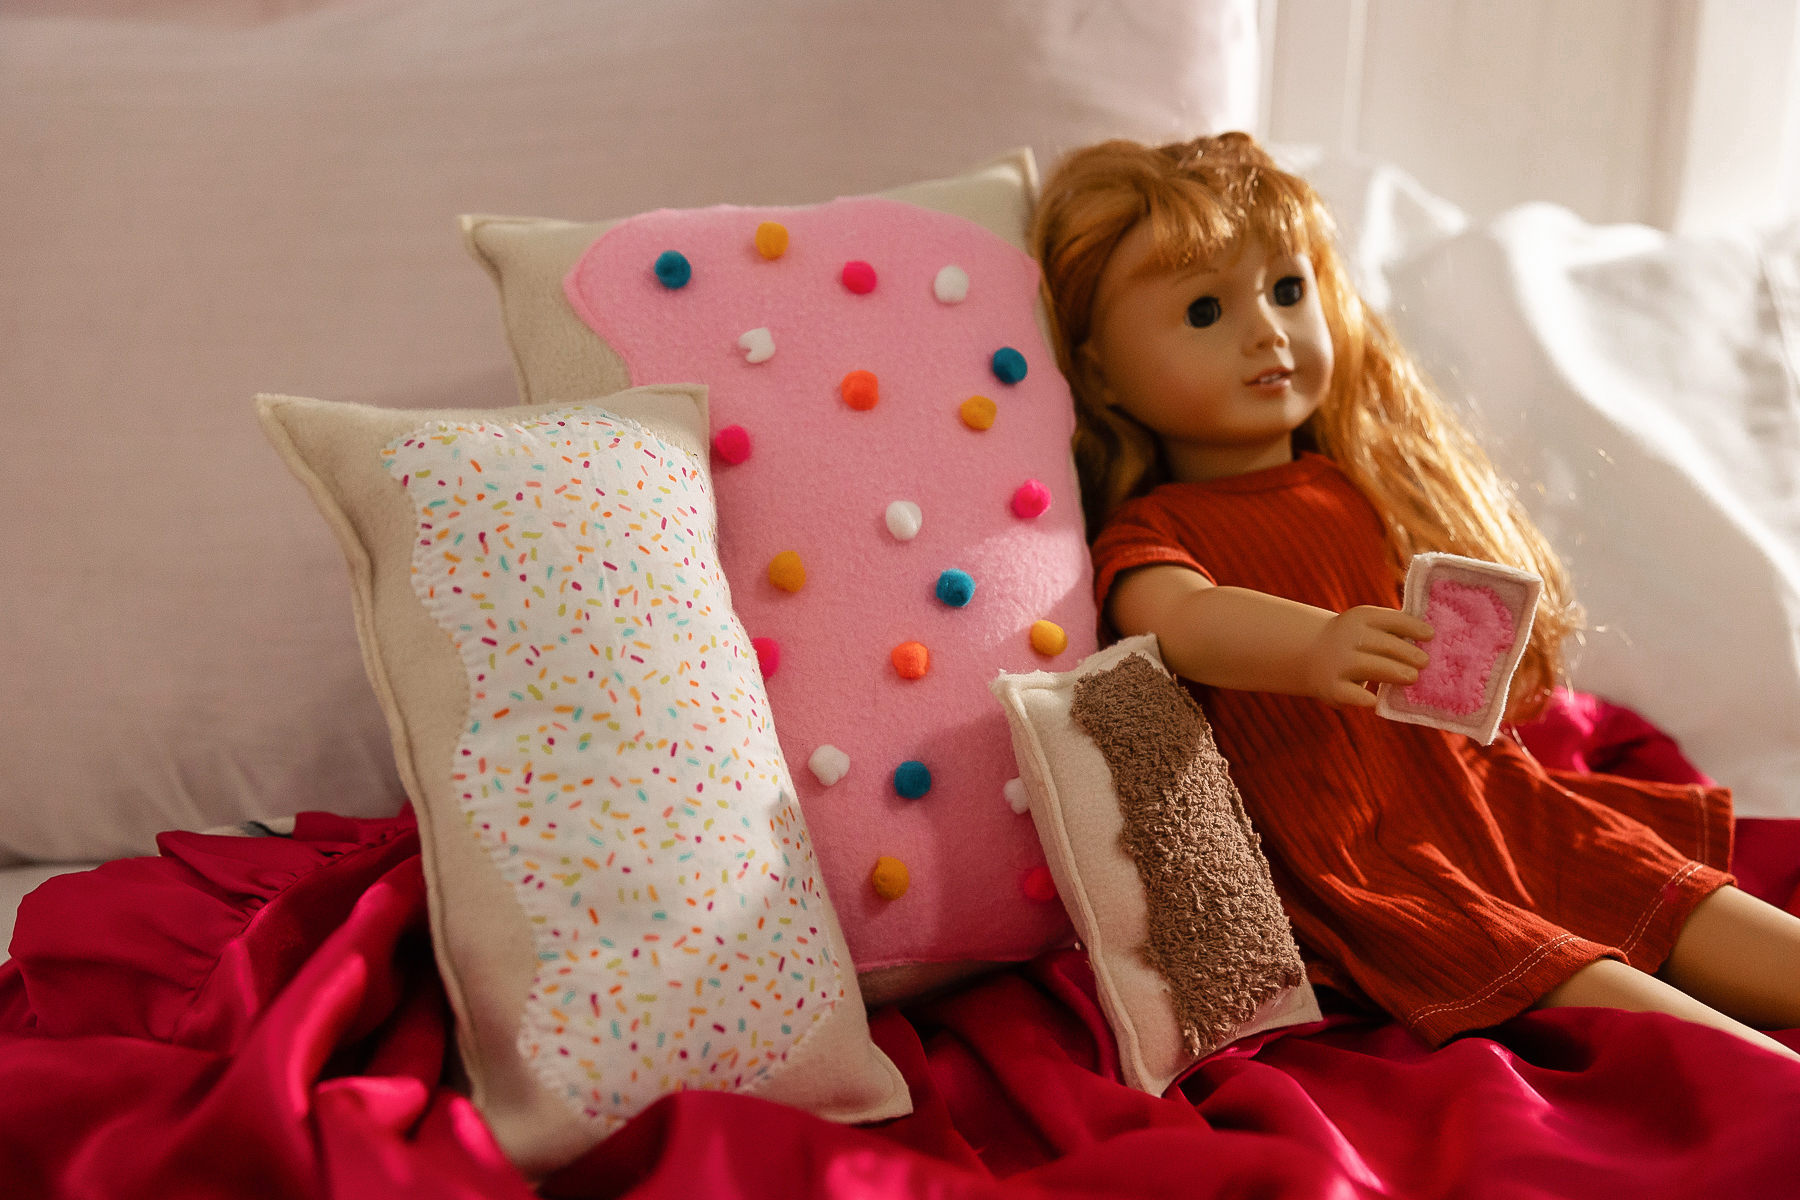
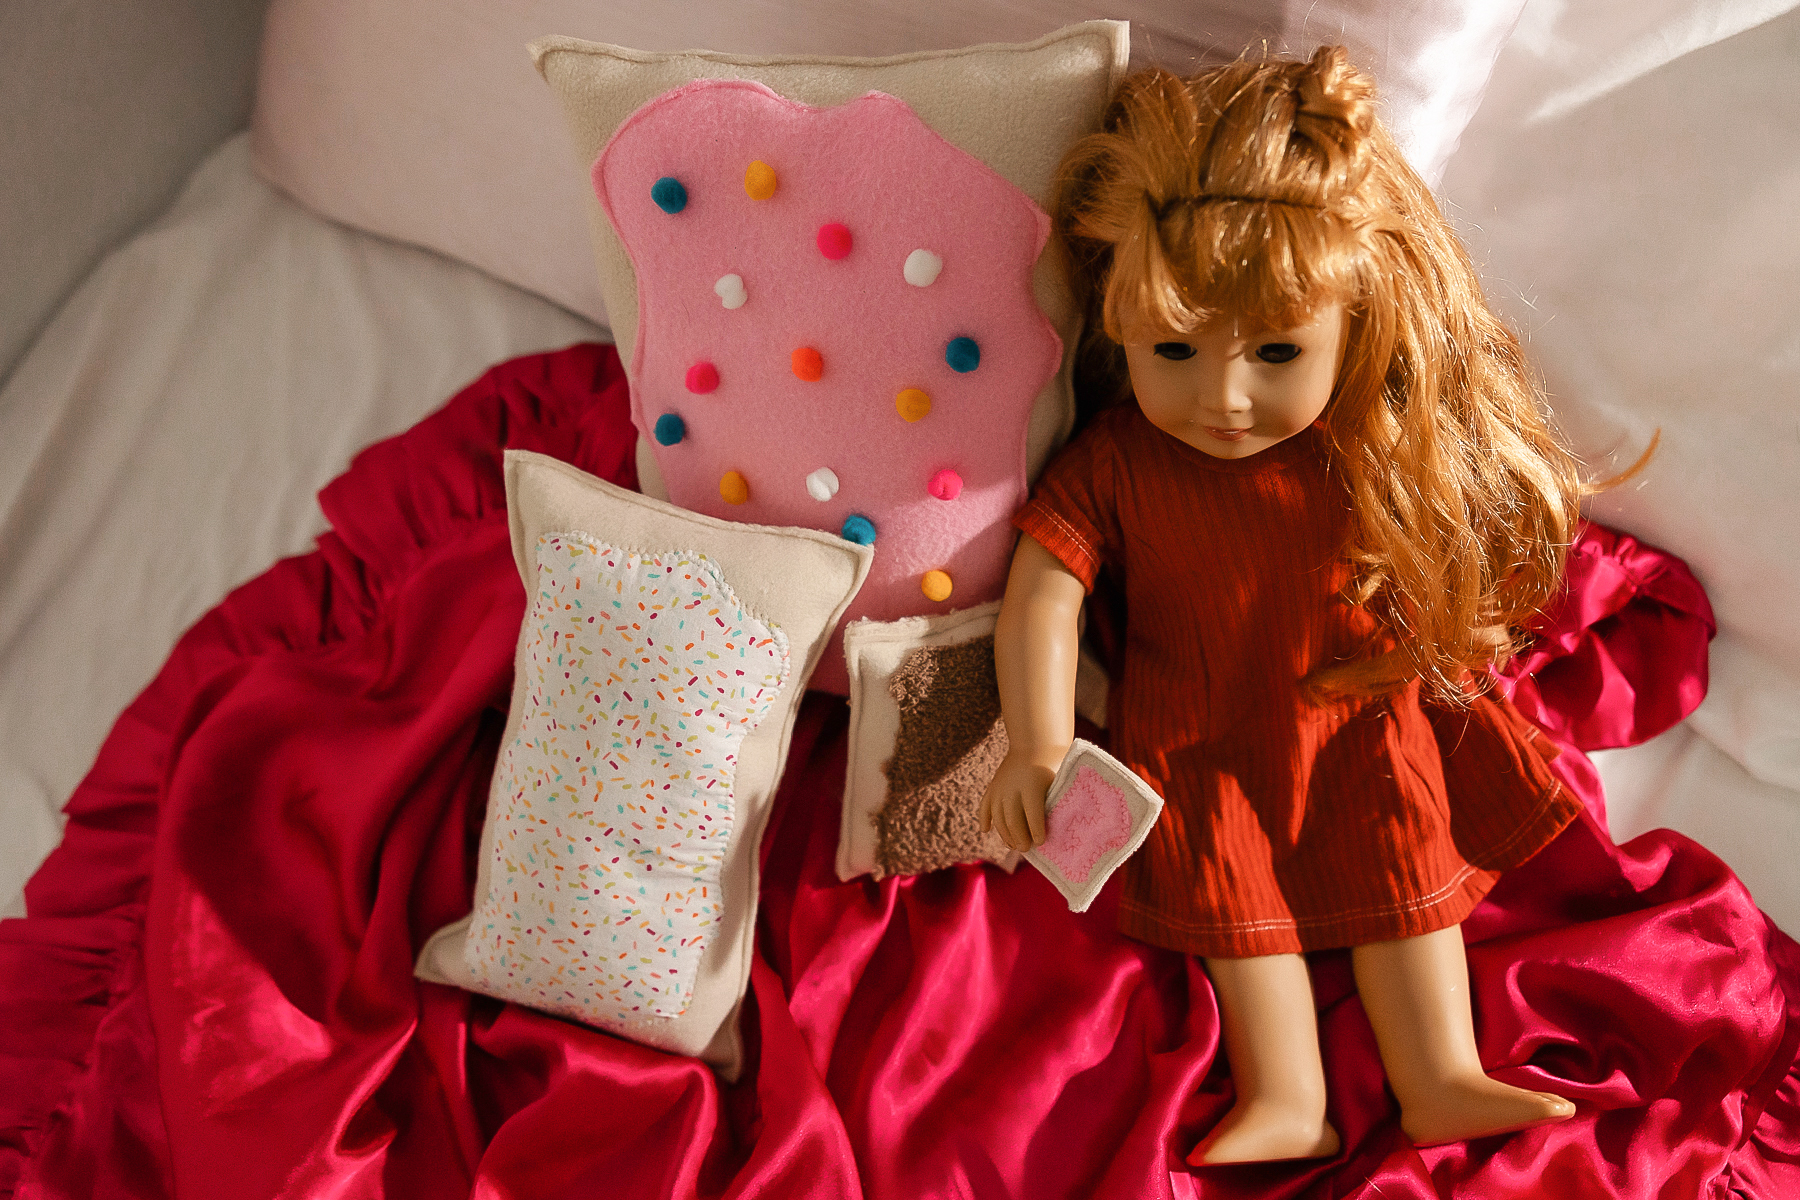
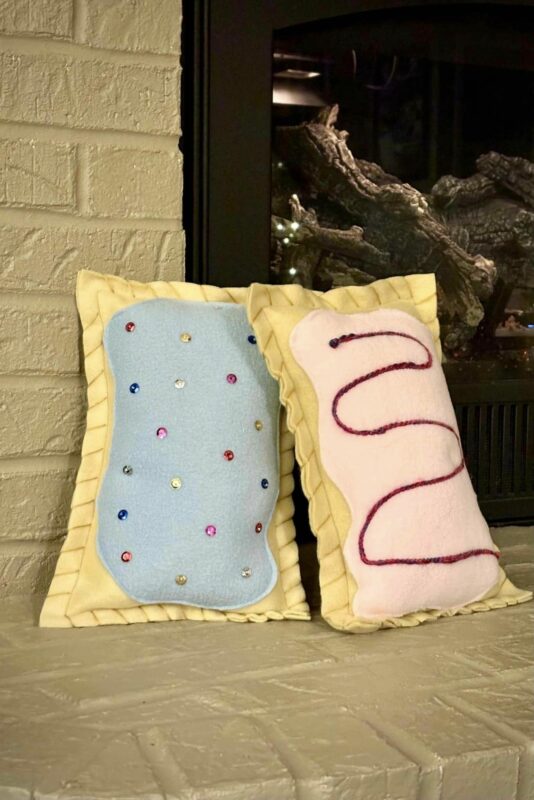
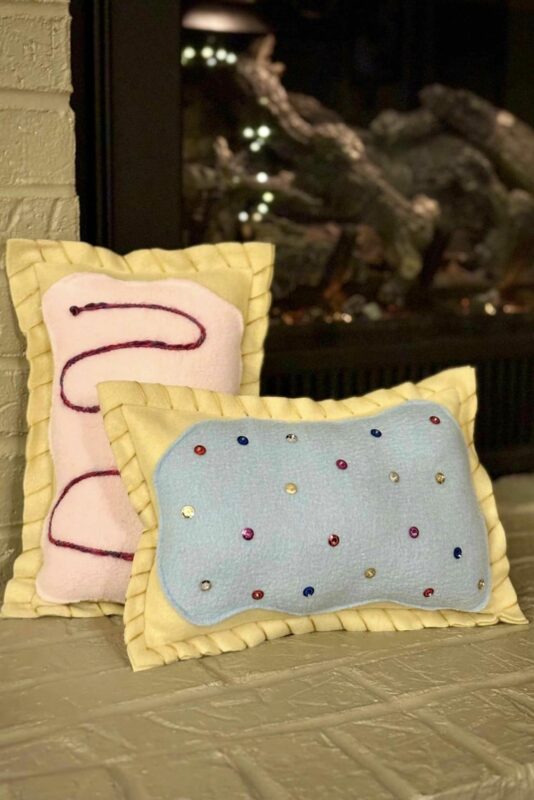
Our first freebie is so cute, I can hardly stand it! Our Toaster Treat Play Food + Plushie is fun as a decorative pillow, as an addition to your play kitchen, and more. If you’re looking for more freebies to pair with the Toast Treat, check out the Cocoa and Cookies Felt Set, Felt Breakfast Set, Felt Bake Set, Chef’s Hat, Oven Mitt, Annie Apron, and of course we have the Barnacle Buddies & Peanut Plushies!
SUPPLIES:
- Fabric – felt, fleece, etc. You can really use scraps for these, but if you want to buy yardage, see the requirements below.
- Large Plushie- fat half or 1/2 yard (13″ tall and 9″ wide)
- Small Plushie- 1/3 yard (6″ tall and 10″ wide)
- Play Food Size- 1/4 yard (5.5″ tall and 3.5″ wide)
- Doll Food Size- scrap (2.5″ tall and 1.5″ wide)
- Polyfil stuffing
- Optional- embroidery thread, embroidery needle, sequins, beads, pom poms, etc.
SAFETY WARNING:
Safety is of critical importance when selecting supplies. If making this set for small children, especially those under 3, refrain from using small beads, sequins, or any other decorative material that may become loose and pose a choking hazard. Be sure to secure all threads. Made for Mermaids is not responsible for any accidents or personal injuries that may occur.
LET’S GET STARTED!
Step 1: PREPPING
Go grab the pattern here! The pattern is 100% free, but you do need to add it to your cart and checkout. Then, it will always be available to download from your account. The pattern is a no trim pattern; if you need help putting the pattern together, pop over to the faqs and troubleshooting page , check out the blog post here, or ask in our Facebook group .
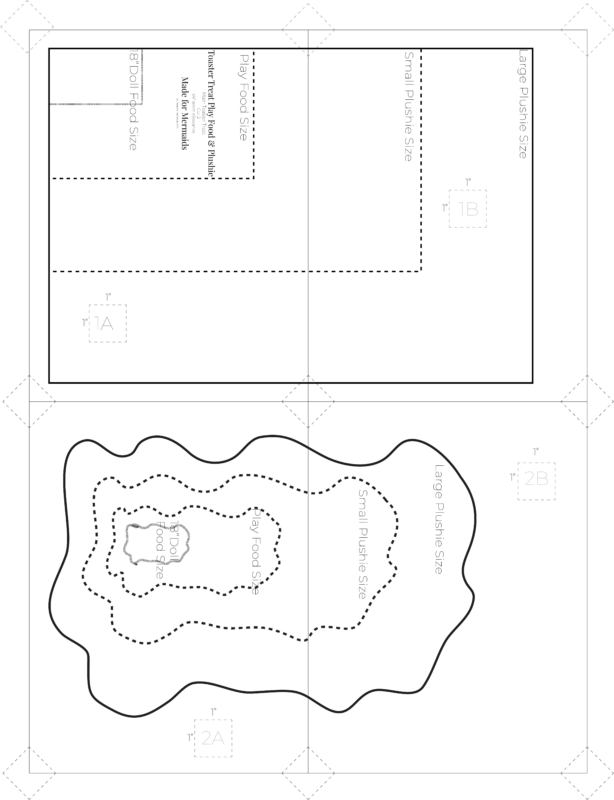
Print and assemble the pattern. Alternatively, you can use the projector file if you’re using a projector. Pattern layout below:
Step 2: CUTTING
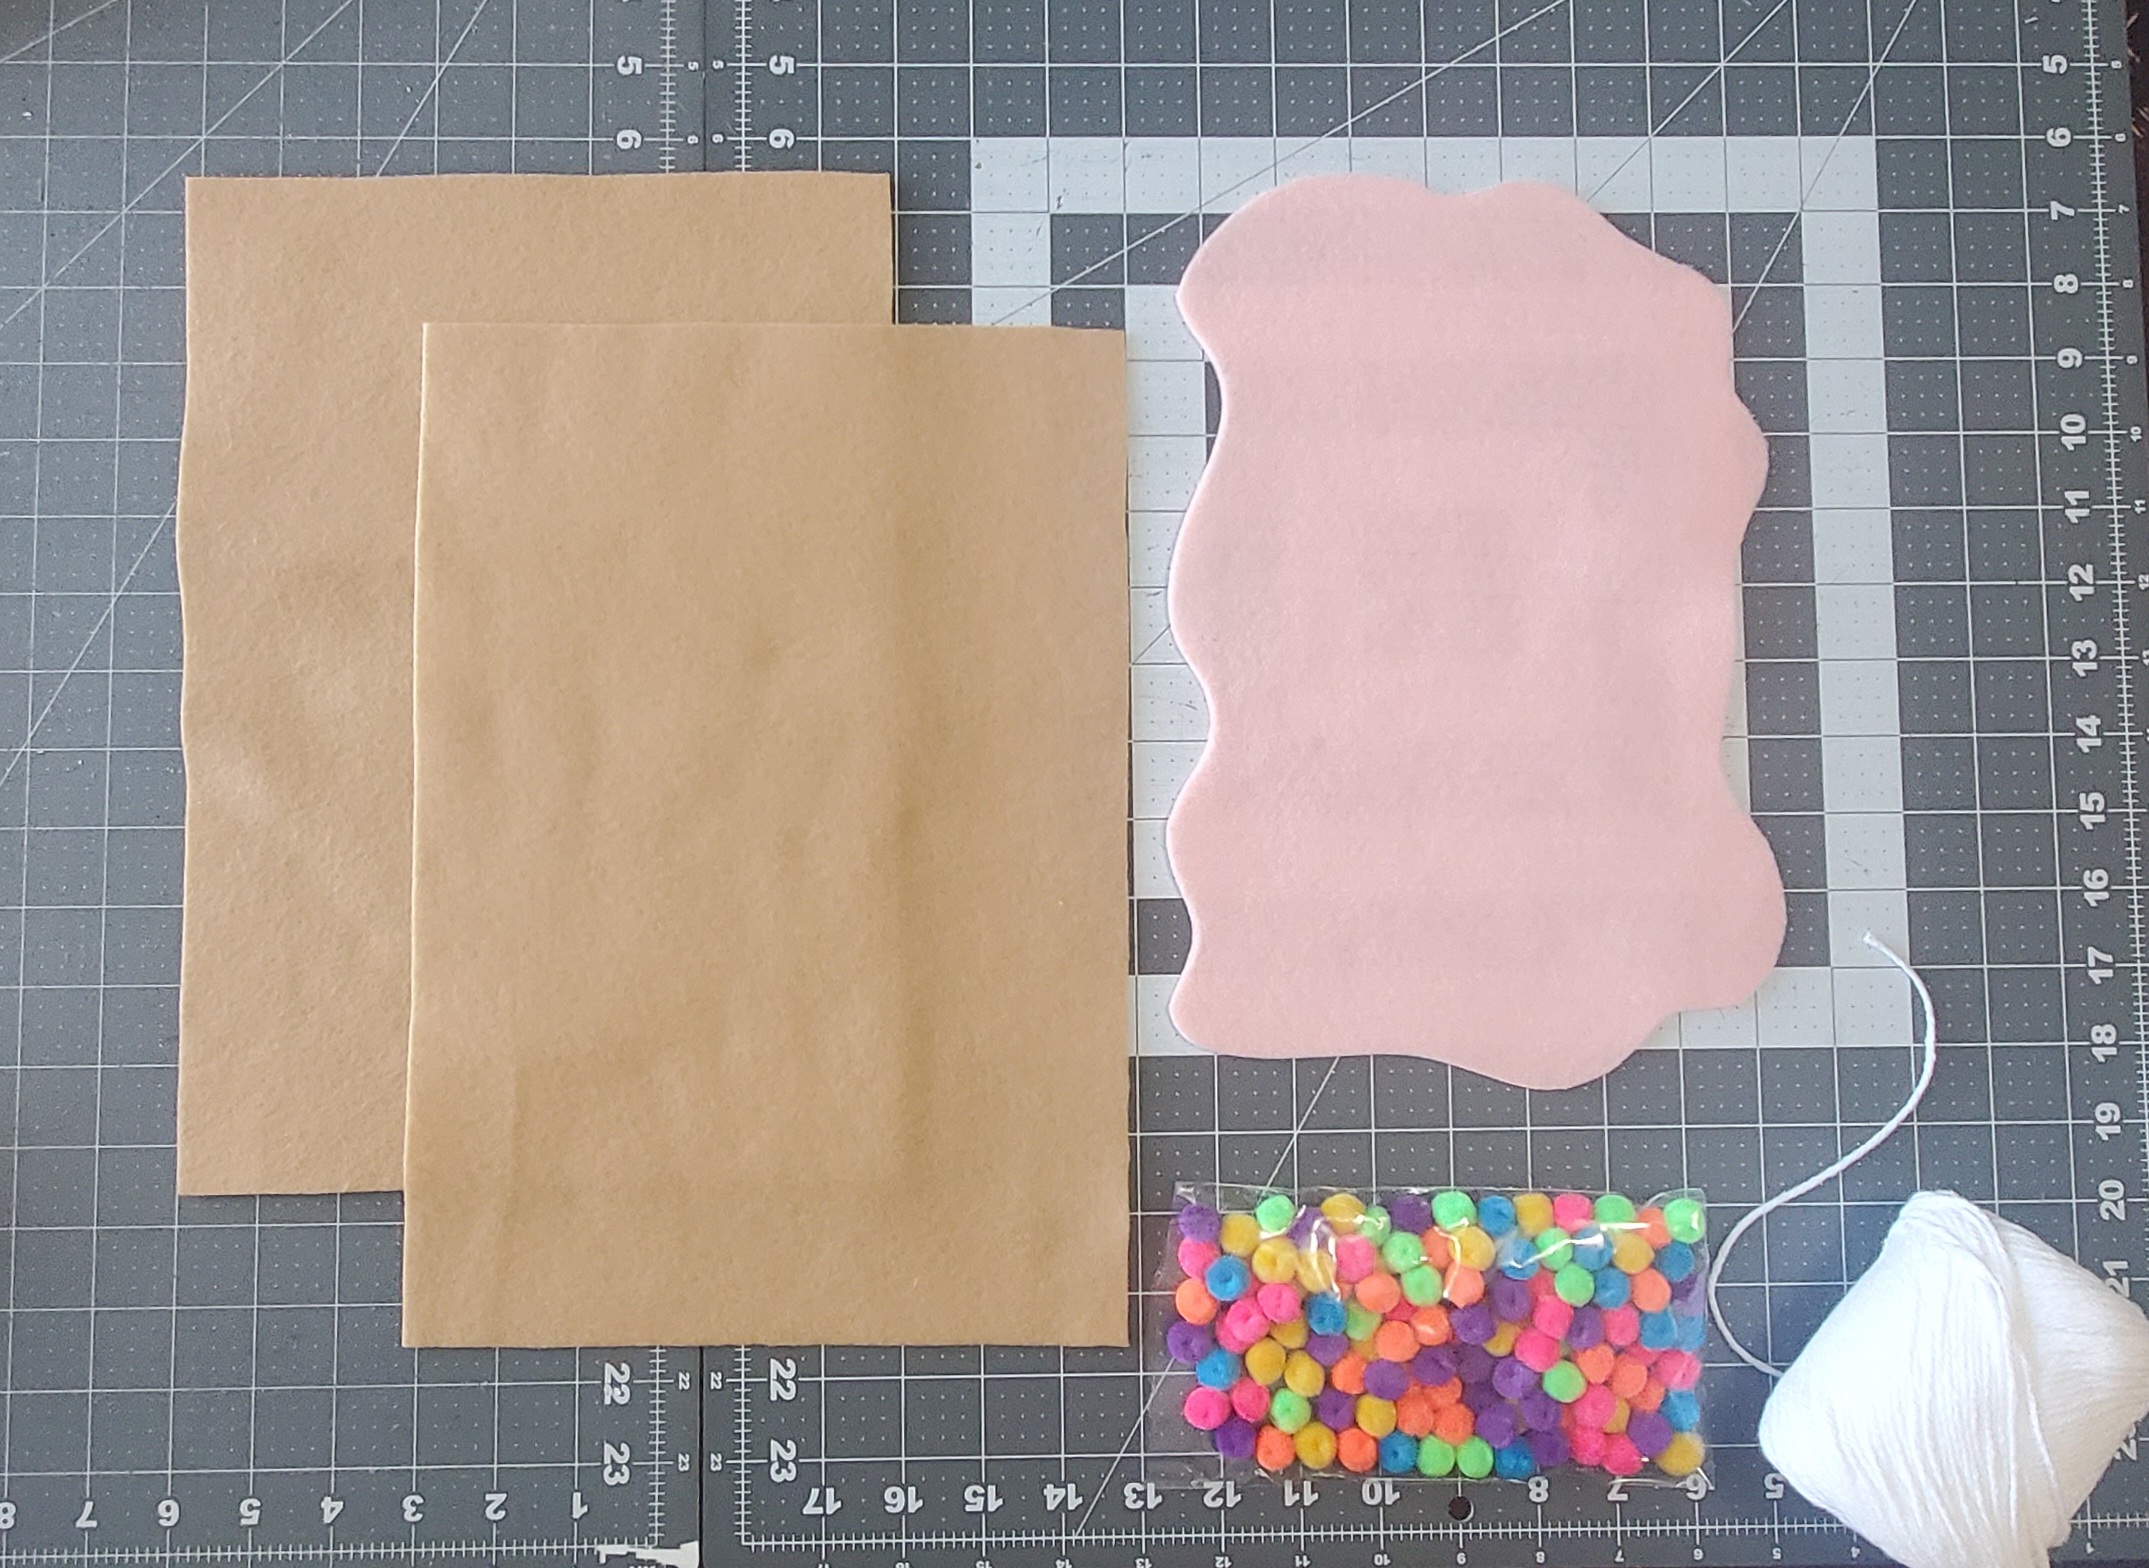
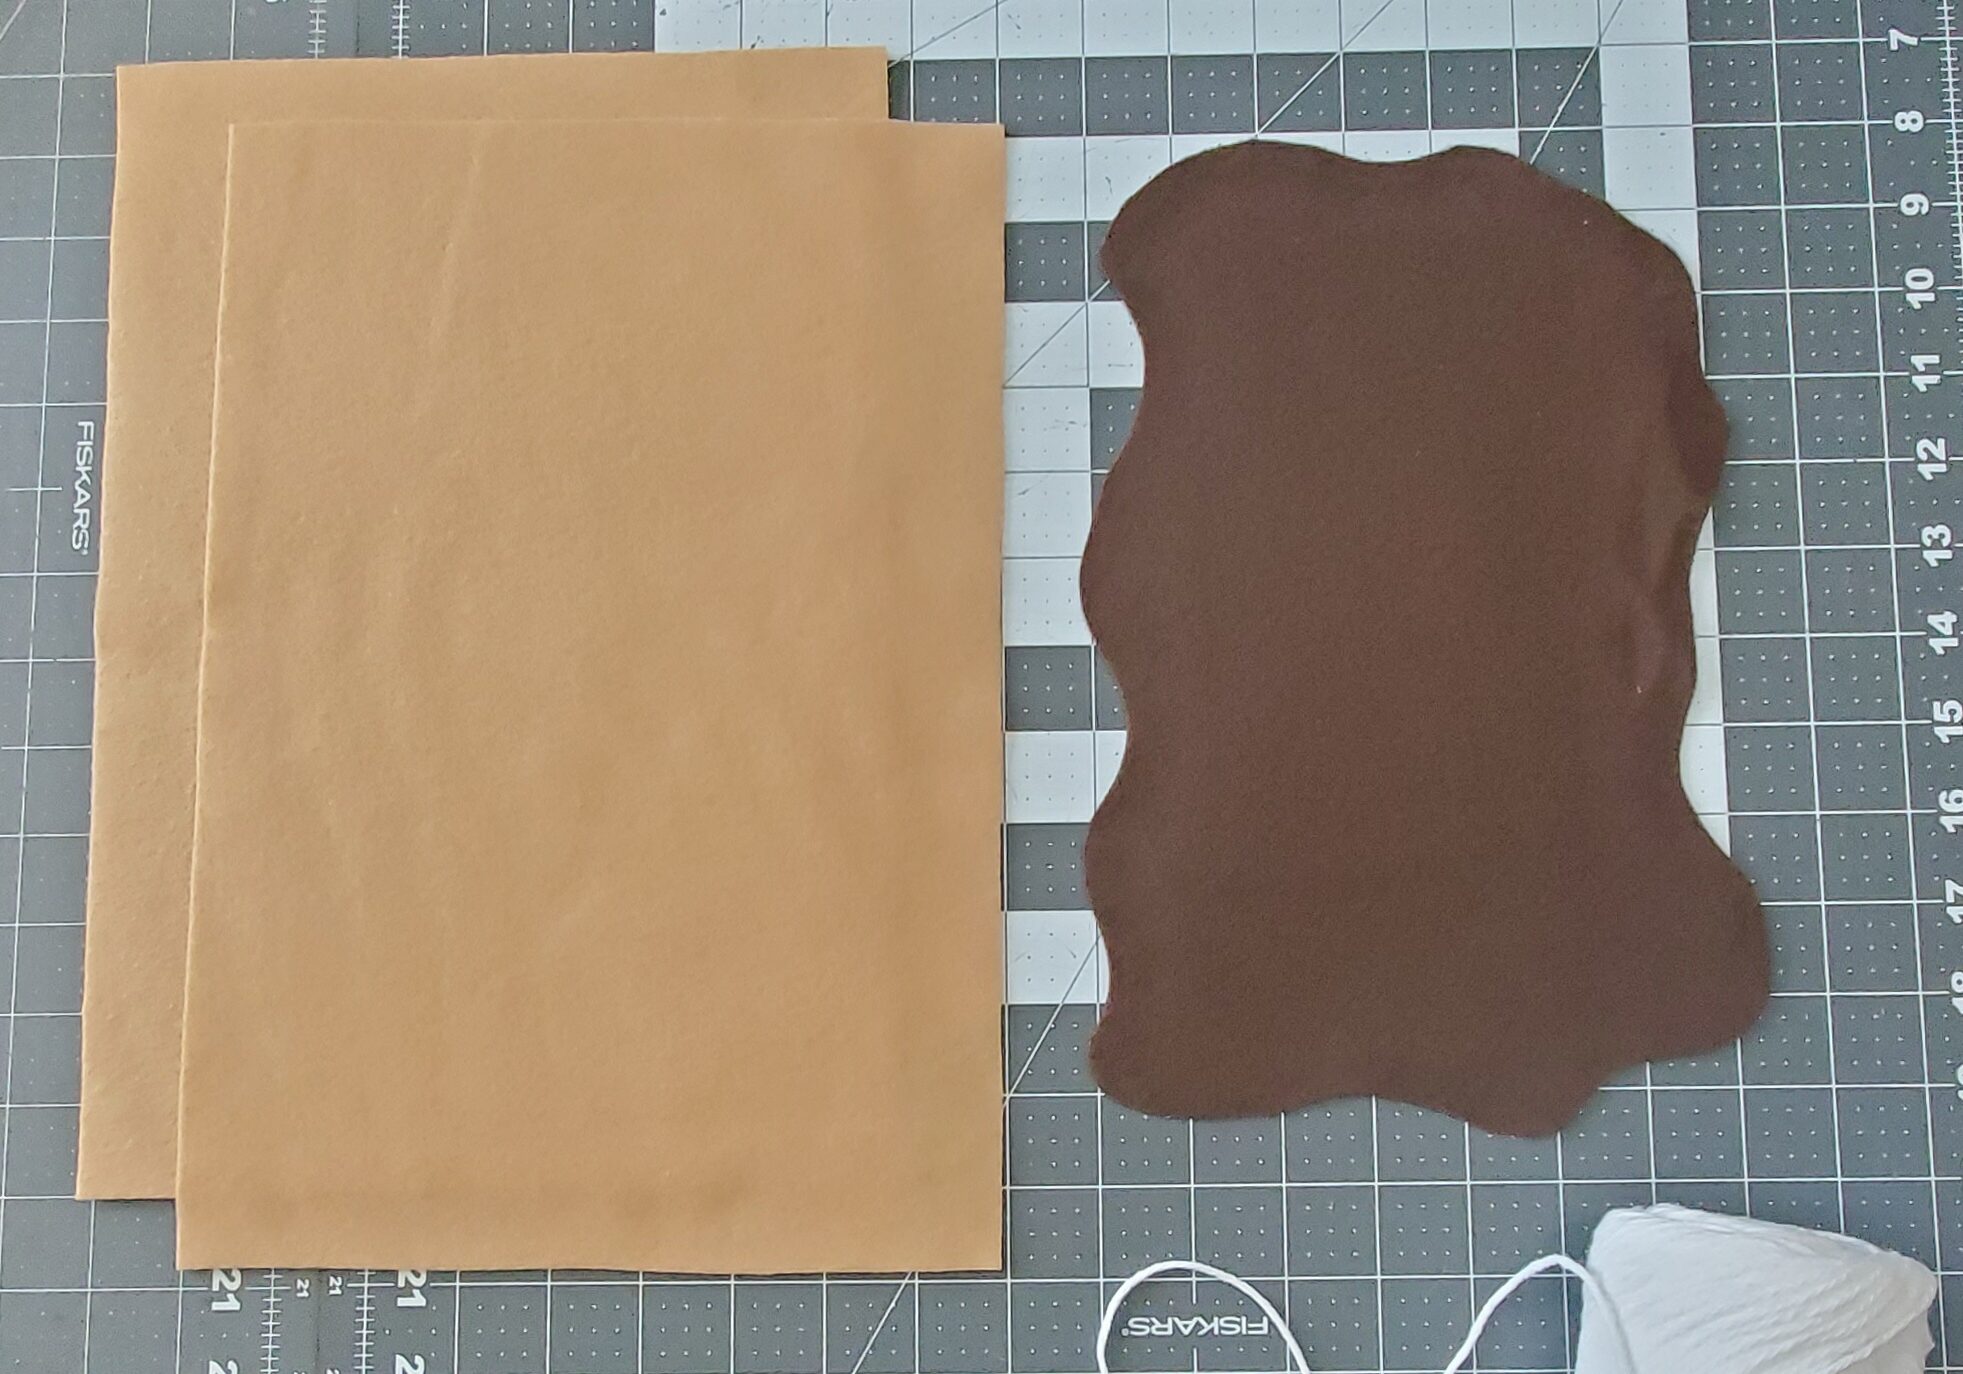
Cut 2 “main toaster treat pieces”, and 1 “icing” piece. You can use fleece, felt, or other sturdy fabric for these.
Step 3: EMBELLISHING
Depending on your choice of embellishments, you could opt to complete this step at the end. However, if you’re doing hand embroidery, attaching beads, etc., I typically find it easier to embellish first.
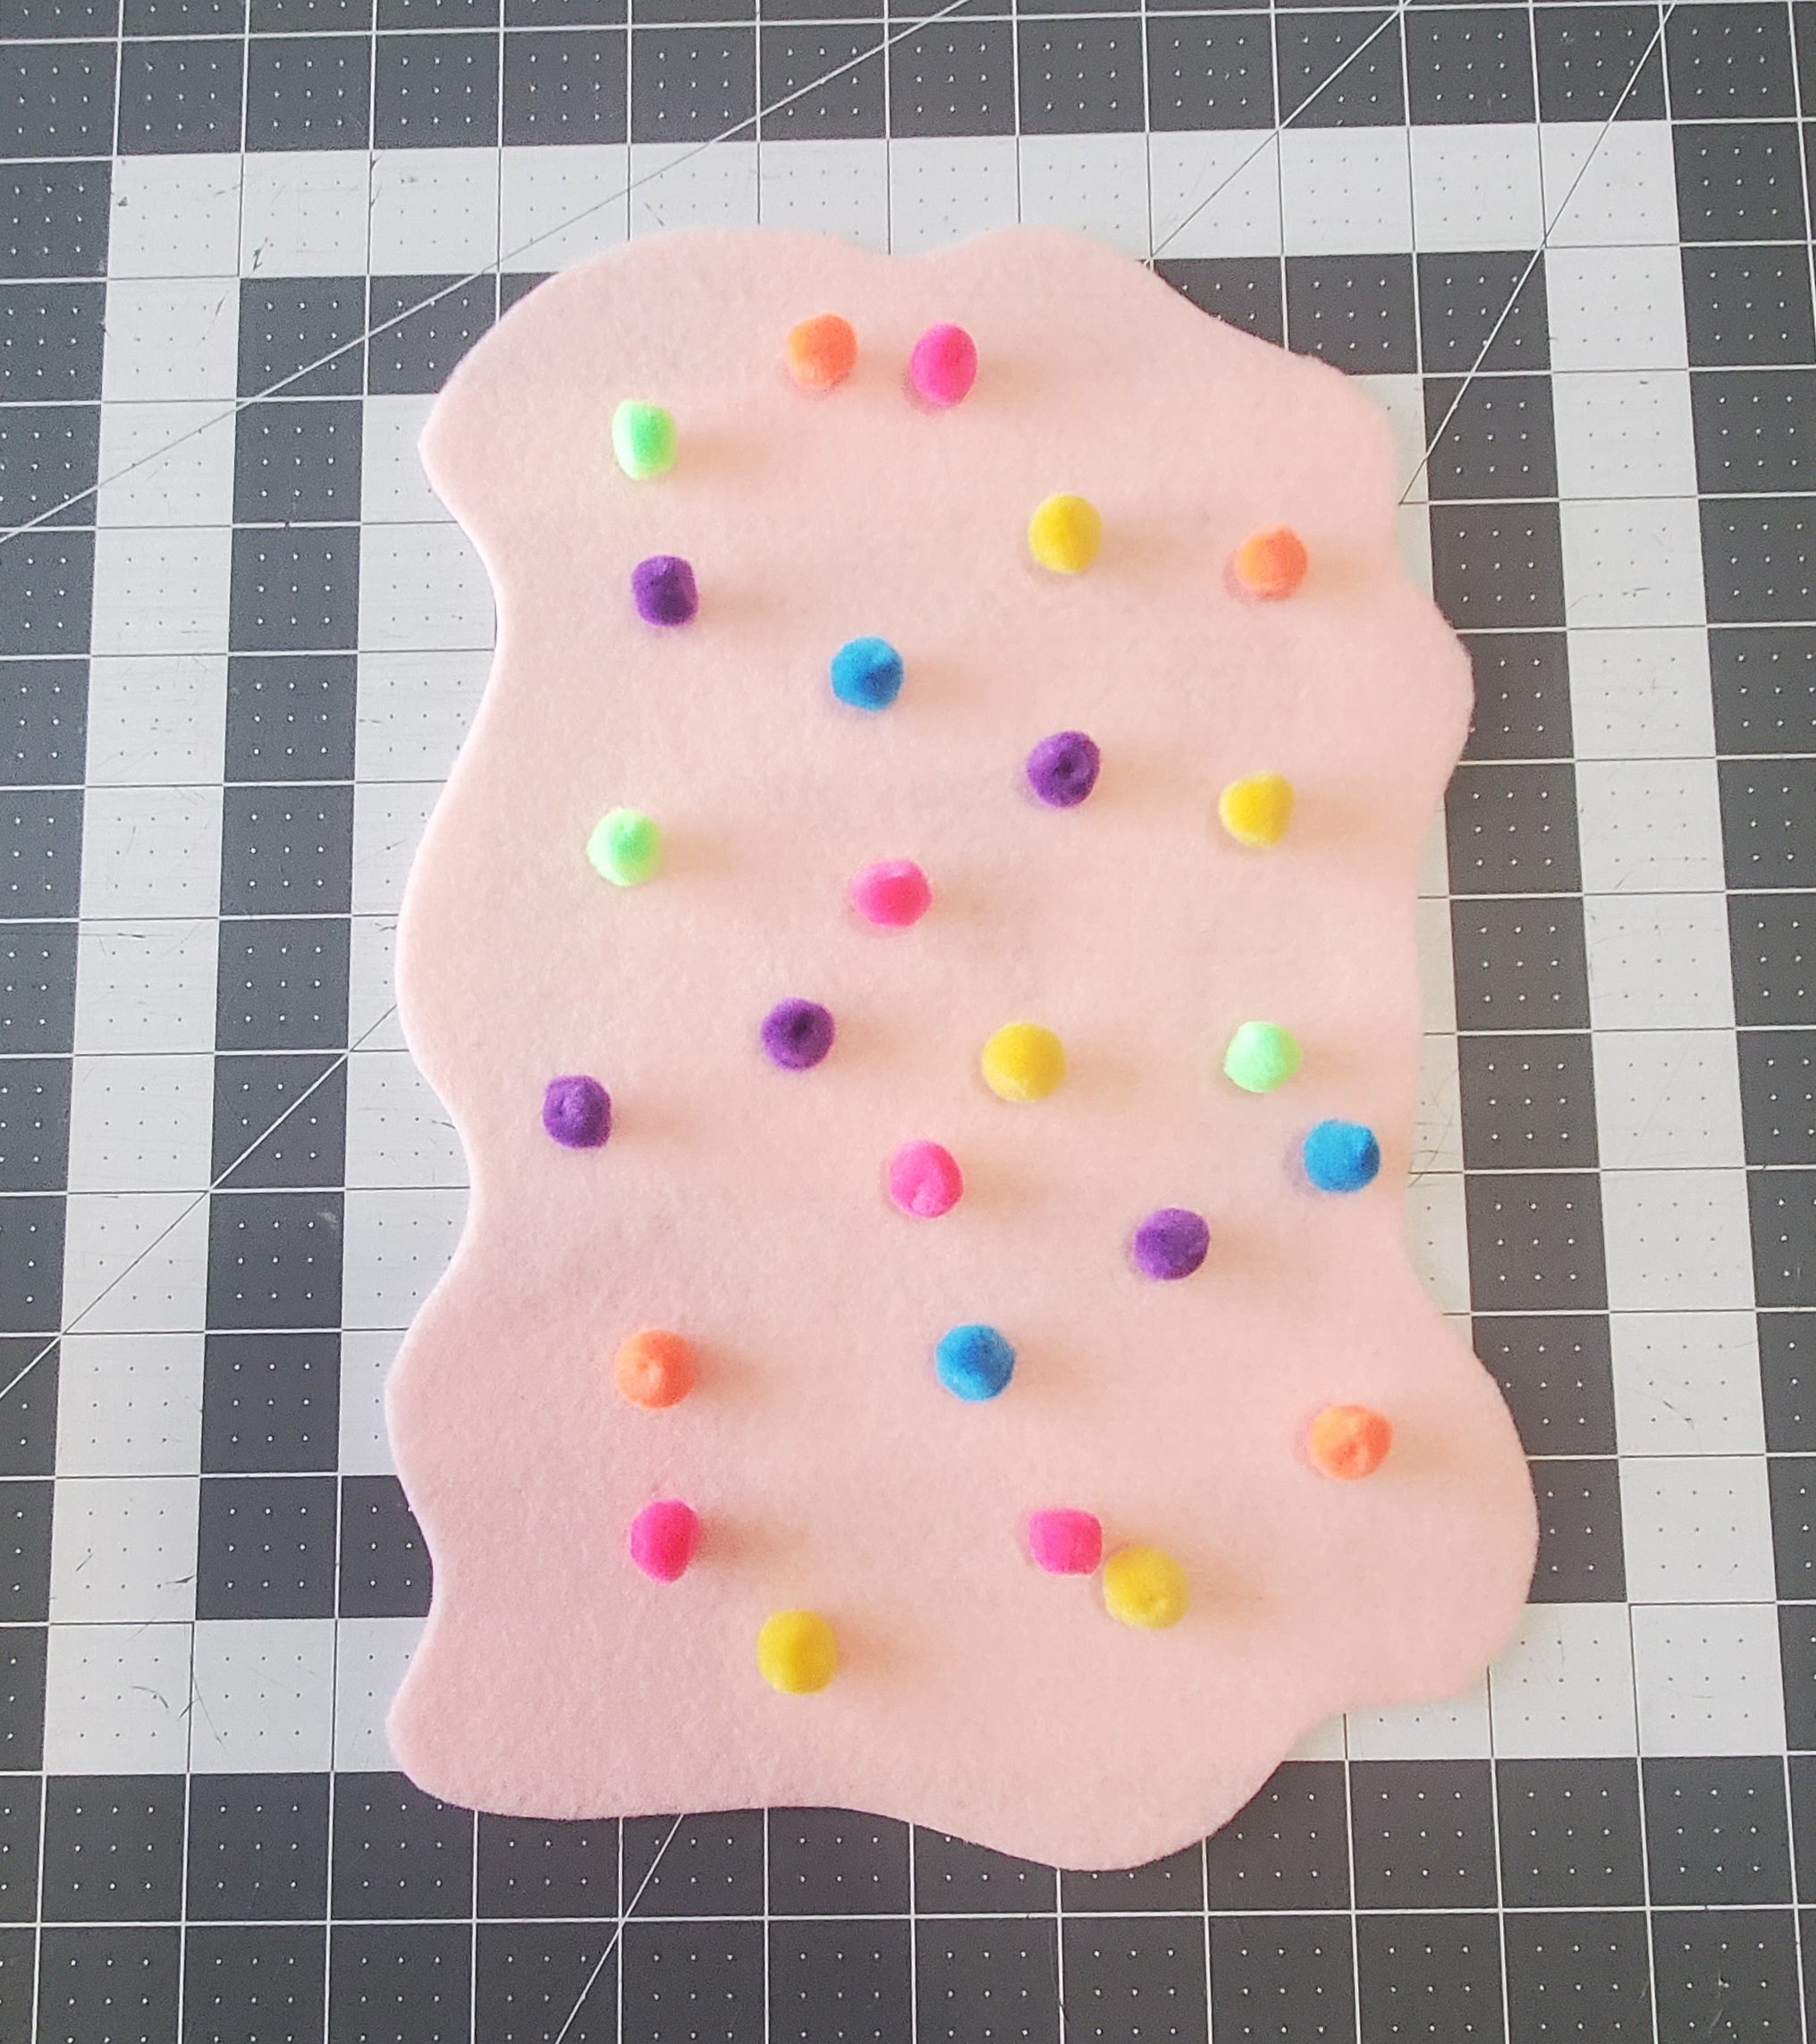
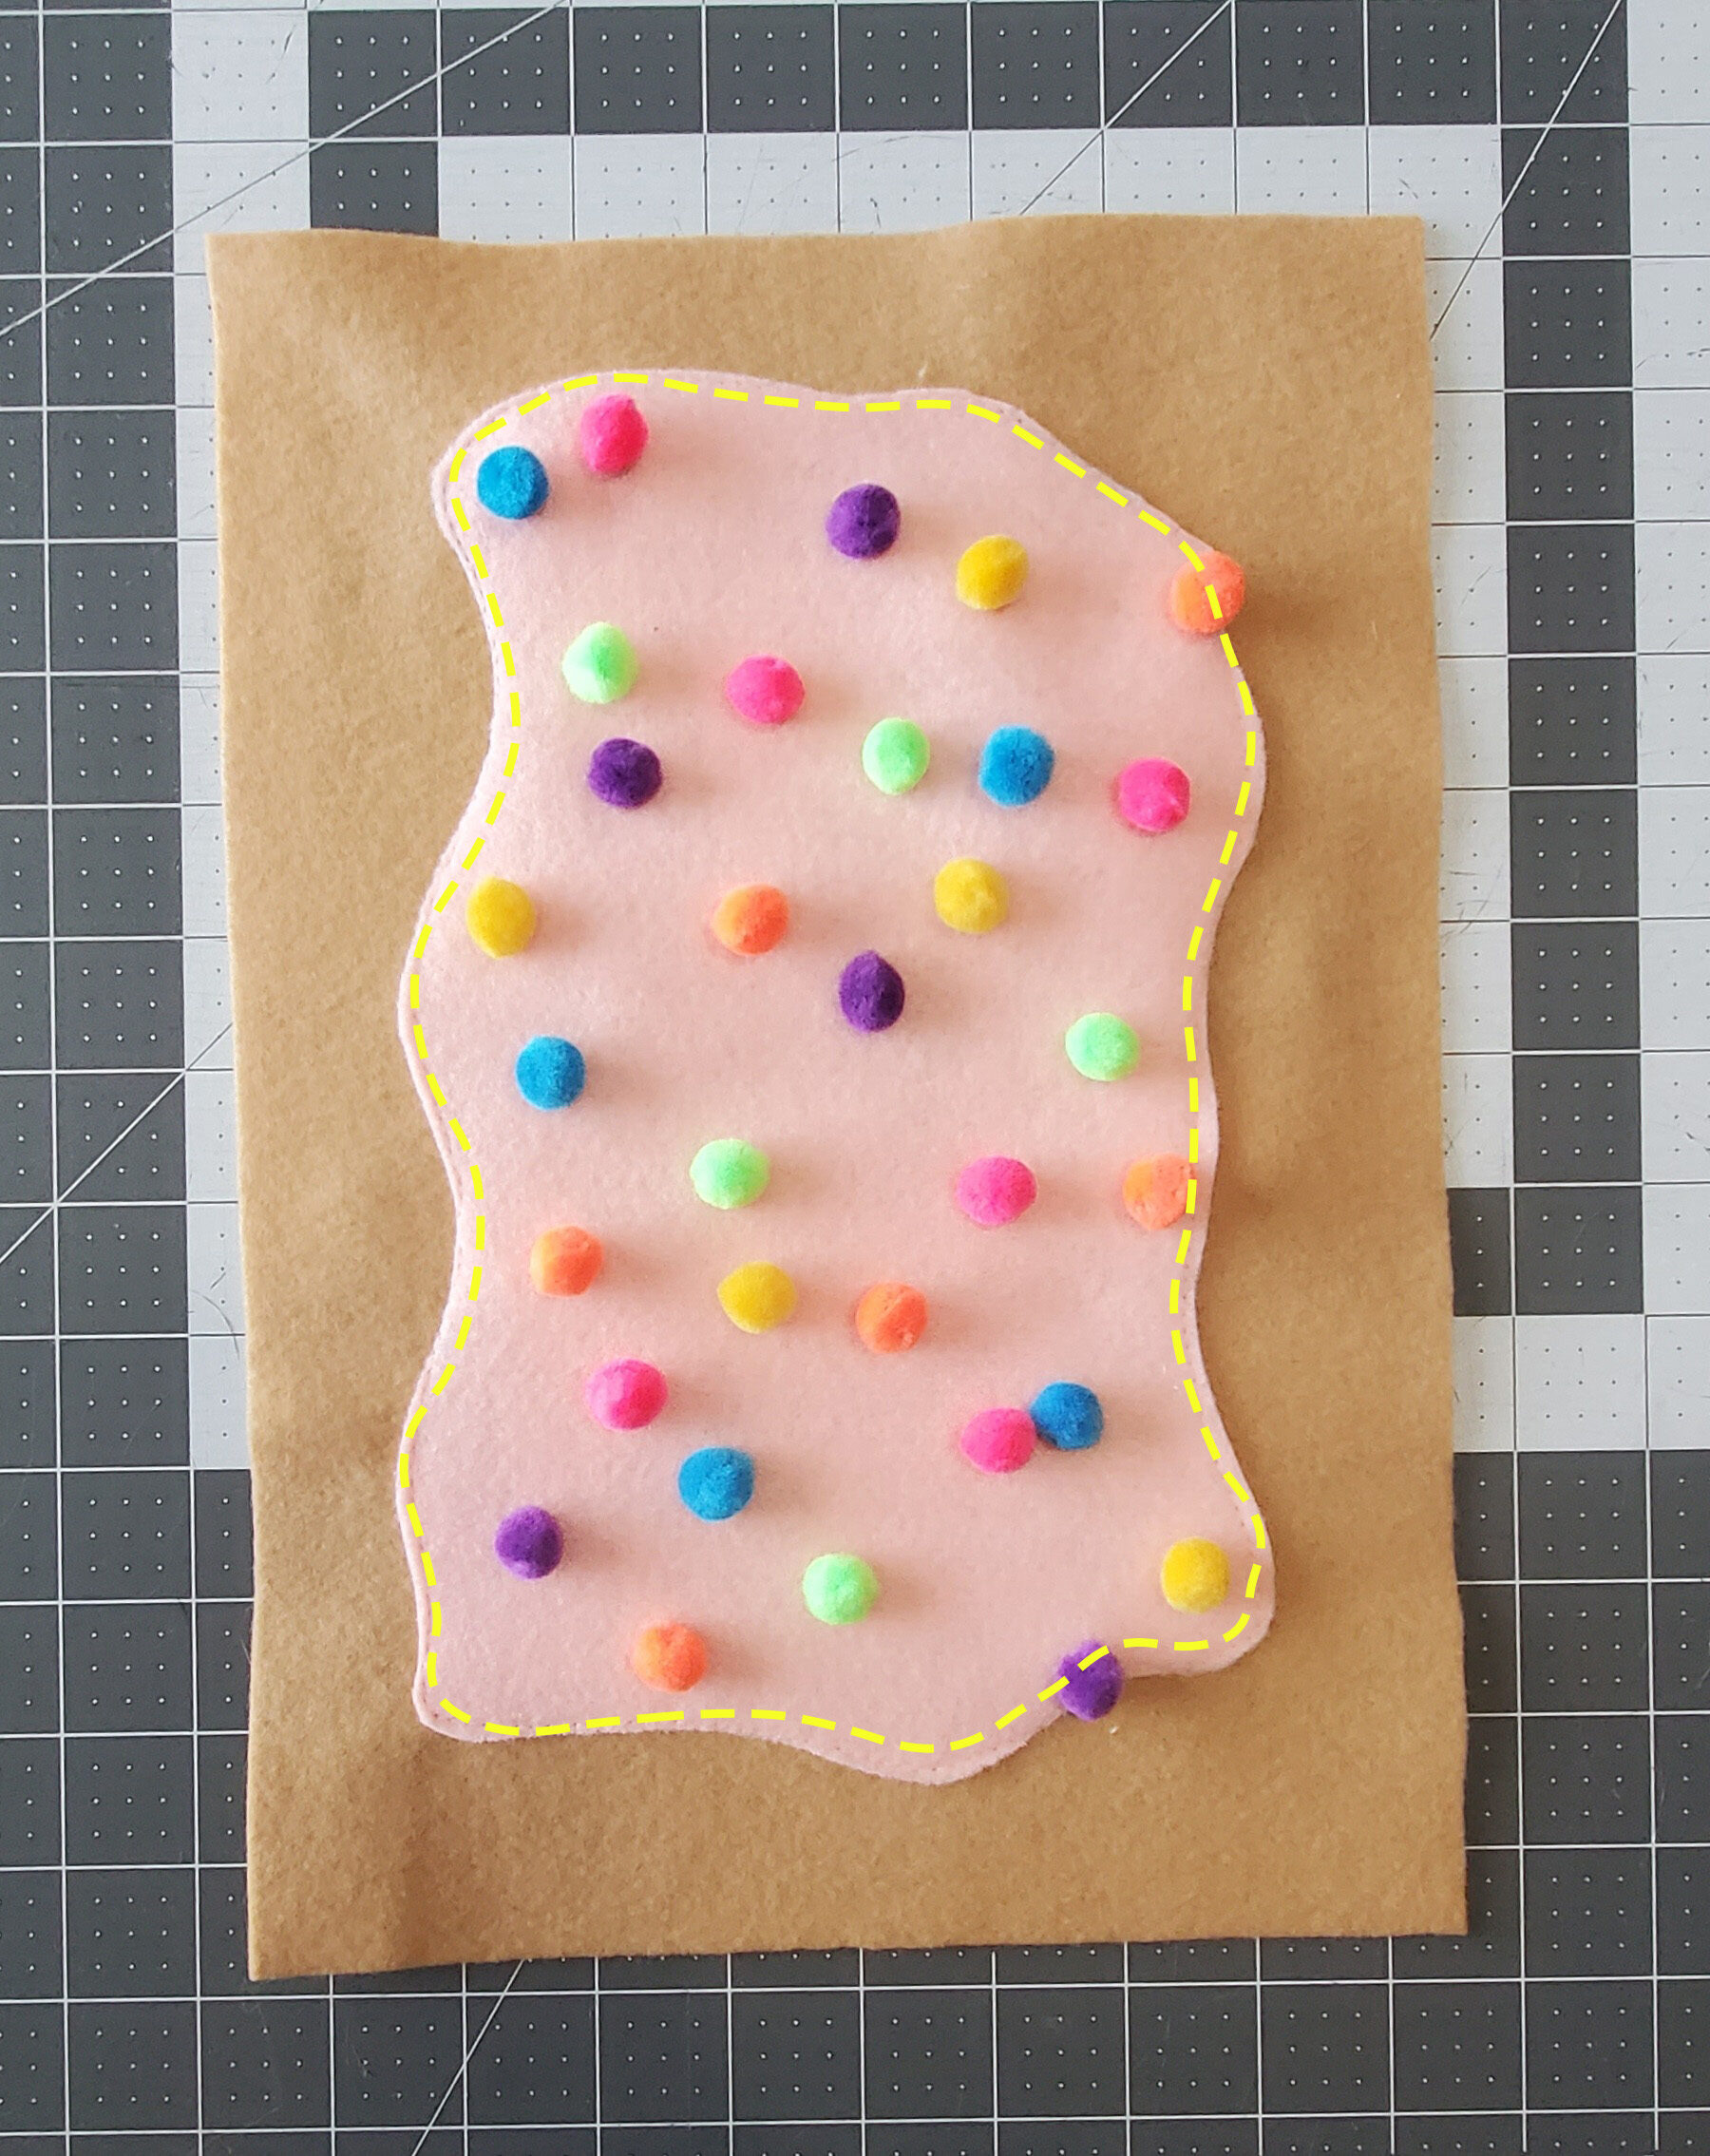
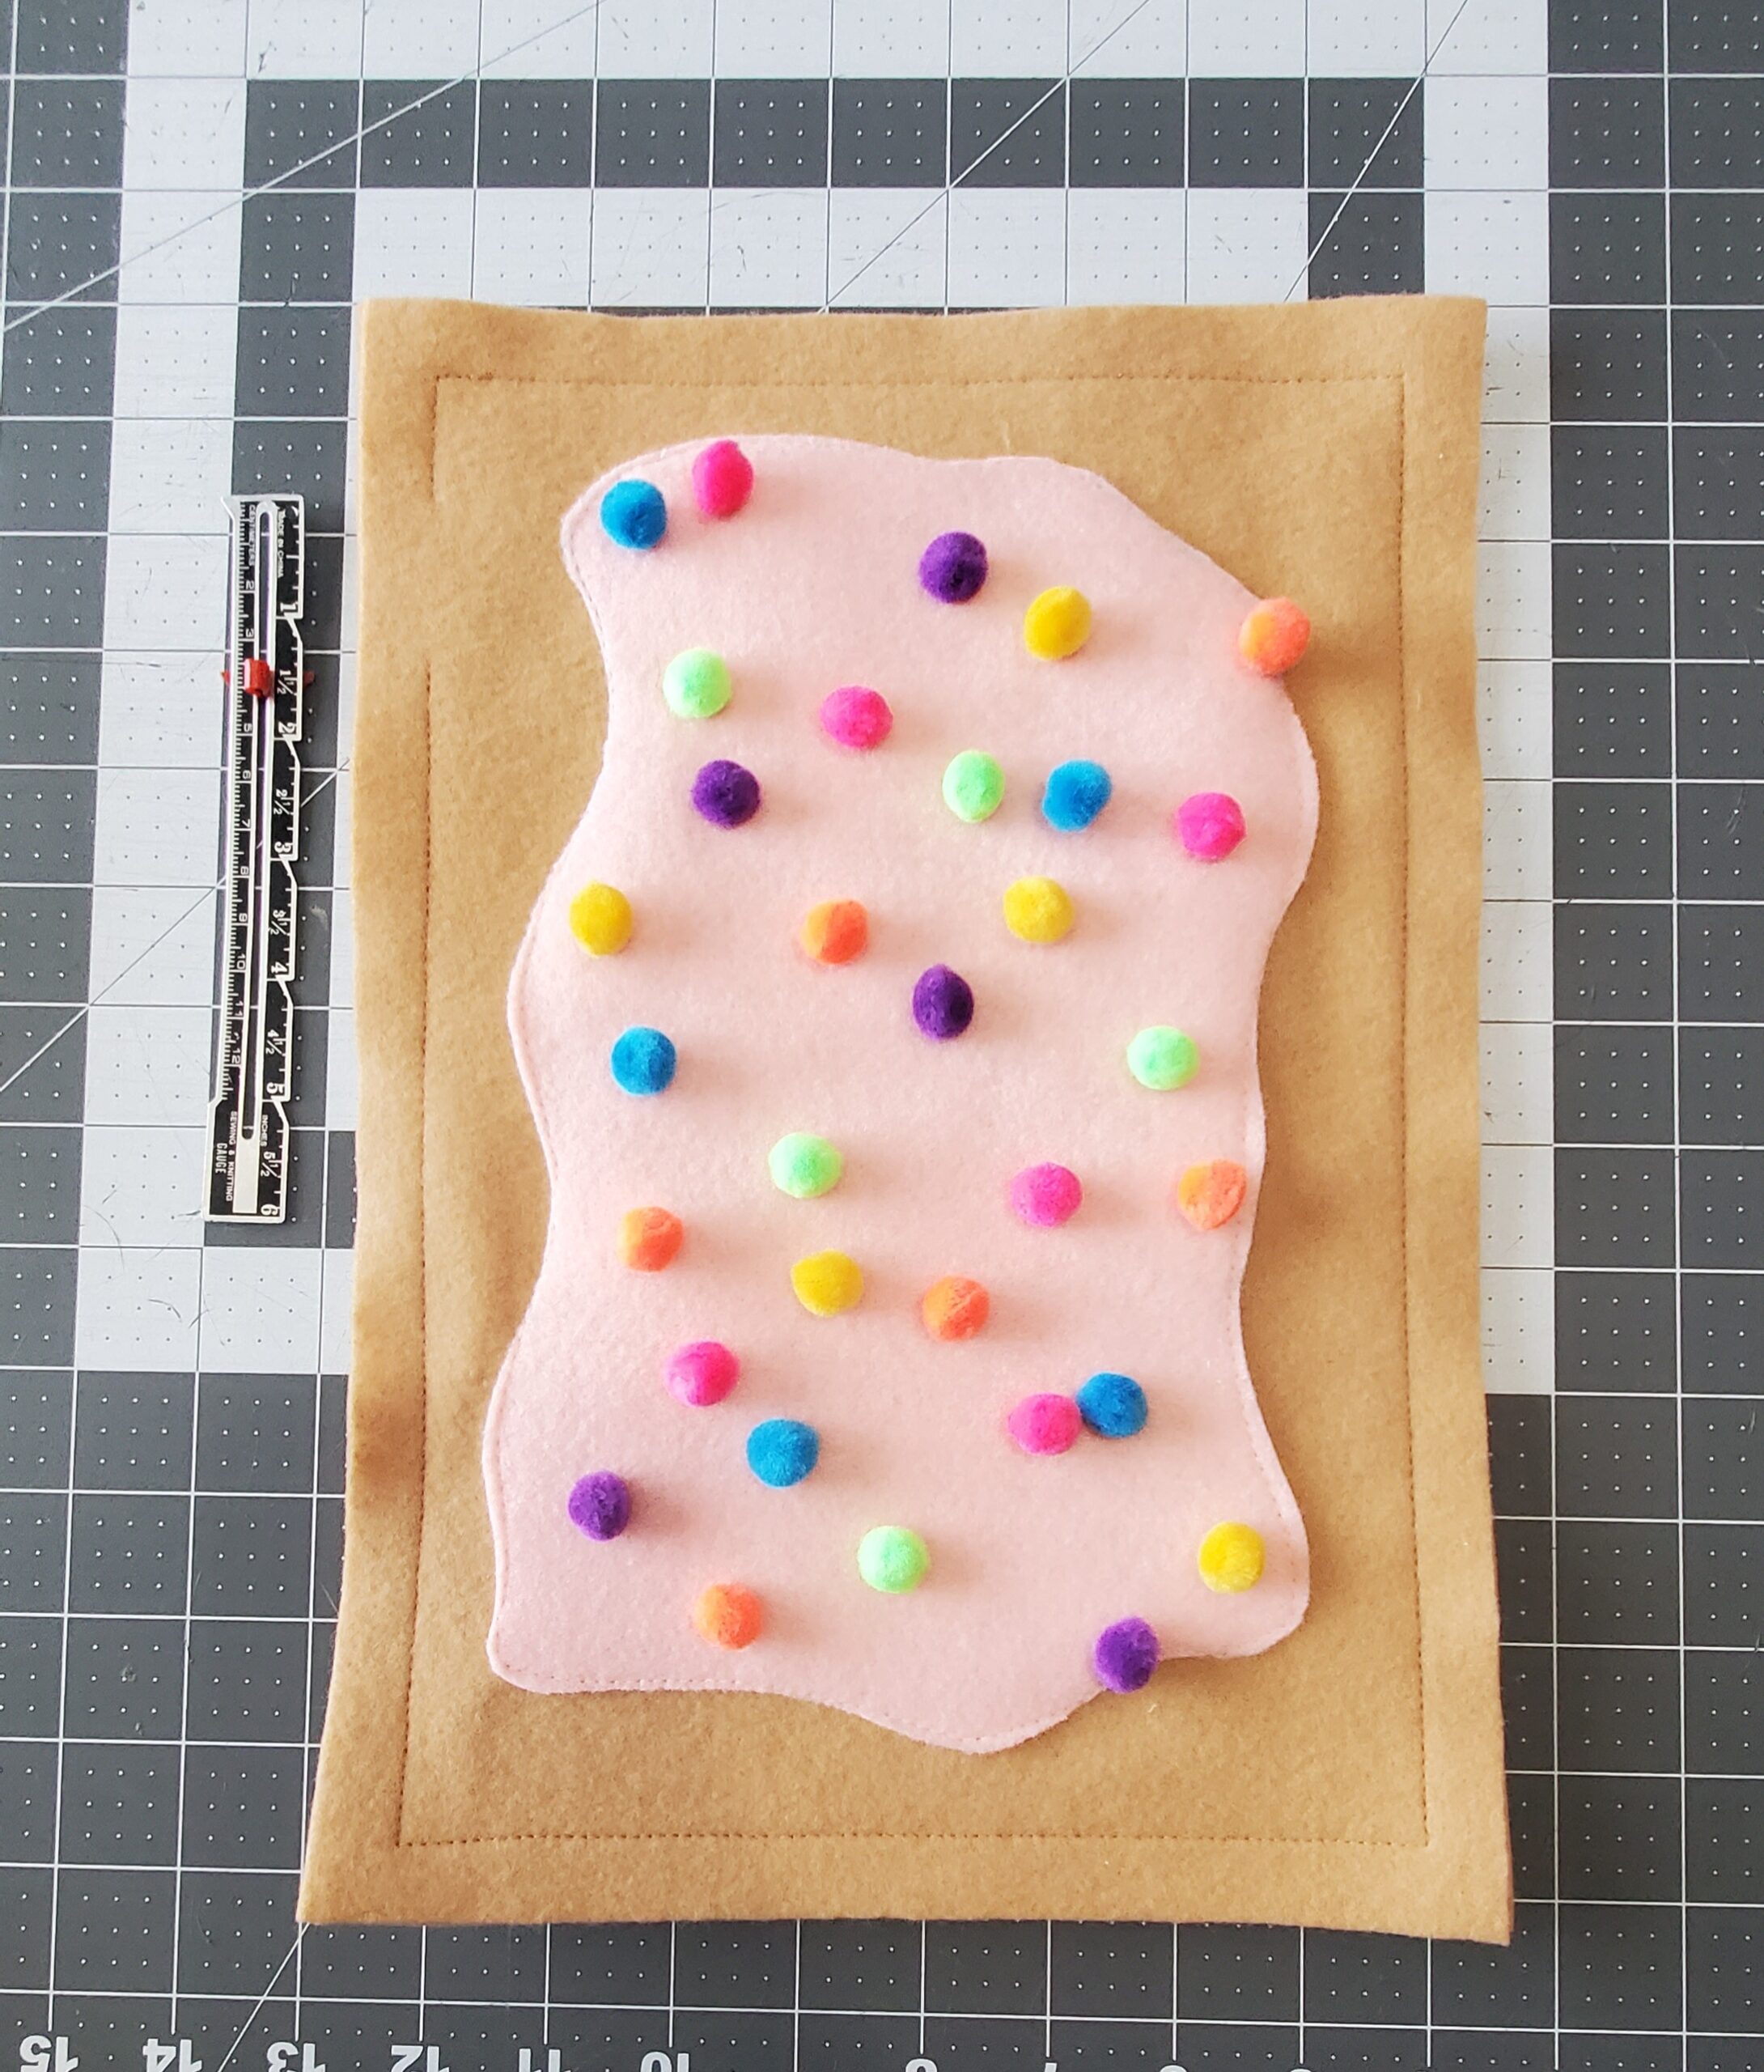
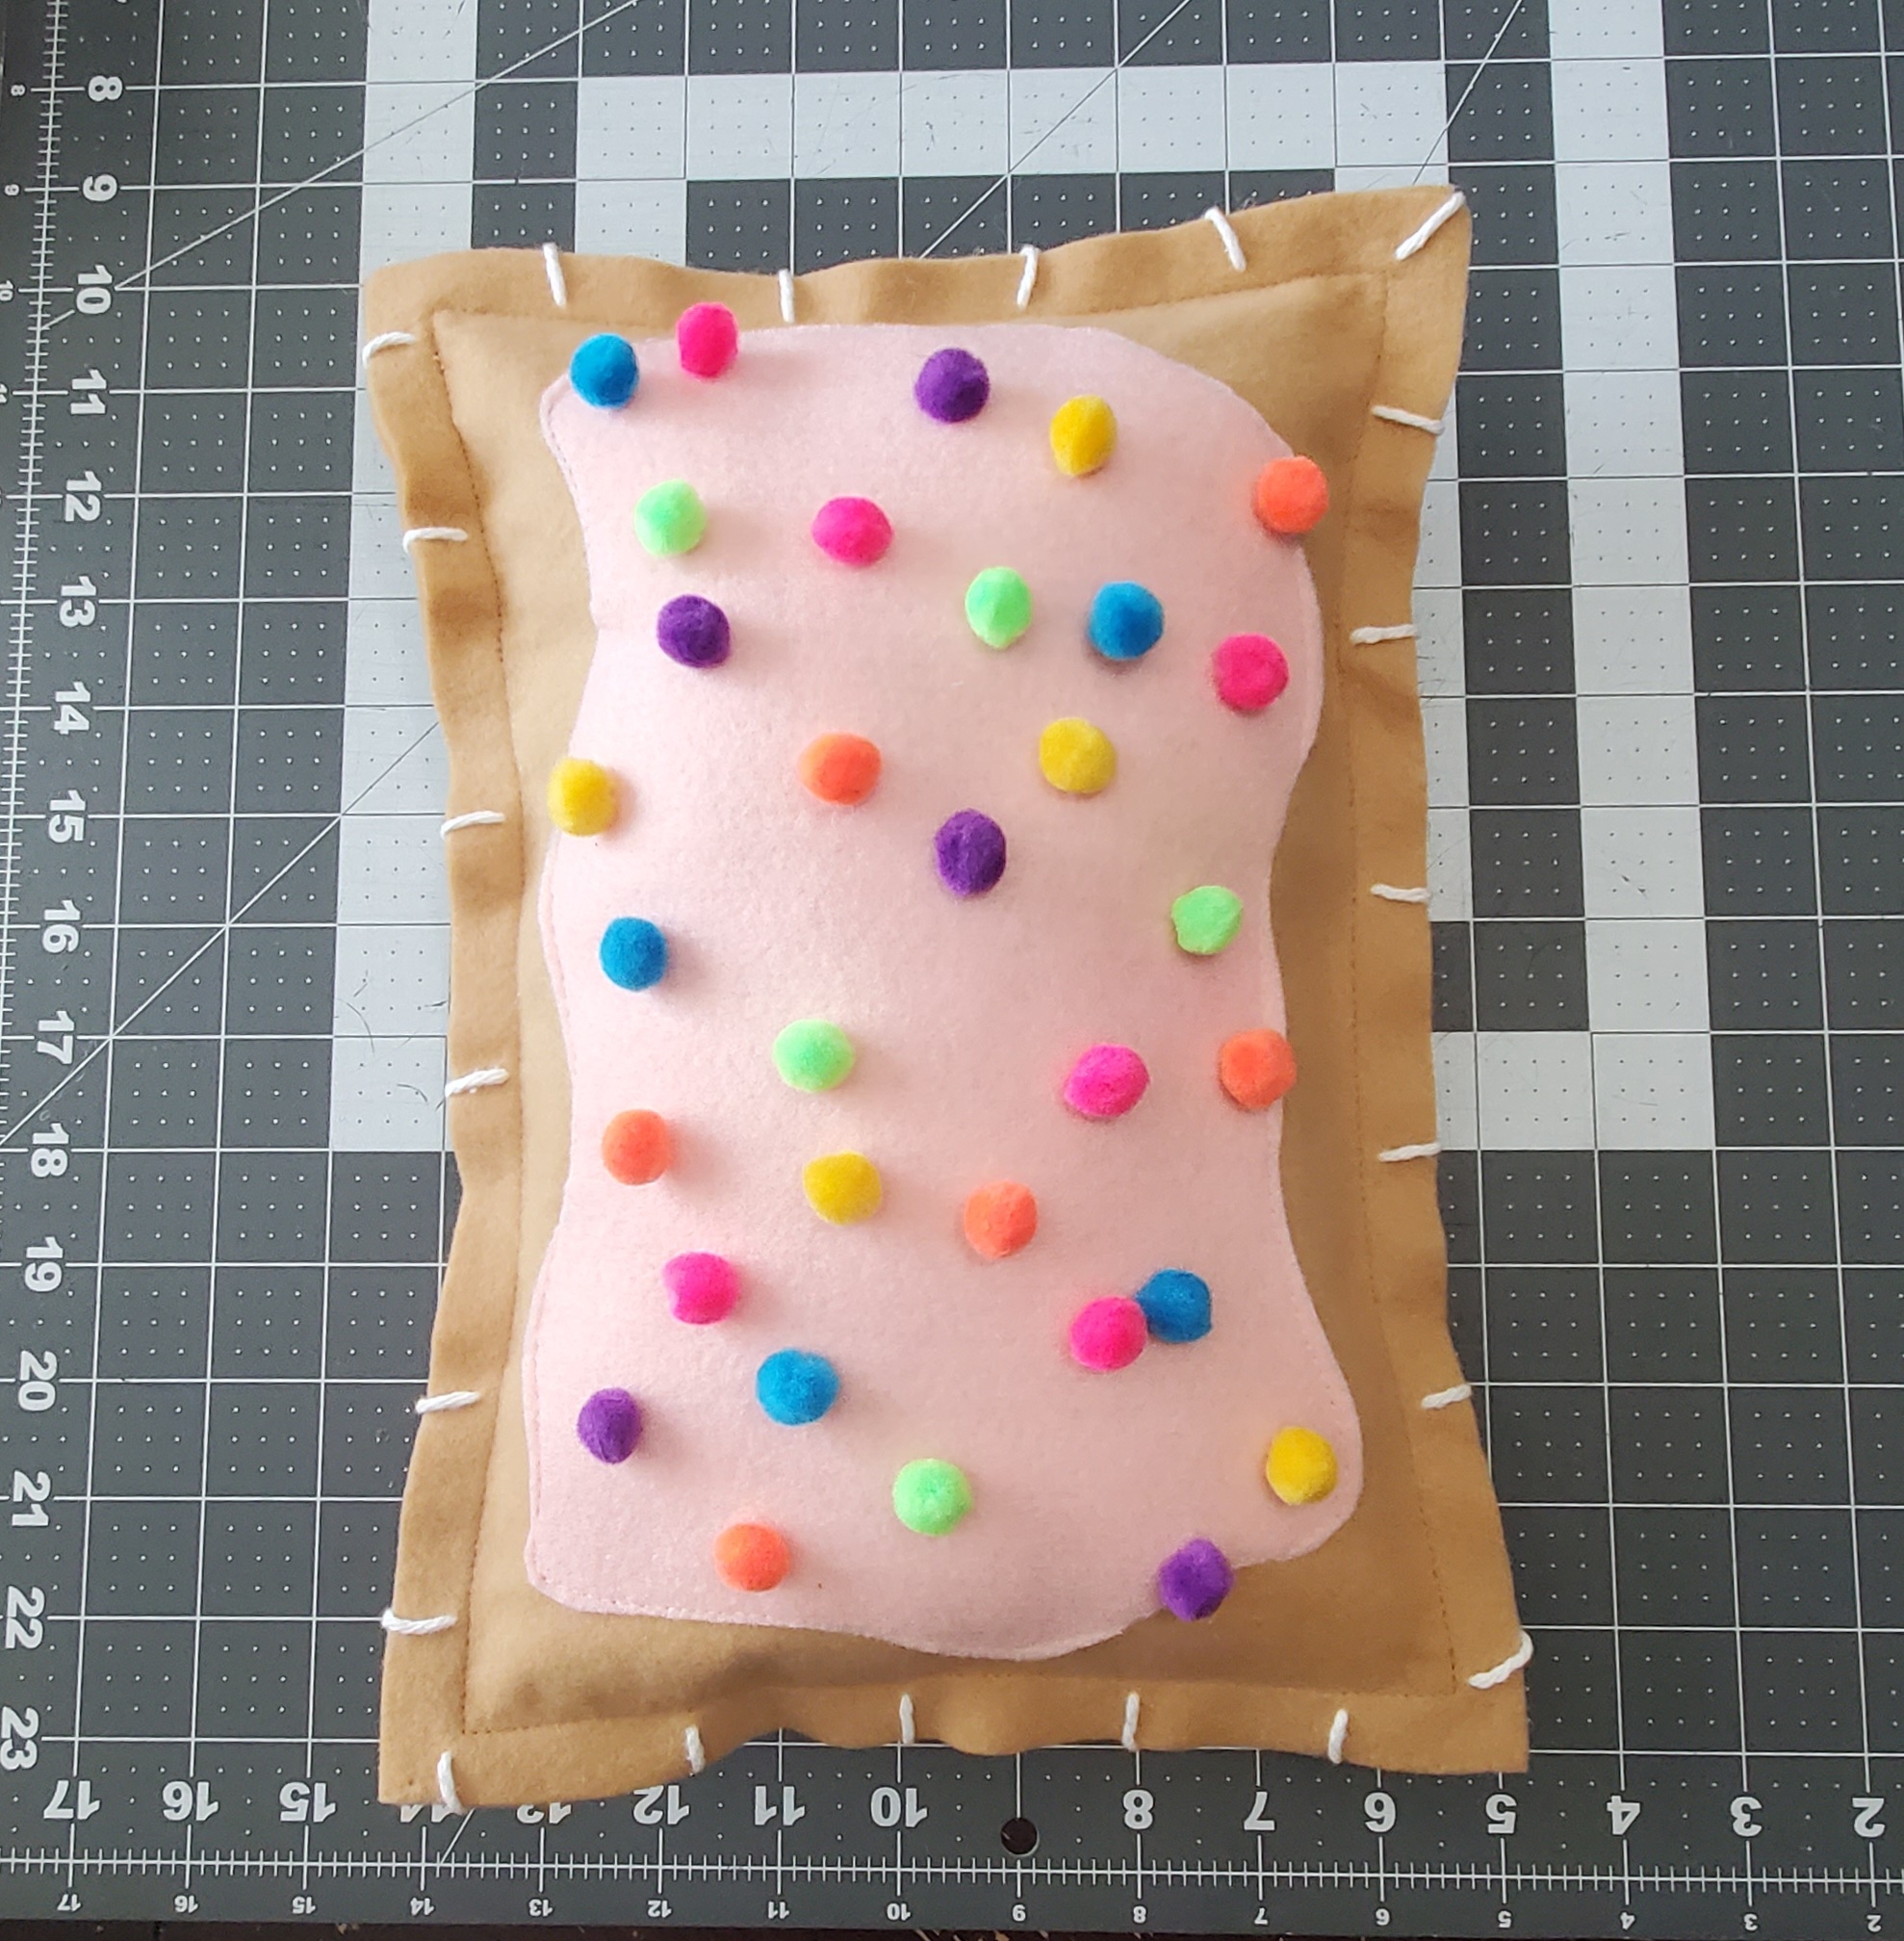
- Pom pom “sprinkles”
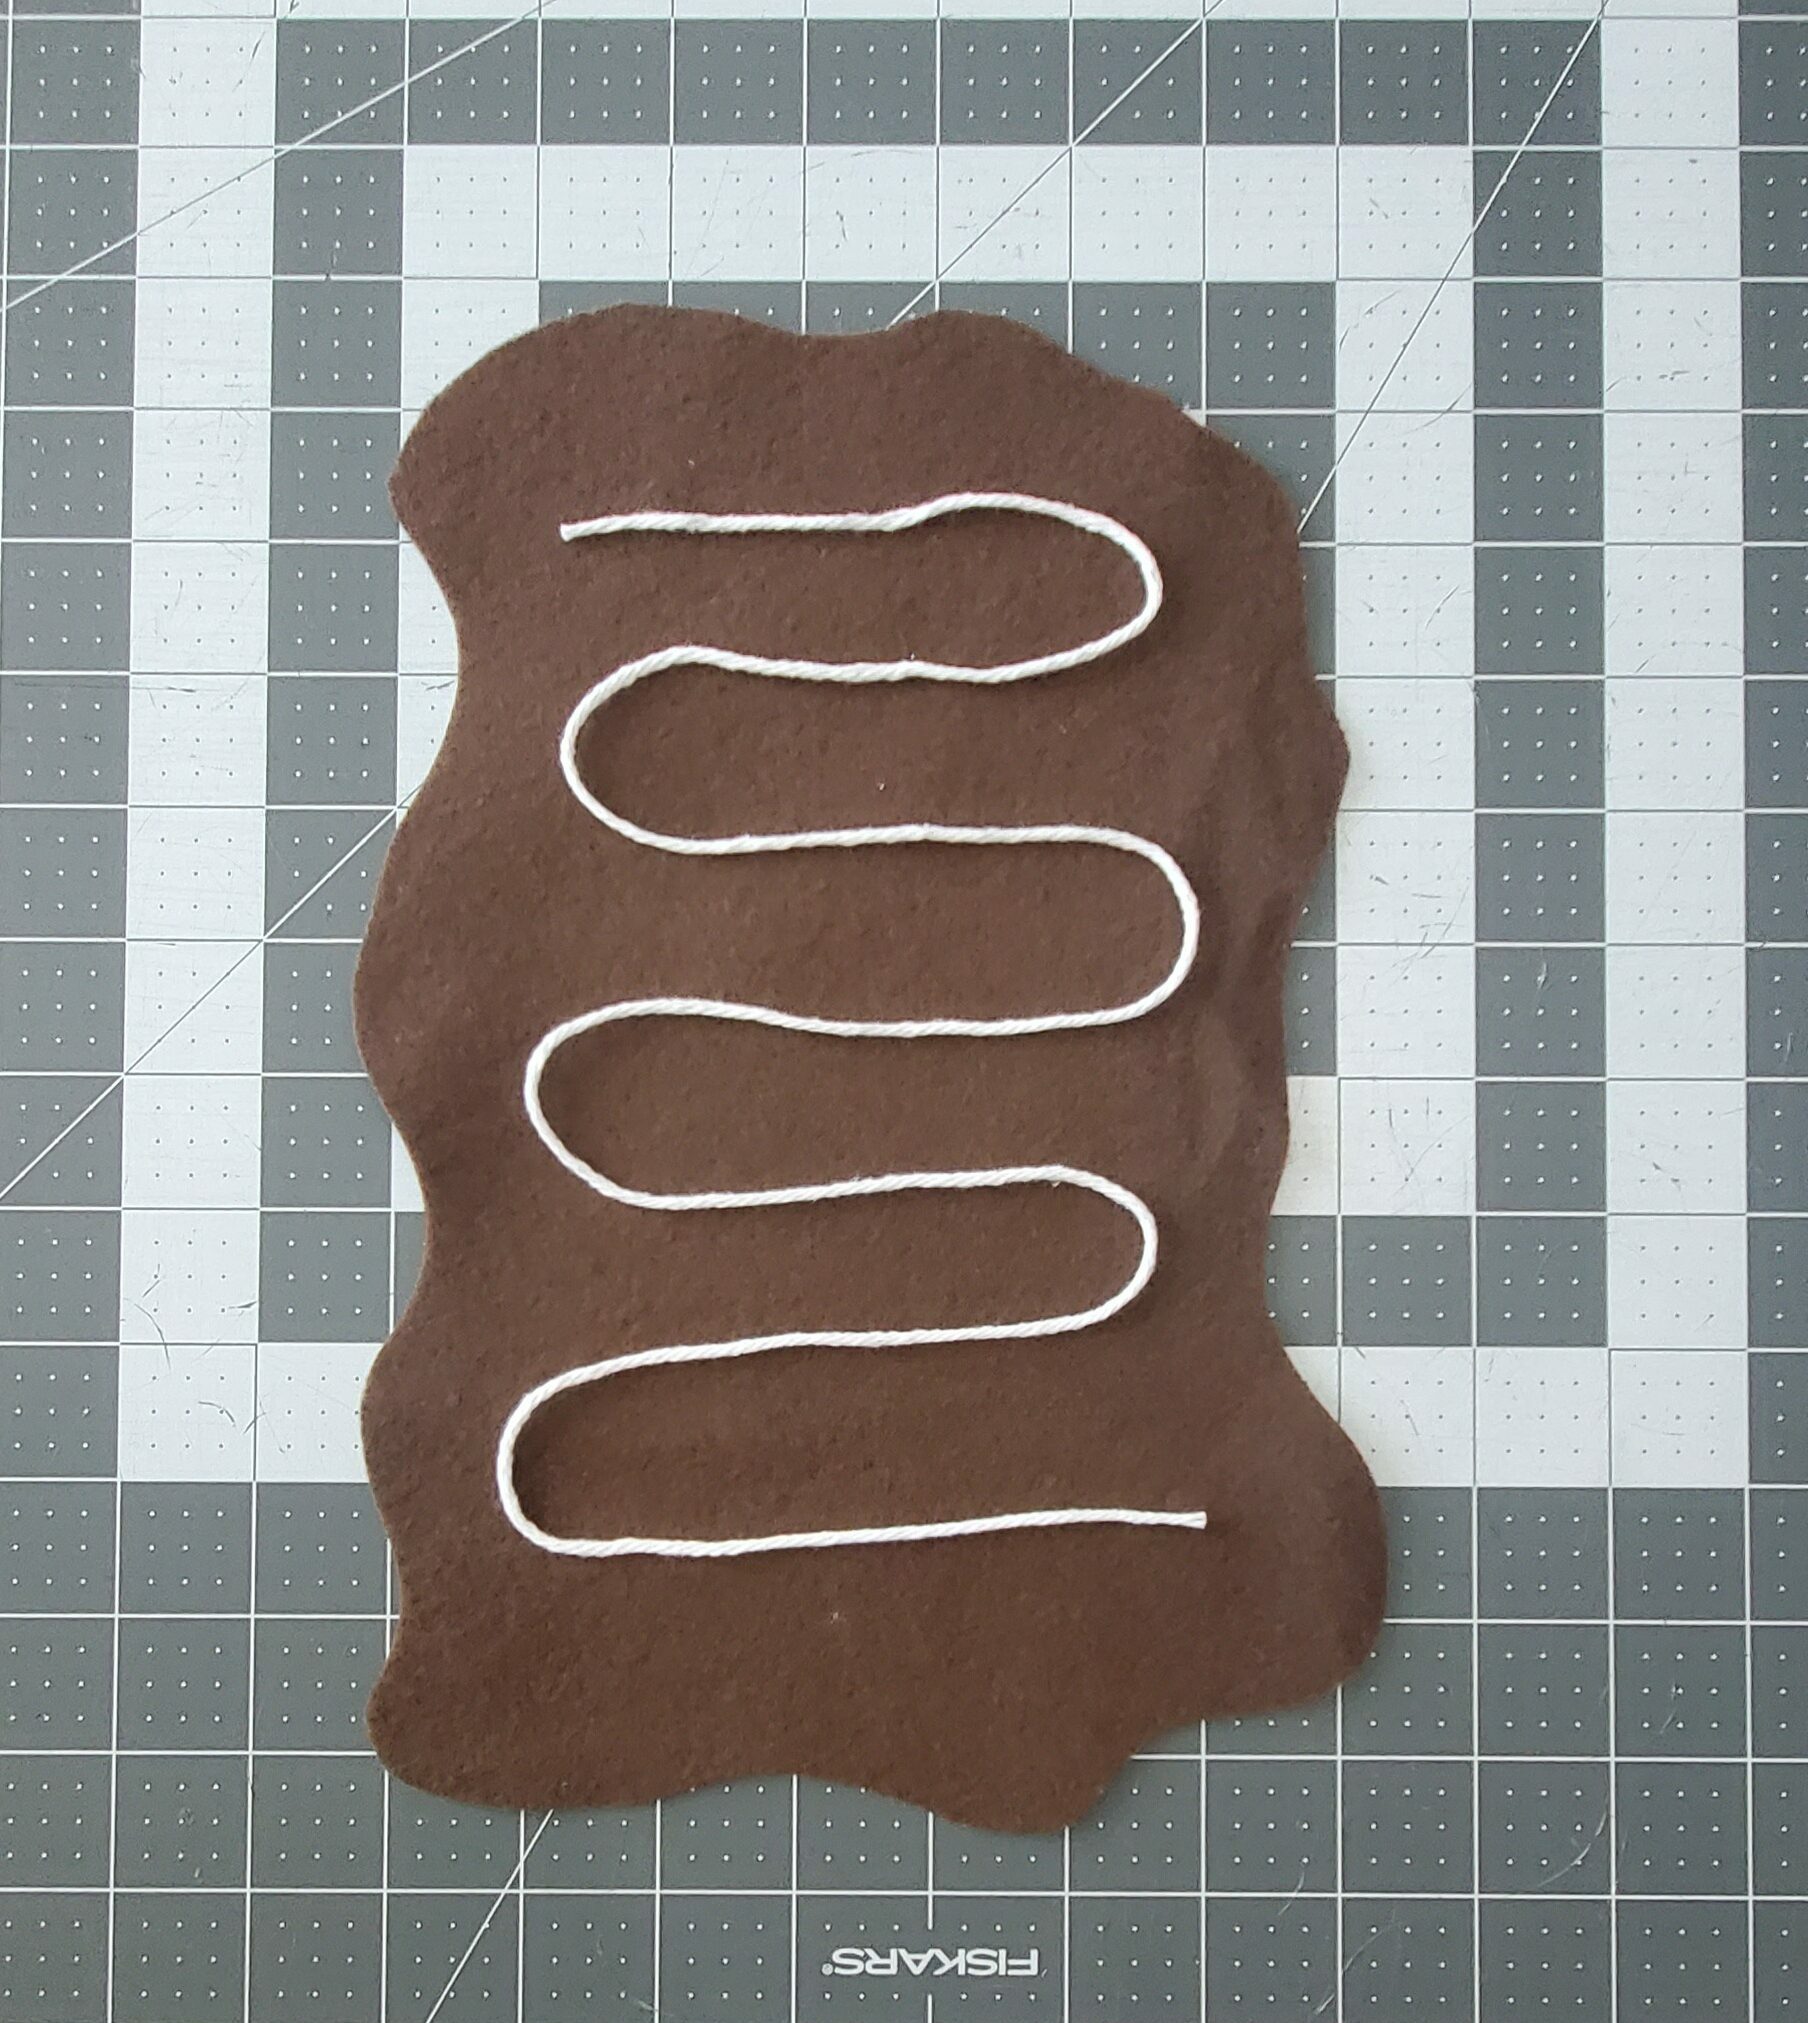
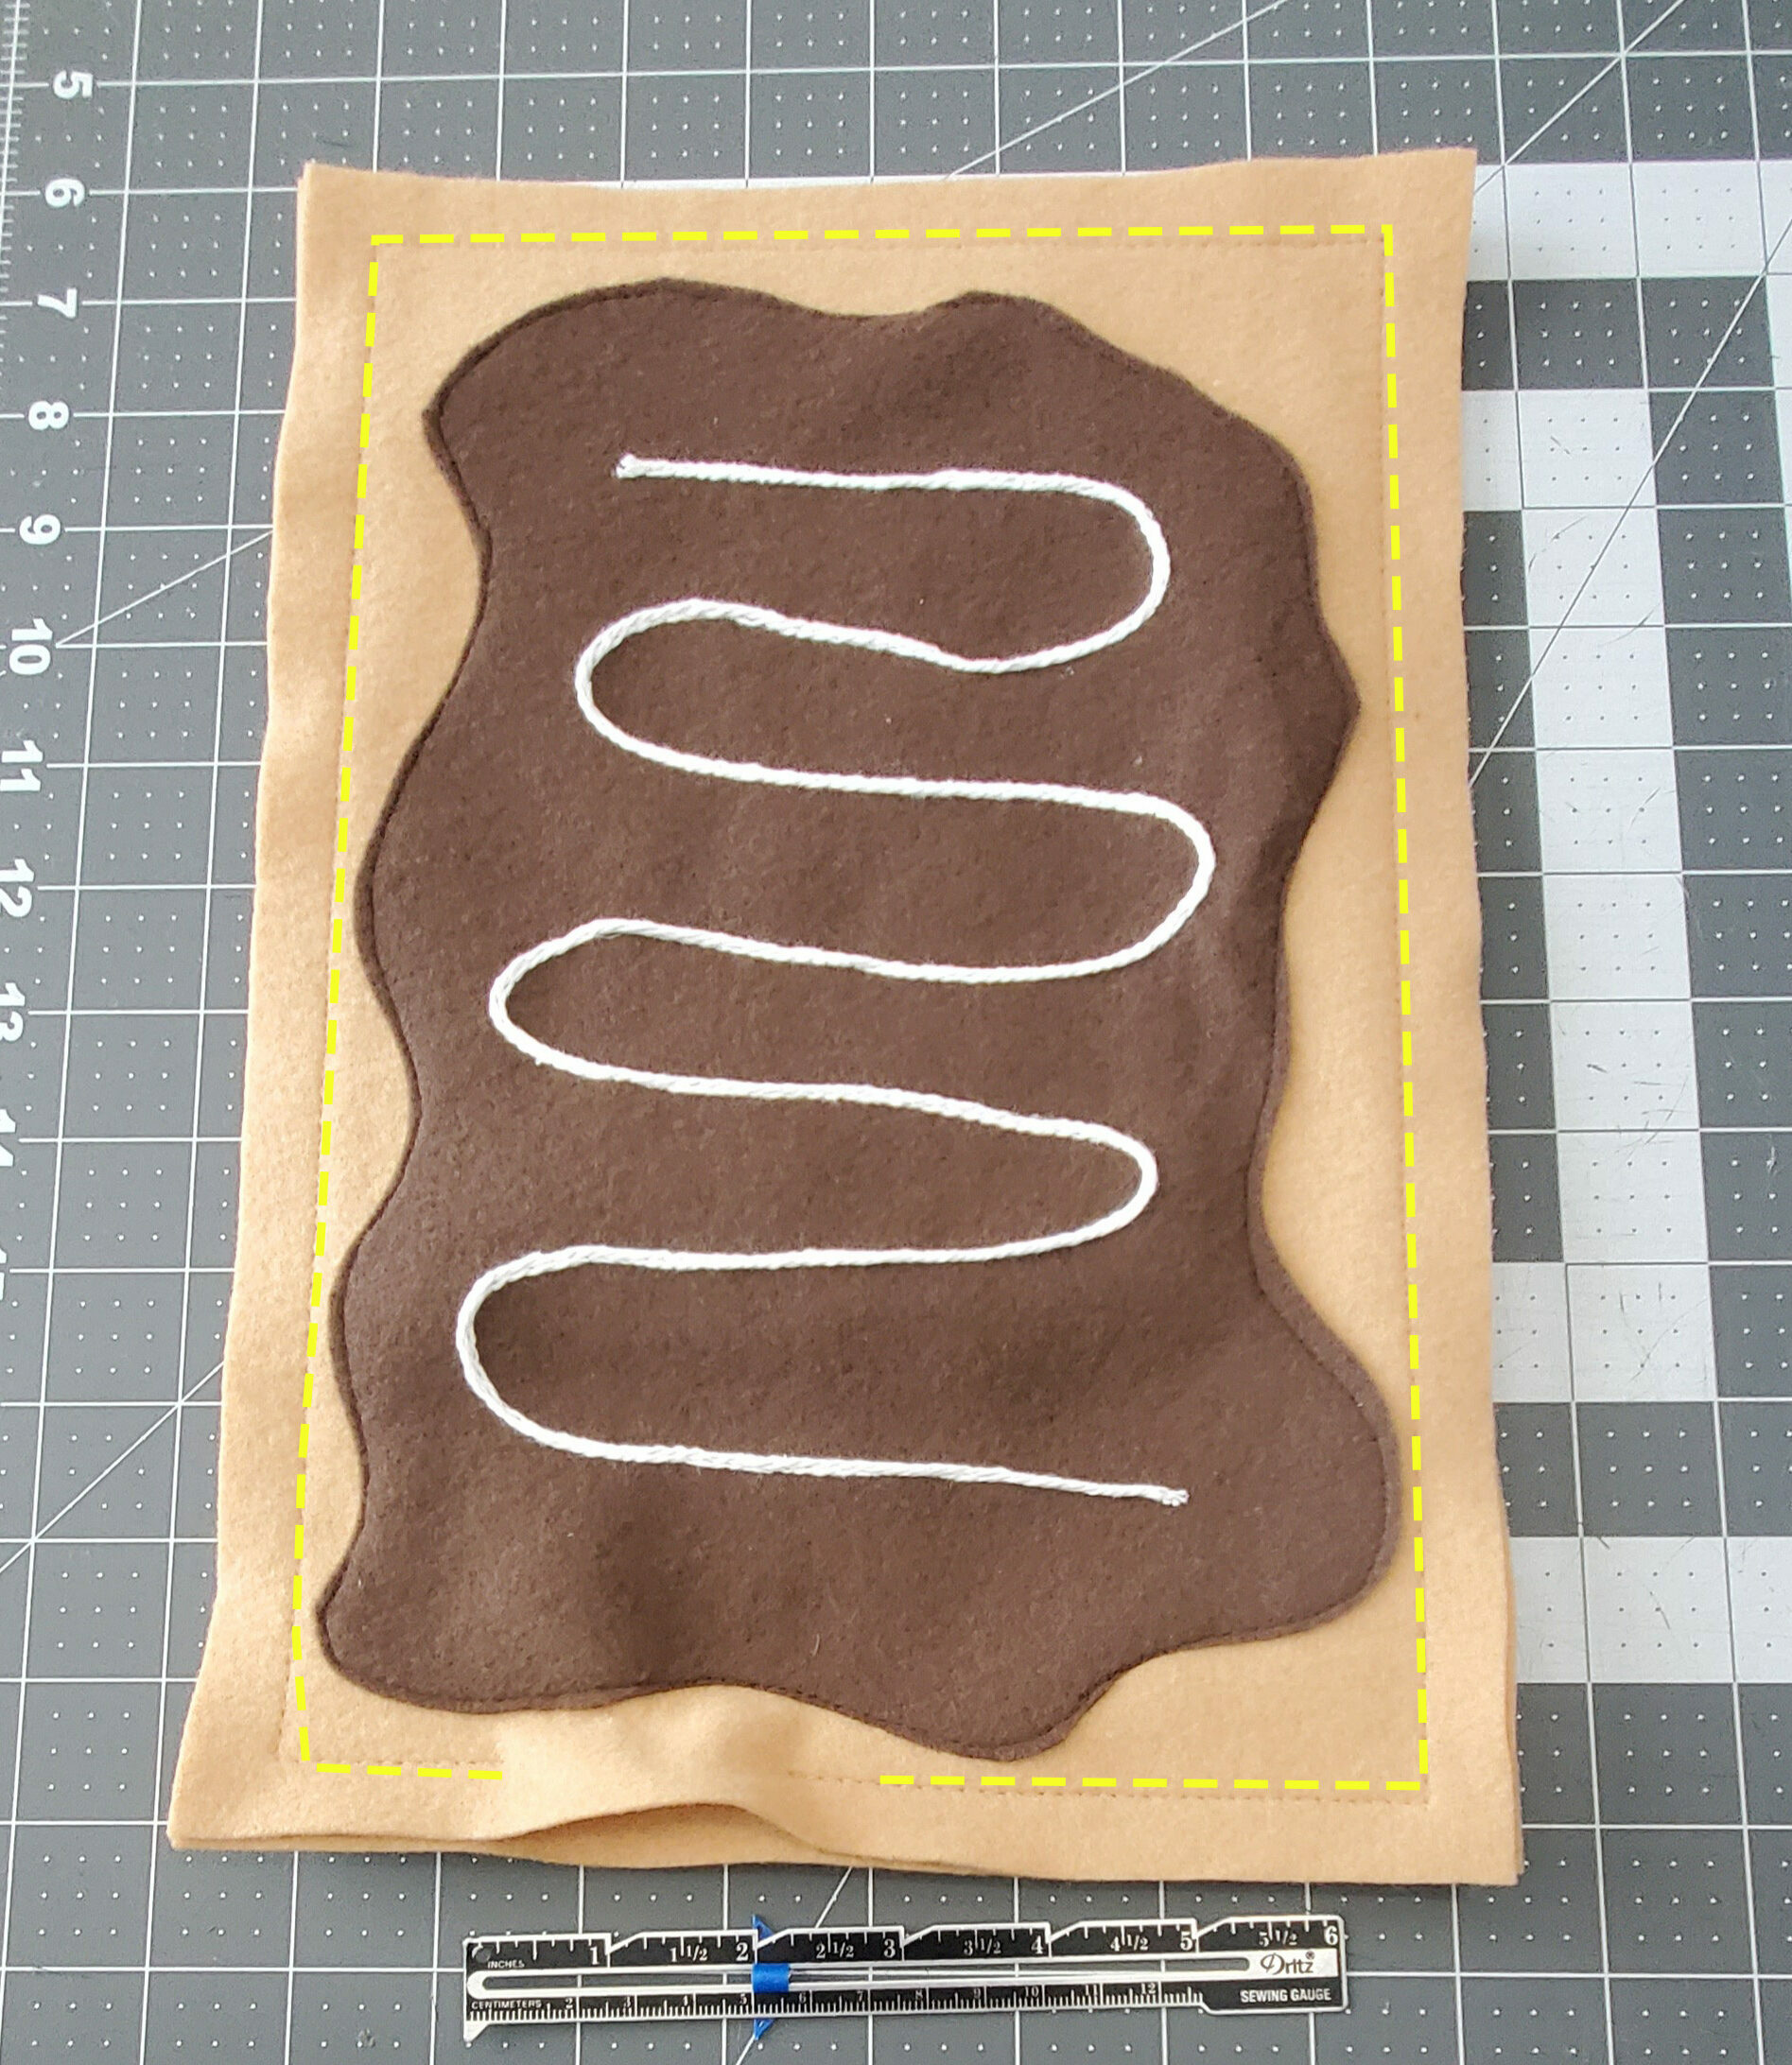
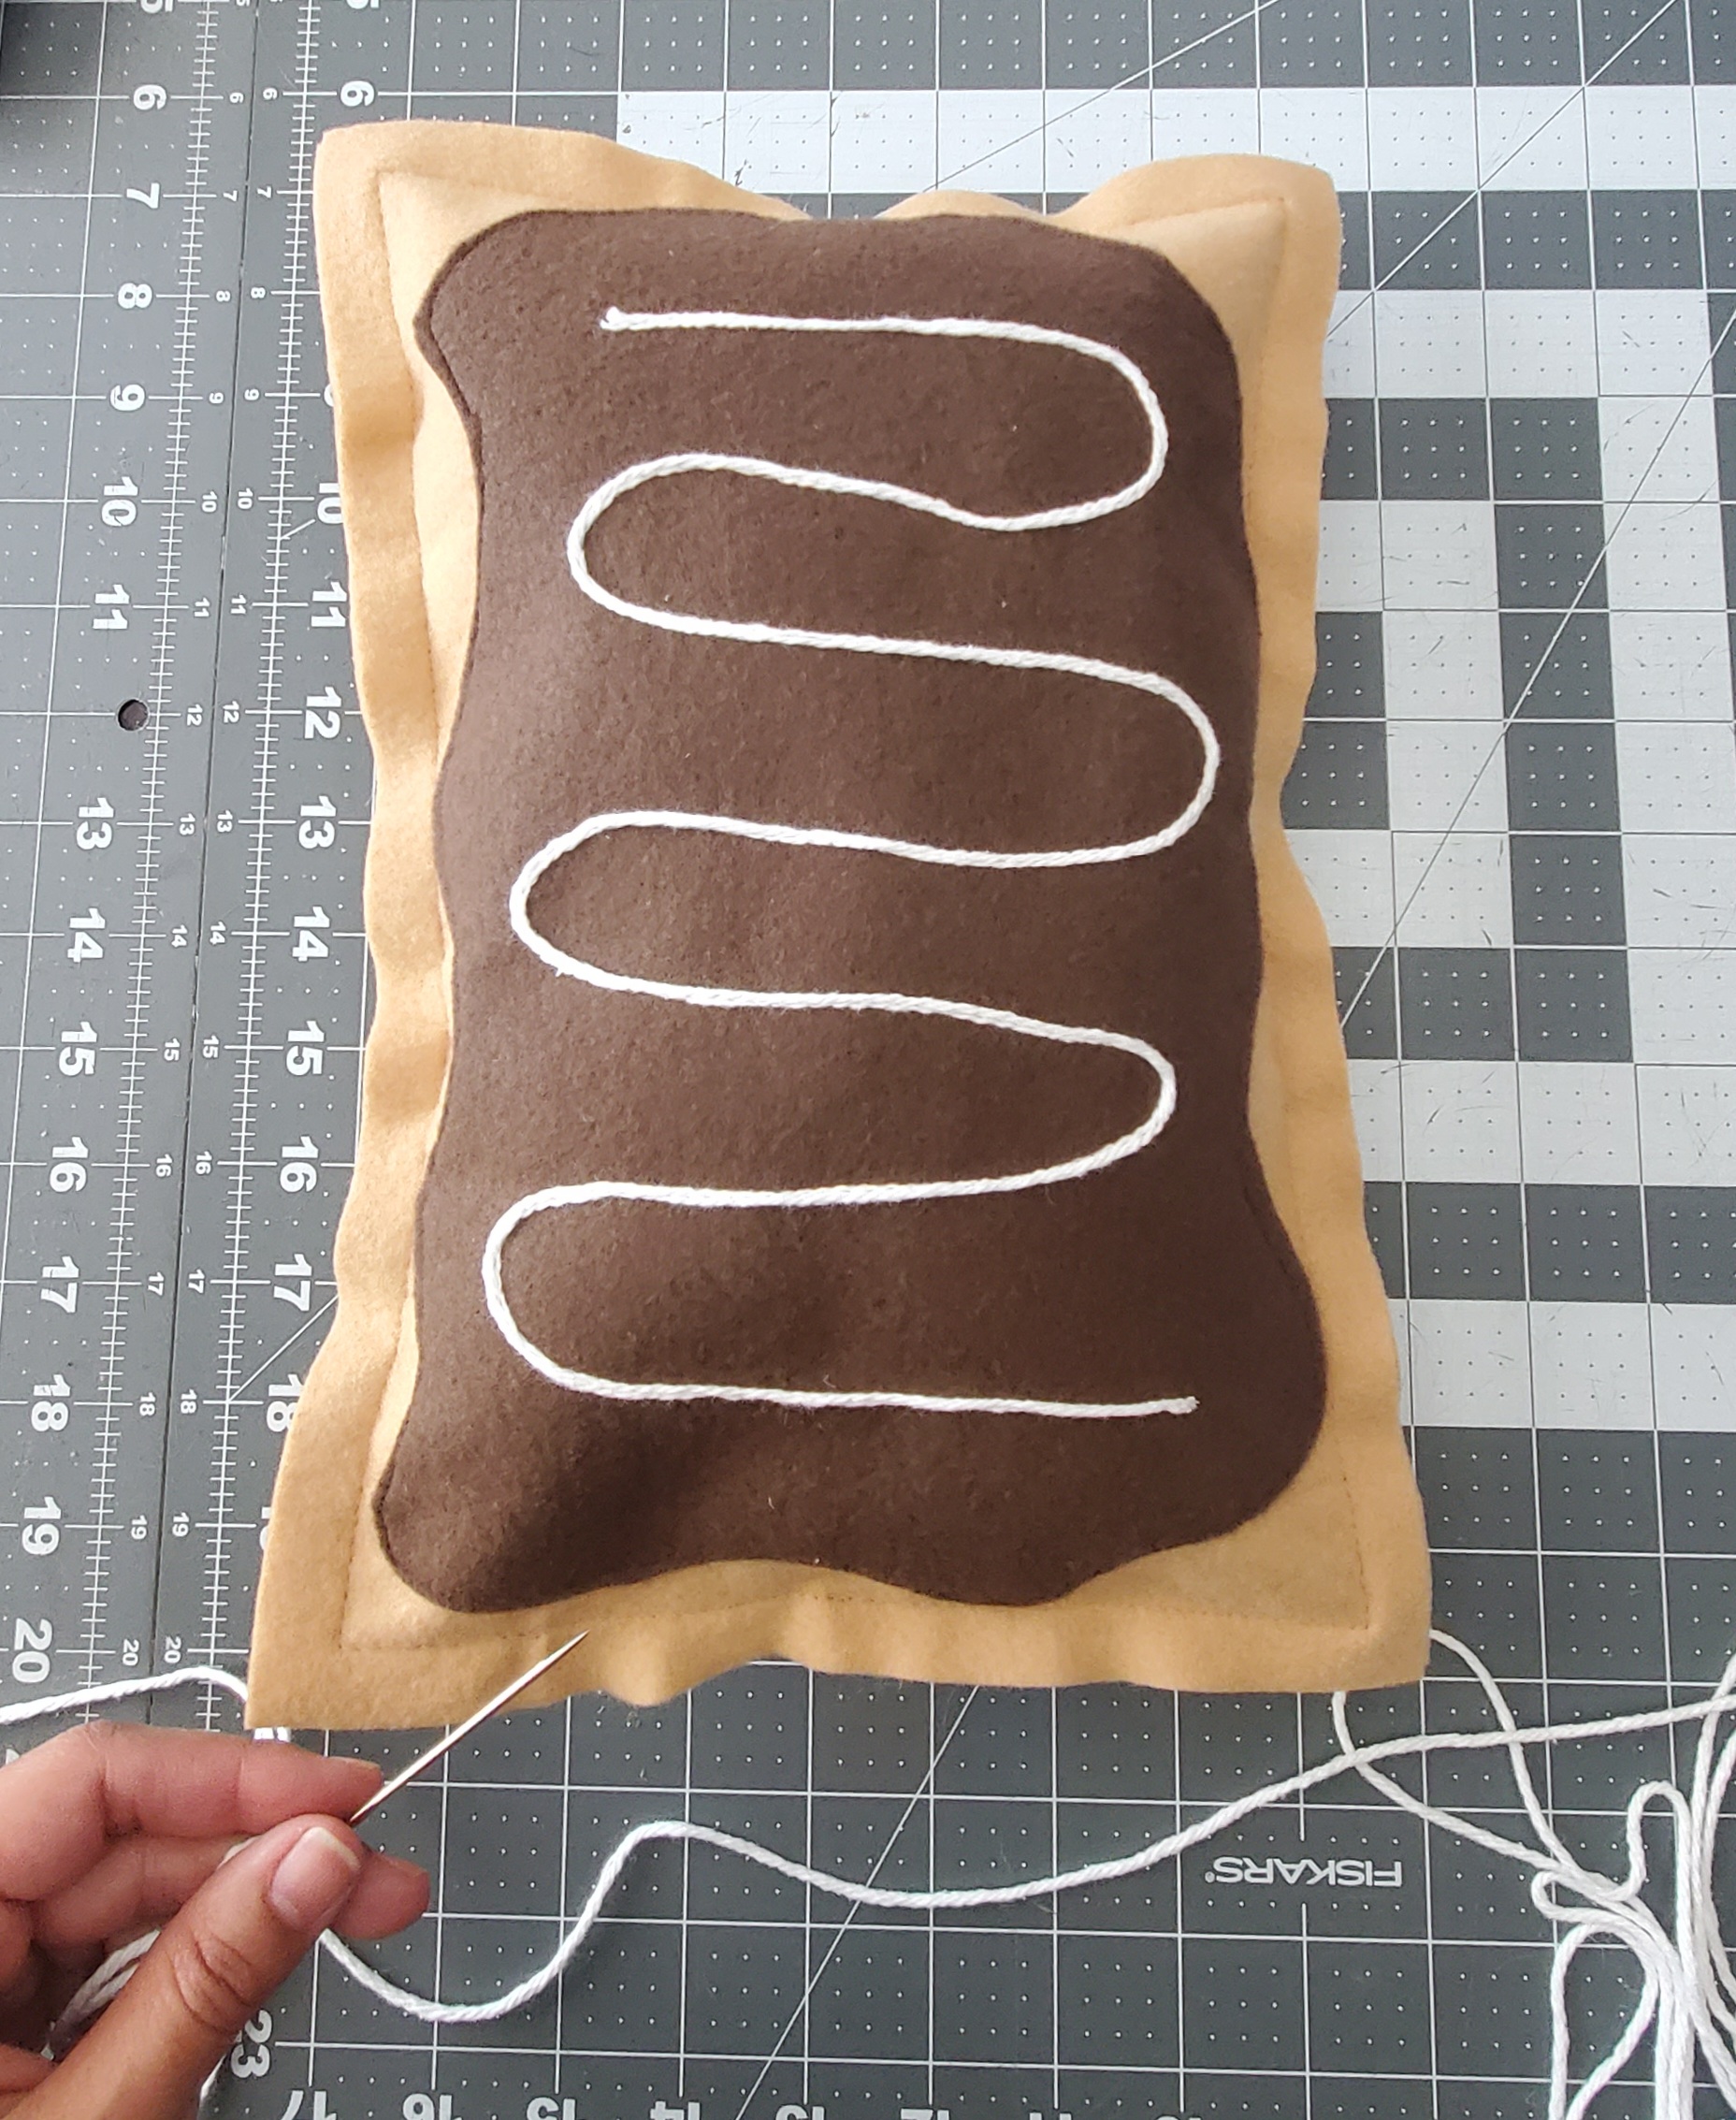
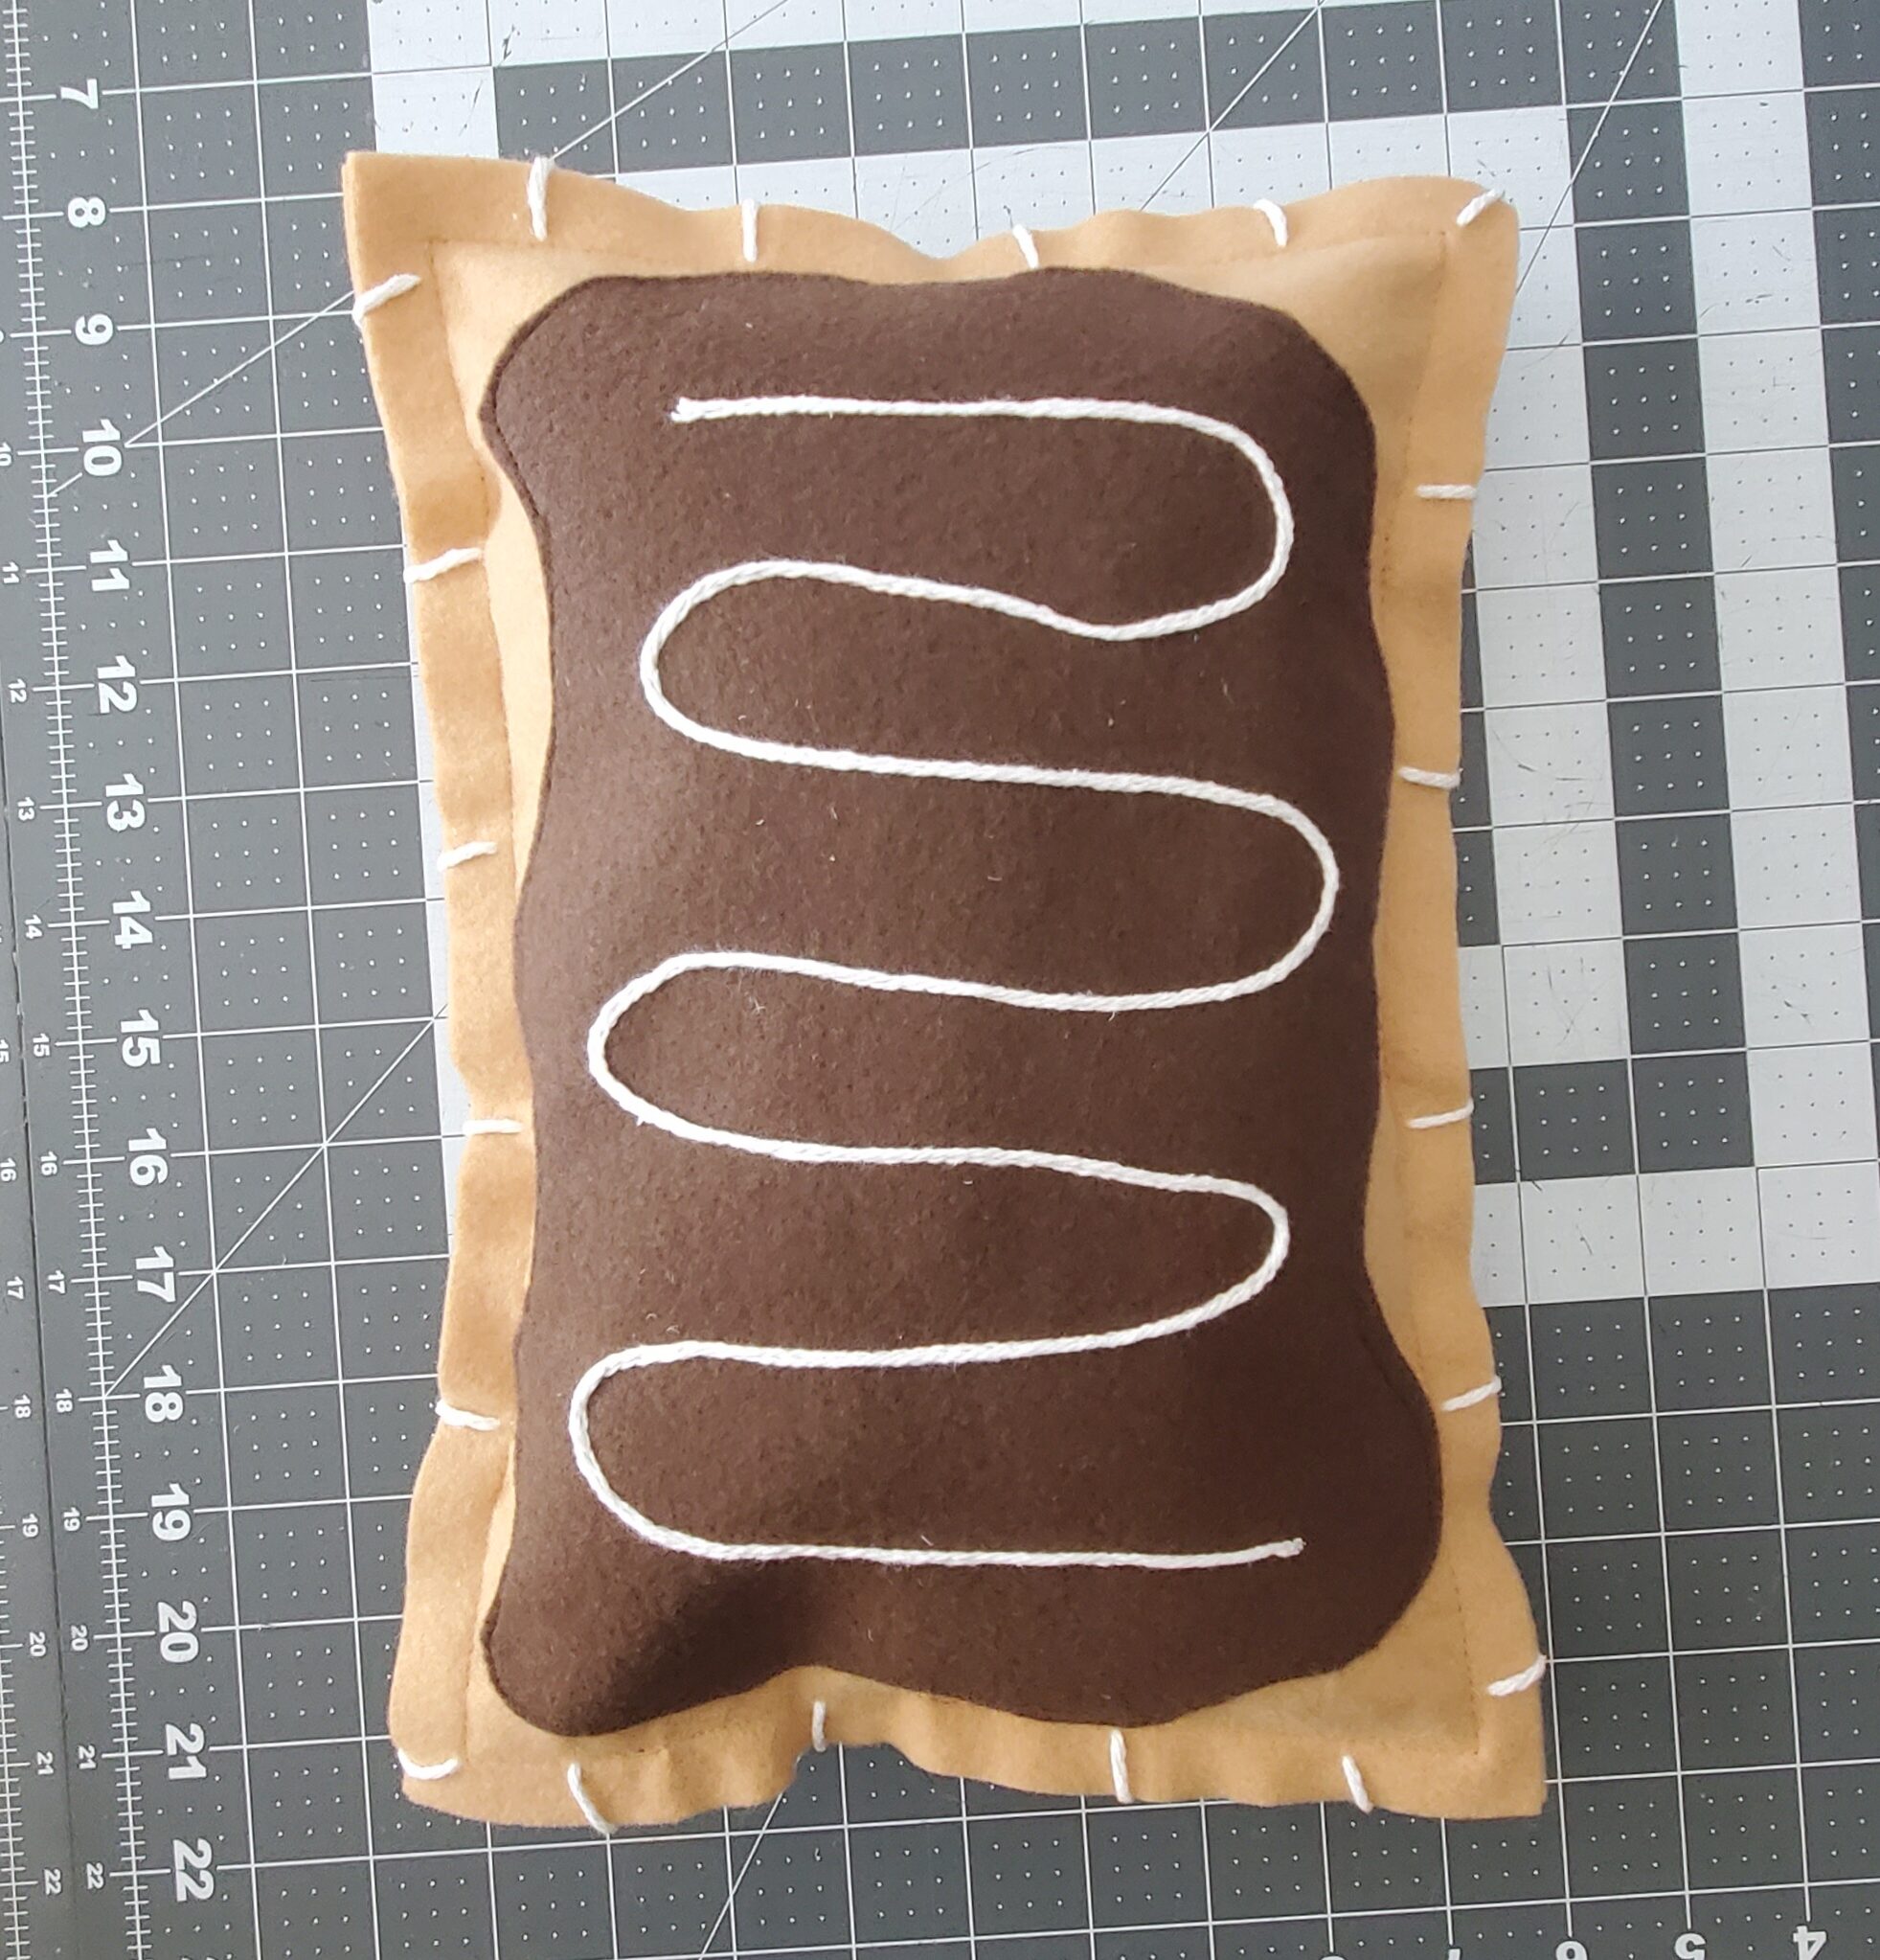
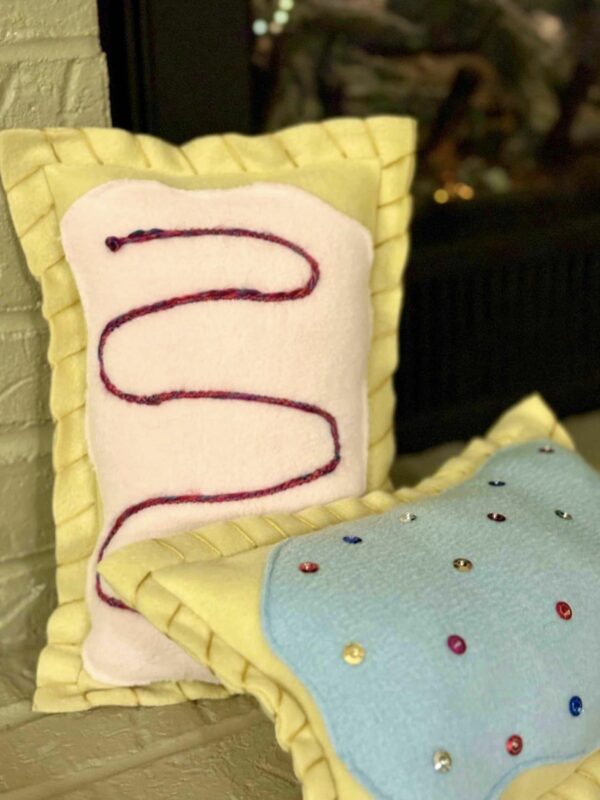
- Twine/thin rope/yarn for decorative icing
Add any embellishments you want to your icing. You could also add hand embroidery, vinyl, have your little one draw with fabric markers or paint, add cute buttons, pom poms, or use decorative stitches from your sewing machine. Need some help with embellishments? Check out this video from last year for some helpful tips:
Depending on your embellishments, you can use fabric glue or stitching to secure. Of course, please keep safety and the age of the recipient in mind.
Step 4: SEWING
Once you’ve finished your embellishments, we’re ready to sew!
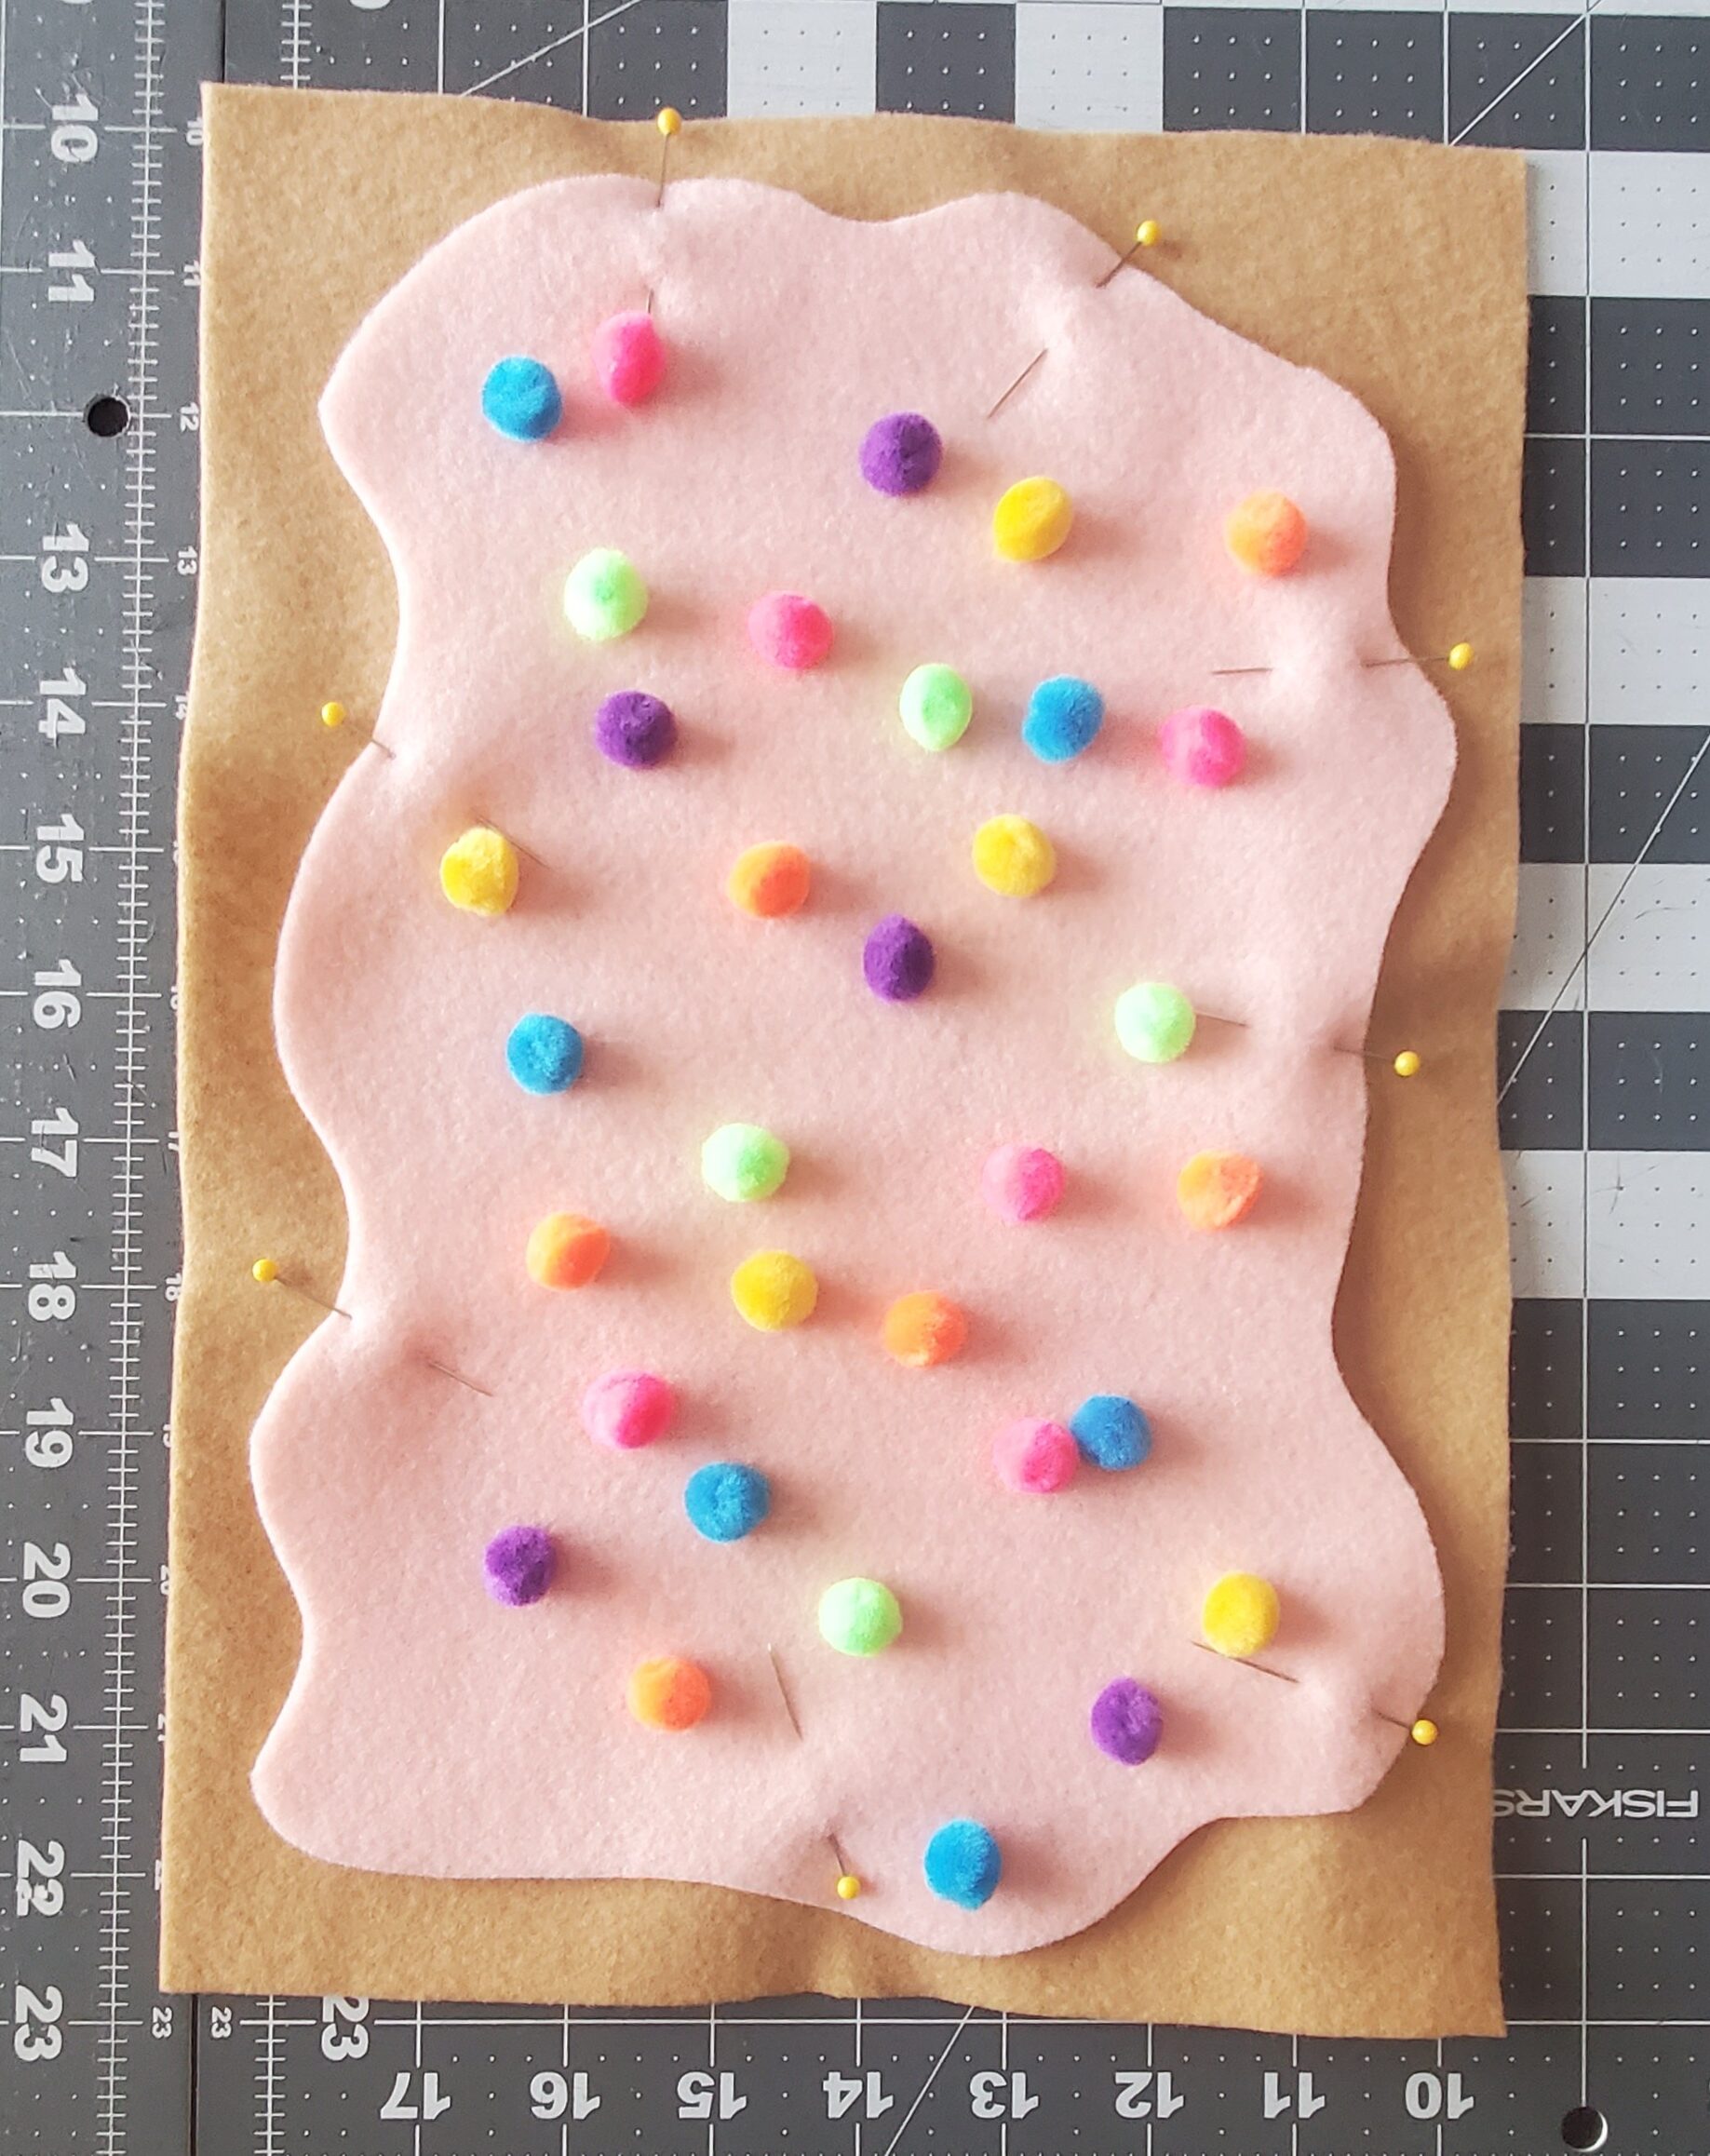
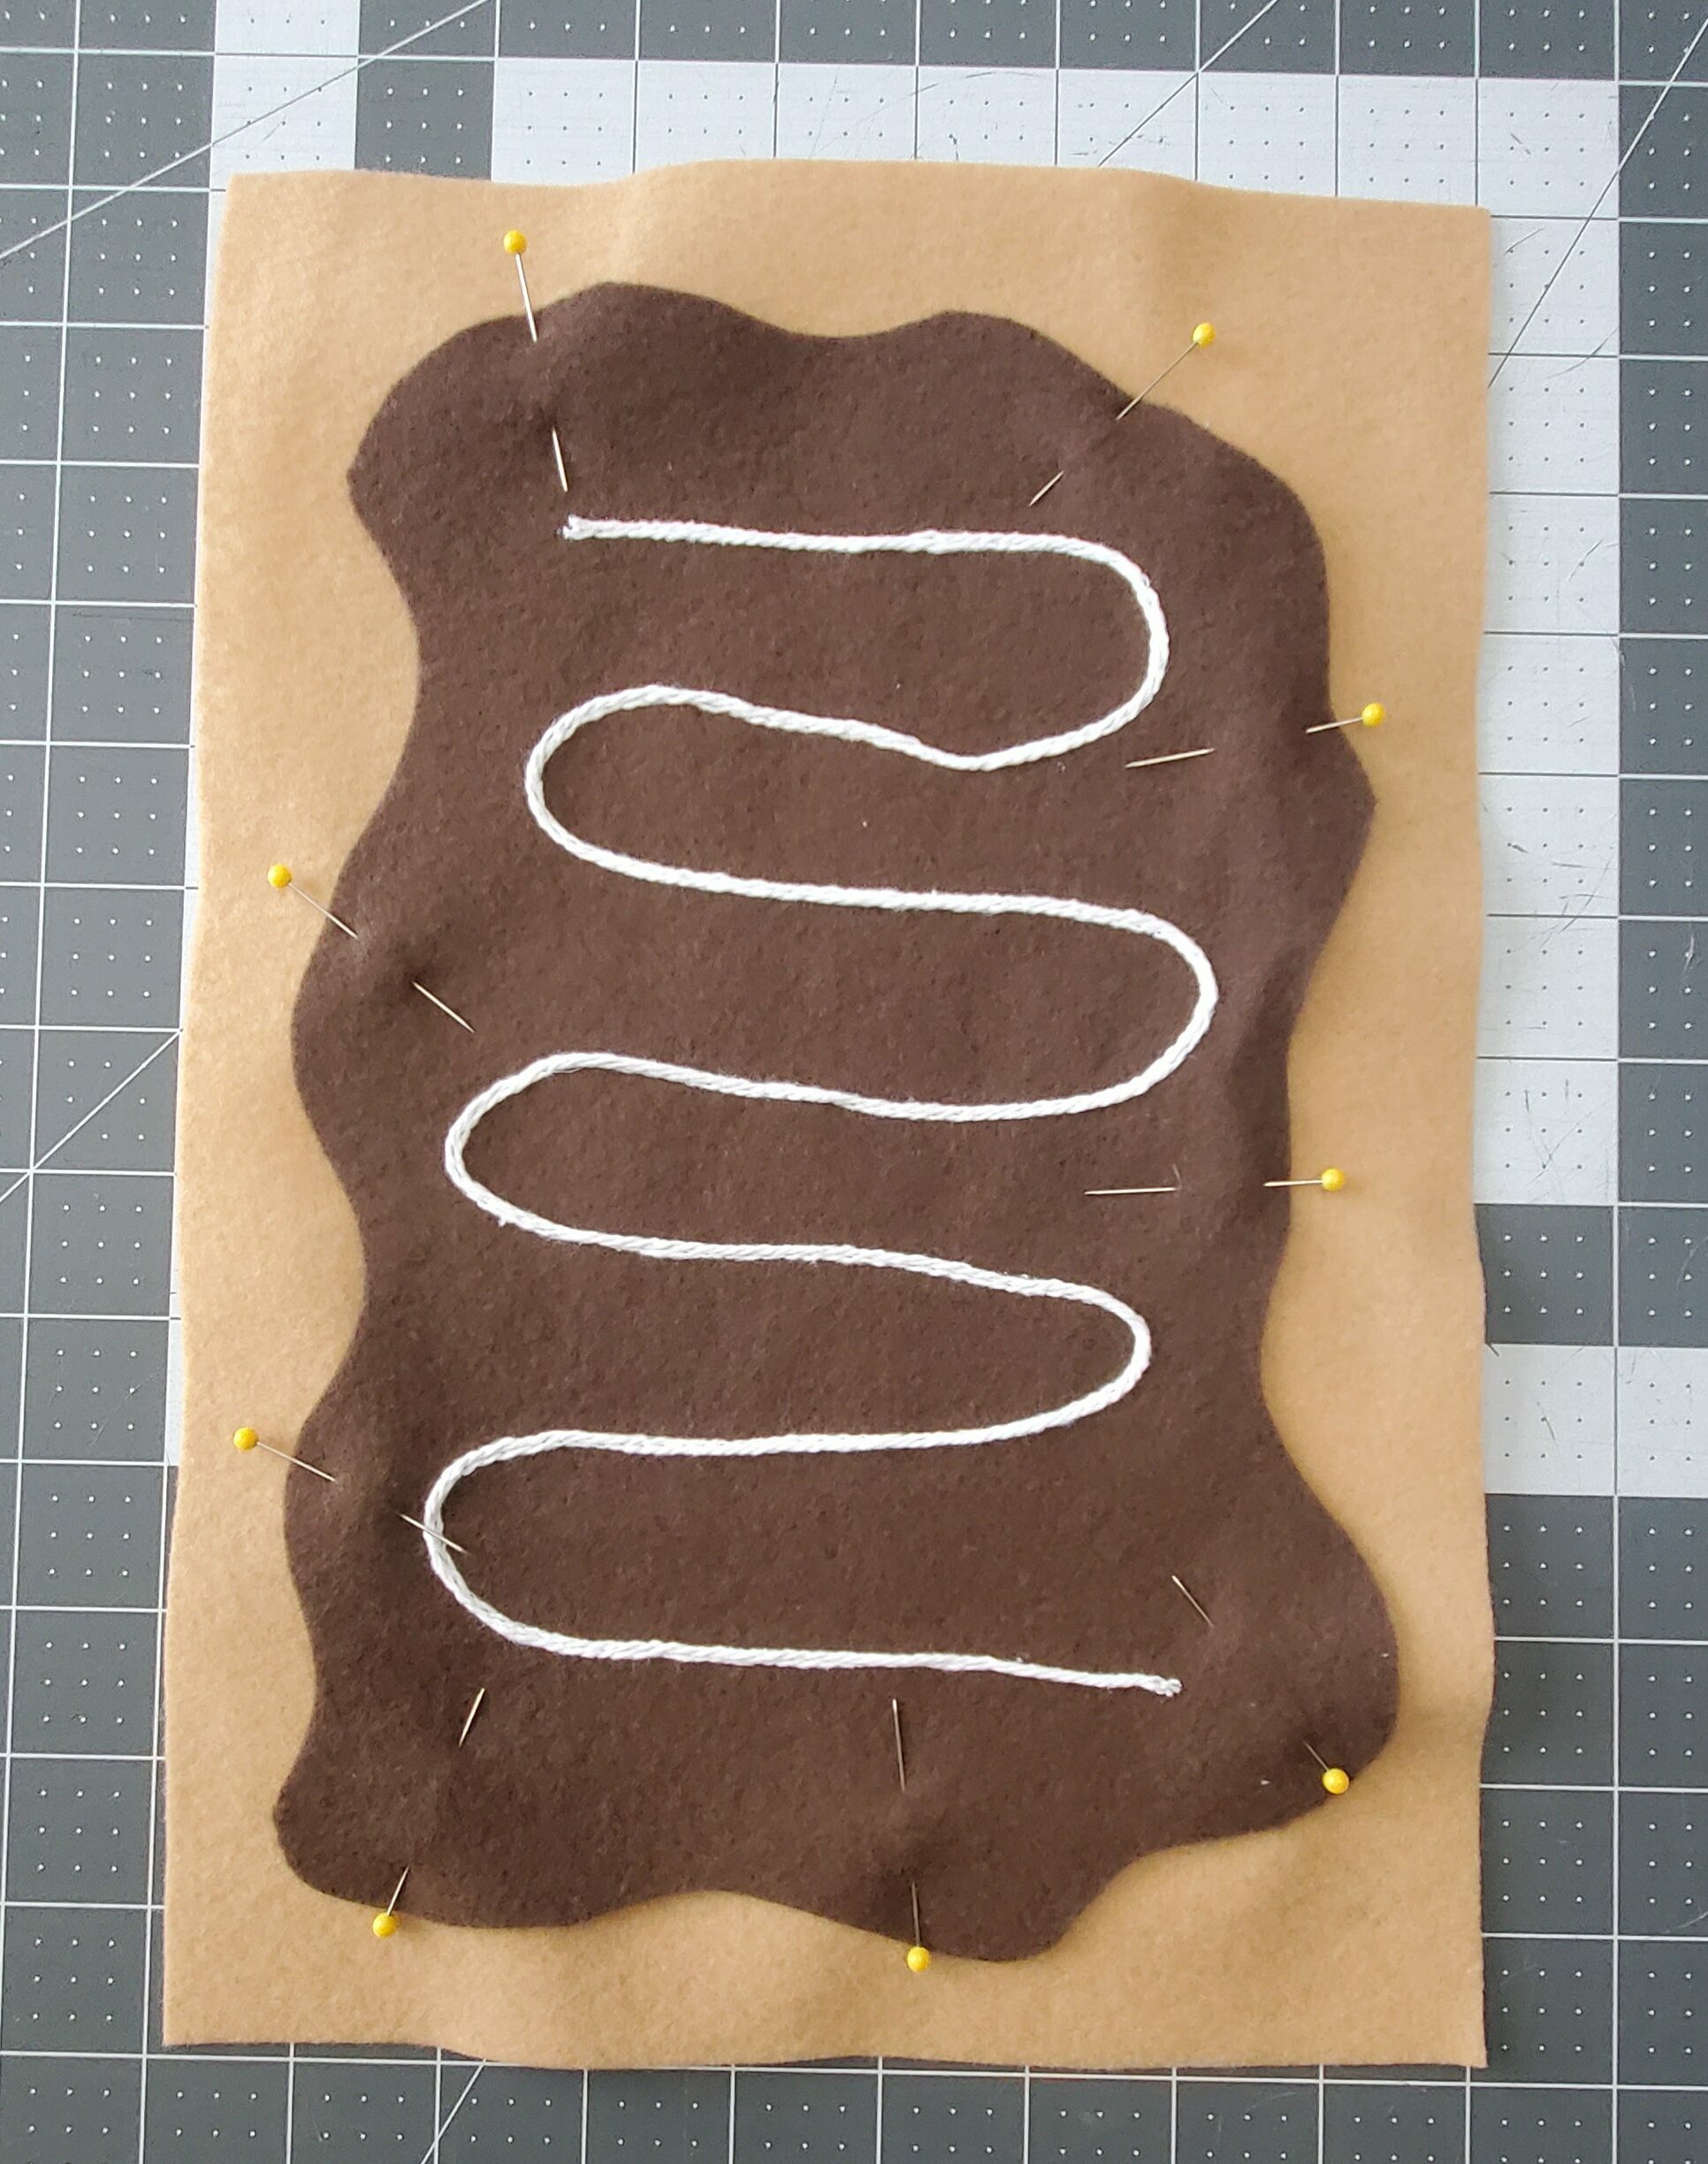
First, pin your icing to the right side of your main fabric.
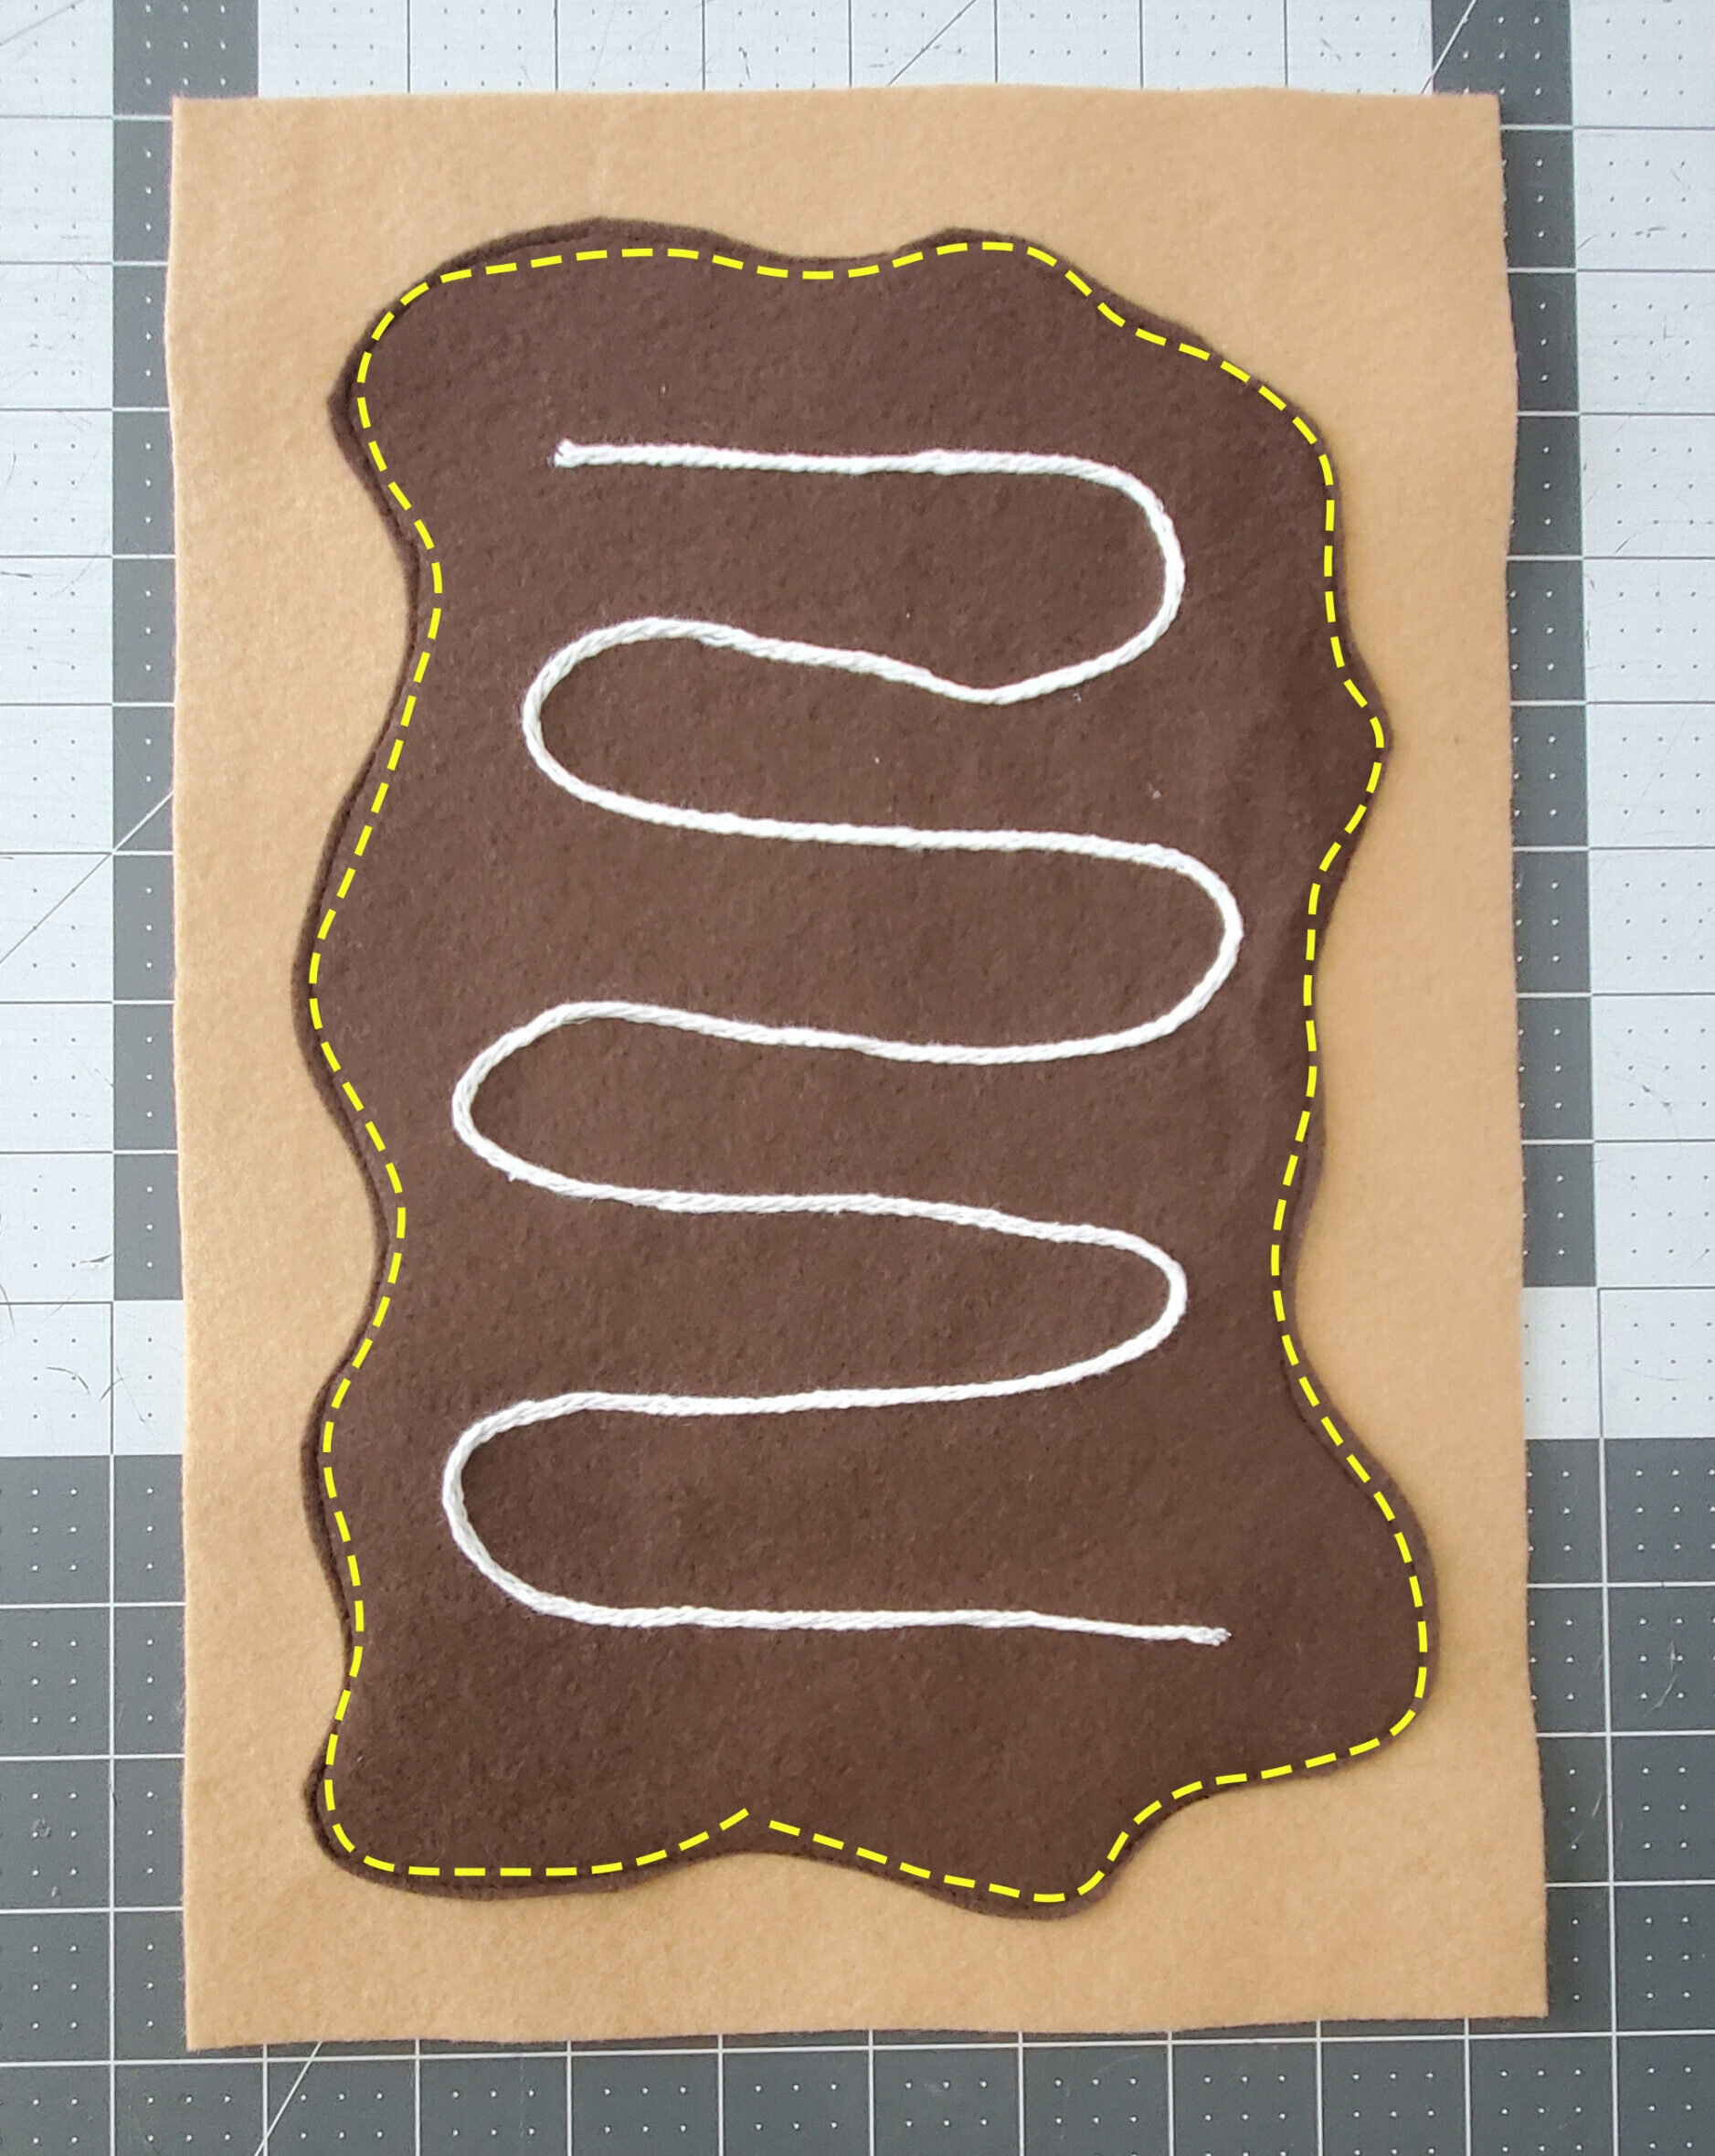
Stitch around the outer edge of the icing 1/8″ from the edge. You can use a regular straight stitch on your sewing machine, a decorative stitch, or even hand stitch.
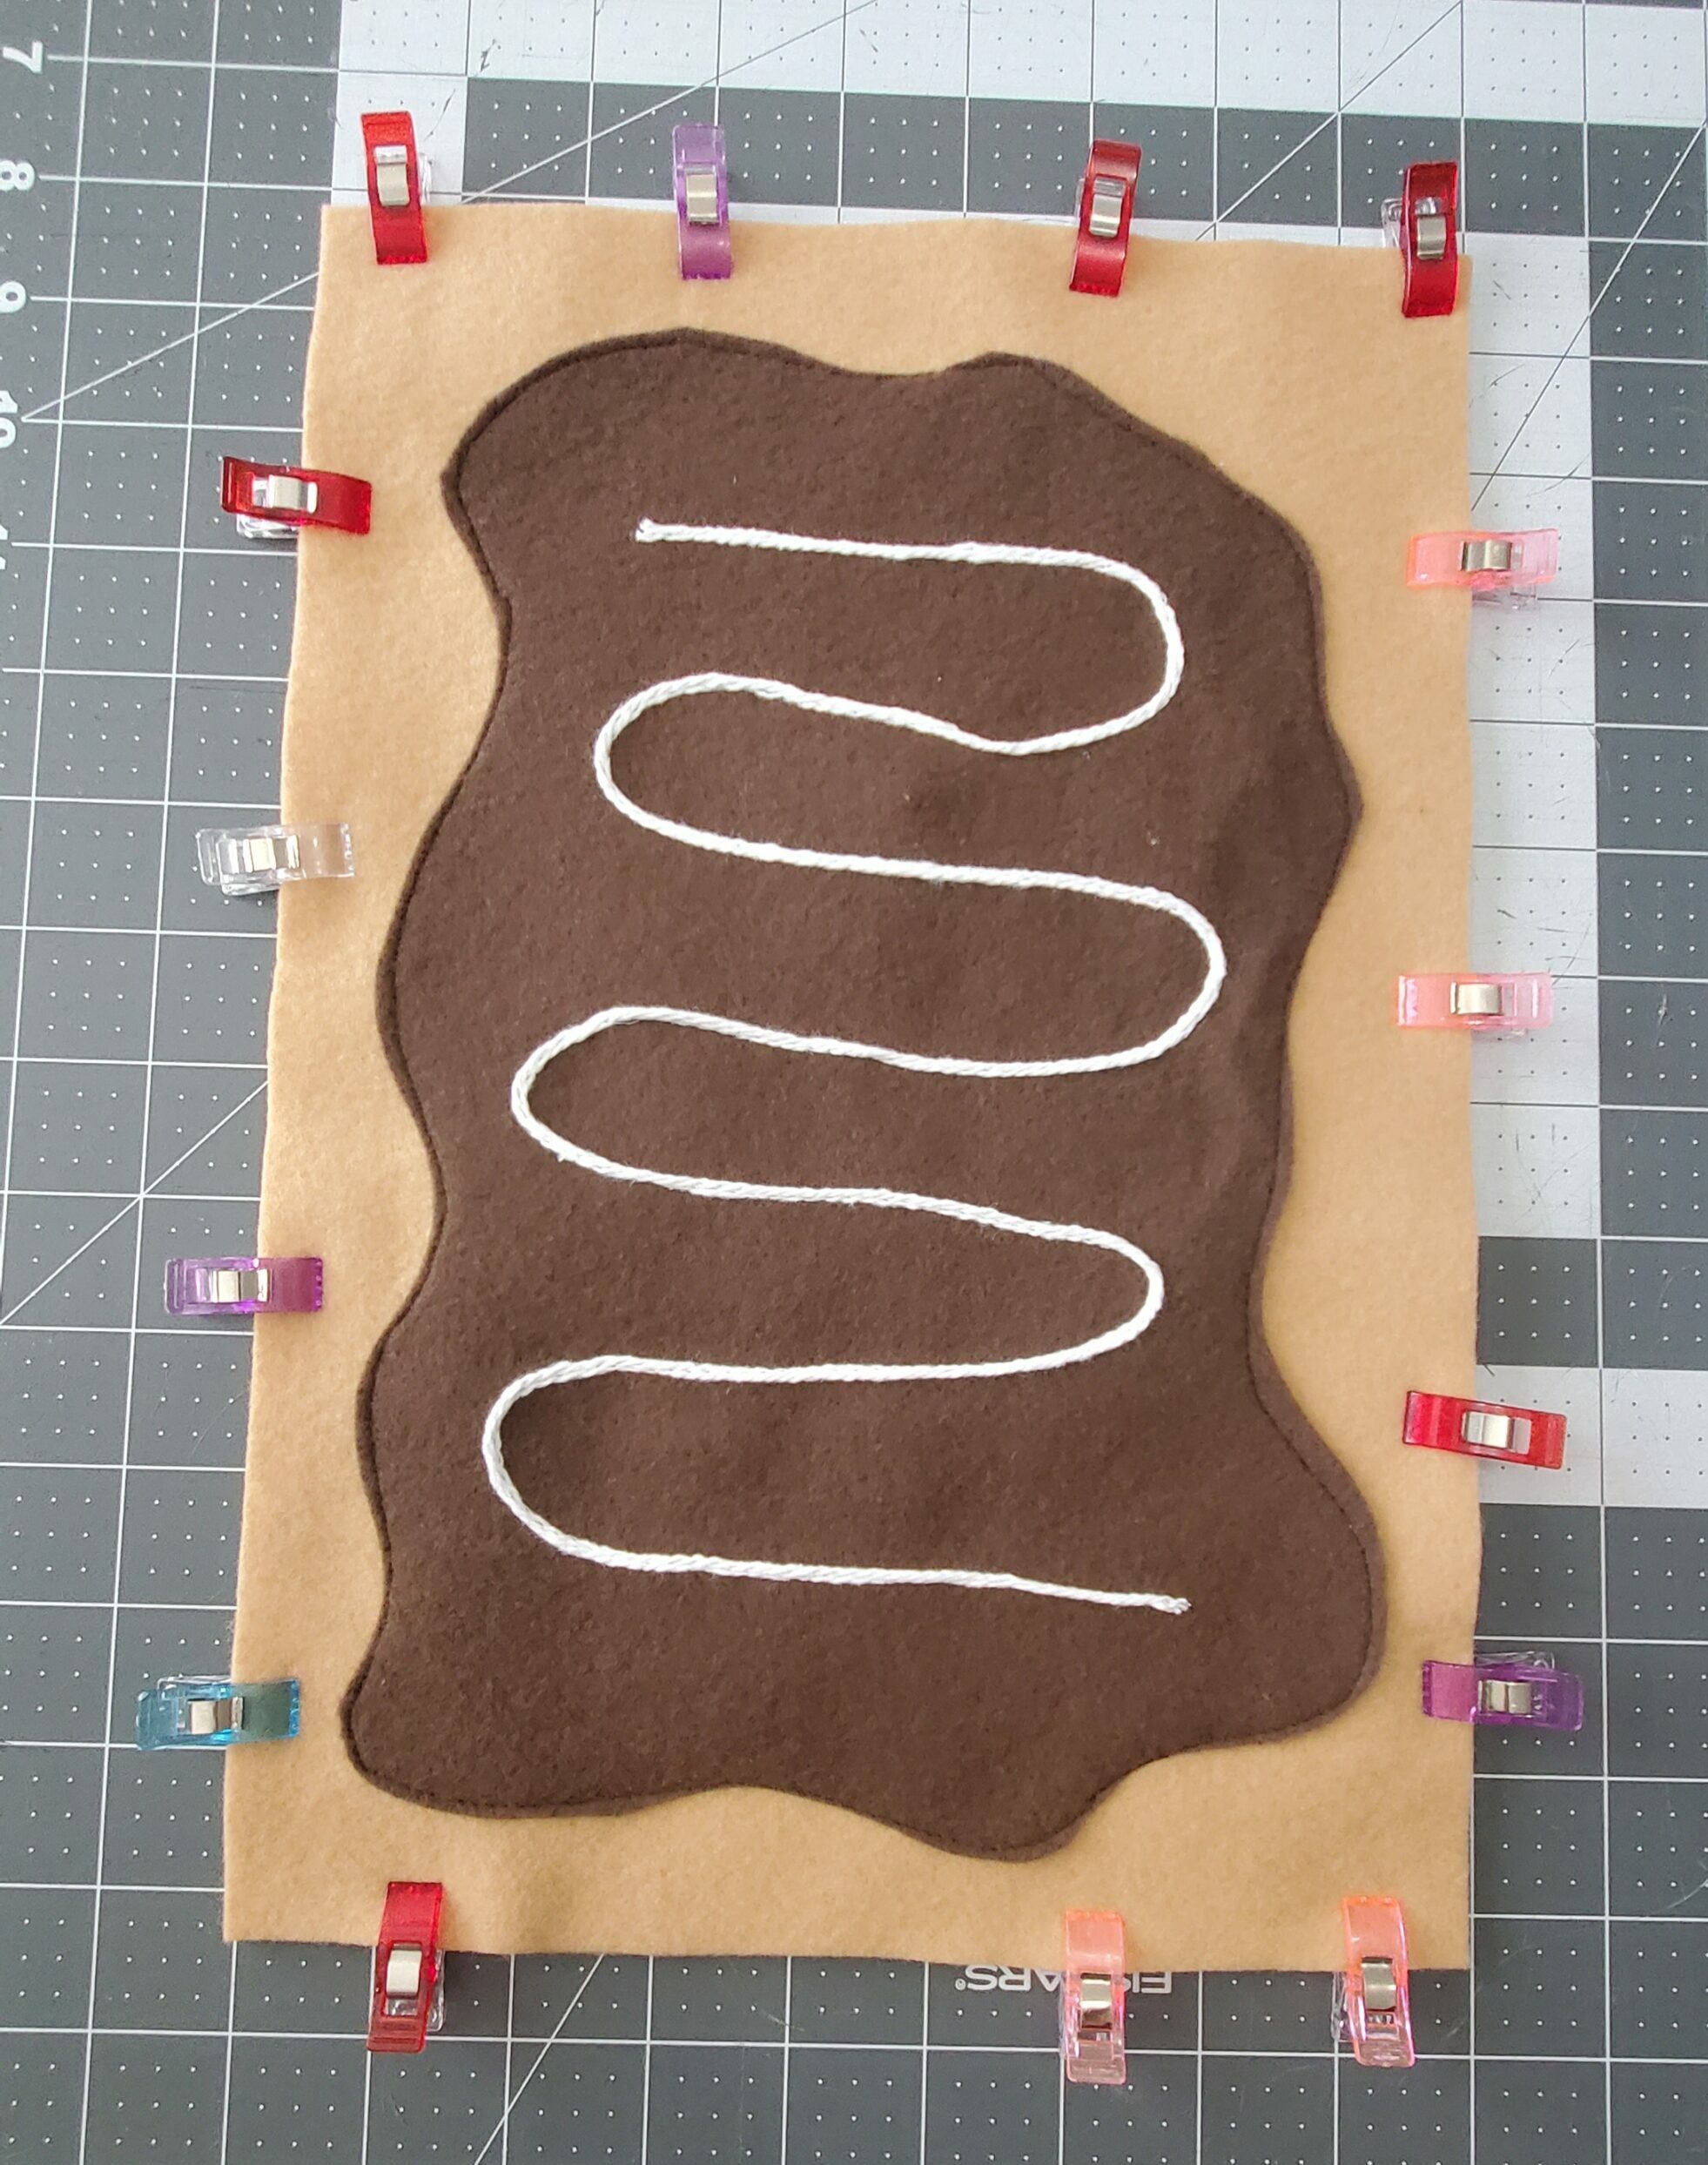
Next, place your main pieces with wrong sides together. Pin or clip together along the outer edges.
Stitch around the edge with a 1/4″ seam allowance. Leave a 1-2″ opening. For this, you can use a straight stitch on your sewing machine, a blanket stitch, or both if you prefer! If you’d like to stitch using both, or just prefer a larger seam allowance, you can take a 5/8″ seam allowance instead of 1/4″.
NOTE: If you opt to use a quilting cotton or other fabric that is likely to fray, or you just prefer a finished edge, you can stitch with right sides together, then turn right side out and top stitch if desired. If you opt to do this, you may want to take a larger seam allowance and/or add an additional seam allowance to keep the finished product the same size. It is up to you!
Step 5: STUFFING
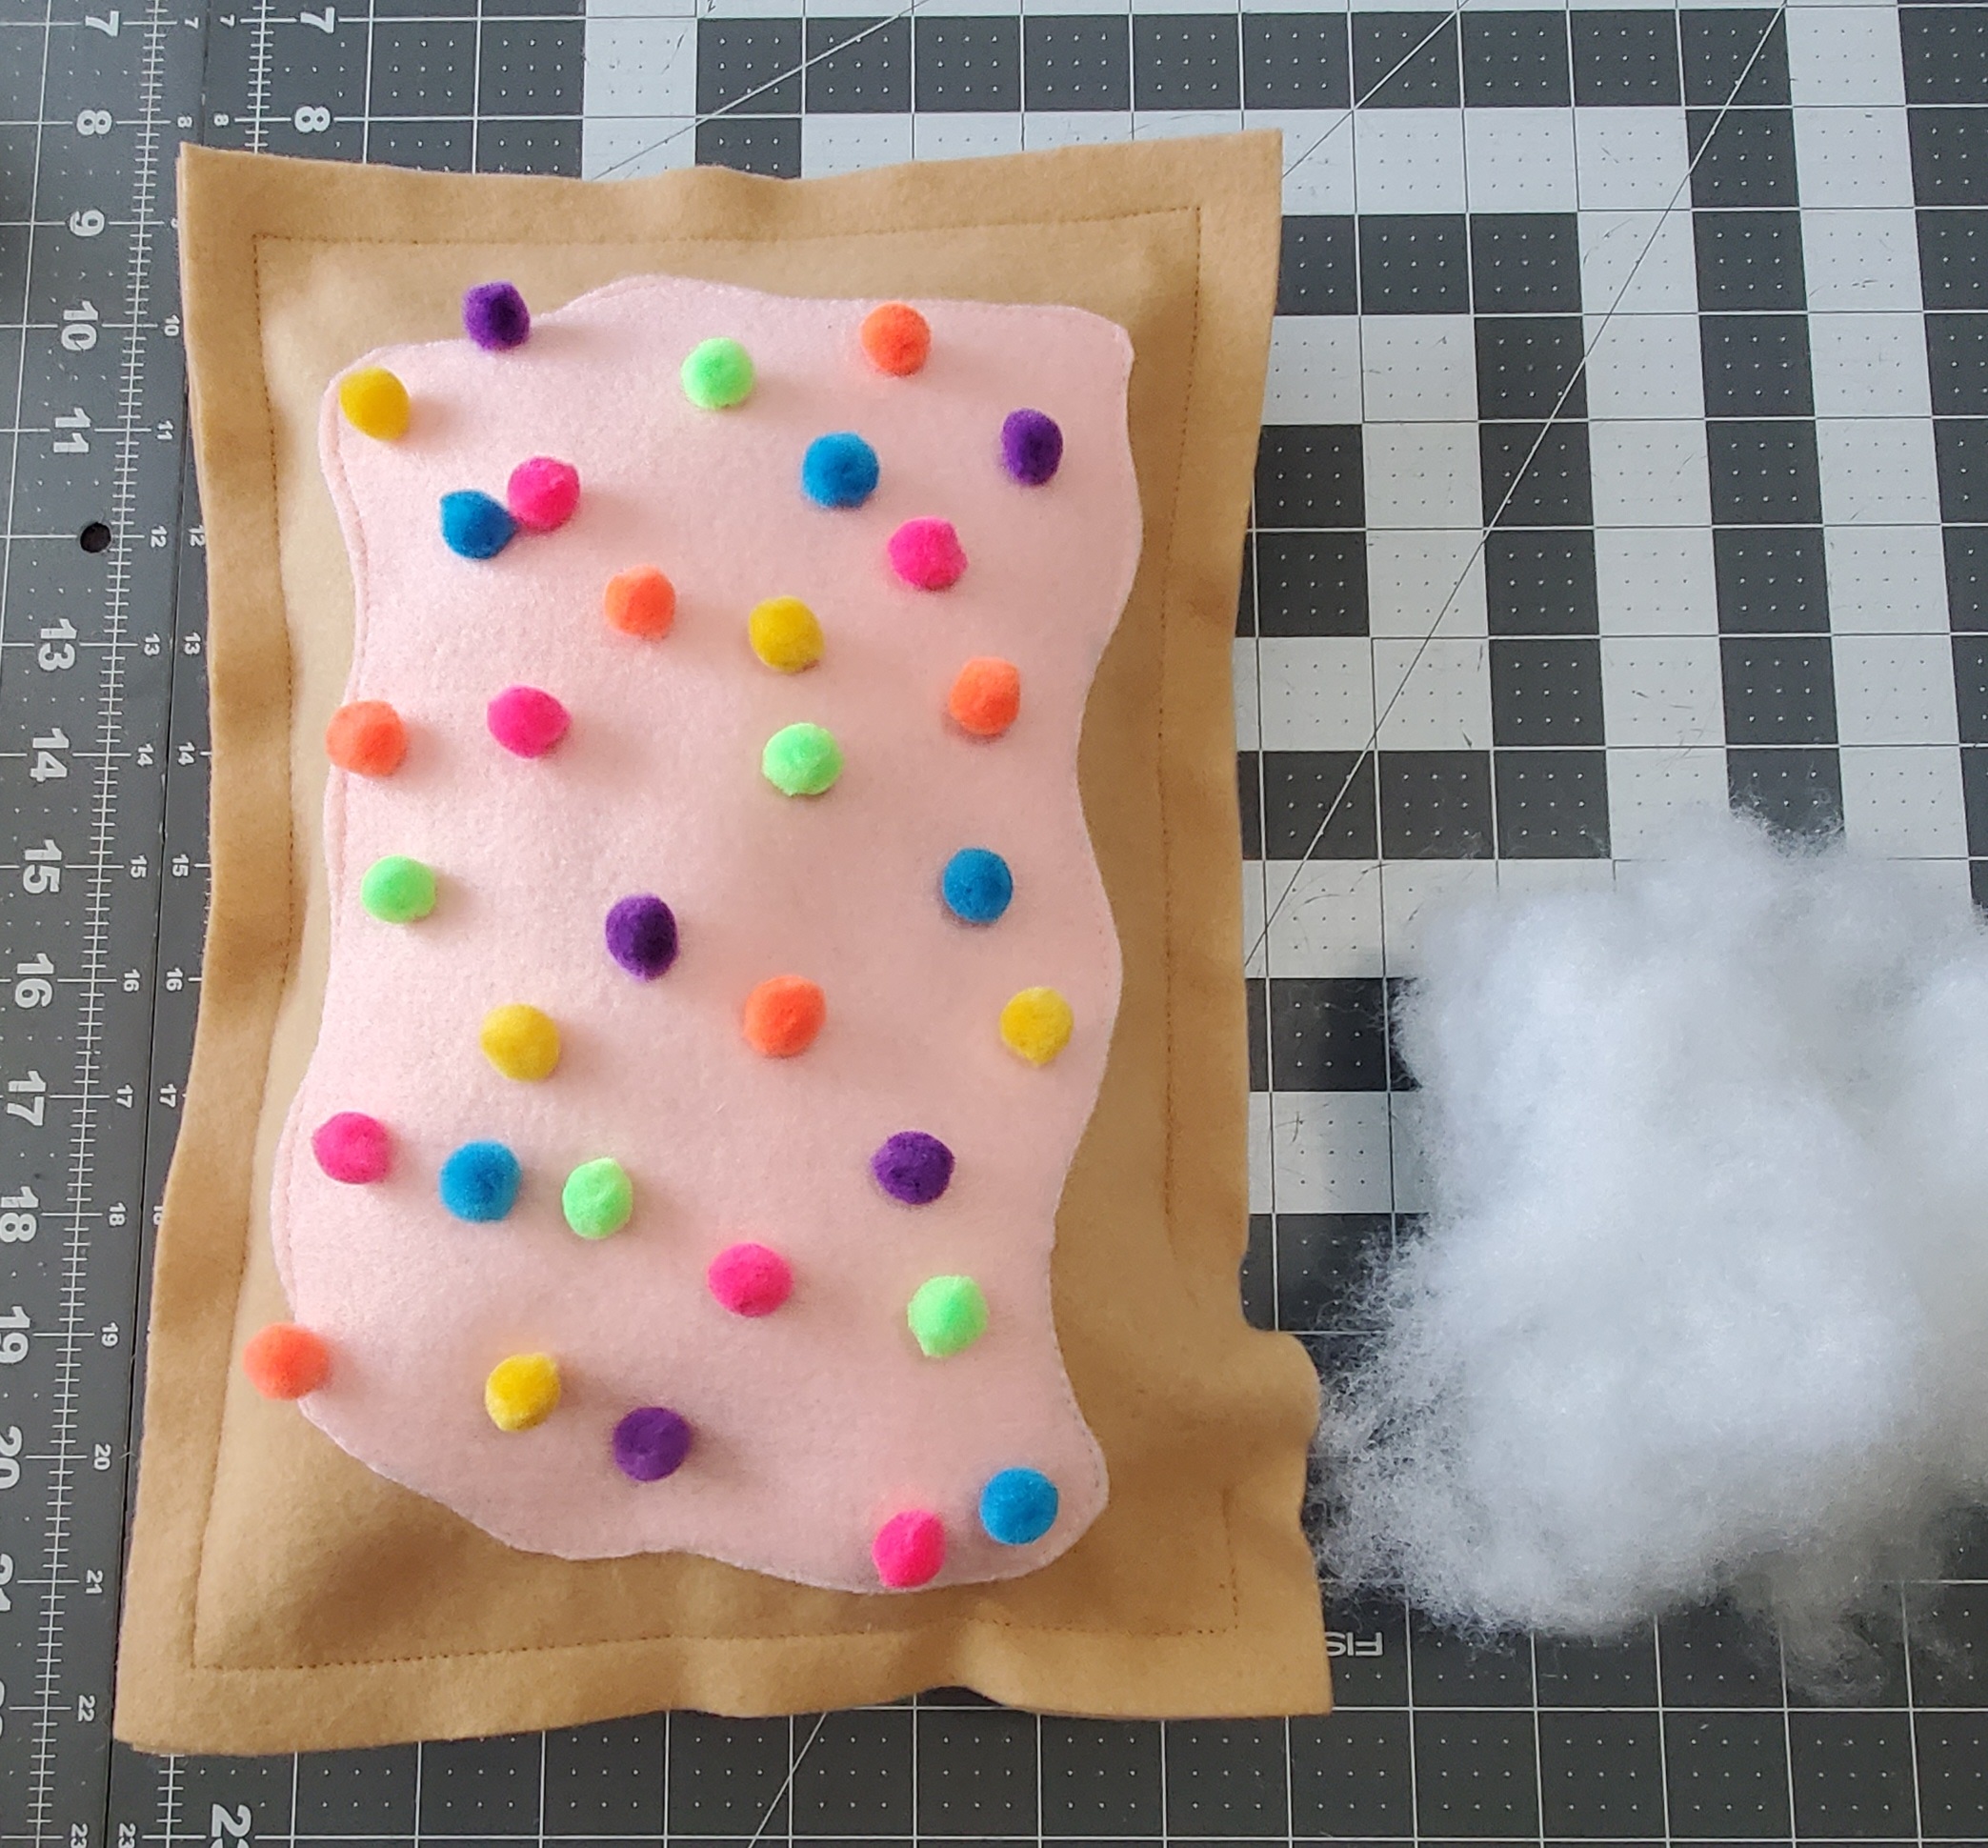
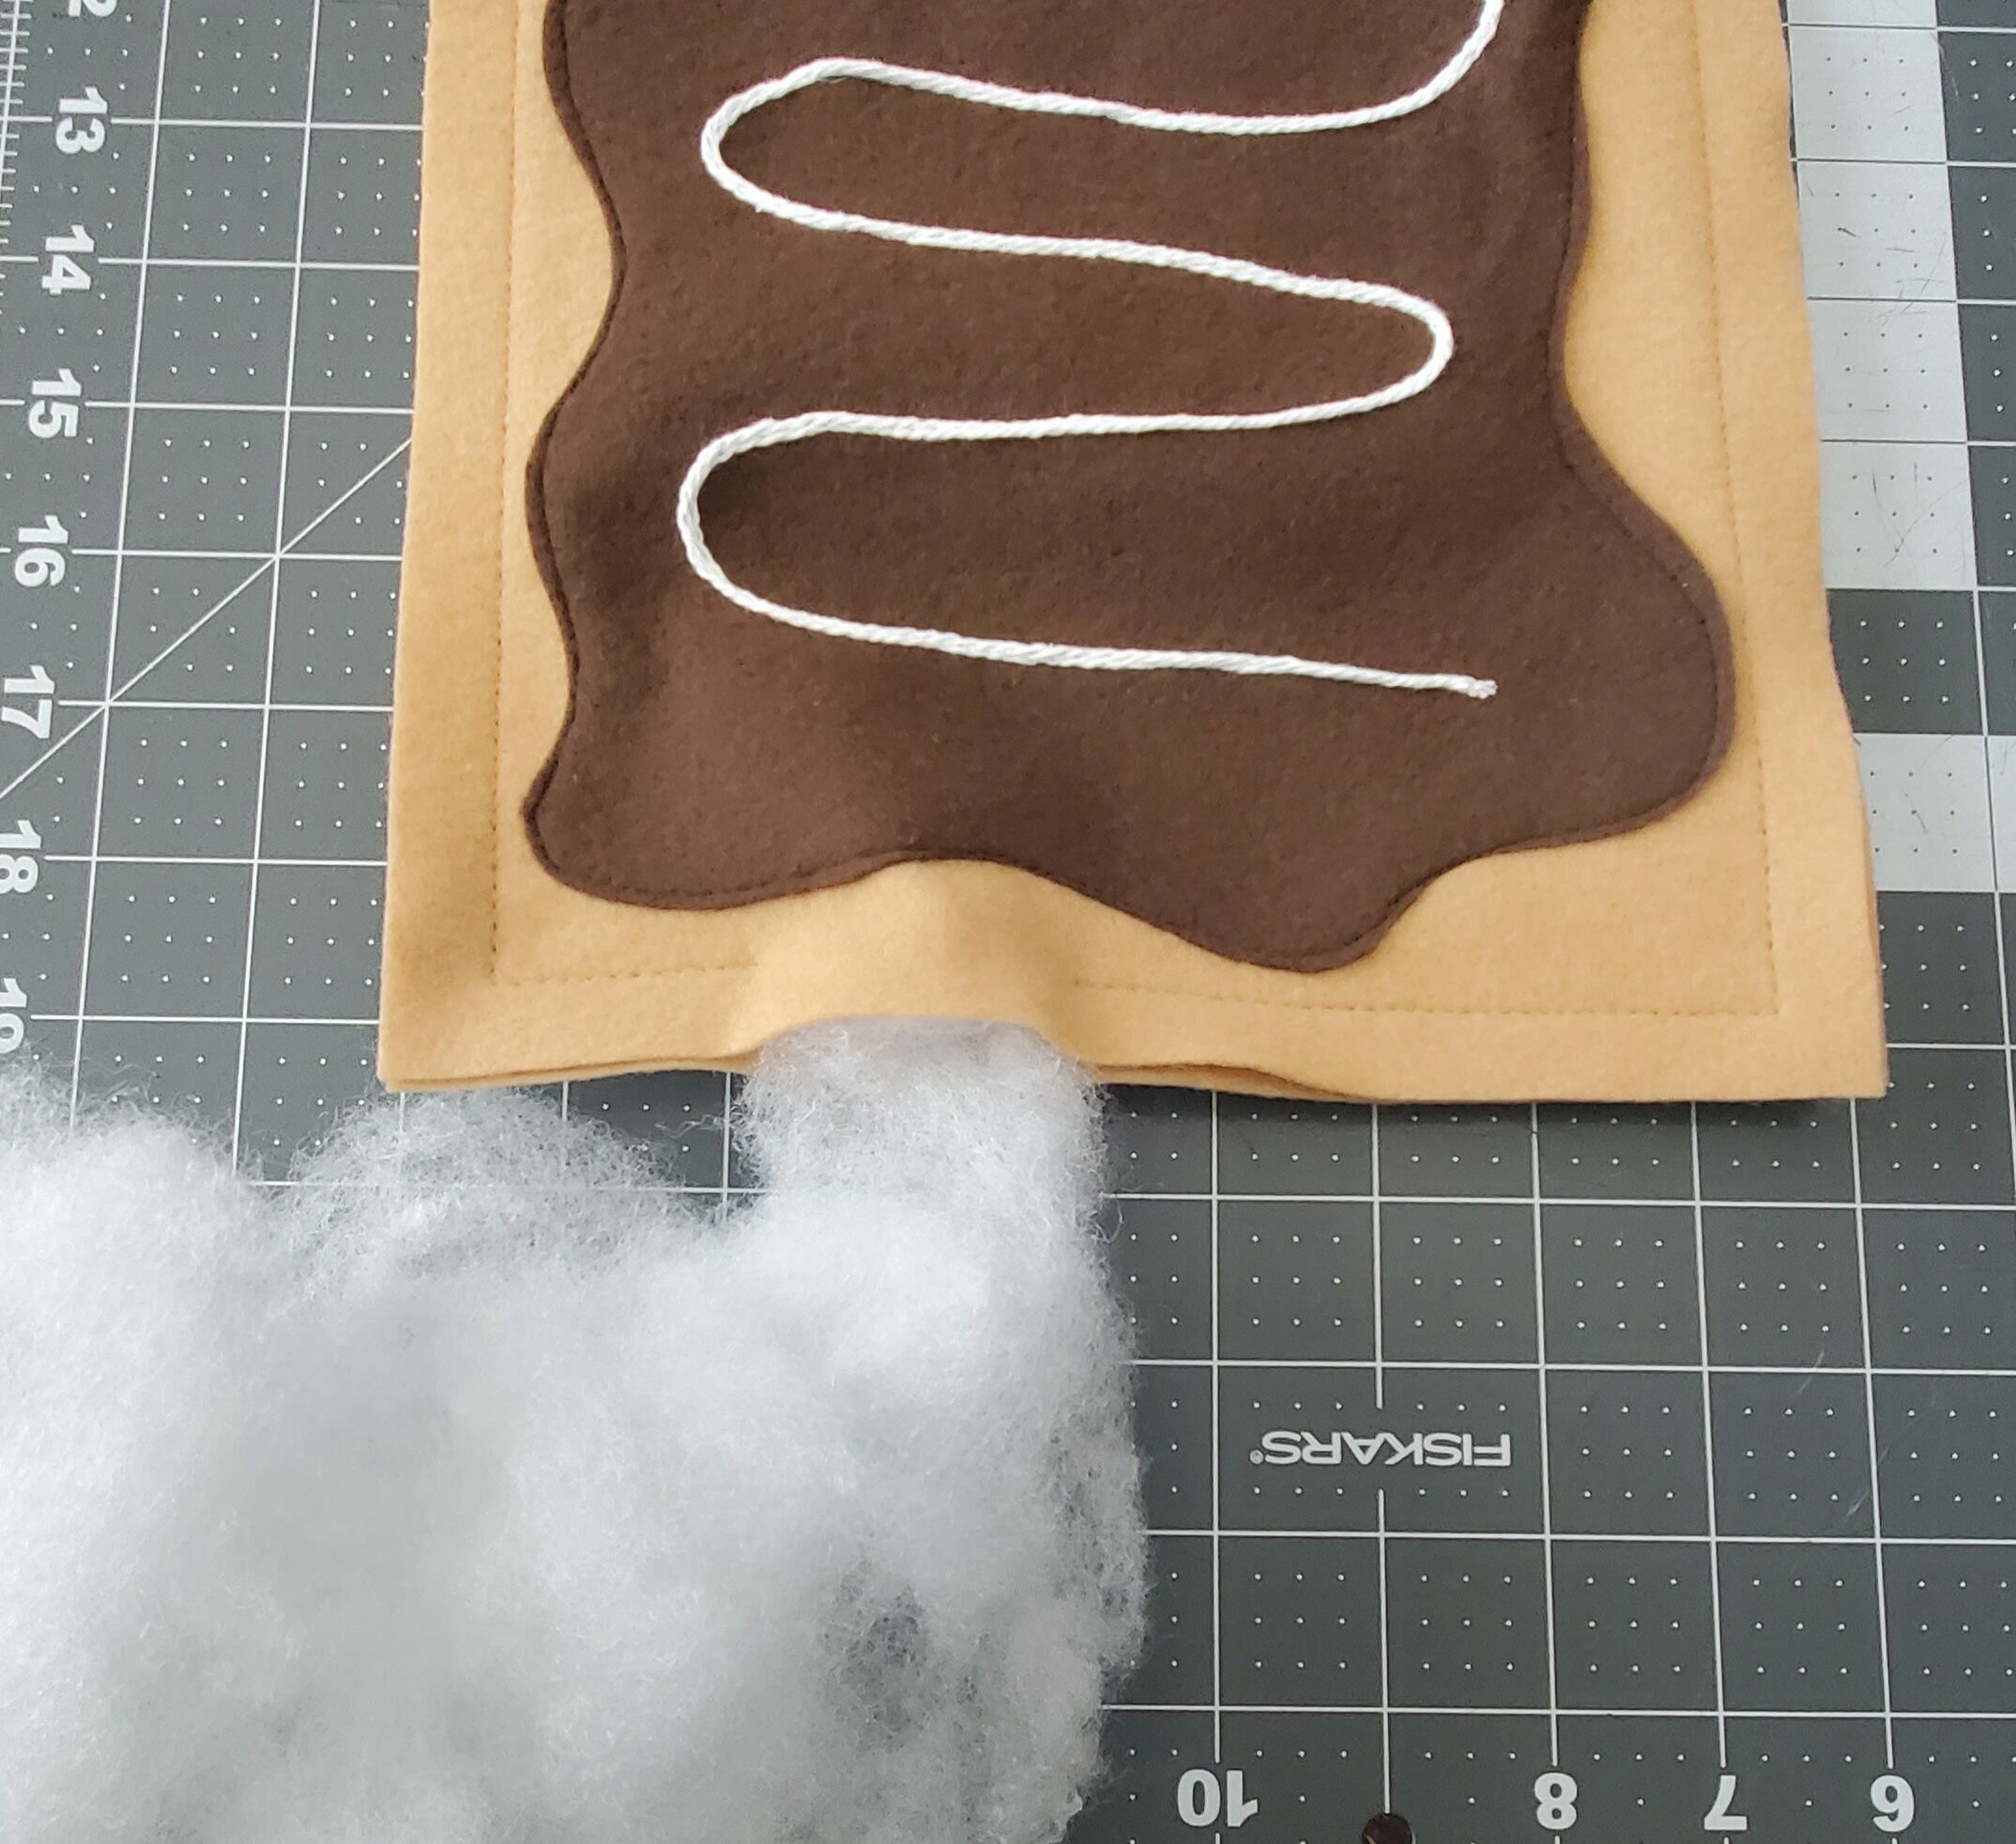
Fill Toaster Treat to the desired firmness with Polyfil, using the 1-2″ opening.
Step 6: FINISHING
Stitch the 1-2″ opening closed.
Even if you machine stitch your Toaster Treat, you still may wish to add decorative stitches along the edges. For decorative purposes, your blanket stitches do not need to be a specific distance apart. However, if you are using a blanket stitch to attach your main pieces and keep your stuffing inside, you will want to make sure your stitches are close enough together!
If you need a tutorial on blanket stitches, check out this helpful video from last year:
DECEMBER 1 – 12, 2023
DAY 1 – TOASTER TREAT PLAY FOOD + PLUSHIE

Leave a Reply