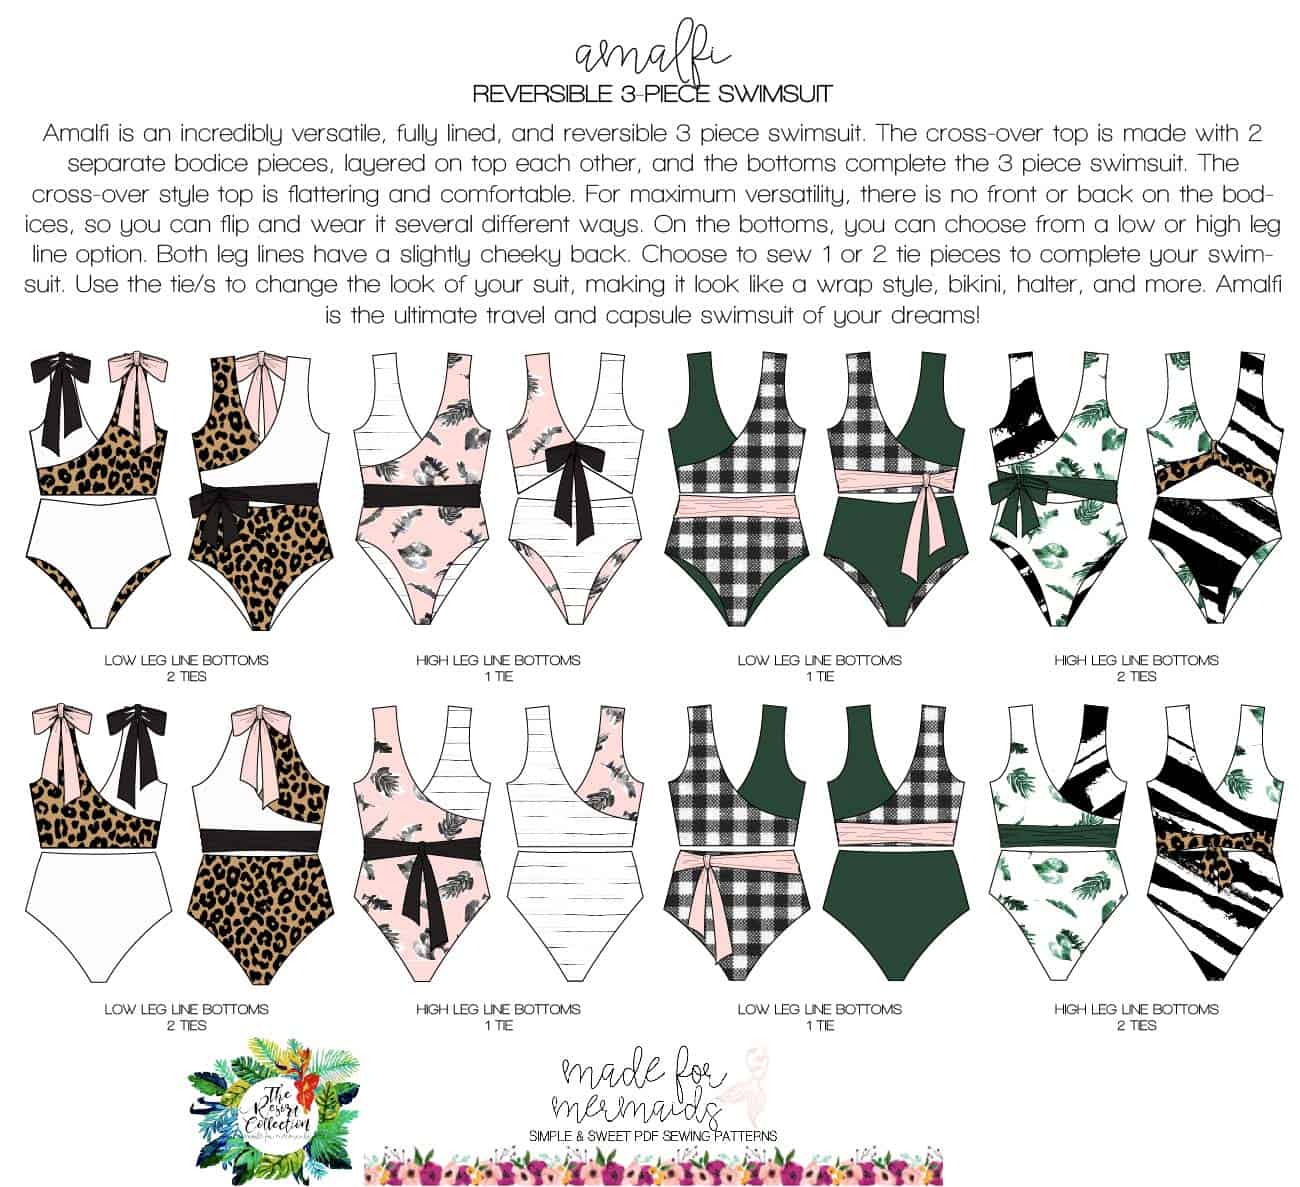
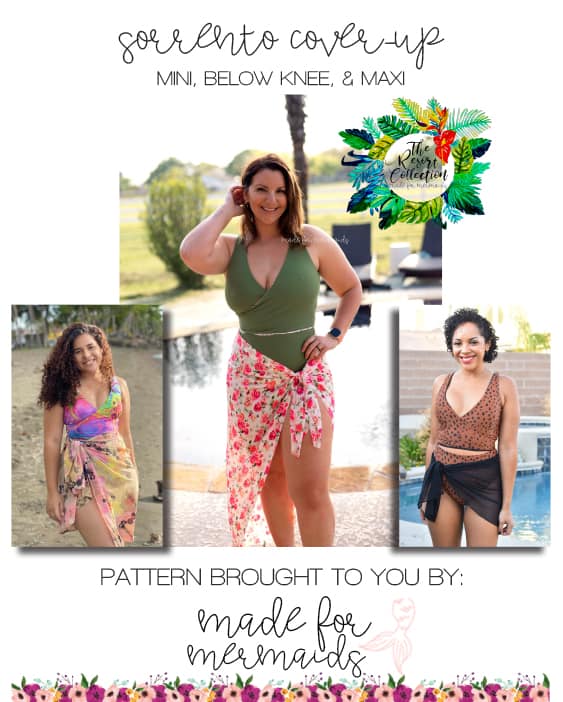
Our newest Resort Collection patterns are here! The Amalfi reversible 3-piece swimsuit and the Sorrento Cover-Up! Amalfi is a three-piece reversible swimsuit with SO many options, but our gorgeous testers are on the blog today with a few extra hacks for you.
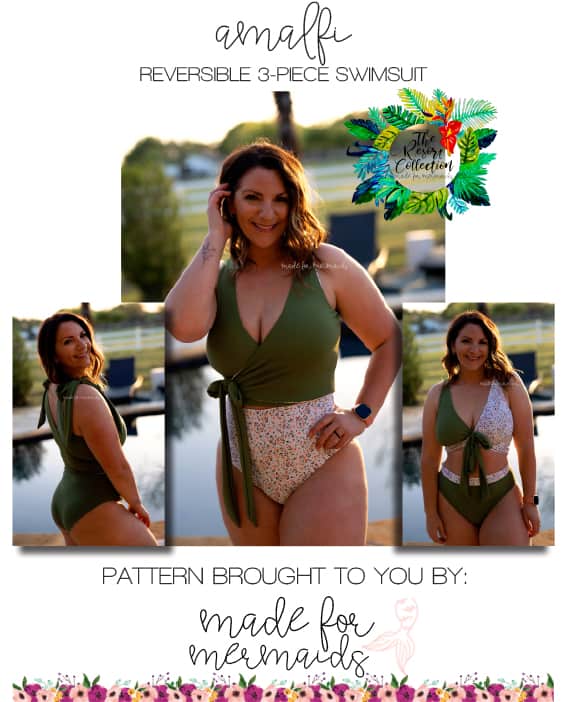

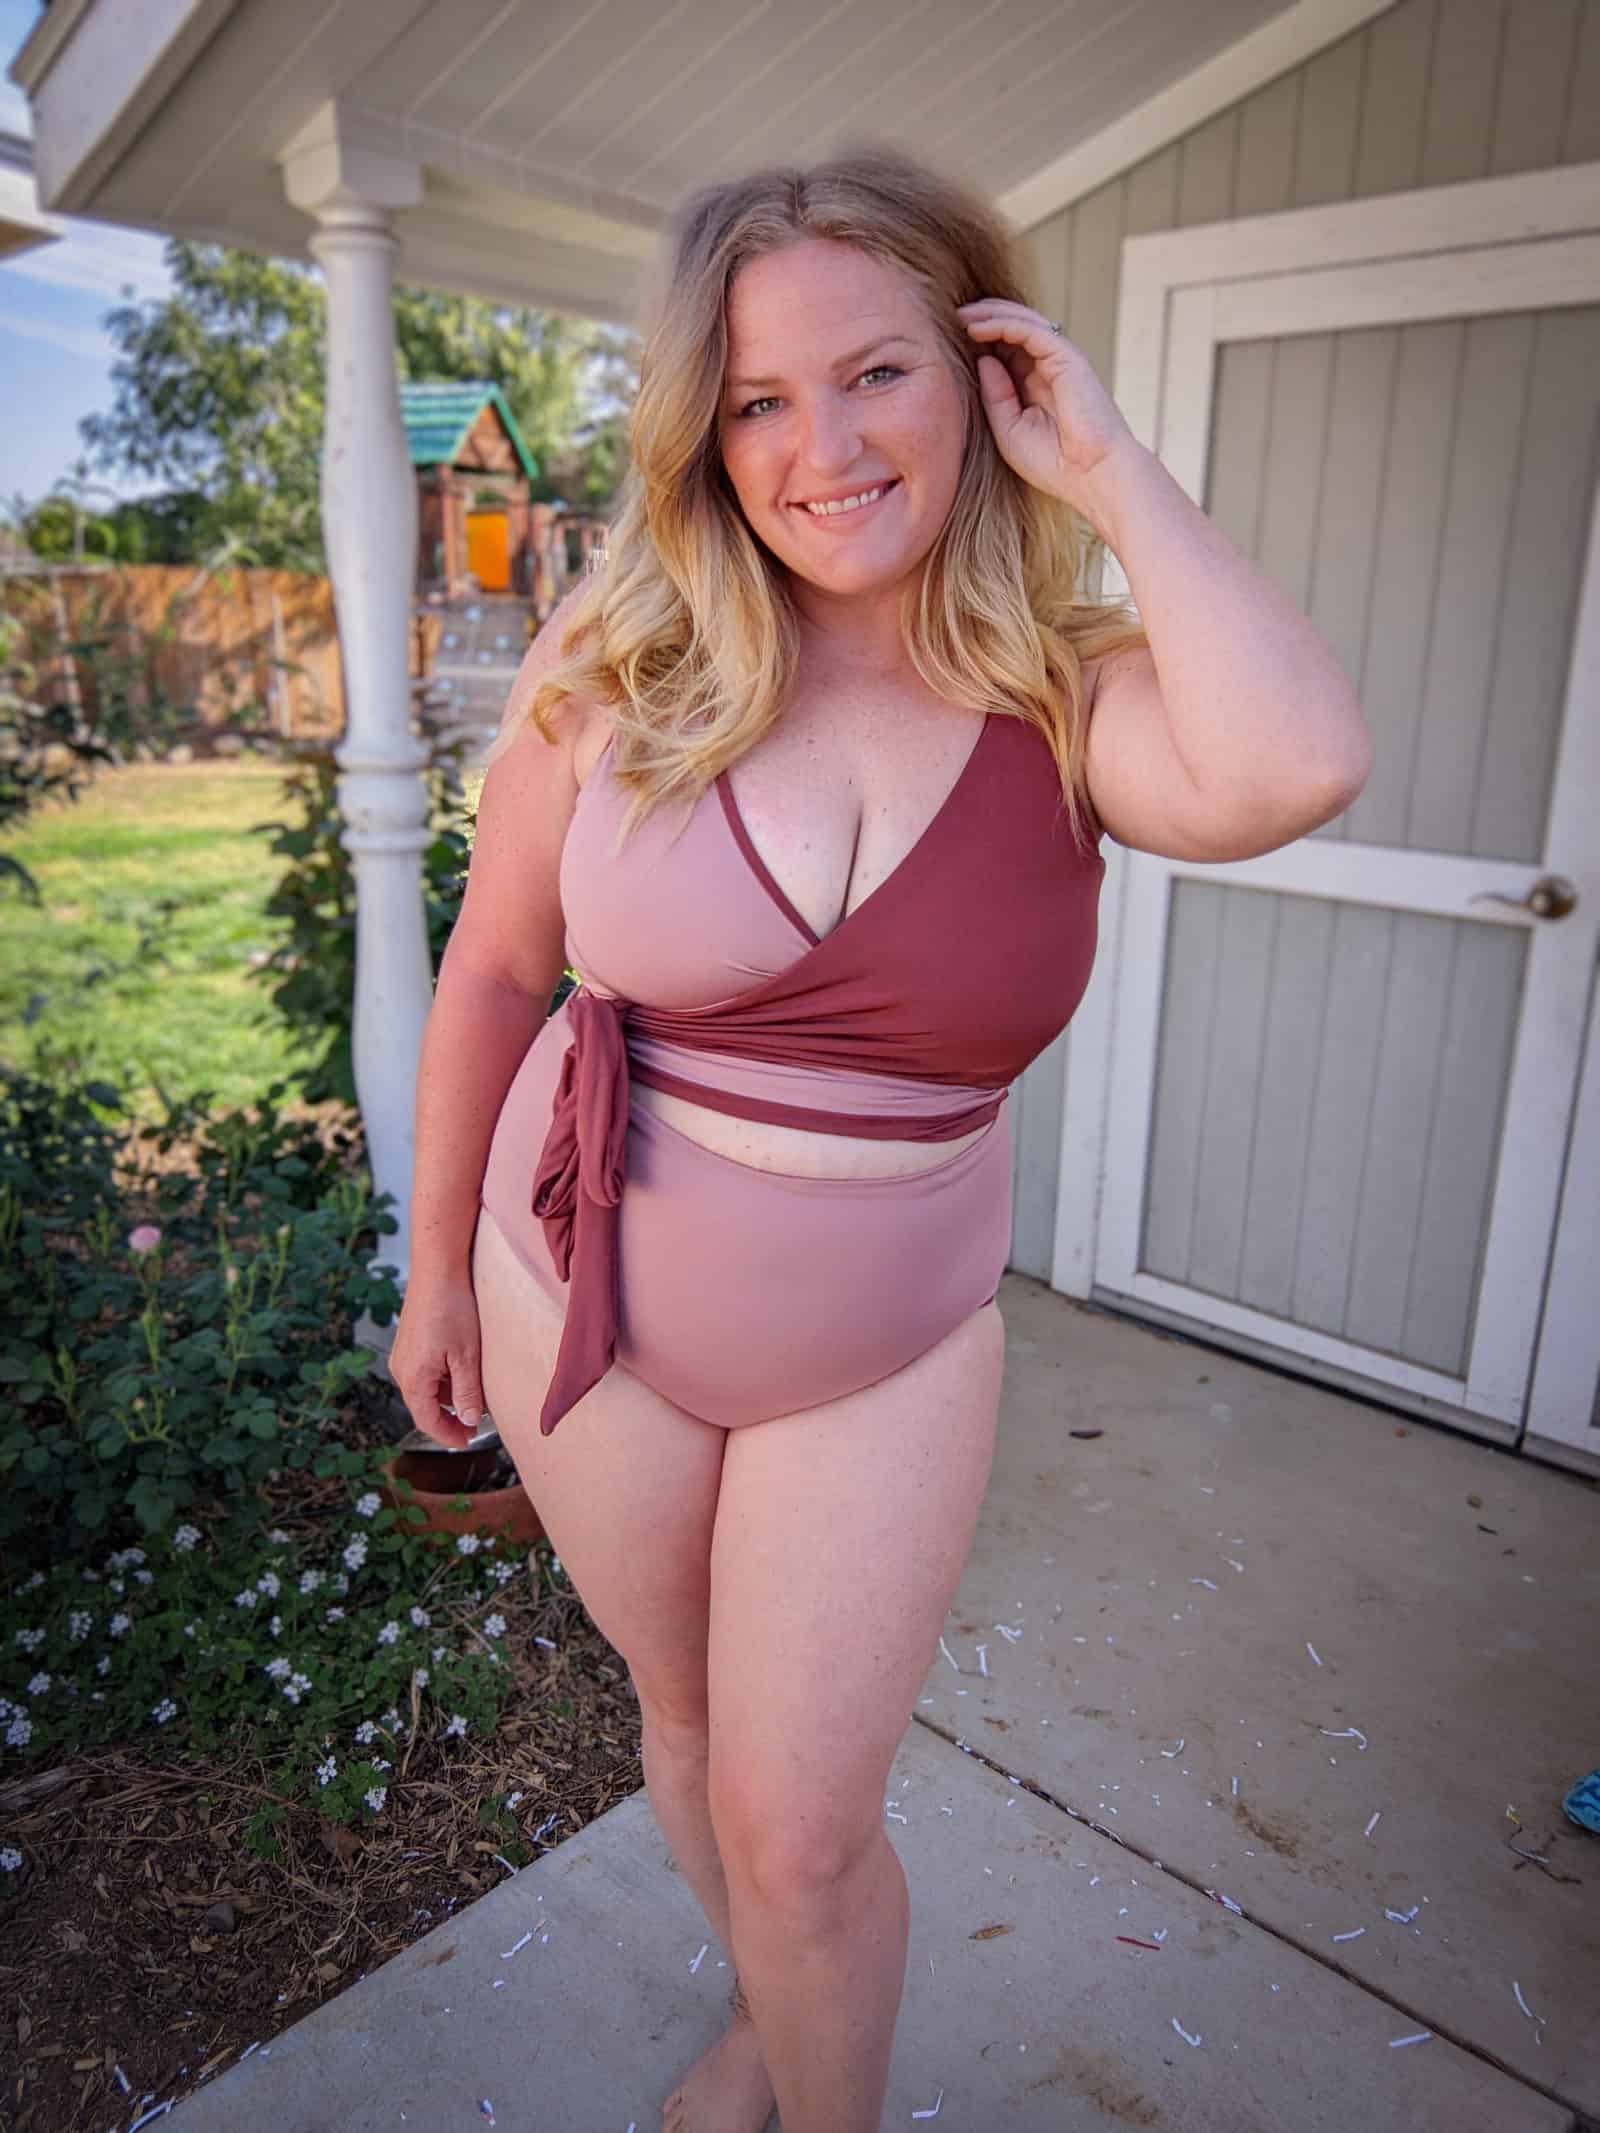
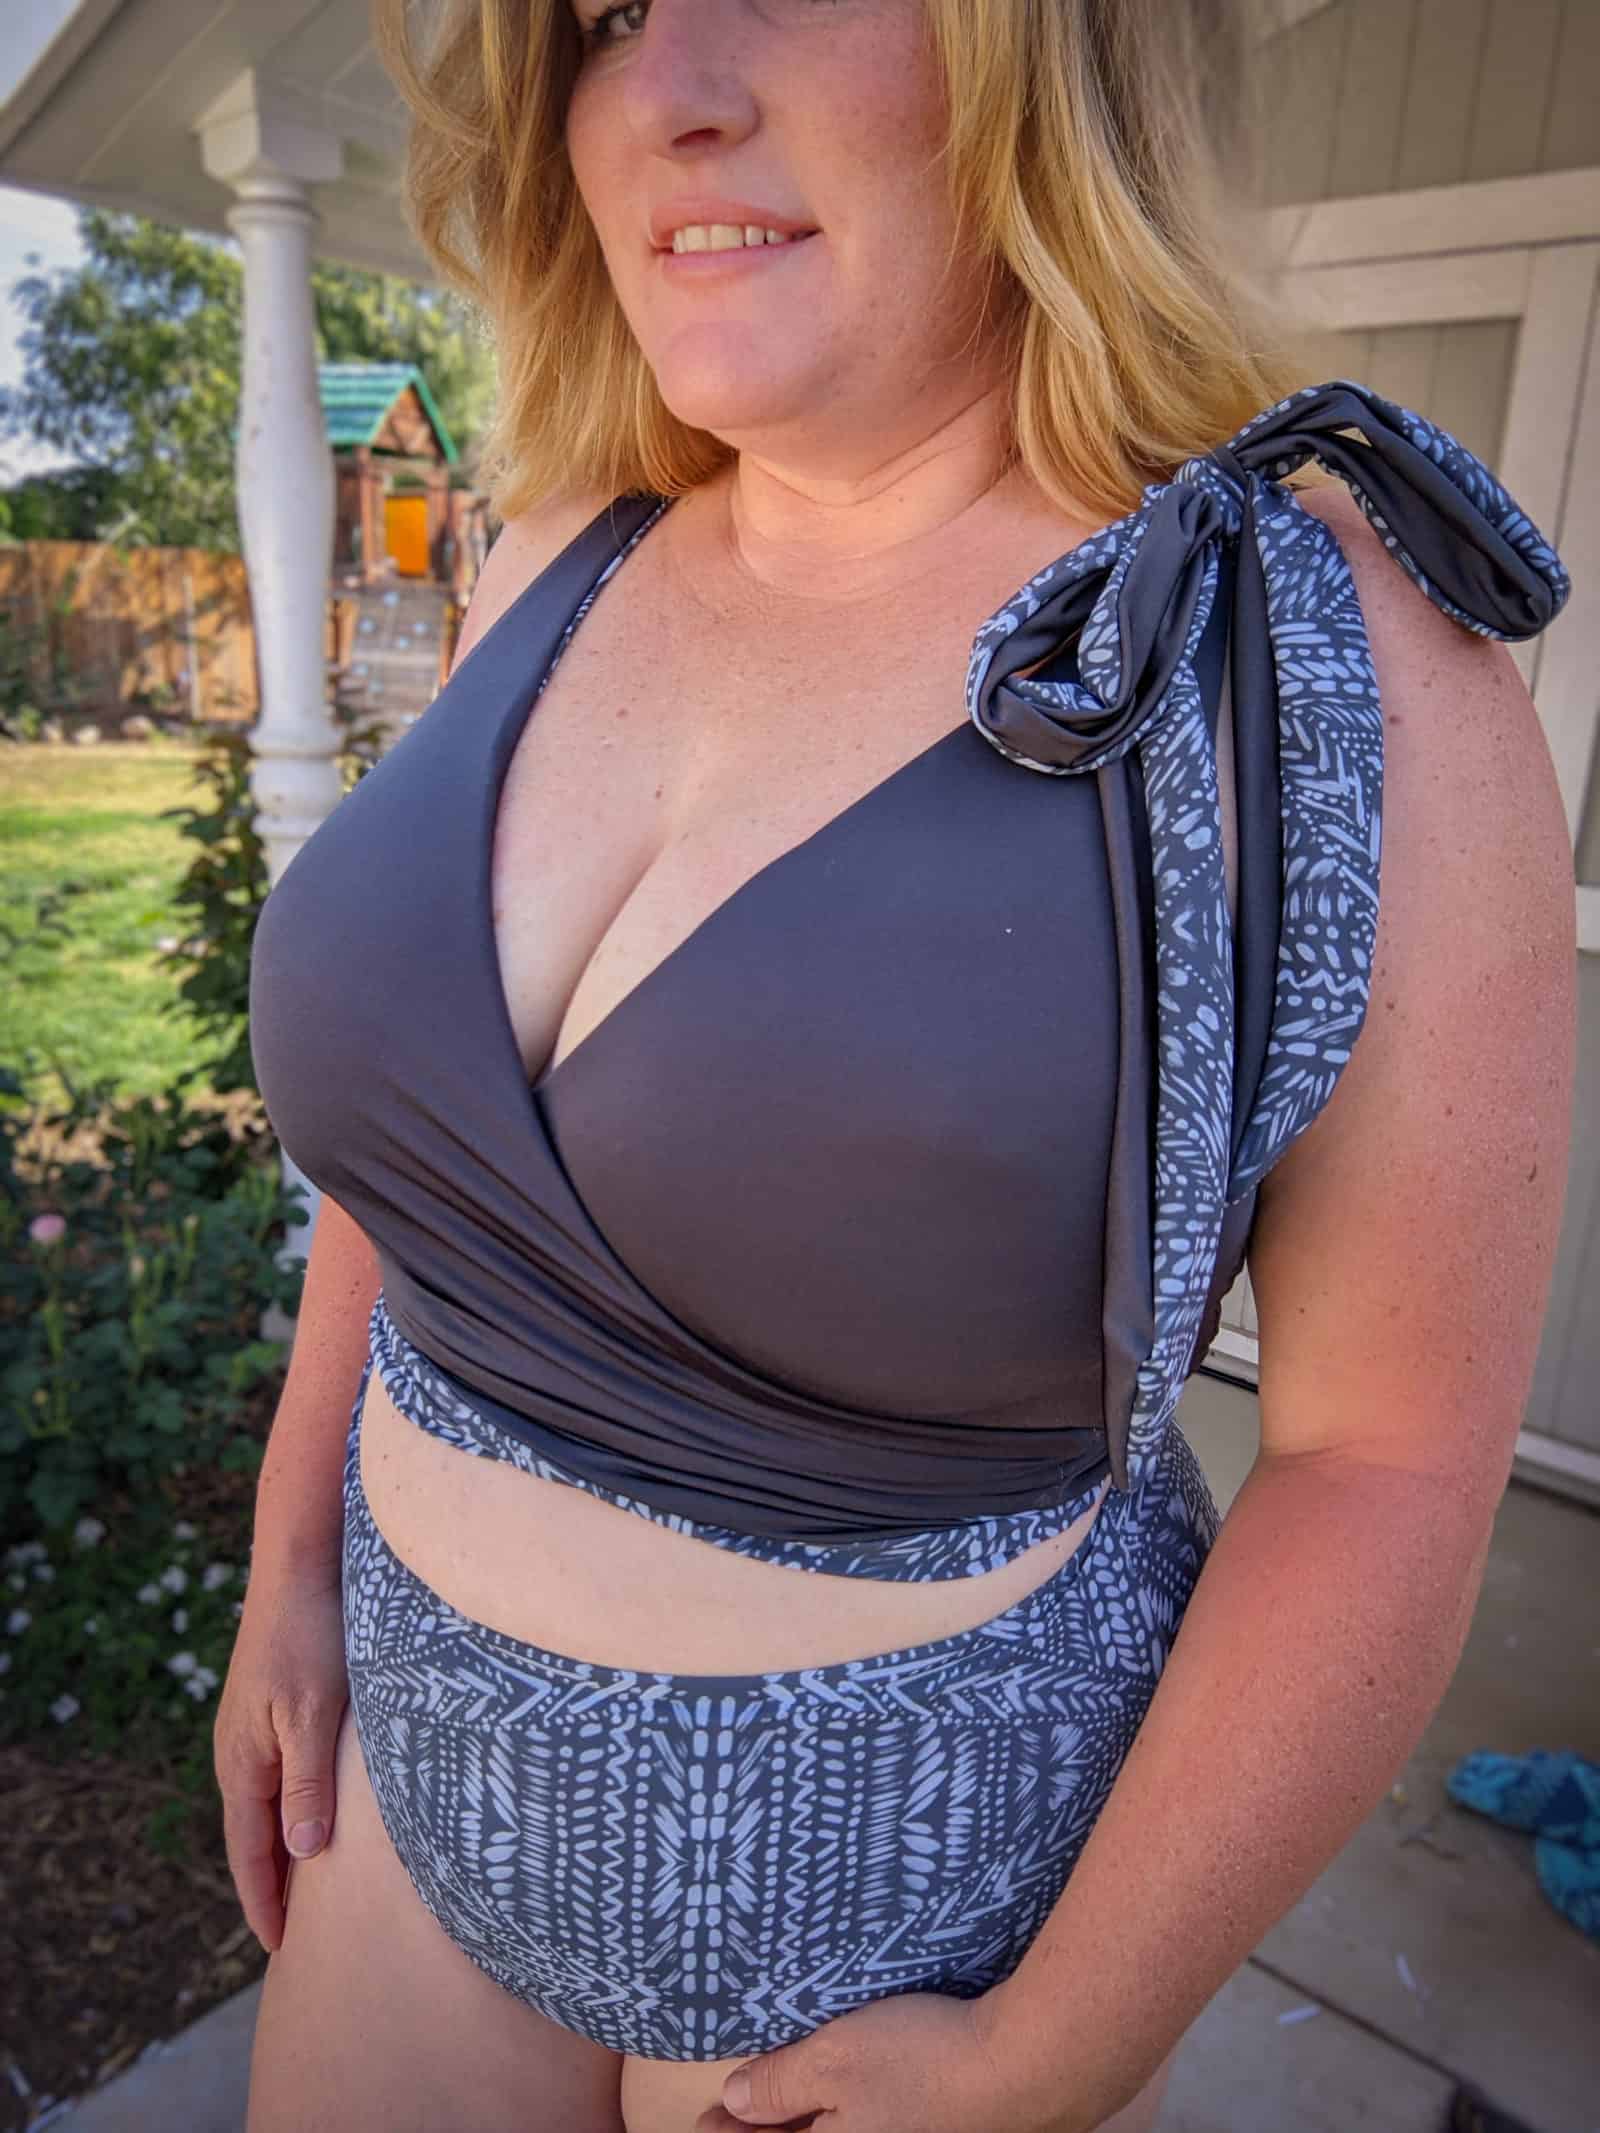
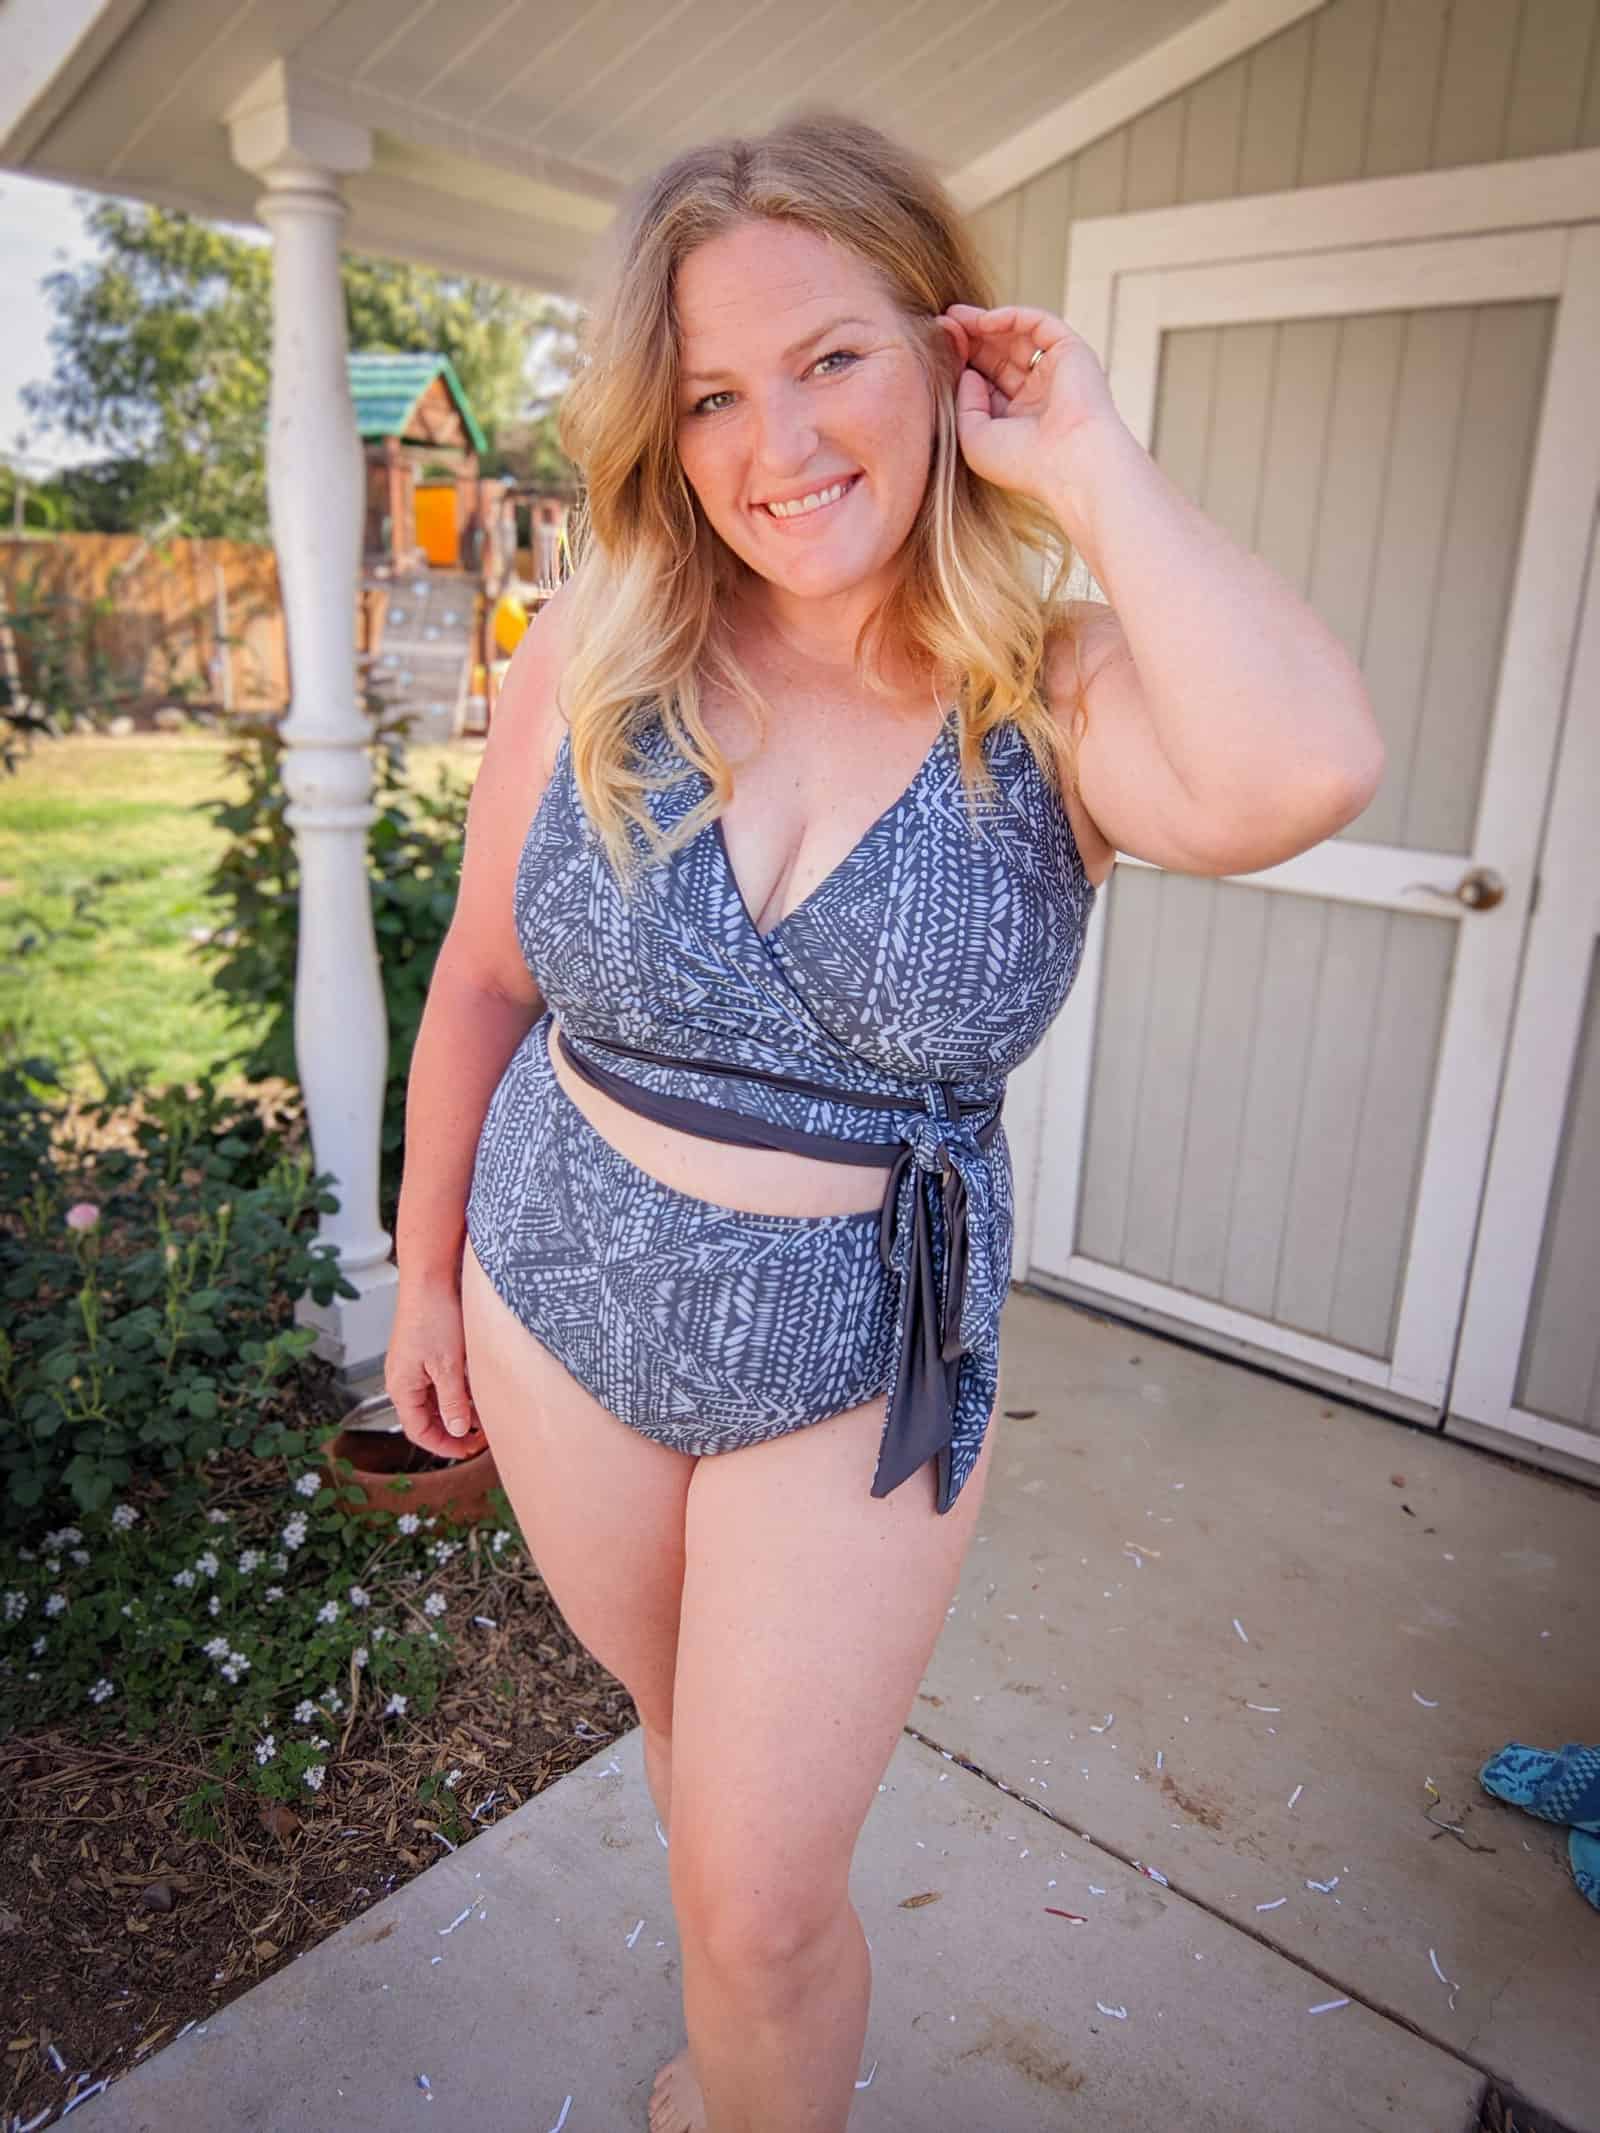
These photos are the Amalfi made as per the pattern, only graded for my measurements. The fit is great!
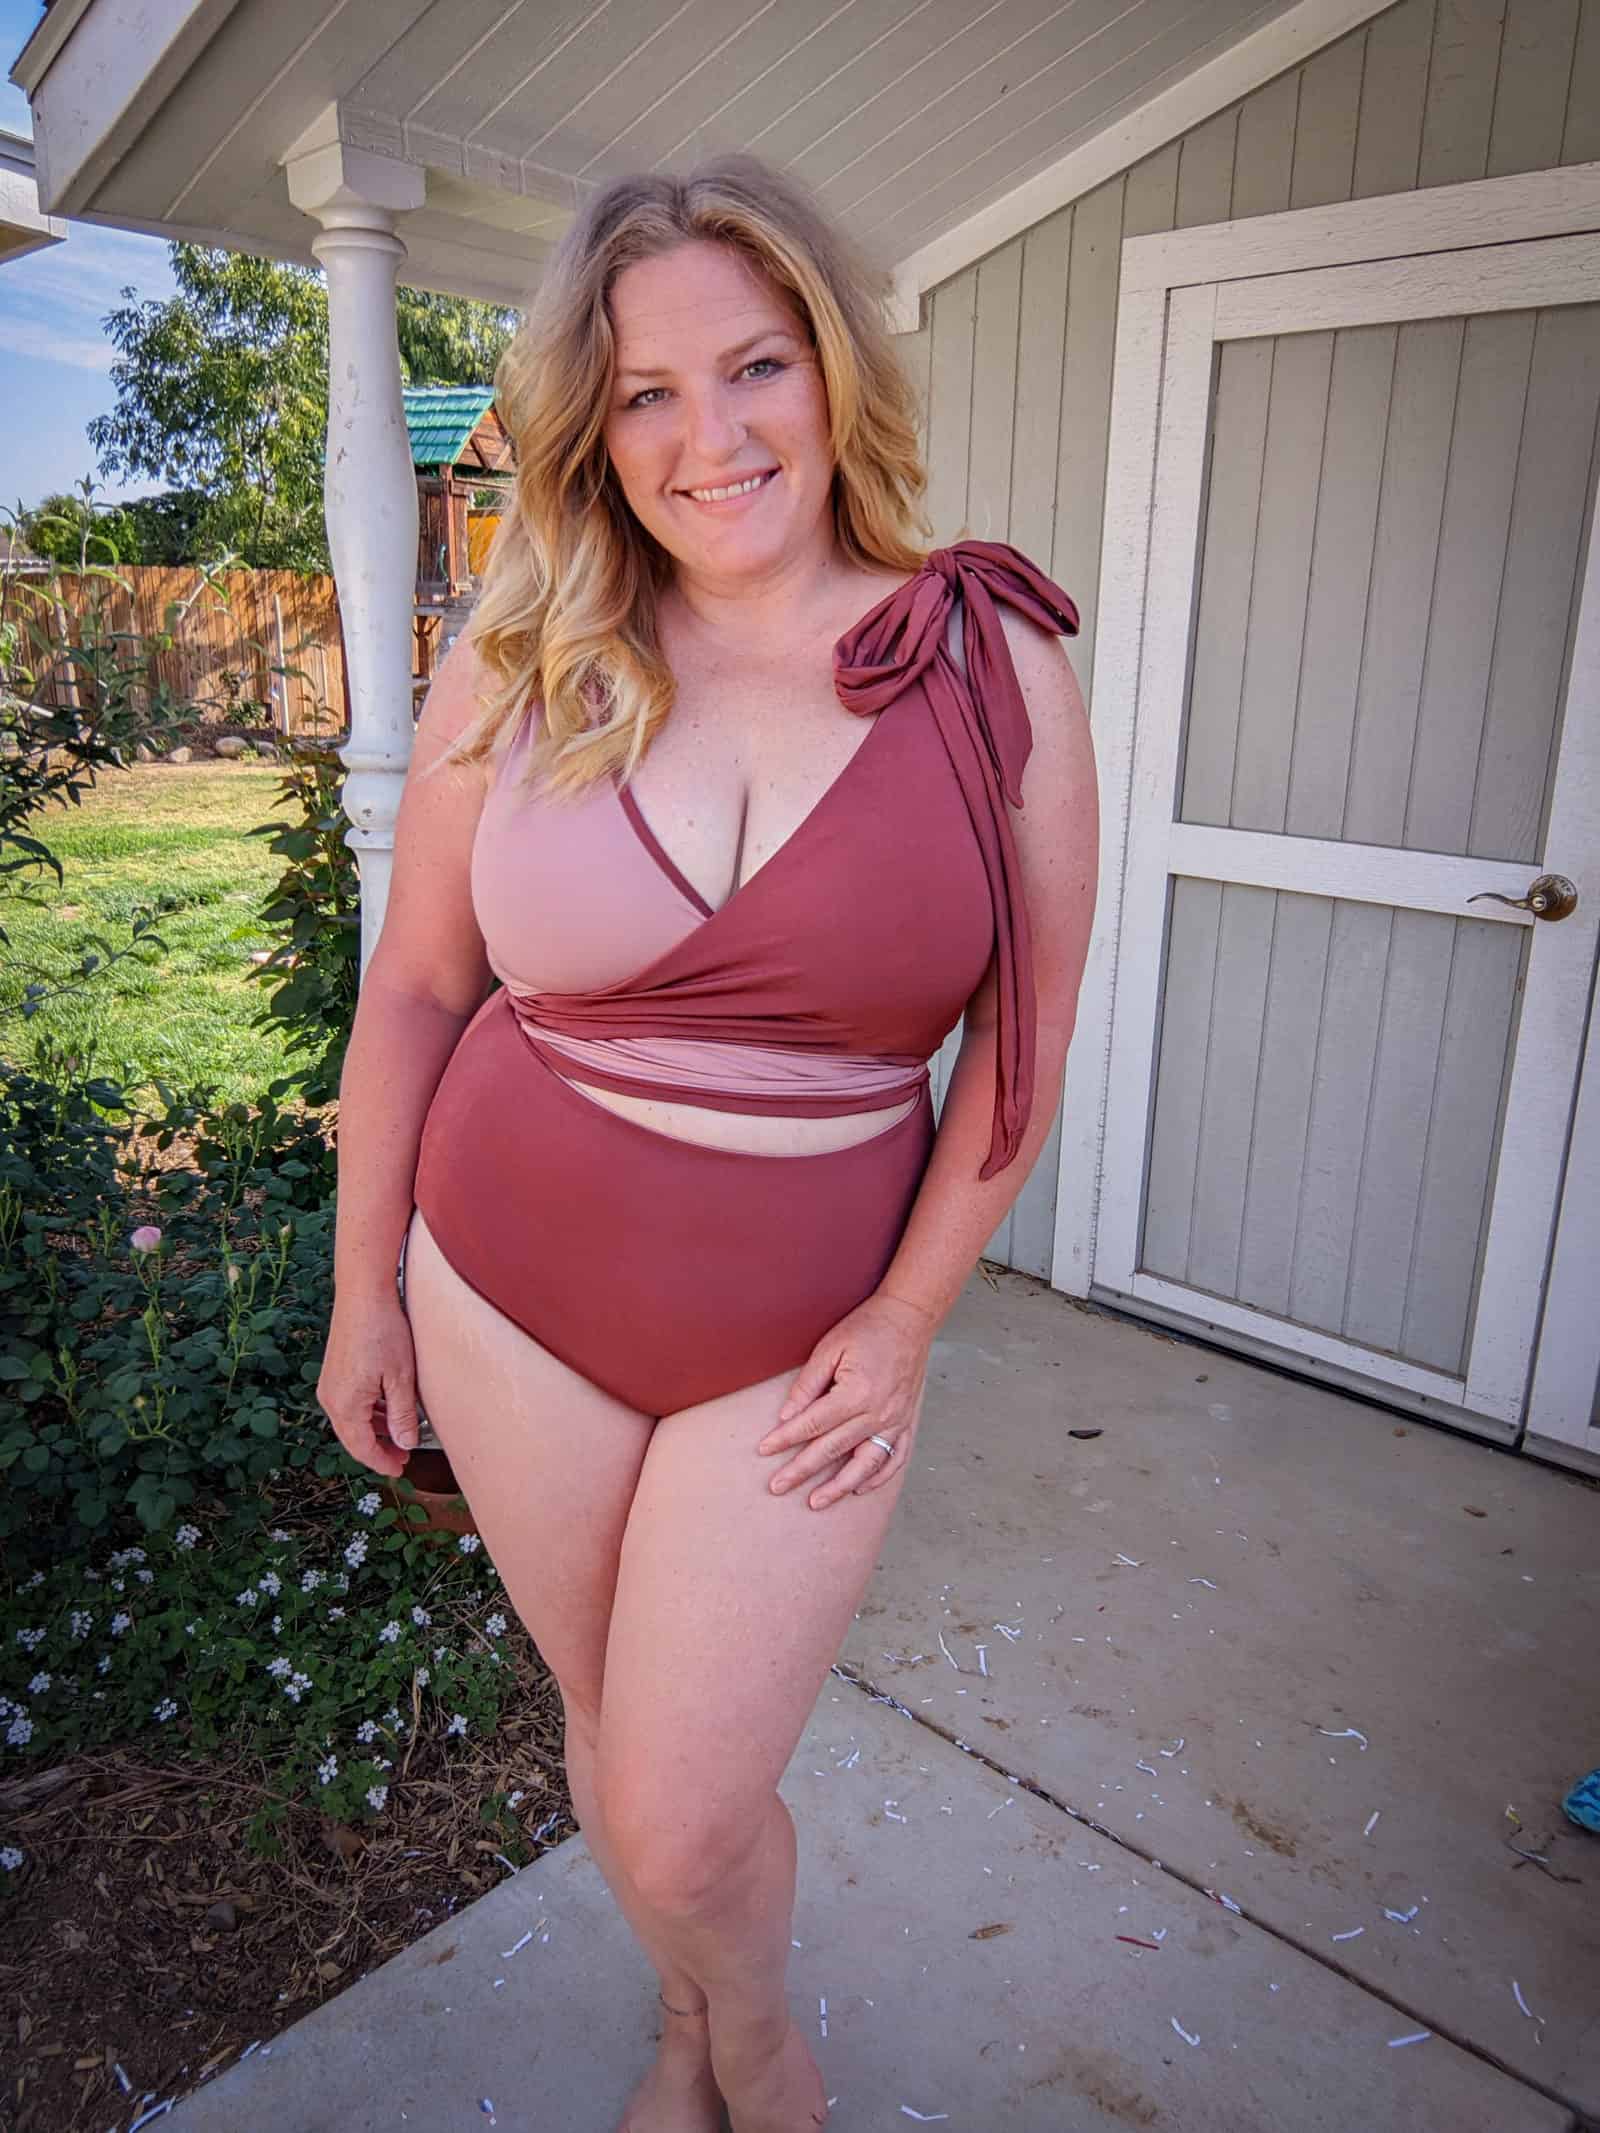
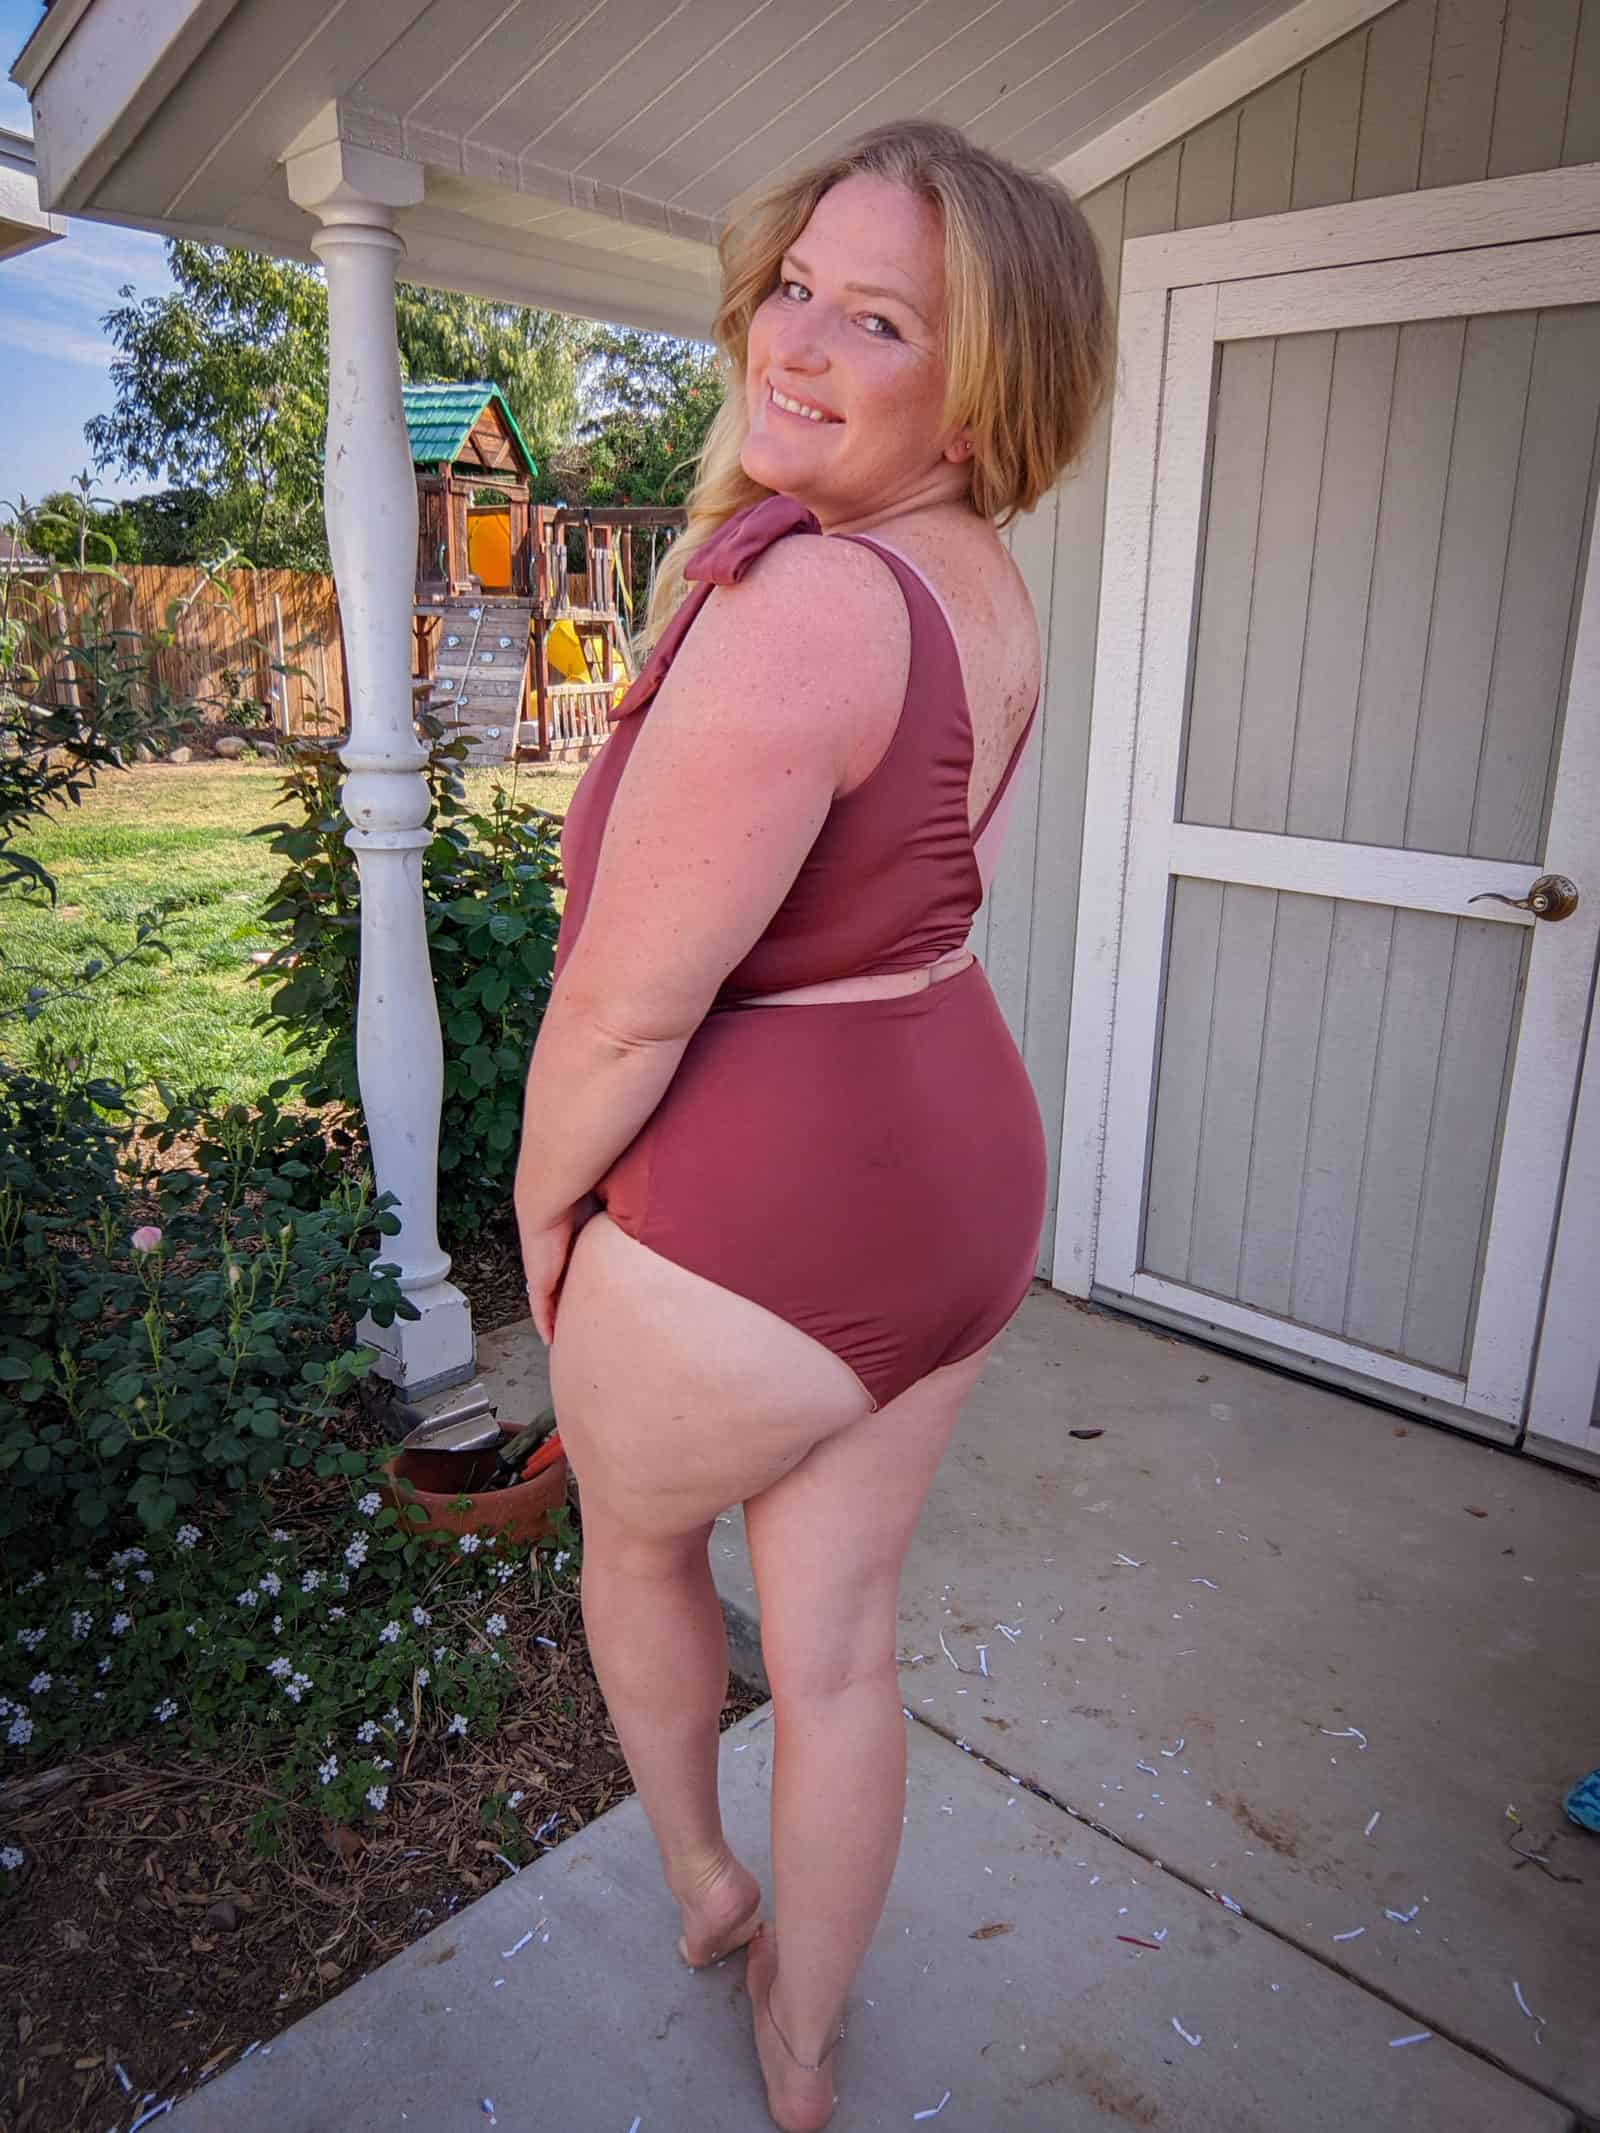
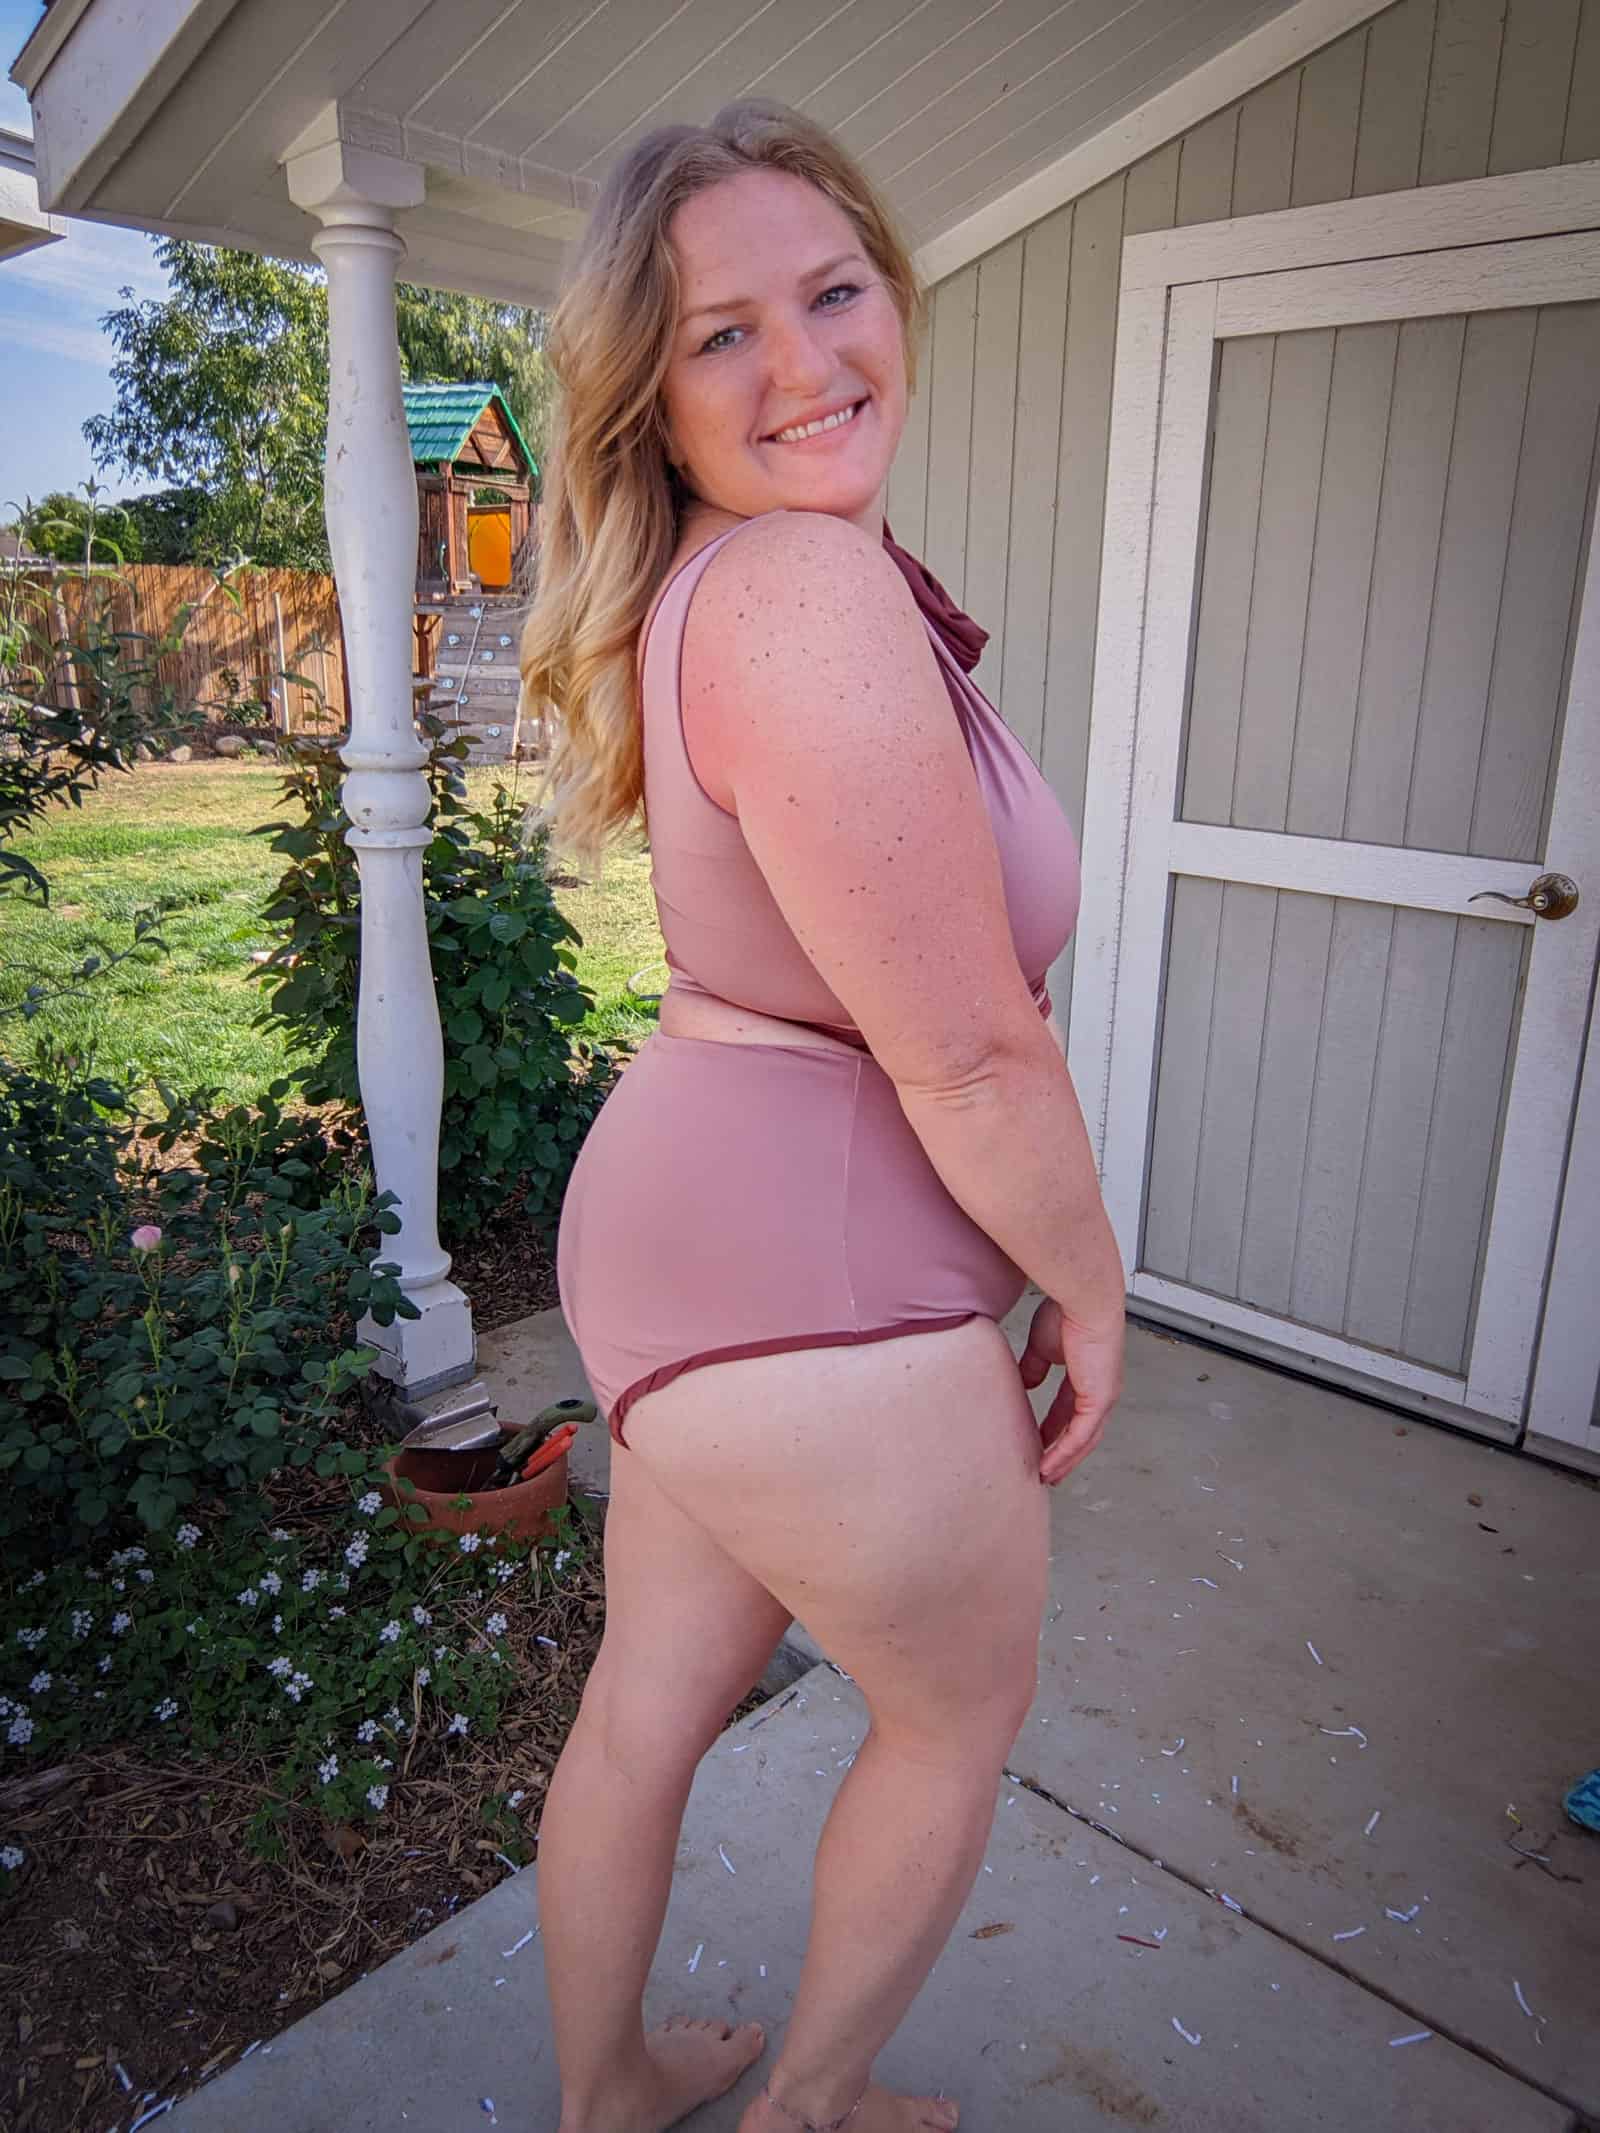
But perhaps you may prefer more or less coverage or would like to add the smoothing effect of swim cups. I’ve got you covered with adjustments for the neckline, back legline, and added swim cups.
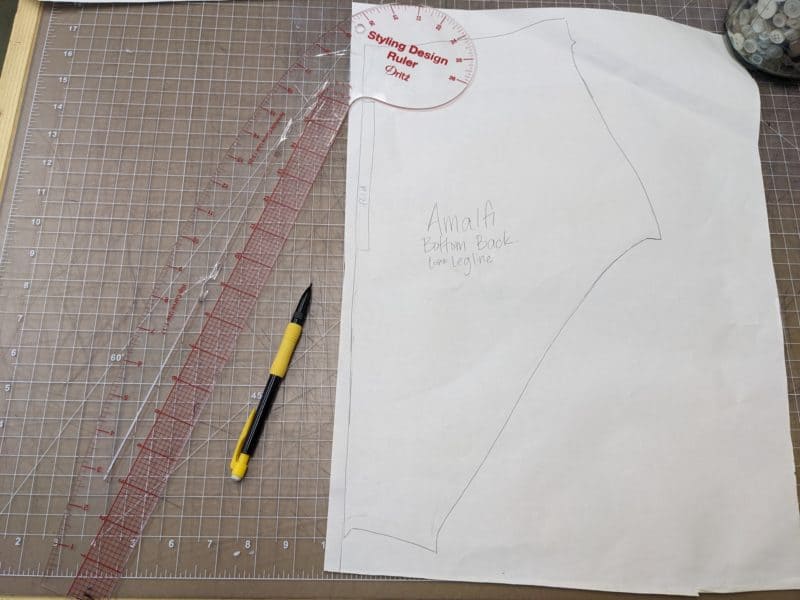
NOTE: The only special tool that I used was a curved ruler. If you don’t have one, you may use a straight ruler and free-hand the curves.
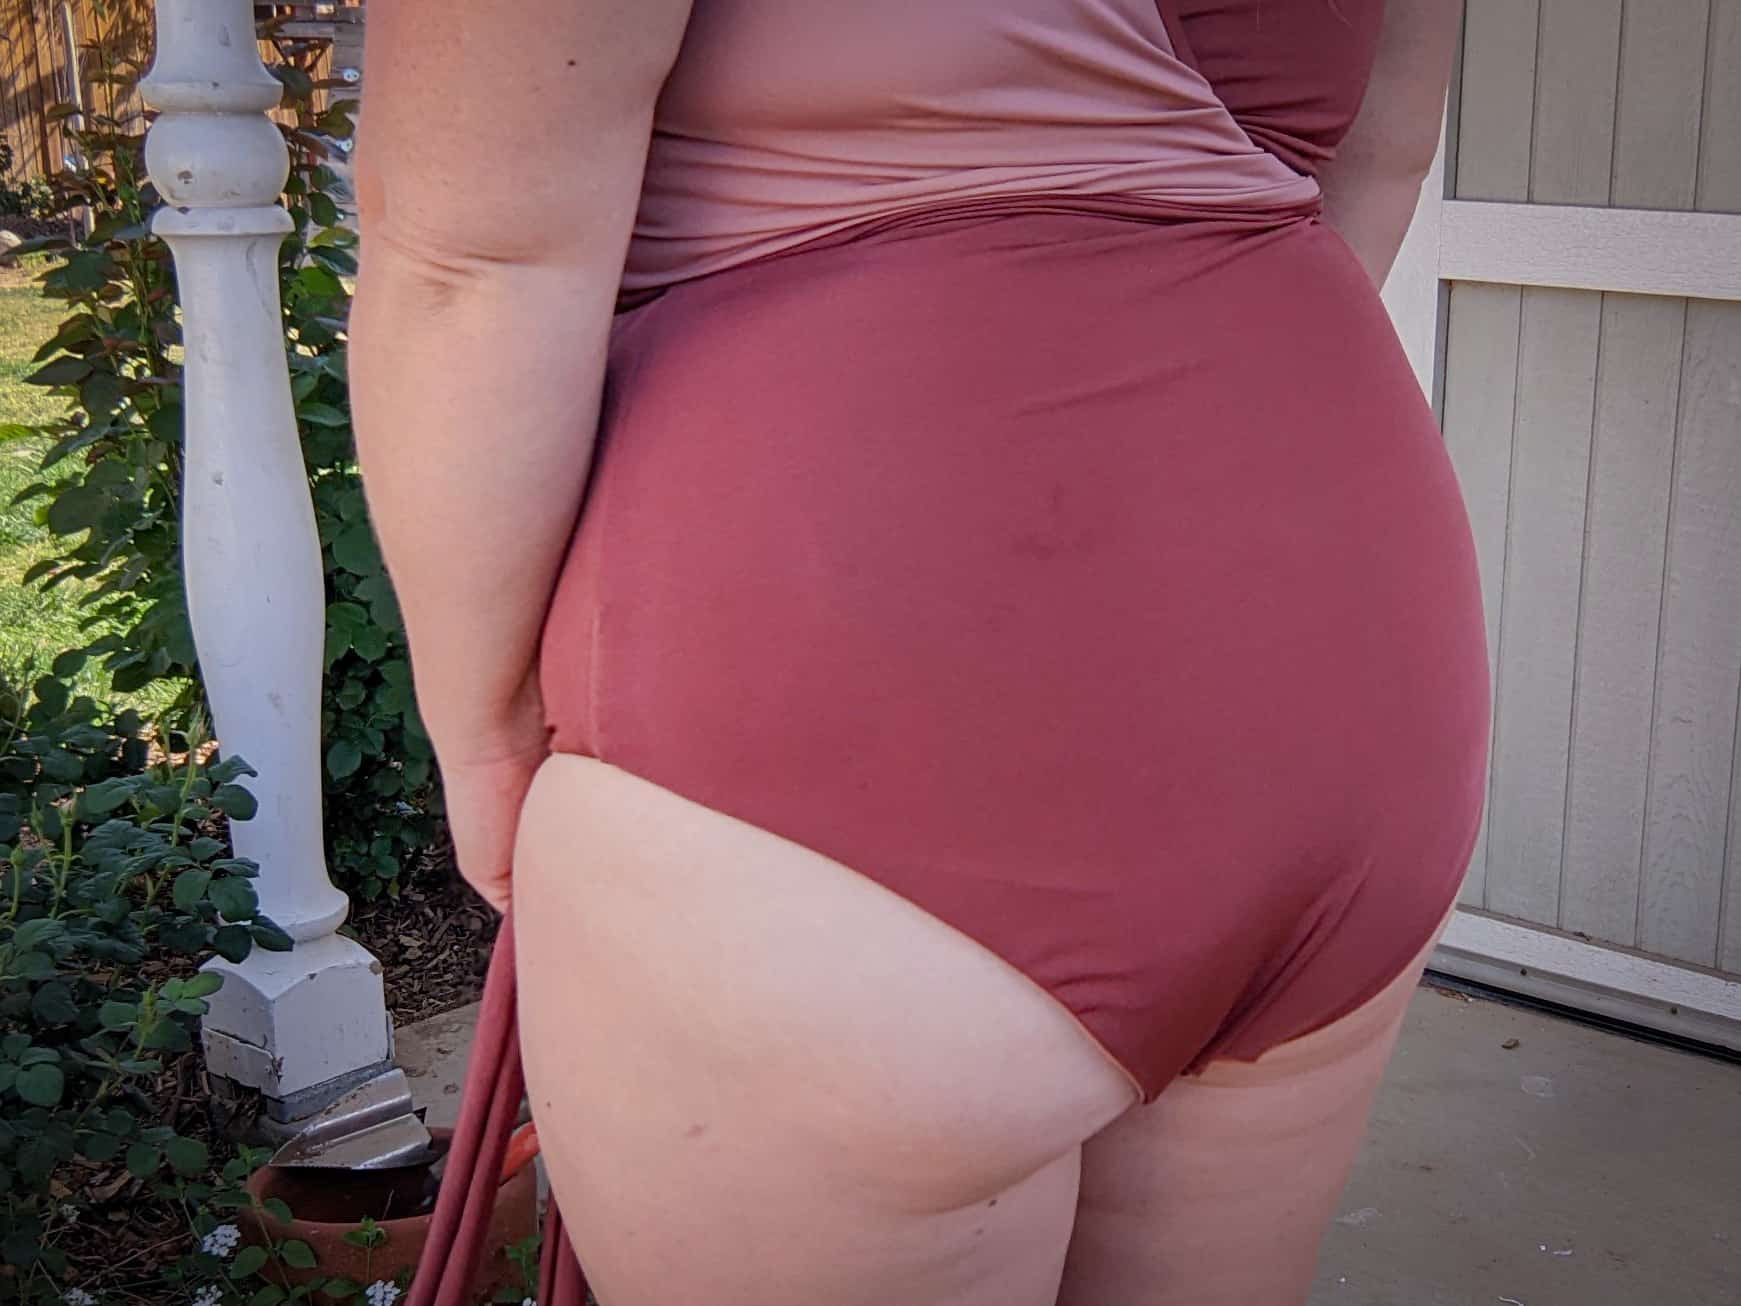
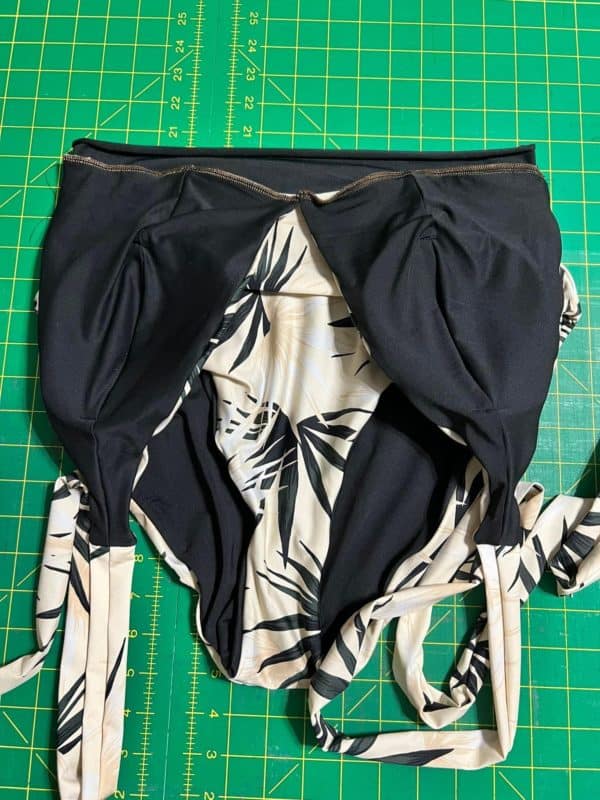
Adjust Bottom Back Cutline
For more (or less) coverage as per your preference:
-

- Amalfi: as per pattern.
-

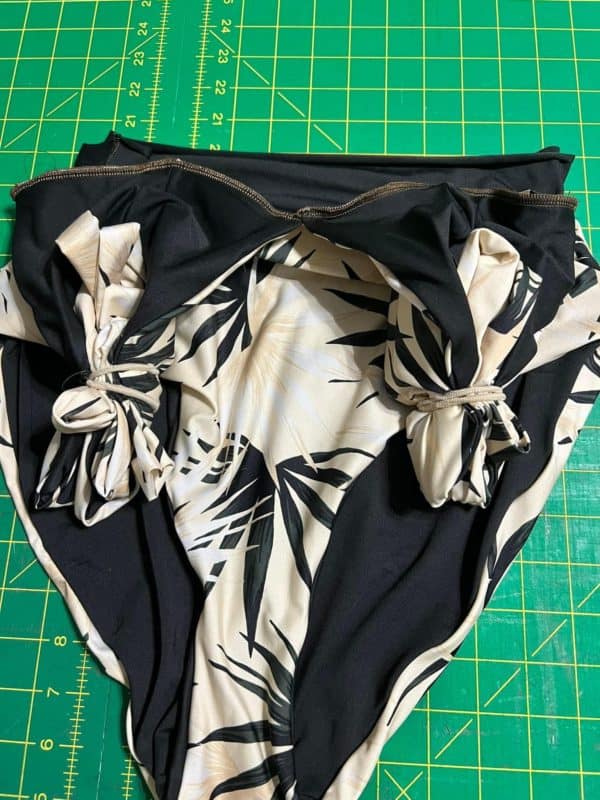
- Amalfi: with full coverage
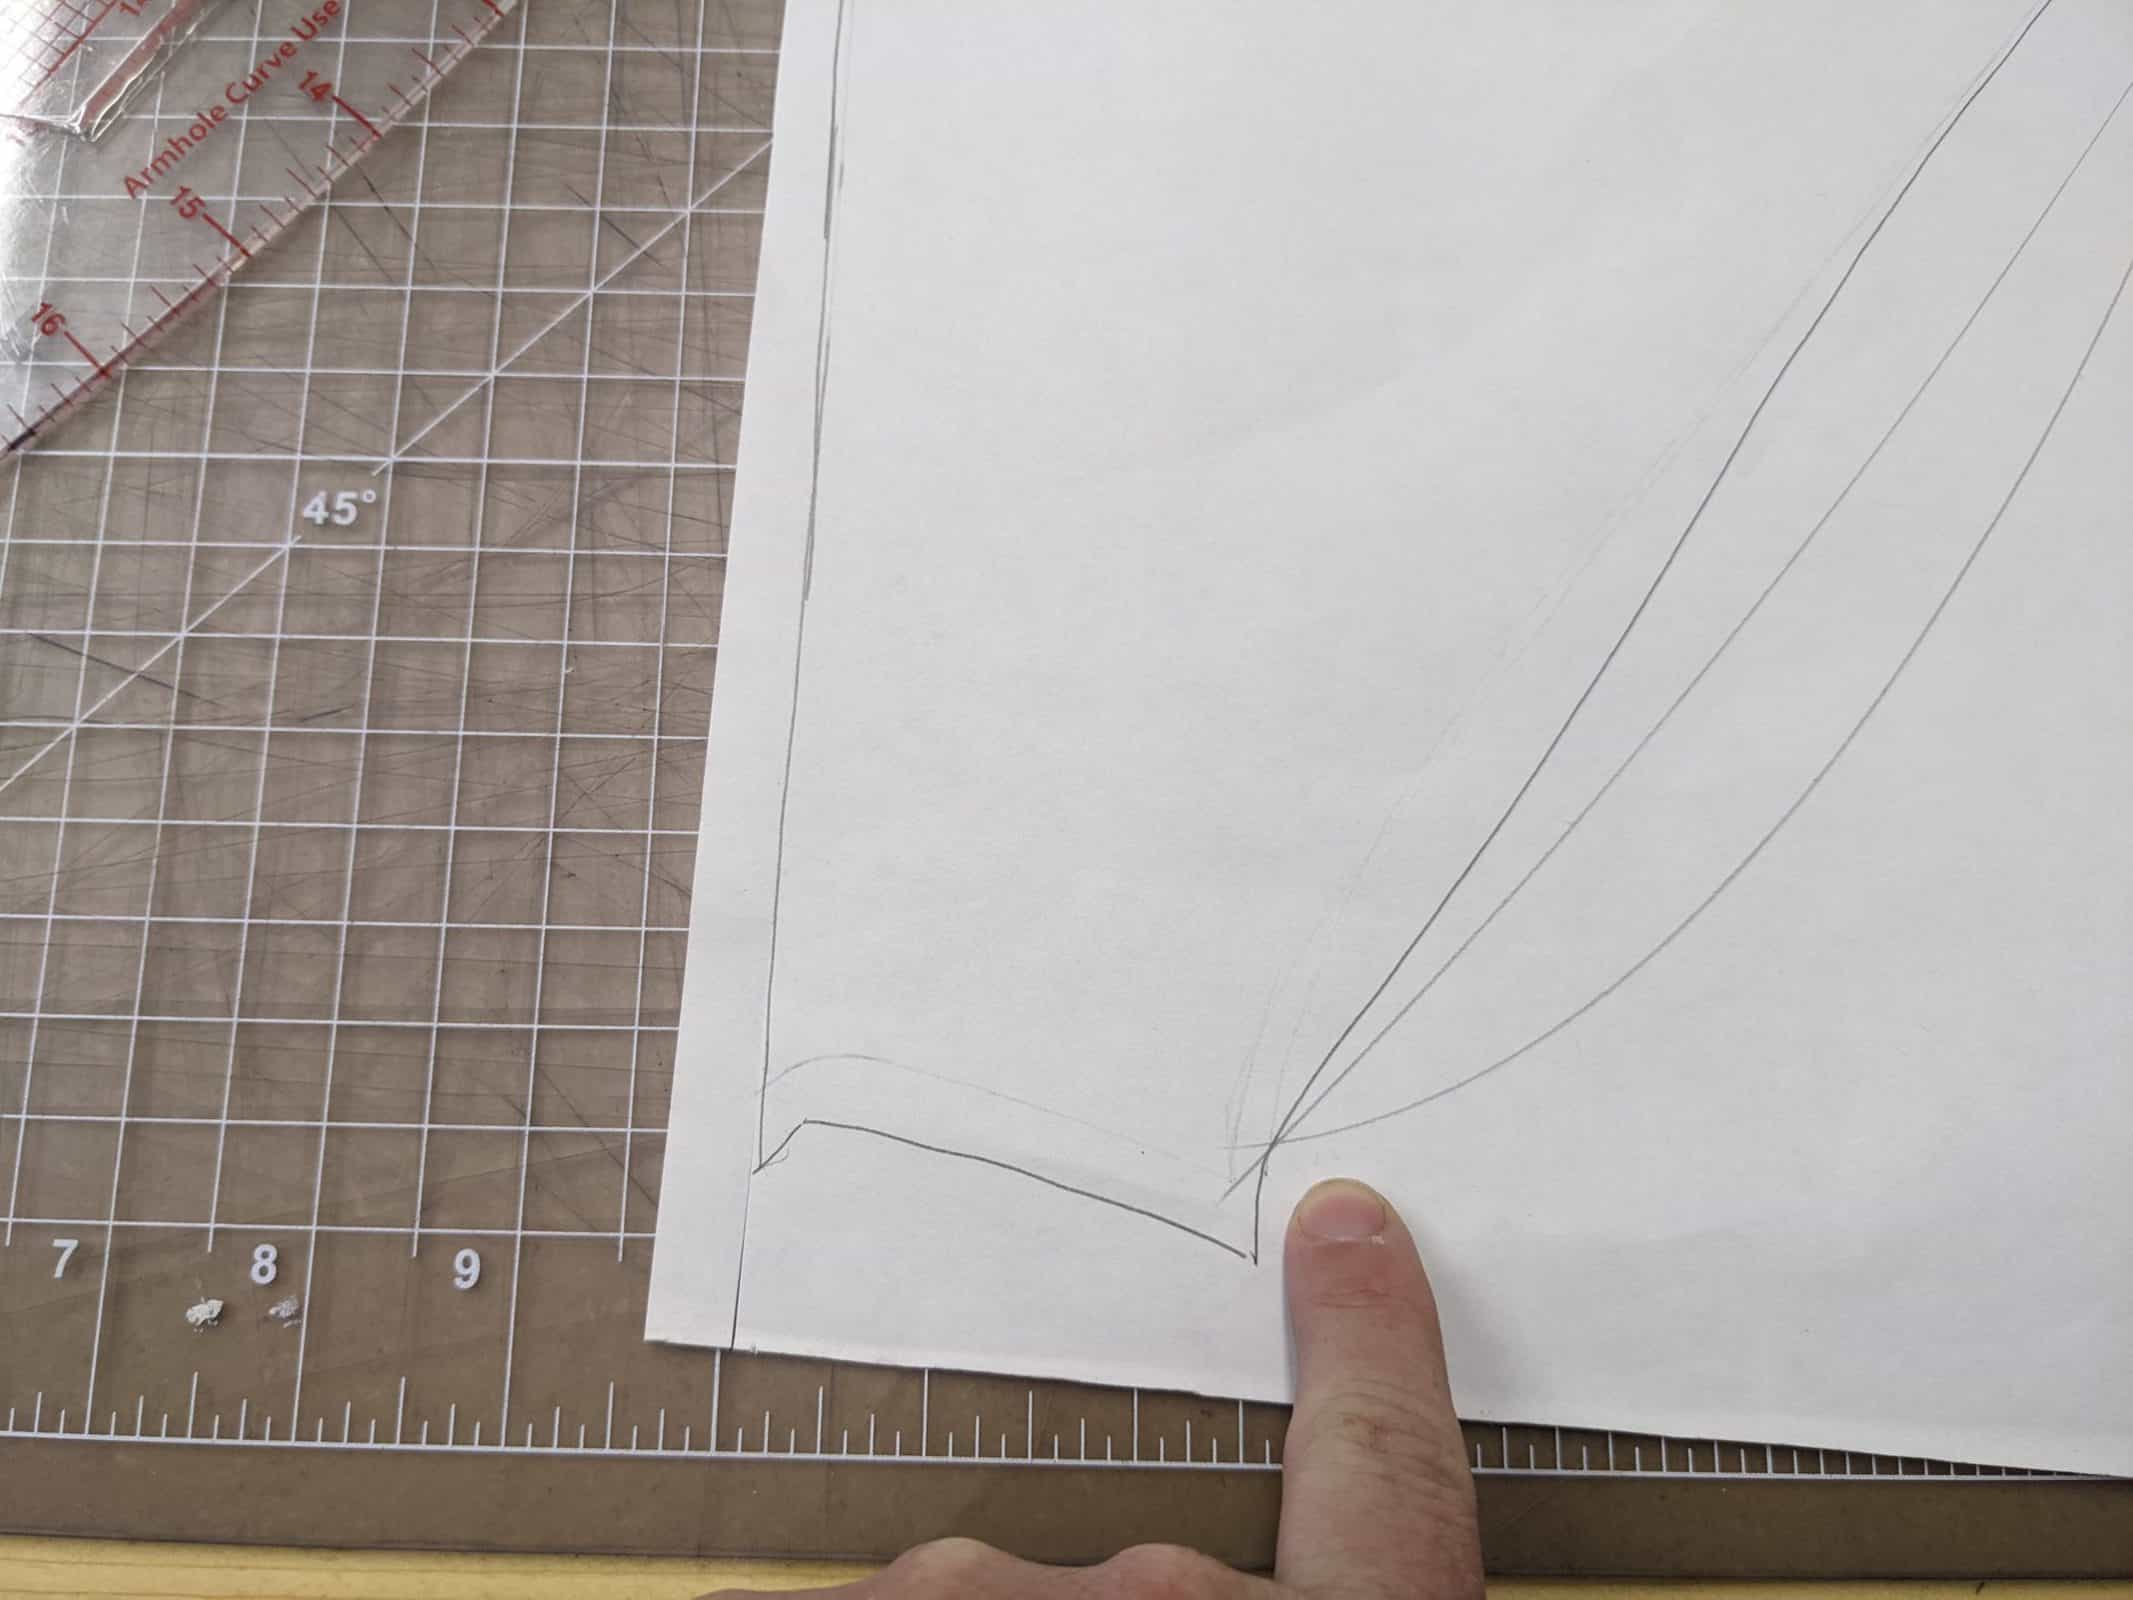
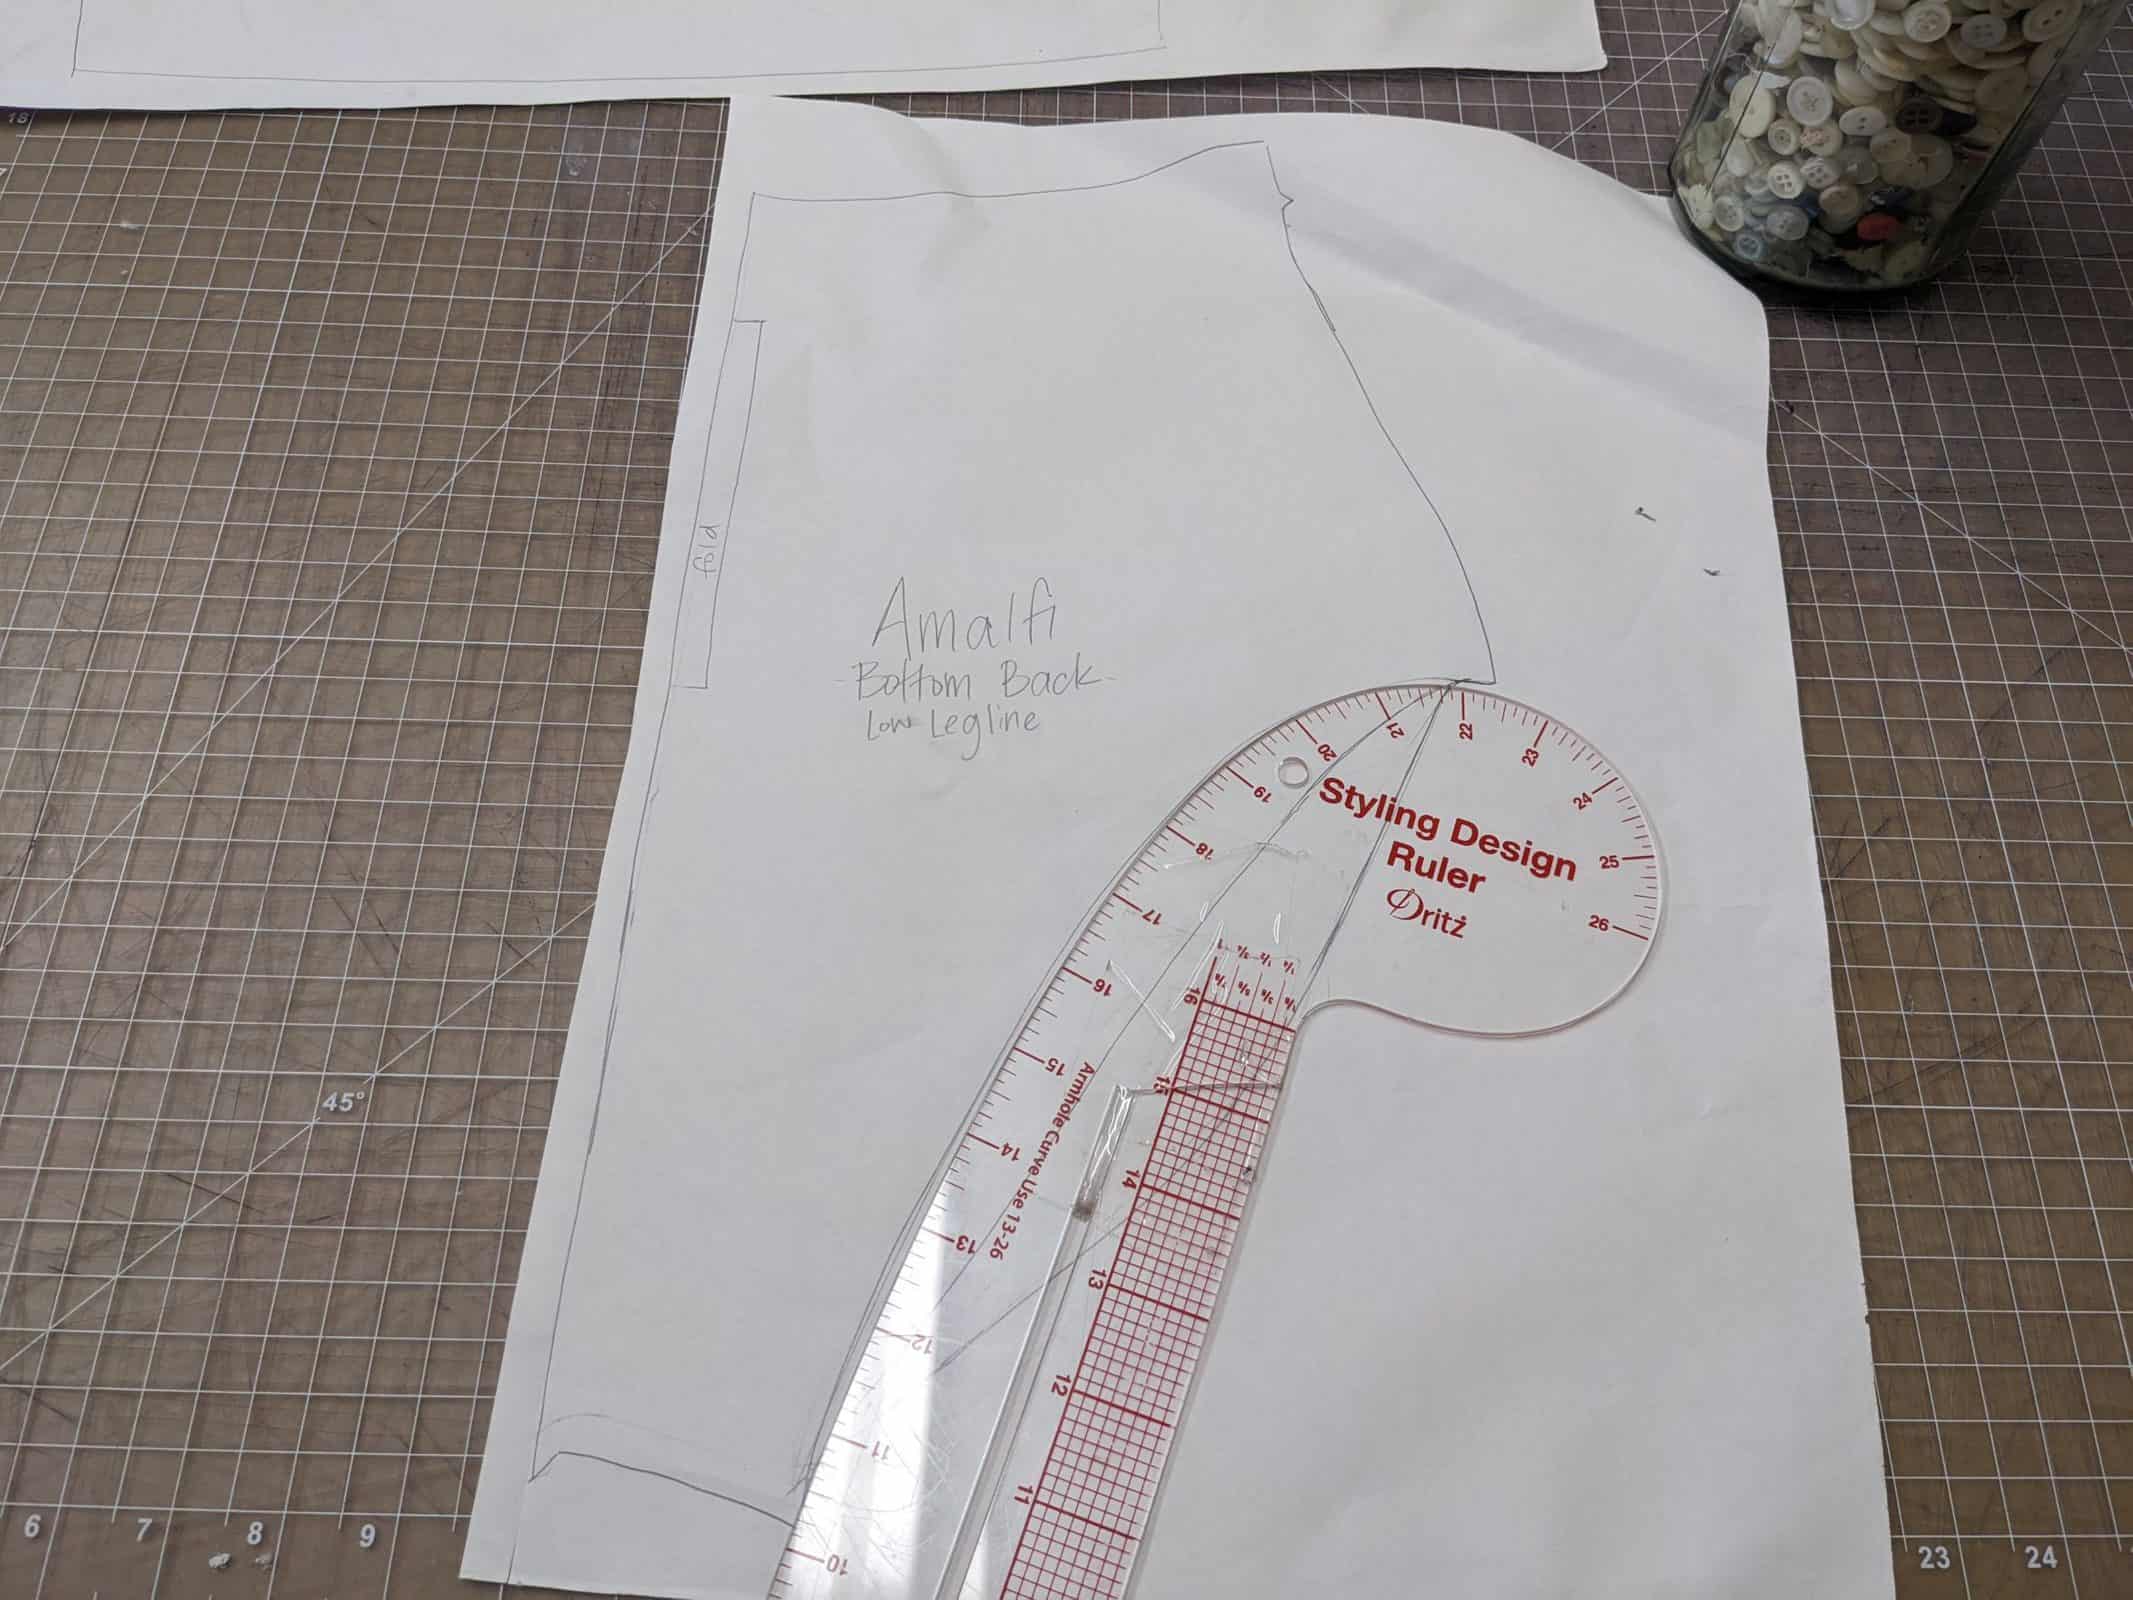
You will only need to adjust your back piece. Trace off the back piece in your size, grading as necessary, and grab a curved ruler and a pencil.
-

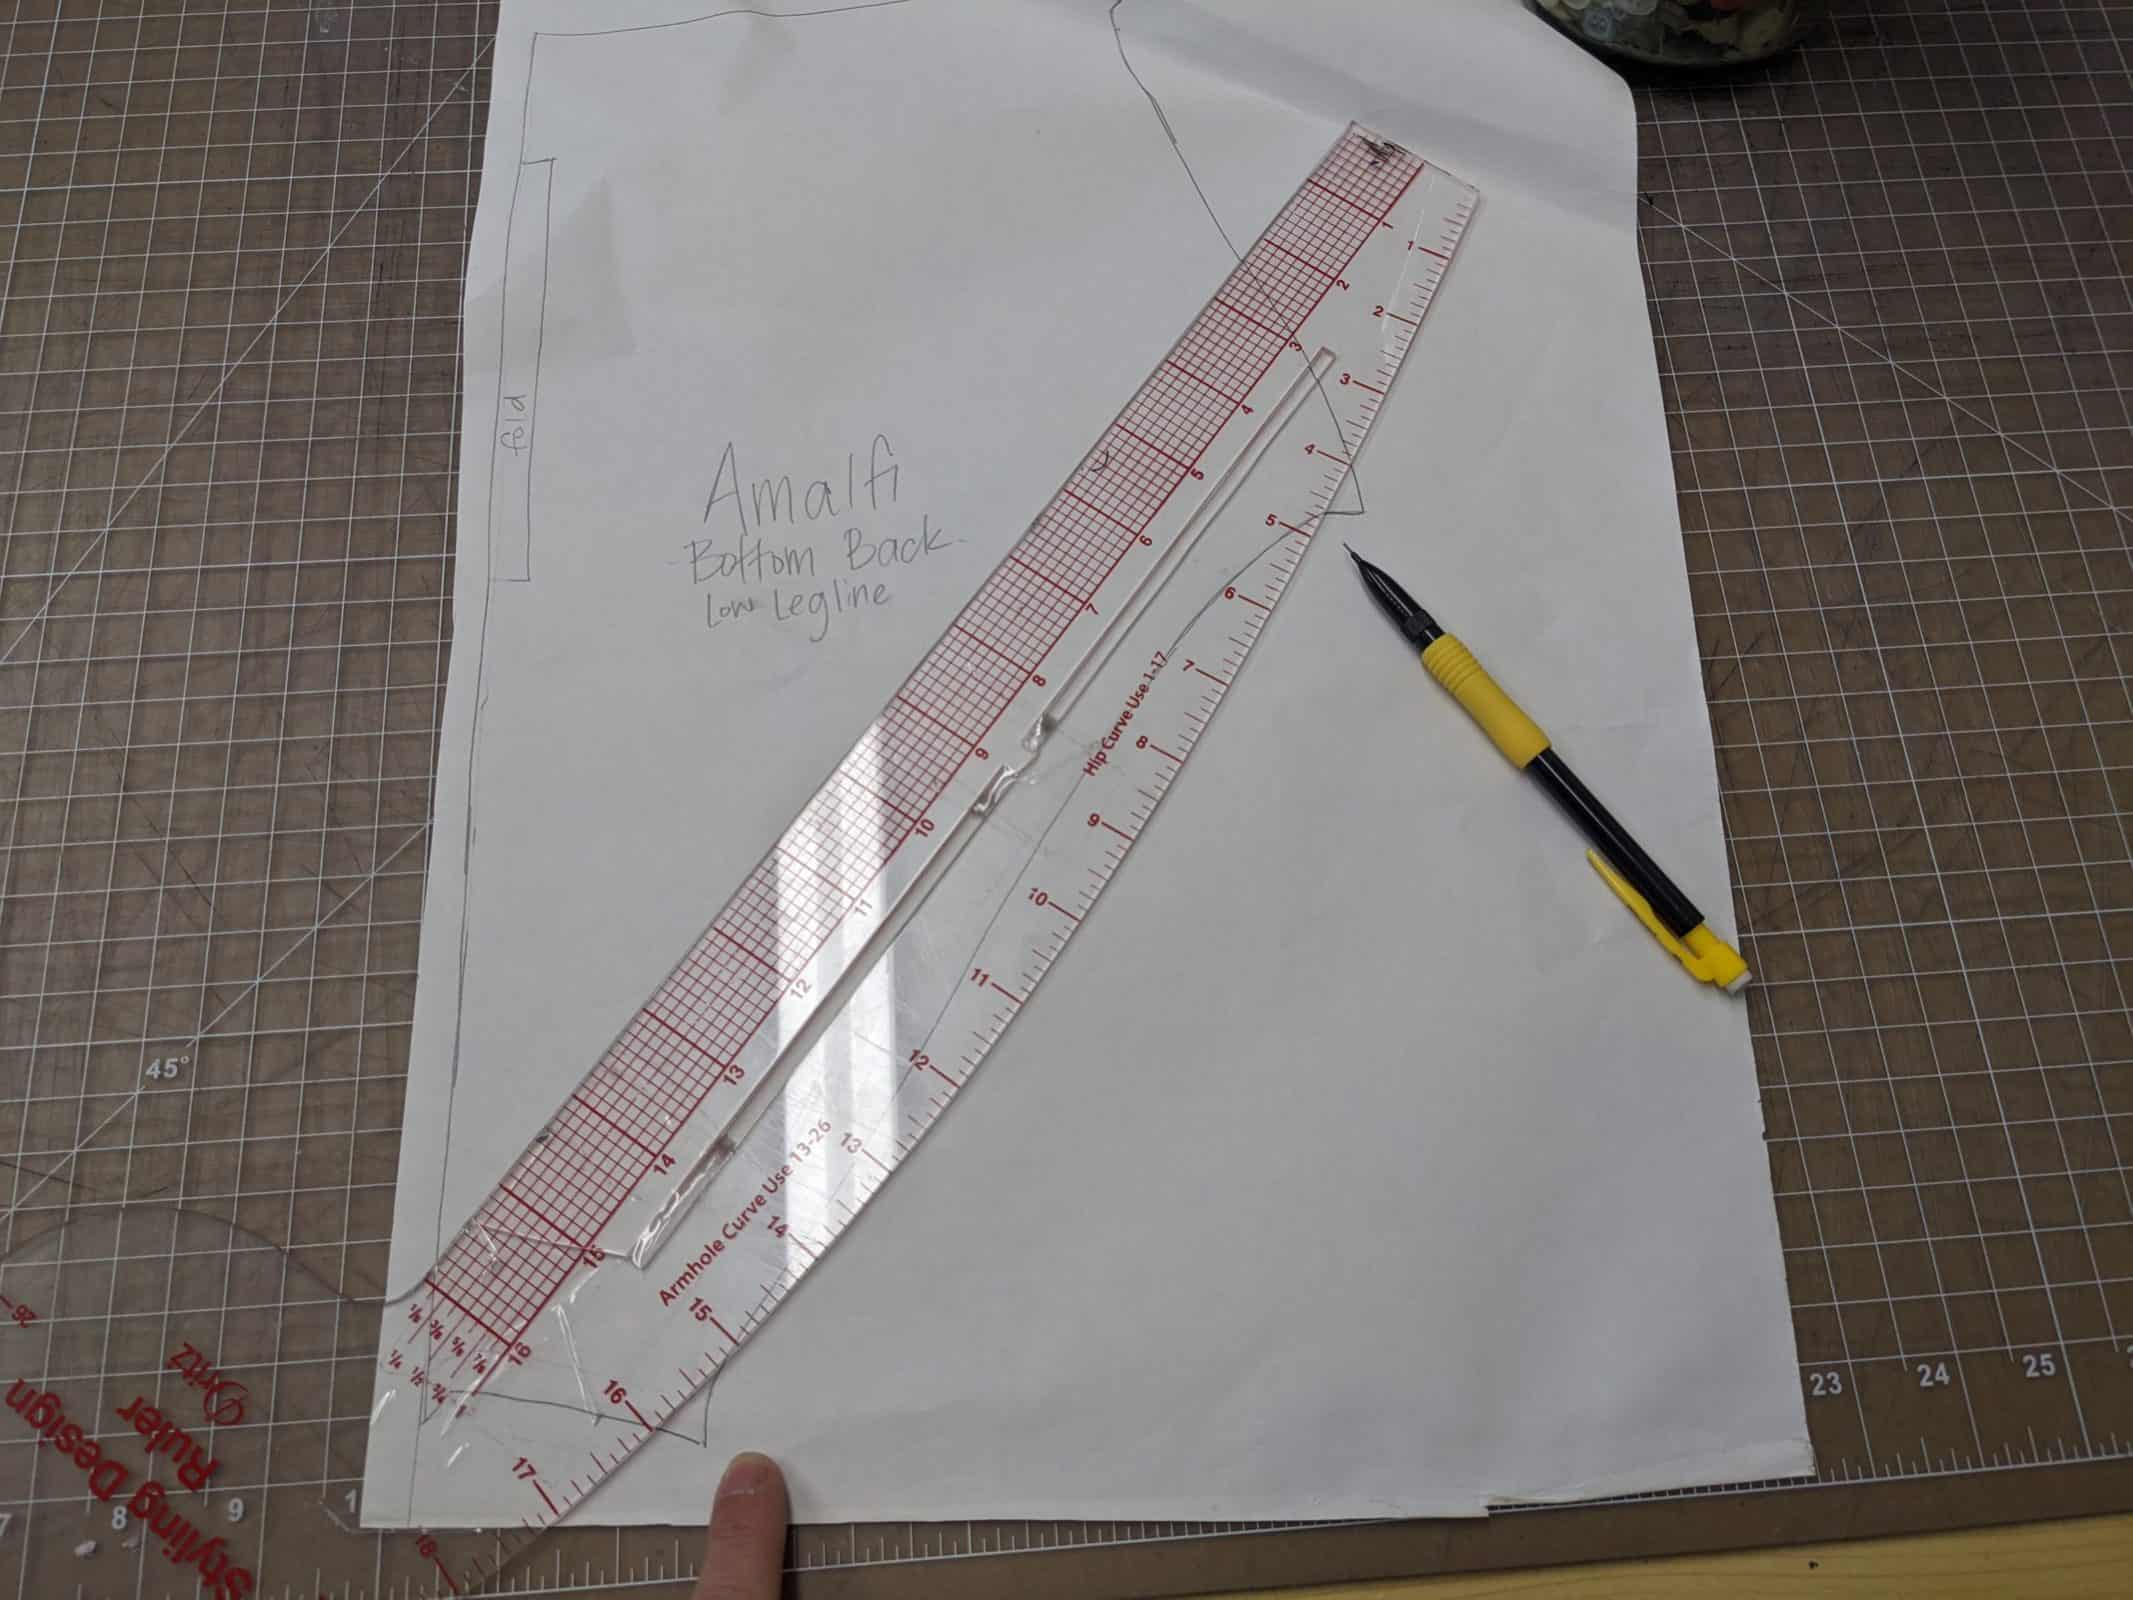
- With the curve facing downward, aline your ruler with the seamlines at the crotch and outer leg. (we don’t want to alter the seam allowances) Adjust the curve until you find a pleasing shape
-
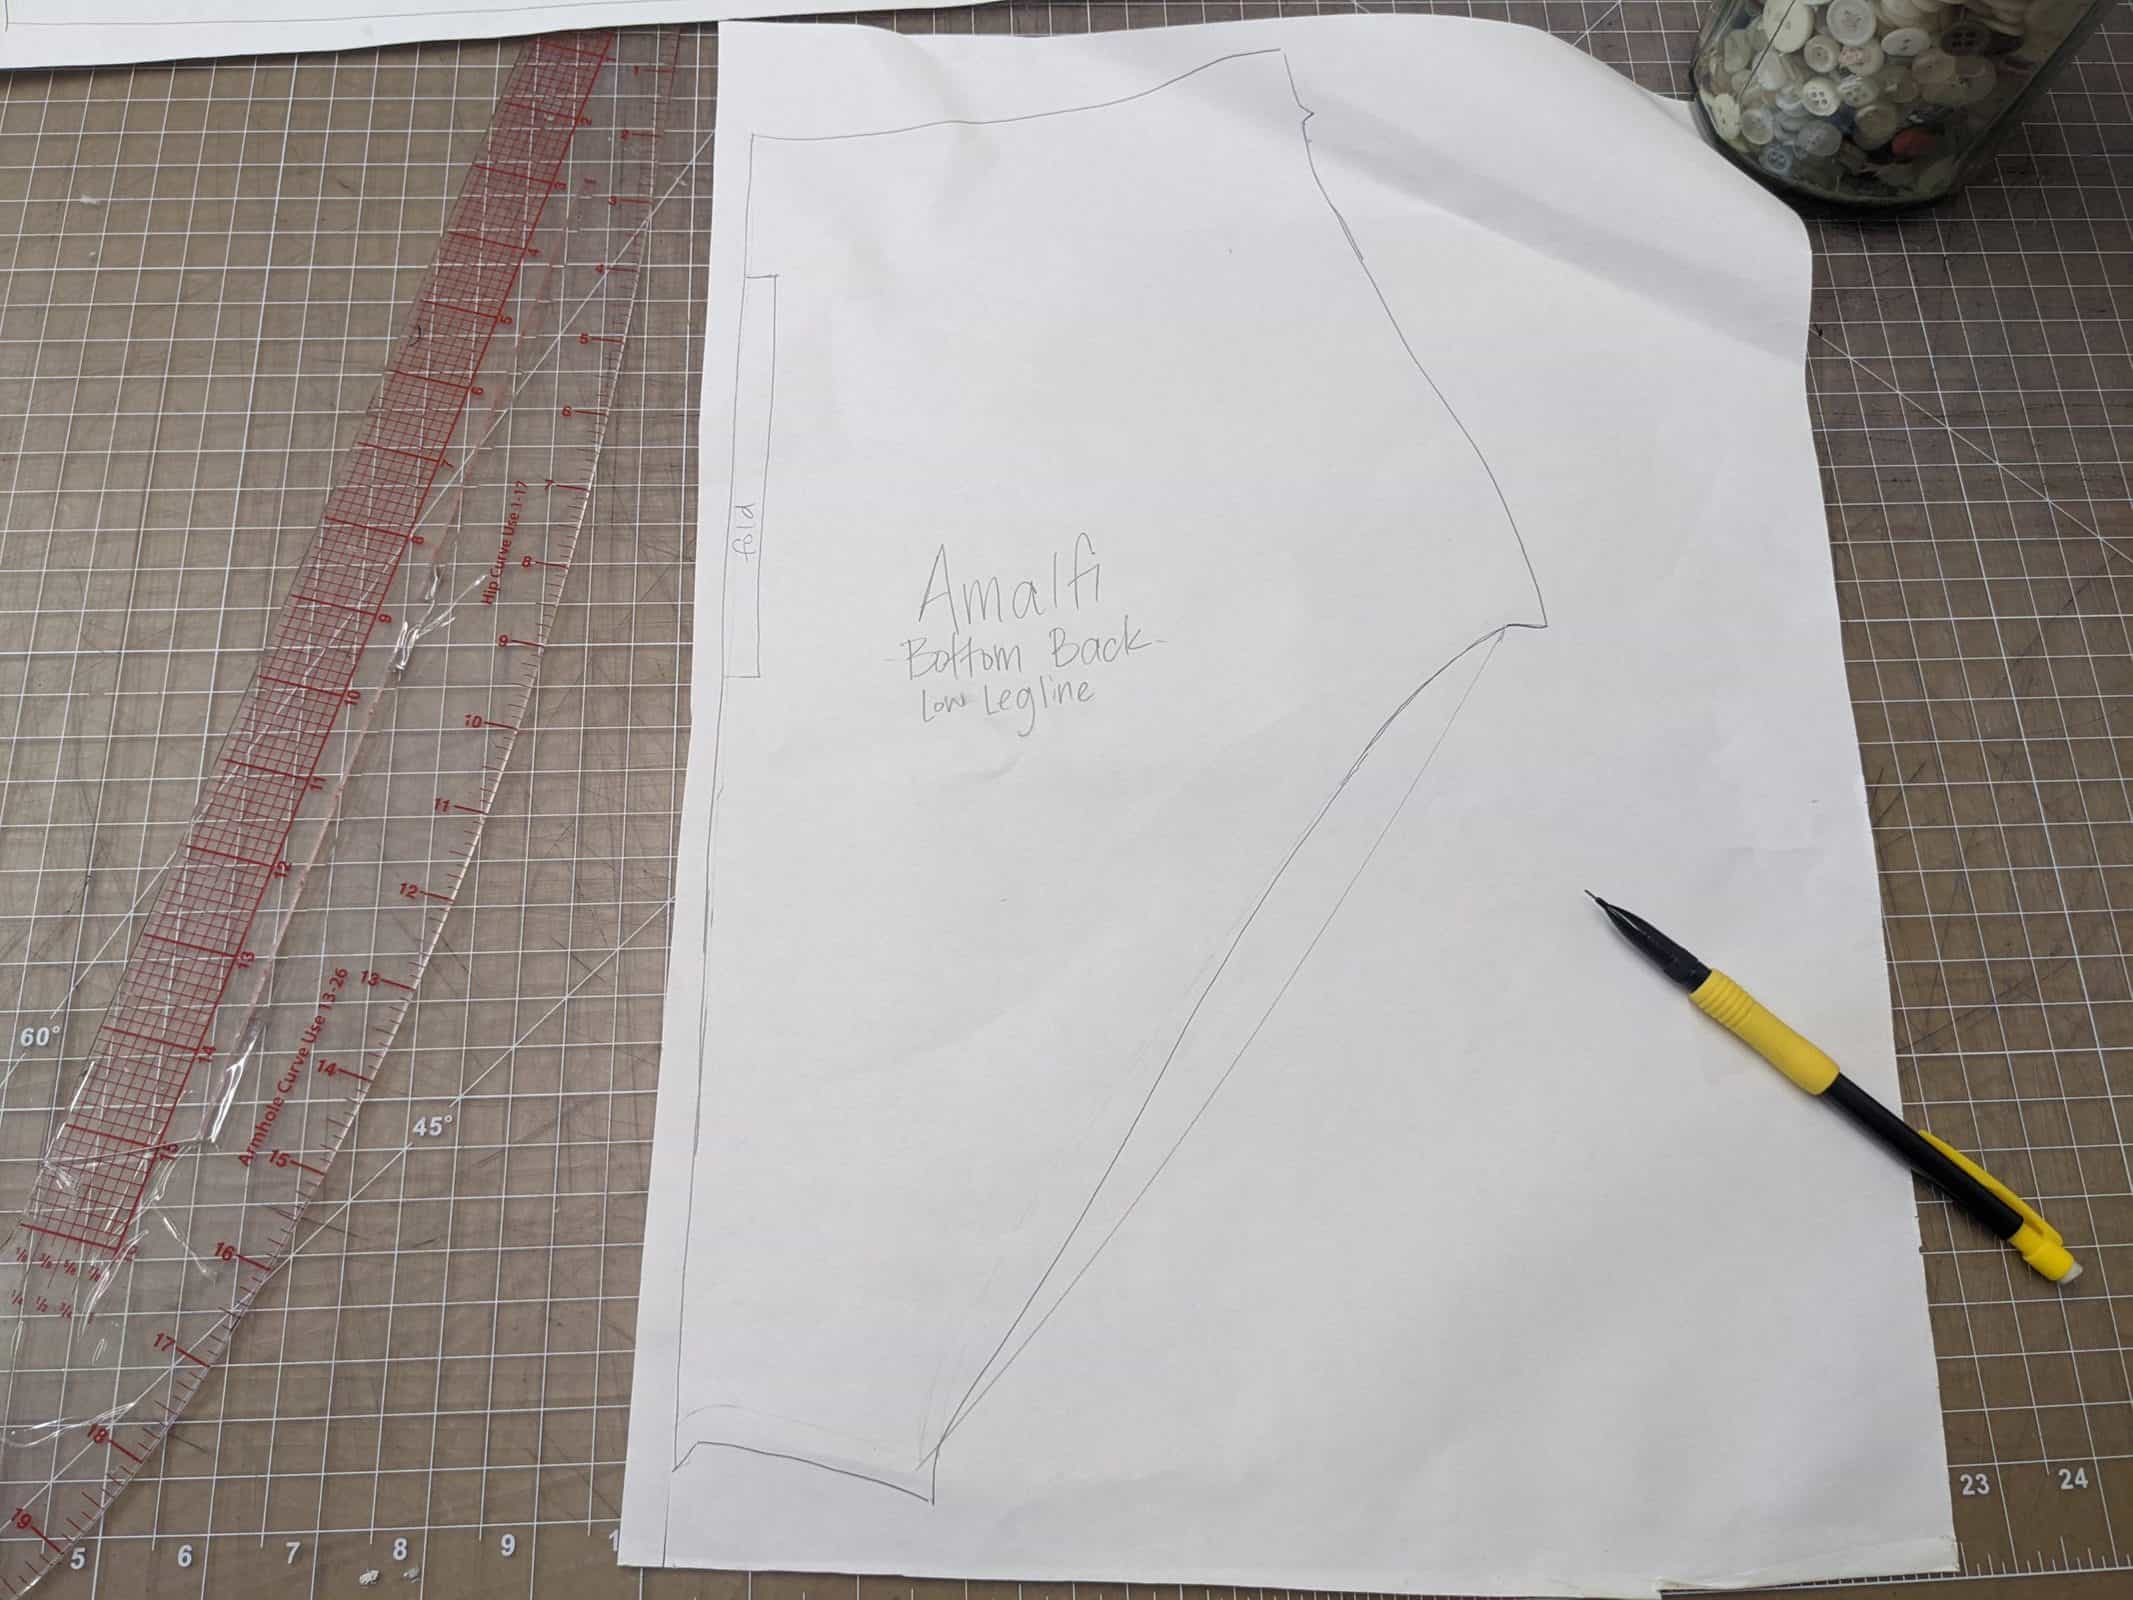
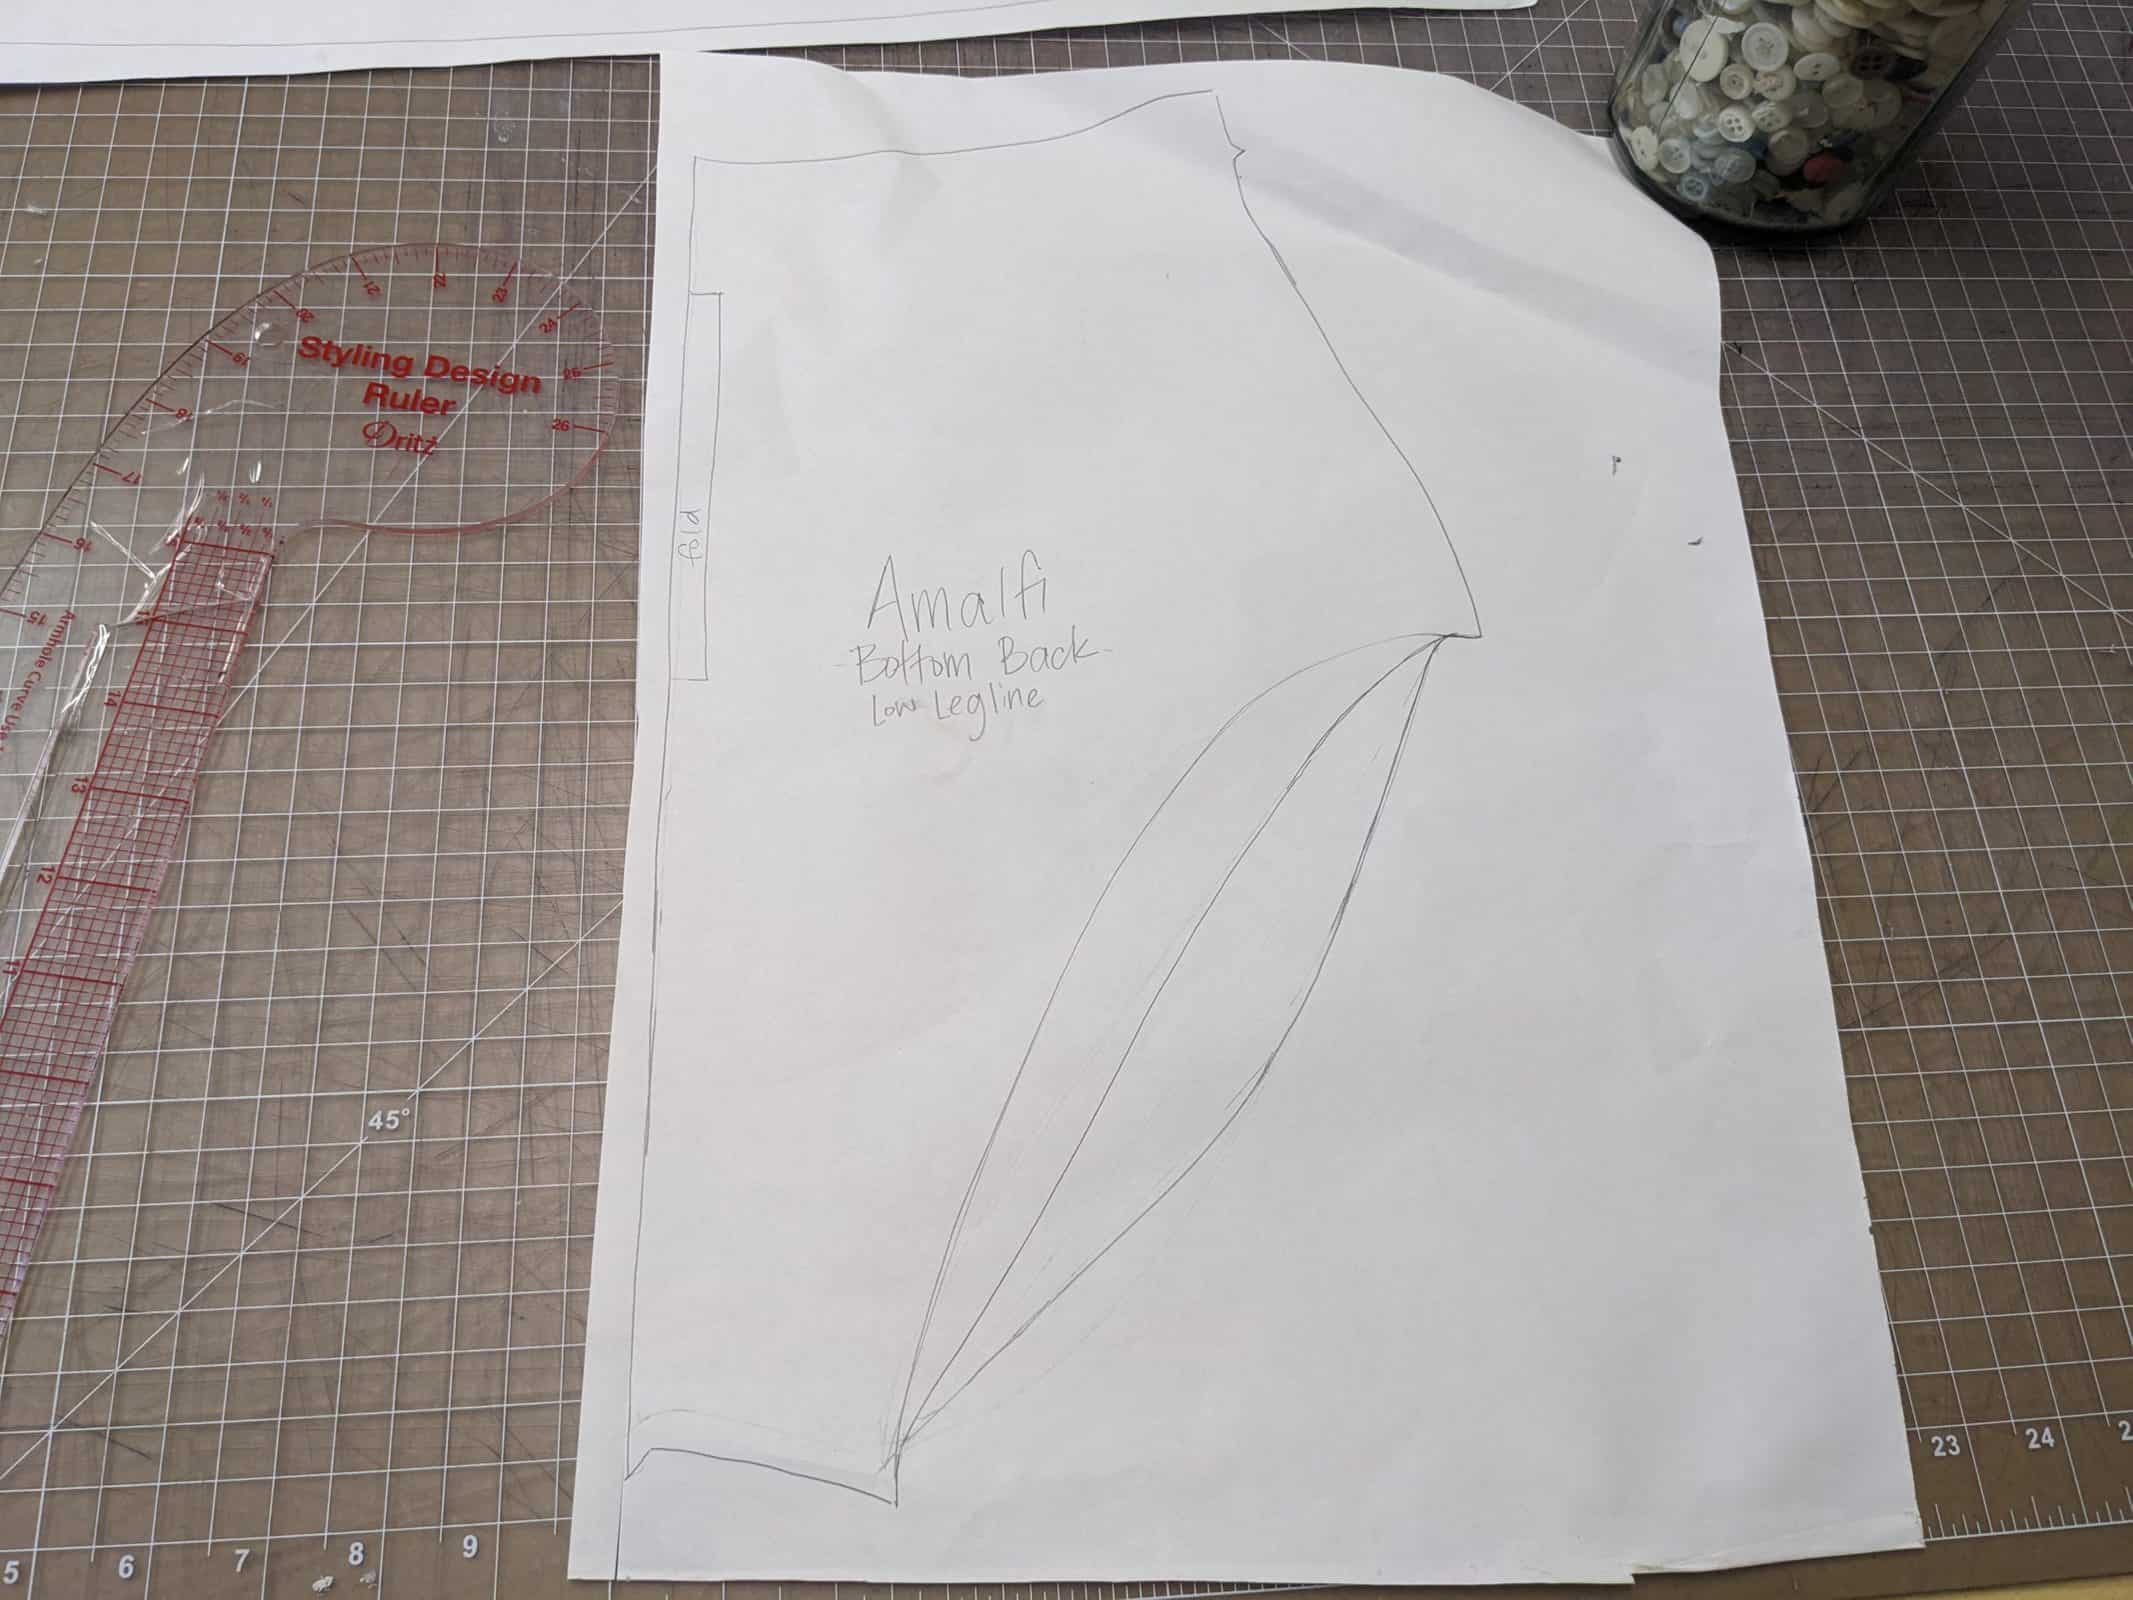
- Trace your new fuller coverage line.
-
- If you don’t like your first line, try again.
-
- I used the curve of my ruler to add fuller coverage to the bottom as shown.

-
- Reminder: do not alter your seam allowance. Also, try to avoid too sharp a curve as shown in the lower line.
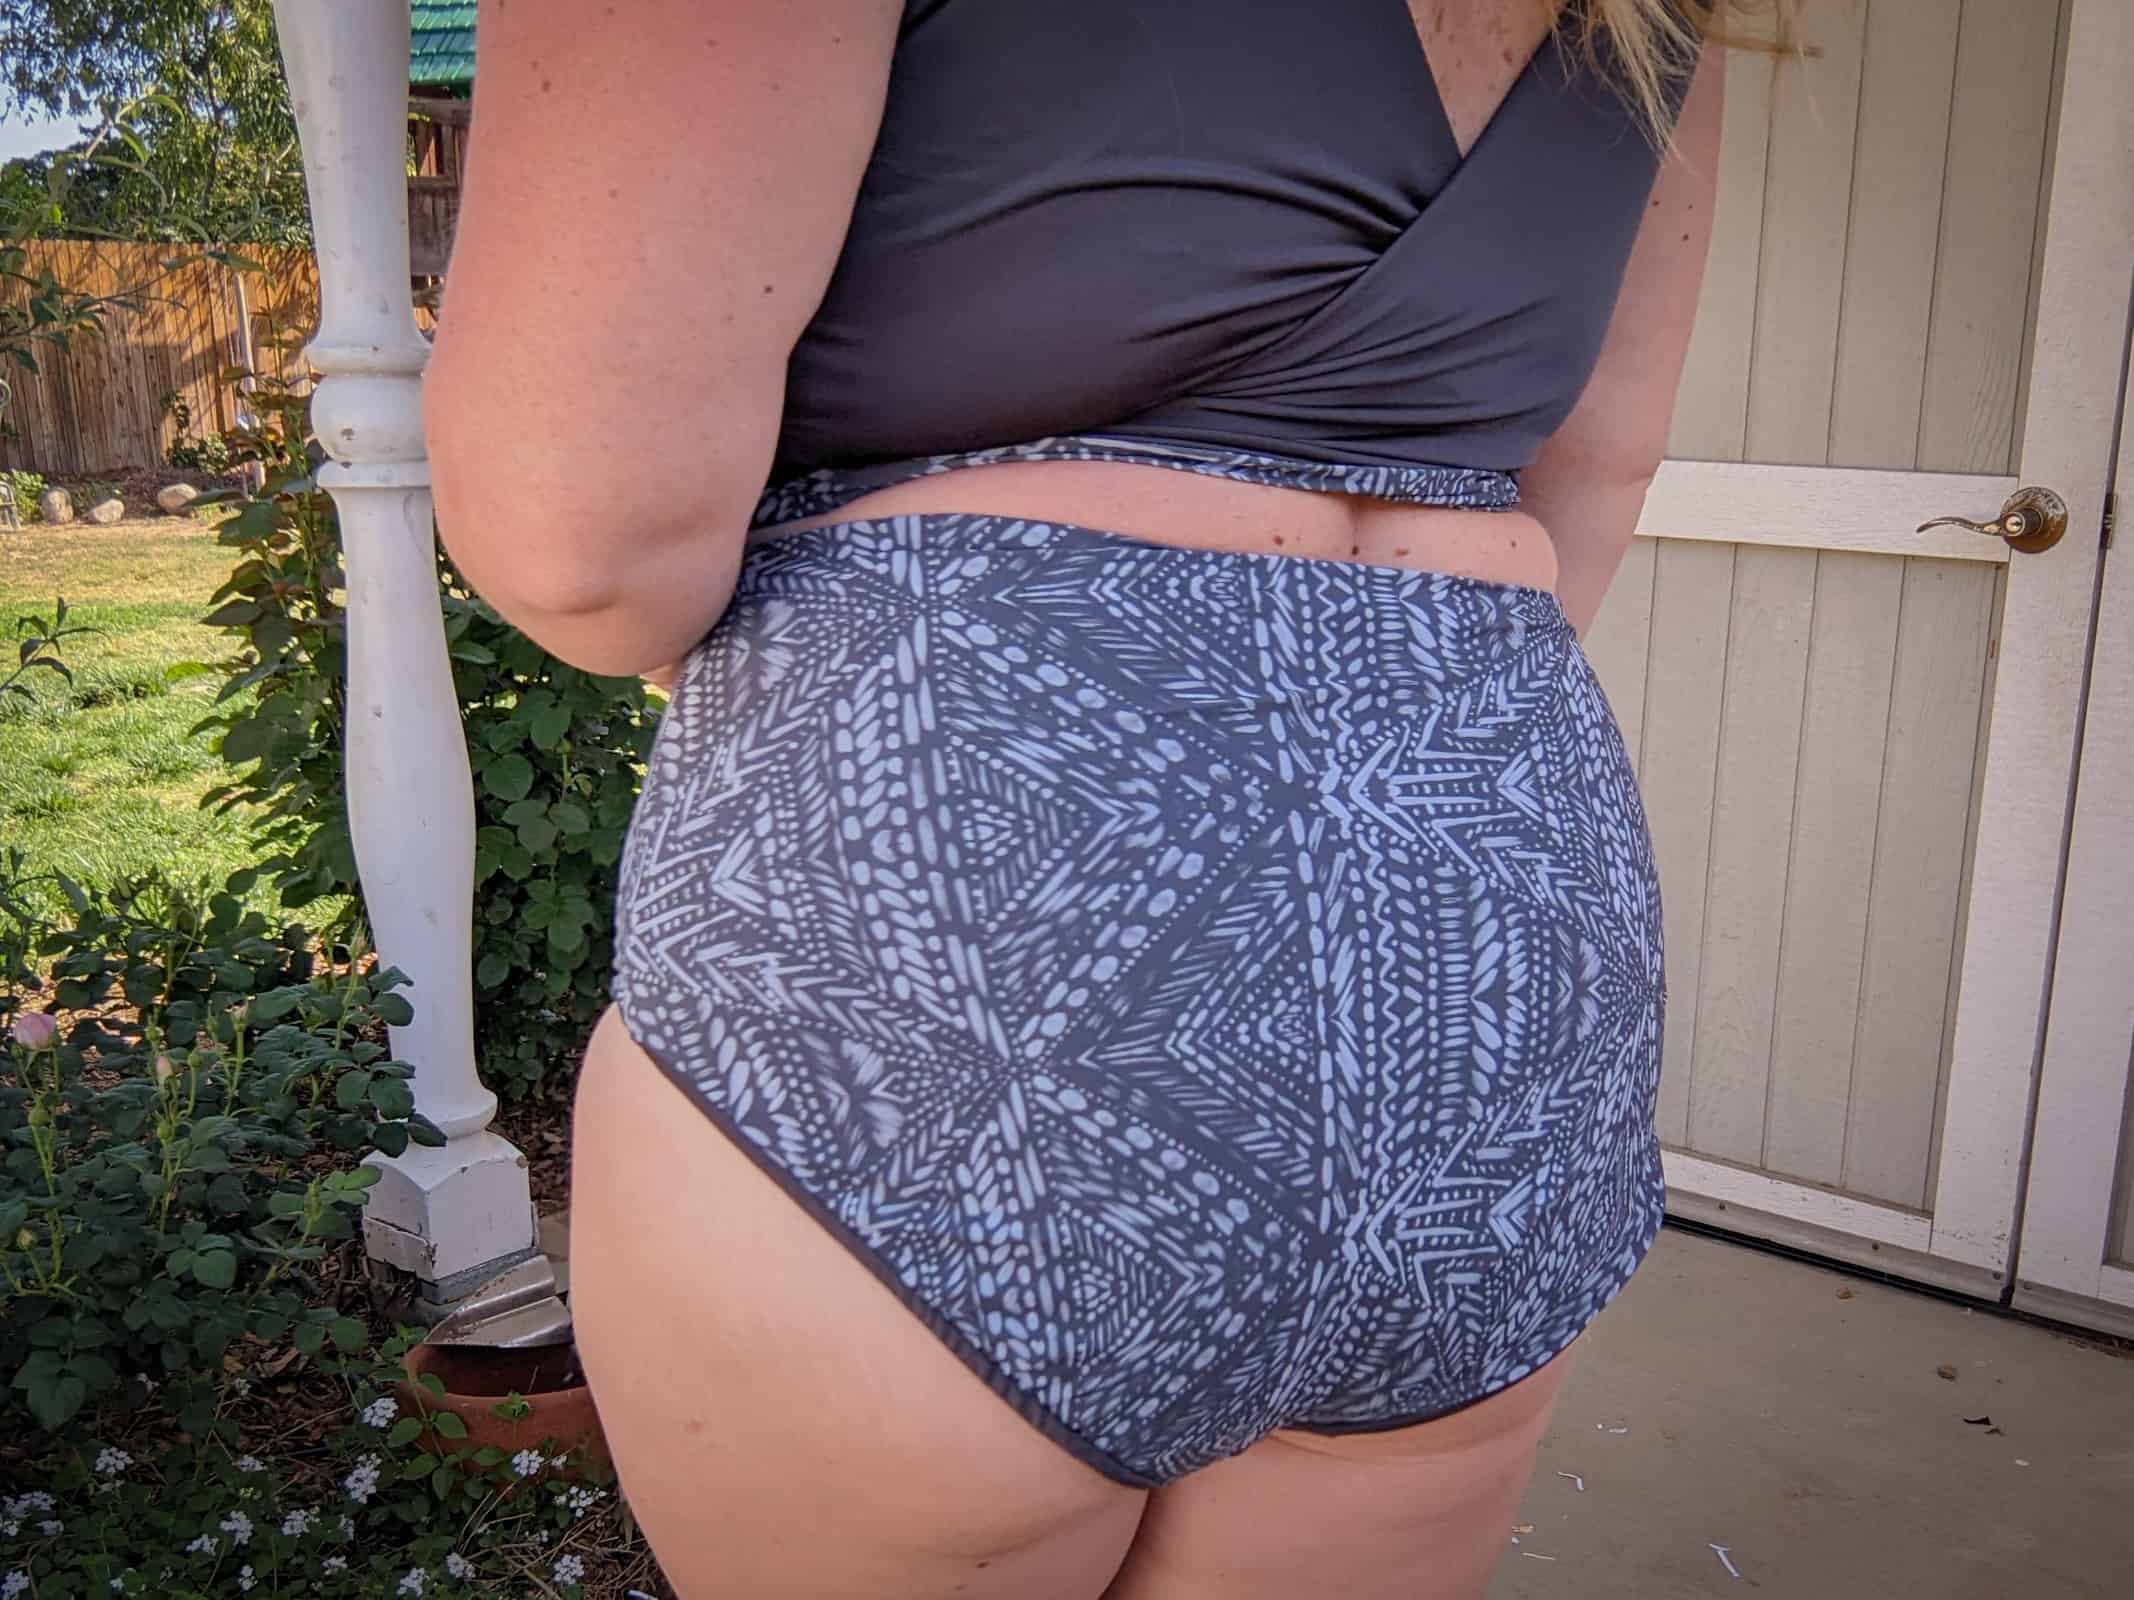
for less coverage:
-
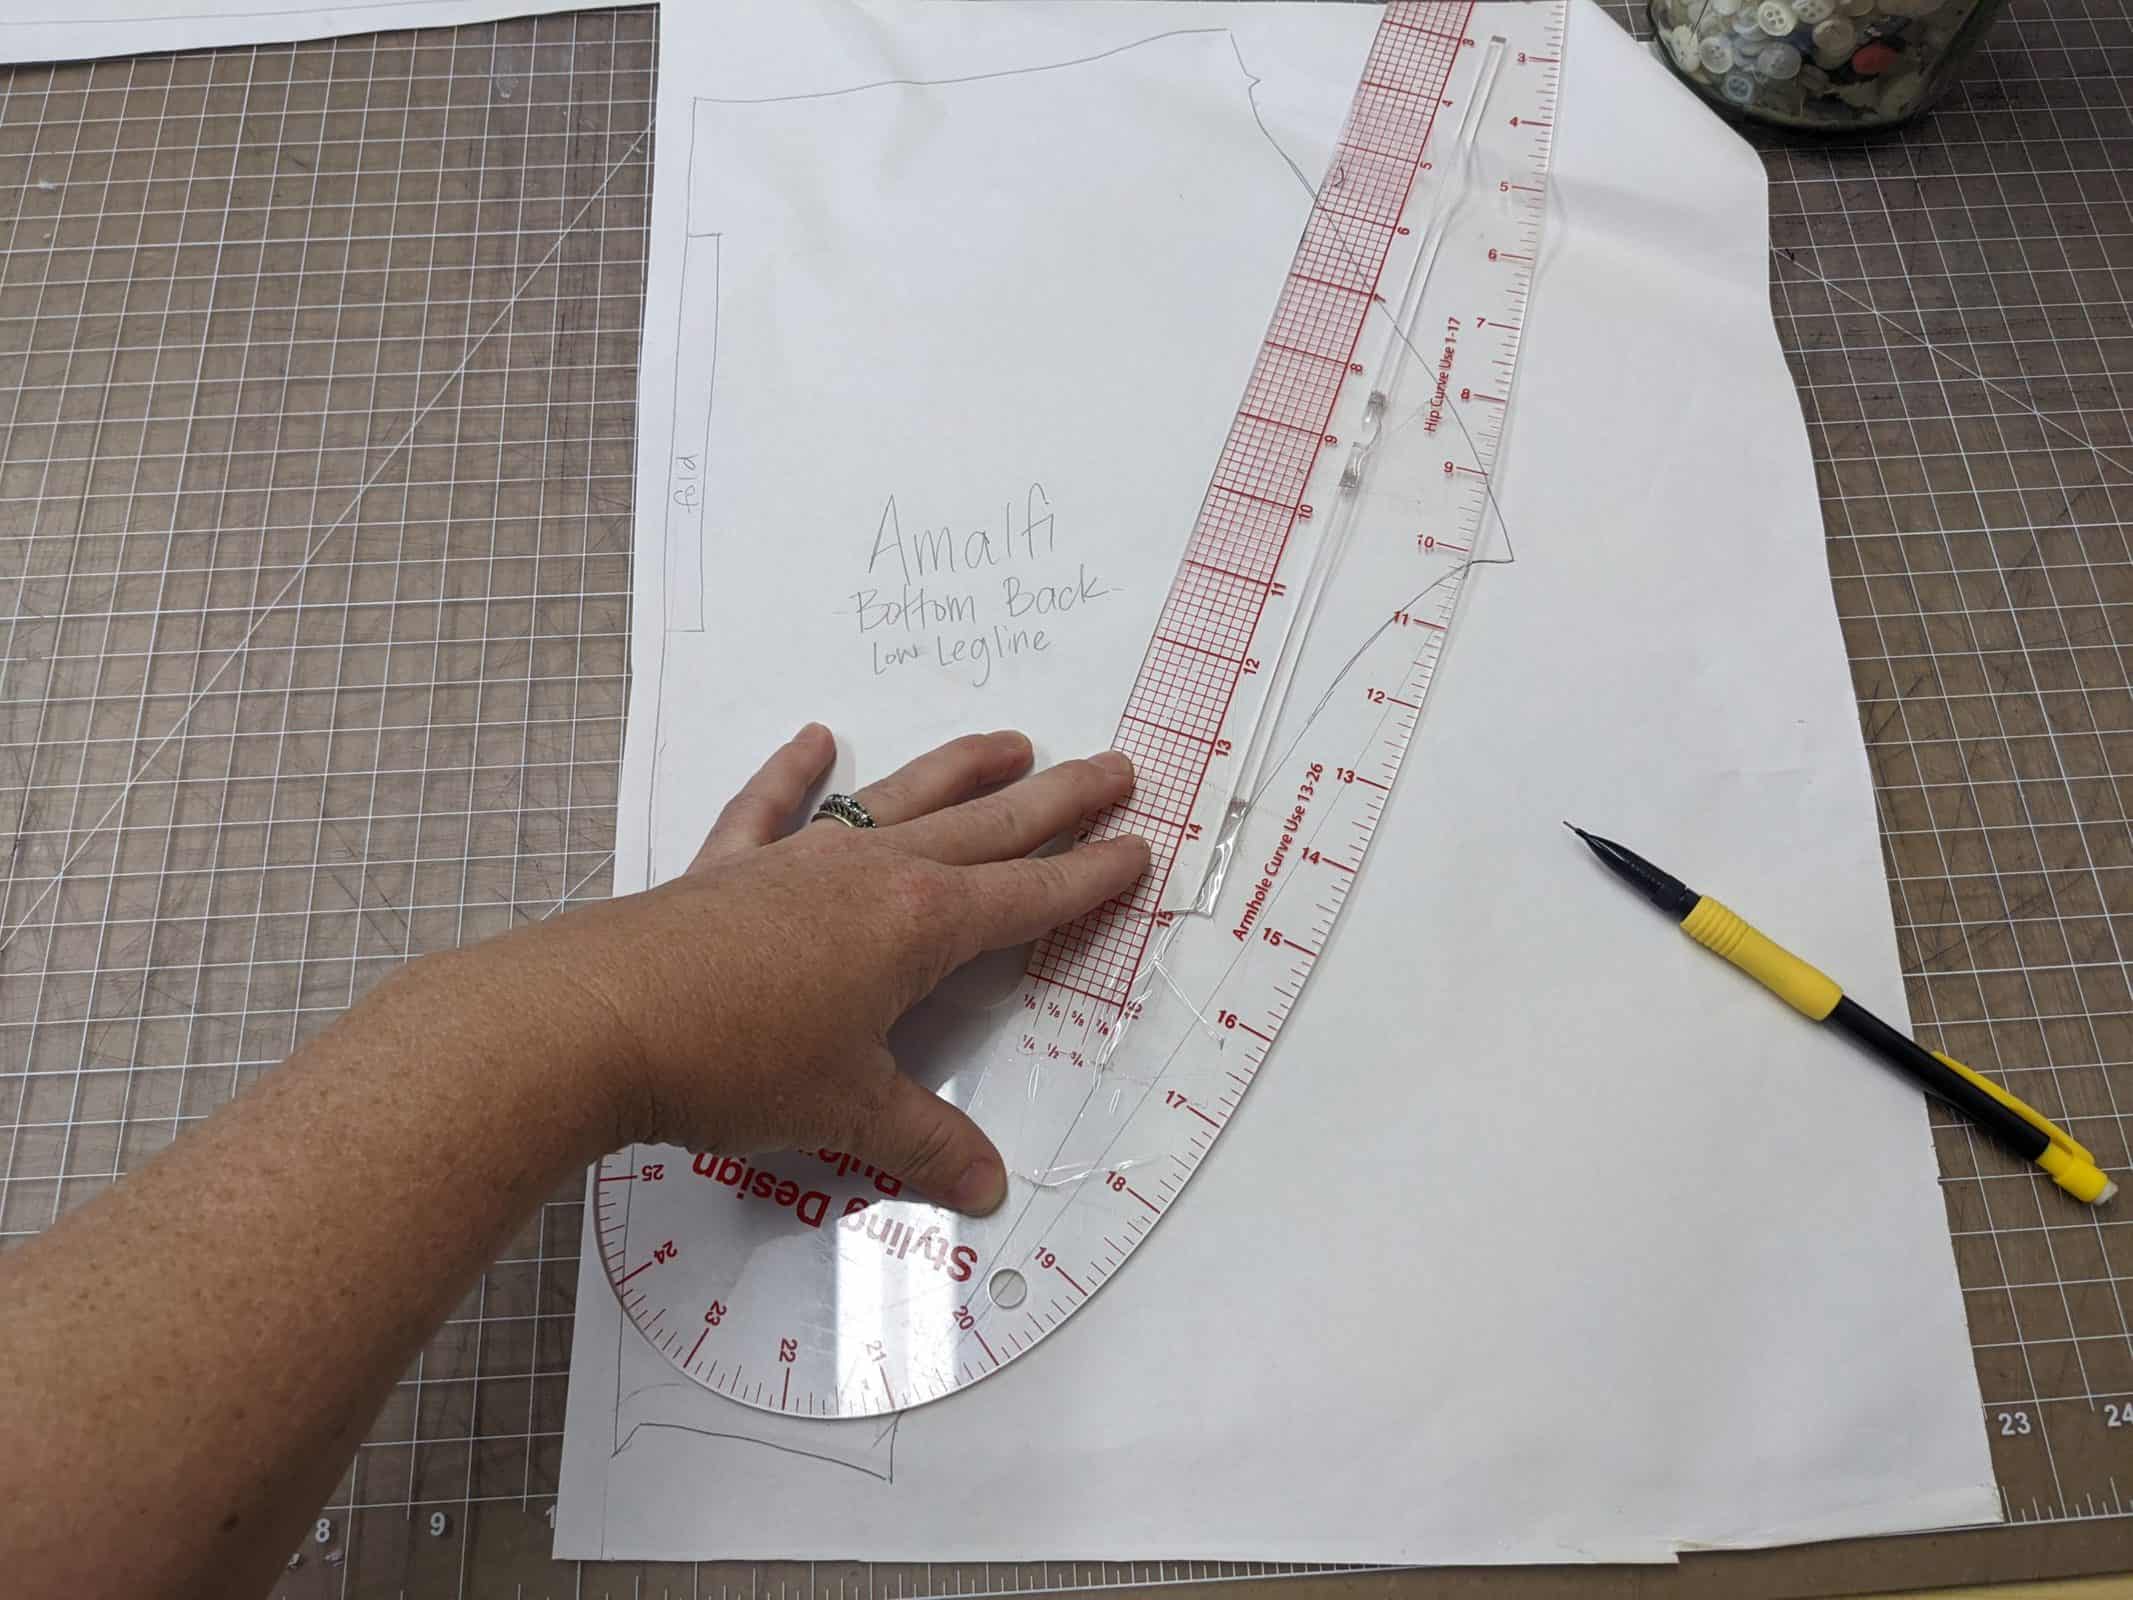
- For a cheekier look: use your ruler with the curve facing up to redraw the line for a cheekier bottom.
-
- Shown with cheekier legline, original legline, and fuller coverage legline.
NOTE: Regardless of whether you have added more or less coverage, finish the bathing suit as per pattern. Adjust elastic if your seamline length changed; you can use your curved ruler or a soft measuring tape to measure the legline before and after alteration.
NOTE: If you feel unsure about changing the legline, look at the pattern pieces on your favorite Made for Mermaids underwear to help inform your changes.
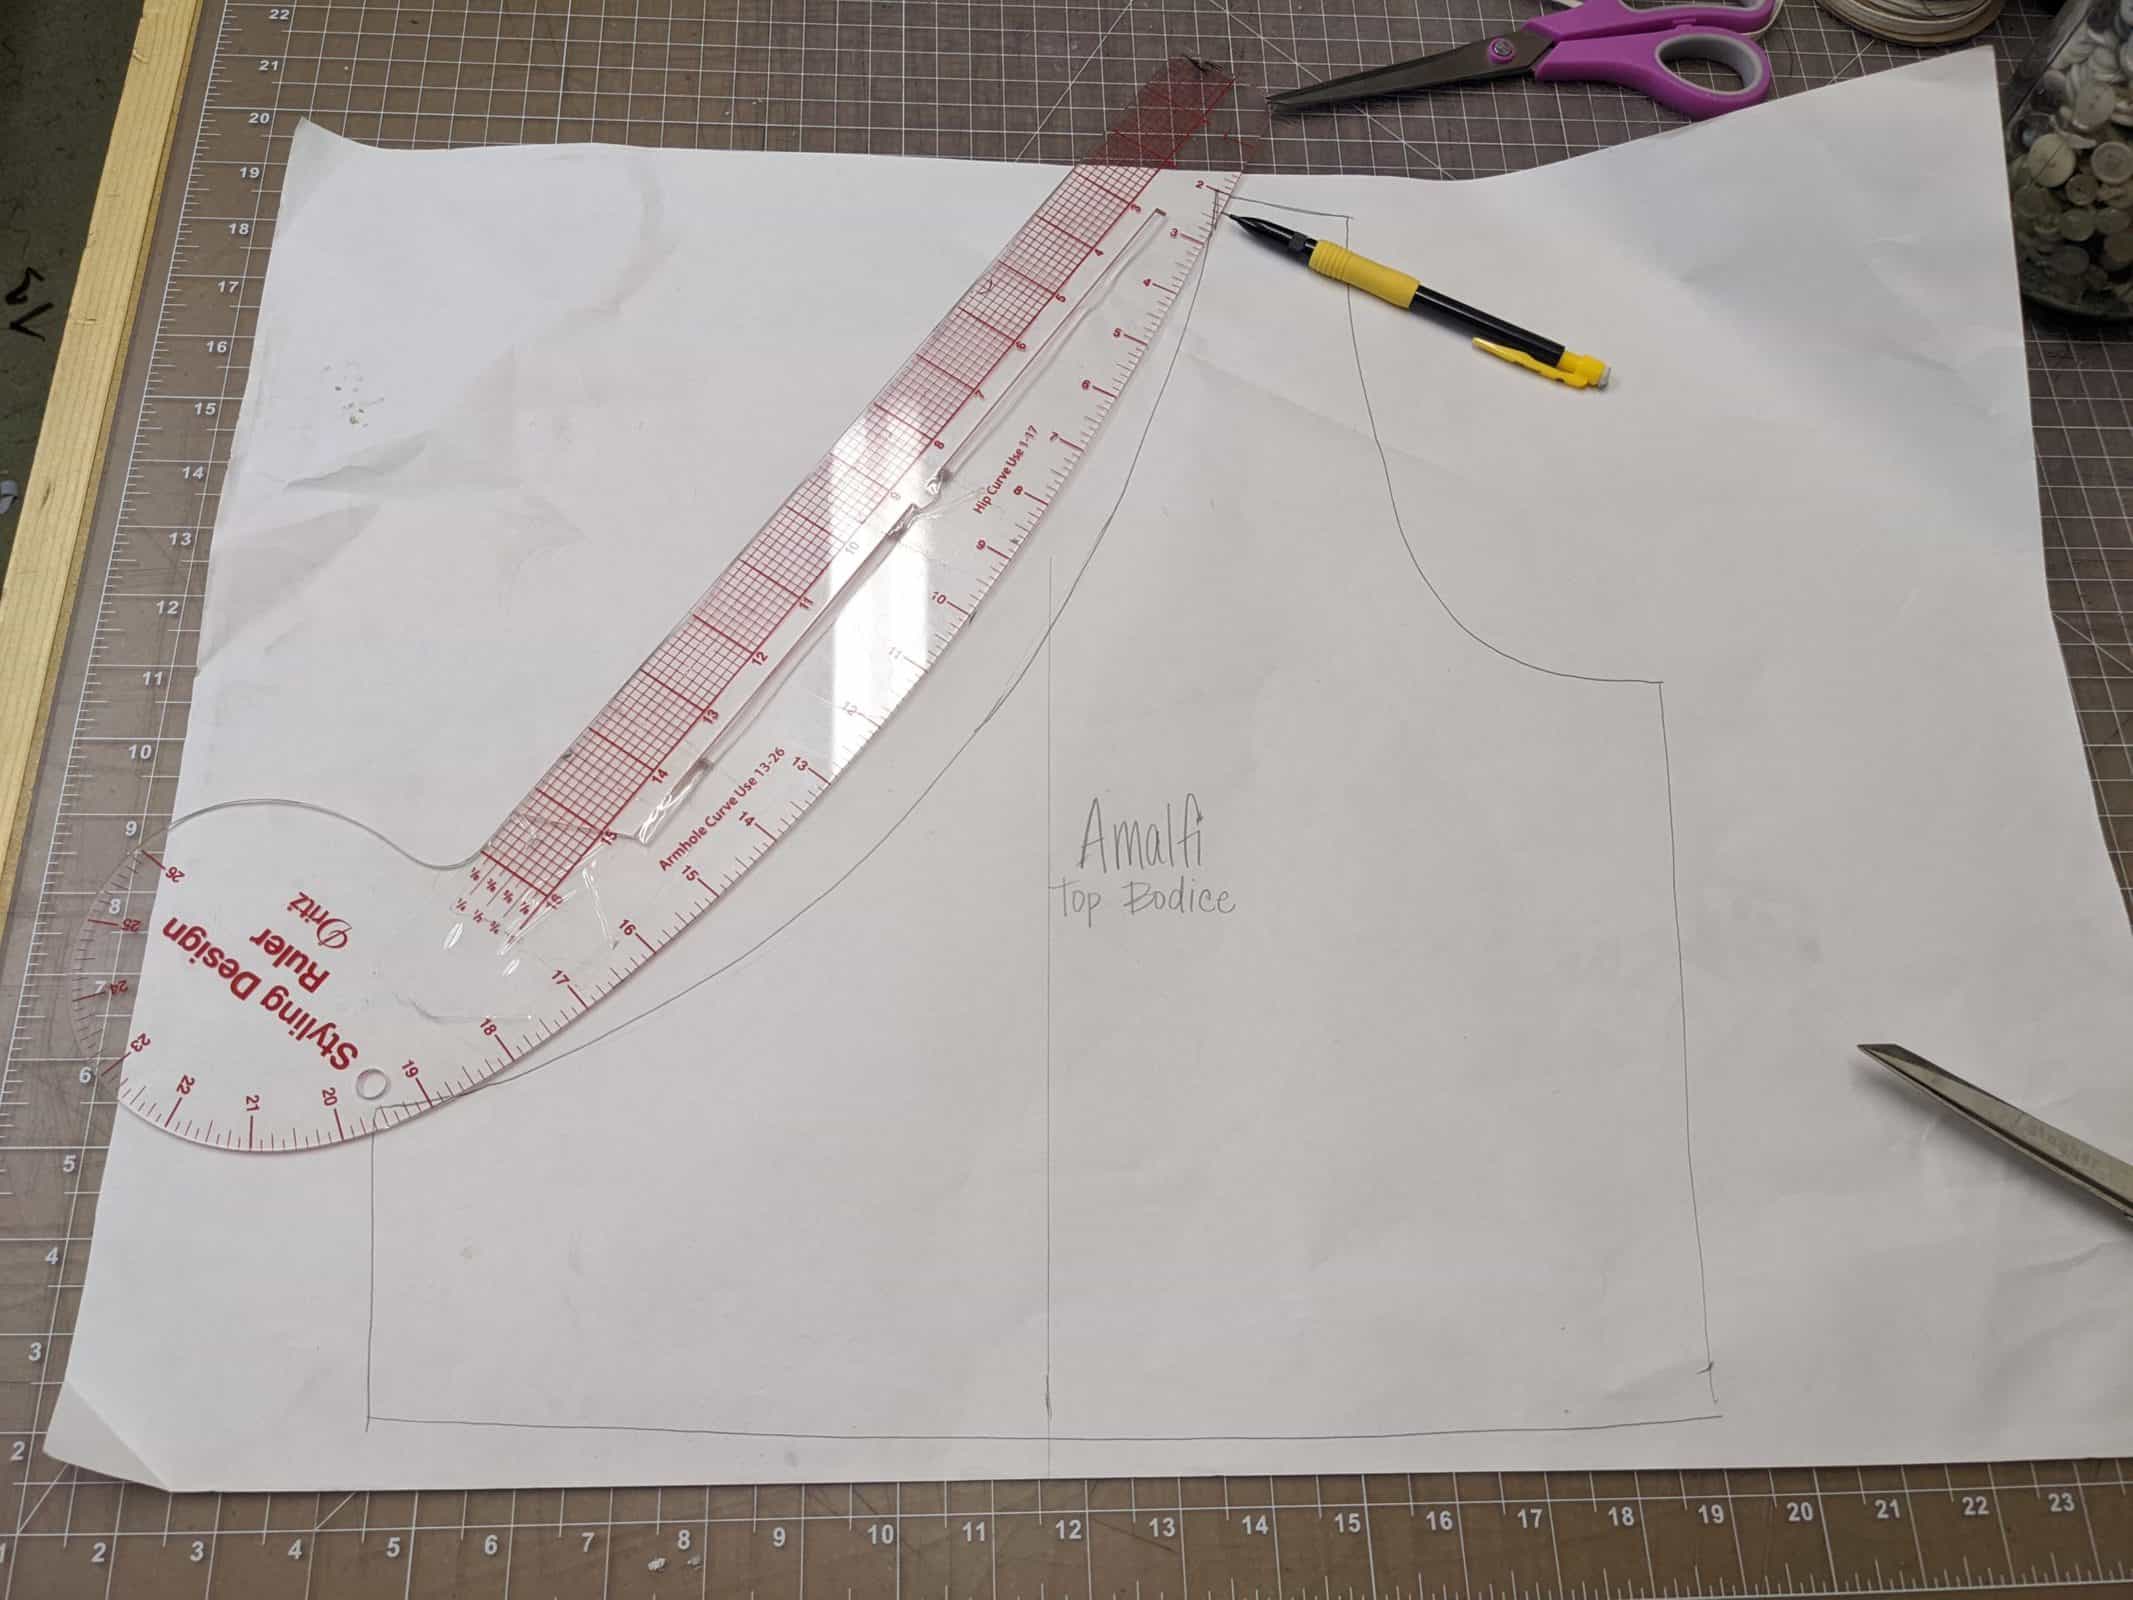
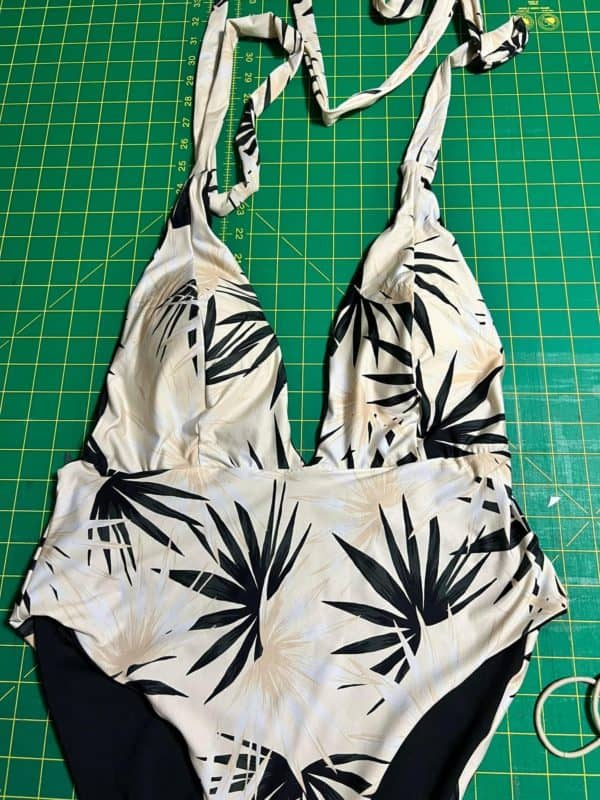
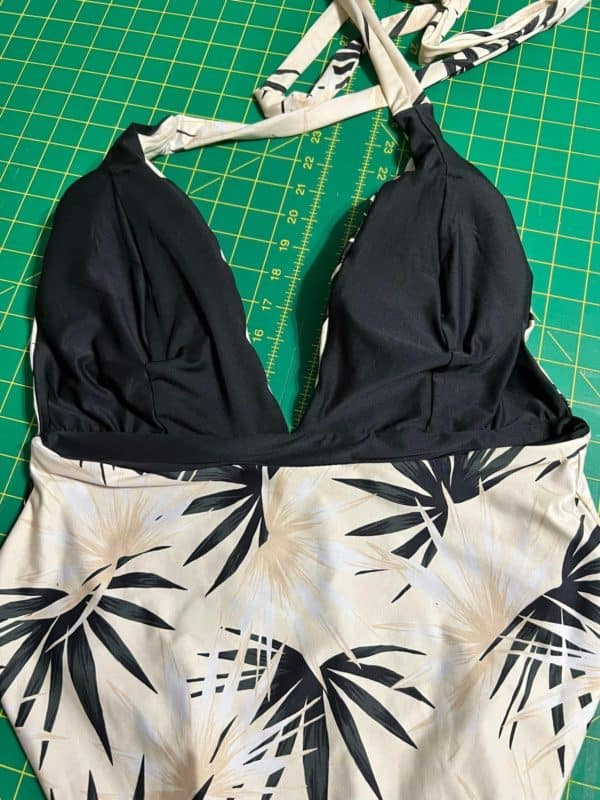
Adjust Neckline for Fuller Bust
For more (or less) coverage
-

- Amalfi: as per pattern
-
- Amalfi: with more neckline coverage

-
- Begin by tracing out the bodice in your size, grading for your measurements.

-
- Measure and mark the midpoint of the pattern to help inform your adjustment

-
- Using your midline marking (and your knowledge of your unique shape) take your ruler, make a mark for as much width you would like to add (or take away if you want less coverage)

-
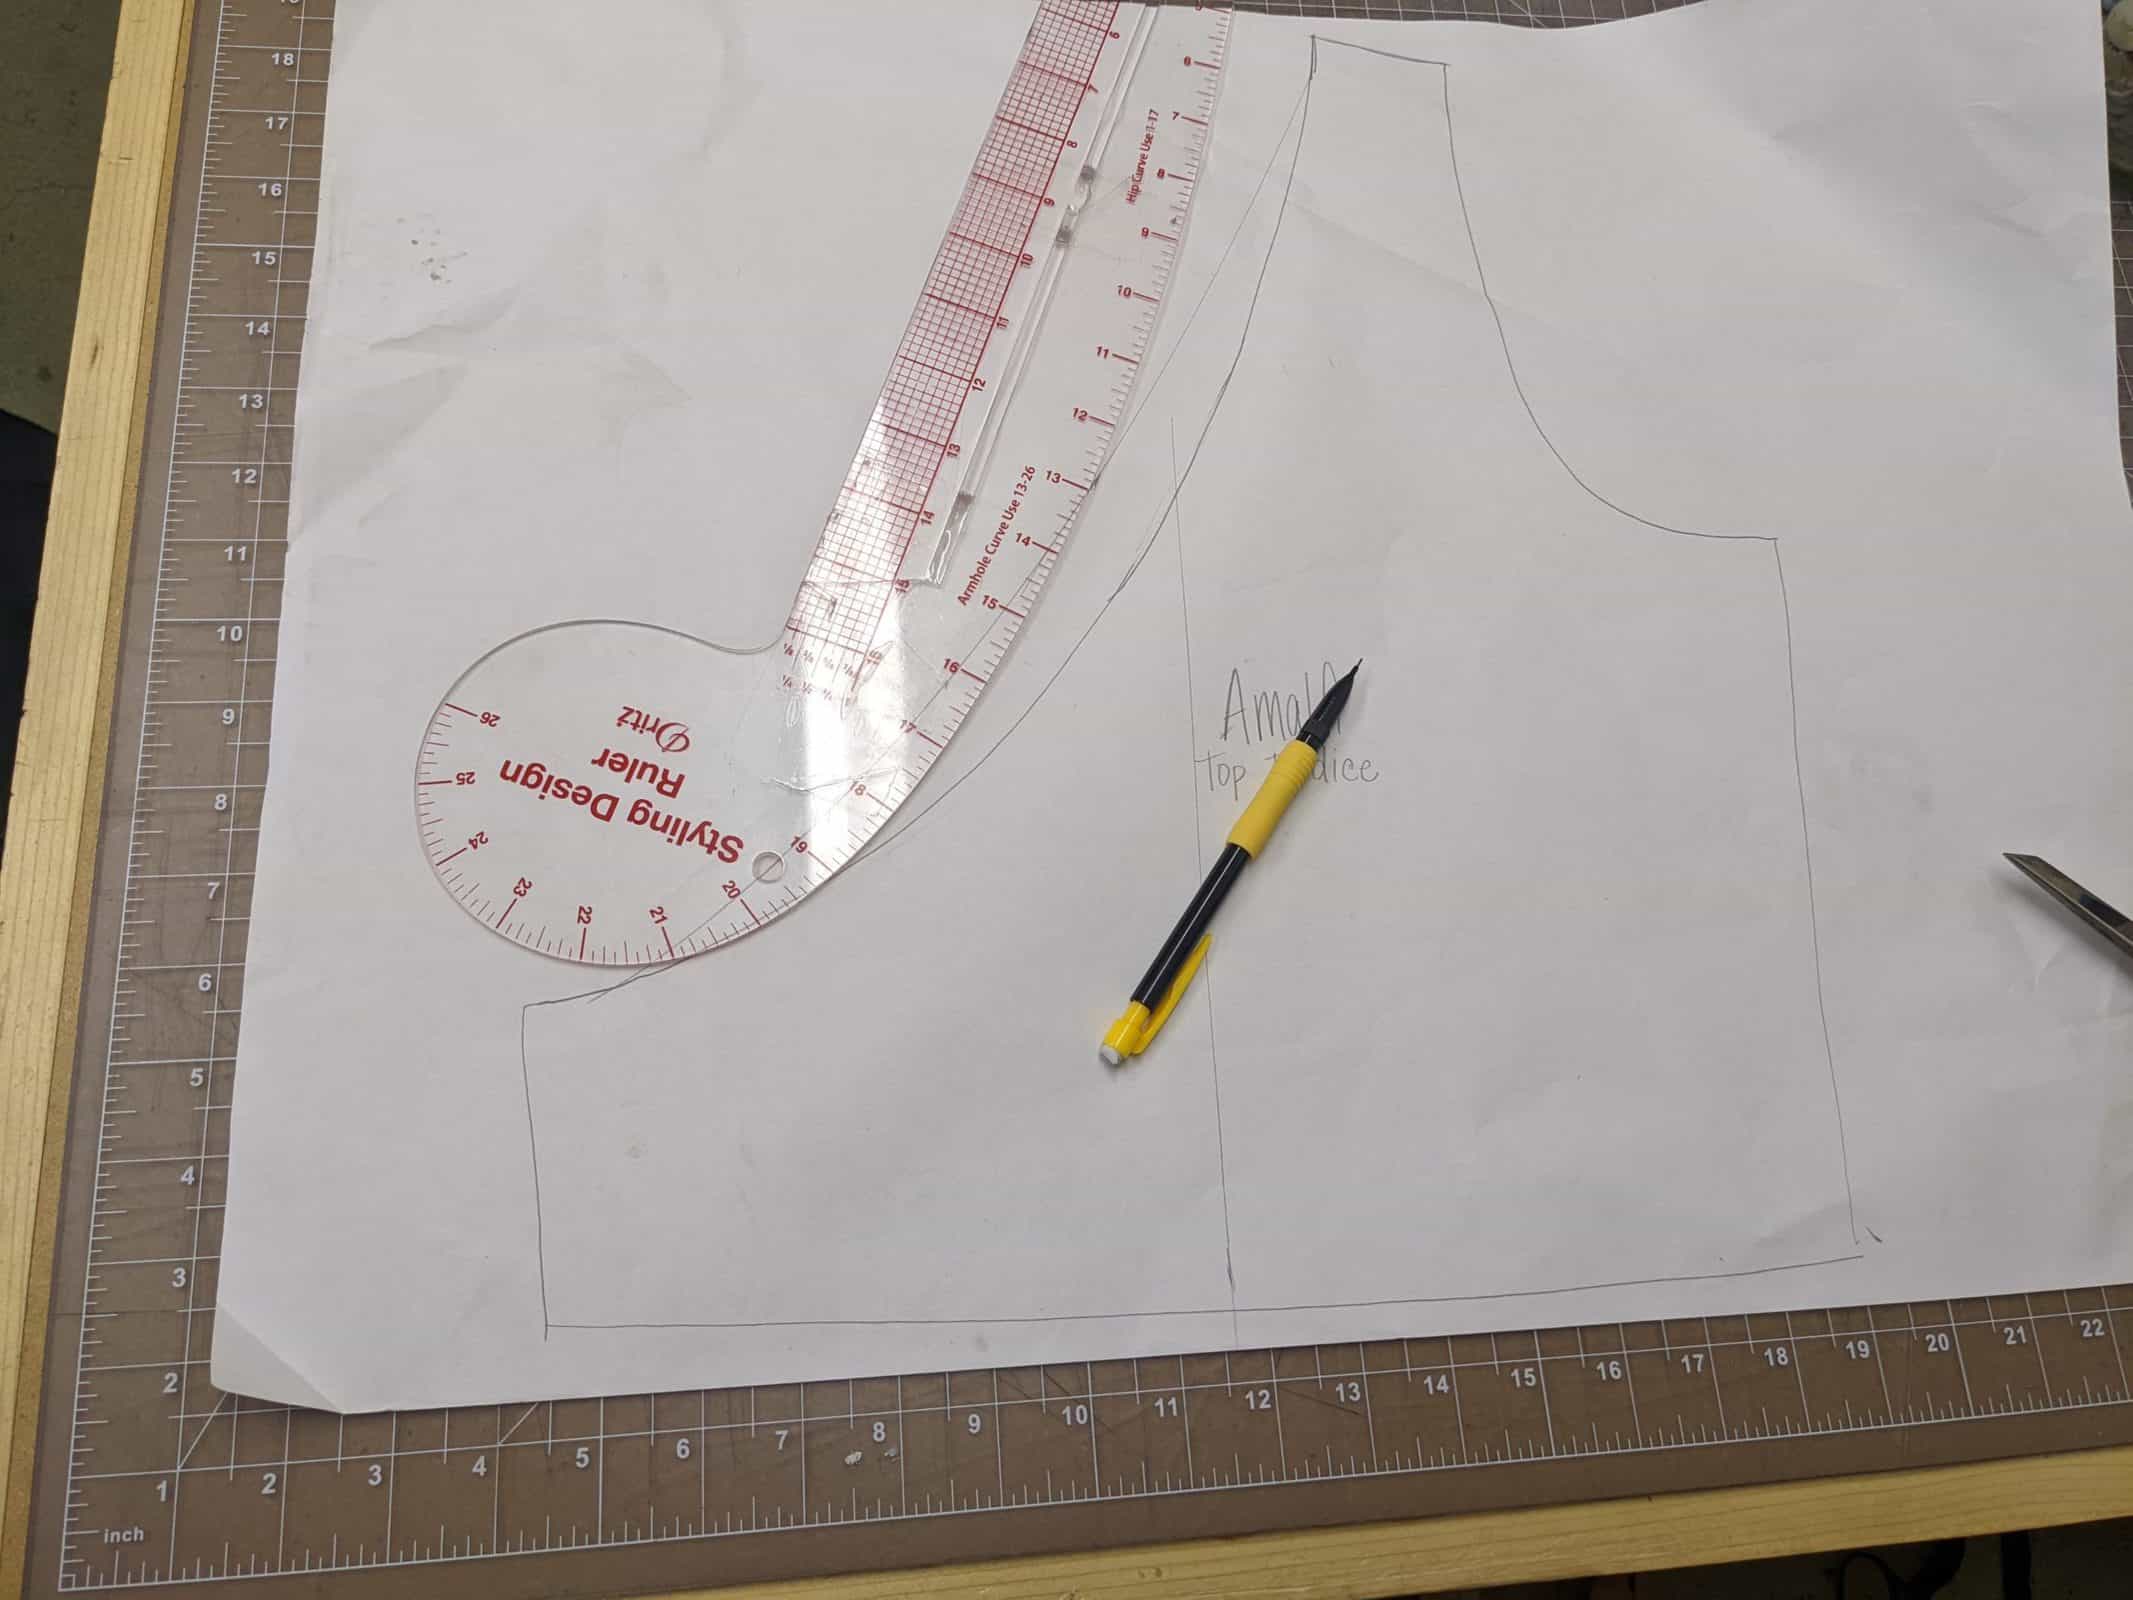
- Aline your curved ruler with the seam line at the shoulder, side seam, AND your middle mark. Draw in your new neckline.
-
- Remember that the other side of the wrap top covers this side.

-
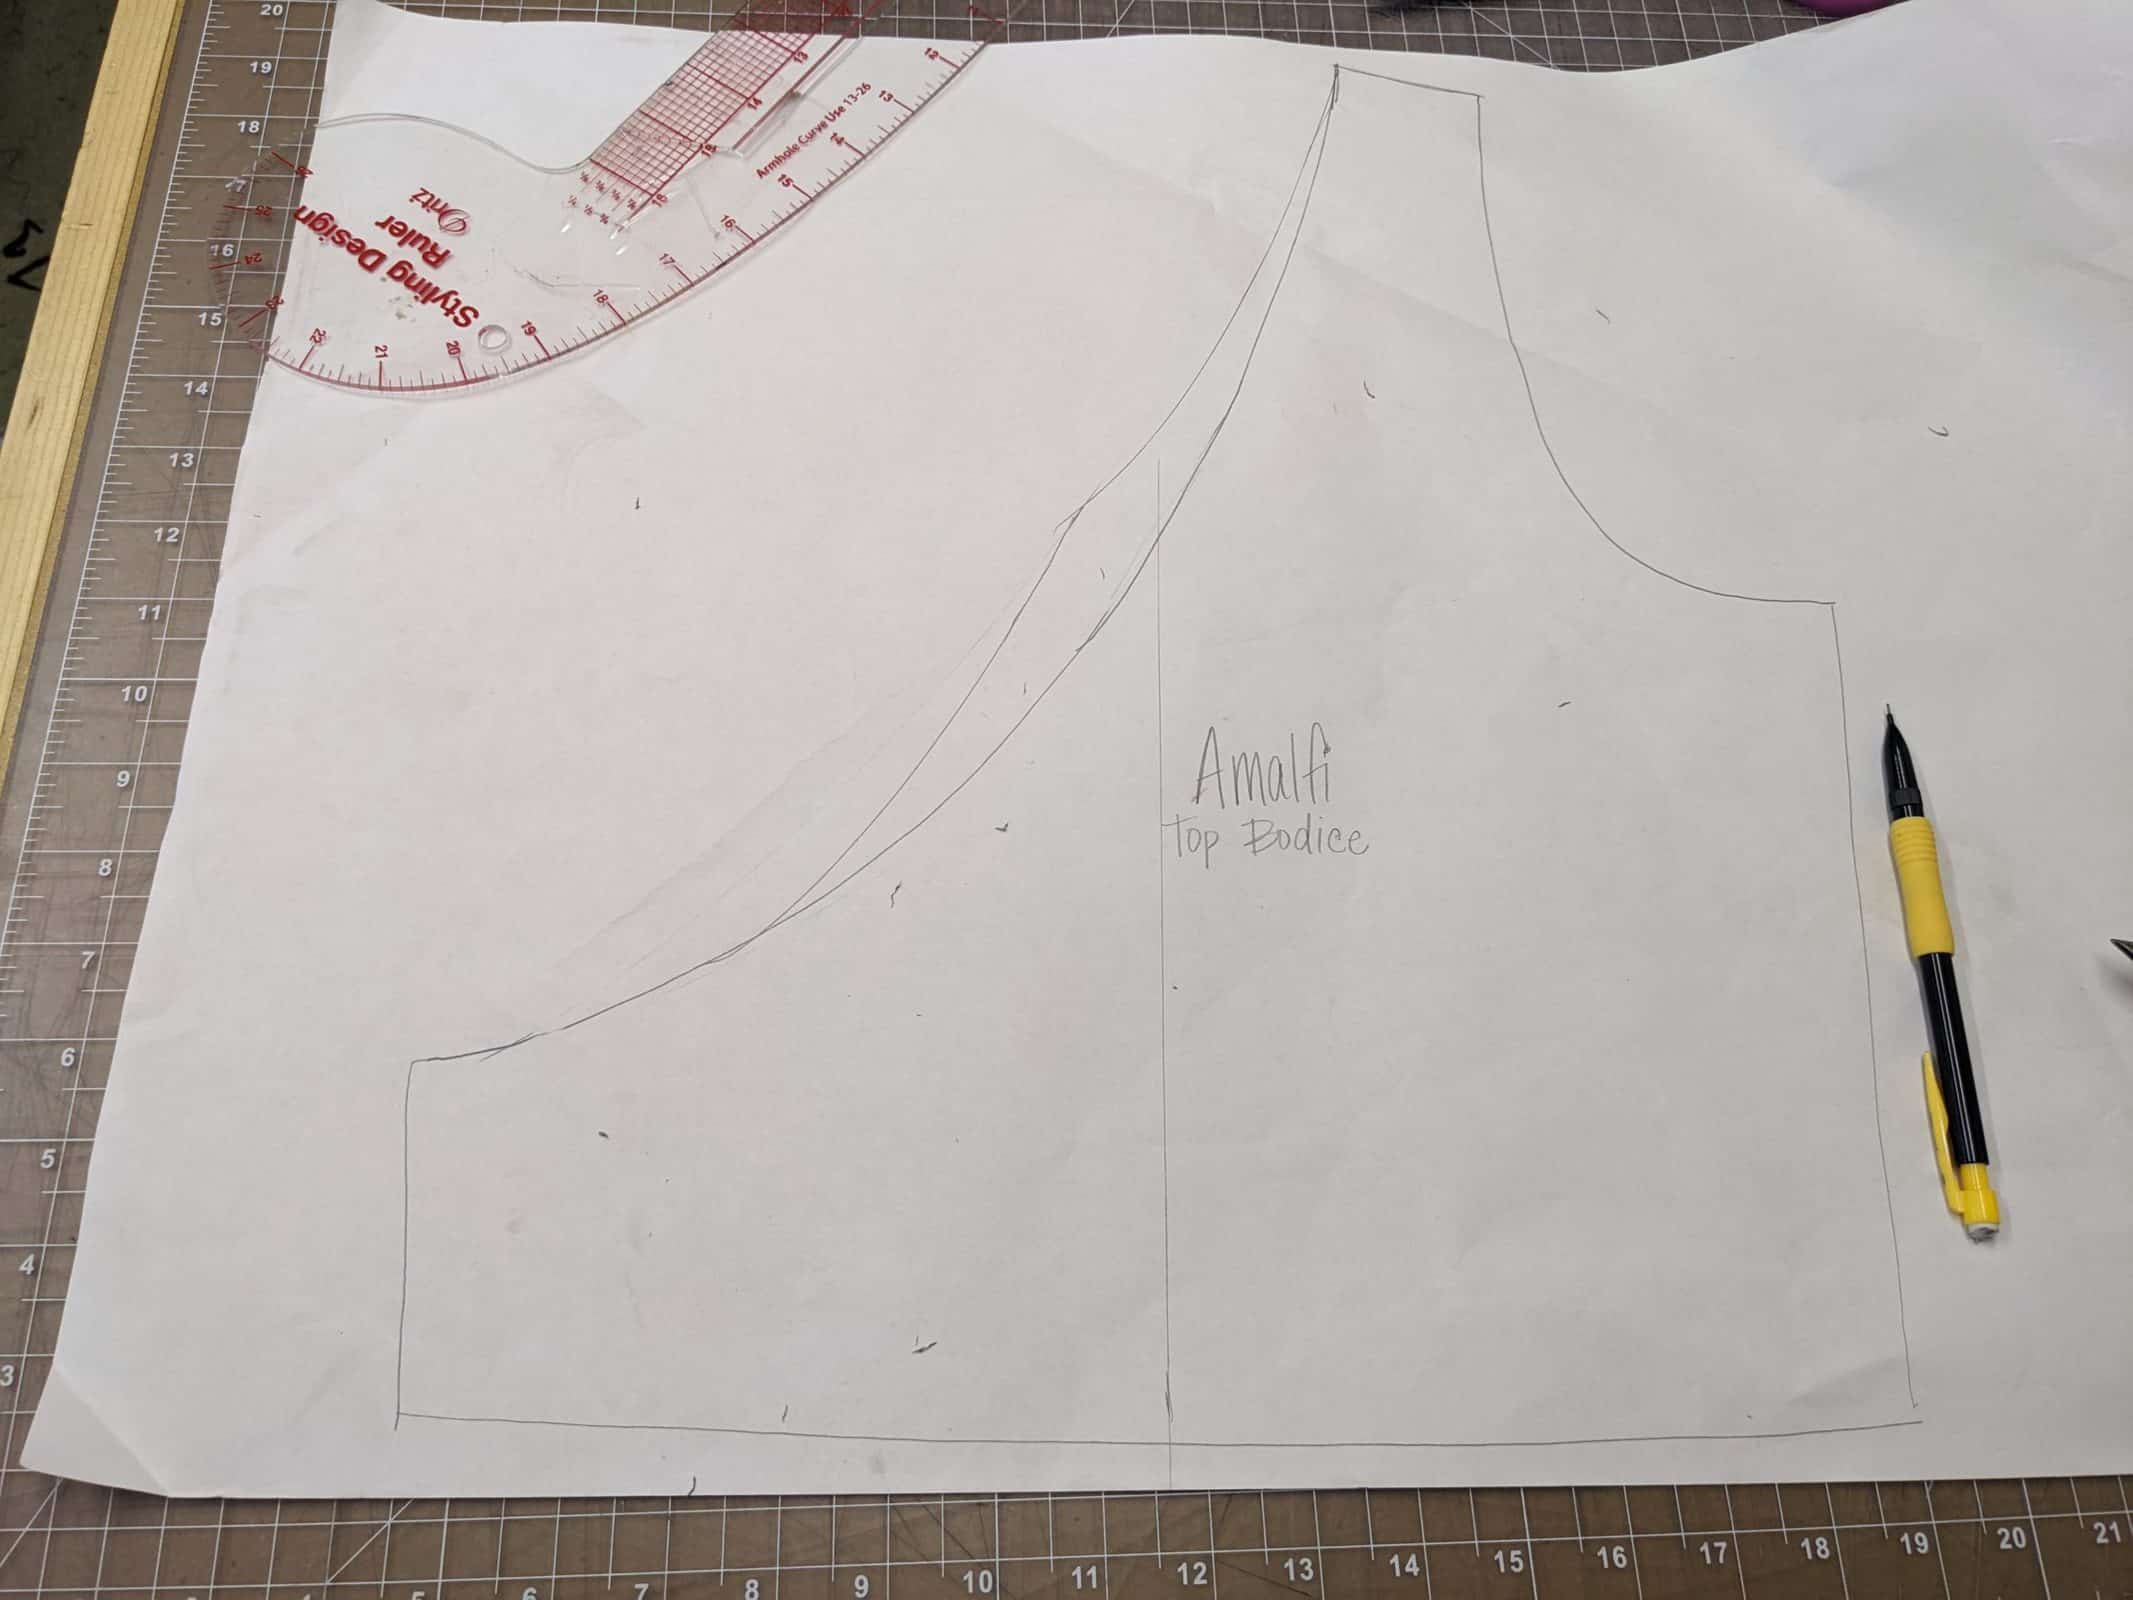
- To avoid add too much fabric to the other side, I used my curved ruler to remove some of the added fabric on my new neckline.
-
- erase the excess lines.
-
- Smooth the lines.
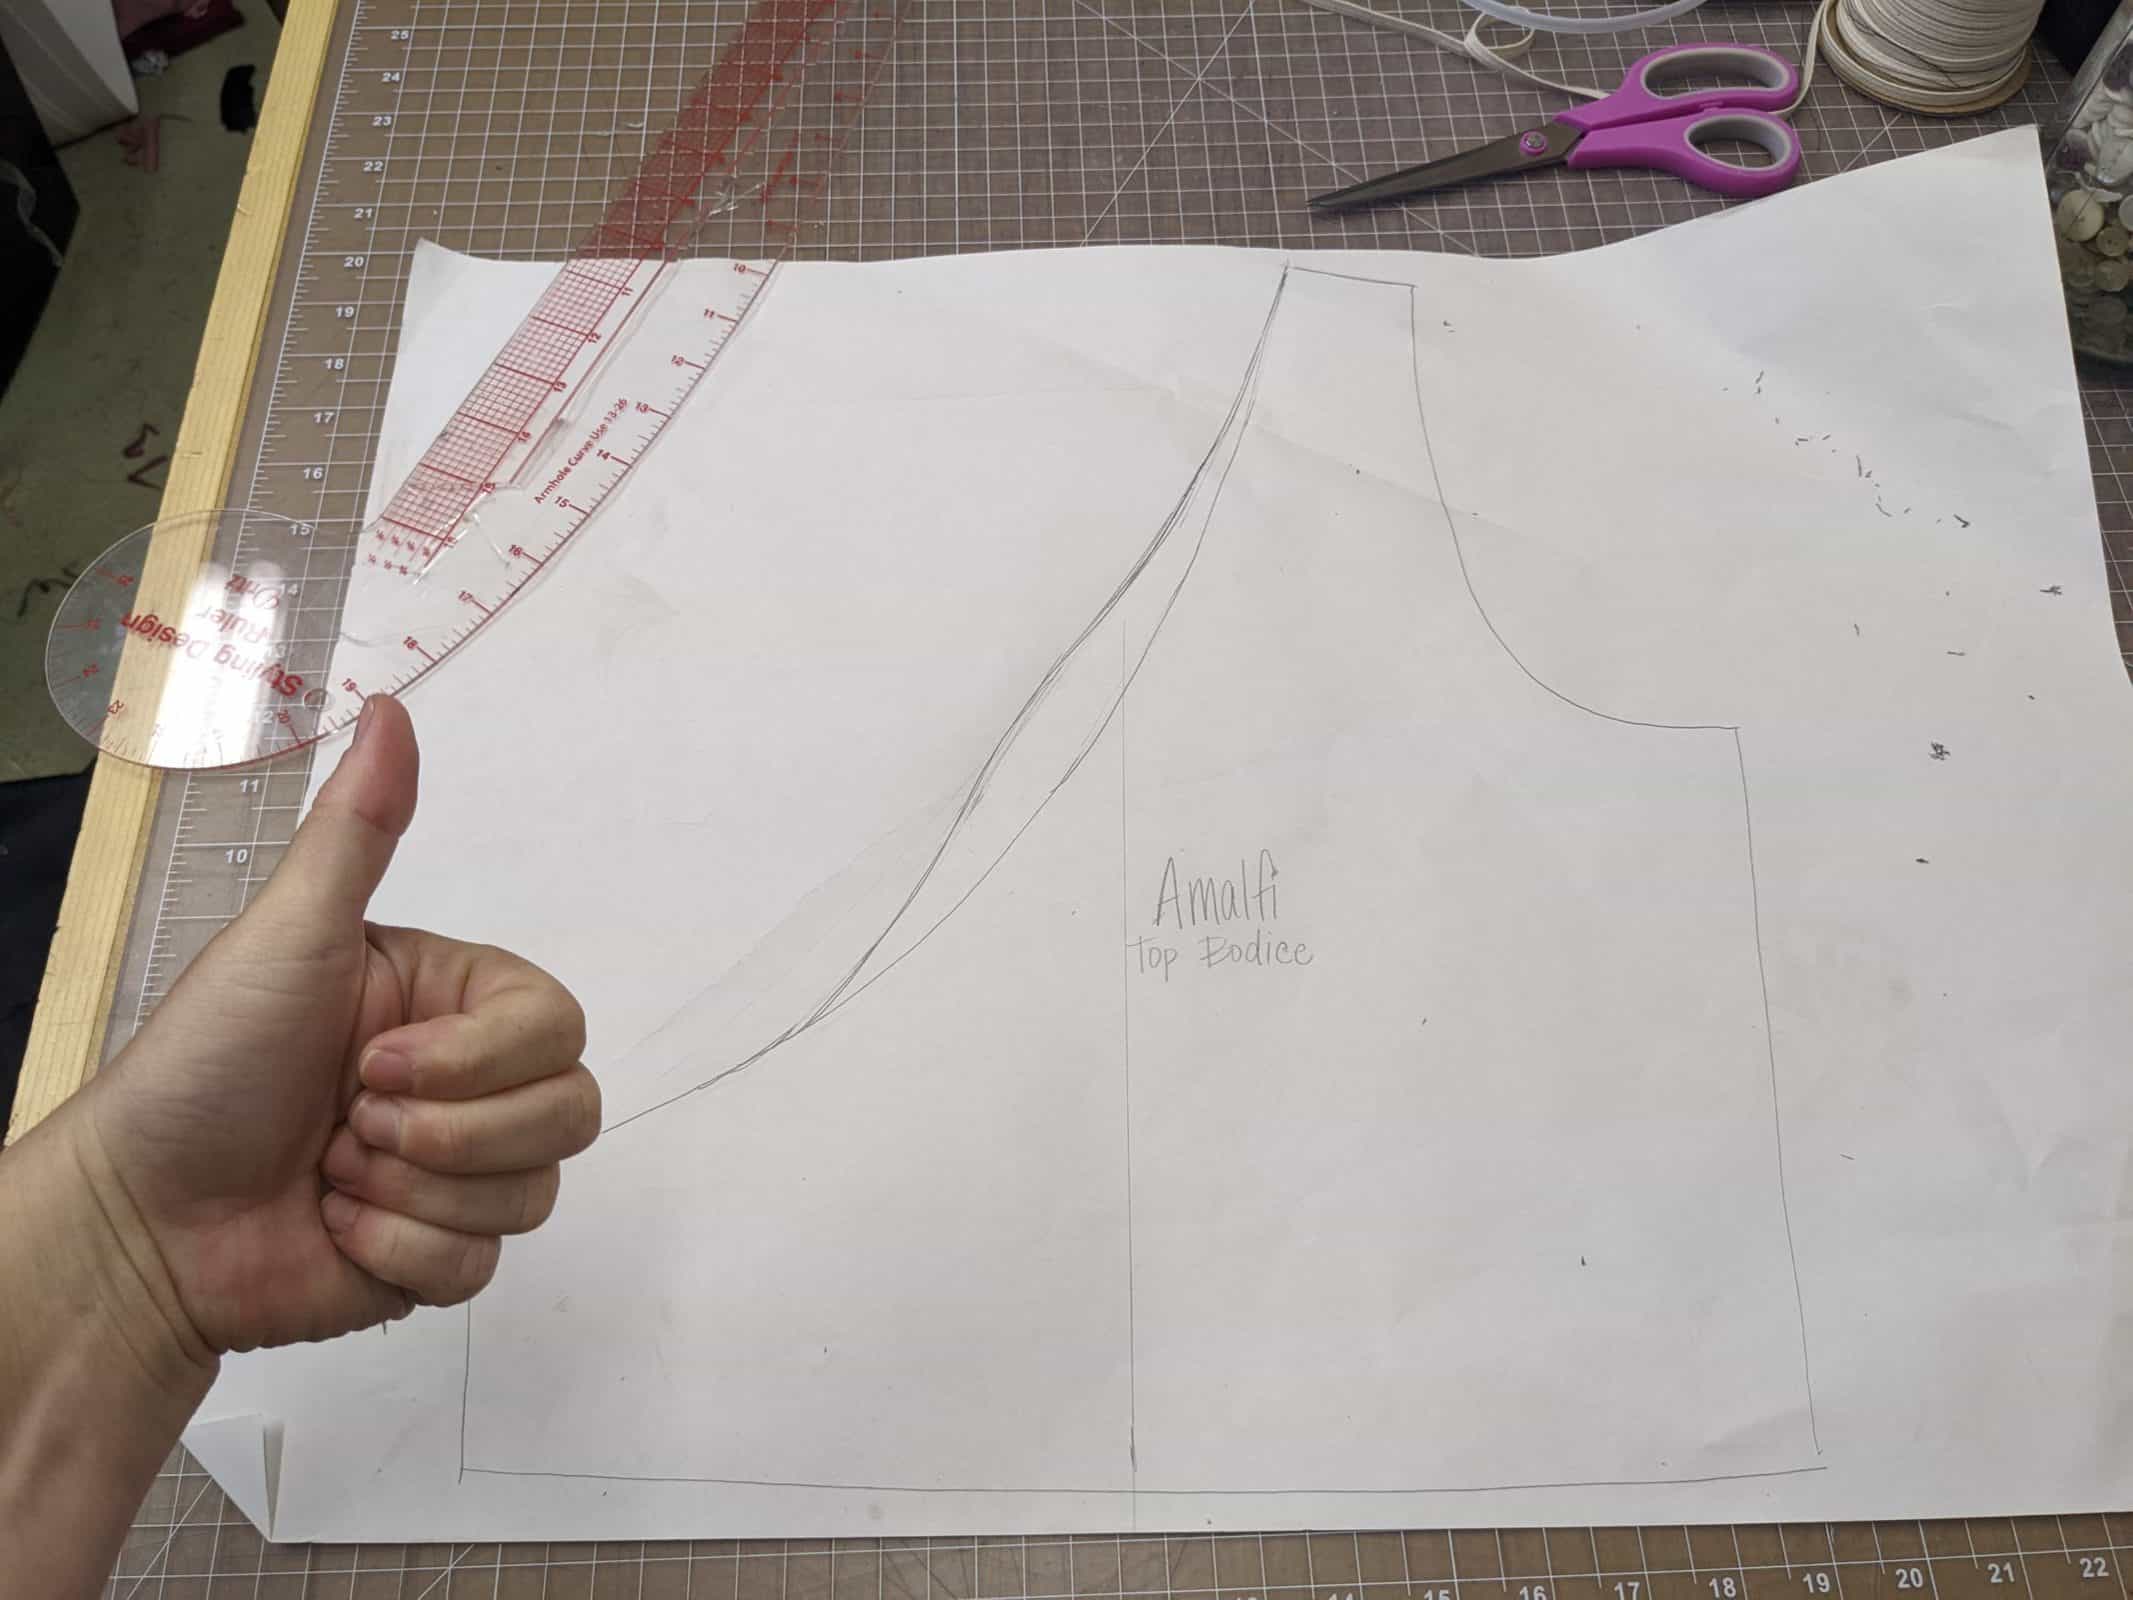
You may notice that the curve on the neckline has changed significantly. In order to accommodate more coverage on my full bust, this is an appropriate line for me. You may find your line looks different. Don’t worry, all of our shapes are unique; do what you think is best for your body and fit preference.

When cutting out your new pattern pieces, you may wish to remove your new cutline on the back pieces. You could choose to leave it if you want ALL the reversible options. Finish as per pattern.
Add Swim Cups
Keep in mind that adding swim cups may limit your options as far as the versatility of the suit. You will still have options, but potentially not as many. Remember that cups will not provide support as much as coverage.
-
- Cut out your swimsuit, being sure to include the optional interlining. (I used stretch mesh)
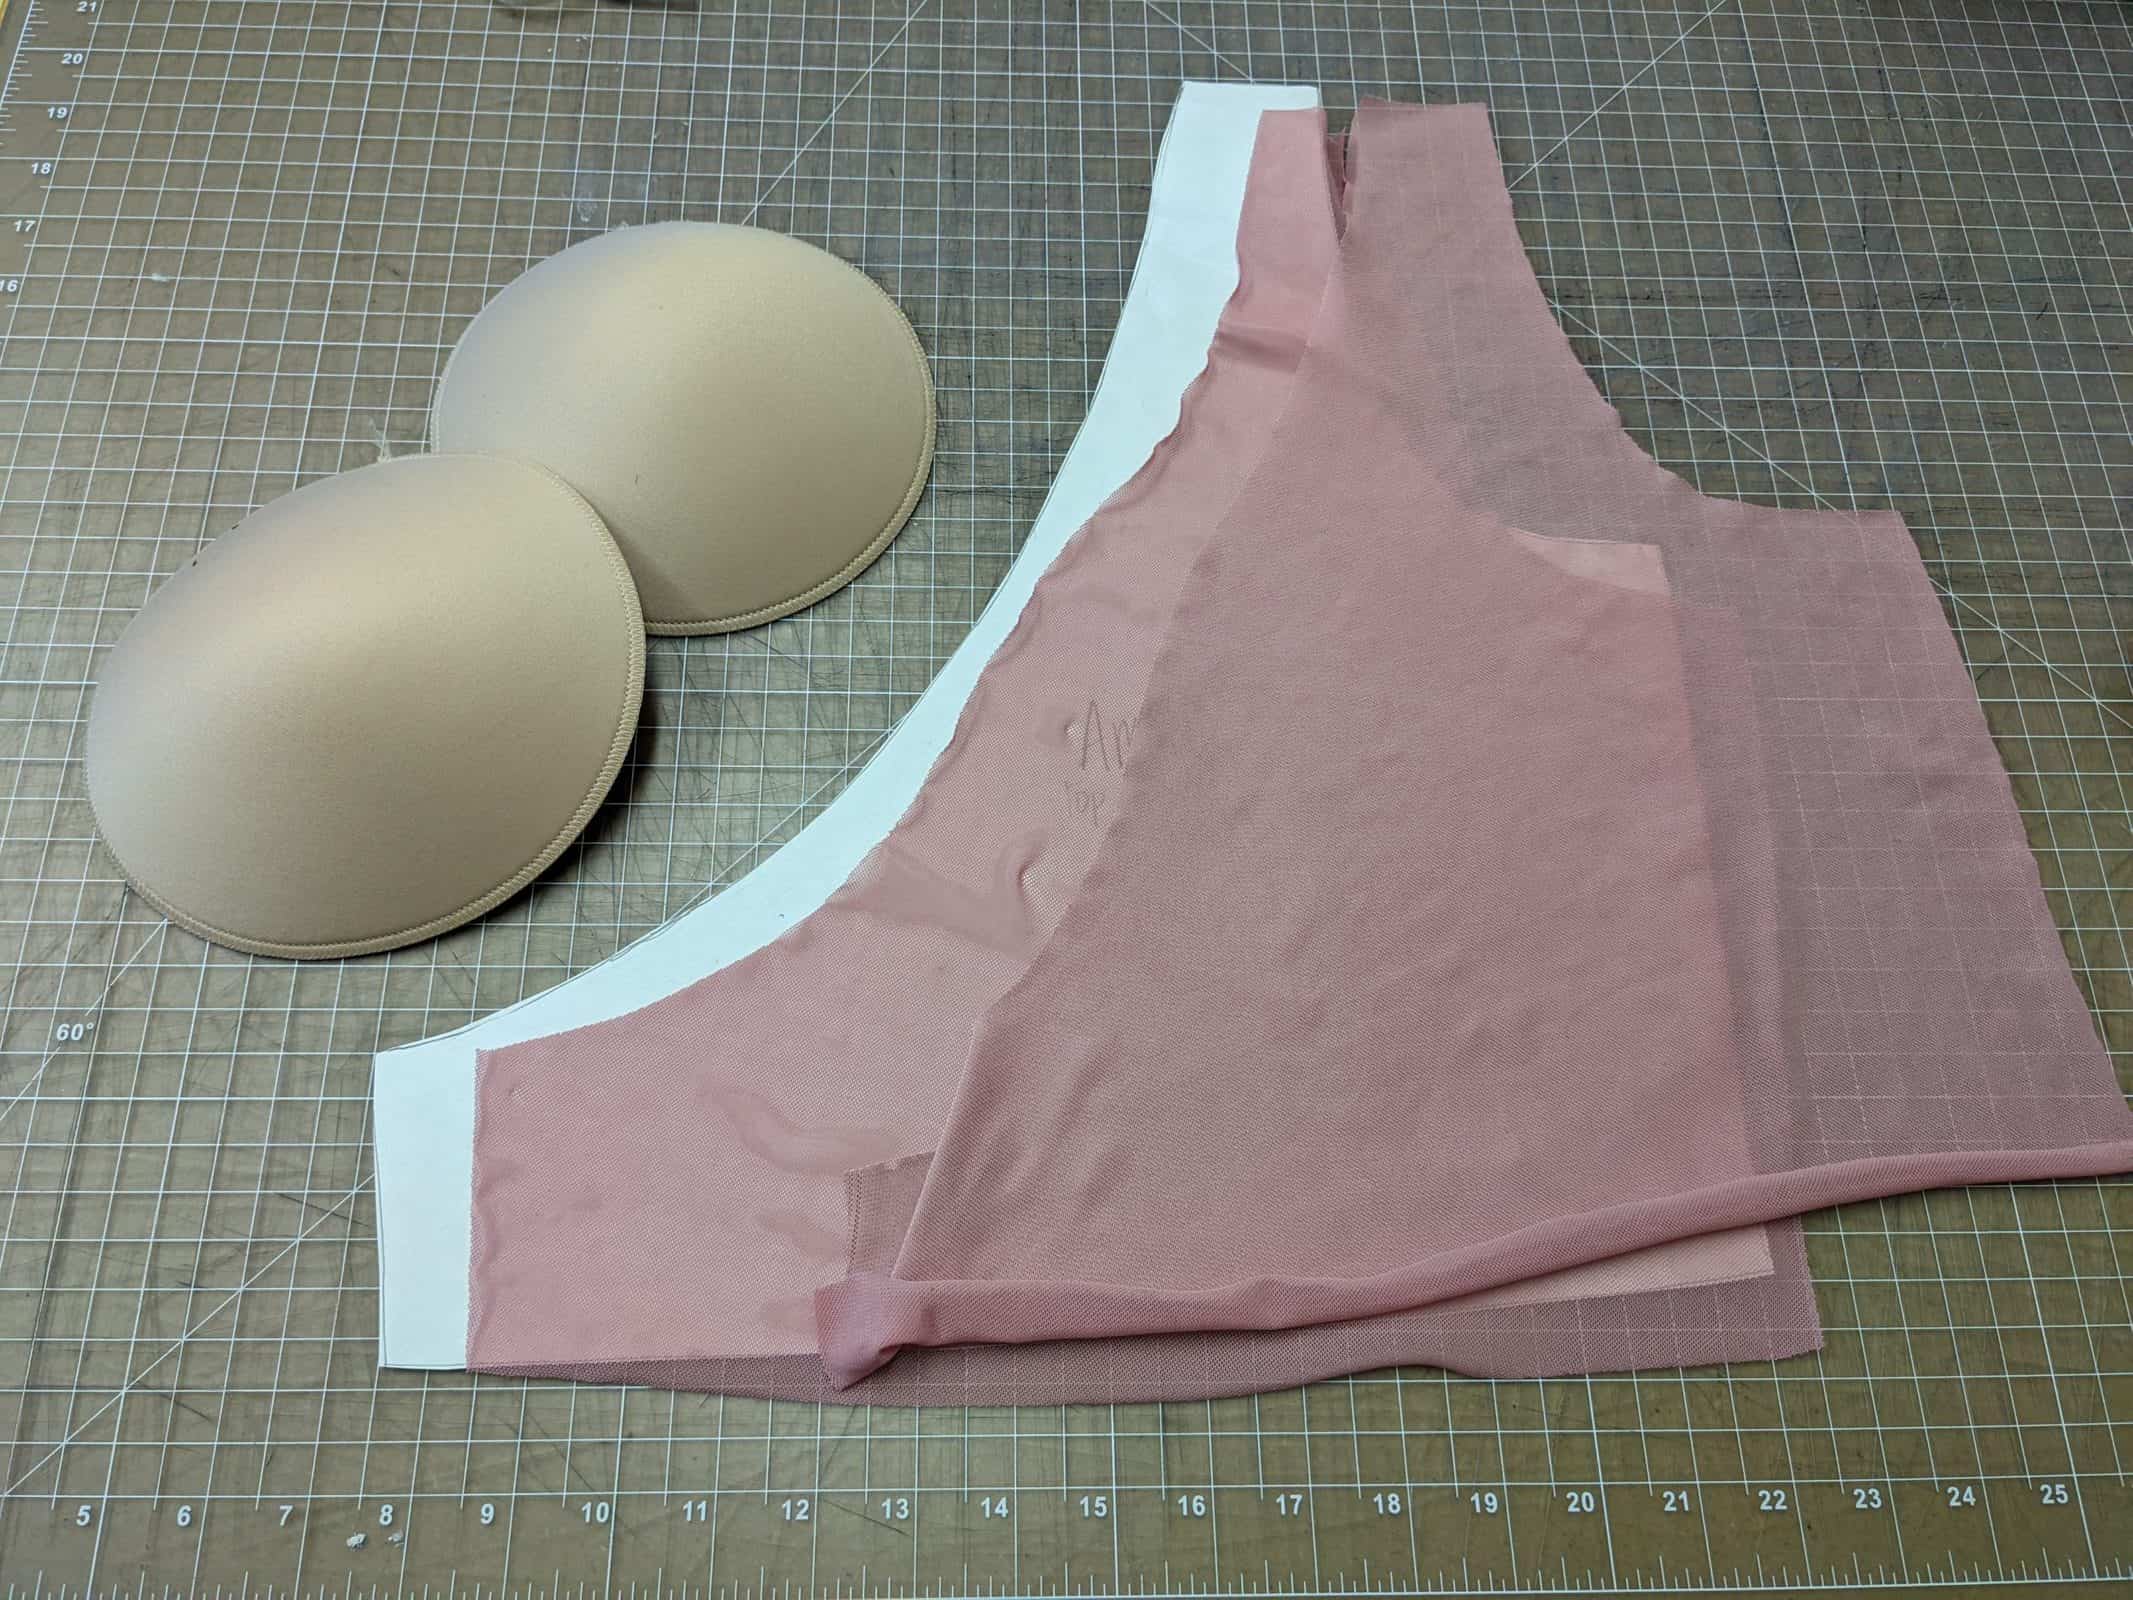
-
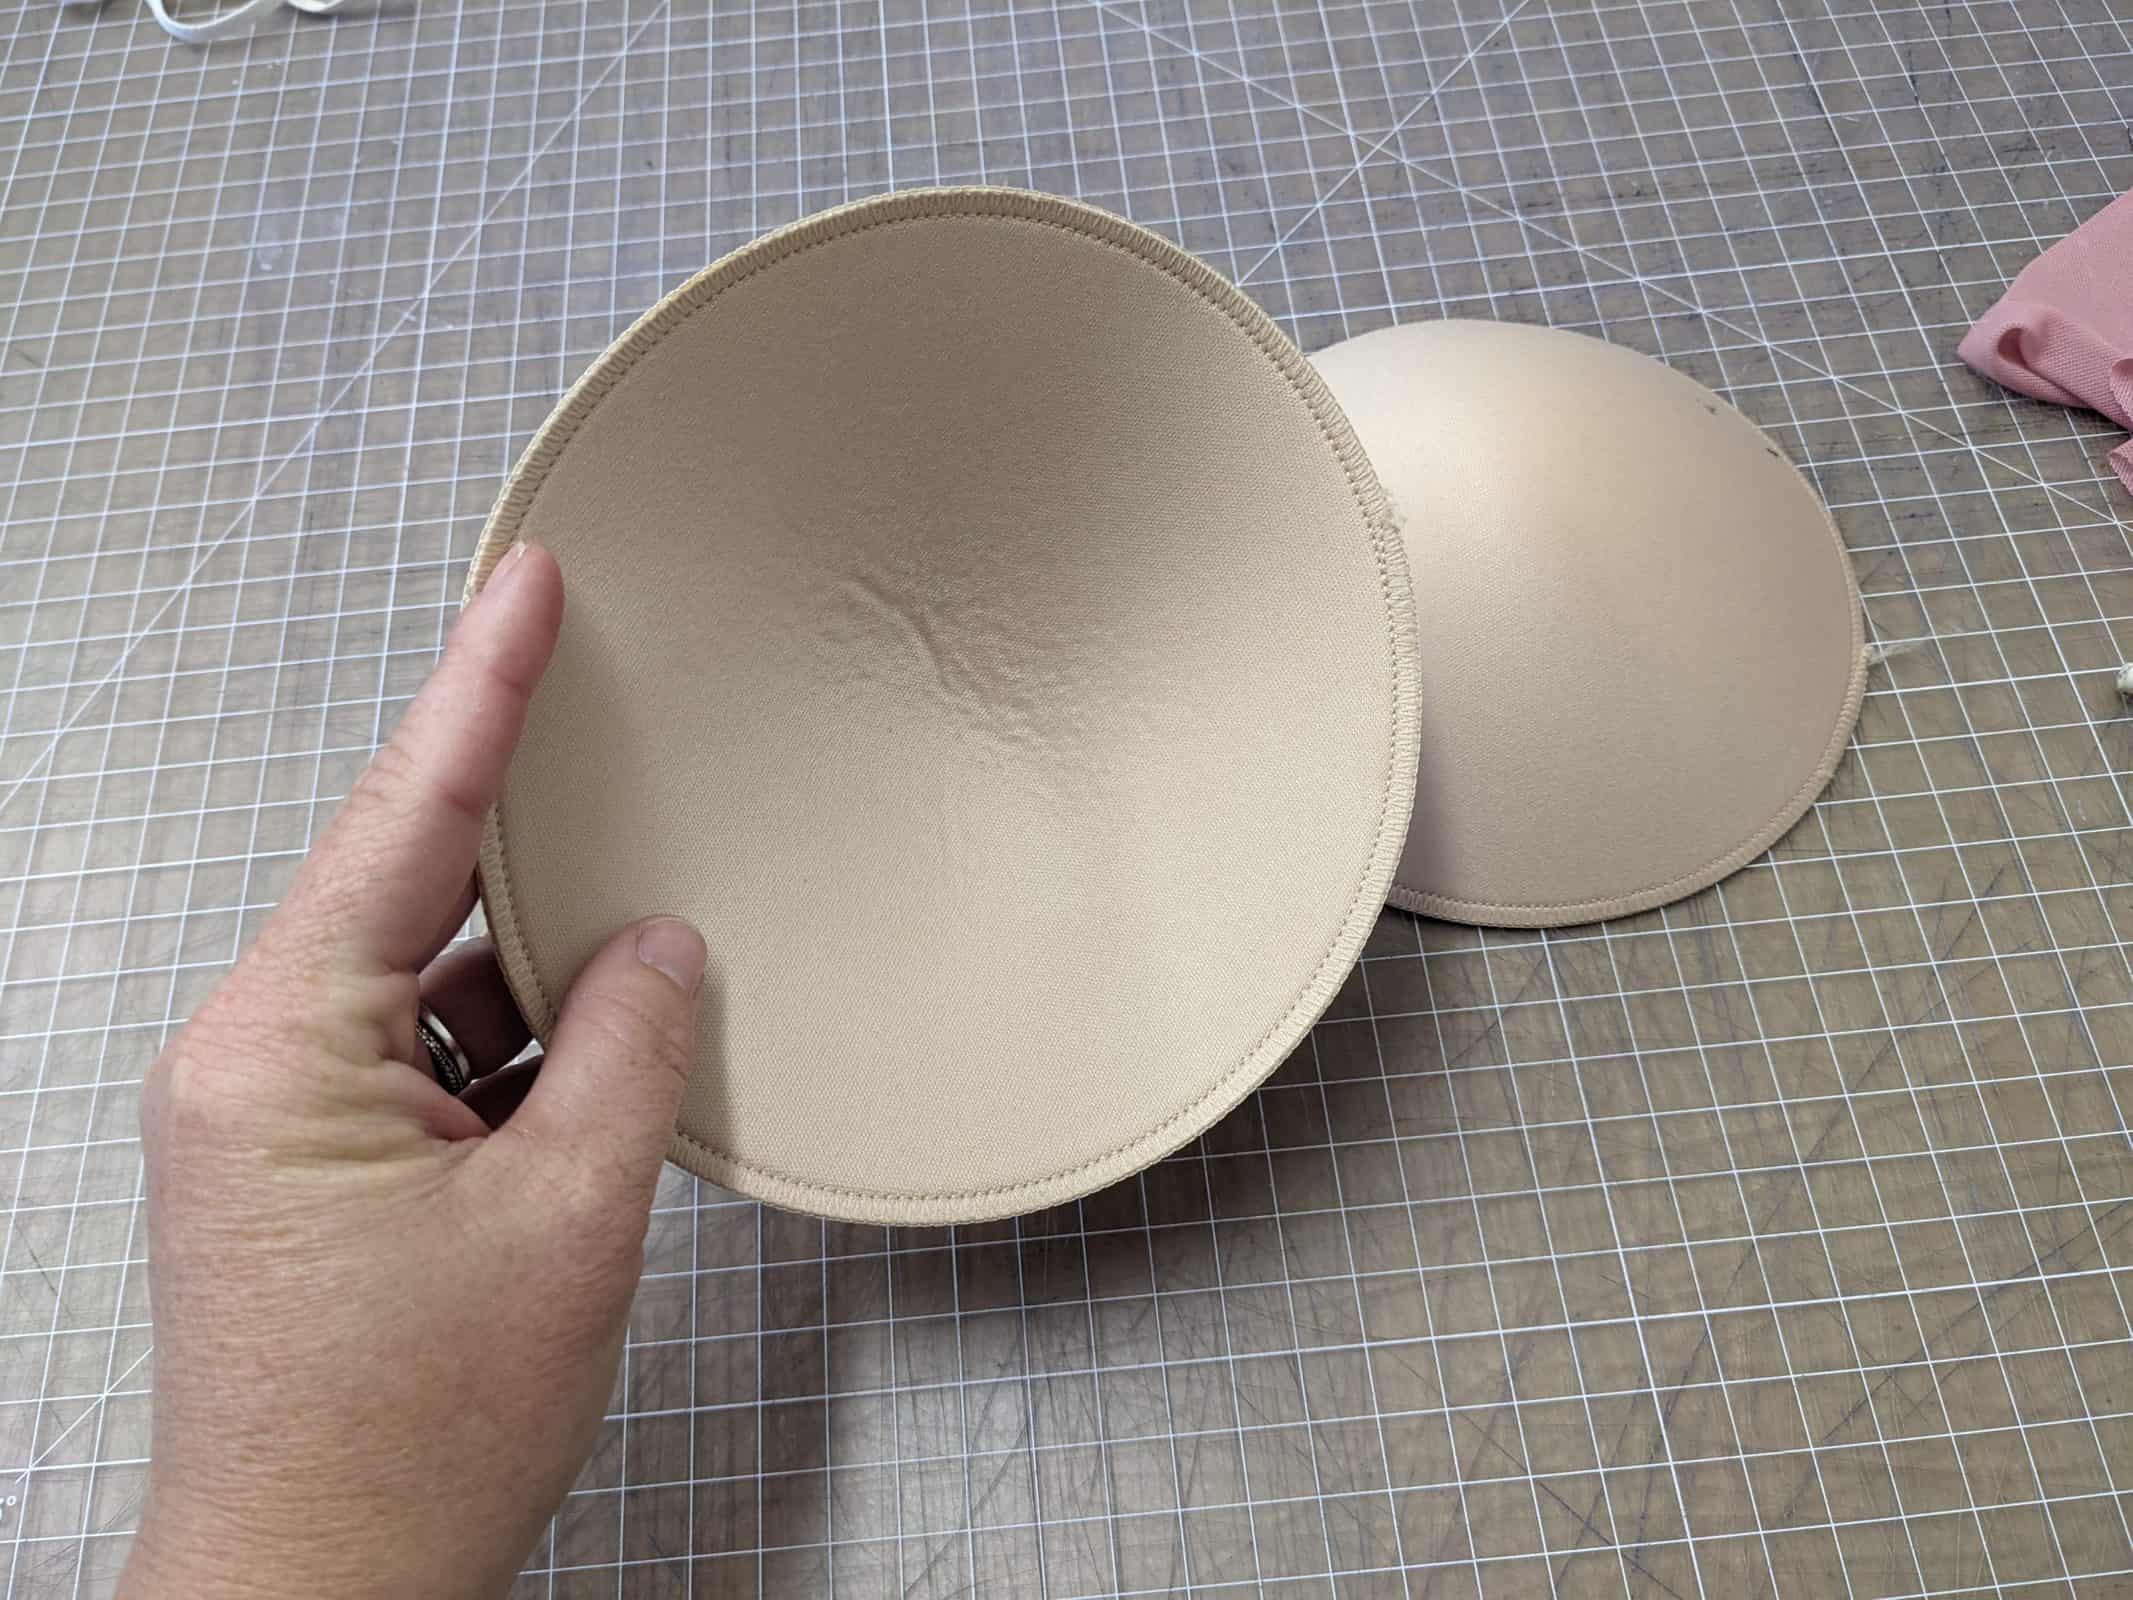
- Choose swim cups in your preference of shape, but they should not include push up padding. (otherwise the padding will show when the bathing suit is reversed)

-
- Be aware: reversing the cups will result in a slight wrinkle.
-
- Lay out your interlining and adjust your cups to fit your unique body. DO NOT place them in the seam allowance.
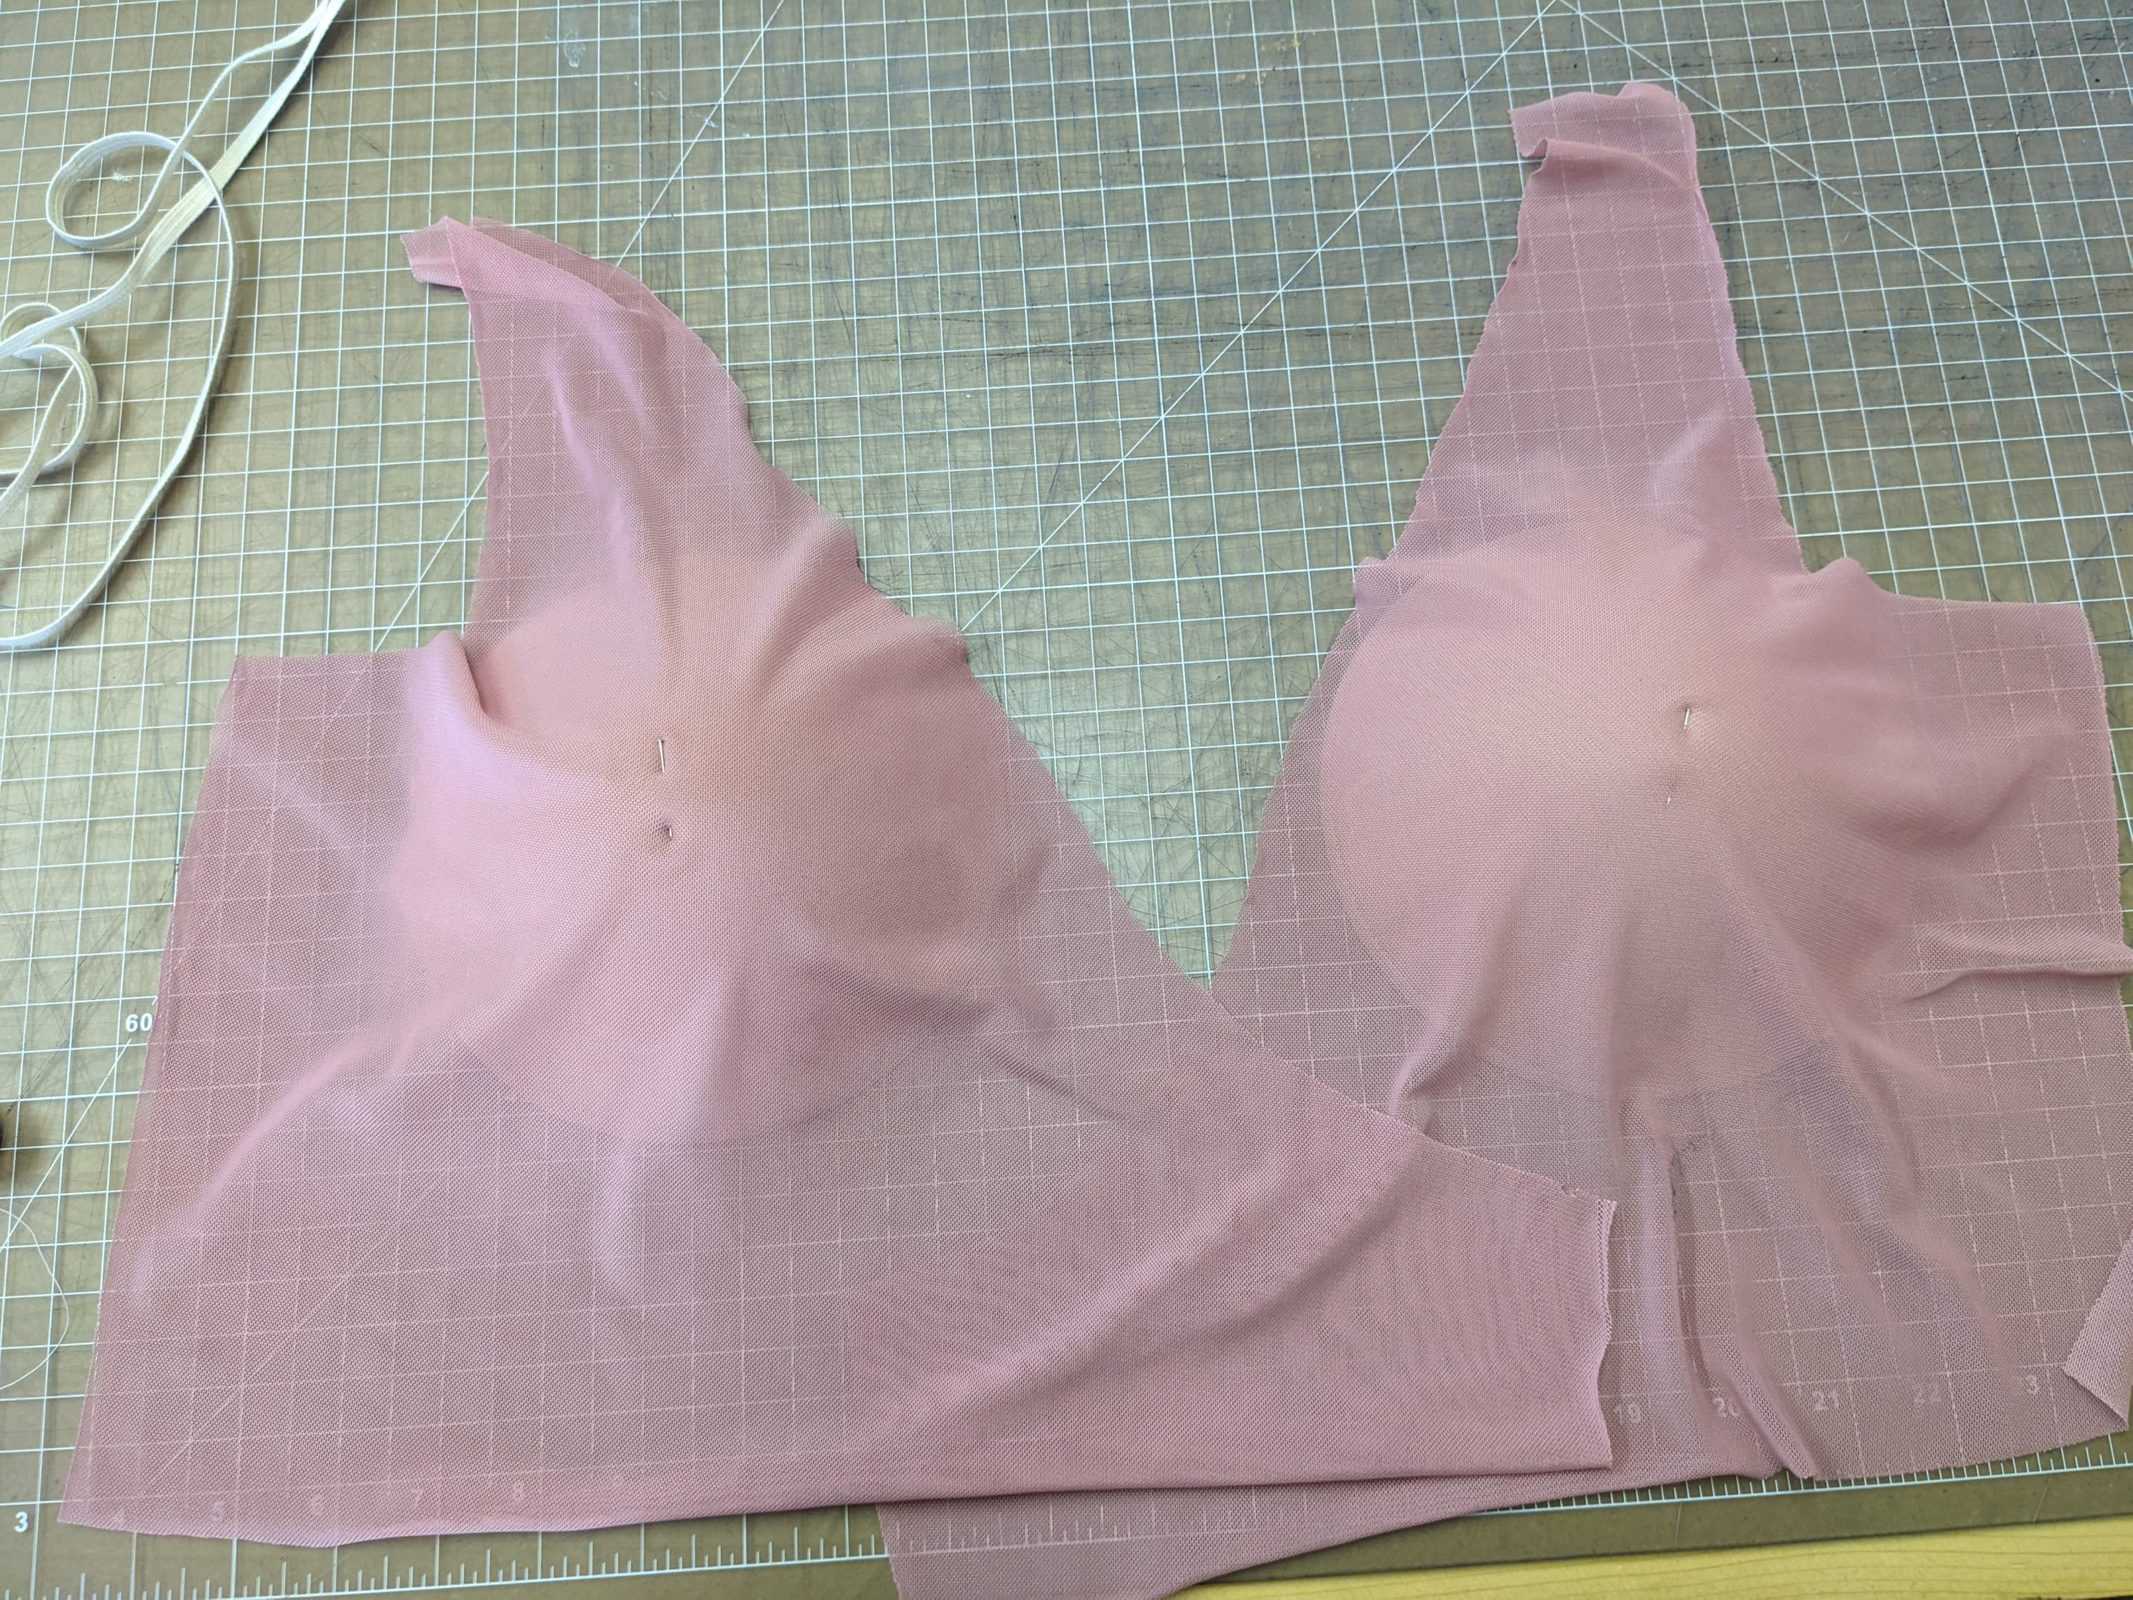
-
- Pin first at the center and stretch gently to smooth the fabric over the cup.
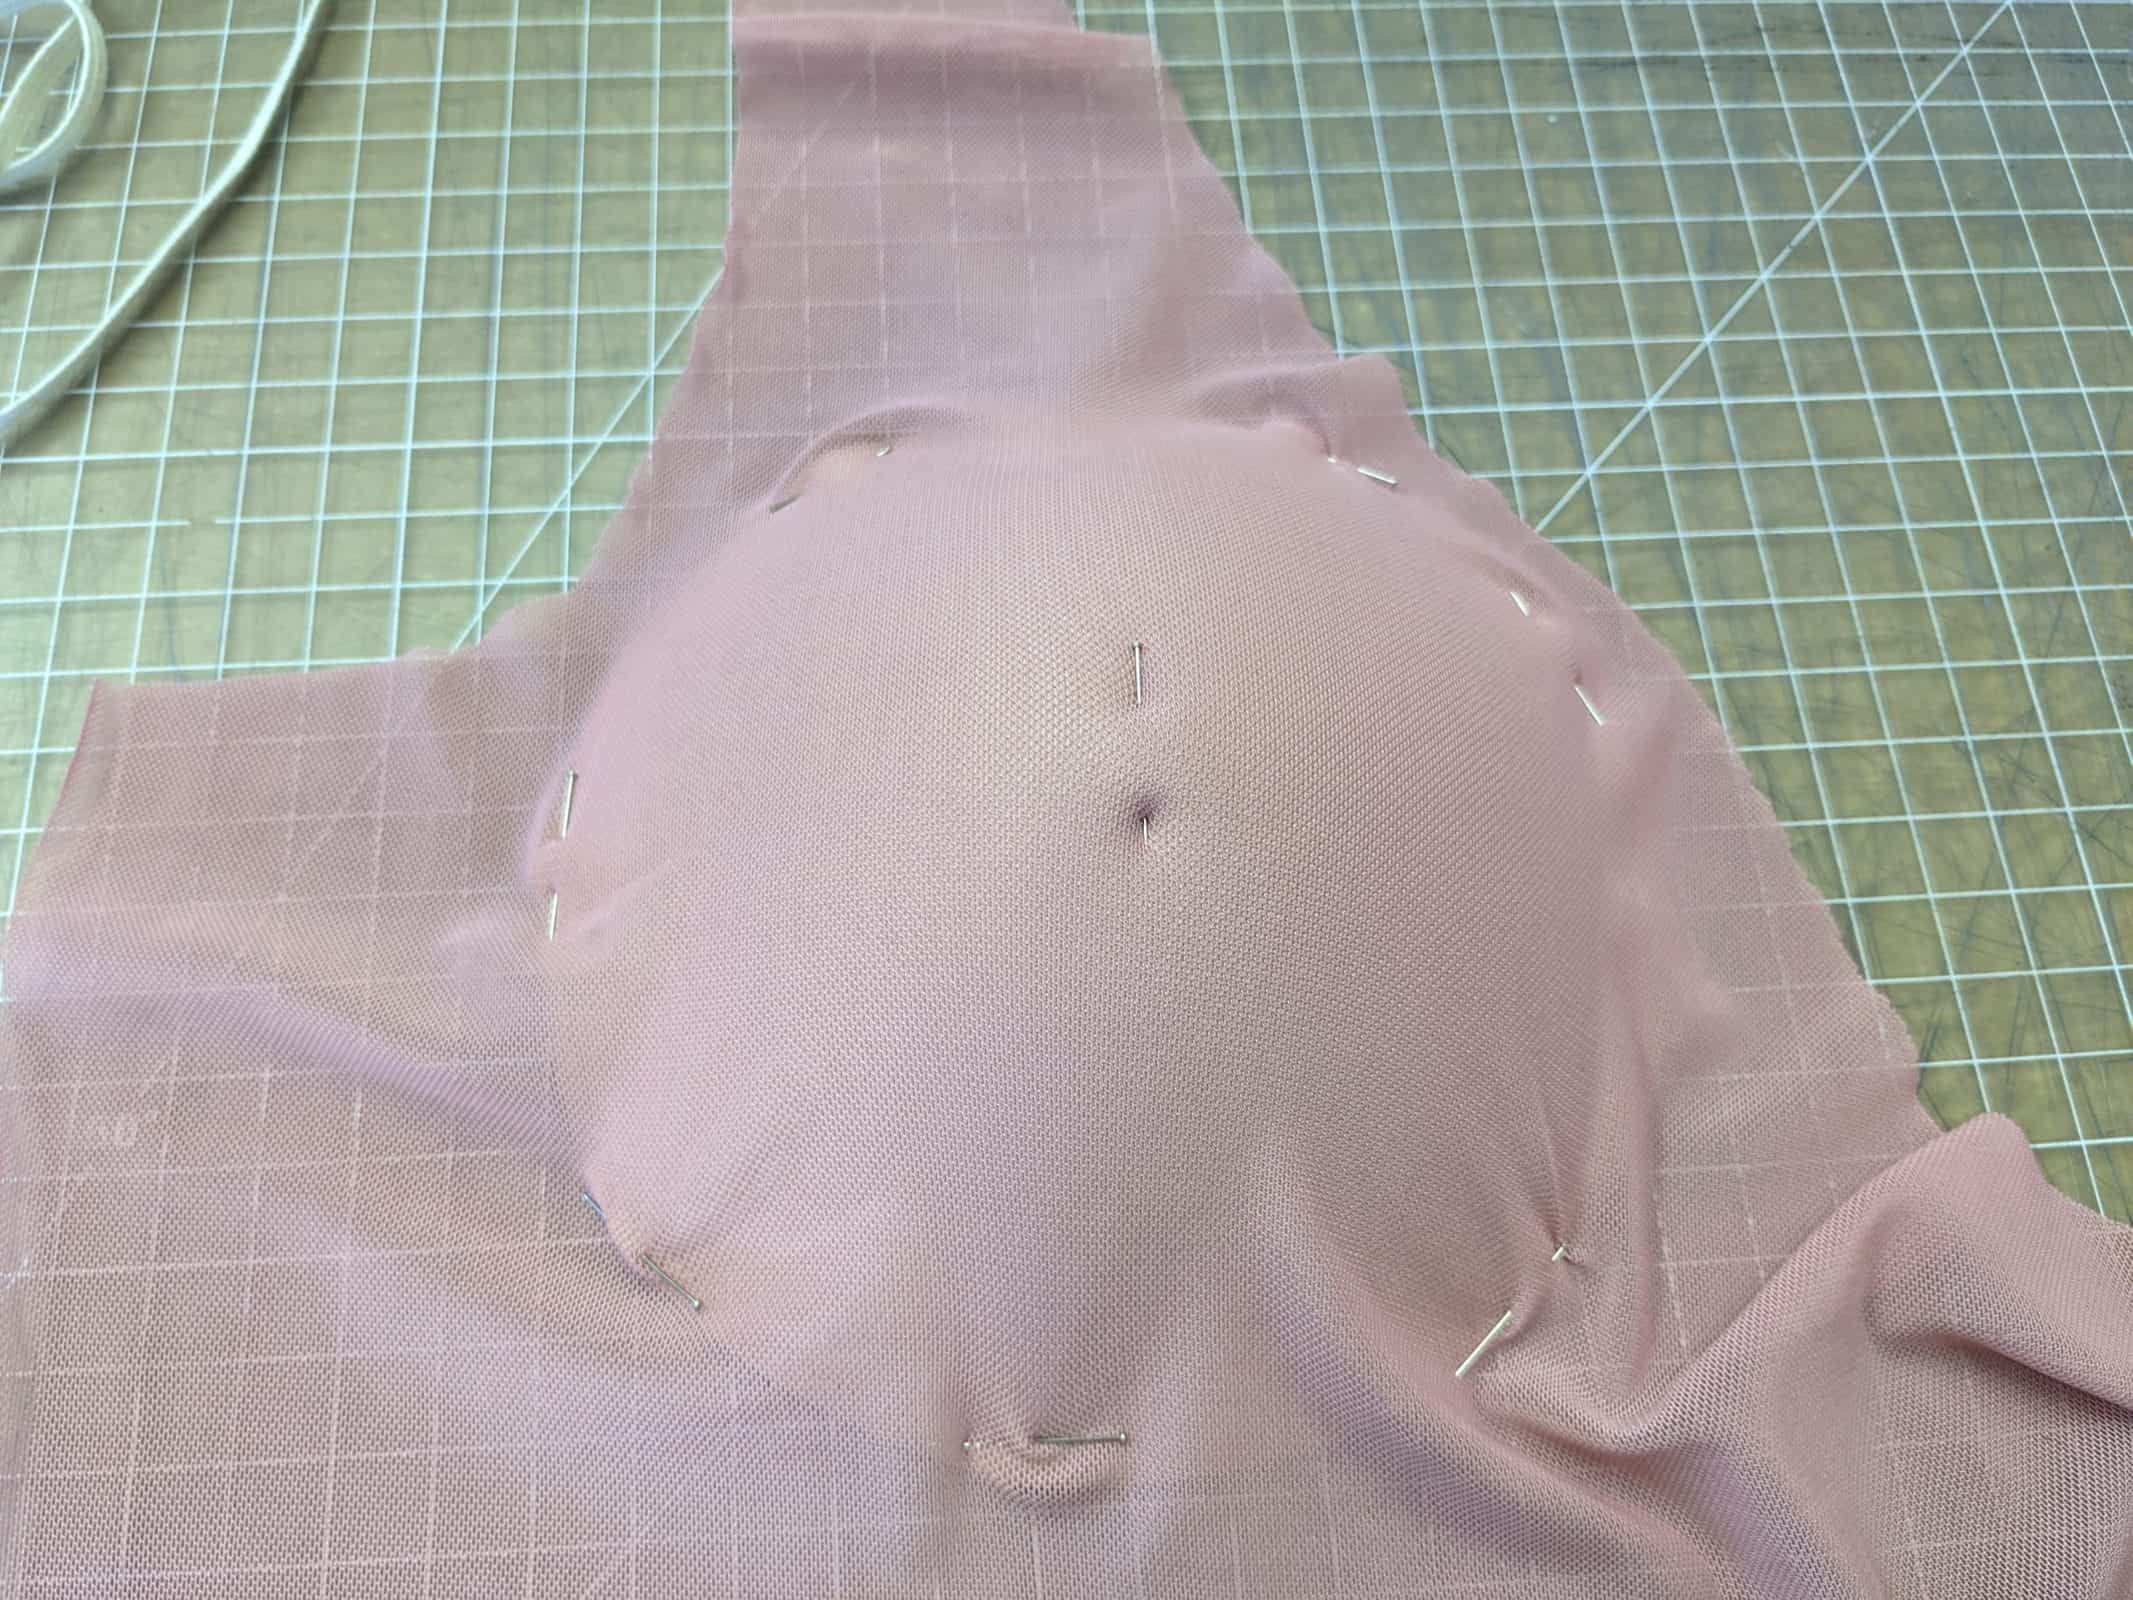
-
- Attach with a zig zag stitch.

*finish as per pattern. I used the size H round cups from Wawak and I was able to manipulate them through the prescribed opening when constructing the suit and turning it right side out.
-
- Shown with cup curve facing the correct way.

-
- Shown with cup curve reversed (any wrinkling in the cups doesn’t seem to overly affect the look)
You can always make adjustments to any pattern to fit your body in any way that you prefer! I encourage you to take a leap into adjustments to create a fit that is perfect for you.
Enjoy your perfect fit Amalfi!

-Bekah
Loren Mash
Teri used the Amalfi bottoms with the Loren top! Attach the Loren top, right sides together, with main Amalfi. Use the Amalfi pattern tutorial for finishing the Amalfi bottoms. This gives more coverage than our Loren swim hack if you love the look of both!


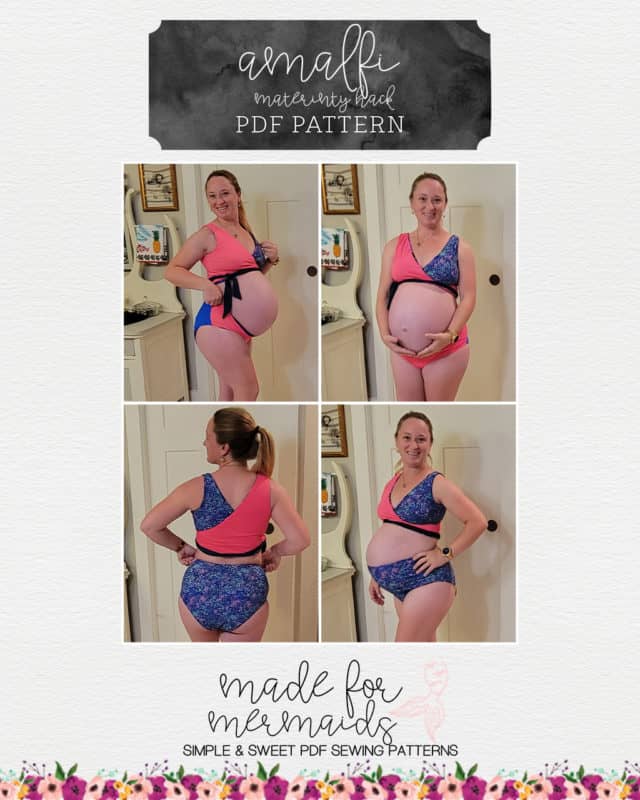
Maternity Hack
Claire used our Shelly hack for an adorable bump-friendly Amalfi.

Hello
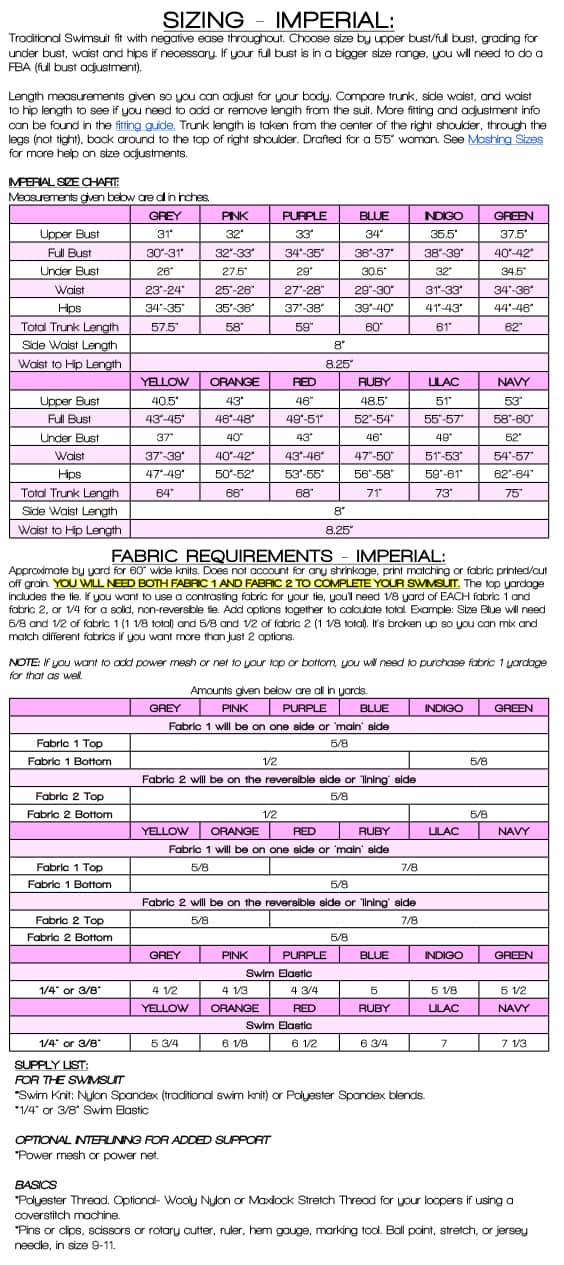
i was wondering if anyone has done a FBA? large bust small upper bust. TIA
Sure you can do an FBA on it, no one did in testing though.
Just made the Amalfi top. I had a great time sewing it! It feels tight in the ribs/waist. Fortunately, this is a prototype with not-final fabric. I’m wondering if it’s necessary to include the elastic or if I can just skip it. I can go a size up with the final fabric, but just trying to understand how important the waist elastic is. Thanks!
Elastic is going to hold the suit in place while in the water. Without it you might find the suit becomes droopy and not flush to your body. I never skip elastic if I plan on actually swimming/getting in the water with the suit.