
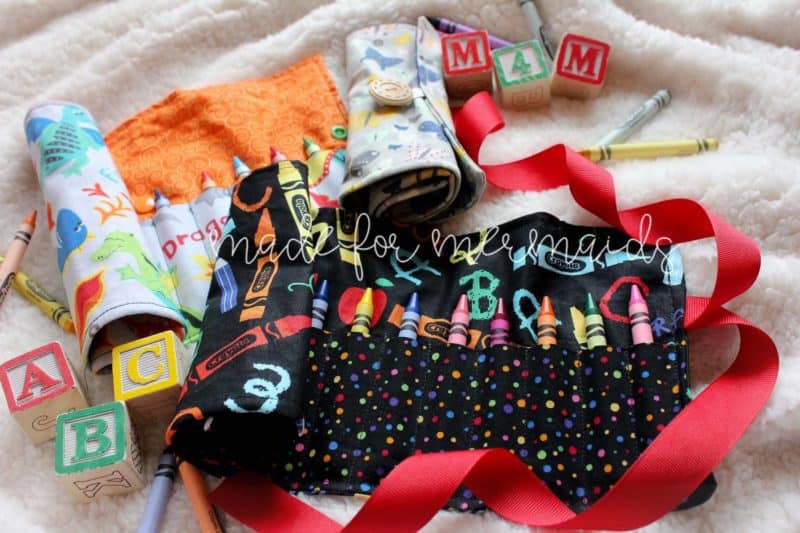
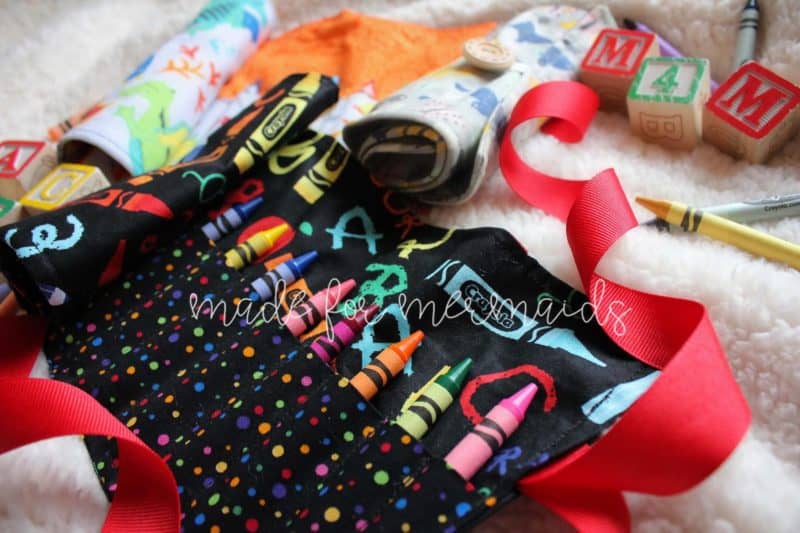
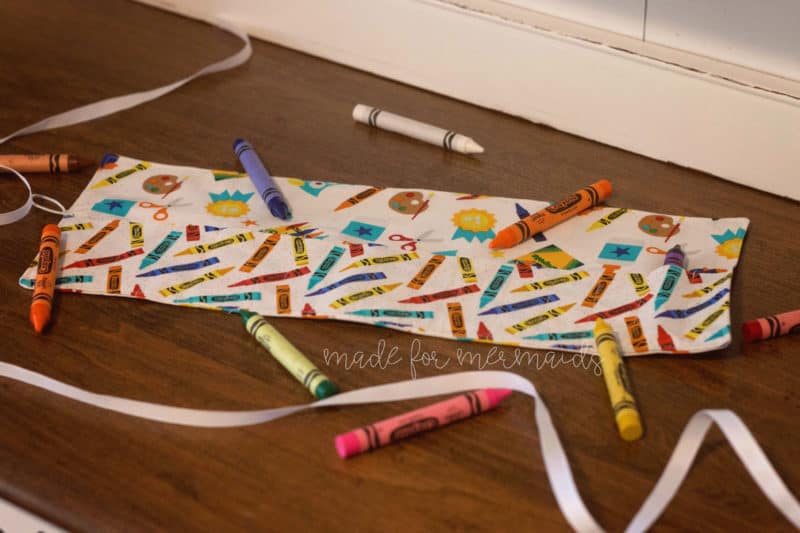
I can’t believe it’s already Day 10 of our 12 Days of Christmas! Crayons seem to be one of the items that multiply in our house, yet when we need to find some, they go back into hiding! So to help out with that, we’ve made a tutorial for a quick and easy crayon roll-up. These are prefect to keep crayons in one place or even tossing a few of these in your purse to keep the kids busy while out and about can be a life-saver (especially when waiting at restaurants). 🙂
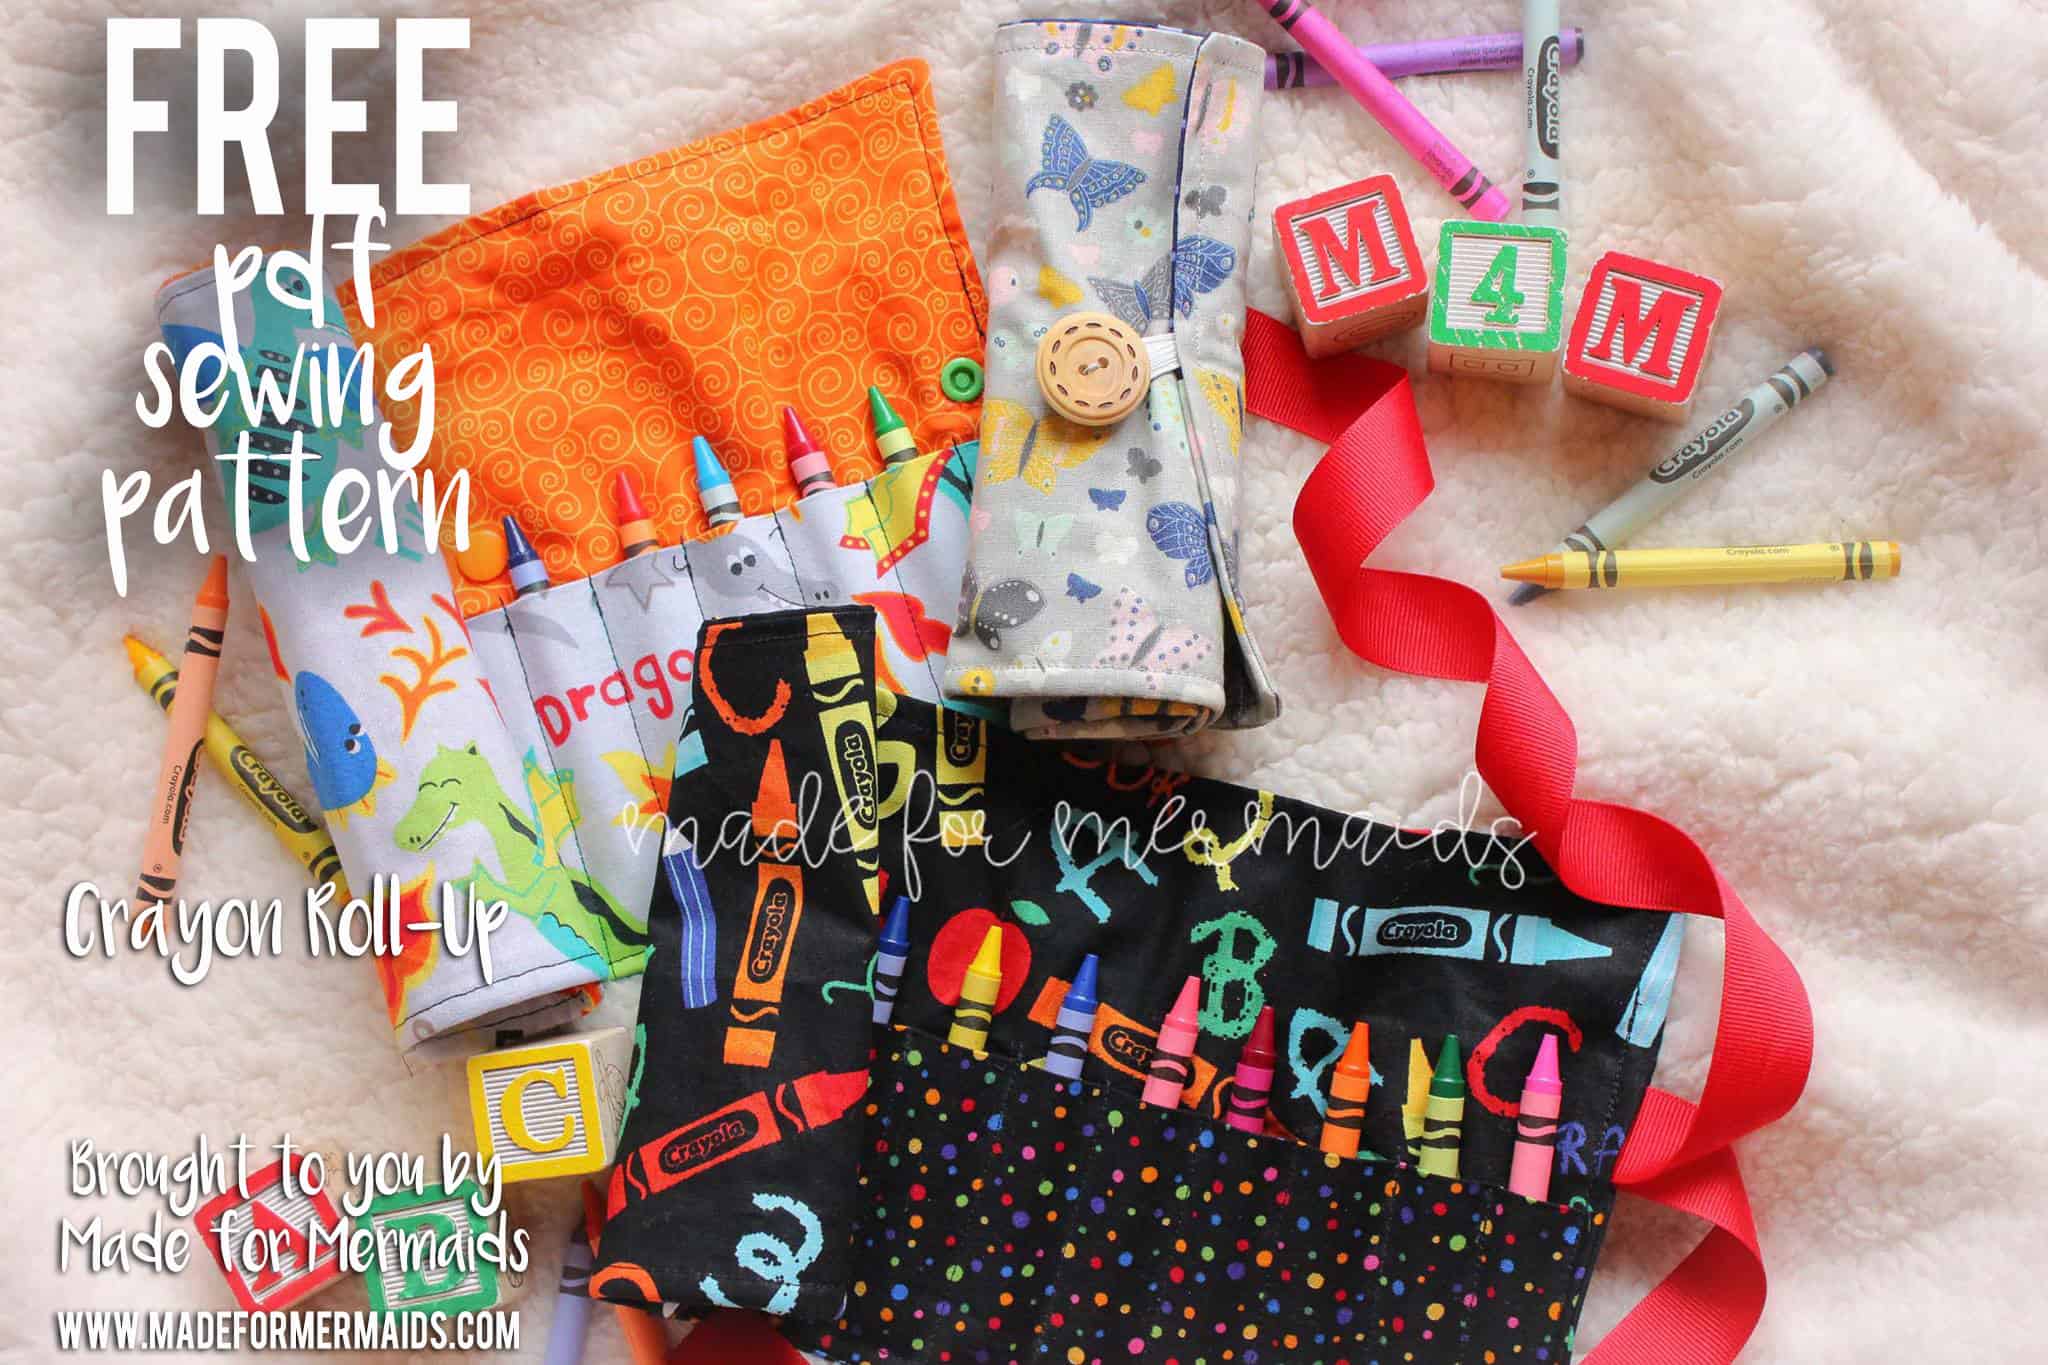
You can download the Crayon Roll-Up Pattern Pieces in the Freebies section of the website right HERE or use the given measurements below! The pattern is 100% free, but you do need to add it to your cart and then check out. The pattern is a no trim pattern; if you need help putting the pattern together, pop over to the faqs and troubleshooting page or ask in our Facebook group .
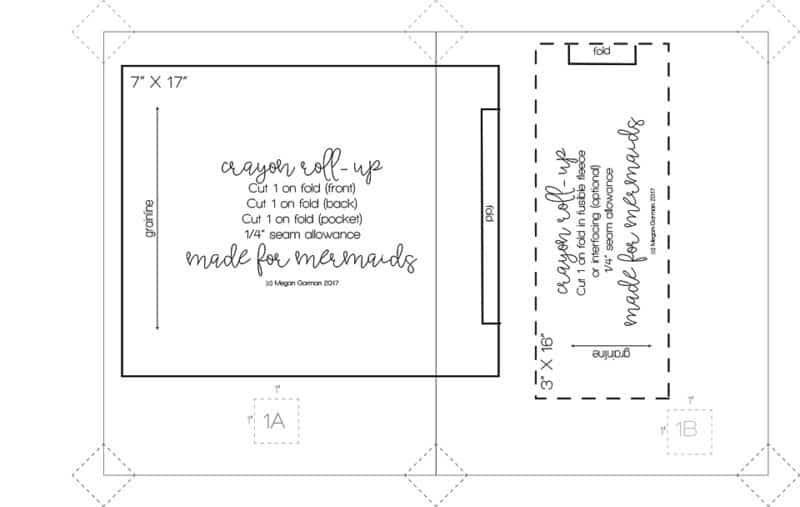
Print and assemble the pattern. You should have two pattern pieces total. Pattern layout shown below.
 Let’s get started!
1/4″ SEAM ALLOWANCE INCLUDED
Supplies:
- Fabric- woven (quilting cotton works best)
- Closure- snaps, ribbon, buttons, elastic will all work well. (I used approximately 32″ of ribbon)
- Fusible interfacing (optional)
Step 1: CUTTING
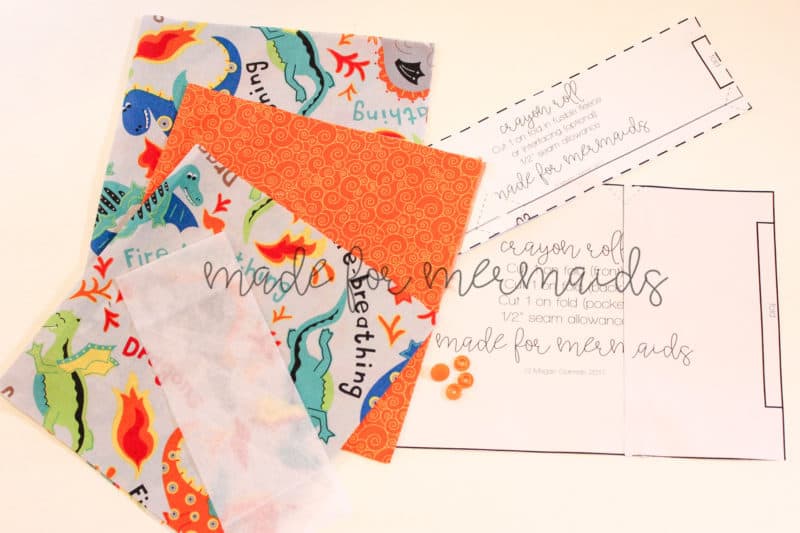
Cut out your rectangles. You will need 3 rectangles, each measuring 7″ x 17″- one will be the liner, one for the outside, and one for the pocket. If desired, you can line either the entire roll-up with interfacing or just the pocket piece. If lining just the pocket piece, you will need it to measure 3″ x 16″. For the entire roll-up, the interfacing will measure 6″ x 16′”.
Step 2: OPTIONAL INTERFACING
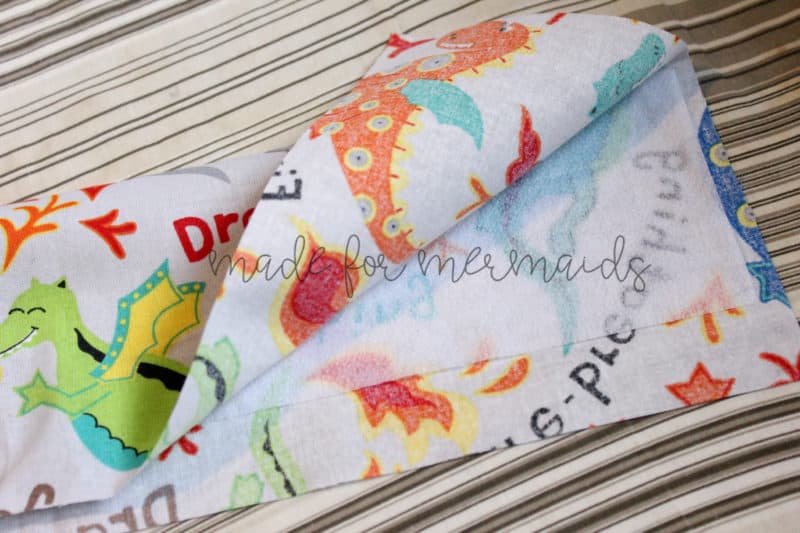
I chose to only line the pocket. Iron the pocket piece in half, place your interfacing in between layers and iron.
Step 3: MARKING POCKETS
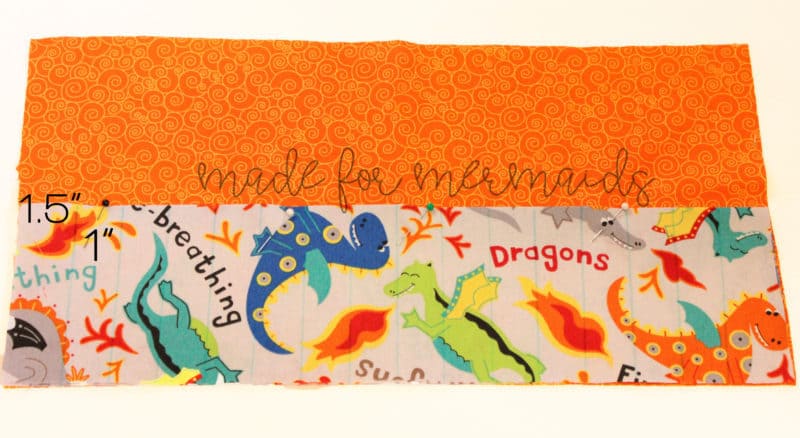
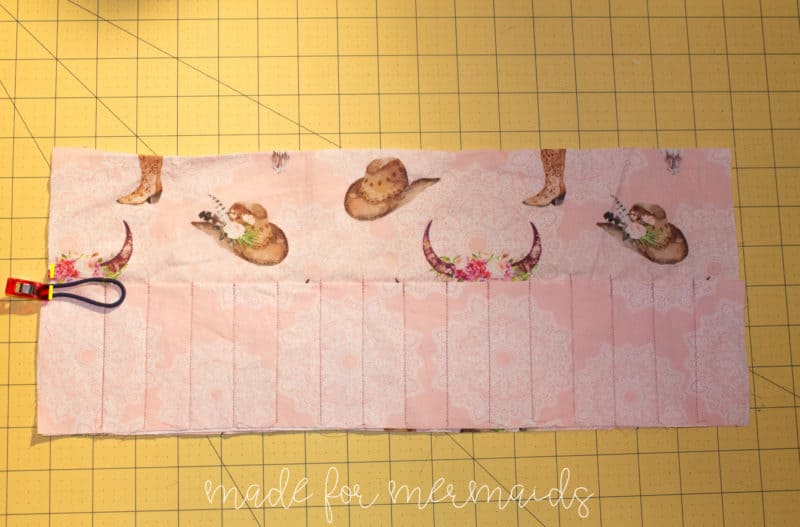
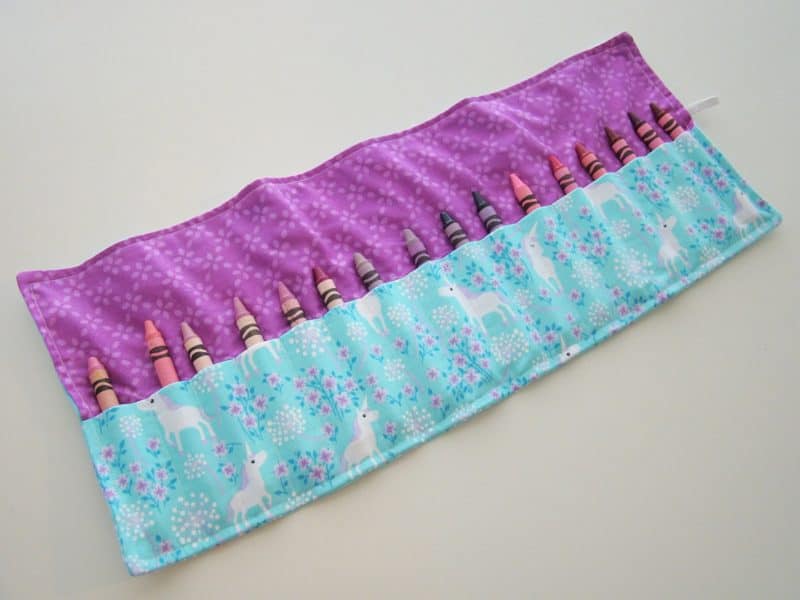
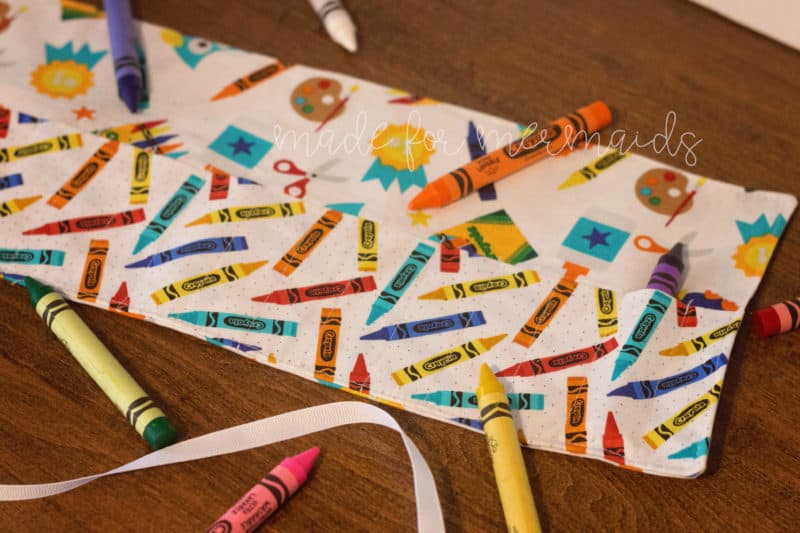
Using a fabric marker, you will mark the lines for your pockets. Beginning from one end, you will place your first line 1.5″ from the edge. After this, place a mark every 1″. The other end pocket should also measure 1.5″ from the edge. After marking, pin the pockets to the liner, right sides both face up.
Step 4: ATTACHING POCKET
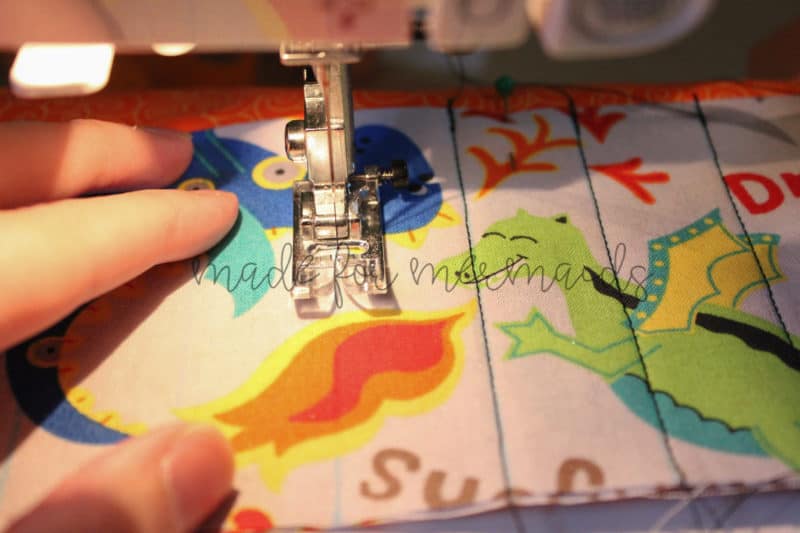
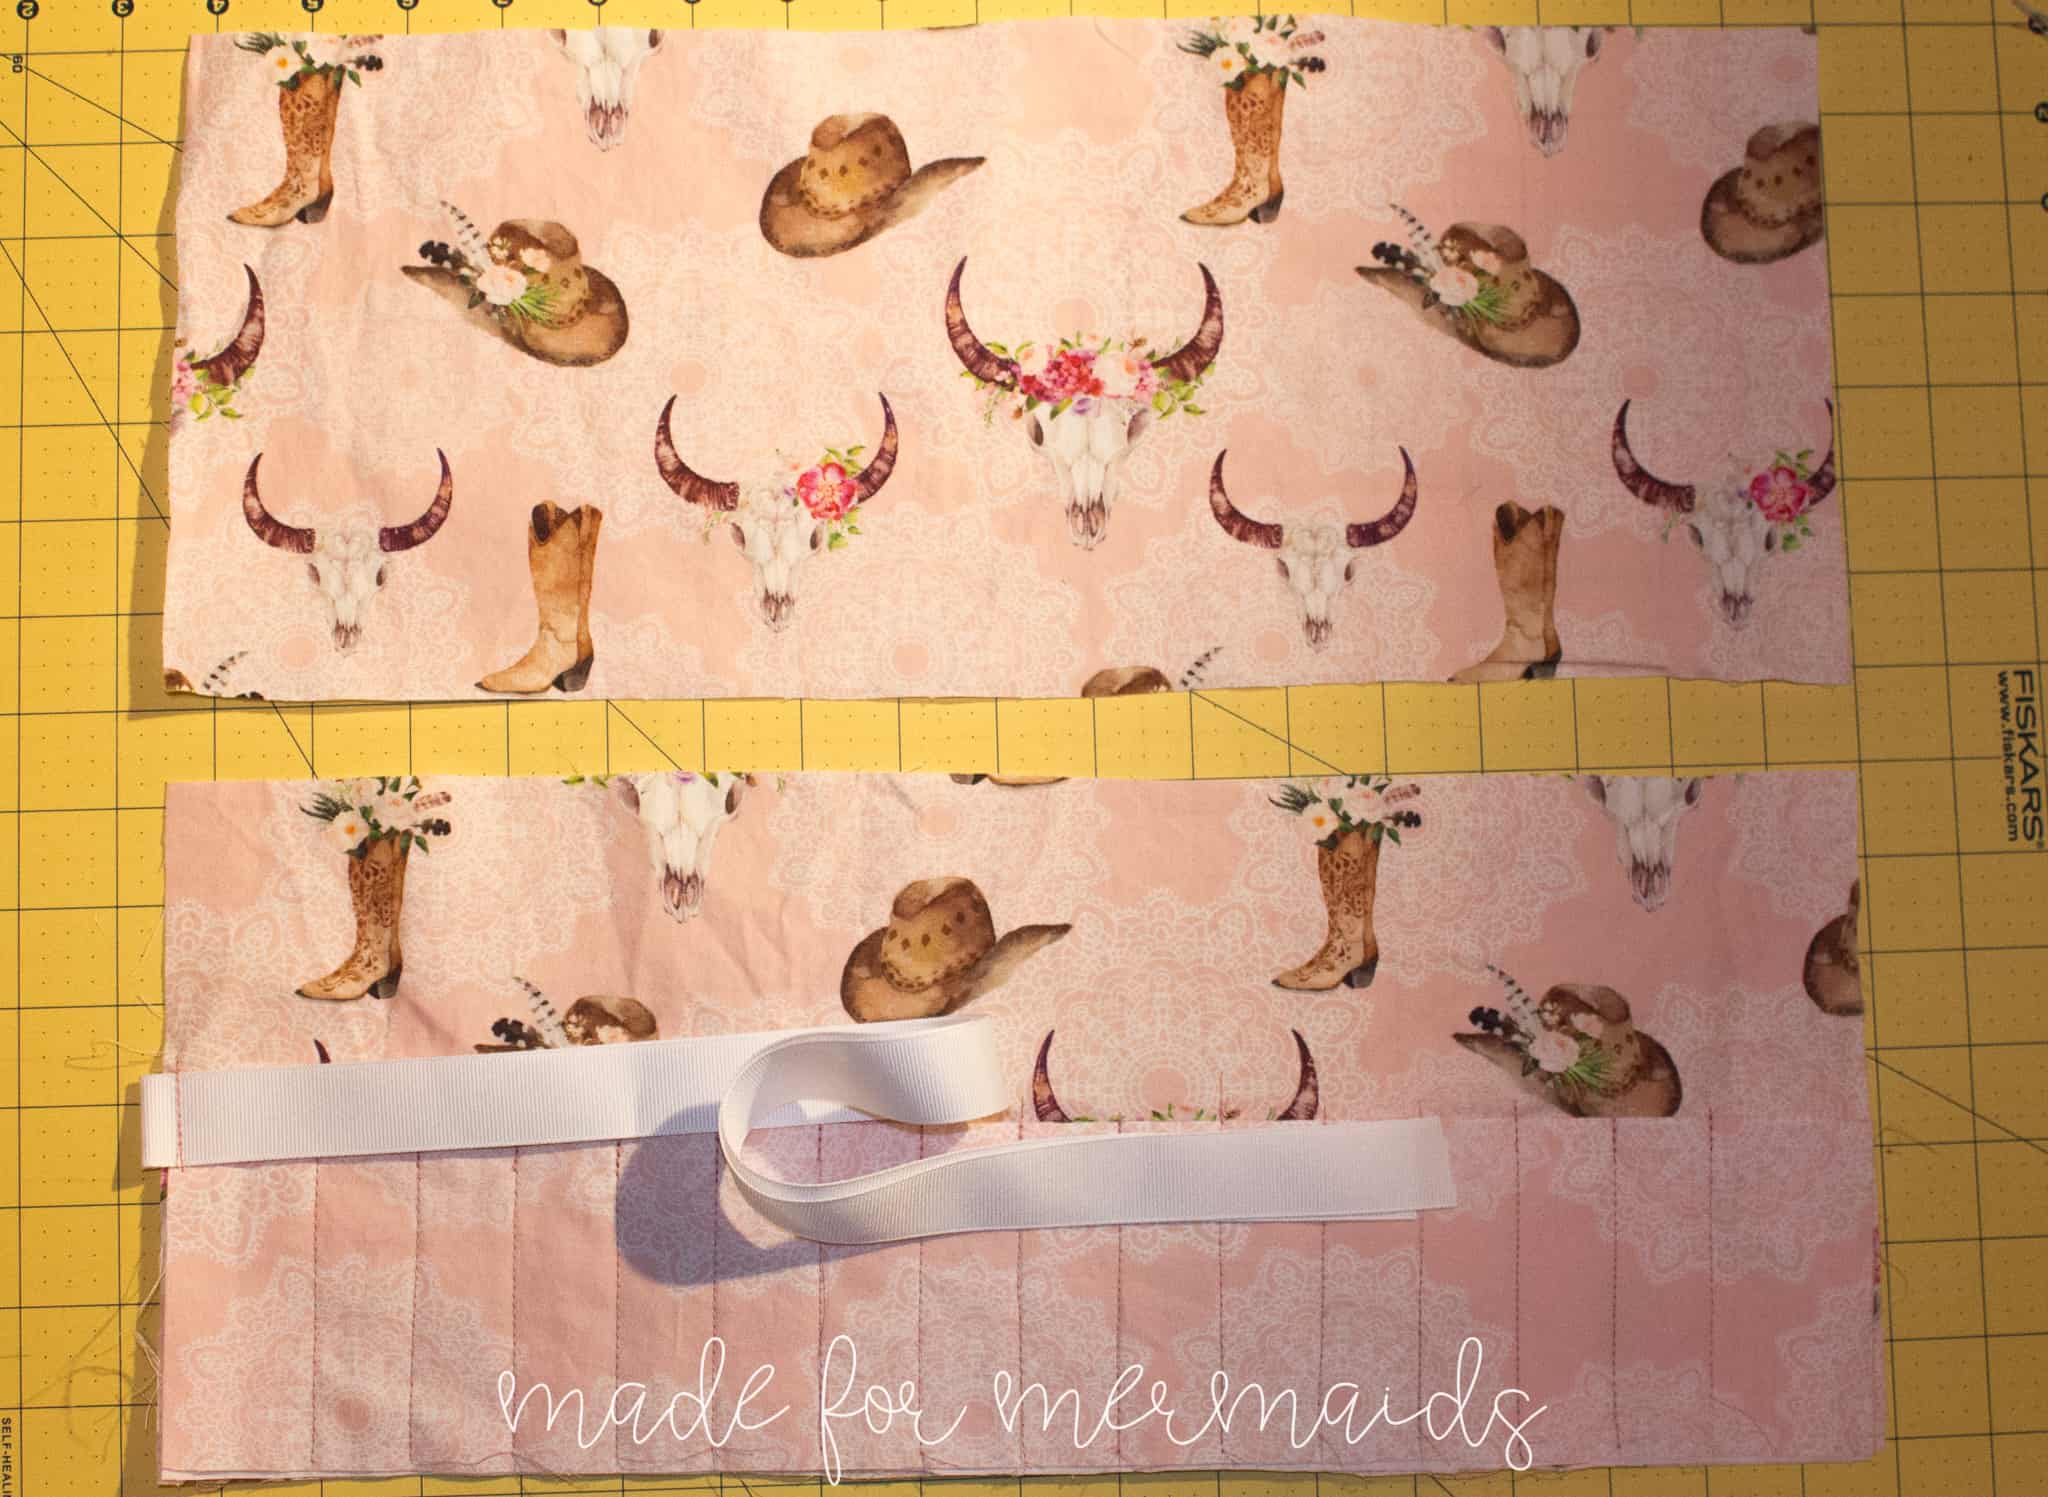
Sew on each of the lines that were marked. I recommend back stitching a few times at the top of the pocket since this area will receive the most stress. TIP: You may want to baste the edges of the pocket down along the short, side edges.
Step 5: ADDING RIBBON OR ELASTIC (IF ADDING SNAPS, SKIP TO STEP 6)
Place your elastic at the center of roll up, along the short side. Stitch it in place. If adding ribbon, fold your ribbon in half. Stitch the center of ribbon in place at the center of roll up, along the short side. The majority of your elastic and ribbon should be pointing towards the center. TIP: I love to use thin hair ties for the elastic option!
Step 6: ATTACHING OUTSIDE
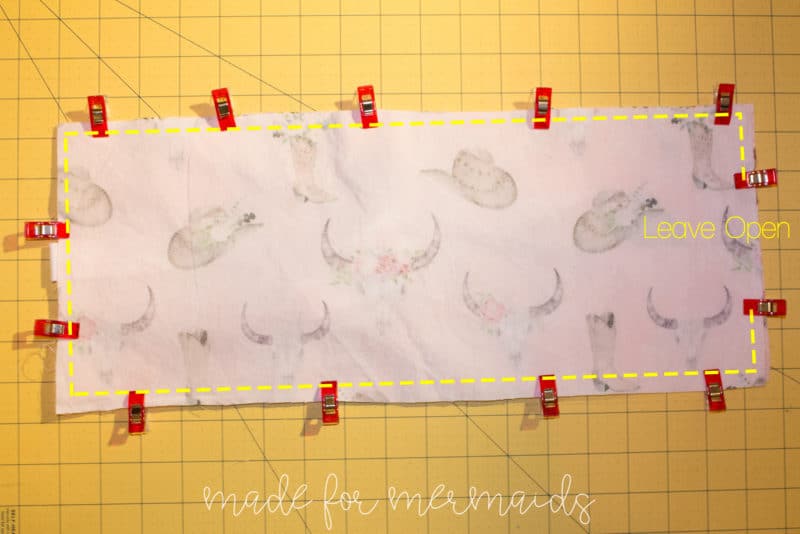
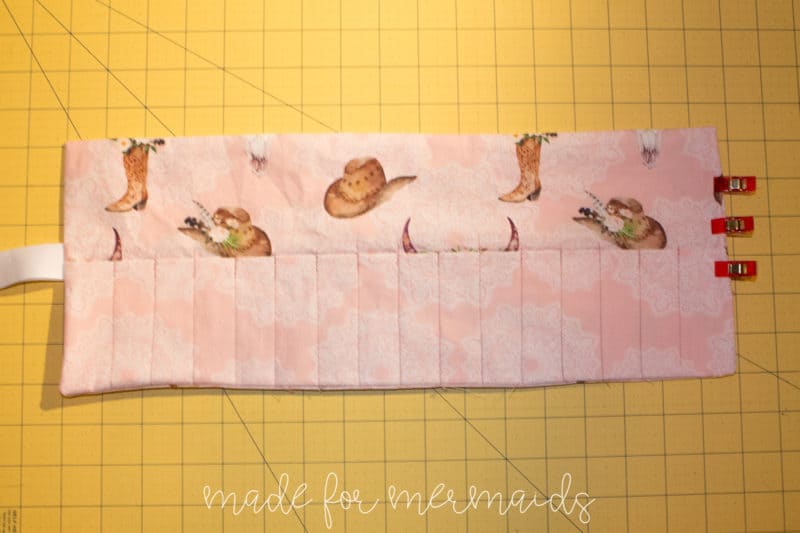
With right sides together, place the pockets and the outside piece together. If using ribbon or elastic, you will want to make sure they are out of the way and as close to the center as possible. (Pin them down if necessary.) If using KAM snaps, add interfacing where the snaps will be placed. Stitch the two pieces together using a 1/4″ seam allowance. Be sure to leave a 2-3″ opening to be able to turn right side out. I like the opening on the opposite side of my ribbon/elastic.
Snip corners for a crisper finish. 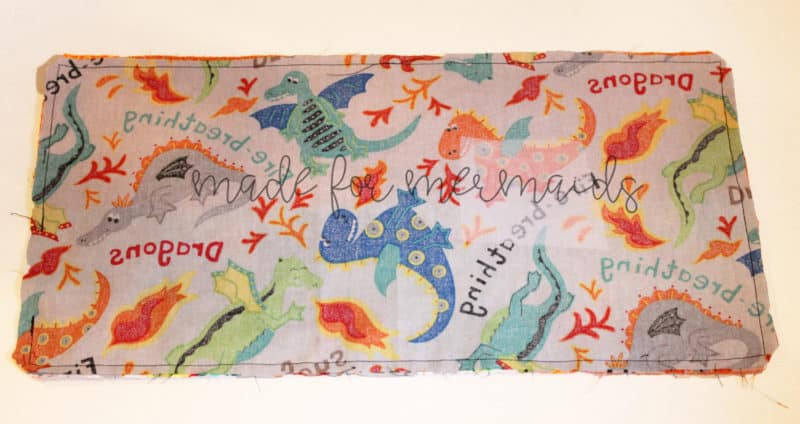
Step 6: TURNING & TOPSTITCHING
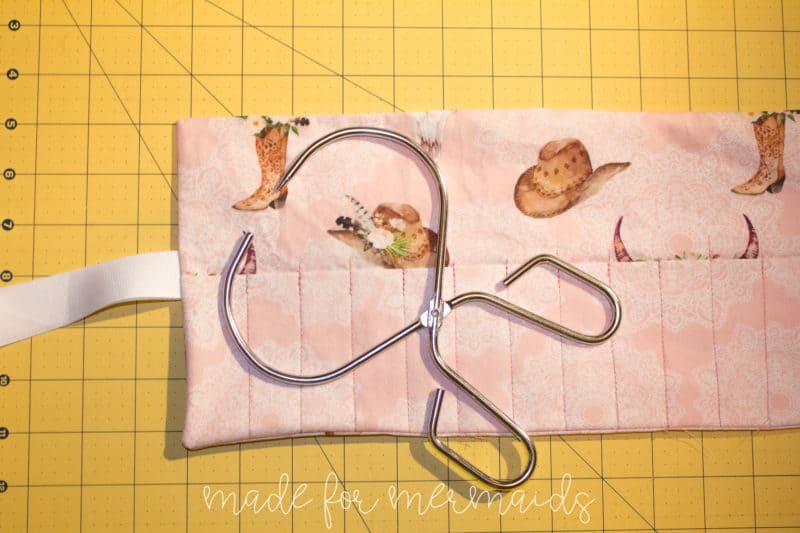
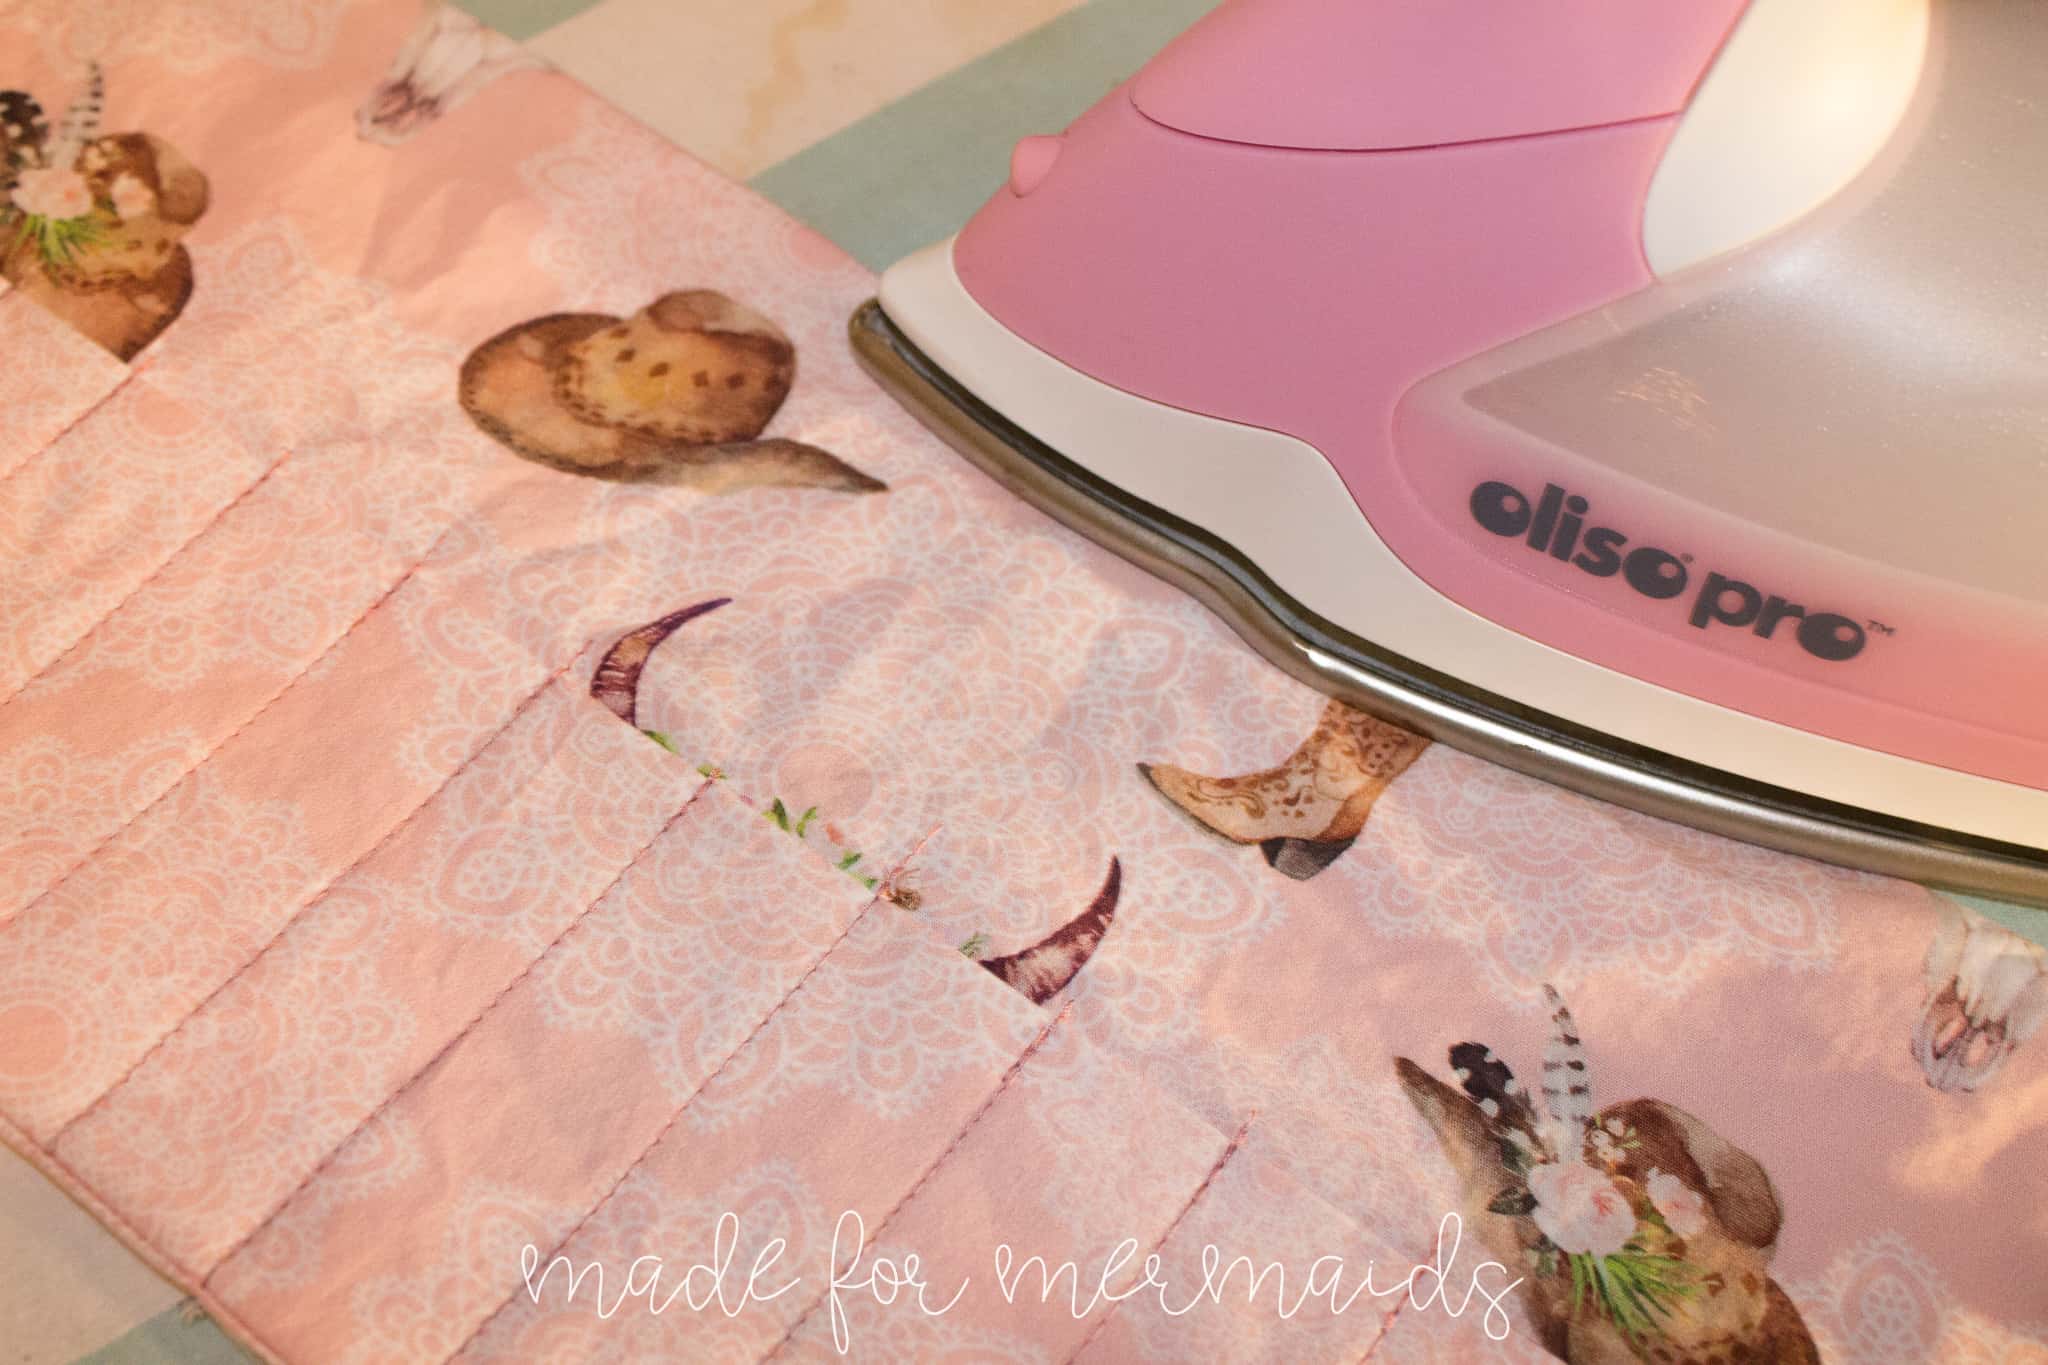
Turn right side out. Use a point former or chopstick to push out the corners and press. Press the open seam allowance to the inside.
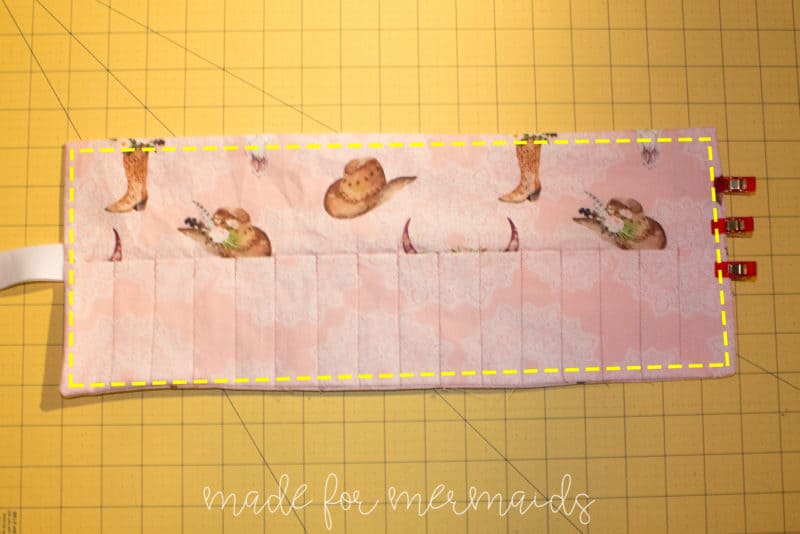
Pin open seam allowance closed. Topstitch around entire roll-up, making sure to catch the open section.
Step 7: ATTACH CLOSURE
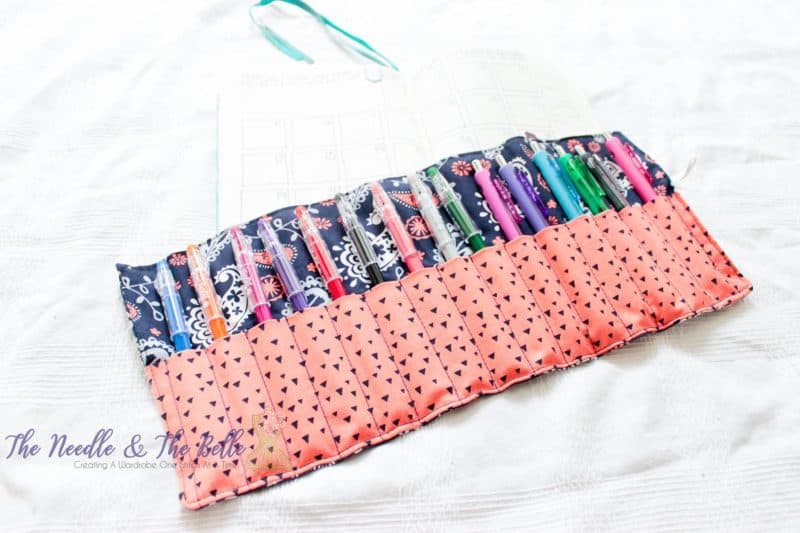
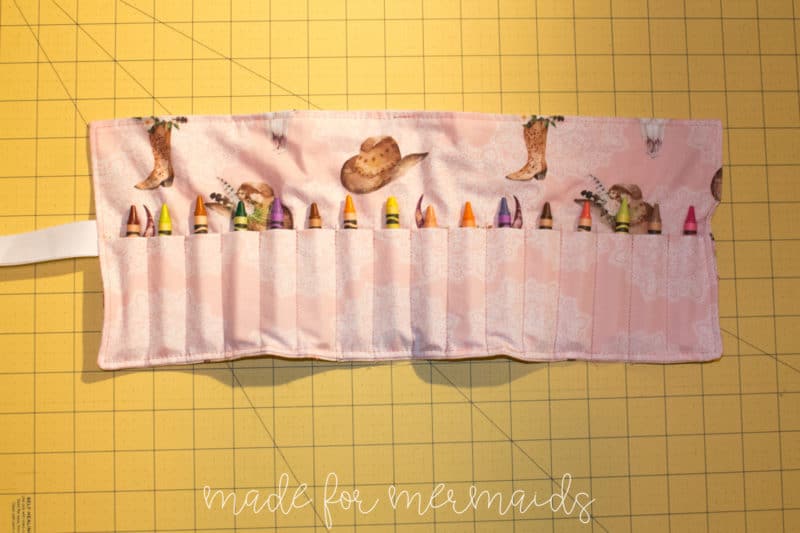
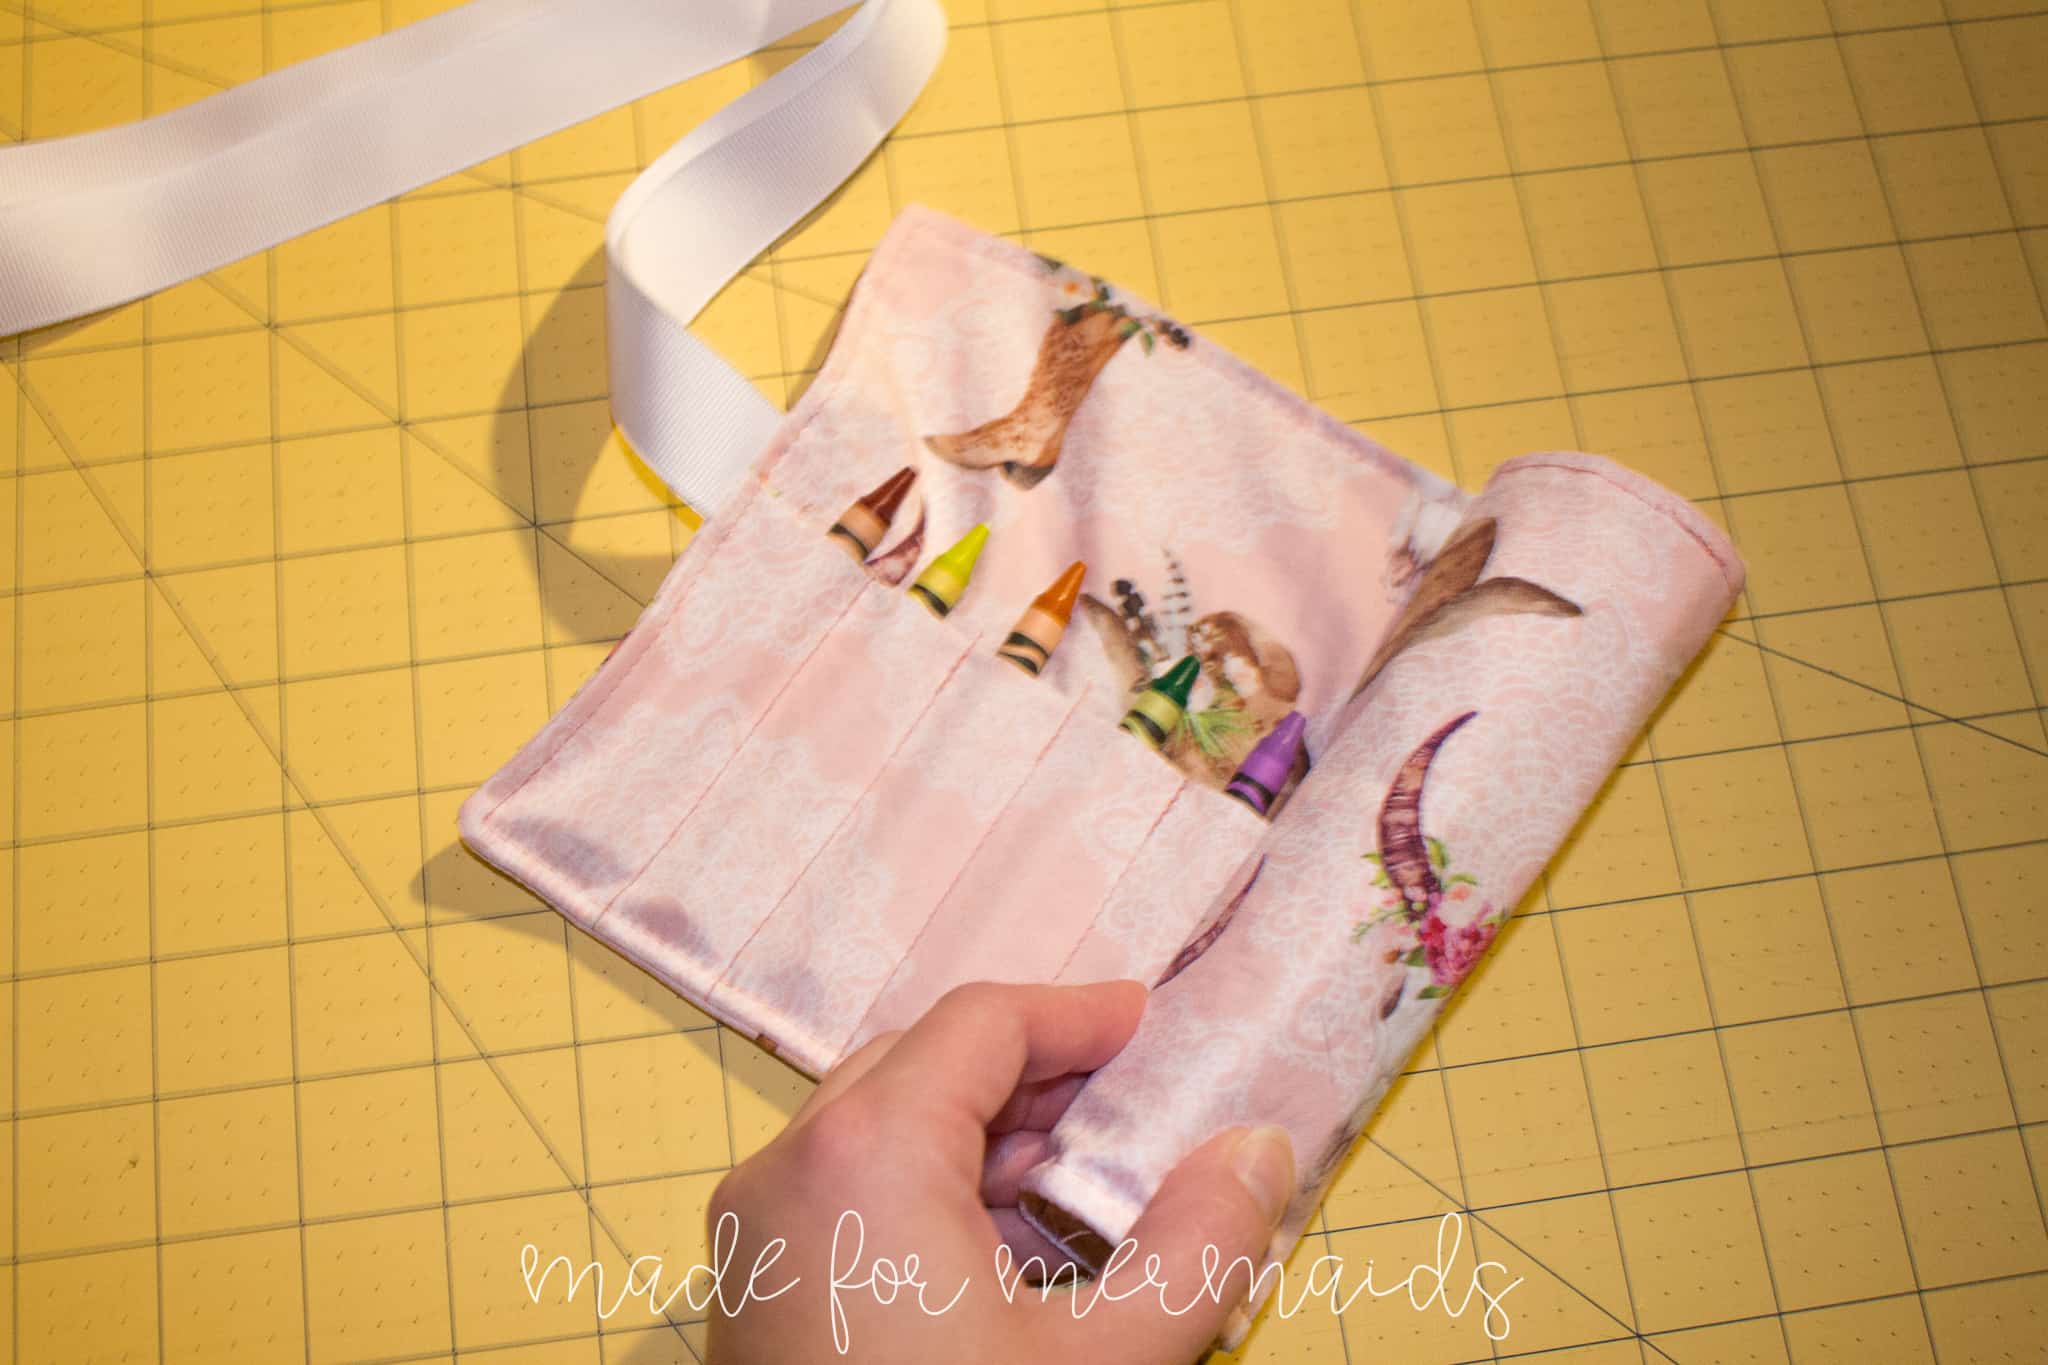
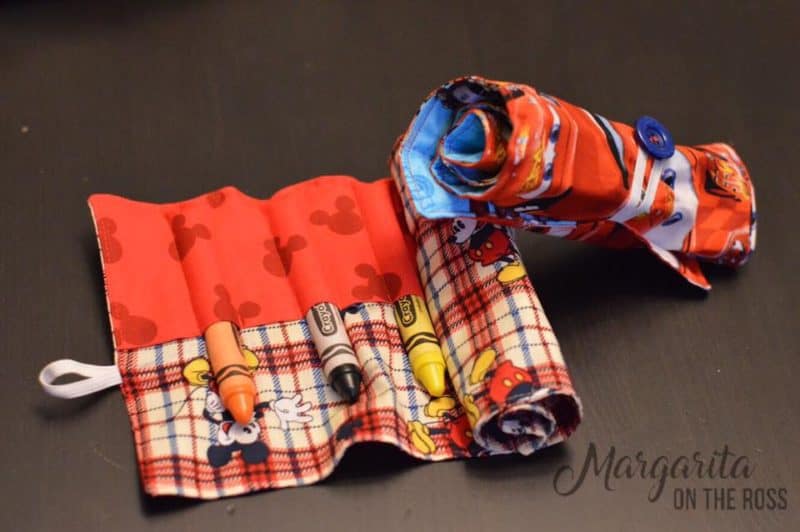
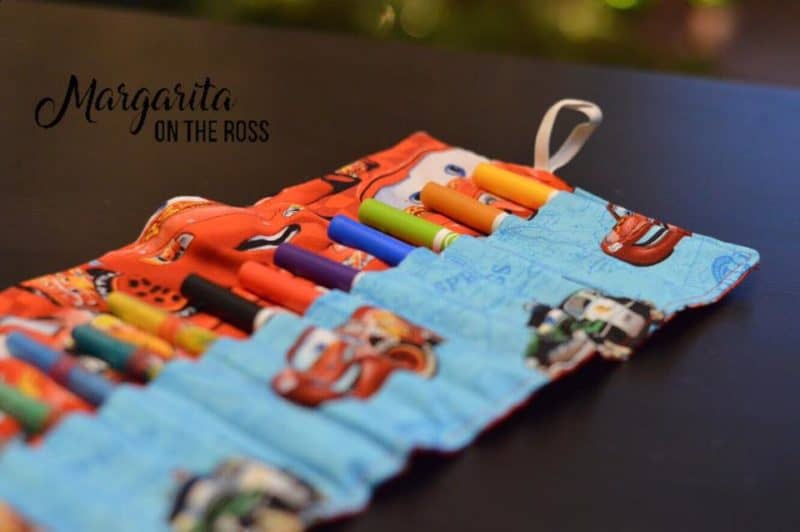
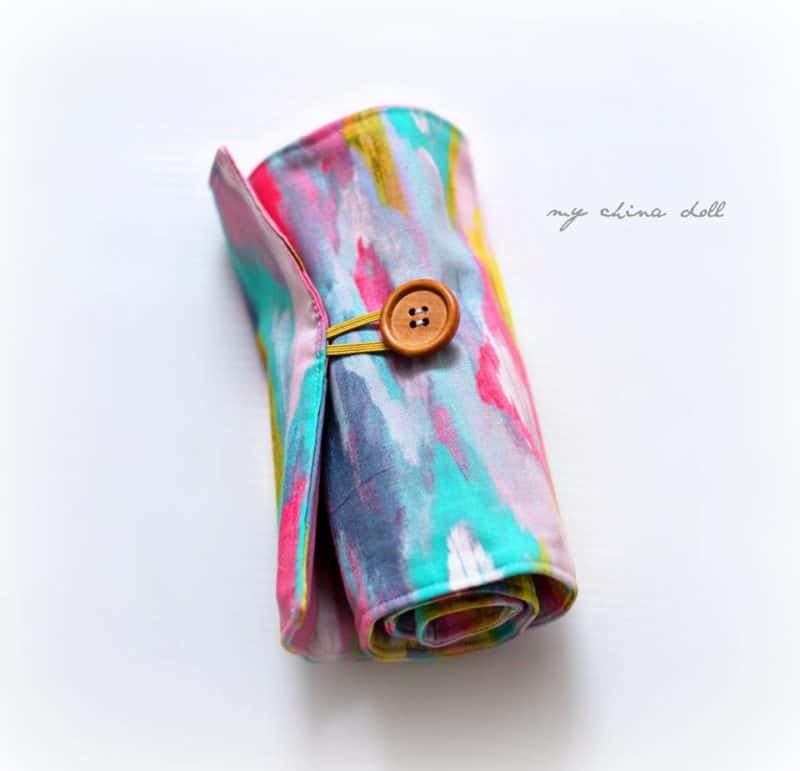
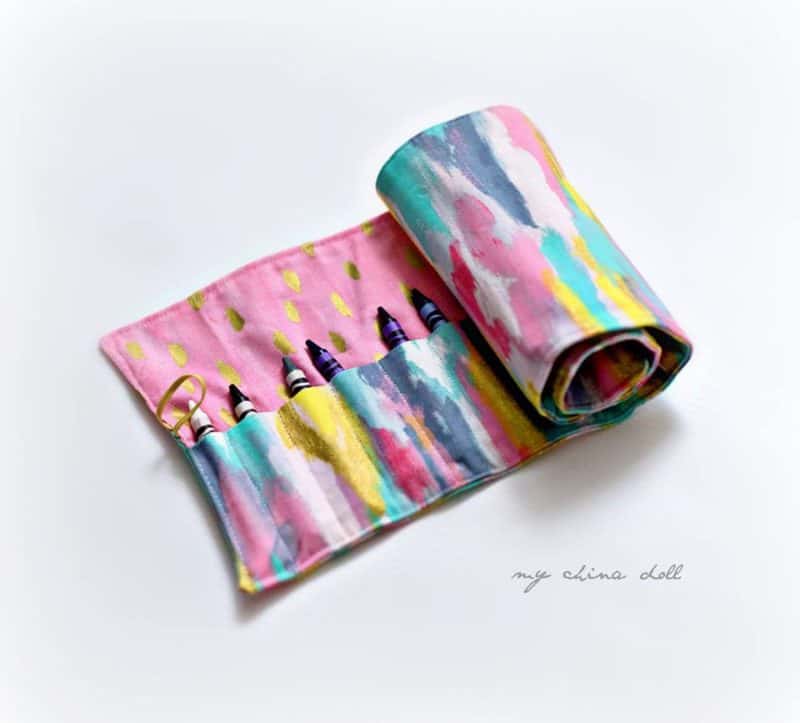
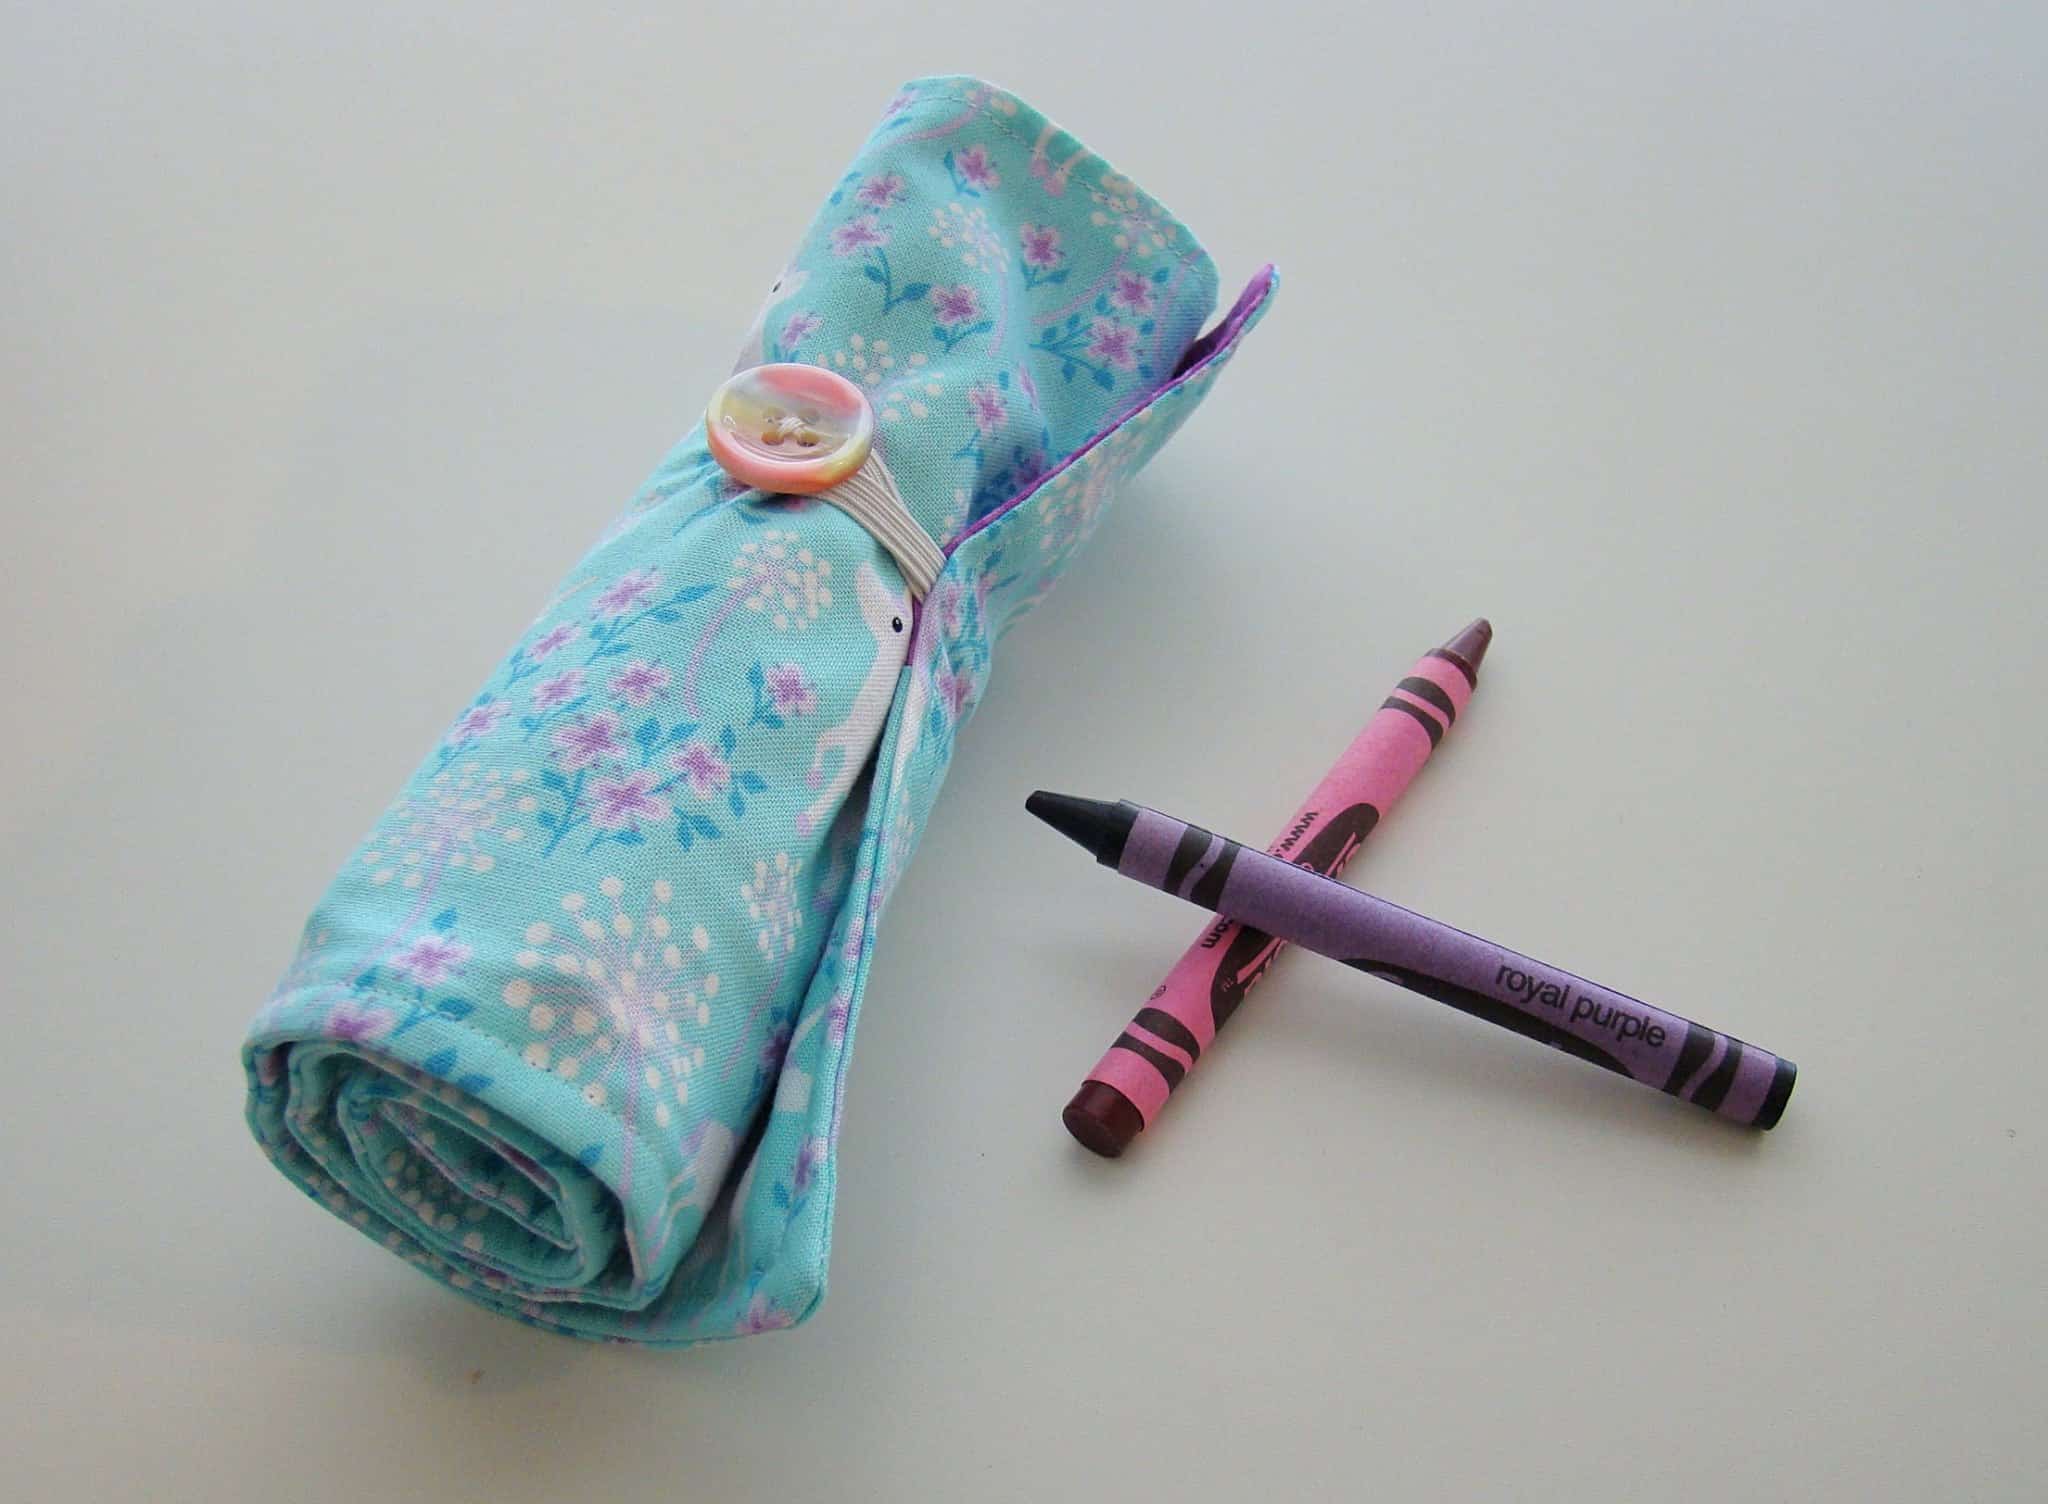
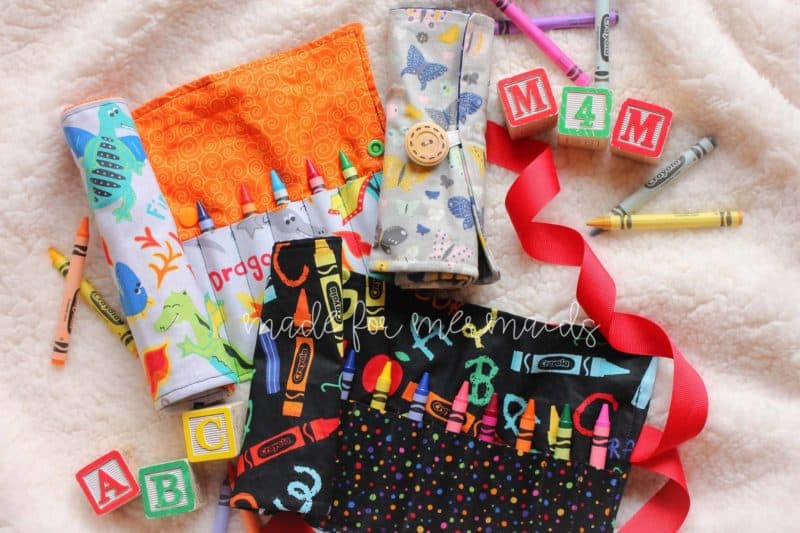
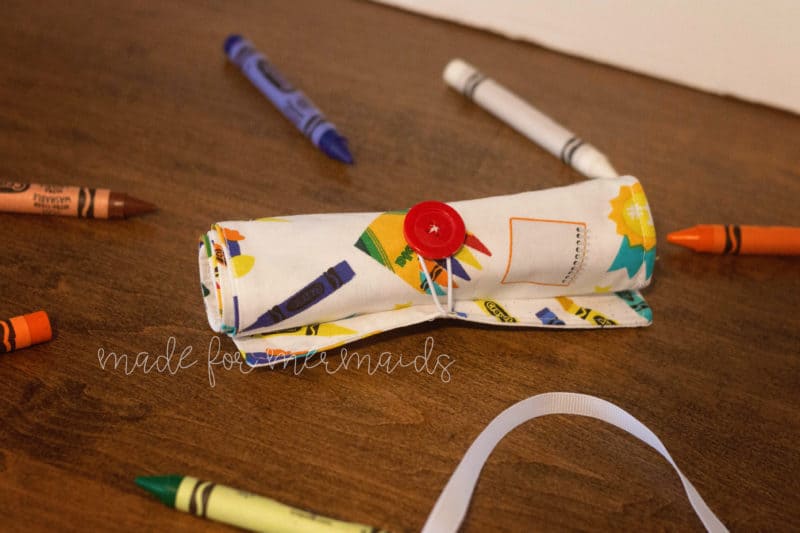
For the button and KAM snaps closure, I attached them approximately 5″ from the end. I recommend placing your crayons (or pens, brushes, etc.) into the pockets and roll it up to get a better idea of where you will need this closure. Stitch button in place or add your KAM snaps. You can see each example in the tester pictures below.
If you added ribbons, fill your roll-up, begin rolling from the side without the ribbon. Tie in a bow. Don’t forget to heat-seal the ends of the ribbon so they do not fray!
Make sure to share your crayon roll-ups in our Made for Mermaids Facebook group and on Instagram#12daysofchristmasfreebies #madeformermaids #madeformermaids
Made for Mermaids’ 12 Days of Christmas Freebies
DECEMBER 1-12, 2017
DAY 1 – BARNACLE BUDDIES
DAY 2 – HAIR SCRUNCHIES
DAY 3 – TREE GARLAND
DAY 4 – SAILOR BOWS
DAY 5 – MASON JAR PIN CUSHION
DAY 6 – HAND WARMERS
DAY 7 – OVEN MITT
DAY 8 – REUSABLE SNACK BAG
DAY 9 – ZIP UP POUCH
 Let’s get started!




what is the finished product size
6.5″ x 16.5″
Do you have the 12 days of Christmas for different years. If so could you please let me know how to get them. Thank you,
Melinda
Yes, you can go to last year’s round-up and there is a link to all previous years there. https://www.madeformermaids.com/christmasfreebies2022roundup/ Or go to our freebie section and see them all there. https://www.madeformermaids.com/product-category/freebies/