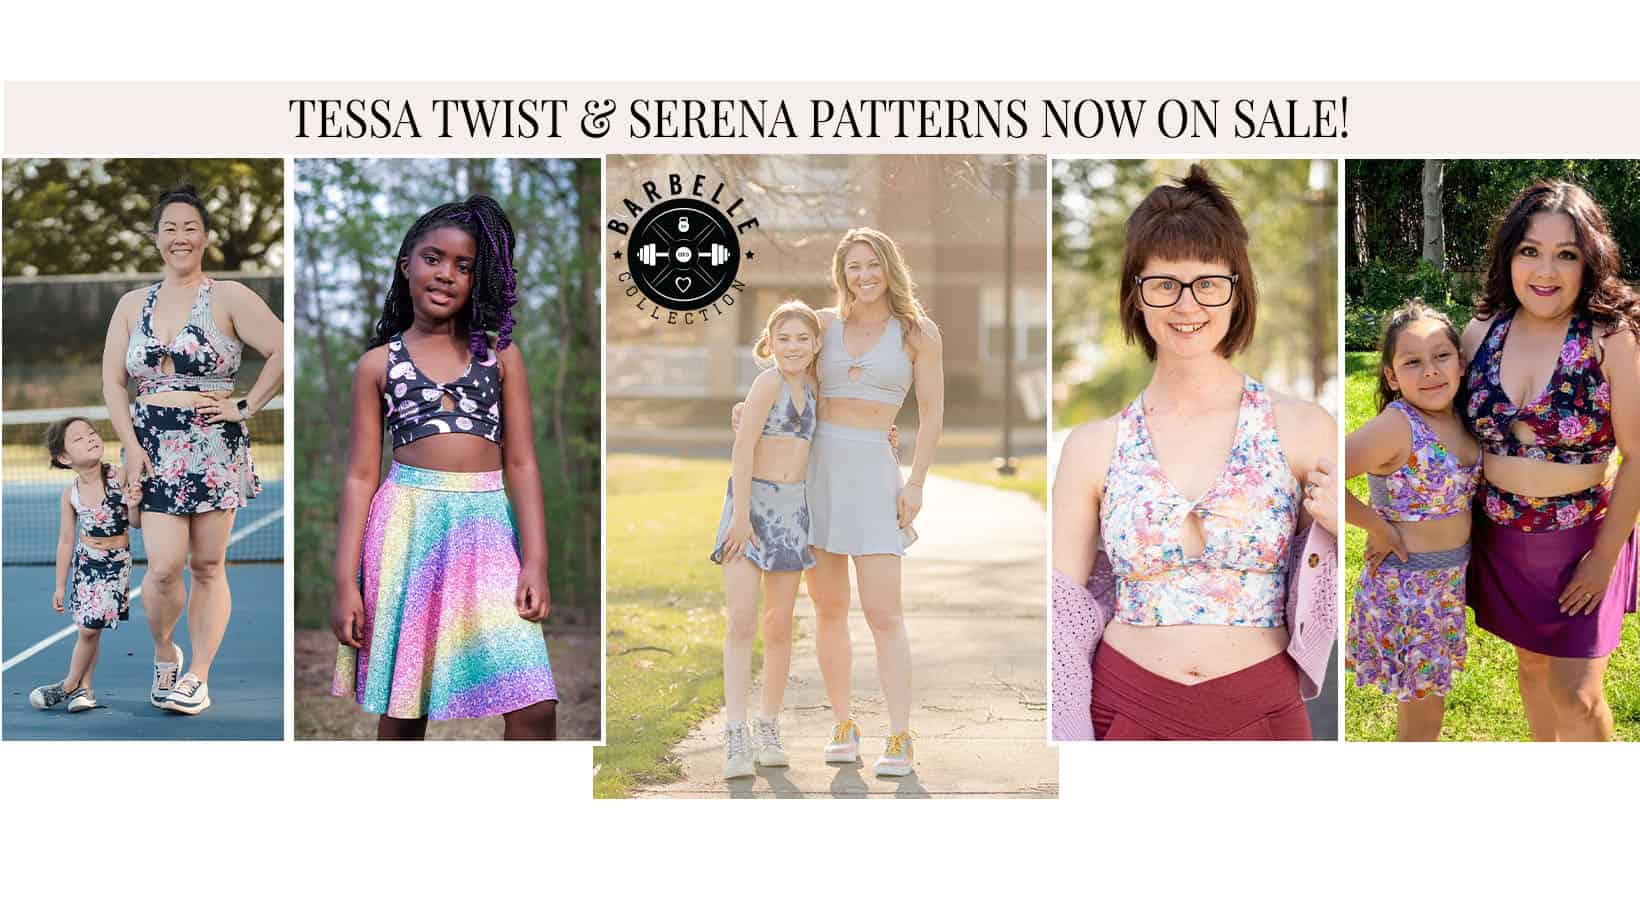
Our next patterns in the Barbelle Collection are here! ICYMI, we released Lulu and Finley last week. They’re designed to mix and match perfectly with the Youth and Adult Tessa Twist, AND the Youth and Adult Serena Skort!
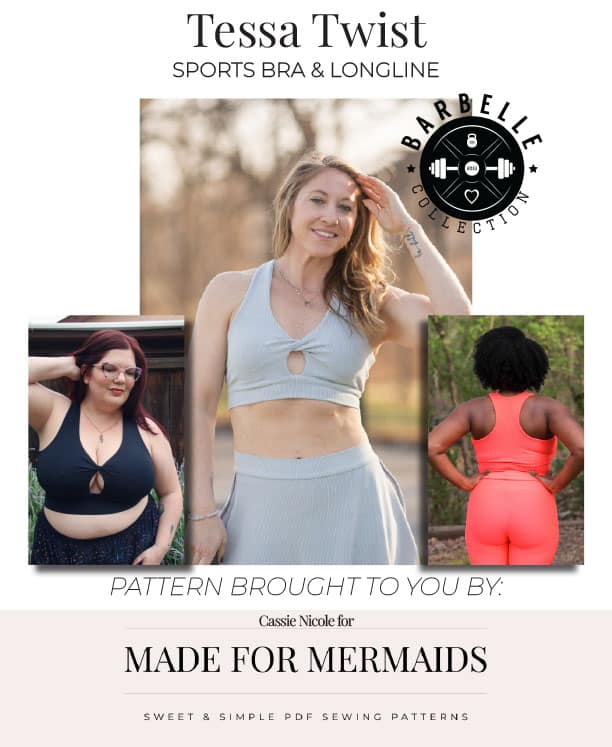
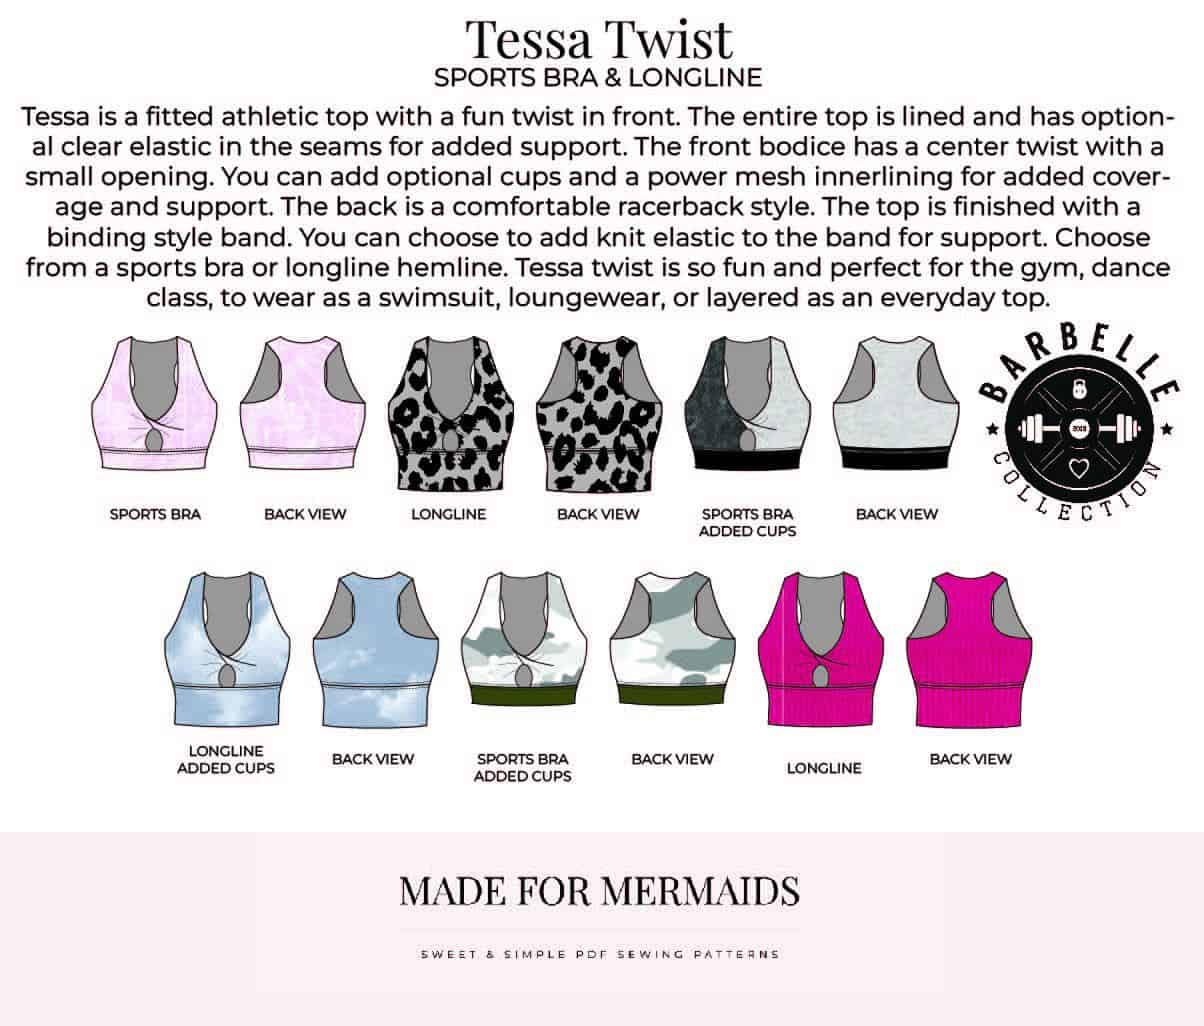
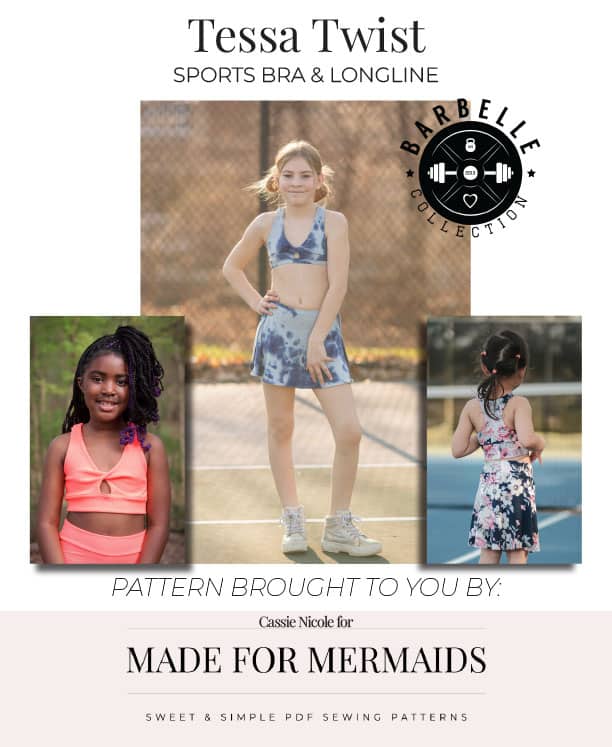
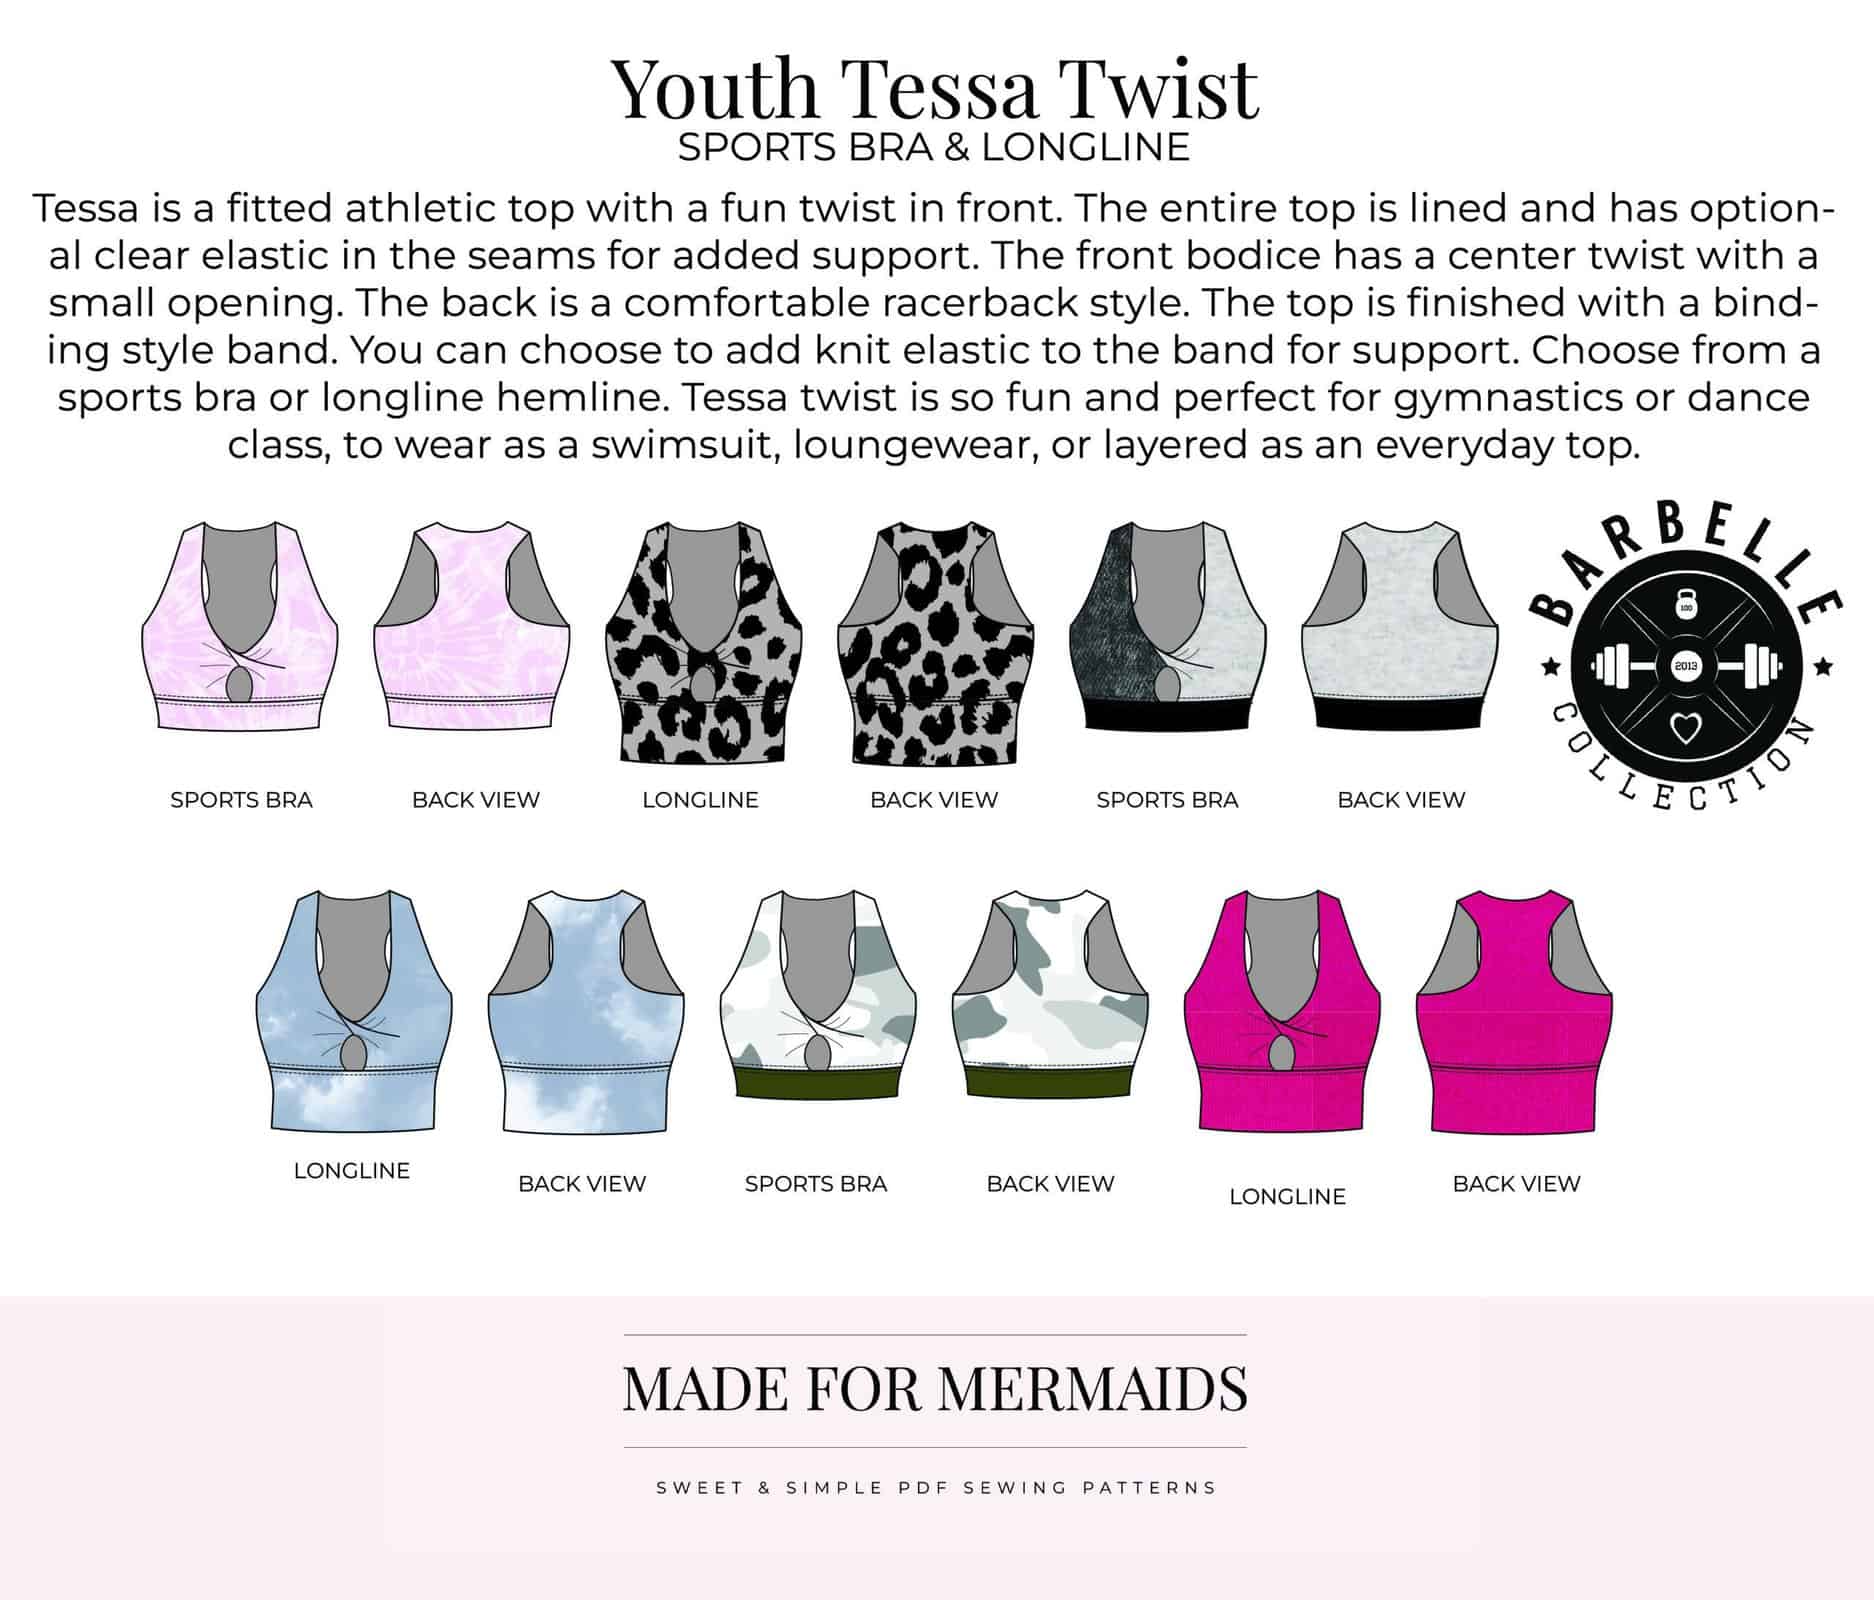
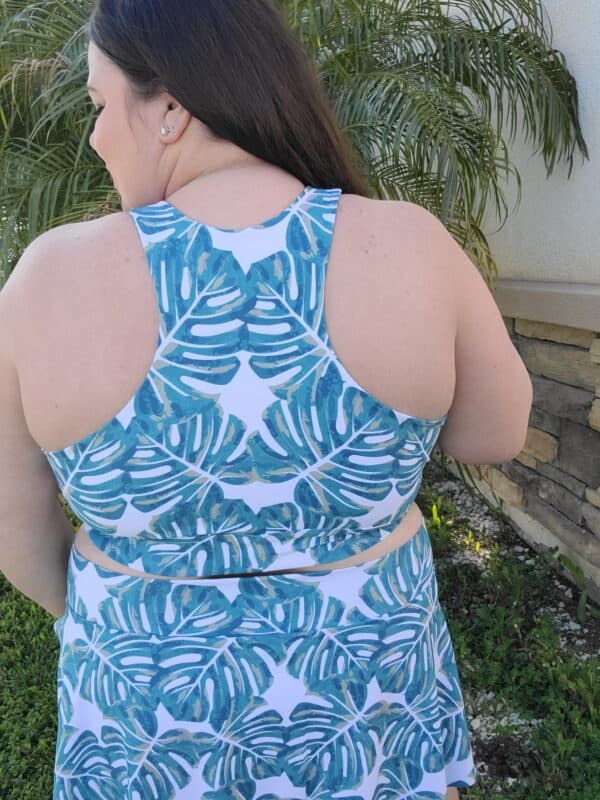
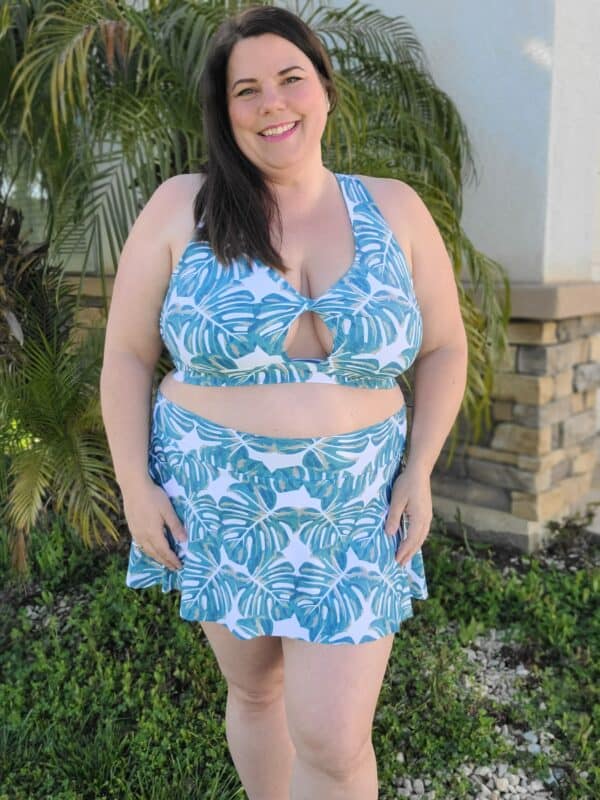
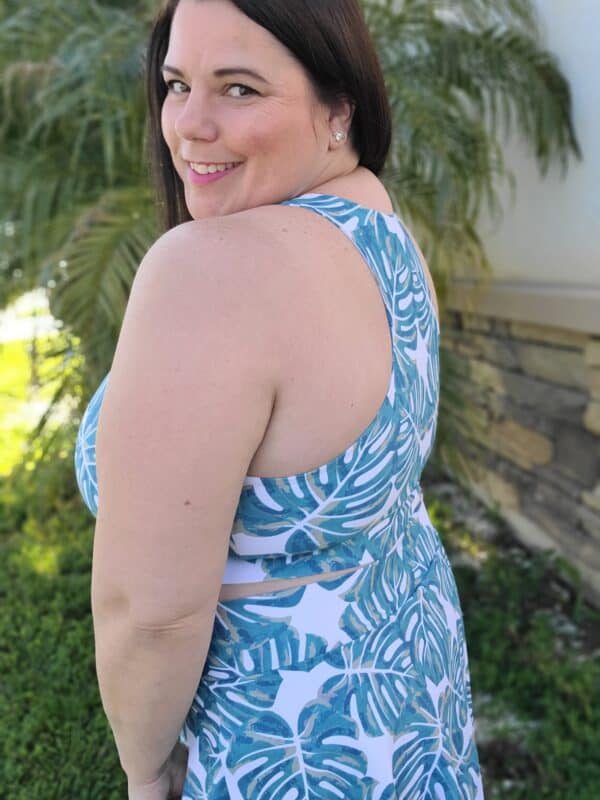
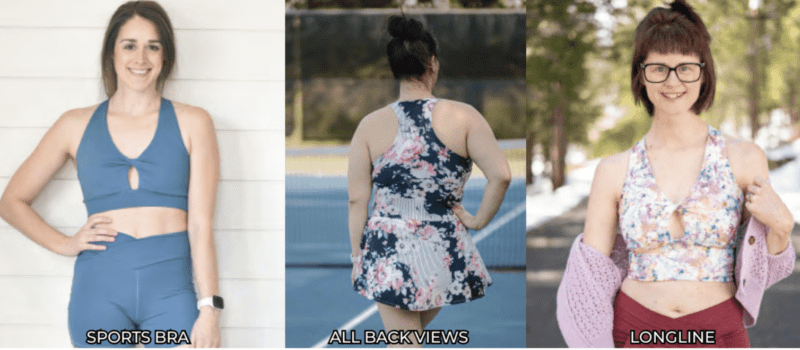
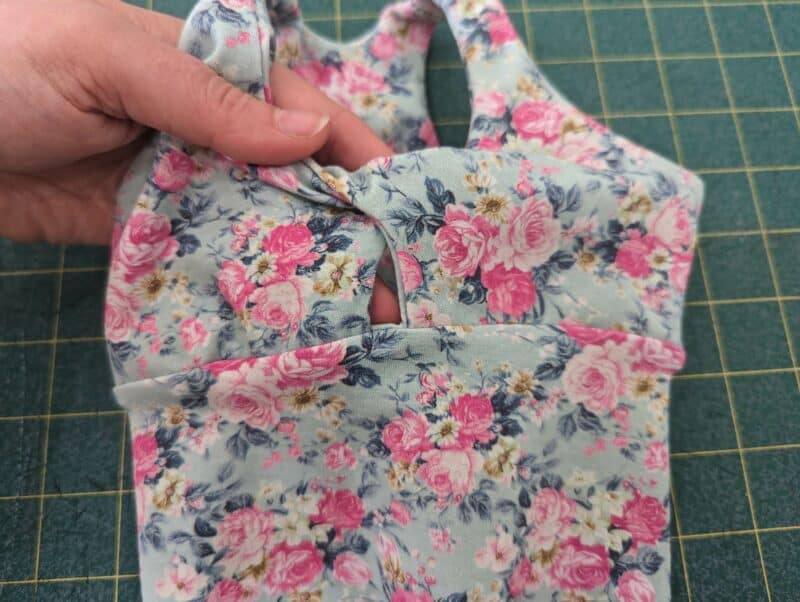
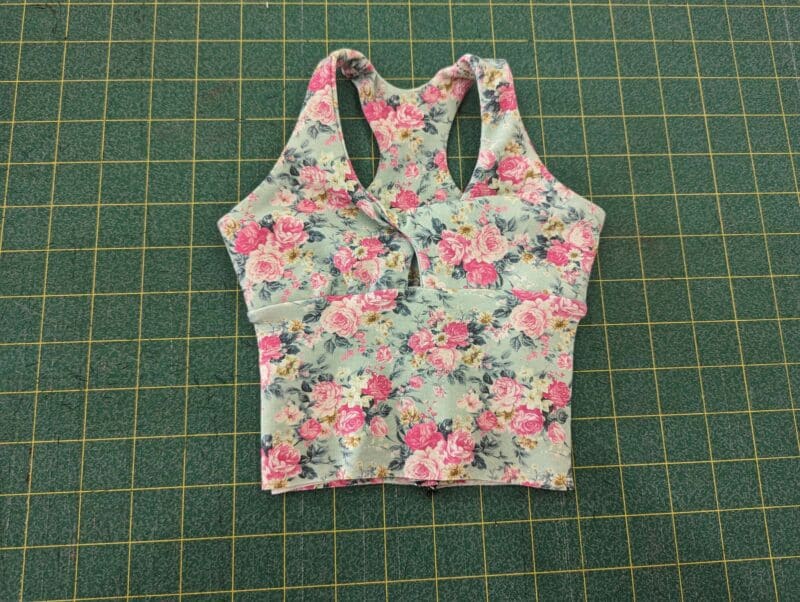
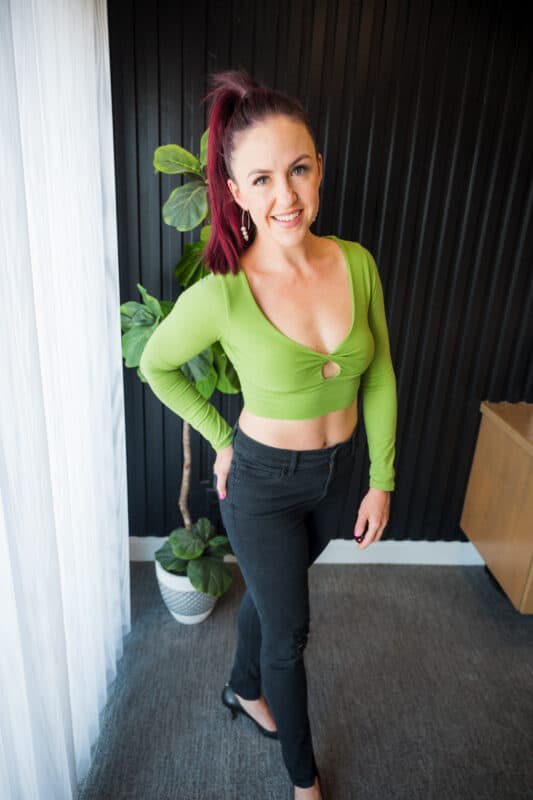
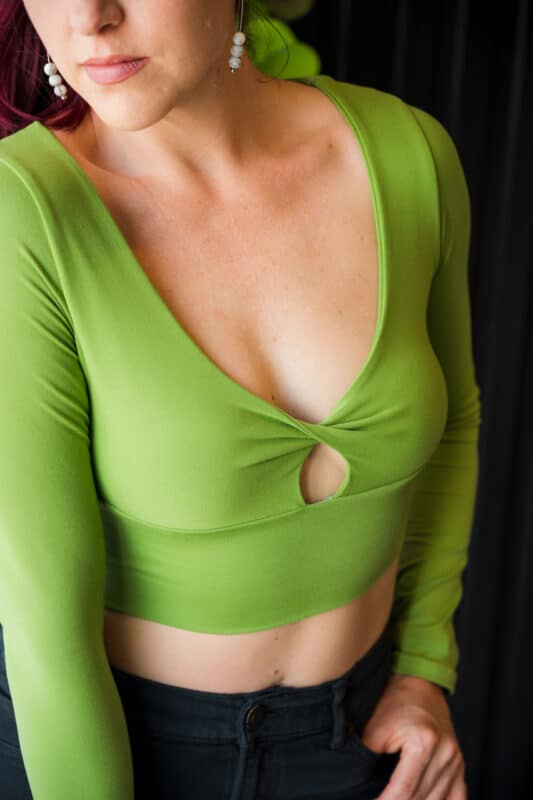
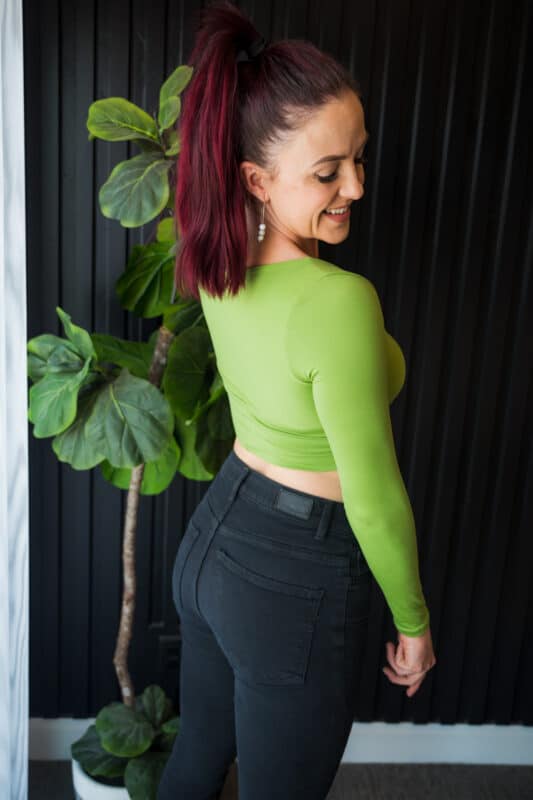
Tessa Twist is a fitted athletic top with a fun twist in front. The entire top is lined with optional clear elastic for added support. The front bodice has a center twist with a small opening. You can add optional cups, and/or a power mesh inner lining for added coverage and support. The back is a comfortable racerback style. The top is finished with a binding-style band. You can opt to add knit elastic to the band for support too if you’d like. Choose from a sports bra or longline hemline. Tessa Twist is so fun and pairs perfectly with Serena.
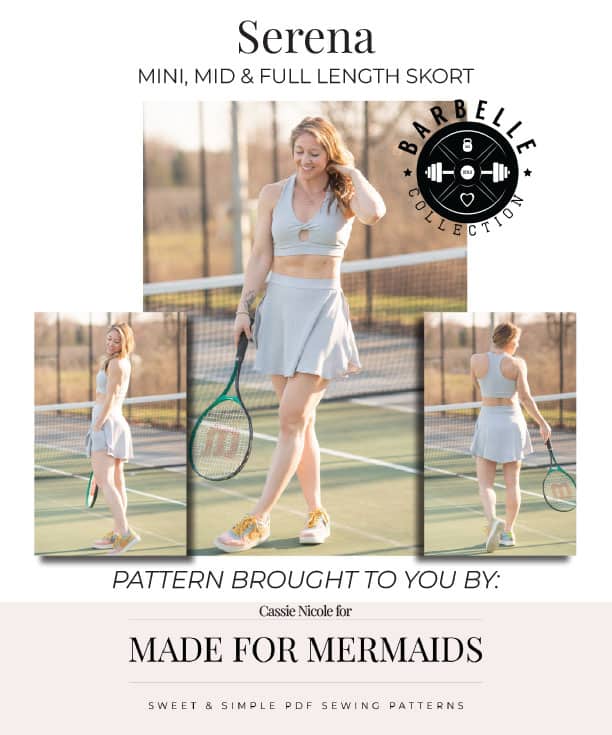
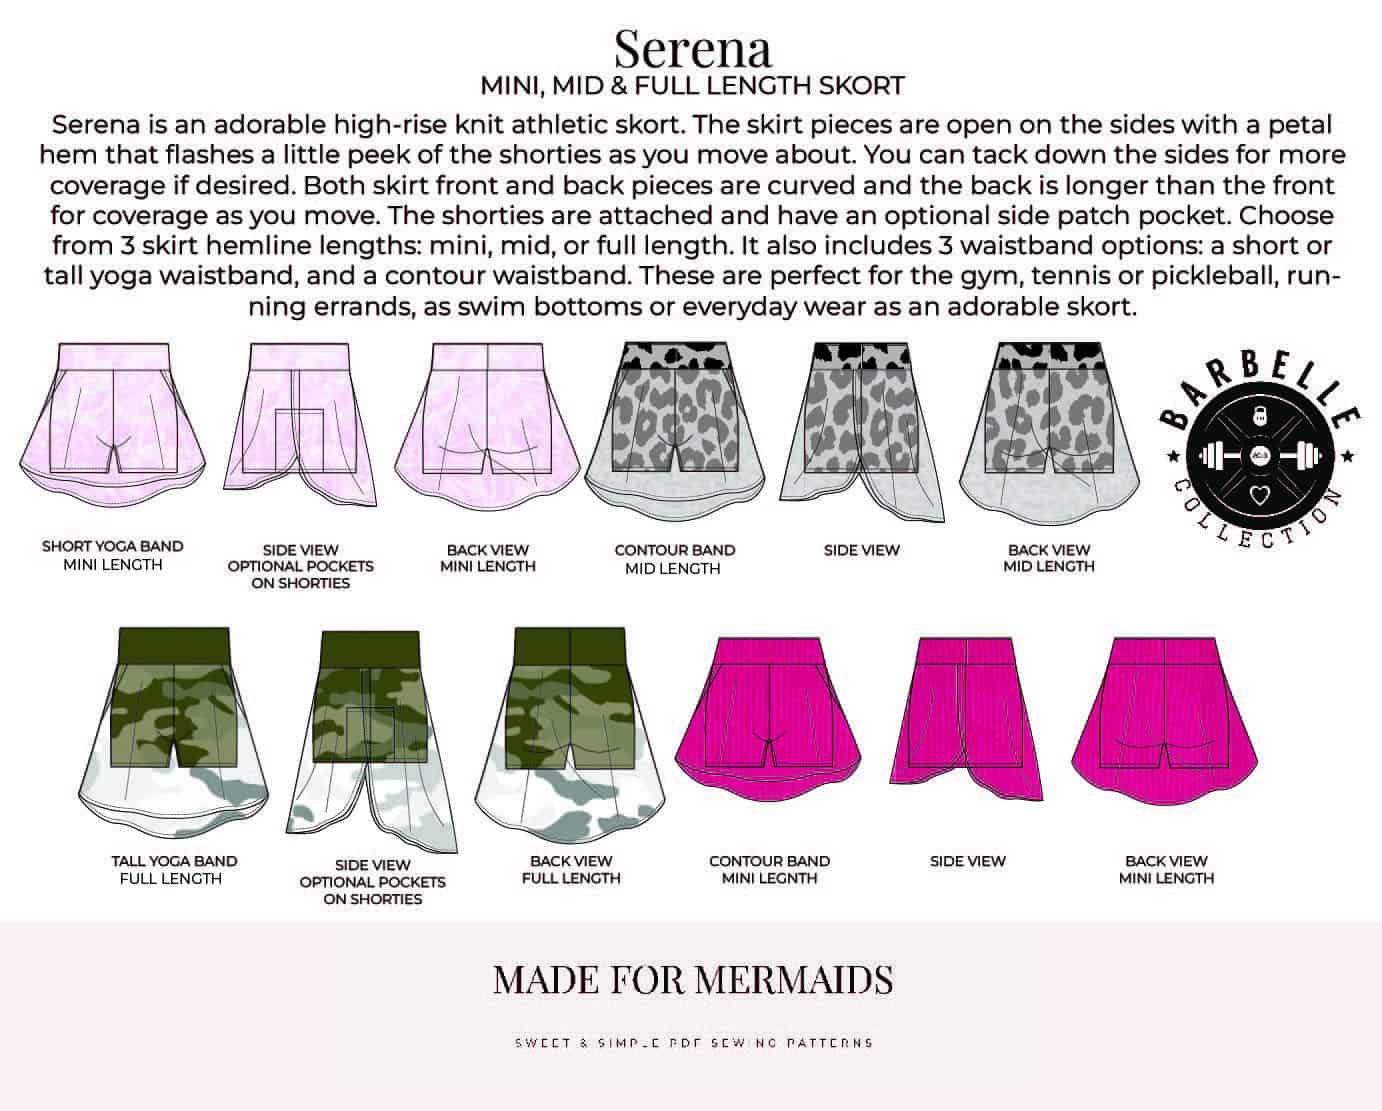
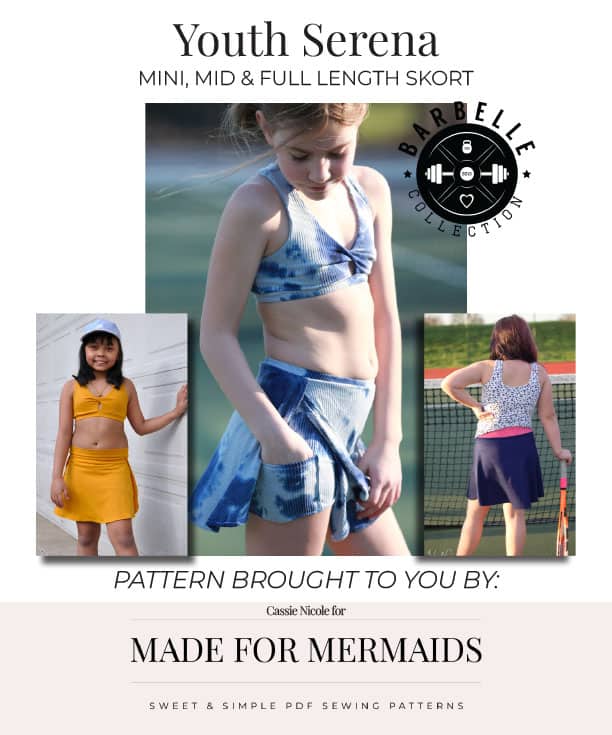
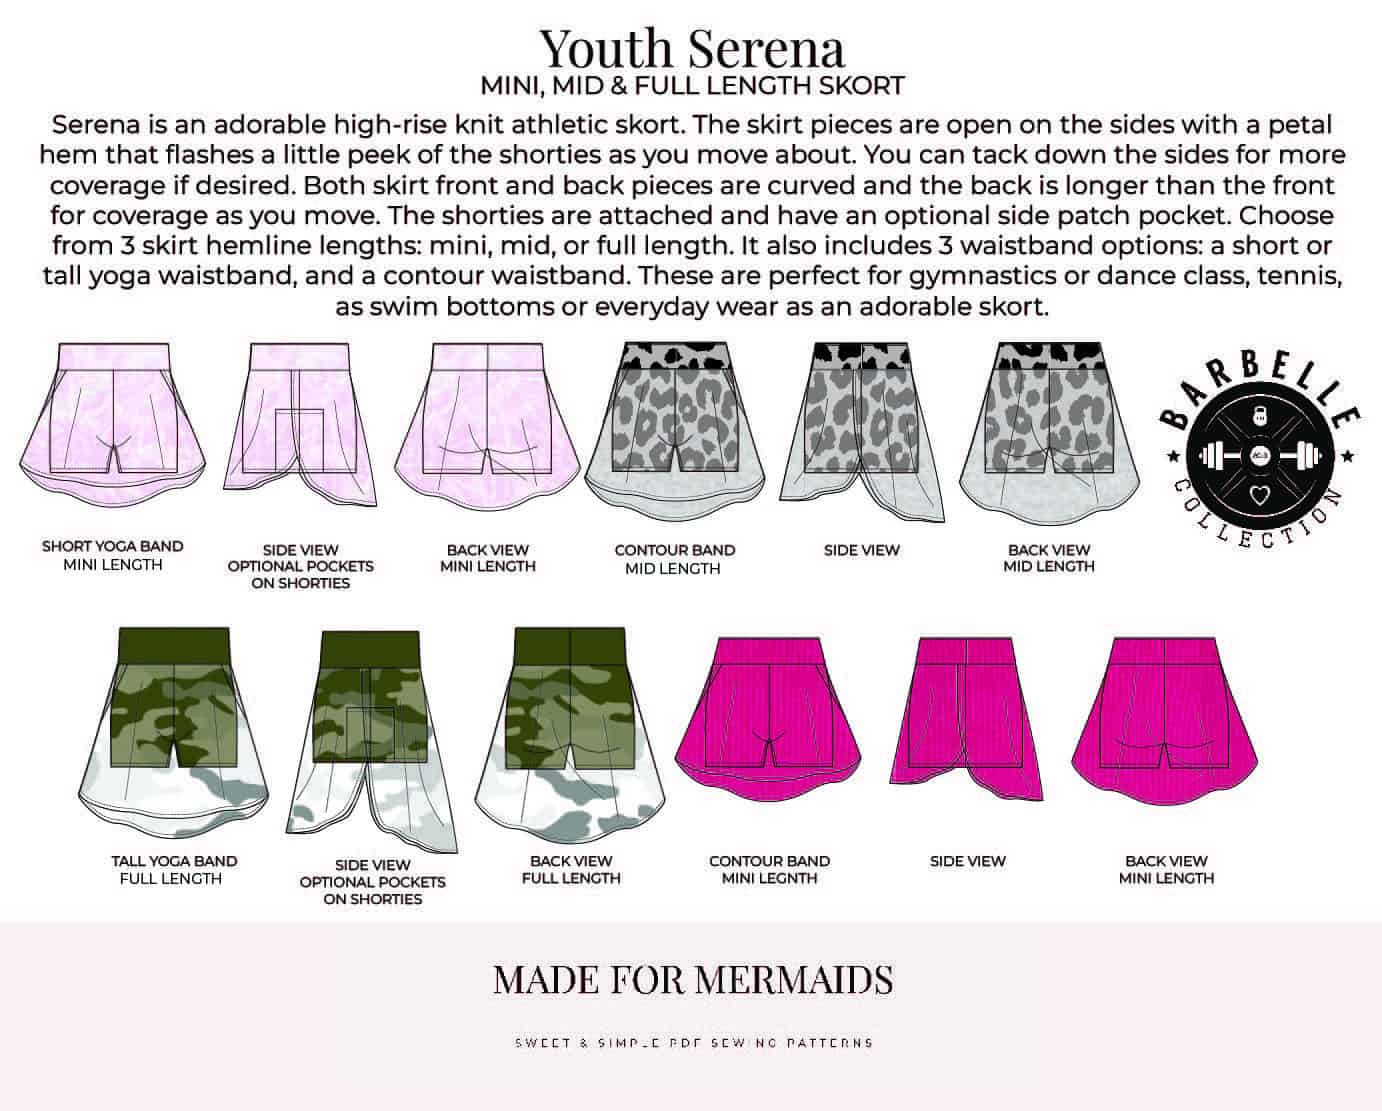
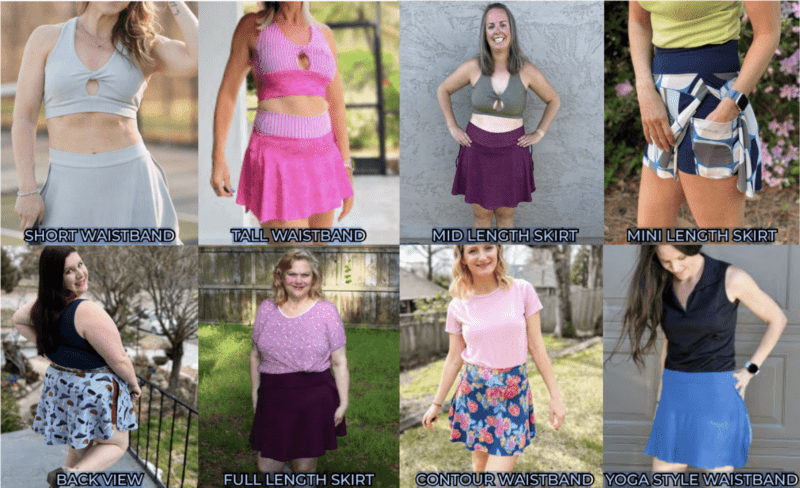
Serena is an adorable high-rise knit athletic skort. The skirt pieces are open on the sides with a petal hem that flashes a bit of the shorties as you move about. You can tack down the sides for more coverage if you’d like! Both front and back skirt pieces are curved, and the back is slightly longer than the front for coverage. The shorties are attached and have an optional side-patch pocket. Choose from three skirt hemlines – mini, mid, or full length. Serena also includes three waistband options – a short or tall yoga waistband, or a contour waistband.
Tessa and Serena are perfect for the gym, dance class, tennis or pickle ball, running errands, swimwear, and even everyday wear. Let us know which one you’re excited to try first!
If you want to use either pattern as a swimsuit, trade the 1/4″ clear elastic in the Tessa and the knit elastic in the Serena for swim elastics and use swim knit!
Getting Started
Before you purchase your patterns, there is a ton of helpful beginner information between the M4M and P4P blogs, in case you are new to knits, or new to PDF patterns in general:
- New to PDF patterns? Check out our helpful tips here
- New to sewing with knits? Brittany has some great info here
- Not quite sure how to measure yourself accurately? Don’t worry; check out the post here!
- Having issues printing? Most issues can be resolved by using our FAQs/troubleshooting tips
- Join our Facebook group here.
Choosing Your Options
We have lots of tester photos in our FB group and on the site if you want to see a variety of photos of each option before you decide! Here is a quick snapshot of the different options:
- Adult Serena
- Adult Tessa Twist
Fabric + Notions
Tessa and Serena are designed for medium-weight knits (200 gsm +) with 4-way stretch, great recovery, and a minimum of 50% horizontal stretch. You’ll want to look for a high spandex content – 5% minimum, but 12%-25% will be better!
Recommended fabrics for athletic wear include ribbed athletic knit, athletic brushed poly, nylon spandex, poly spandex, supplex, yoga knit, nylon spandex tricot, poly spandex tricot, ribbed tricot, athletic foiled knit, etc.
Recommended fabrics for more casual wear include cotton lycra, double-brushed poly, thicker ribbed knit, etc.
Note – higher spandex content and heavier weight knits will feel tighter and provide more compression.
Tessa Hacks
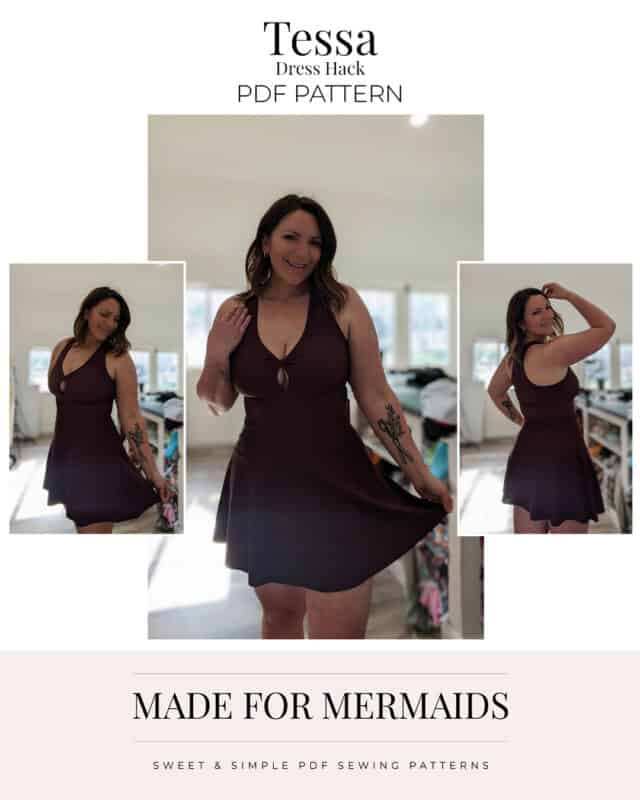
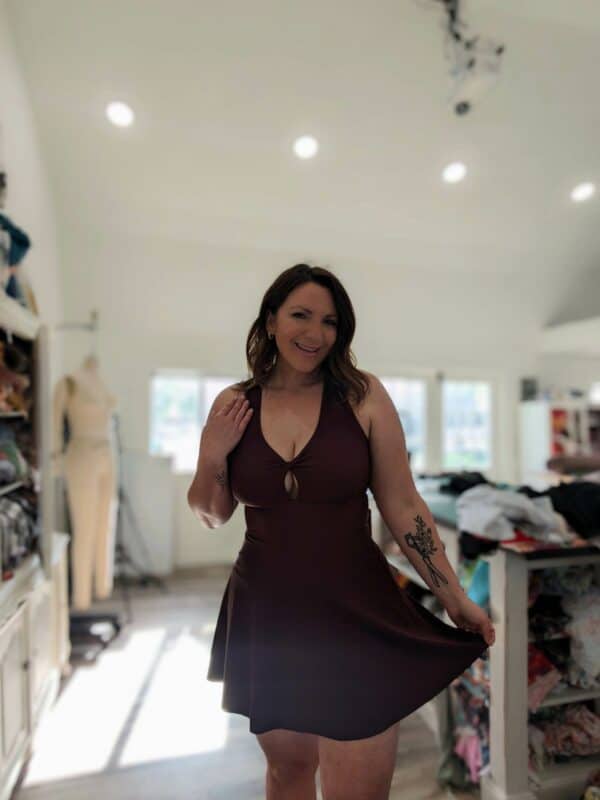
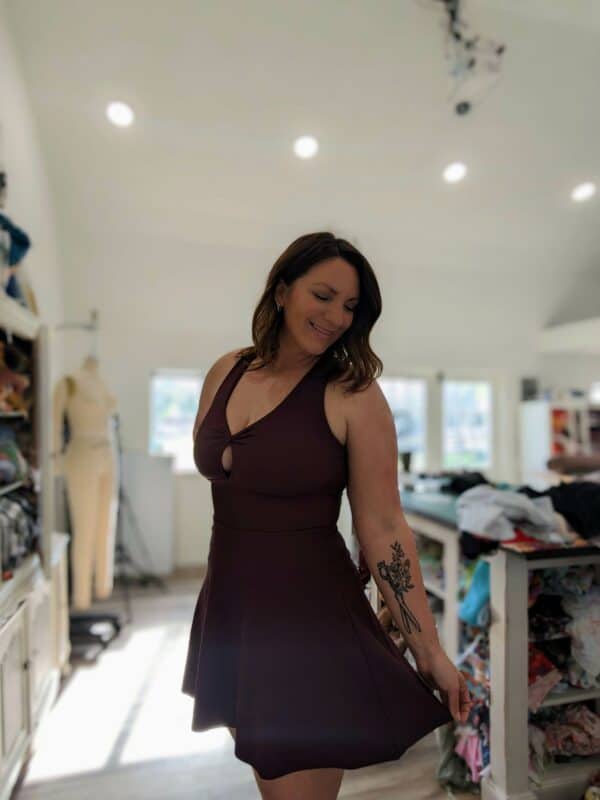
Tessa Twist Dress Hack
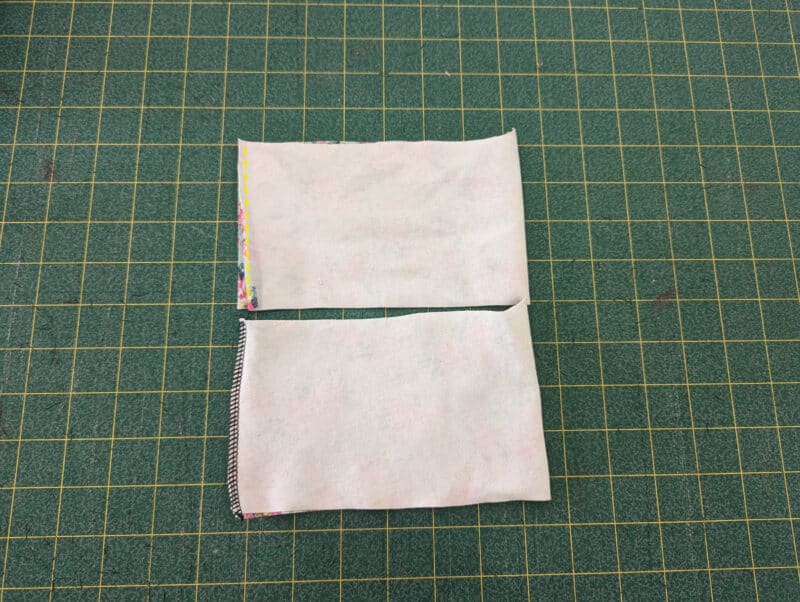
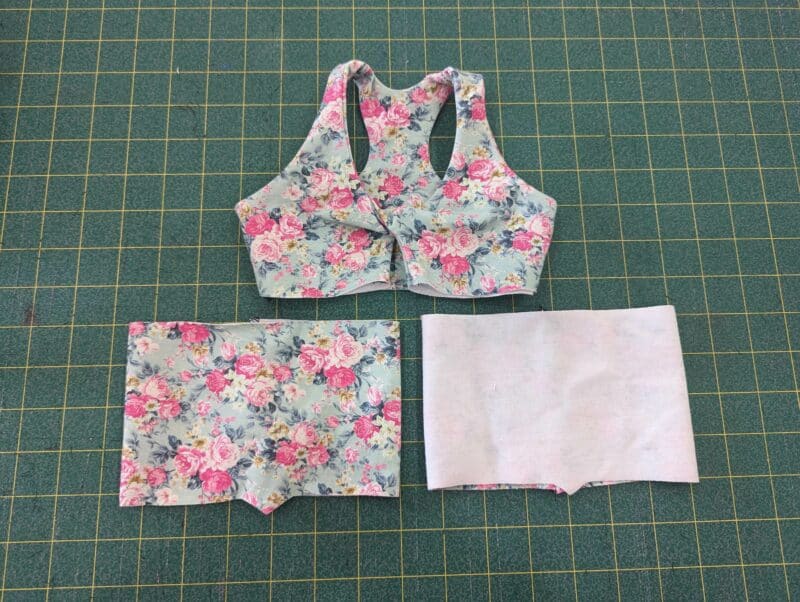
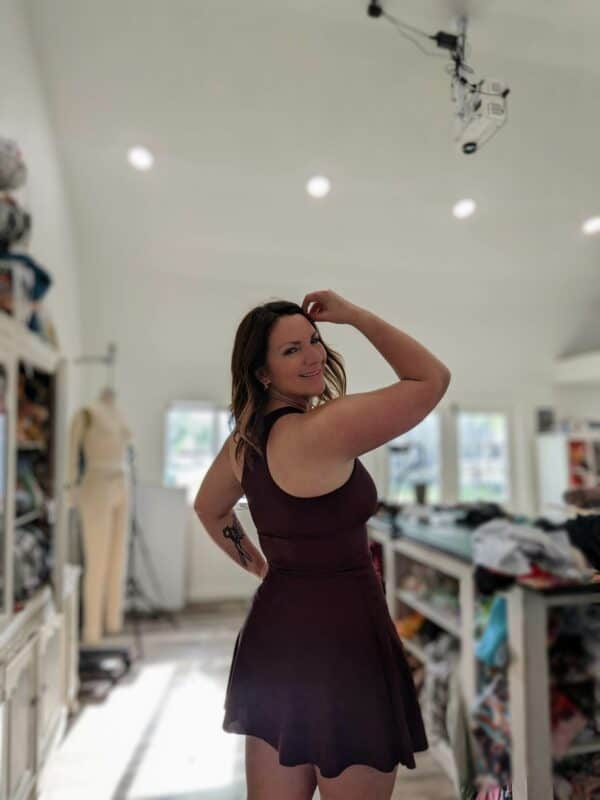
I immediately knew I wanted to make Tessa into a dress when Cassie created the pattern. This is such a fun hack and not too difficult to do. You need a circle skirt pattern (or whatever skirt style you want) for this hack. I used the Carissa 1/2 circle skirt in mini length, which I shortened by a few inches to accommodate the band length. I used the Tessa longline band piece bc I wanted the skirt to hit at my waist; if you want it higher, you can use the sports bra band length or alter the piece for however long you want it. You need to cut 2 band pieces along with your front and back pieces. Note- I forgot to take photos while making mine, so I used sized-down pieces here for photos.
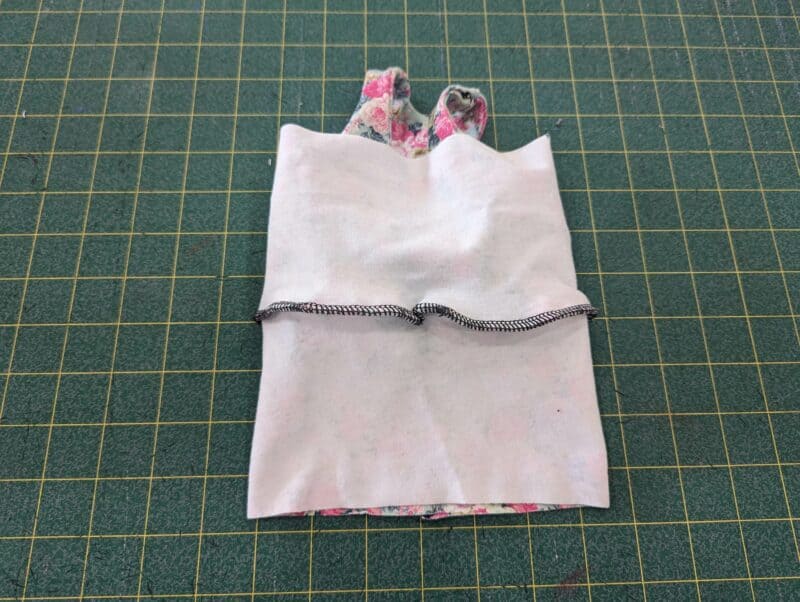
Sew the front and back per the Tessa tutorial. Sew your band pieces together at the short ends.
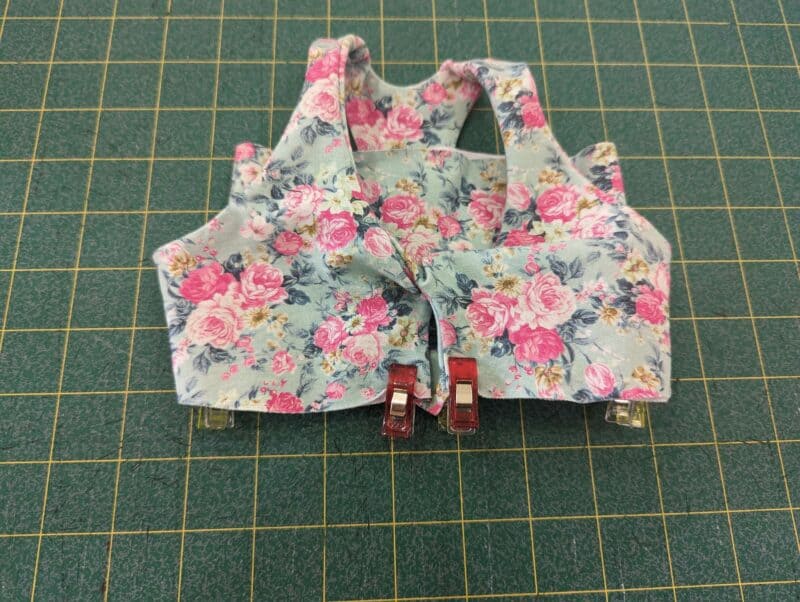
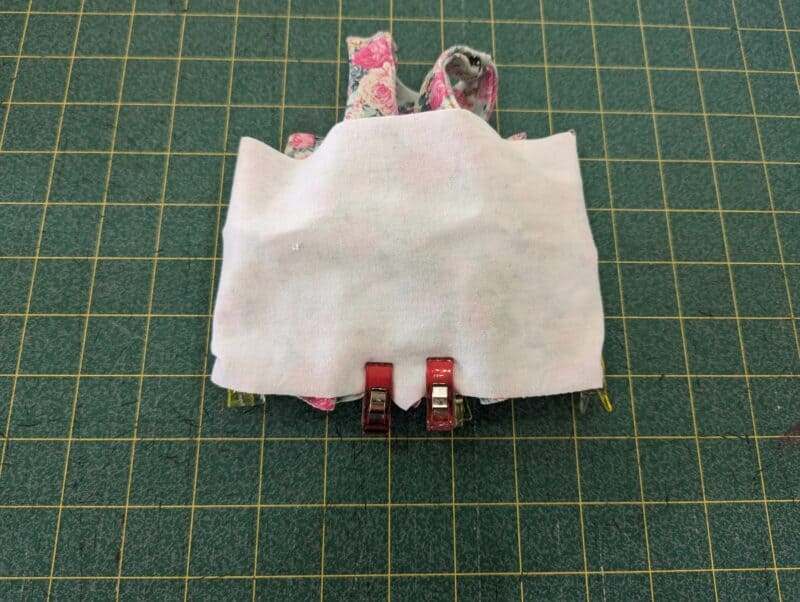
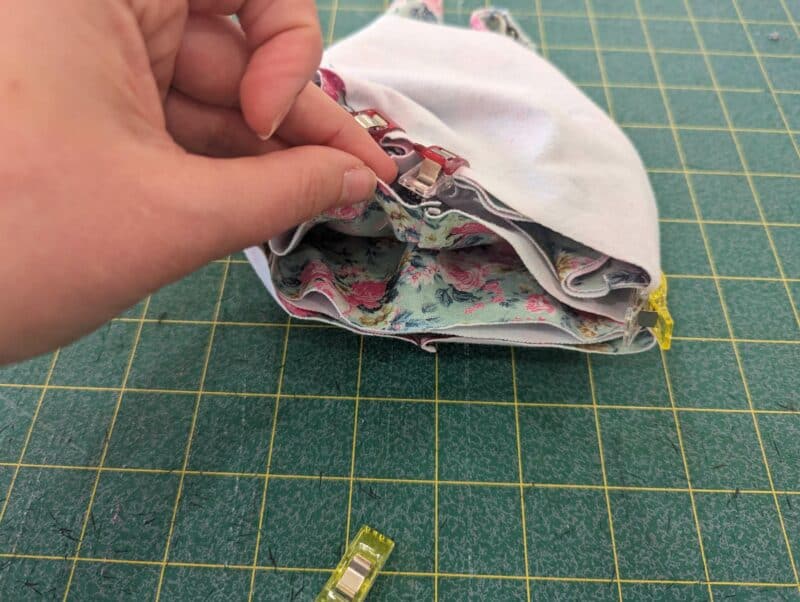
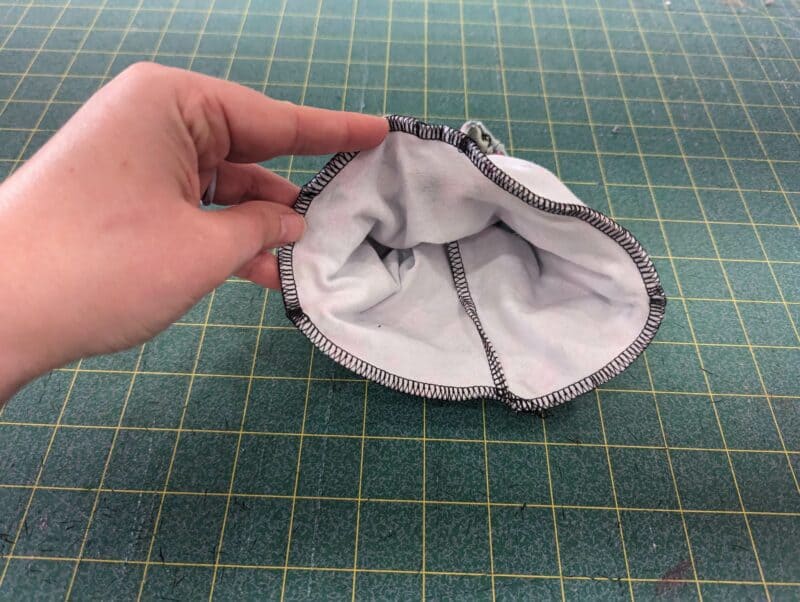
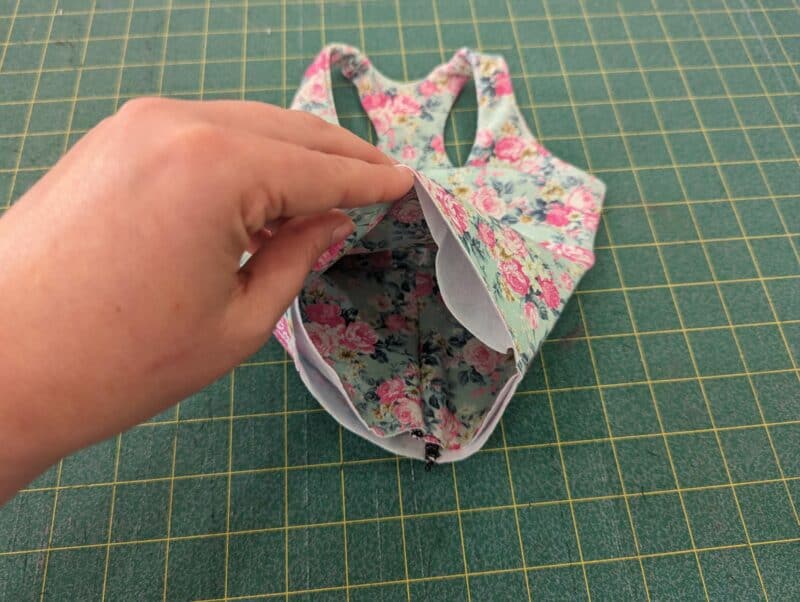
Flip one band piece right side out and one wrong side out. Have your bodice right side out. Then place the right side out band piece inside the bodice matching quarter points (right side of the band to the wrong side of the bodice). Note- you can baste these together if you want.
Then place the wrong side out band piece over the bodice matching quarter points. The bodice will be sandwiched between the two band pieces. Stitch together.
Pull the band pieces away from the bodice and press. Then attach your skirt to the bodice, and you’re done! Side note, I think the longline band constructed this way would make an adorable crop-length top. You’d just need to hem or roll the bottom band to finish.
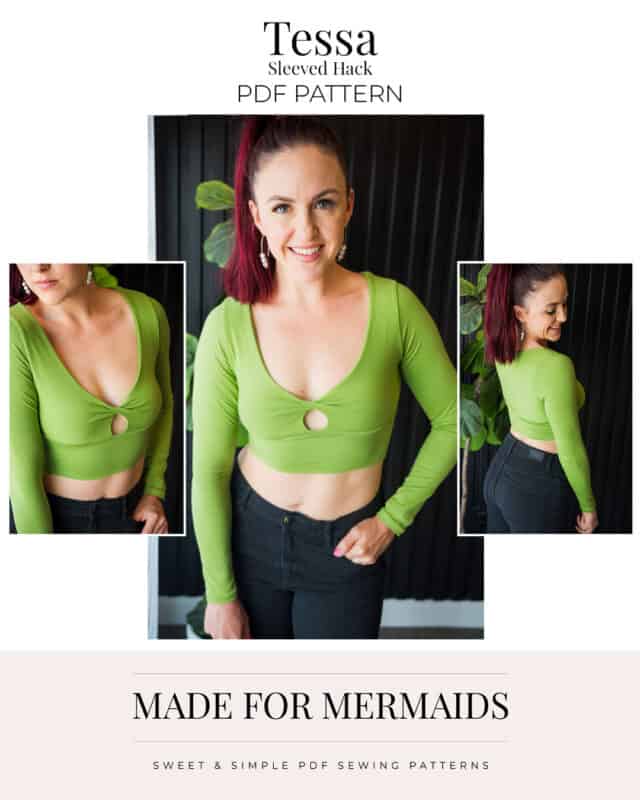
Sleeved Tessa Twist Hack
Hi friends! Today we’re embarking on an ever-so-slightly tricky
hack, which is adding sleeves to the adorable new Tessa pattern! Let’s get into it:
OK, what do we need to complete this hack?
- a pattern to use as your base that is knit and fitted (has negative ease). I chose the Venice bodysuit pattern.
- a ruler
- the printed patterns for Tessa and your chosen base pattern OR a projector and tissue/tracing paper (traced/cut and graded to your size)
- two different color markers (trust me you want multiple colors to keep them straight)
Before we start, I want to lay out the goal ahead of time. We are going to use the length and center twist of Tessa, with the side waist and armscye of your second pattern. It’s important to lay that out in your head before we get started, because we’re going to be maneuvering through a number of overlaps.
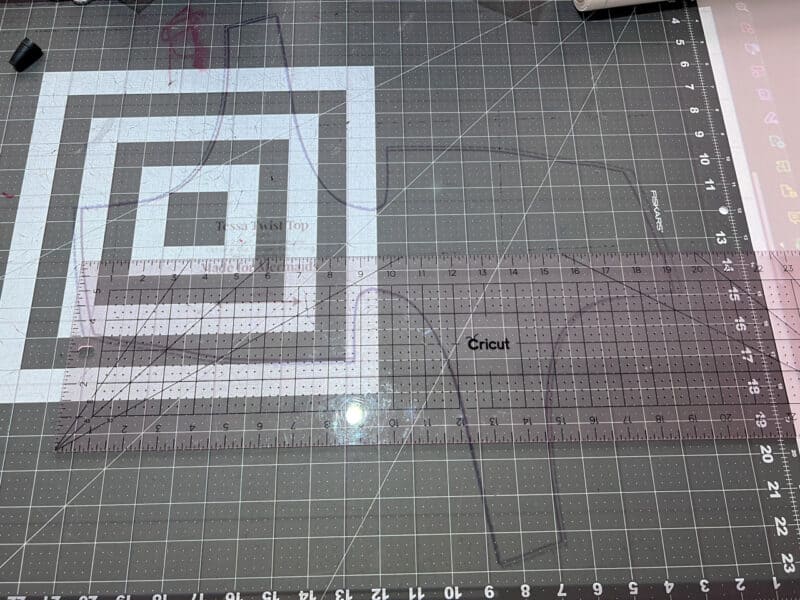
If using a projector, find the Center of Tessa (measure across and divide by two) and remember that spot on your cutting mat. If using a printed pattern, mark a line through the center. The most important part of this is to line up your centers! I lined up my center with the outermost white edge of those center squares, and will continue to line things up there.
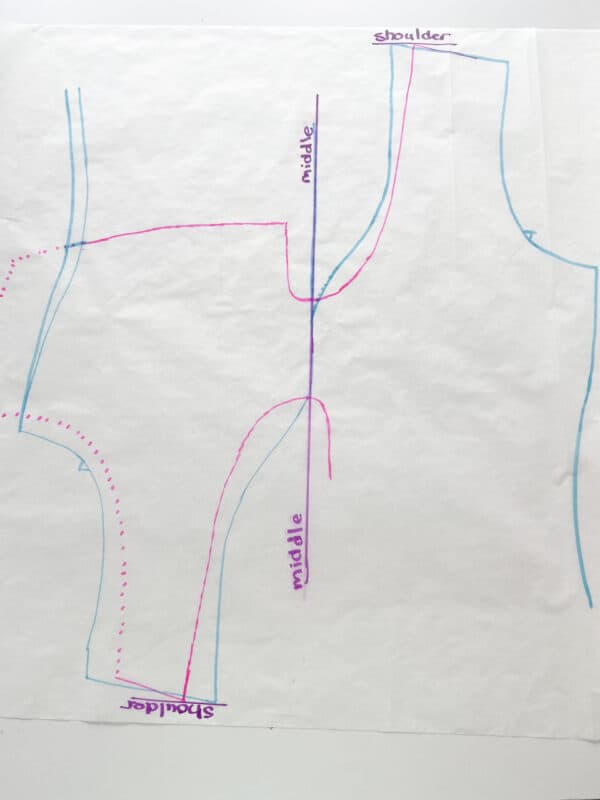
Let’s start with the back. Trace both patterns on top of each other, aligning the top shoulder points and the center line. I am using the Venice bodysuit as my second pattern, and you’ll notice that the sides are much wider than the Tessa. This can be a result of the variation in the ease of your pattern, but in this case, it is just that this side seams of Tessa are in a different spot than the side seams of Venice. For example, my back piece for the Venice is much wider, and on the front piece, Tessa was much wider. Both were about equally different, meaning the ease is fairly similar between the two patterns so I’m going with it. Make sure that when cutting, you’re using the width of your second pattern because that is the armscye that we are using!
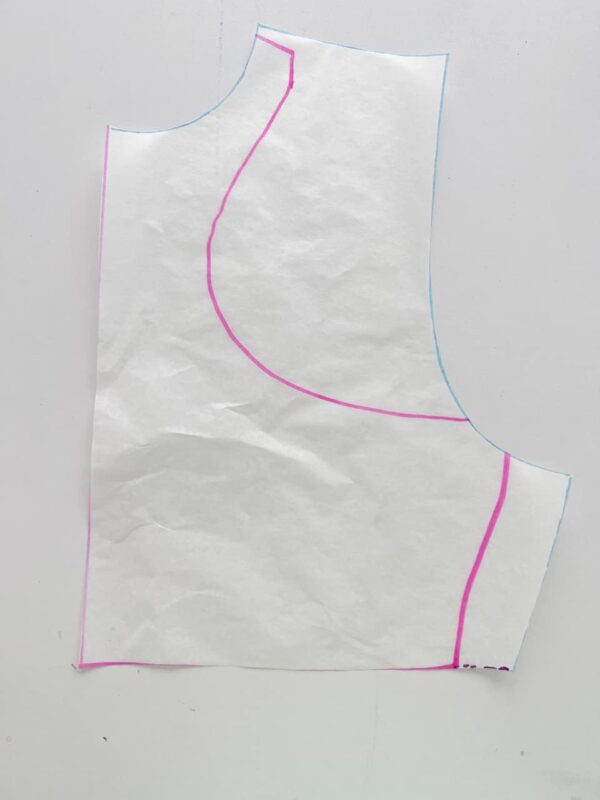
We can go ahead and cut out our back piece, which is notably simpler than the front! Again, use the side, waist, and armscye of your second pattern. I also use the back neck line since the racerback on Tessa would’ve made it a lot higher in the back. Use the Tessa length cut line across the bottom (we’ll adjust this later). Now onto the front!
We are going to do the same for the front, but in a little bit different order. Trace the front of your second pattern (in my case Venice). Then, with your Tessa piece, projected/printed, measure across the middle to find the center. Mark the center! Either on your paper pattern piece, or on your mat. Matching up your centers, trace your Tessa piece with the top shoulder points aligned. We use tissue paper because it is see-through, so its now much simpler to flip over your pattern pieces and trace the opposite sides as you can see the markings through.
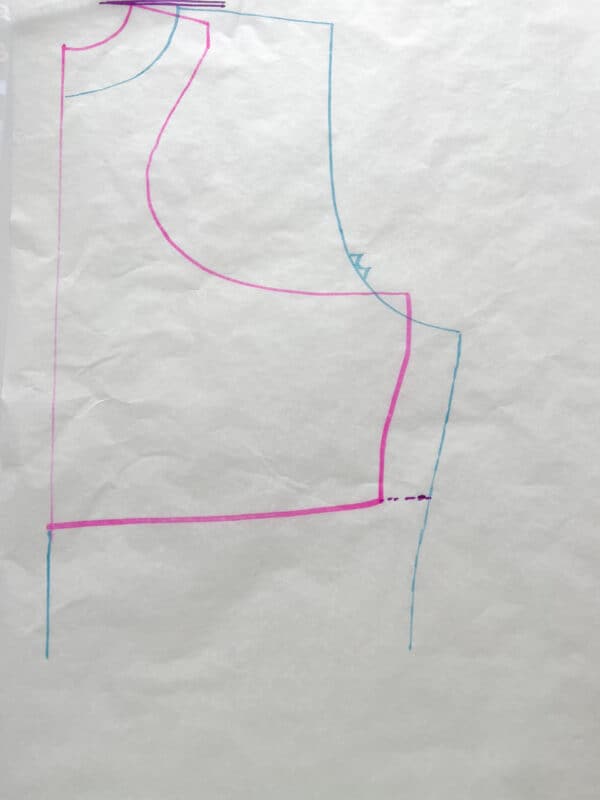
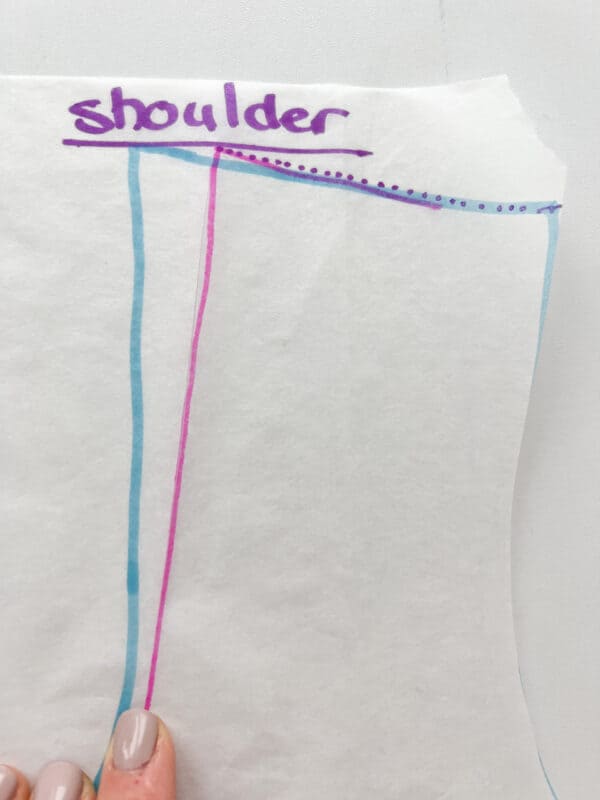
Now that you have everything traced, you can cut out your new pattern! But which lines to cut? I found it easiest to cut from the center outwards, cutting Tessa in the middle (neckline), up to the top shoulder point. From there, you transition into your other pattern across the top of the shoulder, to then meet the armscye of the second pattern. In the photo below, you’ll see the pink (Tessa) has a dotted line transitioning it into the outer shoulder point and then armscye of Venice. Trace around the armscye and down the side of your second (non-Tessa) pattern, then going back across at the Tessa under bust line. Repeat on the opposite side.
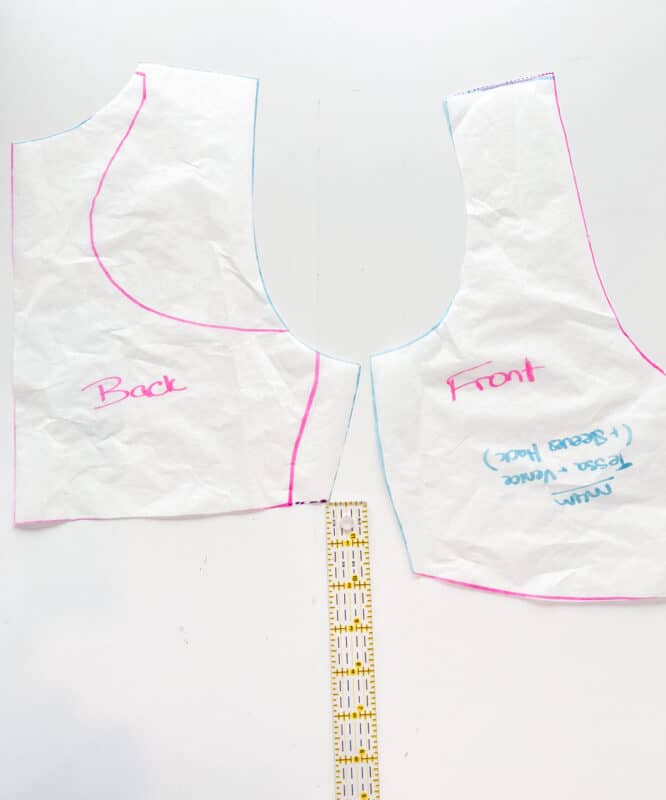
**Important step! Since we used a different armscye from Tessa with the under-bust cut line of Tessa, it is likely that our side lengths are going to be different. You can see in the photo below that I have almost a 2″ difference! I highly recommend adding length to your back pattern piece to match the front, and then trying the fit once you have the top portion assembled (before adding your bottom band) to see how much length you want to trim. It’s always easy to remove length, but you can’t add it afterward!
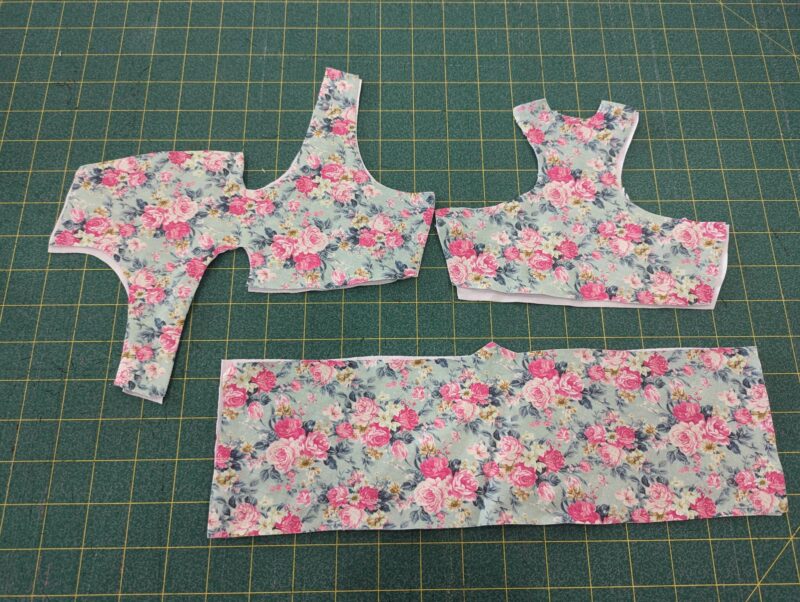
Now that you have your pattern pieces ready, go ahead and cut everything out. You will also cut the bottom band from Tessa (I used the long line band cut line) and you’ll need the sleeves from your second pattern (in my case, Venice).
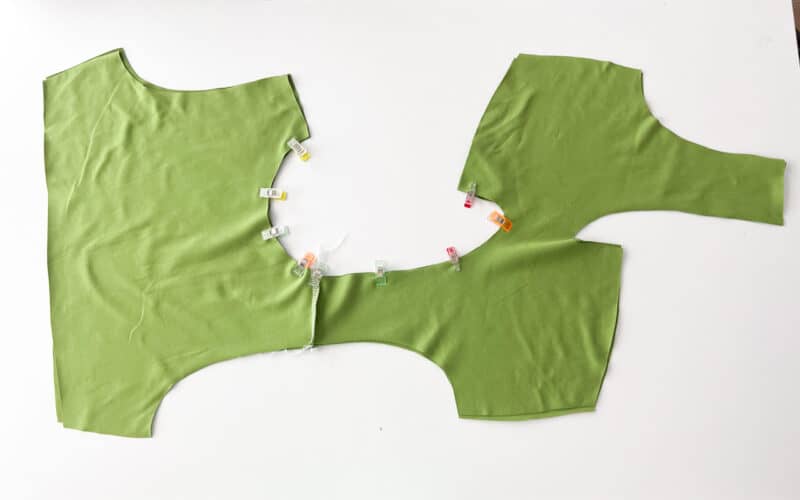
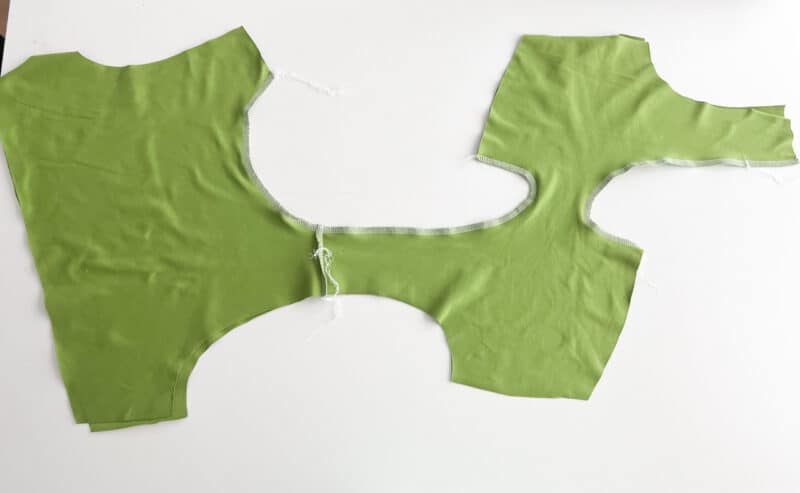
Next, we’ll kind of follow the pattern… but not really. With right sides together (RST), sew your front and back together along one shoulder and repeat with the lining. When these two are then placed RST, the seams will match up.
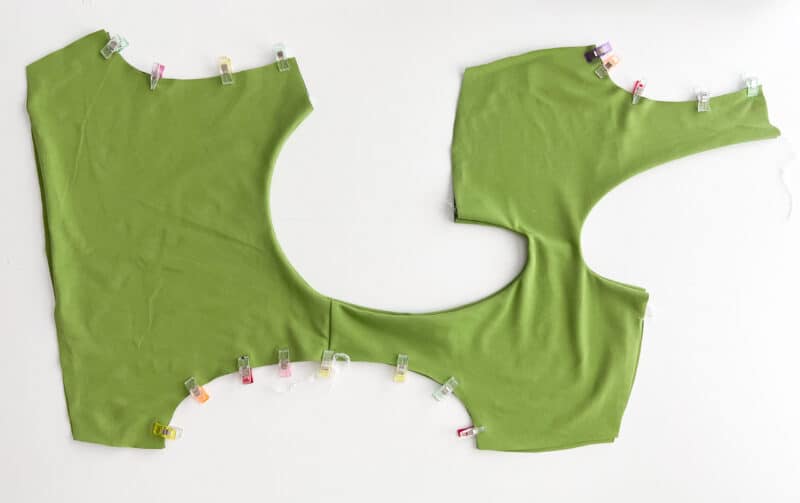
Next, sew along the necklines only, and turn right sides out (RSO). I like to baste along the armscyes at this point.
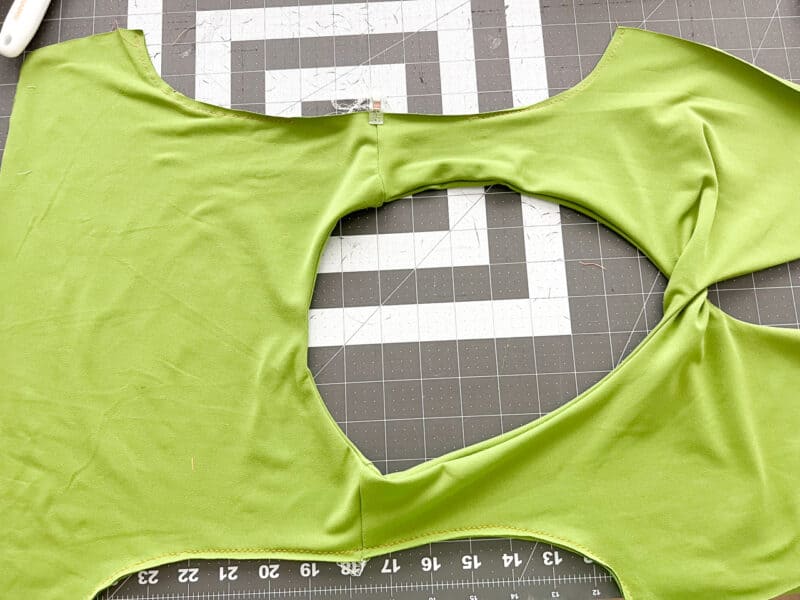
Next, flip the unsewn side of the front up to create the twist (as in the pattern). Since we’re adding sleeves, we will now undo some of the basting stitches around the shoulder, open up the shoulder and clip RST (exteriors together and linings together). Sew this seam.
Once sewn, fold back together and your top will look like this.
You can re-baste this area if you wish, to avoid any layers moving when you add your sleeves. Now, as with any knit pattern, you’ll clip your sleeves to the armscye and sew, followed by sewing up the sleeve and down the side seam. HERE is where we try the piece on, to see what length we need to remove! Mark with a pin at your under-bust line, and then ADD seam allowance. Cut that line, and add your chosen band (I like the longline band for this top!)
Phew, you made it!! Just hem your sleeves, and you’re done! Great hacking, thanks for joining me in this fun alteration!
Serena Hacks
Serena Shorts Hack
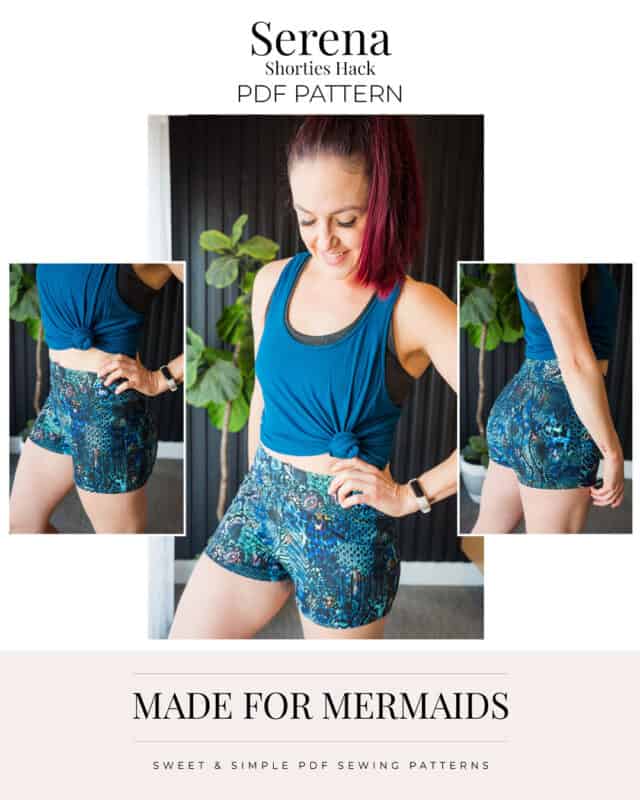
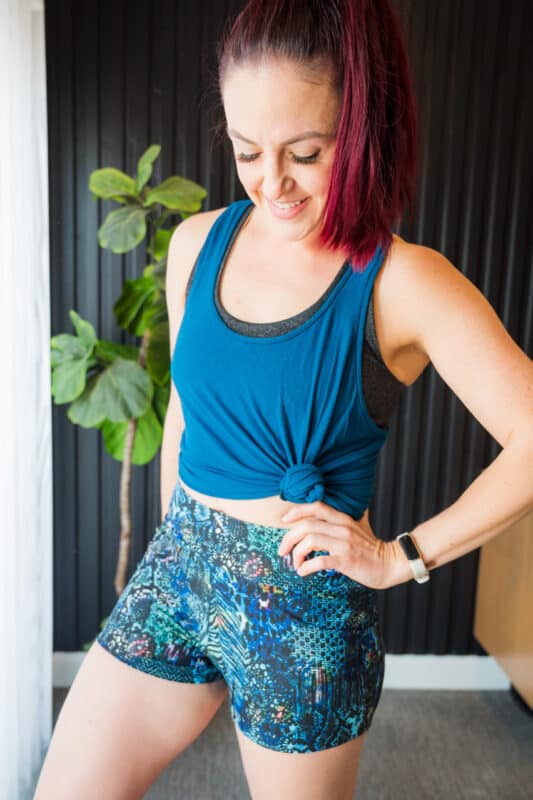
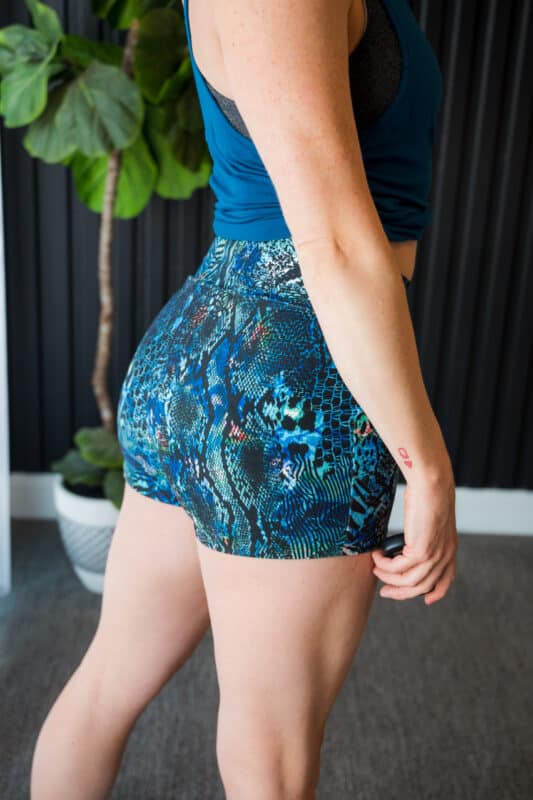
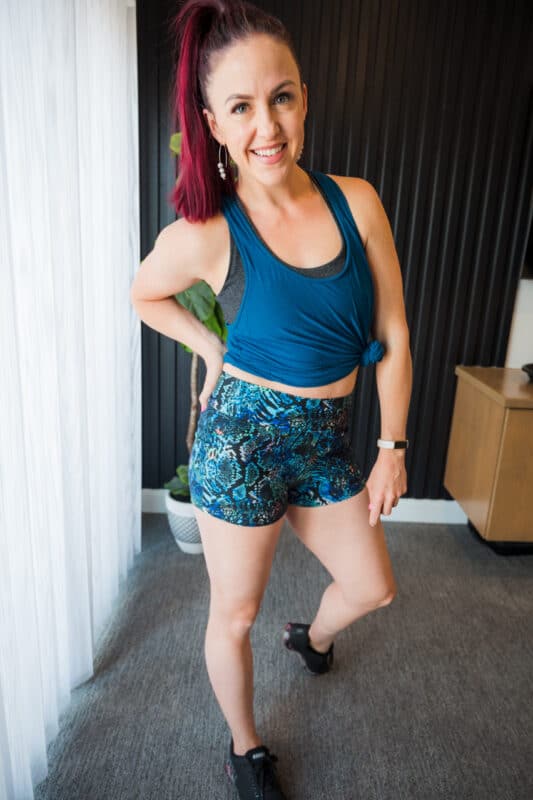
This time we’re doing a MUCH simpler hack – using the cute new Serena skirt as a shorts-0nly pattern! This is literally the simplest hack ever, and makes for adorable shorts if you like shorties!
First, measure and grade your pattern to your size. This is important, especially when using fitted/negative ease patterns! It will make all the difference with your fit. Go ahead and print and cut your pattern, or pull up your sizes on your projector.
Choose your options; I went with the contour waistband. Cut the shorts and waistband, and pockets if you want them! I went for simple and did pocketless.
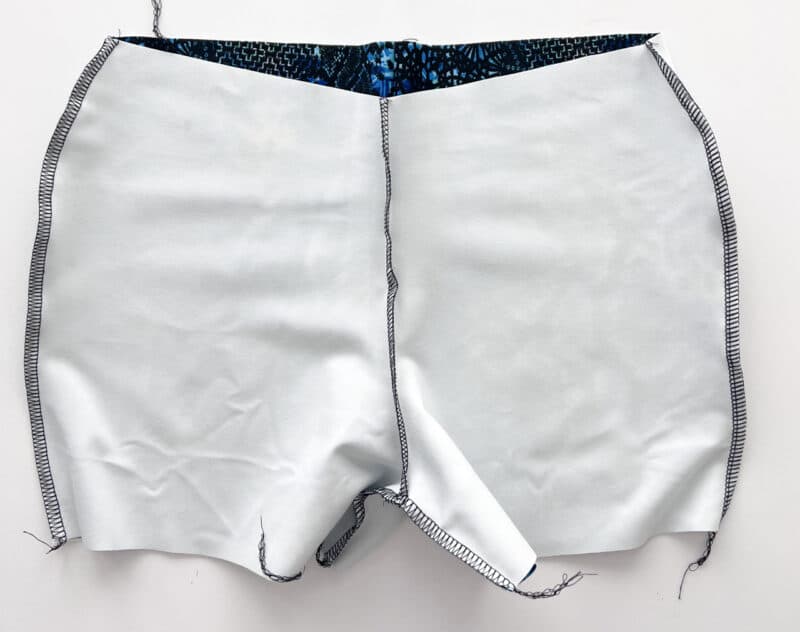
Go ahead and assemble the shorts, with pockets if you’re doing them, and the waistband per pattern.
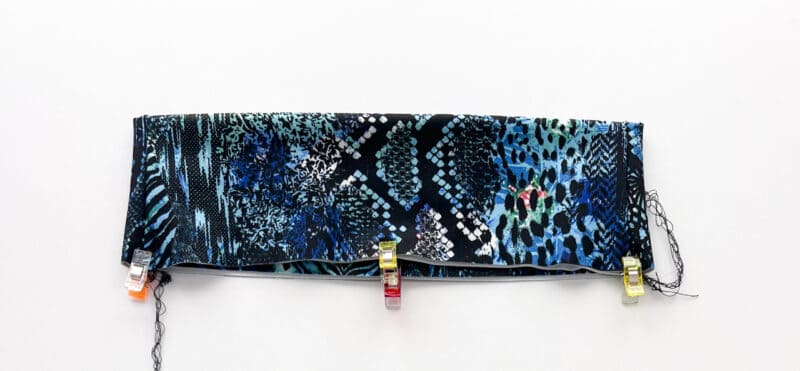
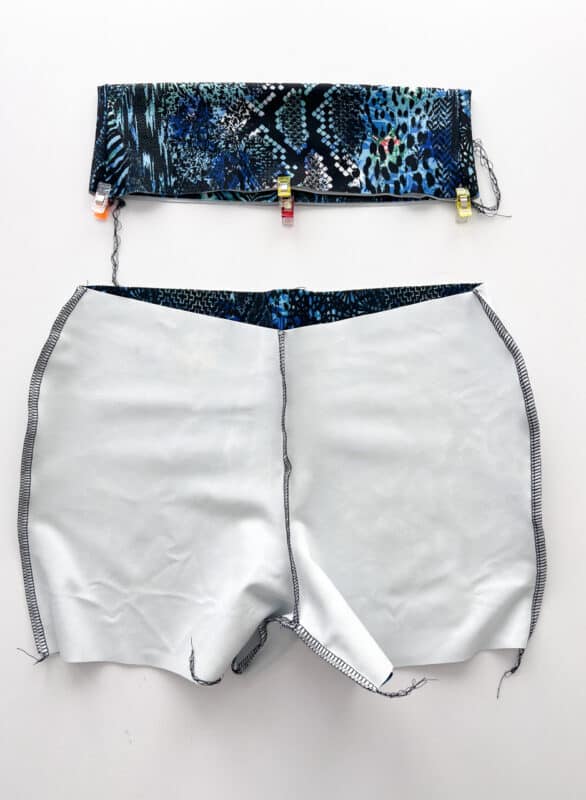
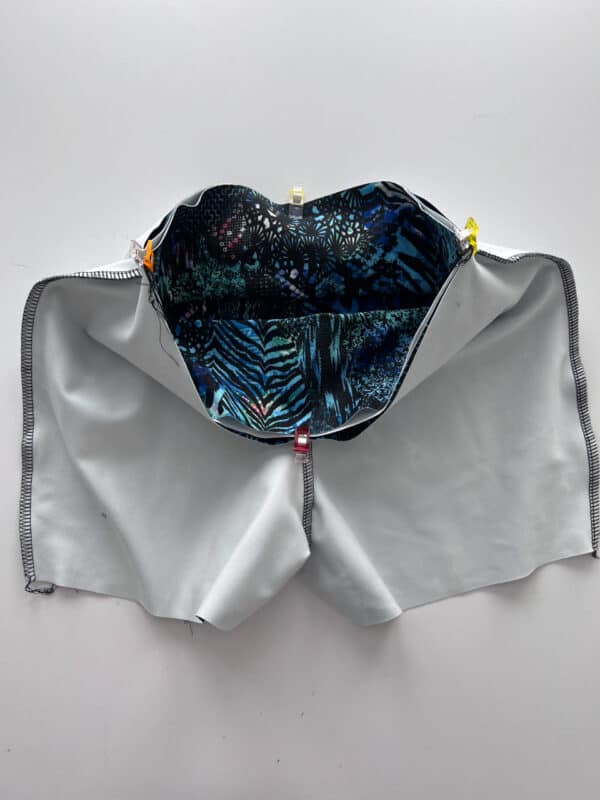
Now skip adding the skirt, and place the waistband inside the shorts, right sides together (RST). Sew the waistband, hem the shorts, and you’re done!
Thanks for joining me for this cute and simple hack!
We can’t wait to see where you take Tessa and Serena! Don’t forget to share with us on Insta, in our Facebook group, or over on TikTok!





Leave a Reply