
Can you believe we are already halfway through this year’s freebies?! We hope the second half is just as exciting as the first!
- Fabric Bow
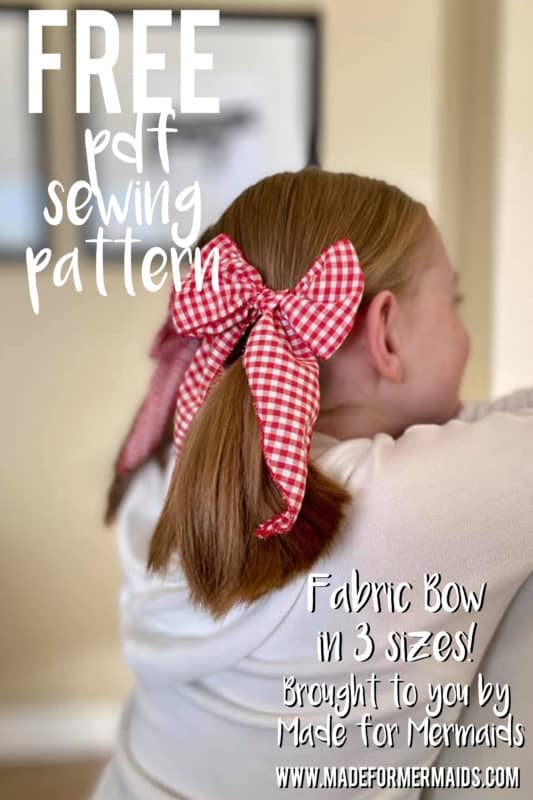
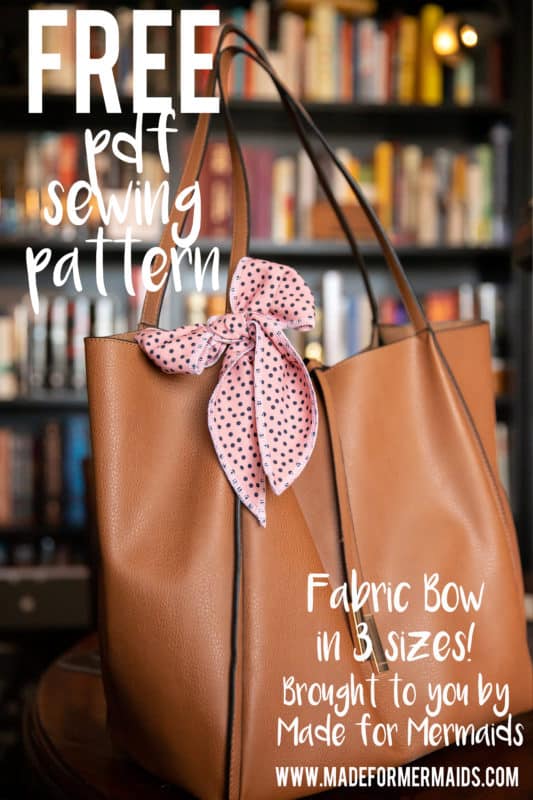
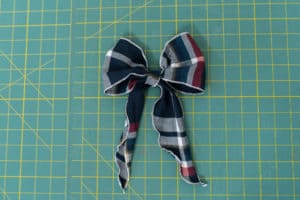
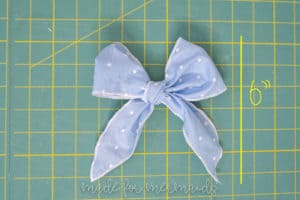
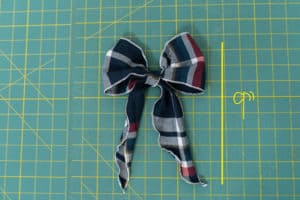
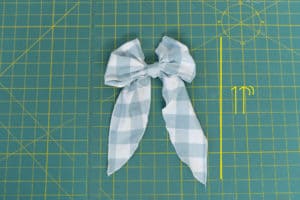
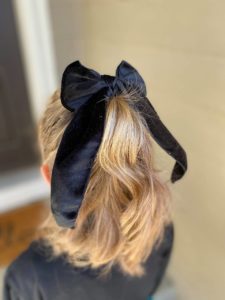
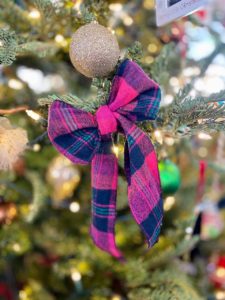
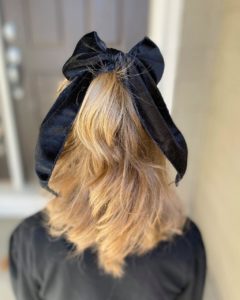
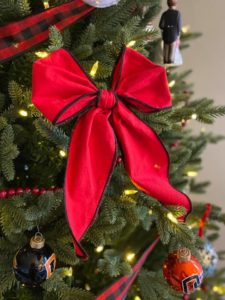
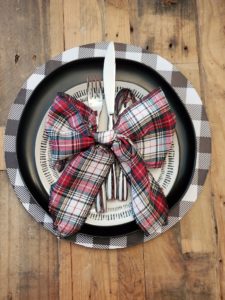
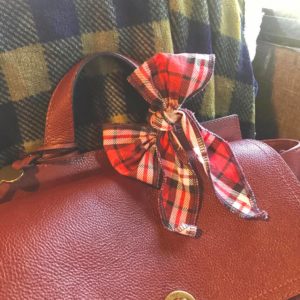
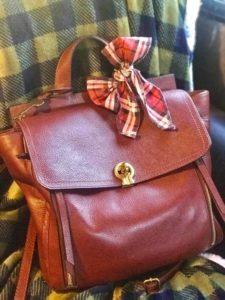
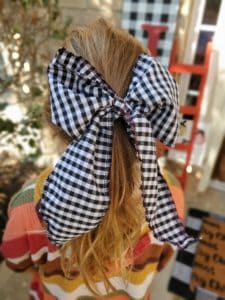
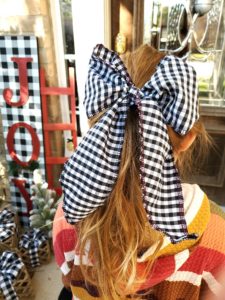
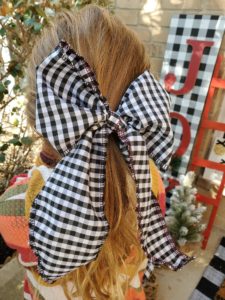
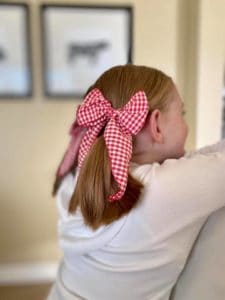
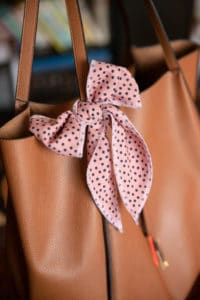
Today we have a fun fabric bow in THREE different sizes for you! This bow is super simple…it almost takes longer to tie than it does to sew! My girls are all about these style bows, but I also like to tie them onto my weekender bag or my purse to give it a little something extra…on the rare occasion I actually leave my house, because 2020 😉
SUPPLIES:
- 1/8 yd woven fabric, preferably with good drape (linen, rayon, chiffon, taffeta, etc.). Quilting cotton and flannel can be used, but will be much more structured as a finished bow.
LET’S GET STARTED!
Step 1: PREPPING
Go grab the pattern here! The pattern is 100% free, but you do need to add it to your cart and checkout. Then, it will always be available to download from your account. The pattern is a no trim pattern; if you need help putting the pattern together, pop over to the faqs and troubleshooting page or ask in our Facebook group.
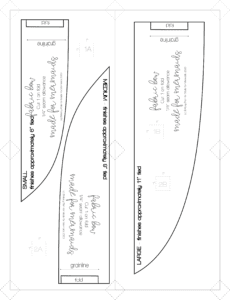
Print and assemble the pattern. There are 4 pages to print out (or download the projector file!). Pattern layout below:
Step 2: CUTTING AND PREPPING BOW
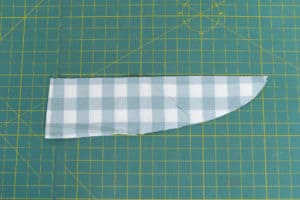
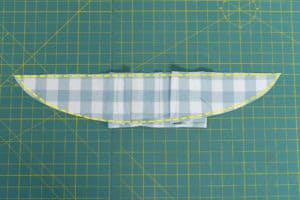
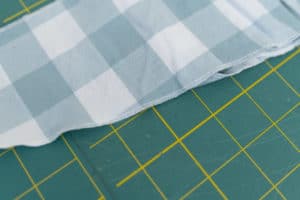
Cut 1 on fold. Finish the raw edges of your bow using either a traditional chain stitch on your serger or a rolled hem stitch (shown here) without cutting any off. The fabric is only folded in the photo for ease of photographing. You should not fold your fabric when finishing the raw edges! Note: If you do not have a serger, you can finish the edges with a very narrow rolled hem on your sewing machine, however there is no hem allowance built into the bow, so it will finish slightly smaller at the edges.
Step 3: TYING BOW
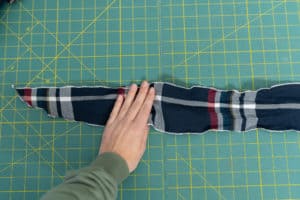
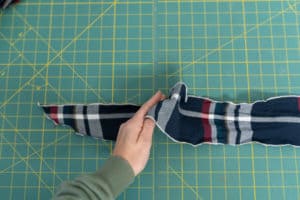
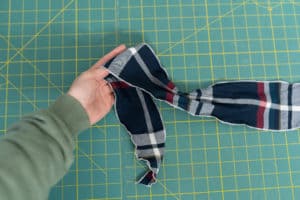
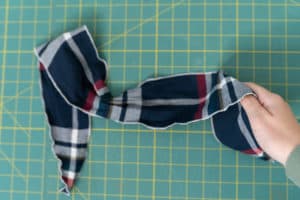
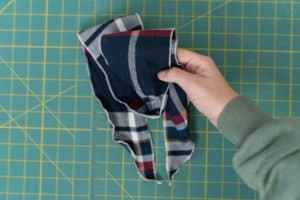
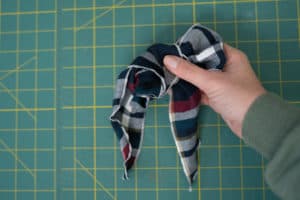
Approximately 1/4 way from pointed edge, make a loop.
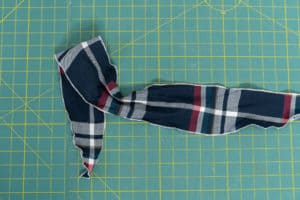
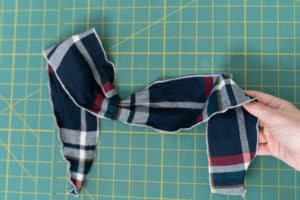
Repeat process approximately 1/4 way from opposite pointed edge.
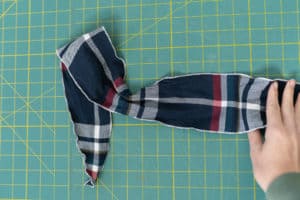
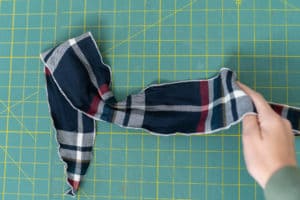
Adjust loops so that the loops and tails are the same size.
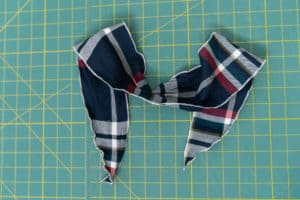
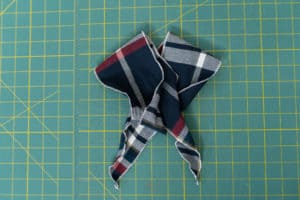
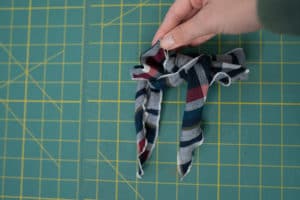
Pick up right loop and cross over left loop.
Fold front loop (which is the right hand loop you just crossed over) around to back and through the center hole.
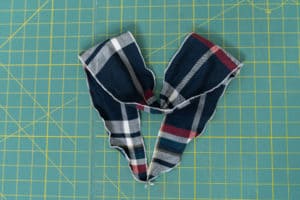
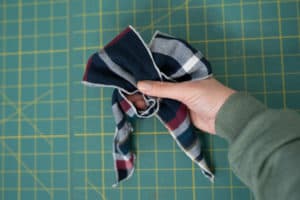
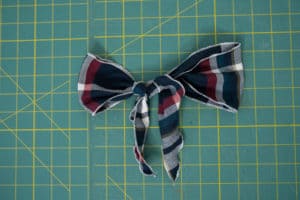
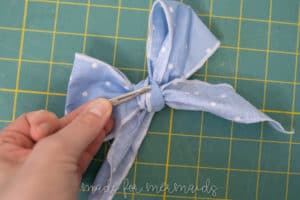
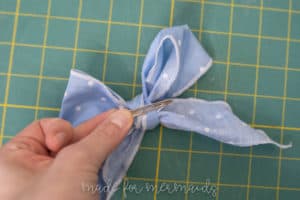
Pull loops so center knot is tight. Don’t worry about making the loops and tails even or pretty at this point.
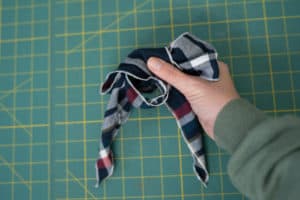
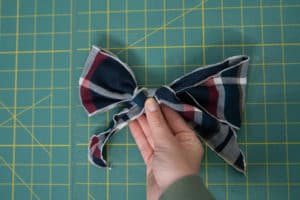
Hold the center knot tight with one hand as you adjust the loops and tails with the other. If the knot loosens, just pull the loops to tighten again and then hold it tight as you continue adjusting.
Step 4: FINISHING
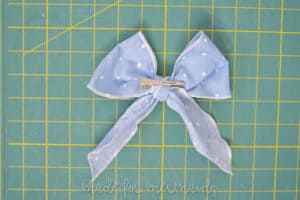
I like to stitch from the back through a few layers at the center knot of the bow to hold the bow in place so it can’t come untied!
Place a clip through the back of the center knot. For a few variations, you could also place a hair tie over the center of the ribbon prior to tying, or tie around a purse strap!
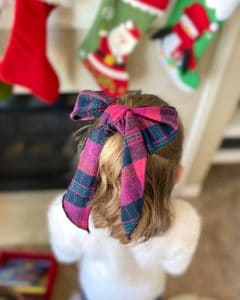
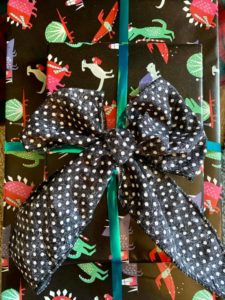
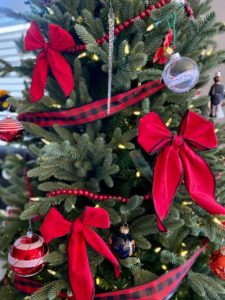
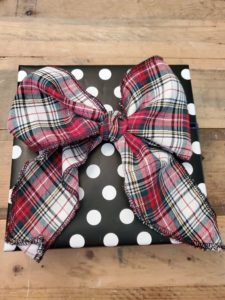
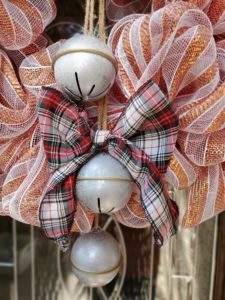
This freebie makes such a cute hair clip, decoration, purse accessory, and more! Check out all the fun uses our testers found for these bows!
DECEMBER 1 – 12, 2020
DAY 1 – SUPER SCRUNCHIE
DAY 2 – SPA HEADBAND
DAY 3 – CHEF’S HAT
DAY 4 – HOLIDAY STOCKING
DAY 5 – HAND SANITIZER KEYCHAIN
DAY 6 – COCOA AND COOKIES FELT SET









Leave a Reply