
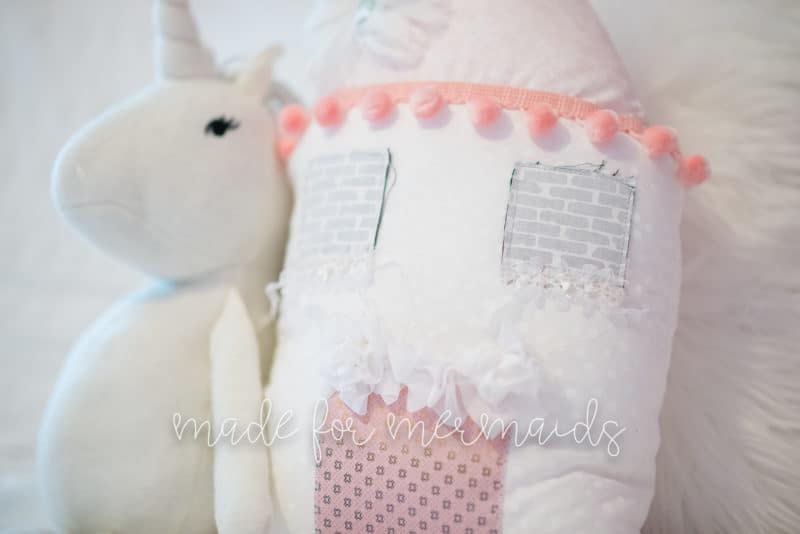
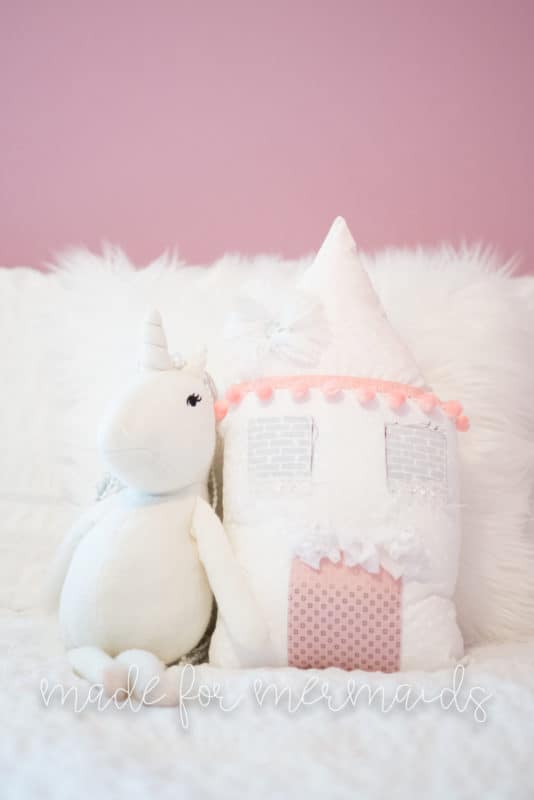
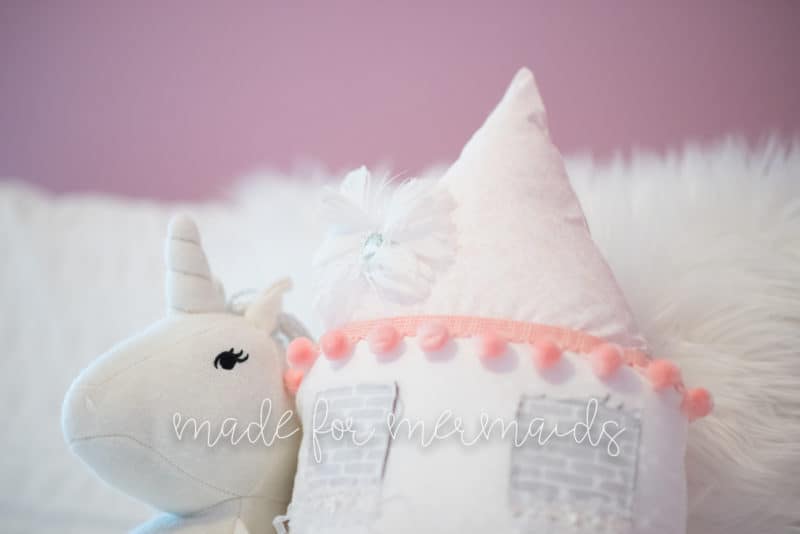
It’s hard to believe today is the the last day, Day 12, of our 12 Days of Christmas Freebies! We have loved sharing all of these patterns with you, and can’t wait to see what you do with them! Today we bring you a Fairy Pillow! This is the perfect gift for your daughter, niece, granddaughter, friend – any little girl in your life, really!
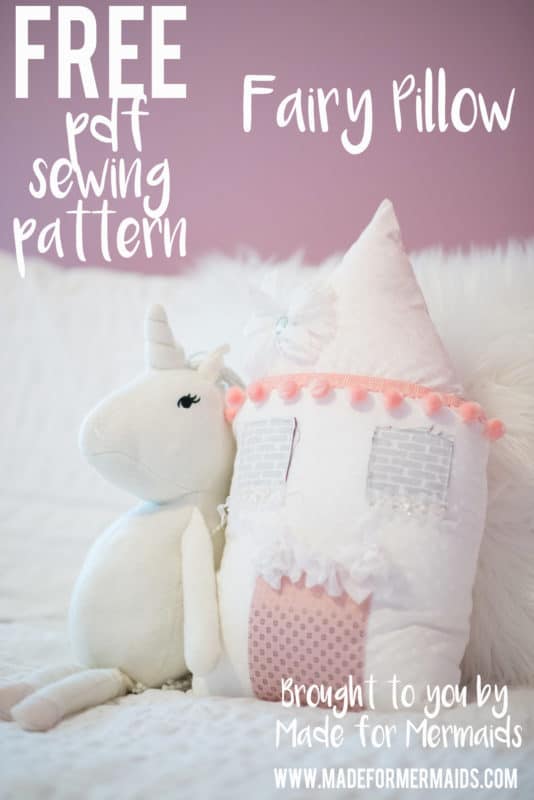
You can download the Fairy Pillow in the Freebie section of the website HERE!
SUPPLIES:
- Fabric: 1/2 yd woven for the main – quilting cotton and flannel were my favorites to work with (bonus: flannel makes a super soft pillow!), plus scraps for the doors and windows
- Embellishments – buttons, trim (3/4 yd for along the roofline, scraps for the remainder), flowers, etc
- Poly Fill
Let’s Get Started!
1/2″ SEAM ALLOWANCE INCLUDED
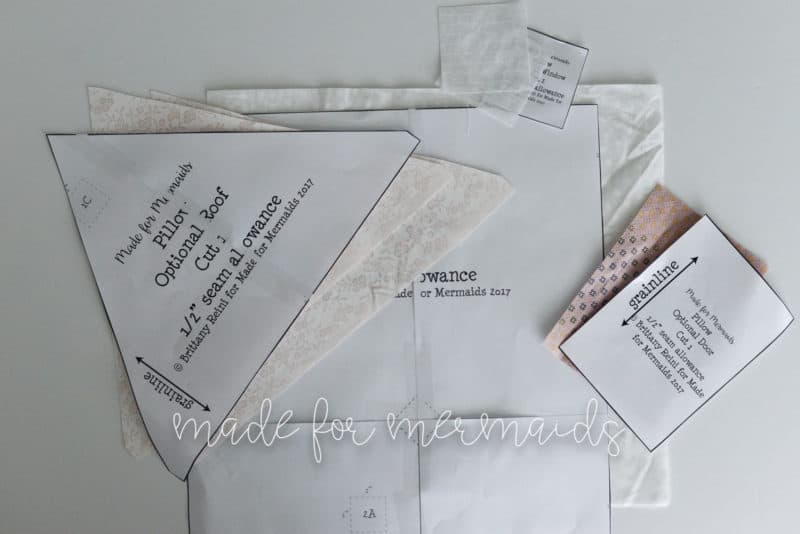
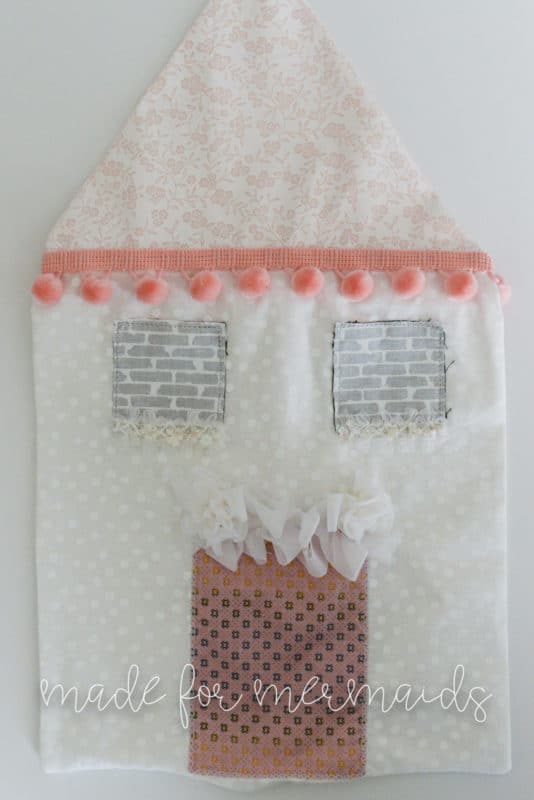
Step 1: Cut your pieces – 2 main house, 2 roofs, 2 windows, 1 door. Don’t forget to cut the notch on the main piece!
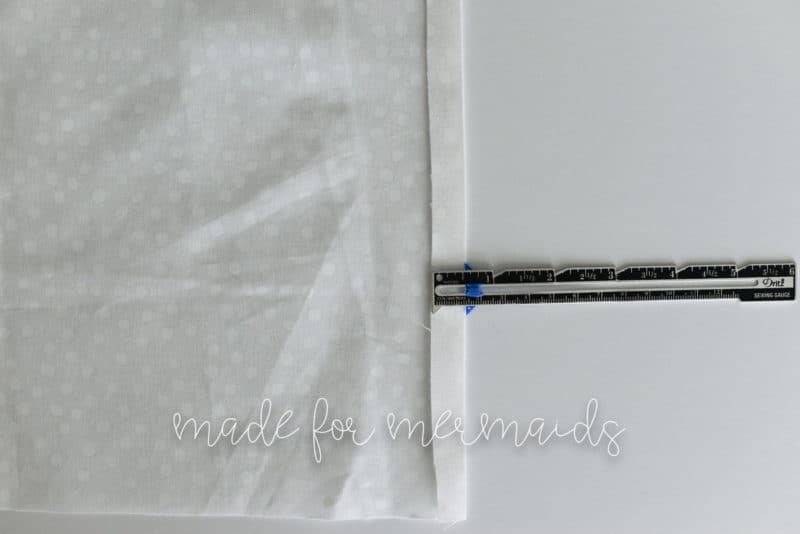
Step 2: Create a memory press by pressing bottom edge of main pillow to wrong side 1/2″ (The bottom edge has a notch to help you differentiate top from bottom.). Unfold memory press.
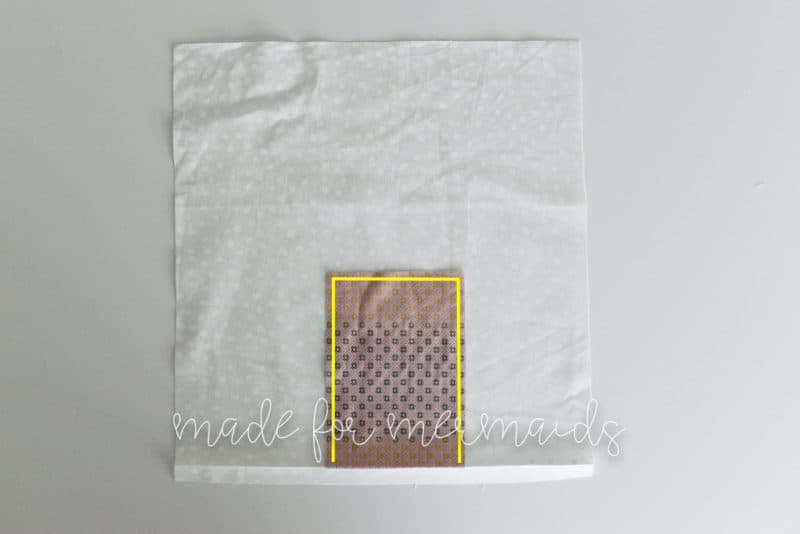
Step 3: Center door along top of memory press, wrong side of door to right side of main house. Pin and edgestitch in place 1/8″ away from edge of fabric to minimize fraying. Tip: This is a great place to use a decorative stitch if your machine has it, just be sure to back it with some tear-away interfacing to stabilize your fabric!
Stitch door trim in place, if desired. Tip: Add a button onto the door at this step for a cute door handle!
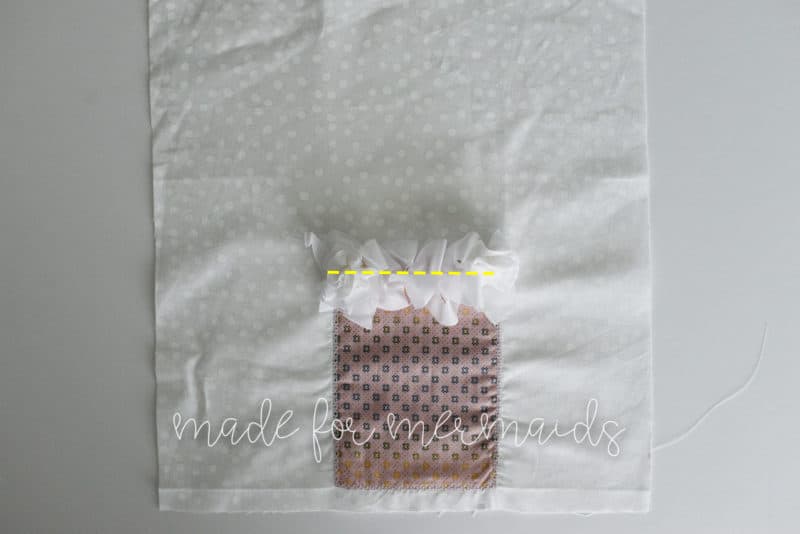
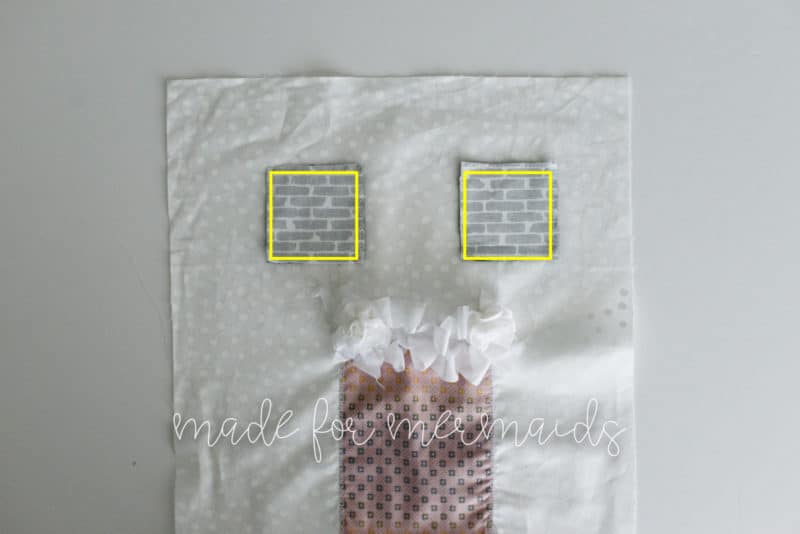
Step 4: Place windows where you like (you can get creative here and cut 4 windows and place them on either side of the door, as well as above the door, or cut 1 and center it over the door – whatever you think your fairy would like! 😉 , wrong side of window fabric to right side of main fabric. Pin and edgestitch in place 1/8″ away from edge of fabric to minimize fraying.
Step 5: With right sides together, pin long, straight edge of roof to top edge of main body. Stitch in place with 1/2″ seam allowance. (This will now be referred to as the “front”.)
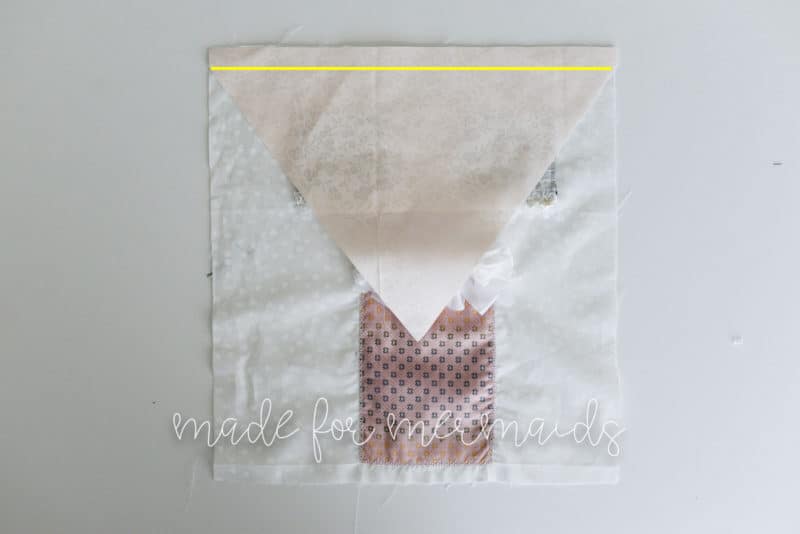
Repeat with other roof and main pieces. (This will now be referred to as the “back”.)
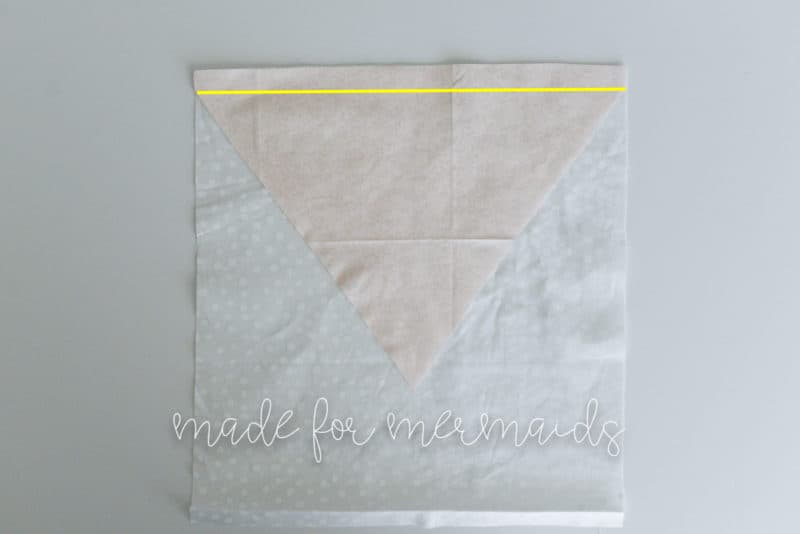
Step 5: Open up front and press seam allowance toward main body. Repeat for back. Place front and back pieces right sides together and stitch along one side of the MAIN BODY ONLY with 1/2″ seam allowance.
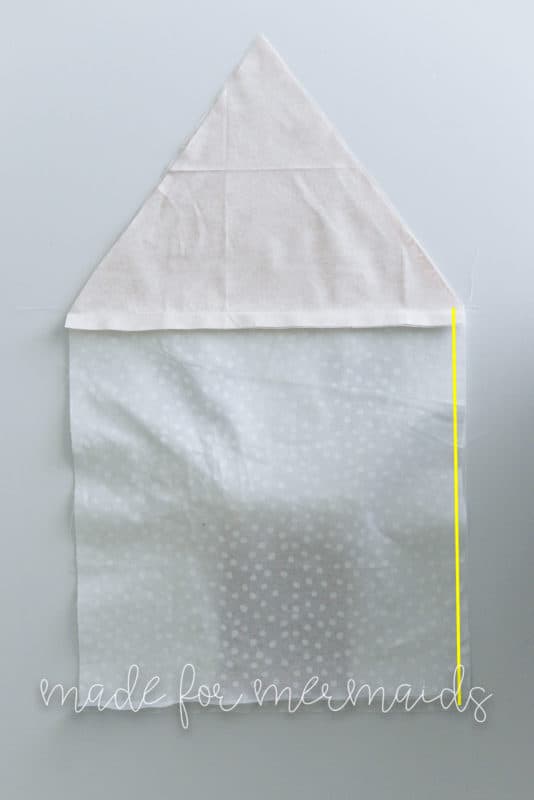
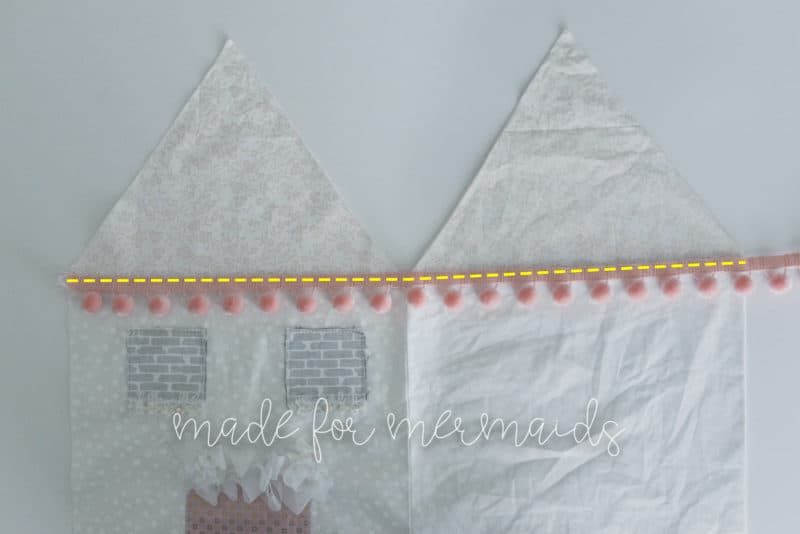
Step 6: Open up and pin trim along roof/main seam, if desired. Stitch in place. Trim off any excess trim.
Step 7: Place front and back right sides together and stitch along roof/other side of main body and along bottom edge, making sure to leave 3-4″ open at the bottom for turning right side out and filling with poly-fill.
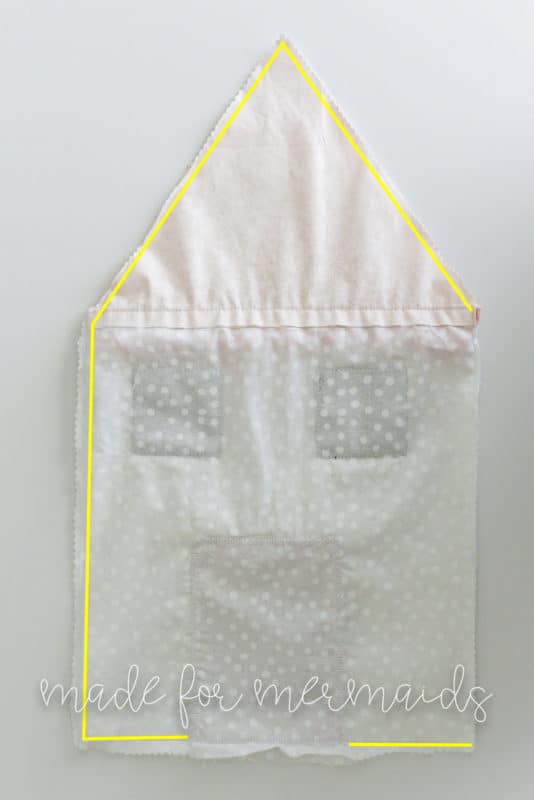
Step 8: Clip corners and trim seam allowances. Do not trim the portion of the memory press you left open for turning.
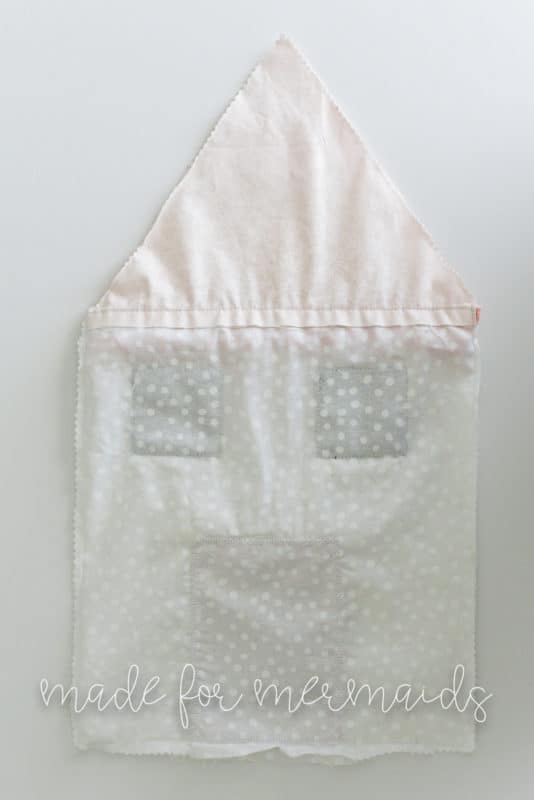
Step 9: Turn right side out and fill with poly fill.
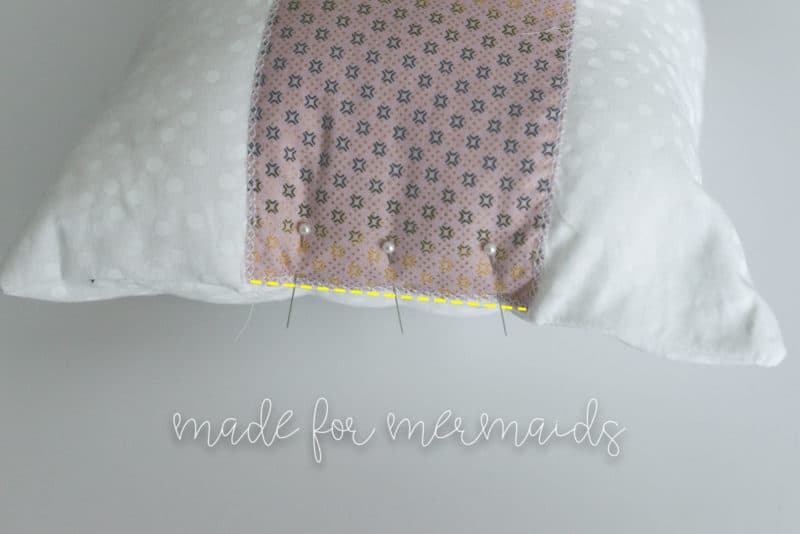
Step 10: Fold memory press inside the pillow and stitch closed using an invisible/blind stitch.
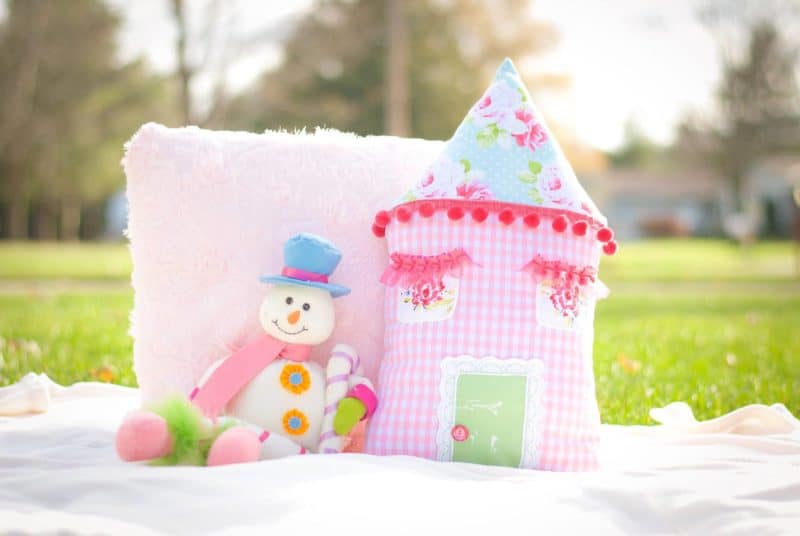
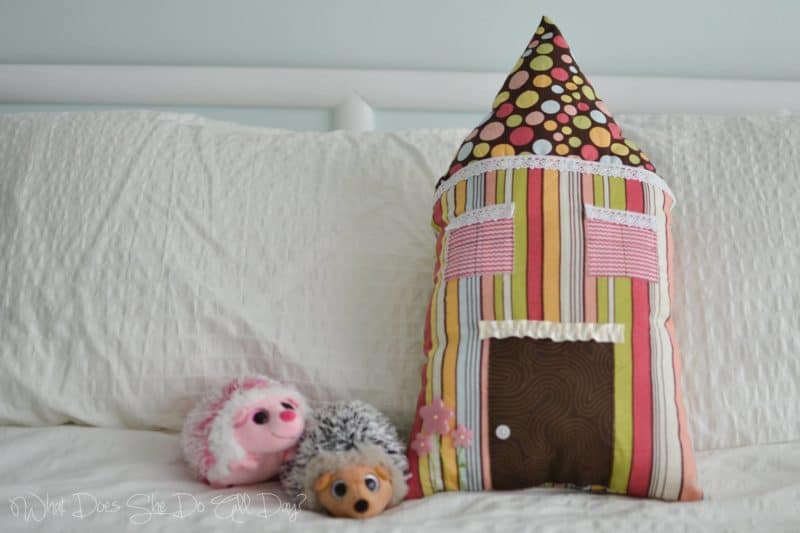
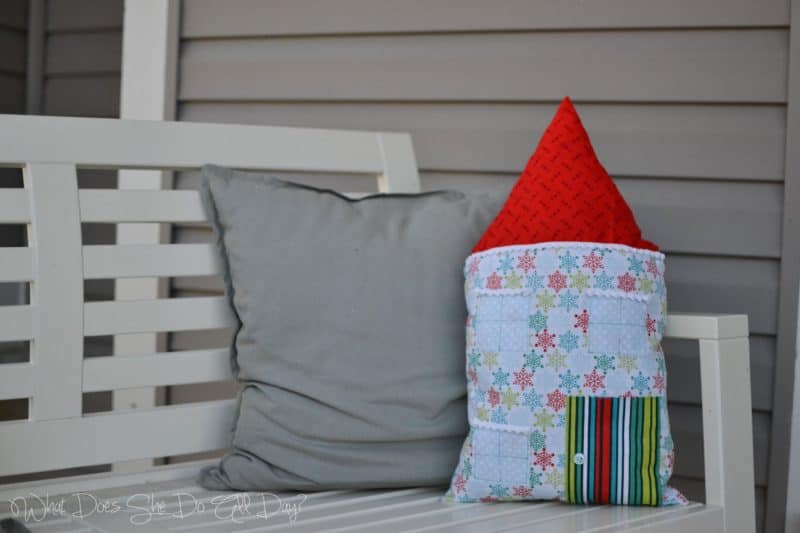
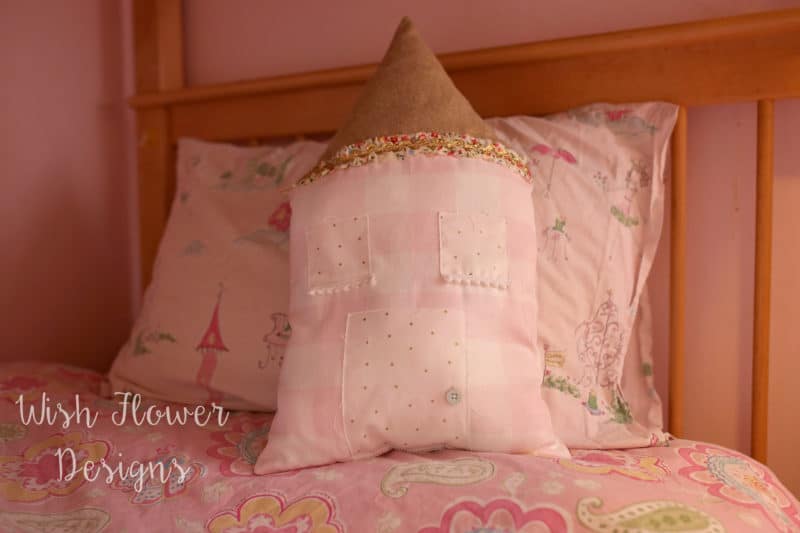
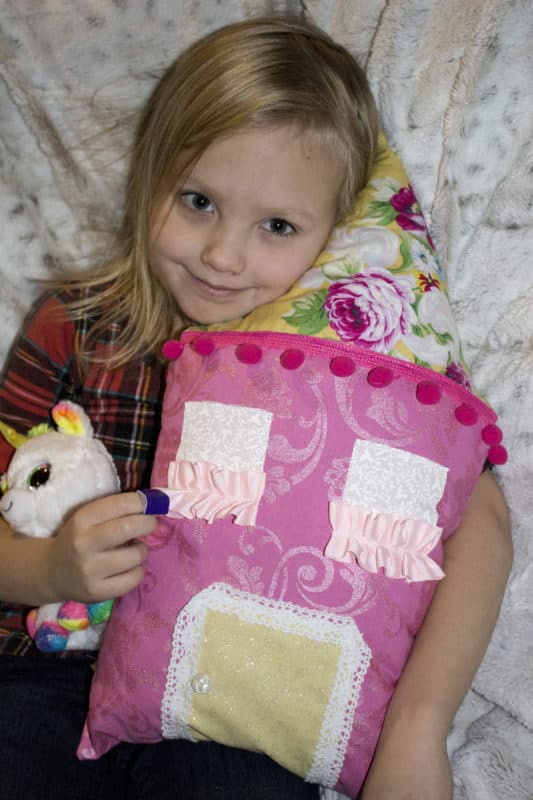
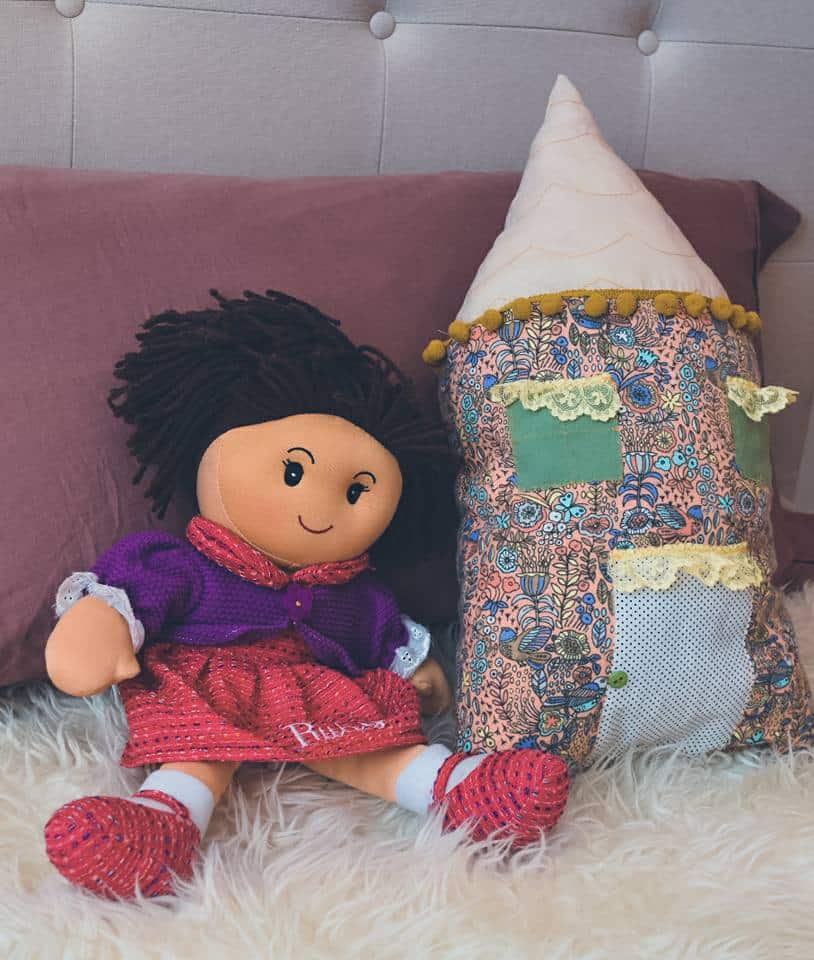
That’s it! Step back and admire your creation! Don’t forget to join the Made for Mermaids Pattern Group on Facebook to share your creations – we’d love to see them! Here is a look at all of our testers’ cute new pillows! You can get as creative as you like – they even make a great seasonal pillow!
![]()
![]()
Made for Mermaids’ 12 Days of Christmas Freebies
DECEMBER 1 – 12, 2017
DAY 1-BARNACLE BUDDIES
DAY 2-HAIR SCRUNCHIES
DAY 3-TREE GARLAND
DAY 4-SYDNEY SAILOR BOWS
DAY 5- MASON JAR PIN CUSHION
DAY 6 – HAND WARMERS
DAY 7 – OVEN MITT
DAY 8 – SNACK BAG
DAY 9 – ZIP UP POUCH
DAY 10 – CRAYON ROLL
DAY 11 – NECK WARMER

Leave a Reply