
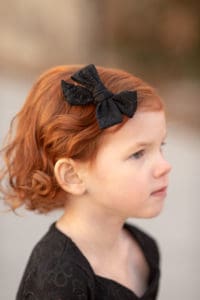
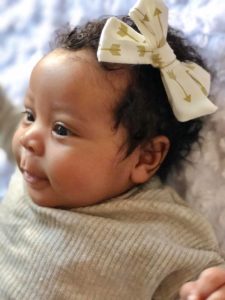
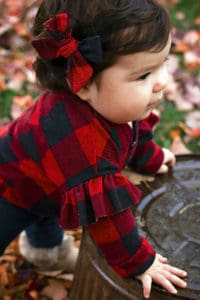
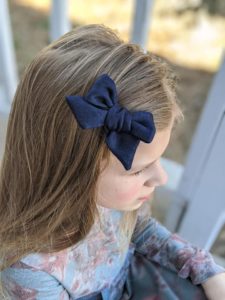
On the seventh day of Christmas, Made for Mermaids gave to me……a hand-tied bow for all your bow needs! This adorable bow comes in 3 different sizes and it great for everything from head bows with clips, pigtail bows, headbands, to attach to gifts, pet collars, skies the limit with these cute bows!
SUPPLIES:
- Fabric Scraps- Any base (Thicker fabrics will be more difficult to tie)- Grainline doesn’t matter.
- Optional-
- Hair Clips
- Pony Tail Holders
- Ribbon
- Headband (Nylon or Other)
- Fusible Interfacing
LET’S GET STARTED!
1/4″ seam allowances included.
Step 1: PREPPING
Go grab the pattern here! The pattern is 100% free, but you do need to add it to your cart and checkout. Then, it will always be available to download from your account. The pattern is a no-trim pattern; if you need help putting the pattern together, pop over to the faqs and troubleshooting page or ask in our Facebook group .
Print and assemble the pattern. There are 2 or 3 pages to print out, depending on size. Pattern layout below:
Step 2:
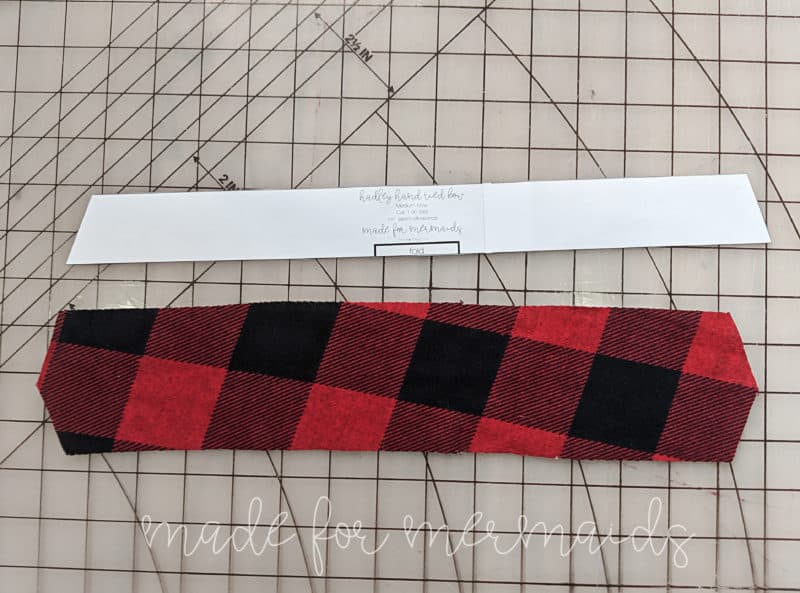
Cut out your fabric piece and apply fusible interfacing if using a lightweight fabric with little structure.
Step 3:
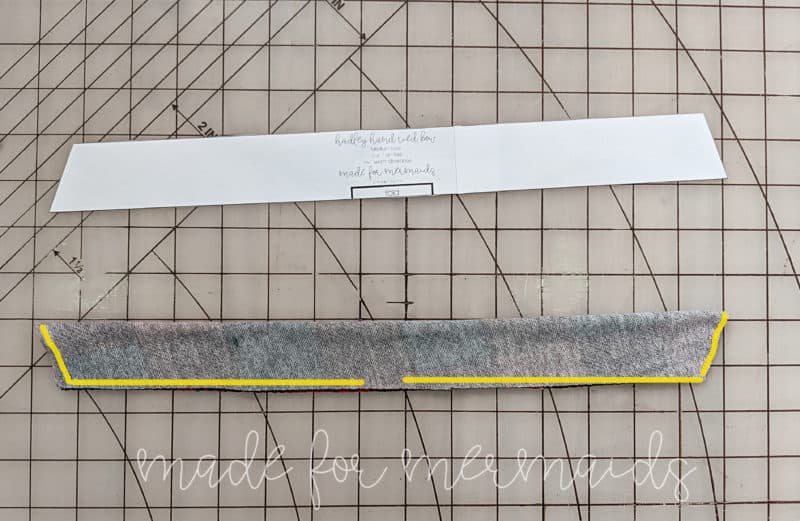
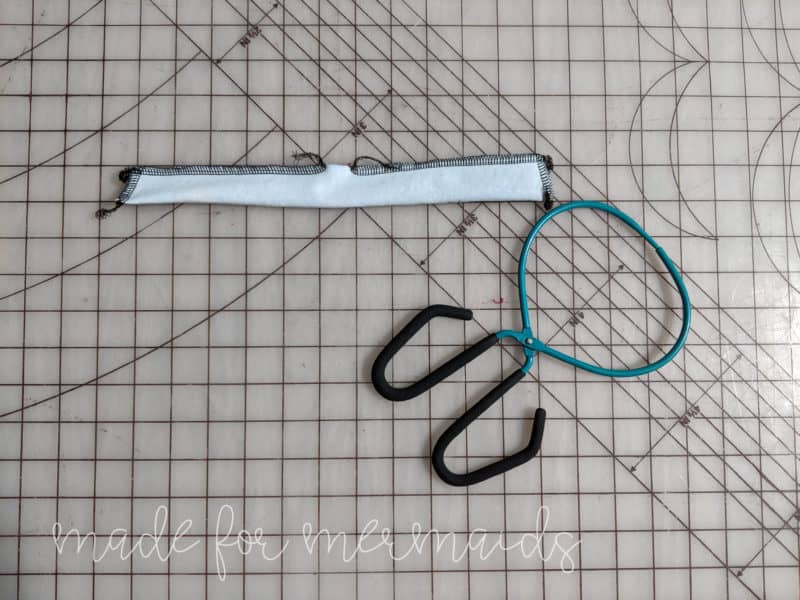
Fold your bow in half and stitch along the short ends and long ends leaving a small 1-2 inch gap to turn your bow right side out. Optional: clip your corners for clean points if you used a sewing machine.
Step 4:
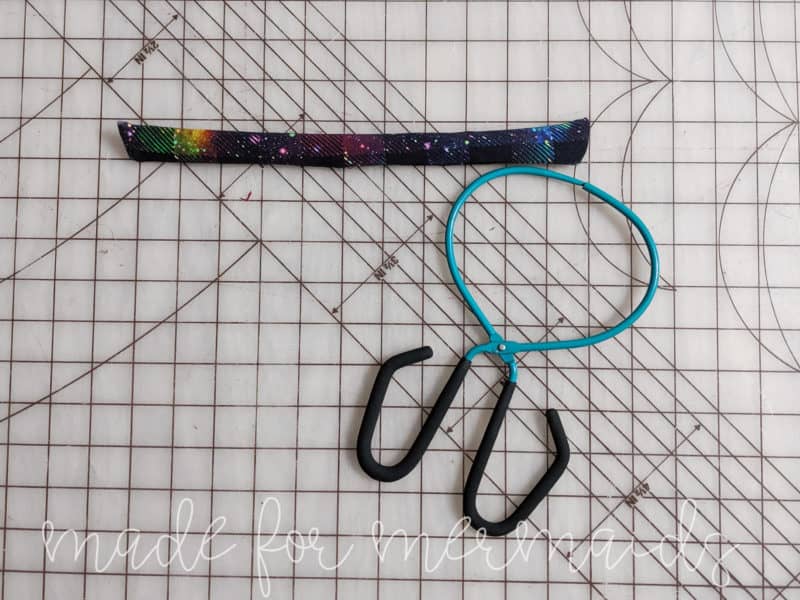
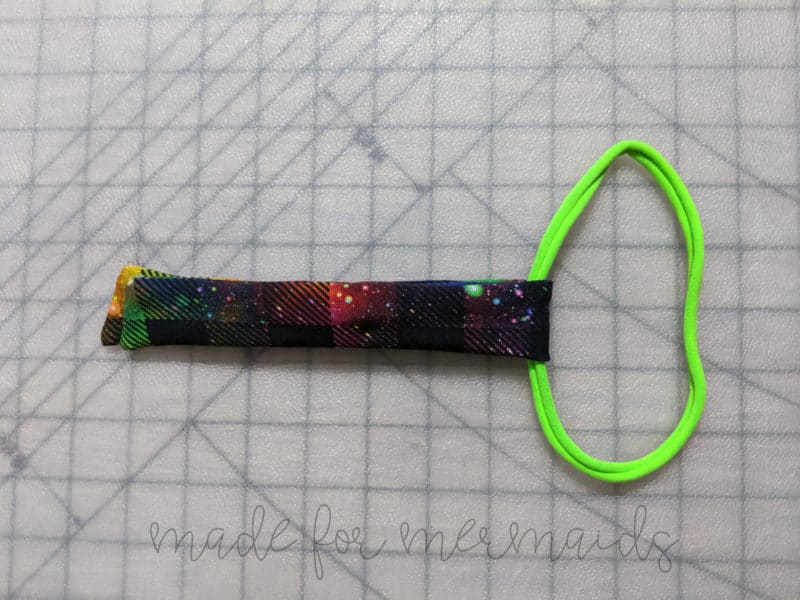
With your favorite turning tool, turn your bow right side out and press. If you’d like to close the turning hole, you can, but it’ll be tied in.
Step 5: Watch video here on how to tie the bow!
Now to tie your bow. I highly recommend following the video here, but if you aren’t able to, step-by-step instructions are below.
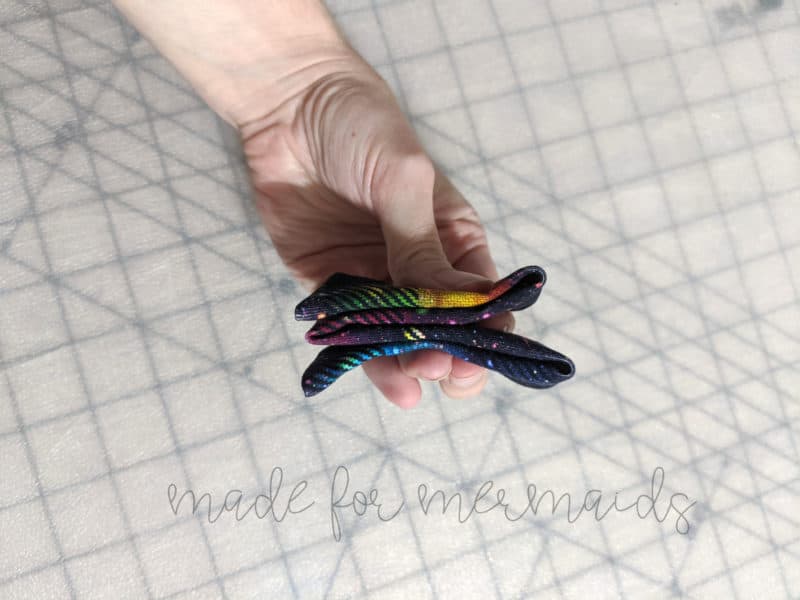
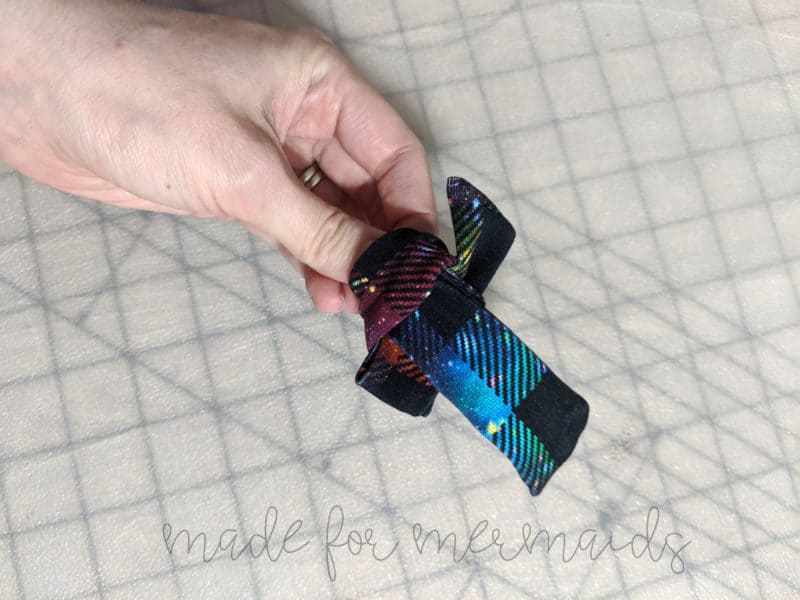
Next, you’ll fold the ends of your bow outward toward the fold.
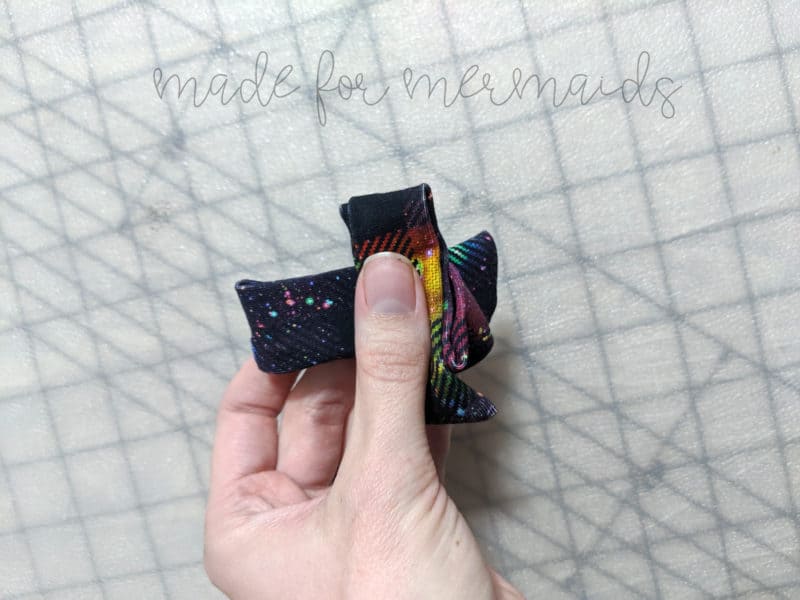
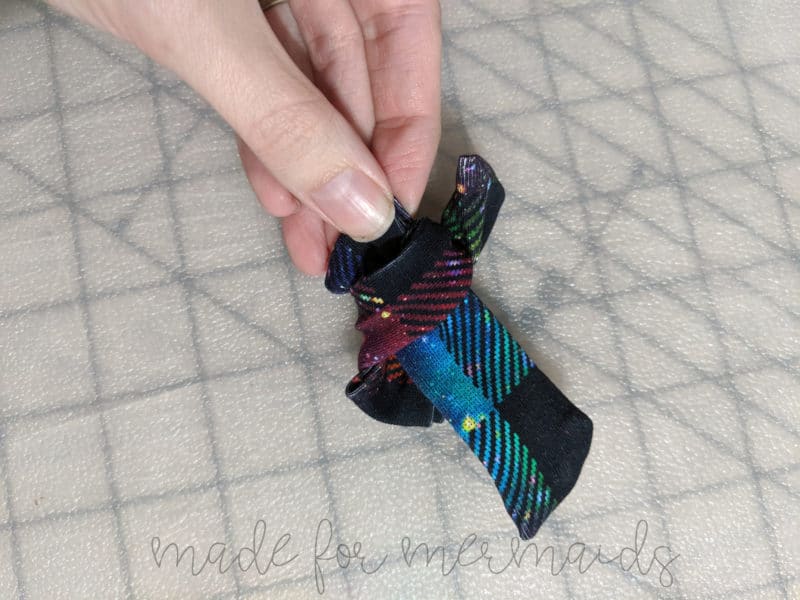
Cross your long fold over the top of the short fold creating a loop.
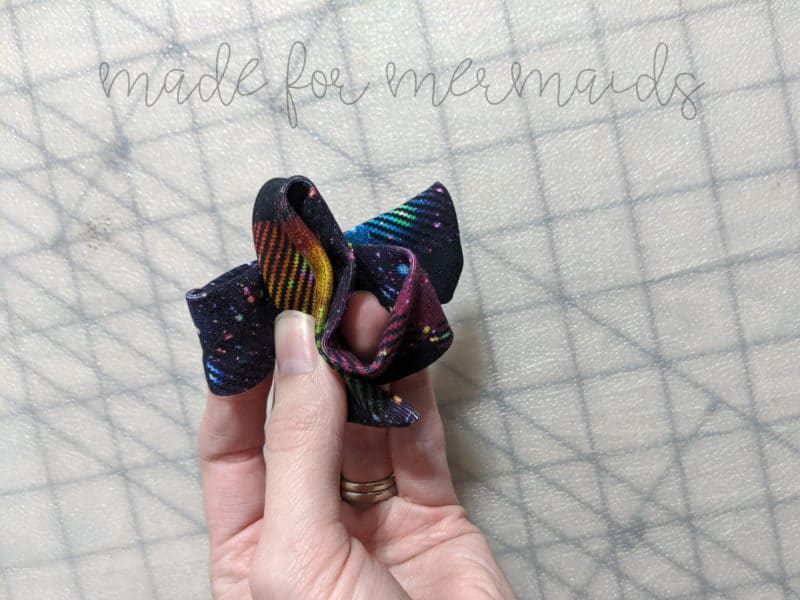
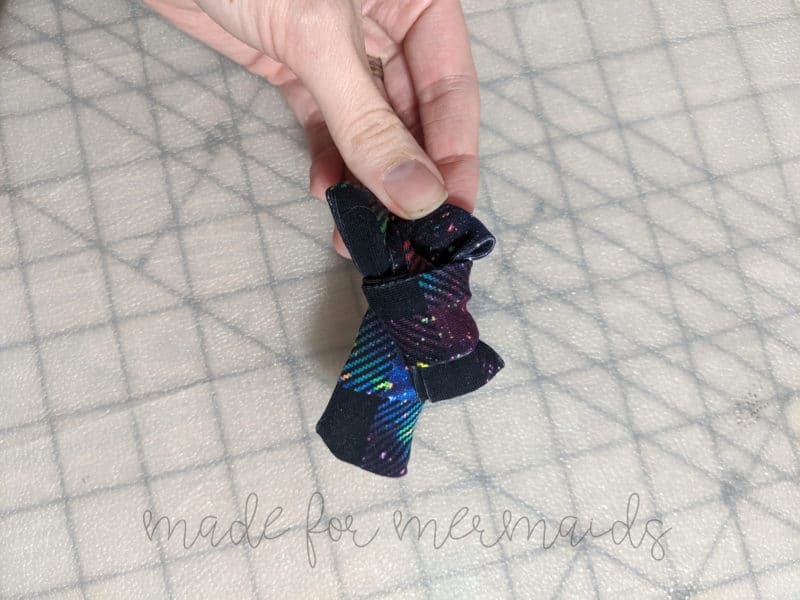
Bring your long loop around the other side of your short loop and back through the hole you created.
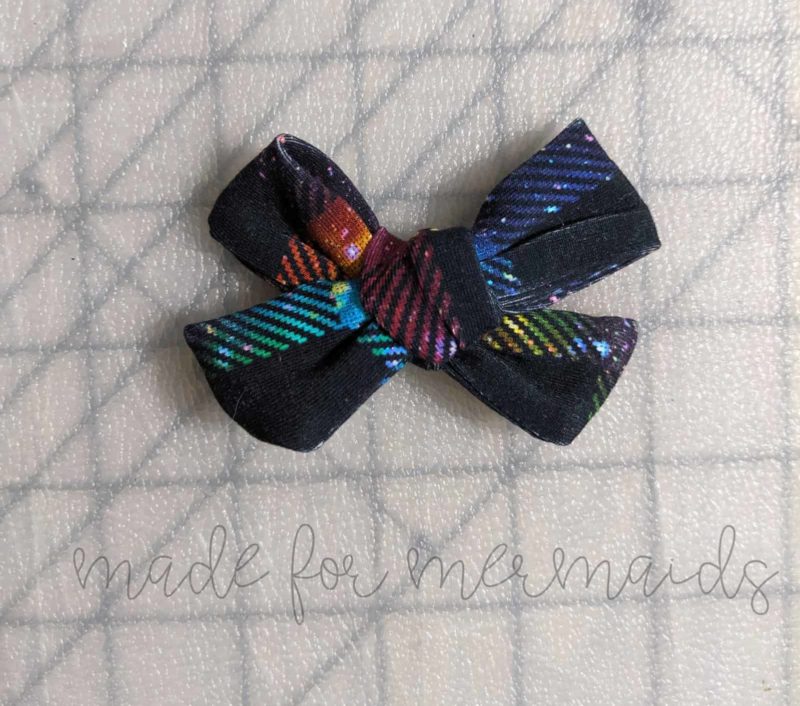
Now grab both ends of your loops and tails and pull until you get your bow even.
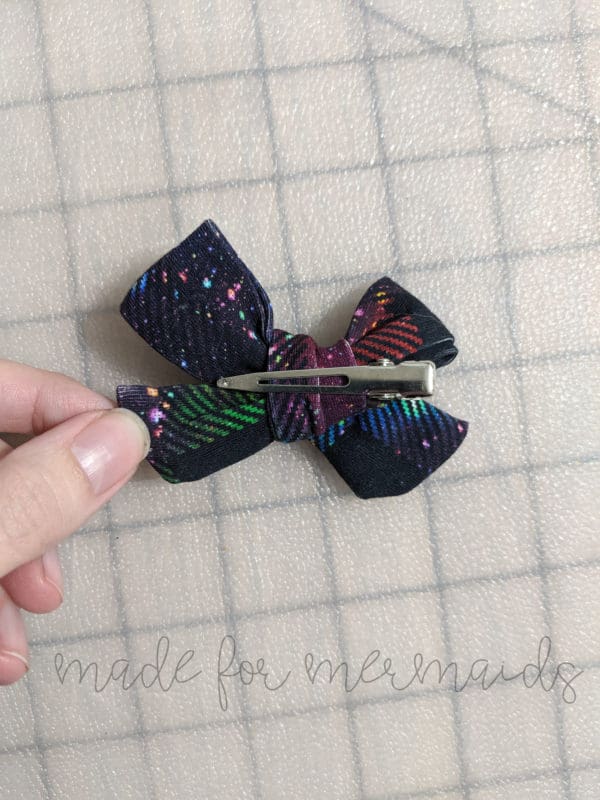
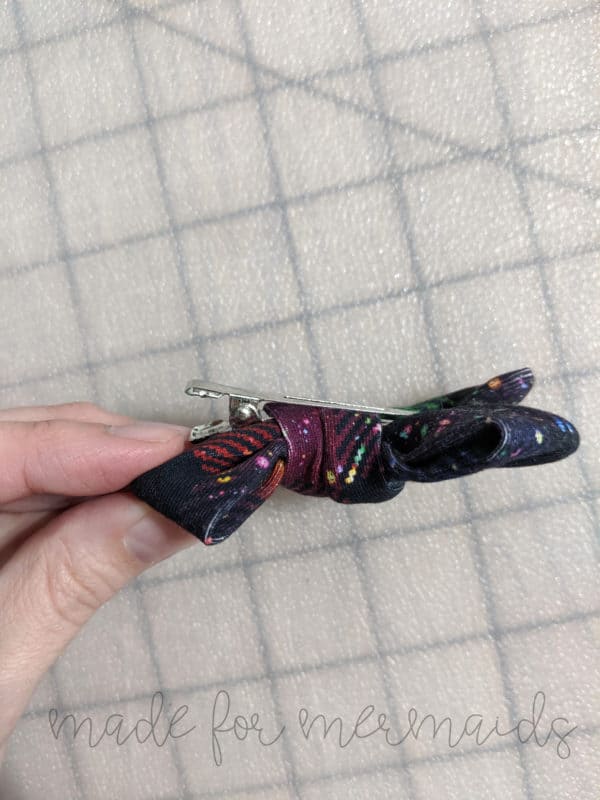
And you’re done! If you’d like to add a clip simply slip it through the knot on the back. I recommend using hot glue to tack down your bow in a few places to hold shape and to keep the clip in place if using a clip.
That’s it! Enjoy your new Hadley Hand-Tied Bows! Be sure to check out previous days’ freebies for lots of great gift ideas.











Leave a Reply