
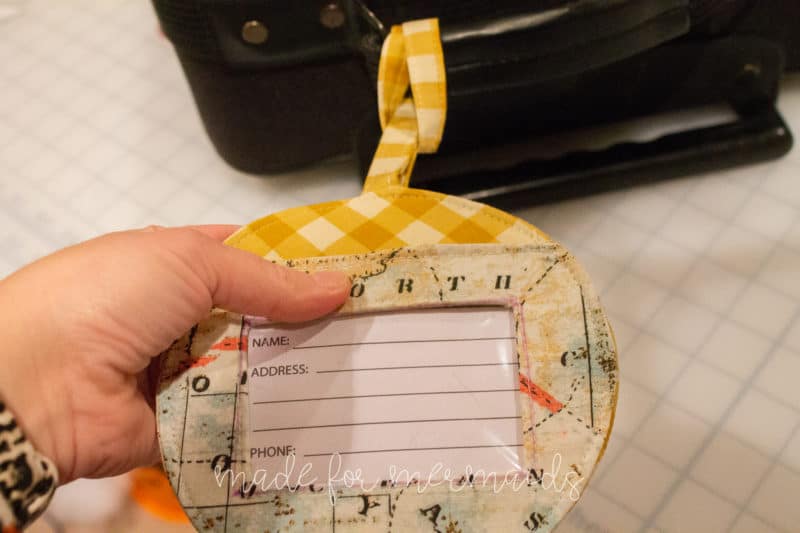
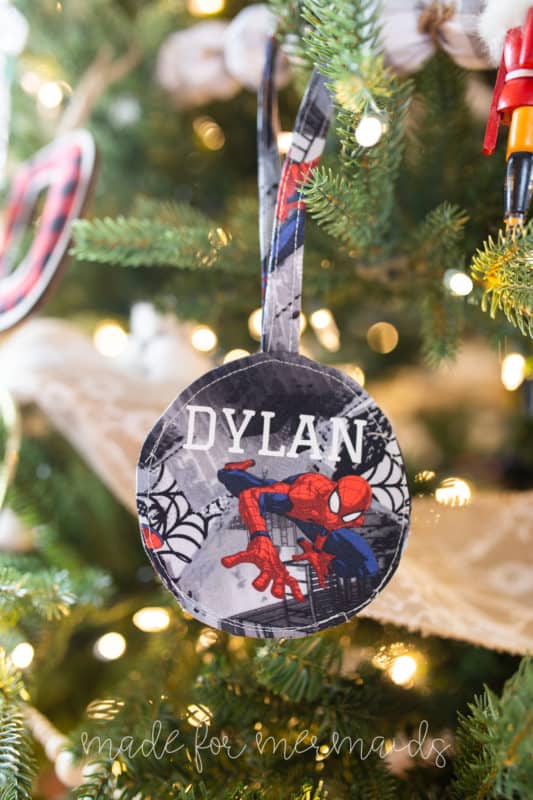
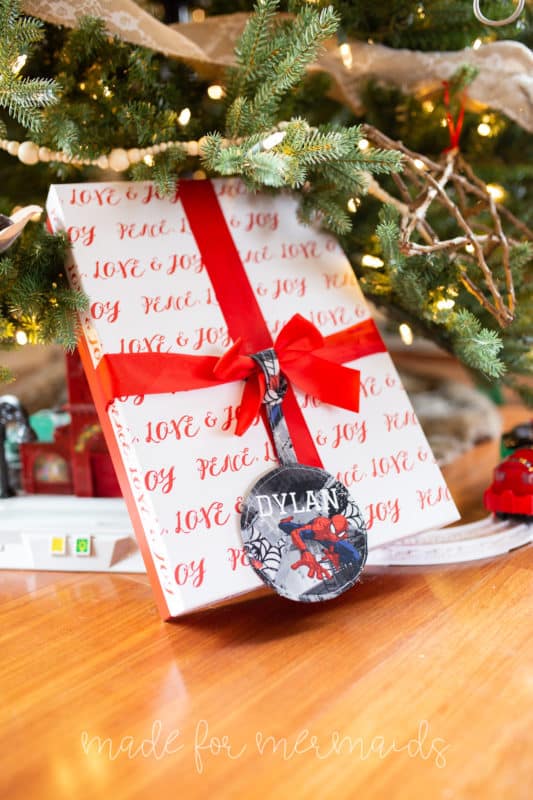
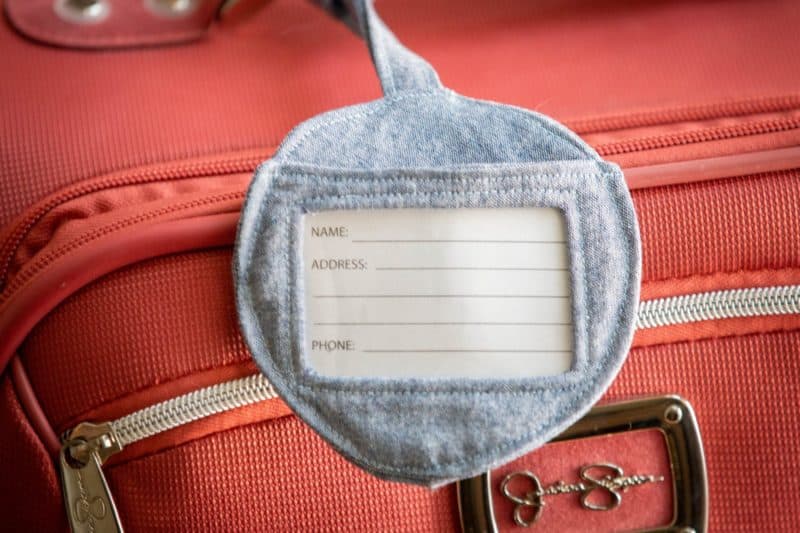
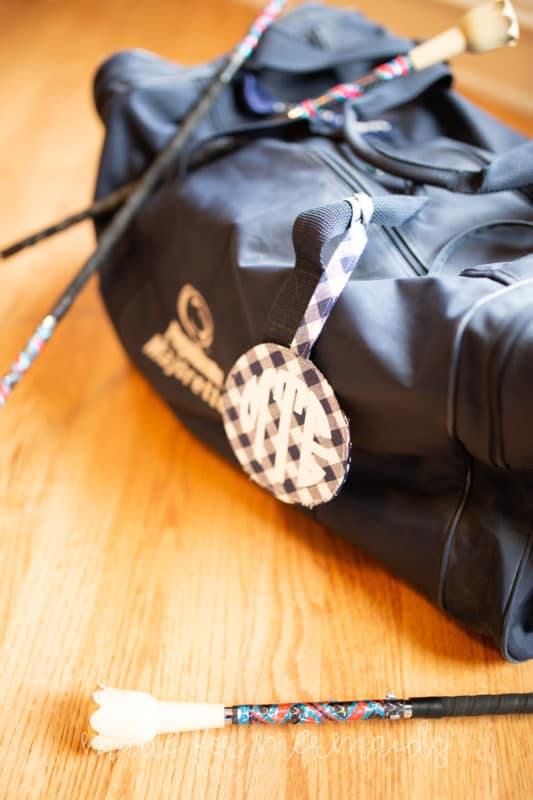
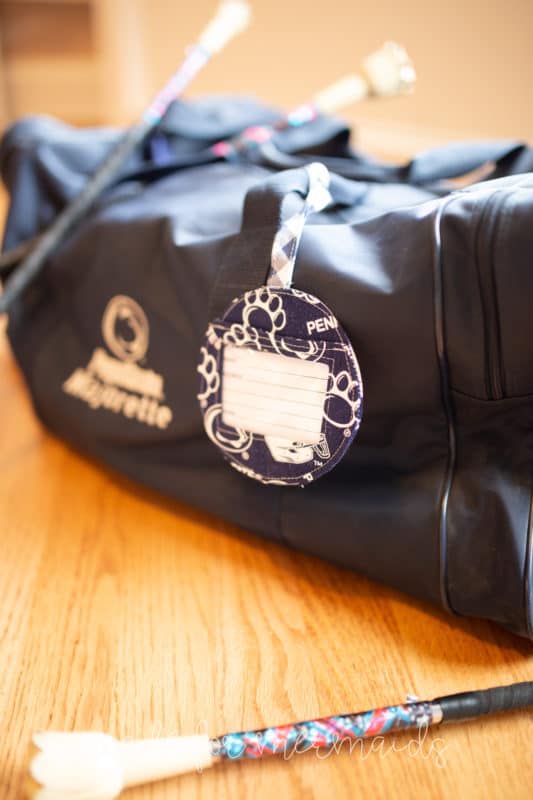
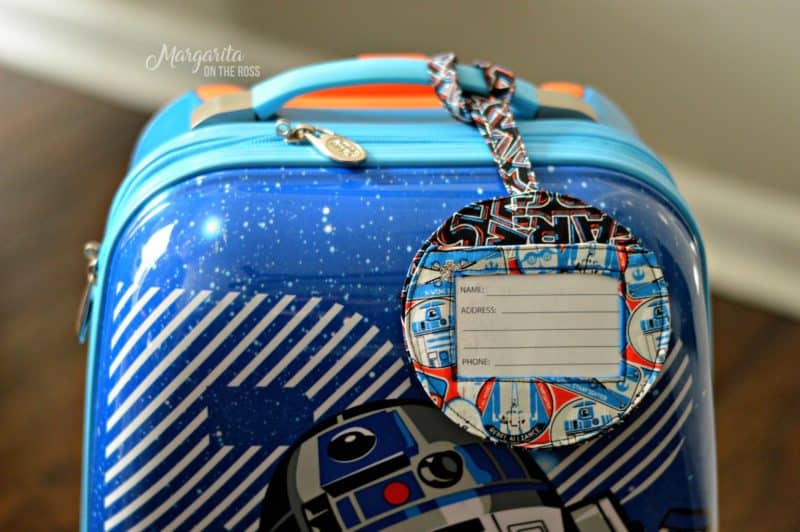
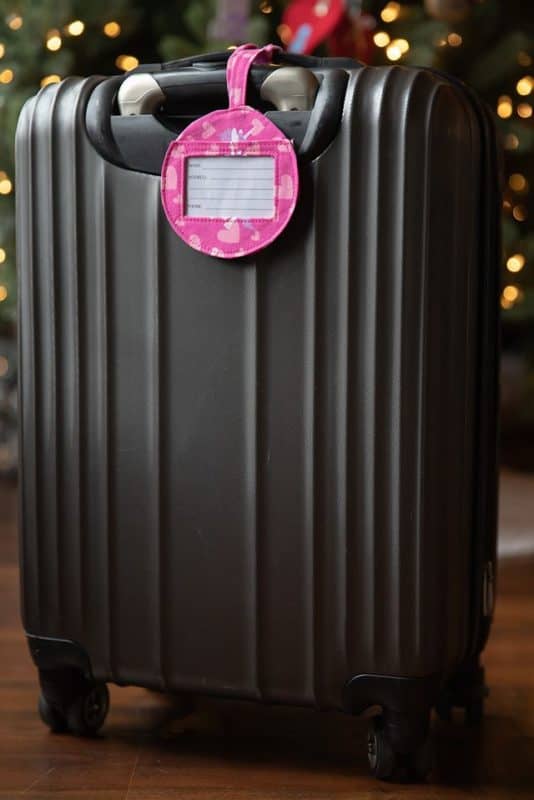
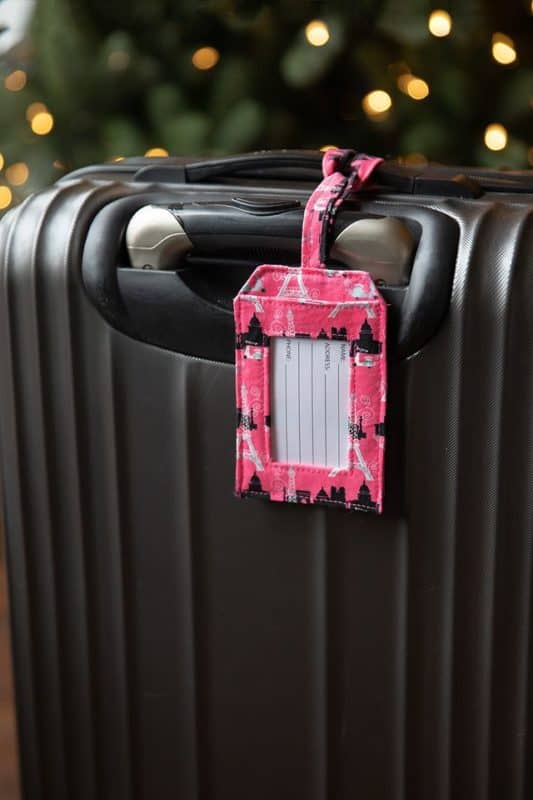
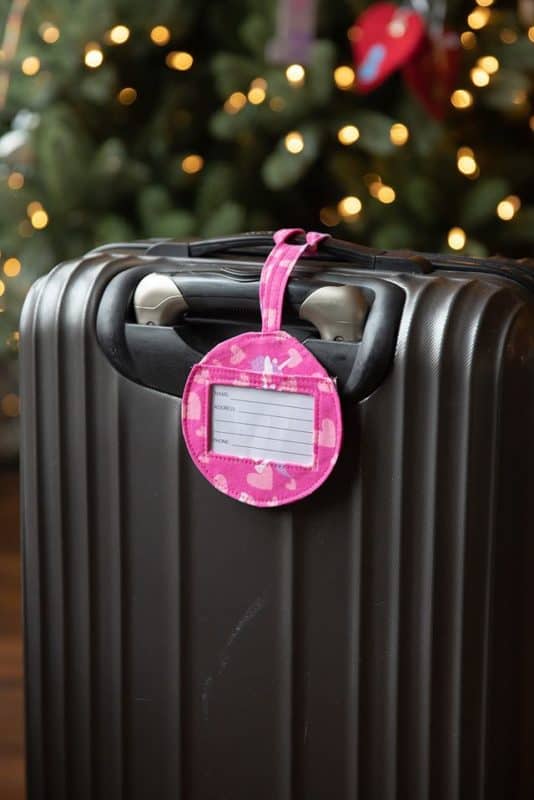
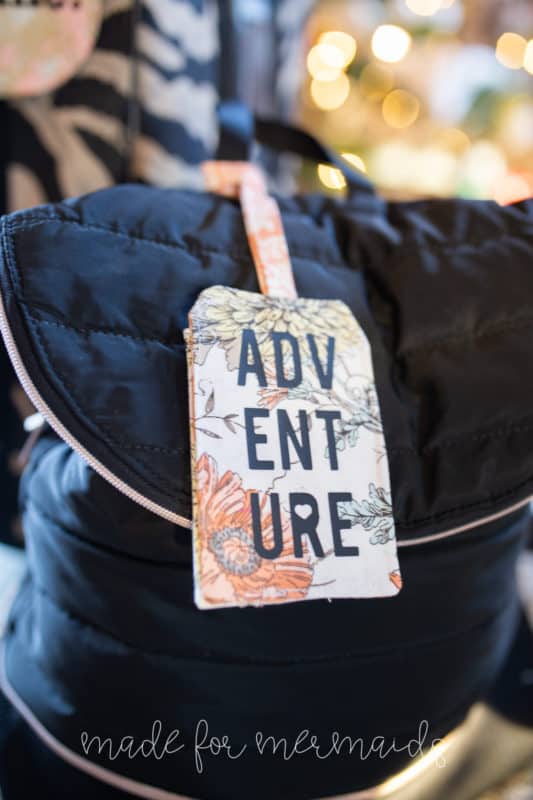
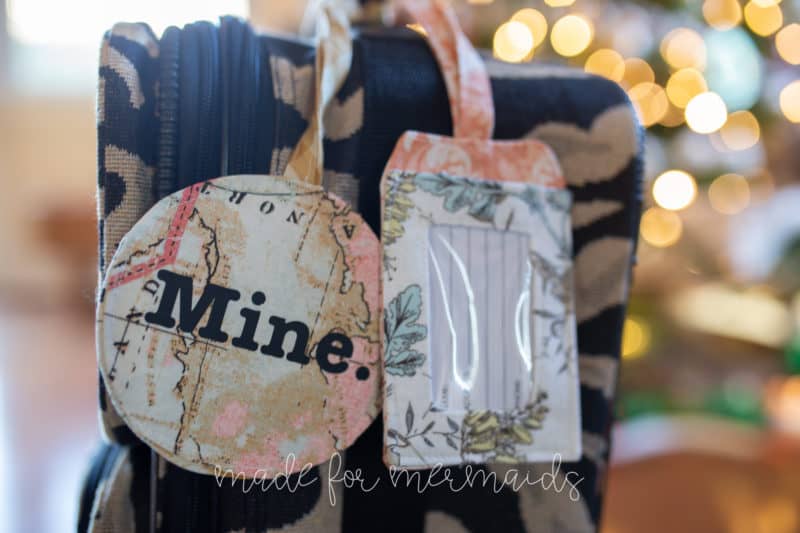
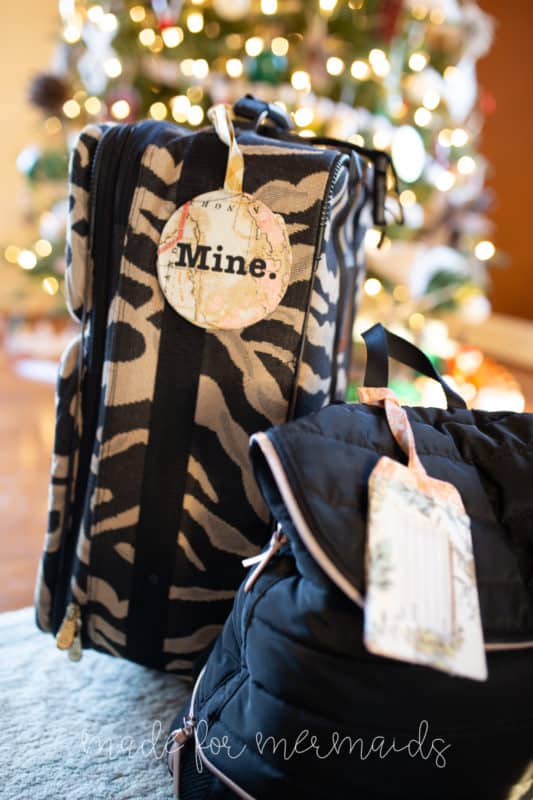
It’s Day 8 of our Christmas freebies!!!! Today we have a super cute and useful item for you…. luggage tags and 6 travel-themed cut files! These are so much fun to create using different prints, fabrics, and HTV (heat transfer vinyl) AND they are great scrap busters. Obviously, you can add them to your suitcases and bags for travel, but I like to make them up as gift tags and gift card holders for presents for friends, coaches, teachers, etc!!! They also look cute on sports equipment bags, book bags and so much more.
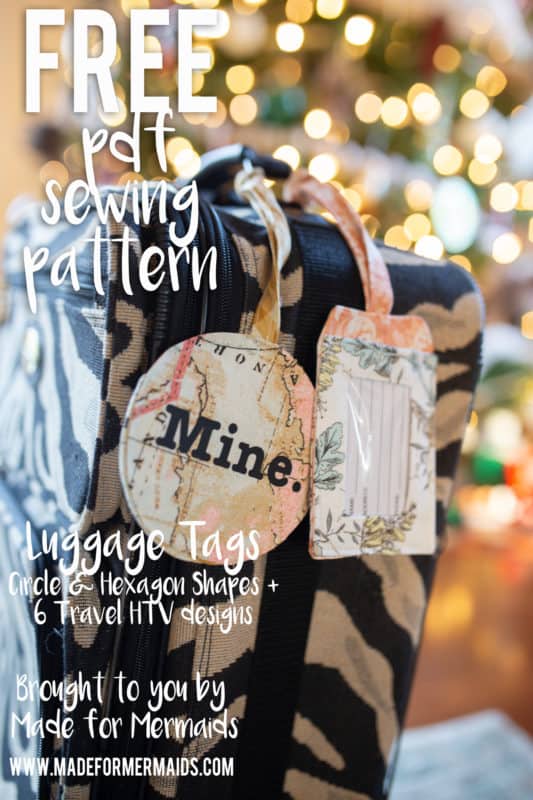
You can download your Luggage Tags pattern pieces here in our freebies section, and then come back here for the tutorial!
SUPPLIES:
- 1/4 yard Cotton woven- quilting cotton, kona, linen, lawn, batiste, etc.
- 1/4 yard Medium to heavy weight fusible interfacing
- 1/8 yard Vinyl – I used 8 gauge vinyl (found in the utility fabrics section of my craft store), but you could use thicker or thinner vinyl depending on your preference.
- Pinking shears, marking pen
- Optional HTV (heat transfer vinyl)
LET’S GET STARTED!
1/4″ seam allowances
Step 1: PREPPING
Go grab the pattern HERE! The pattern is 100% free, but you do need to add it to your cart and check out. Then, it will always be available to download from your account. The pattern is a no trim pattern; if you need help putting the pattern together, pop over to the faqs and troubleshooting page or ask in our Facebook group .
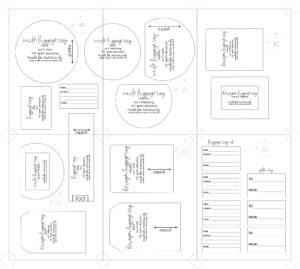
Print and assemble the pattern. Cut out the pattern pieces. Pattern layout shown below.
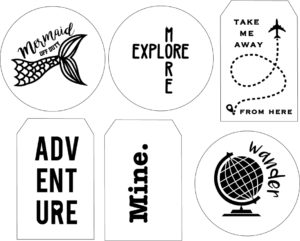
I’ve also included examples of the cut files with sample tags placed around them. You can resize and rotate them to fit your preferred luggage tag shape.
Step 2: CUTTING
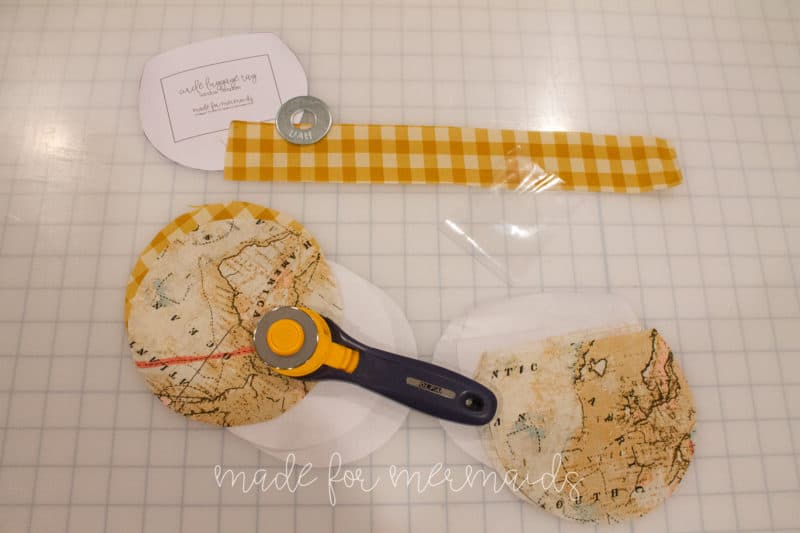
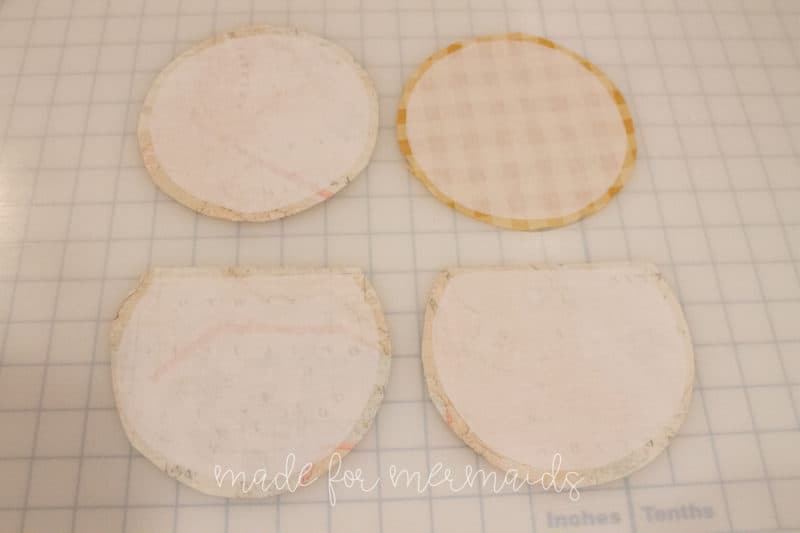
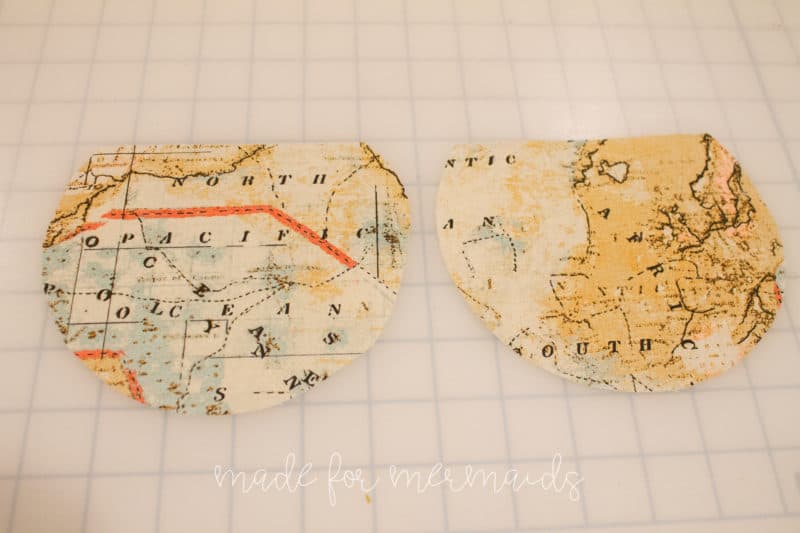
Cut 2 back pieces in your main fabric, 2 back interfacings, 2 window pieces in your main fabric, 2 window interfacings, 1 strap, and 1 vinyl. Note: I picked a contrasting fabric for one of my back pieces since it is “seen” through the vinyl window.
Step 3: Strap
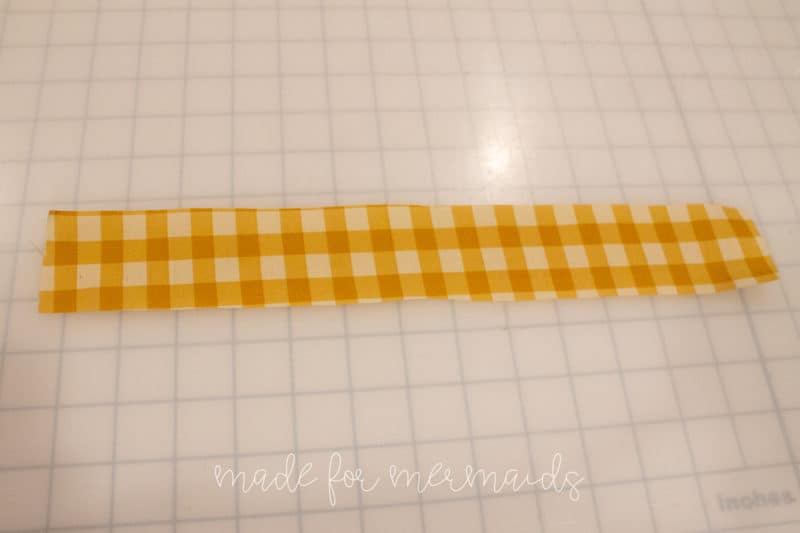
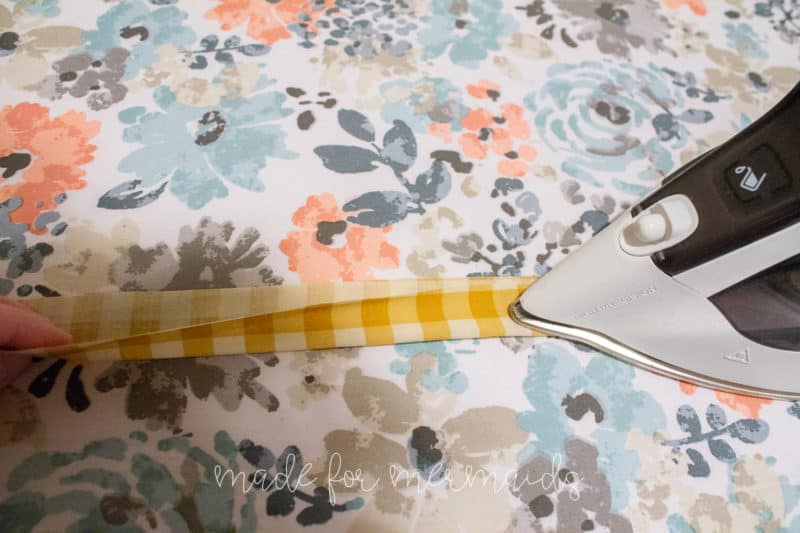
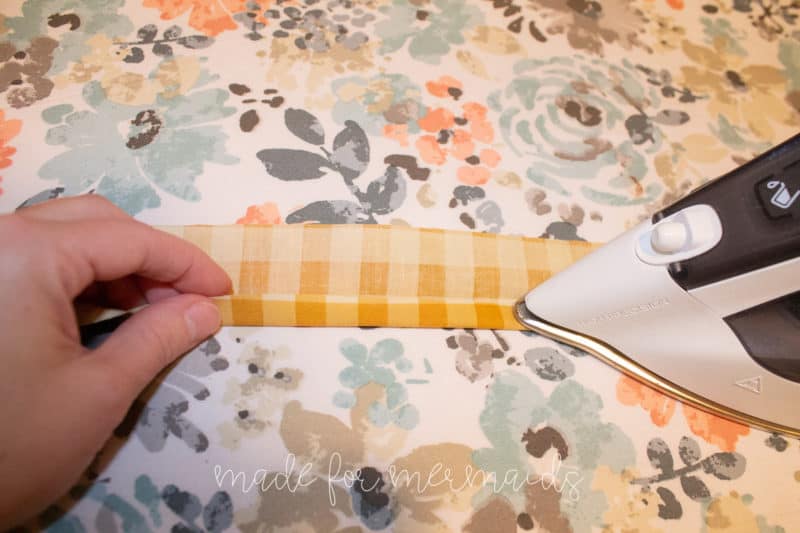
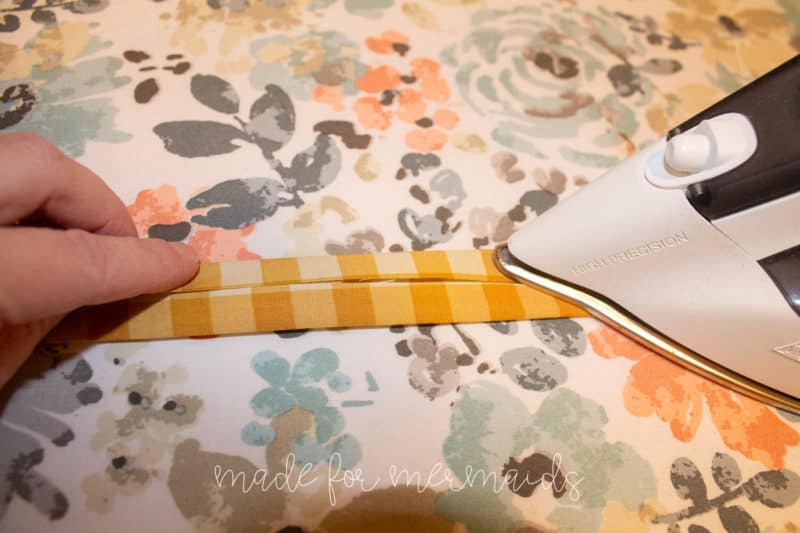
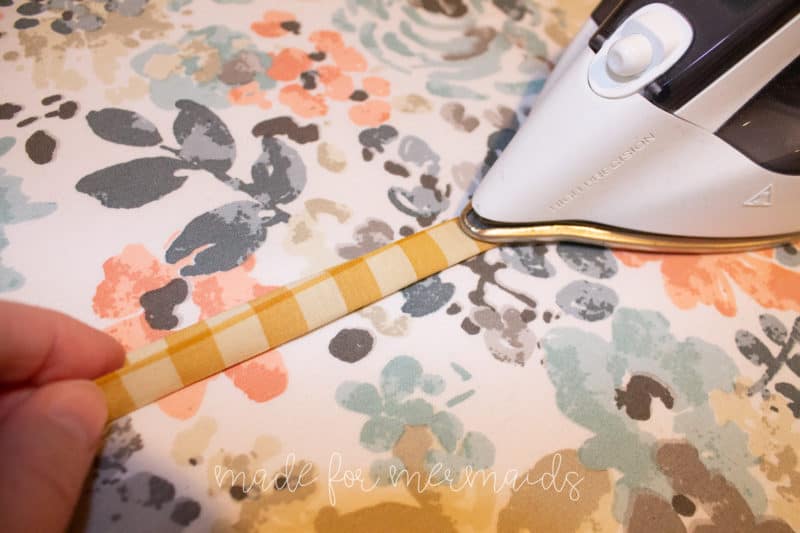
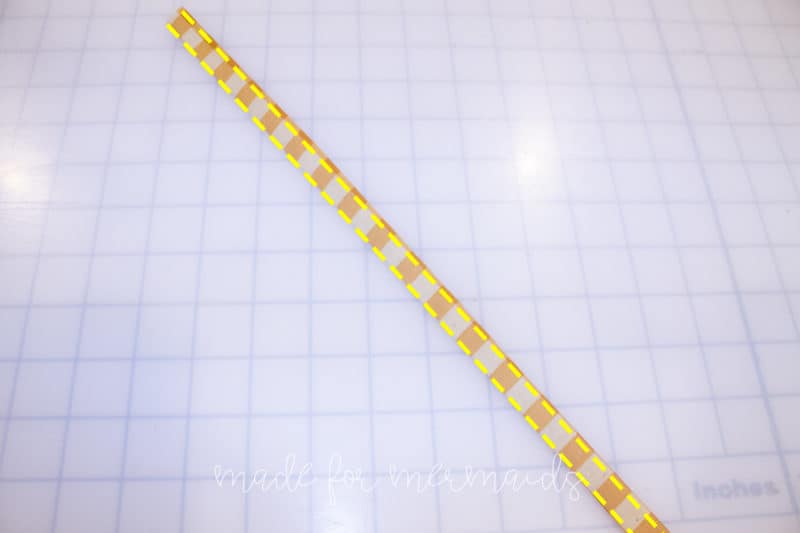
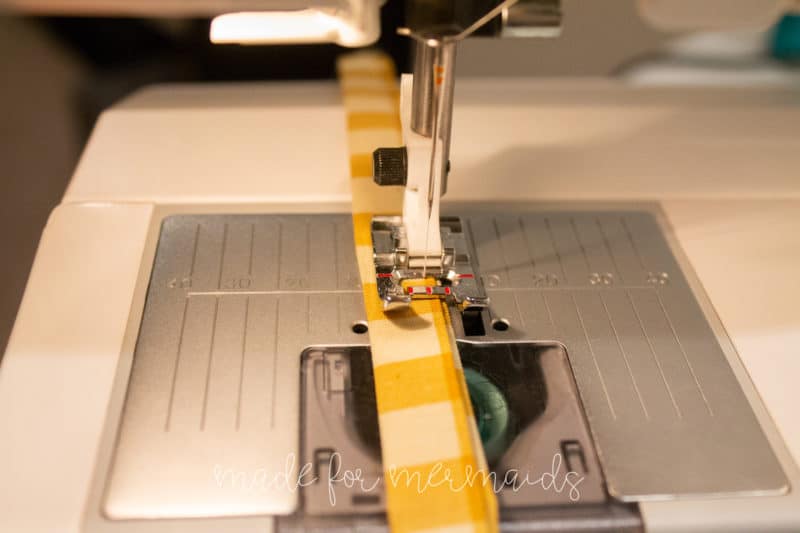
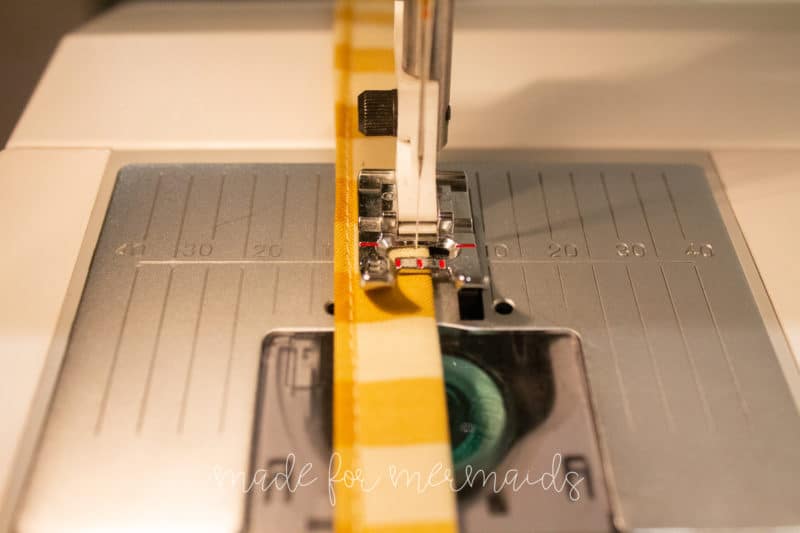
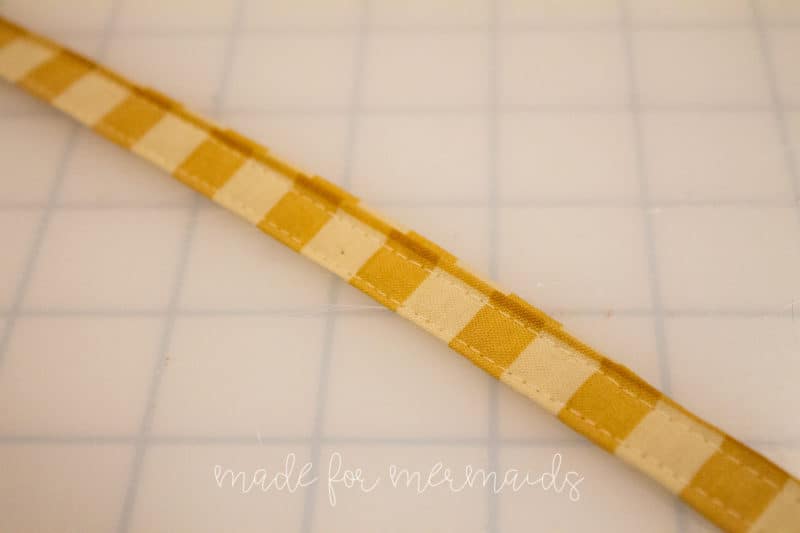
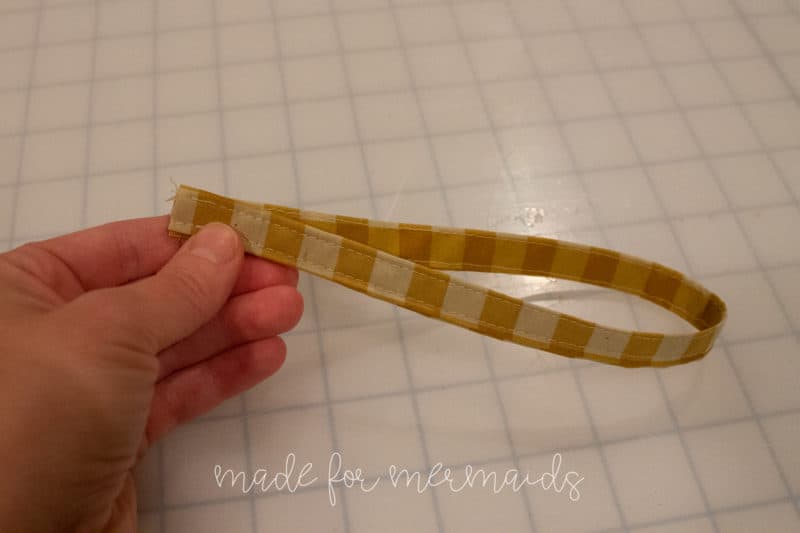
Create your strap the same way you would make double fold bias tape. Press strap in half lengthwise with WRONG sides together. Open up. Press bottom half of strap up to the fold line. Press the top half of the strap down to the fold line. Press in half again. Edge stitch along both long edges of the strap. Set strap aside.
Step 4: ADD INTERFACING
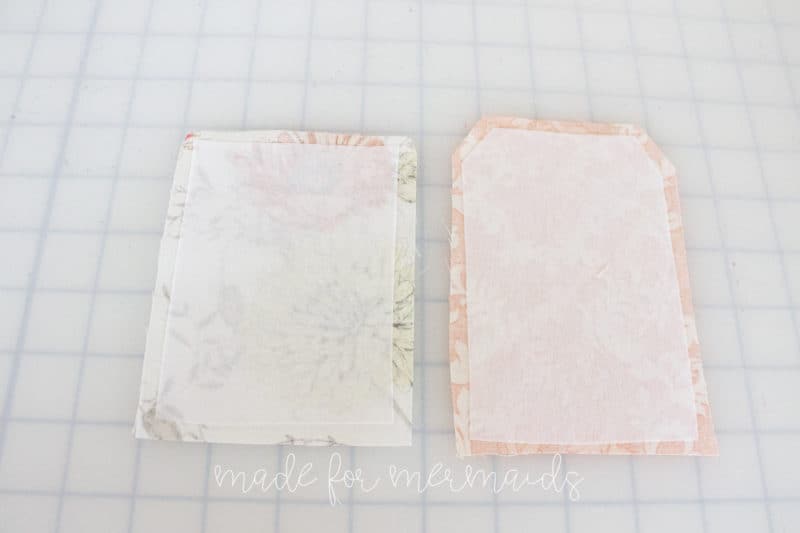
Center the back interfacing on the wrong side of one back piece. Press interfacing on back piece. Repeat with second back piece.
Center the front interfacing on the wrong side of one front piece. Press interfacing on front piece. Repeat with second front piece. You should now have all four main pieces interfaced.
Hexagon tags interfaced:
Step 5: ASSEMBLING BACK PIECE
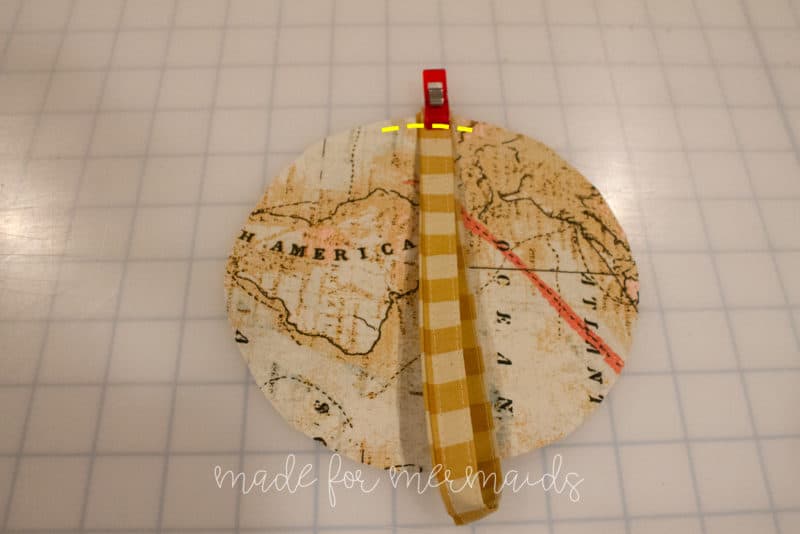
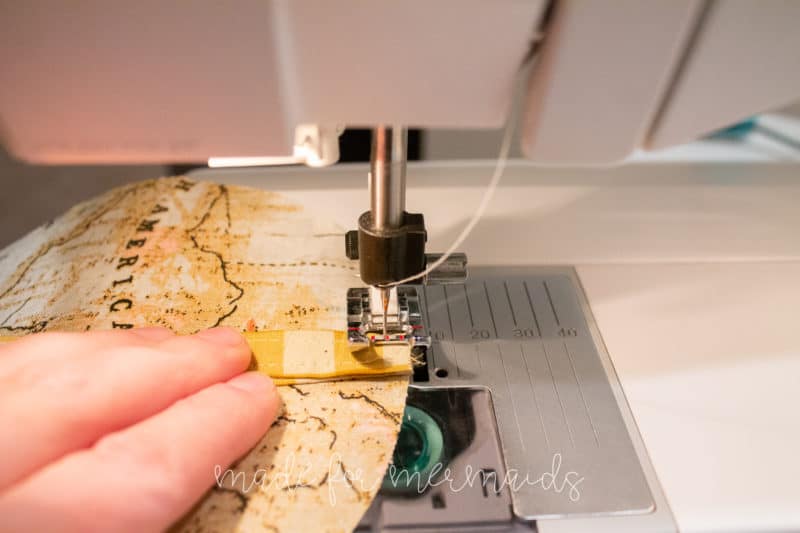
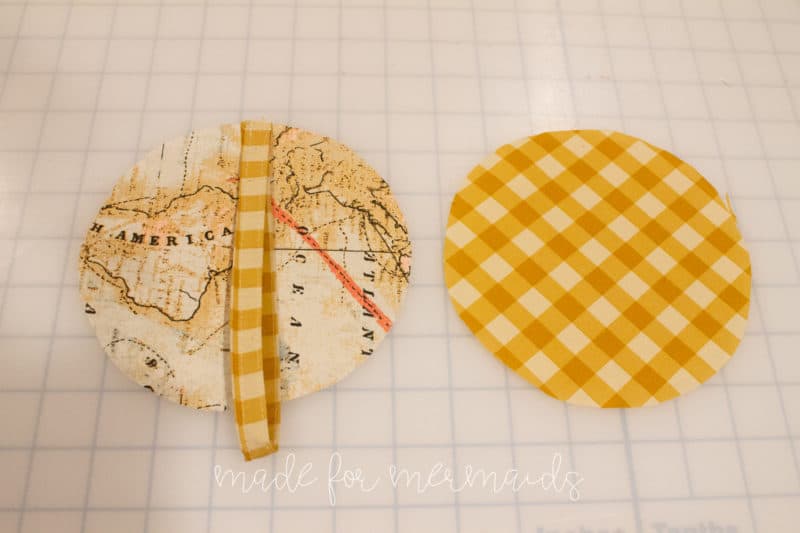
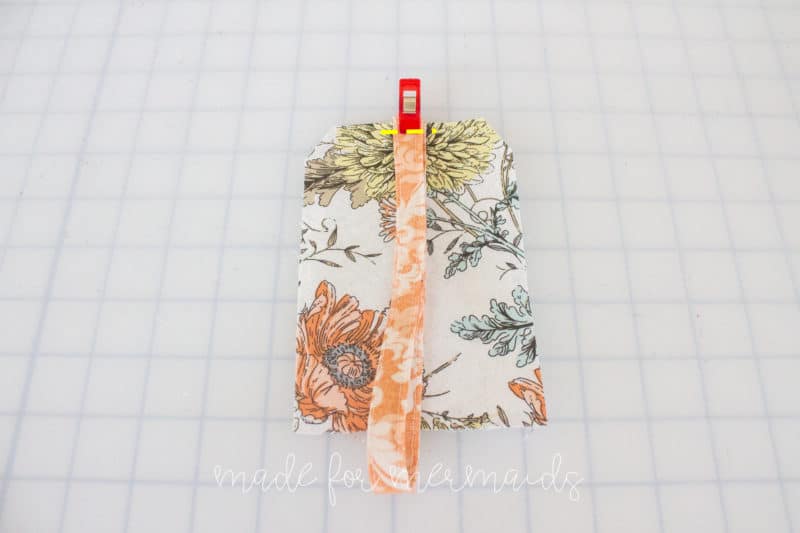
Fold strap in half. Pin strap to the RIGHT side of the top, center of tag. If using the hexagon shape, you will pin it to the short, straight edge. Baste strap in place.
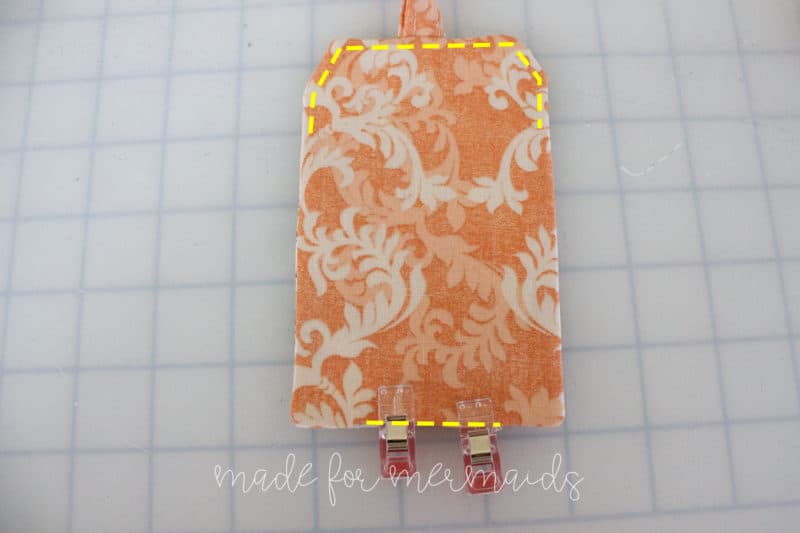
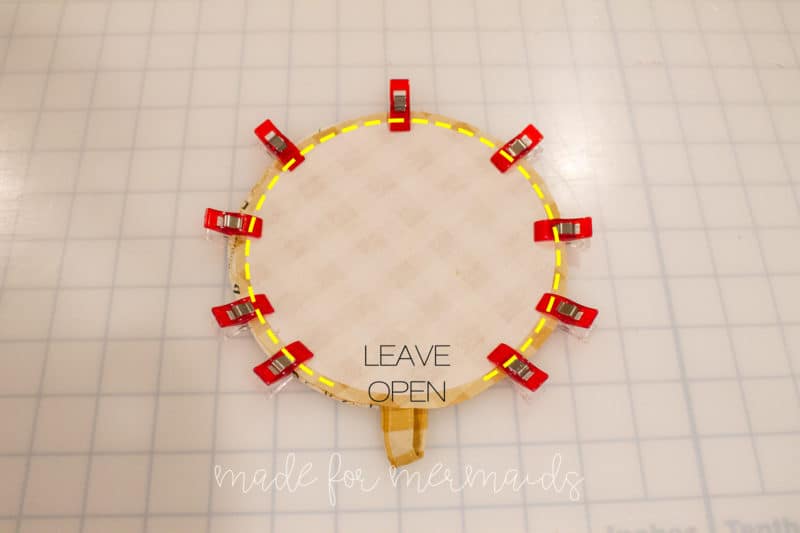
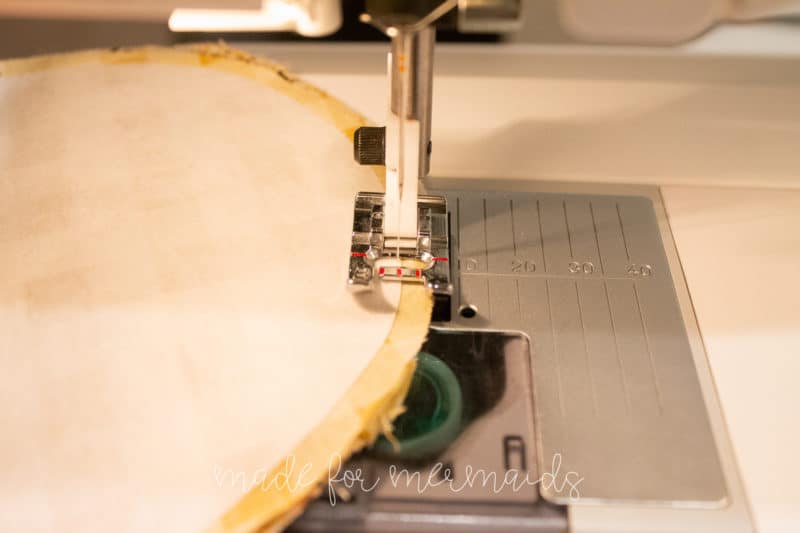
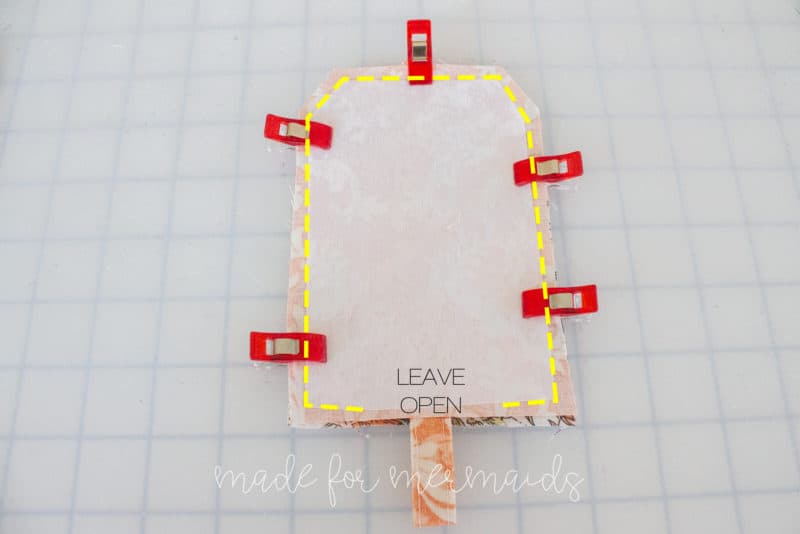
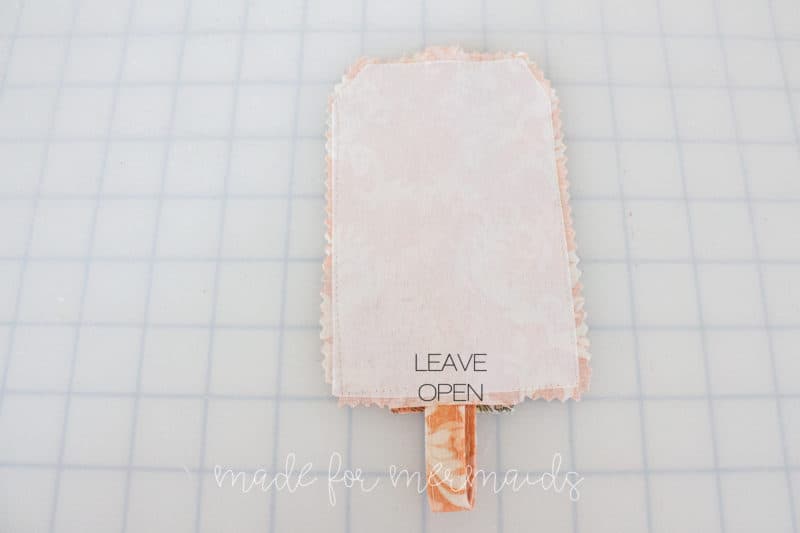
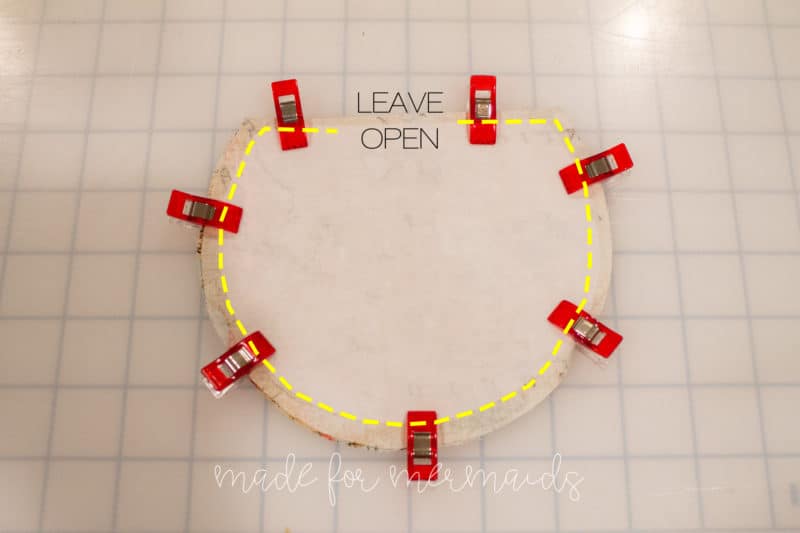
Place the back pieces right sides together and pin all around. The strap should be sandwiched between the two back pieces. Stitch with 1/4″ seam allowance, leaving a 1″-2″ opening at the bottom for turning.
Hexagon tag:
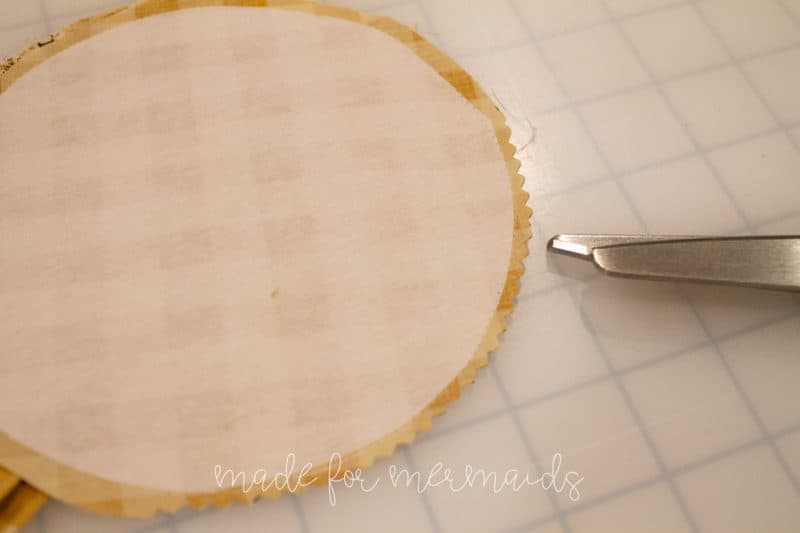
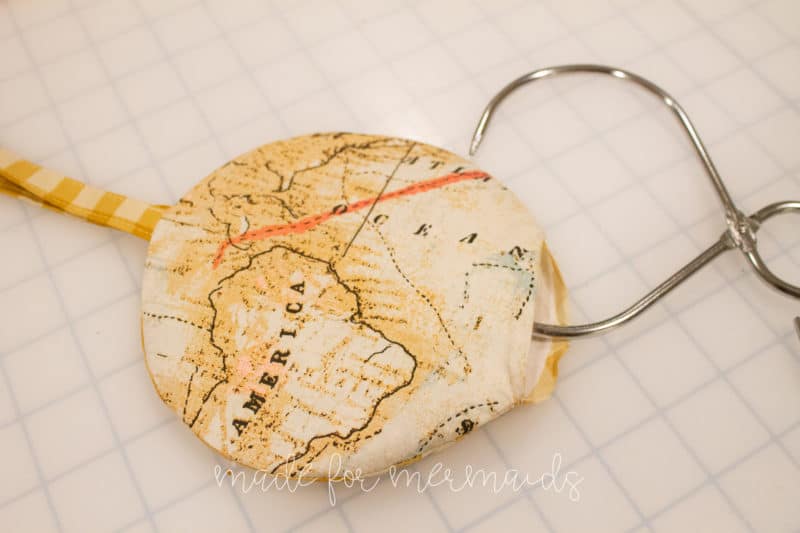
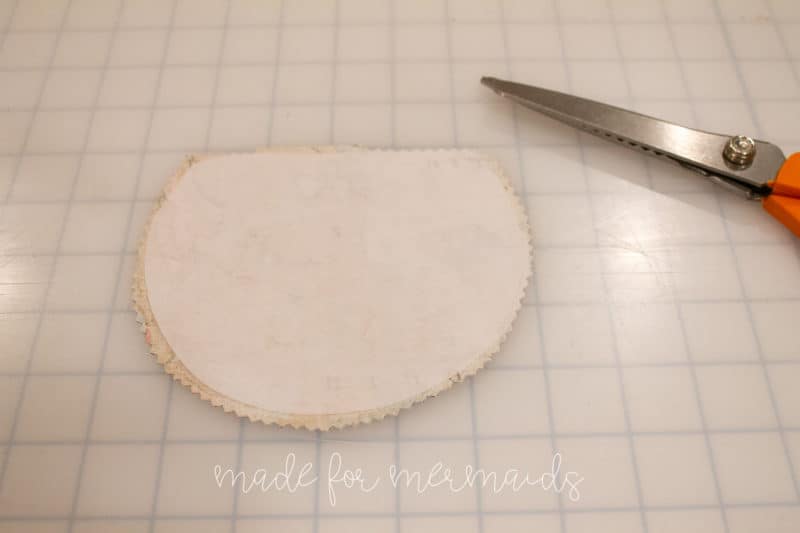
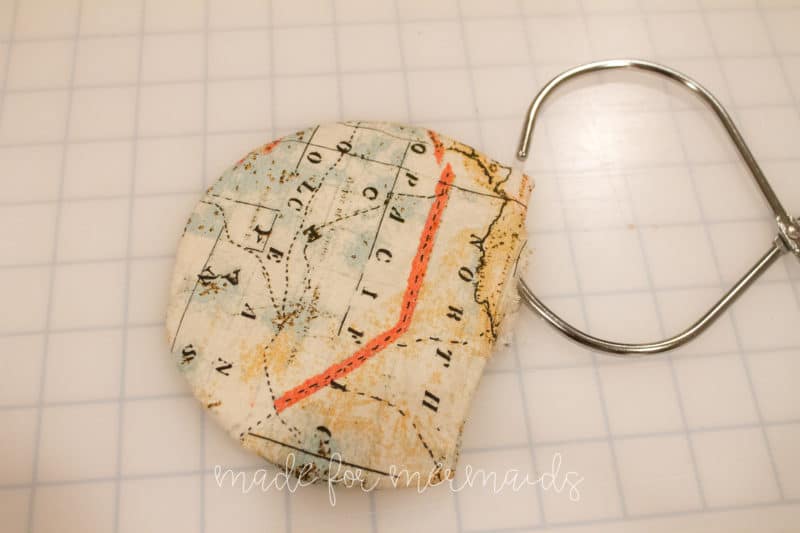
Clip edges and trim seam allowance to 1/8″. I like to use pinking shears to clip and trim at the same time. Turn back piece right side out. Use a point former to push the corners and edges out as much as possible.
Hexagon tag:
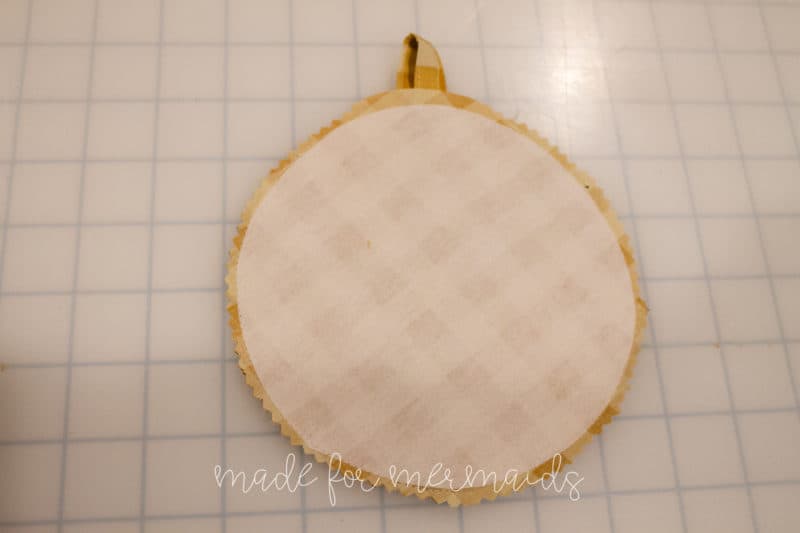
Press well. Fold the bottom seam allowance in and pin. Stitch the seam allowance closed at the bottom. I also like to top stitch around the top half of the back piece at this time.
Hexagon tag:
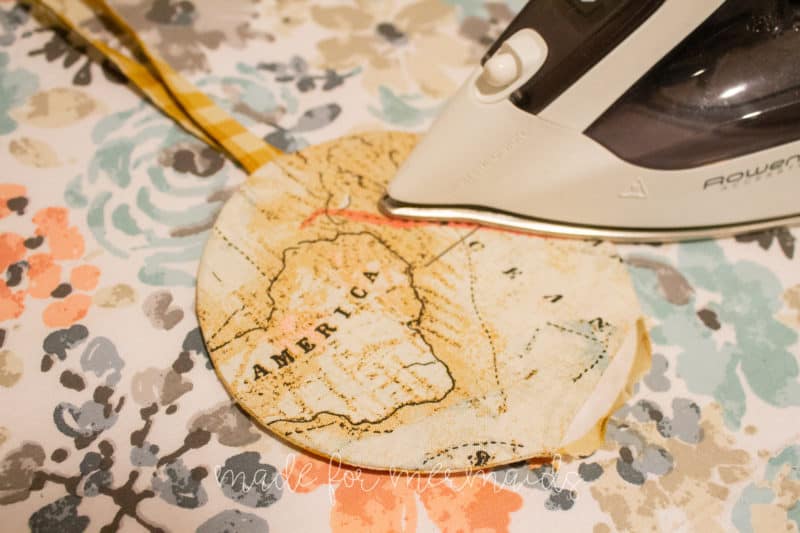
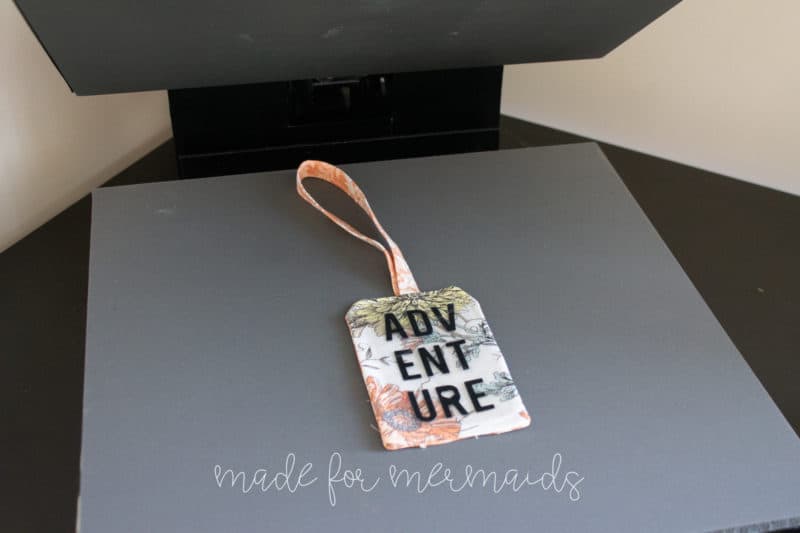
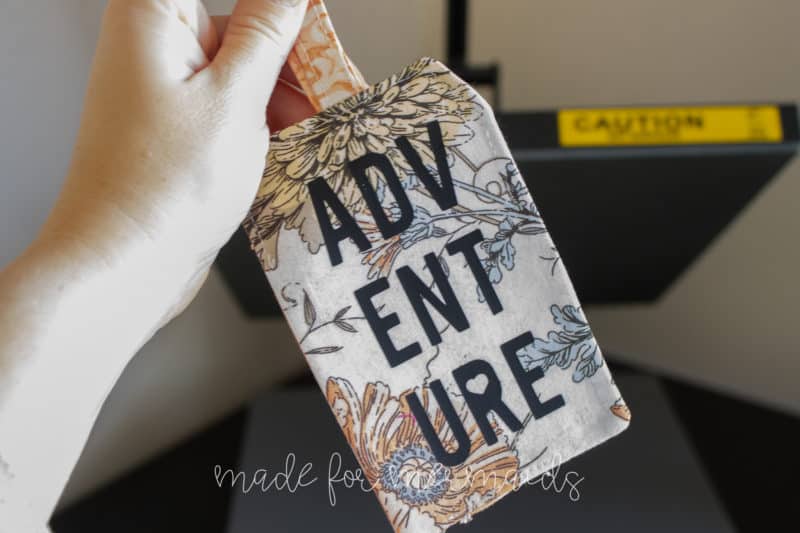
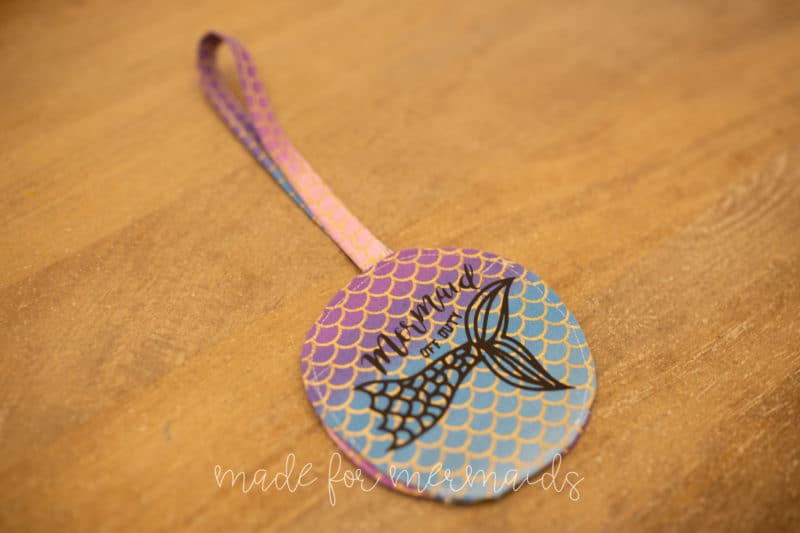
Add HTV, if desired. We have 6 fun travel themed designs for you, or use your own design or monogram! NOTE: Make sure you add the HTV before you completely assemble your tag. Otherwise, your vinyl window may melt!
Step 6: ASSEMBLING WINDOW PIECE
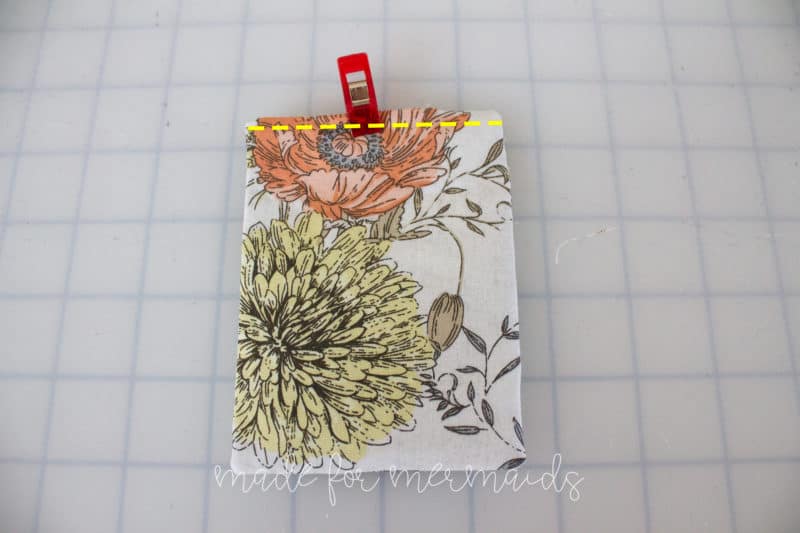
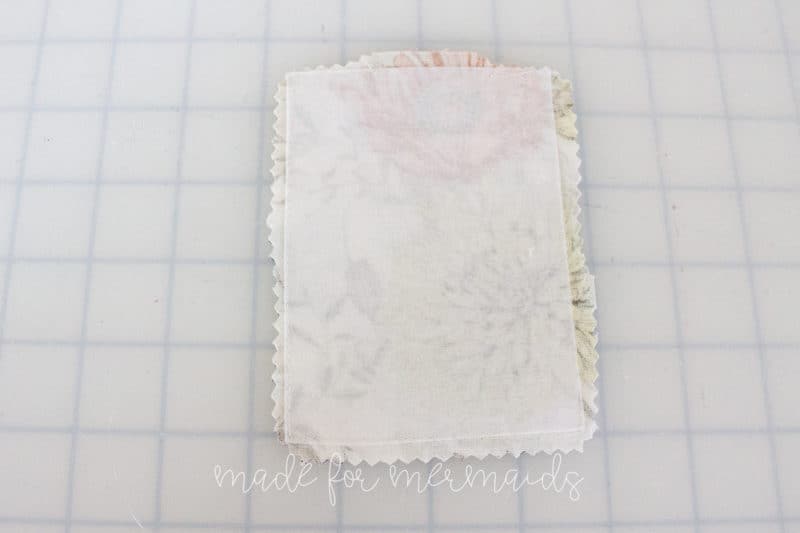
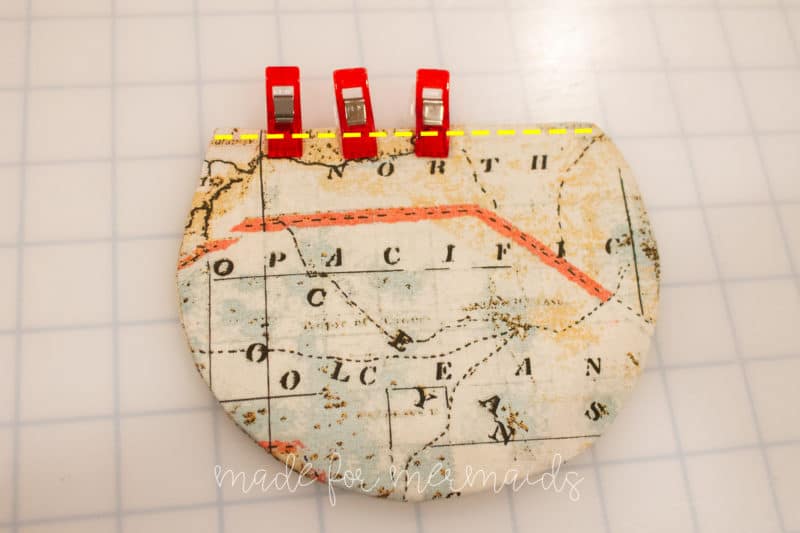
Place window pieces right sides together. Pin and stitch with 1/4″ seam allowance, leaving a 1″-2″ opening at the top, flat edge for turning. Clip edges and trim seam allowance to 1/8″. I like to use pinking shears to clip and trim at the same time.
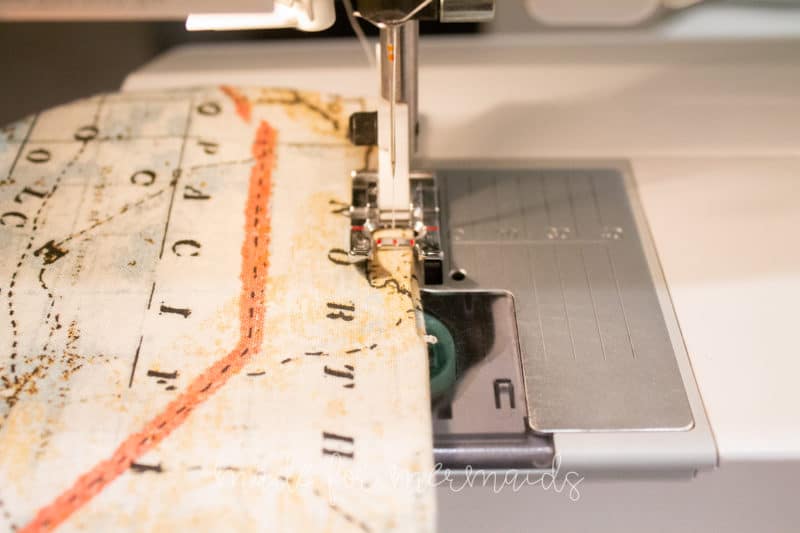
Turn window piece right side out. Use a point former to push the corners and edges out as much as possible. Press well. Fold seam allowance in. Pin seam allowance. Edge stitch across the top edge of the window piece.
Hexagon tag:
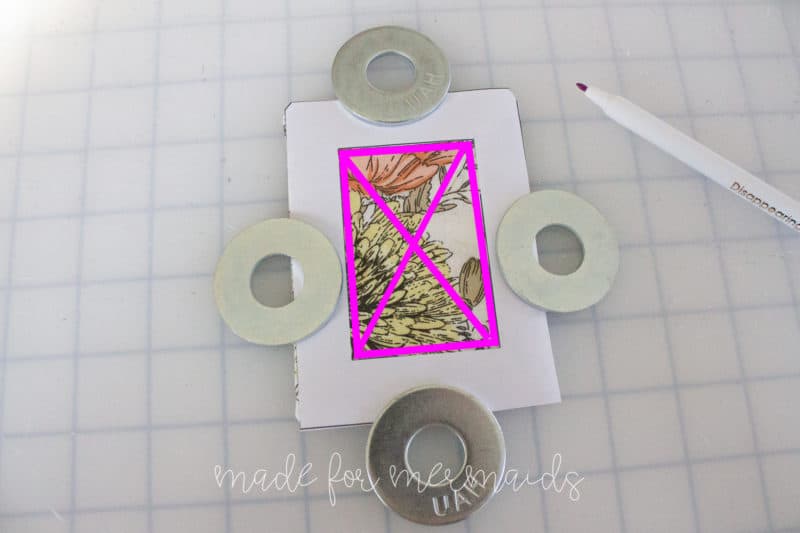
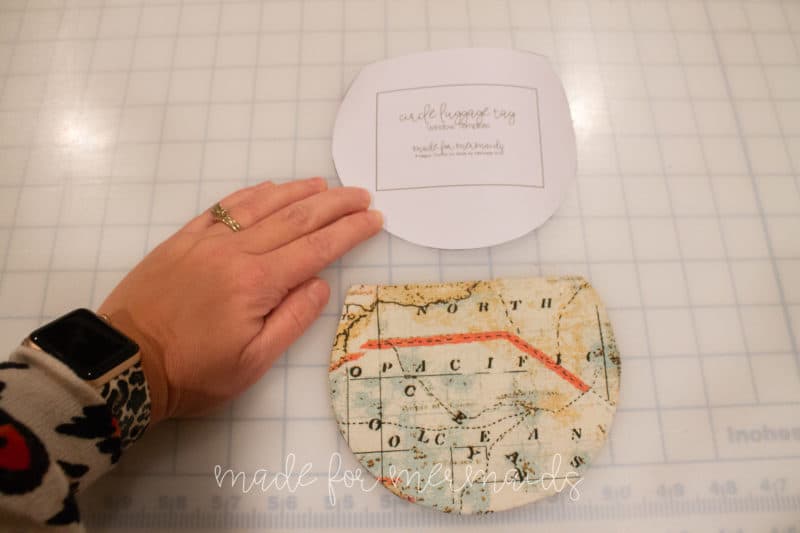
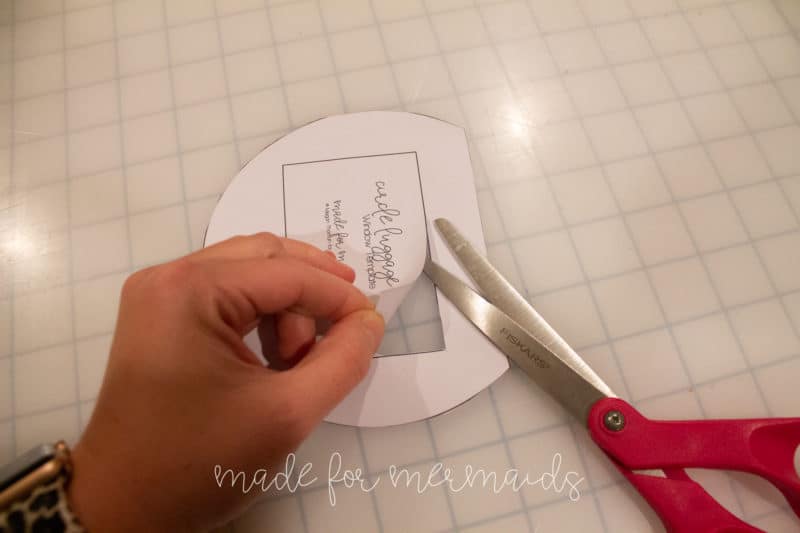
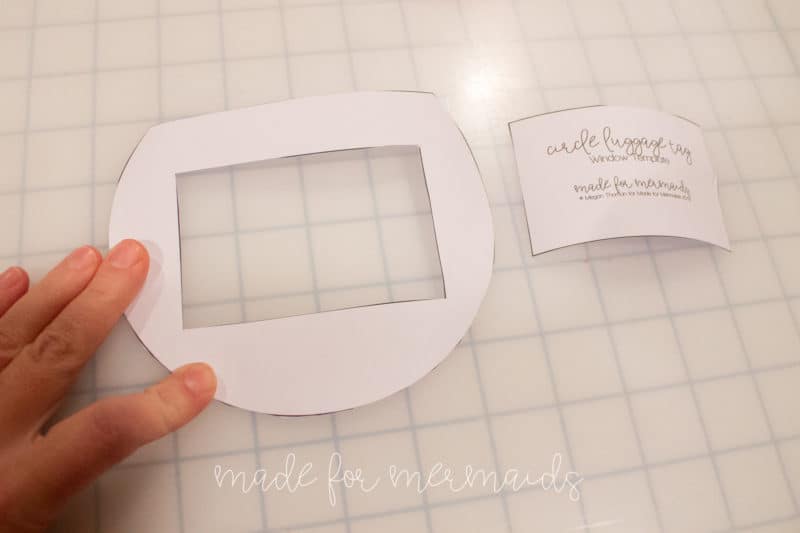
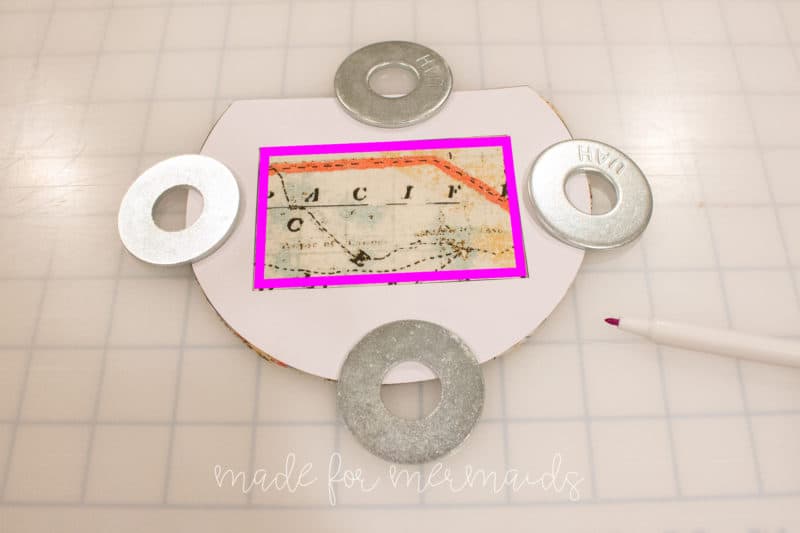
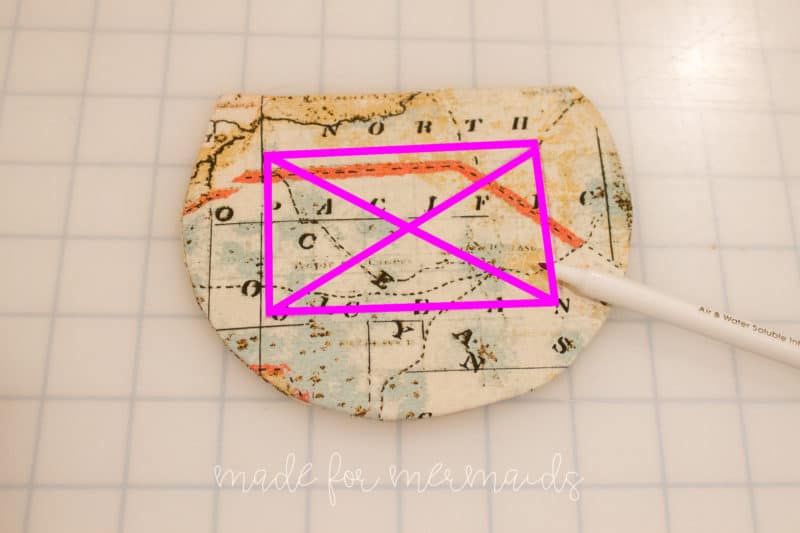
Grab your window template piece and cut out the center rectangle. Line up the pattern piece on the front of your window piece. Trace rectangle using chalk or a disappearing marking pen.
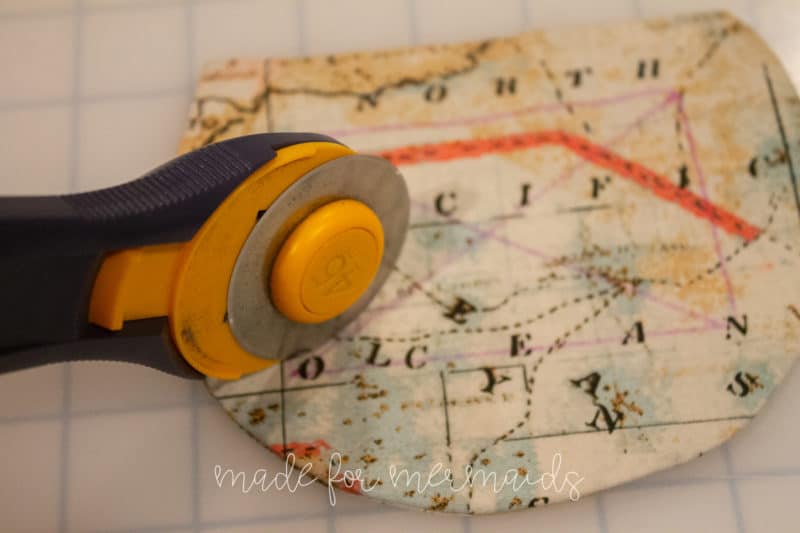
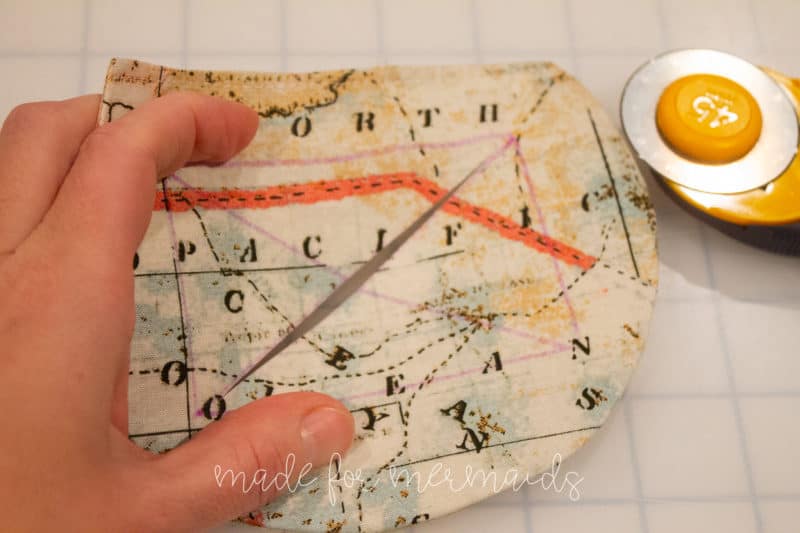
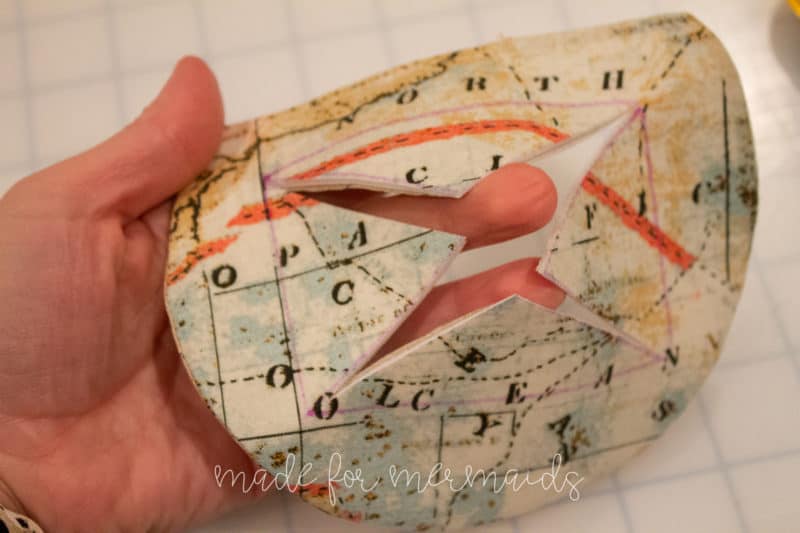
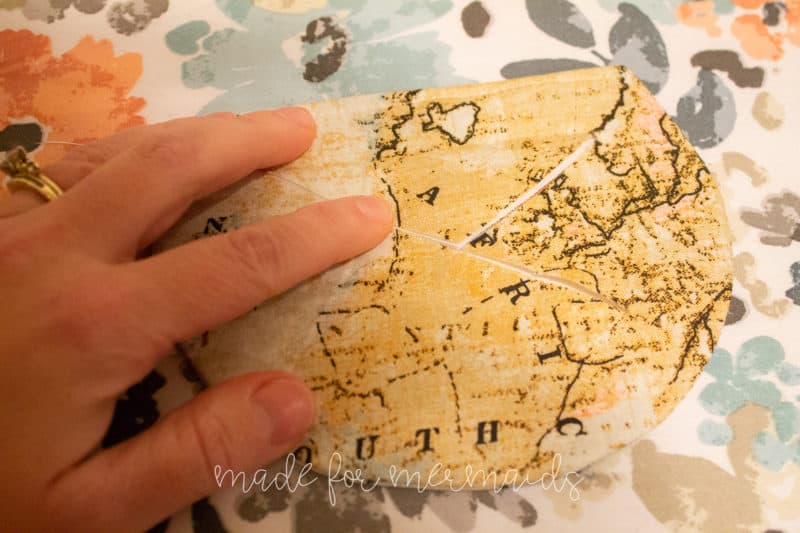
Using a ruler, draw an “X” inside the rectangle. Use a rotary blade or craft knife to cut the diagonal “X” lines you just drew. DO NOT CUT THE RECTANGLE!!!!!!!
Hexagon tag:
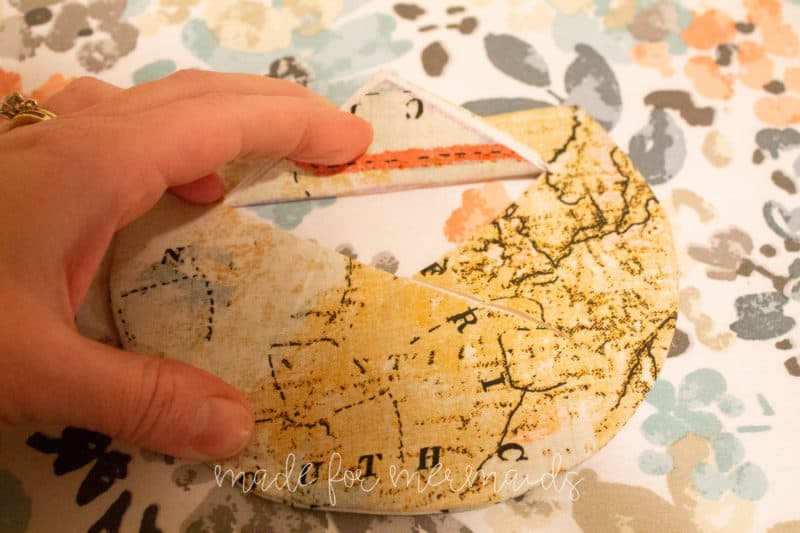
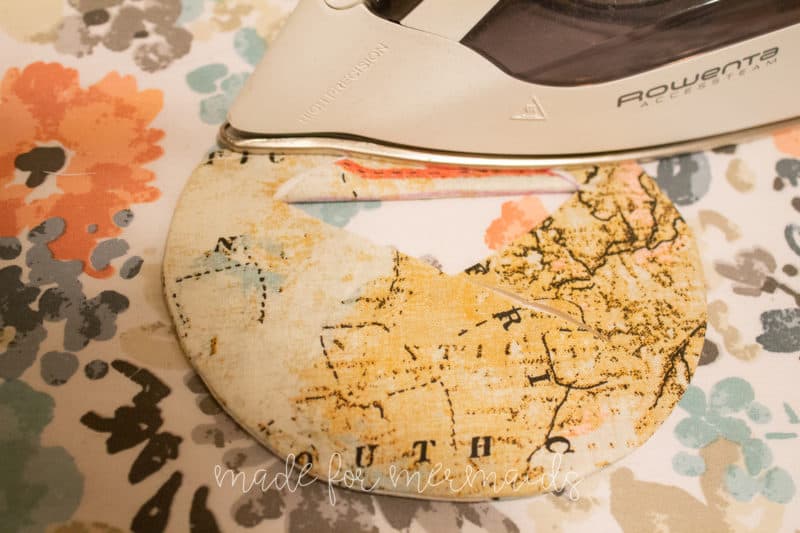
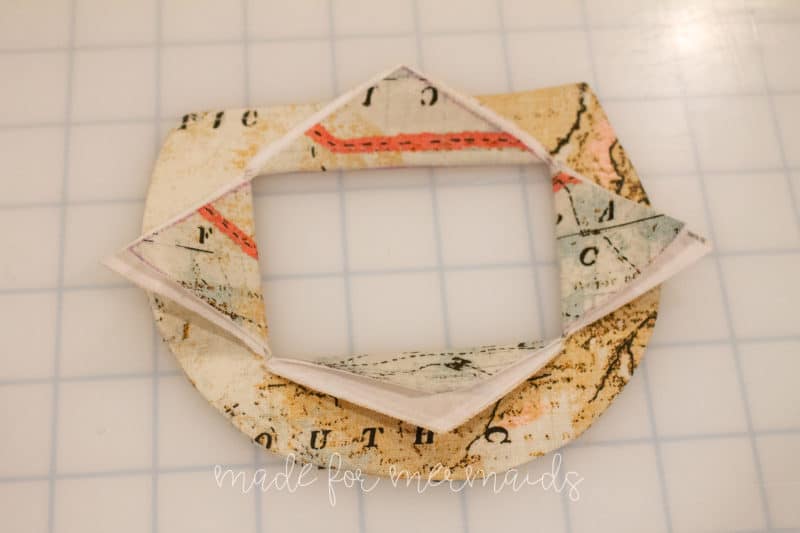
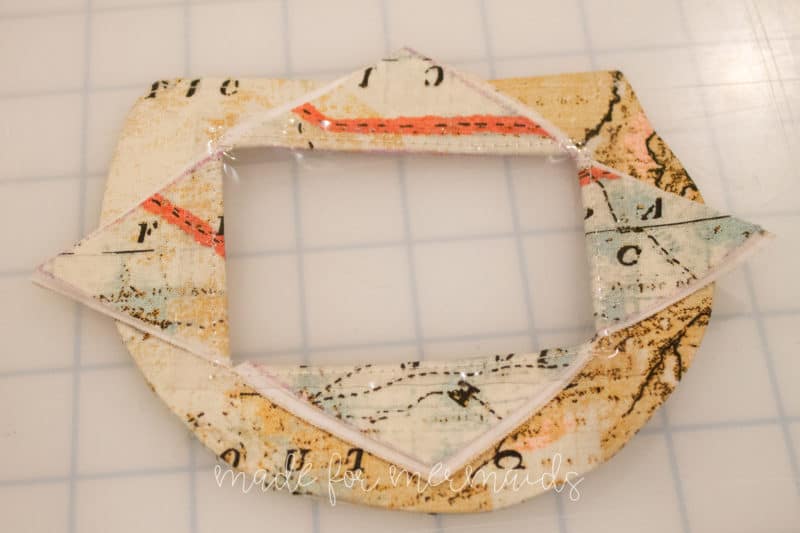
Flip your window piece right side down. Fold the triangular sections of your window piece back toward the “wrong side” of window piece. Press well. Repeat on other 3 triangles.
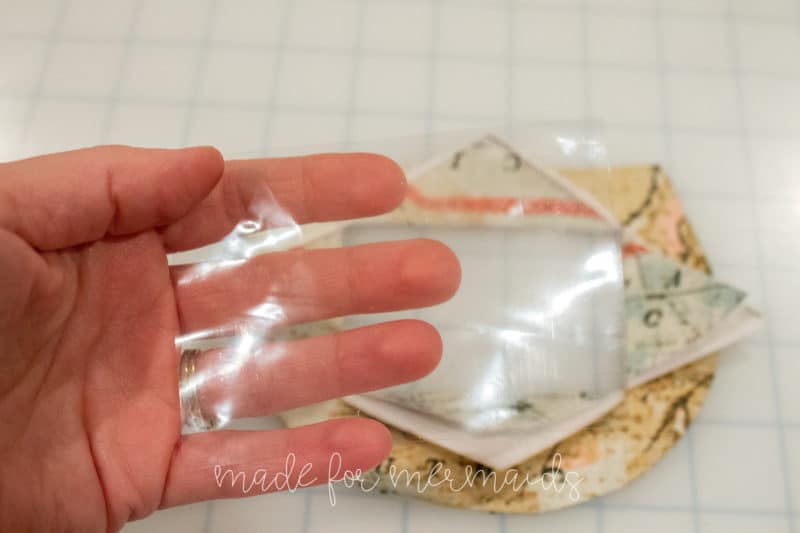
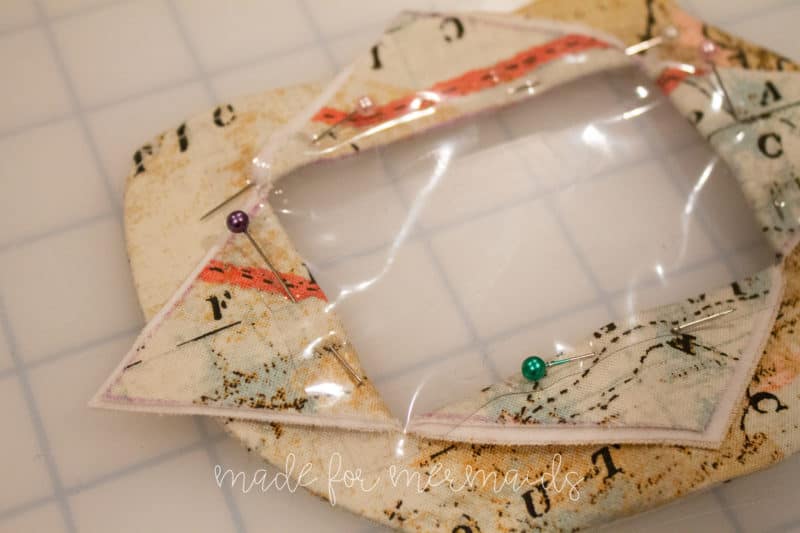
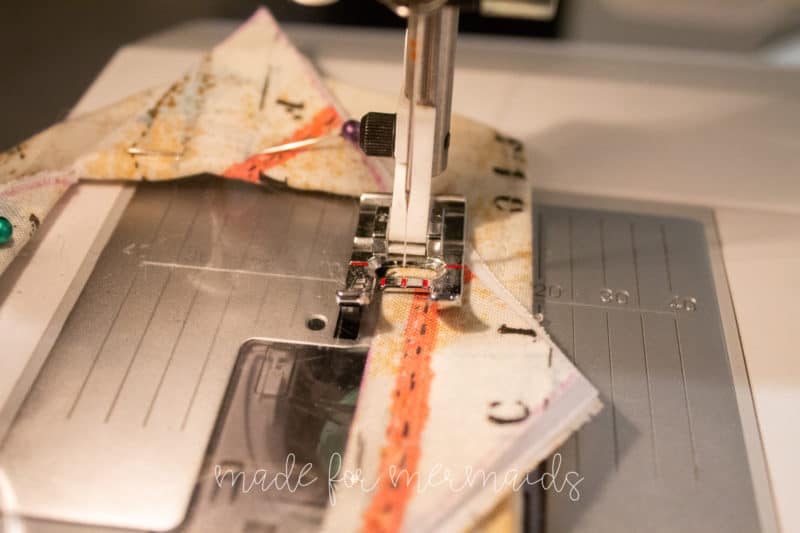
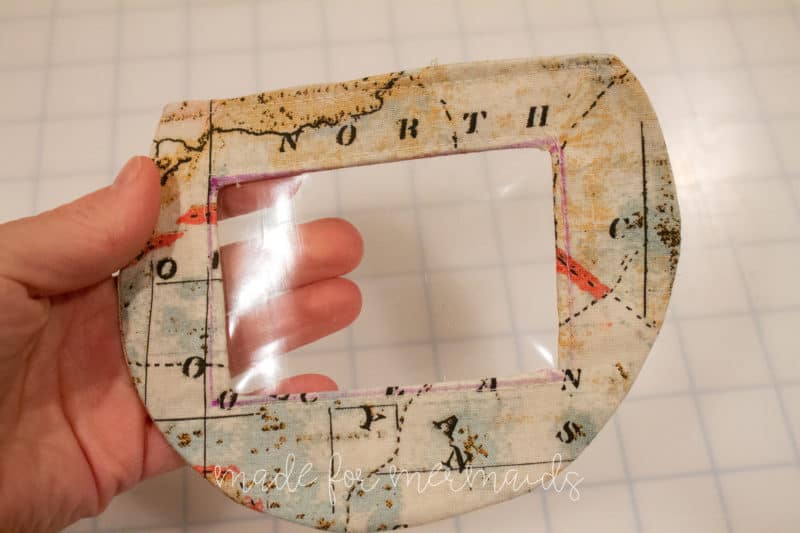
Grab your vinyl and center it on the wrong side of window piece. Pin in place. Edge stitch the vinyl to the window.
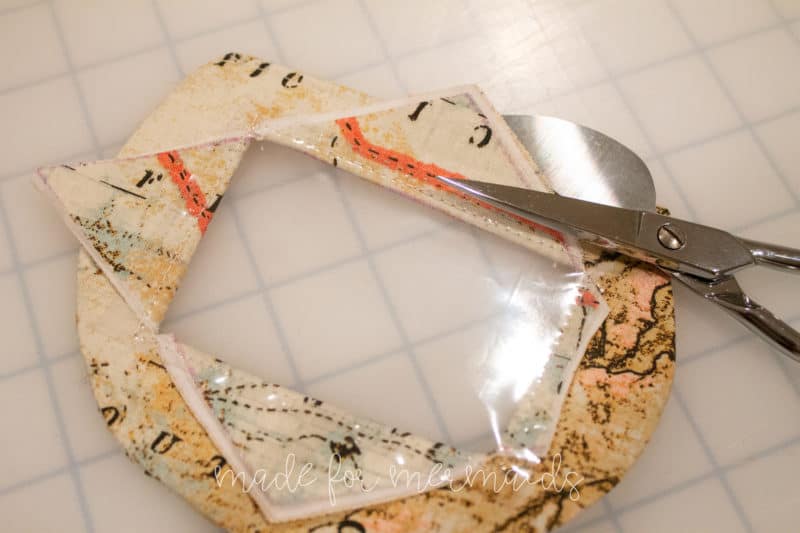
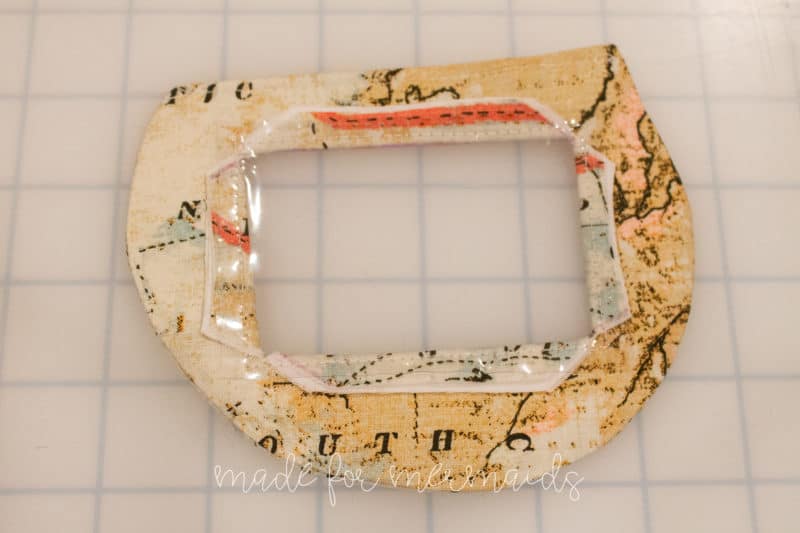
Trim the excess triangle fabric and vinyl.
Step 7: ATTACHING BACK AND WINDOW
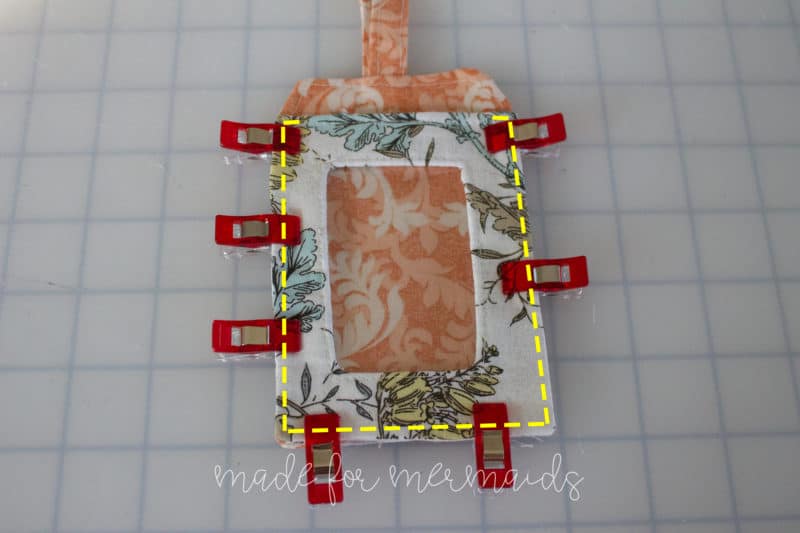
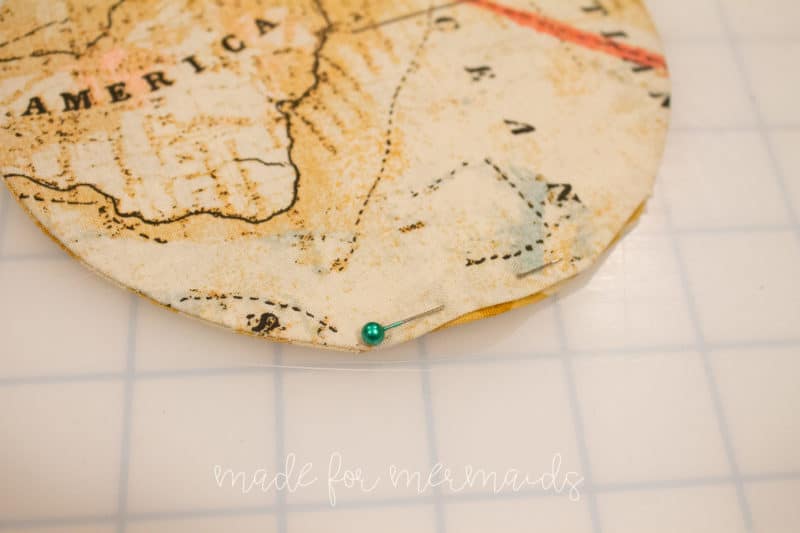
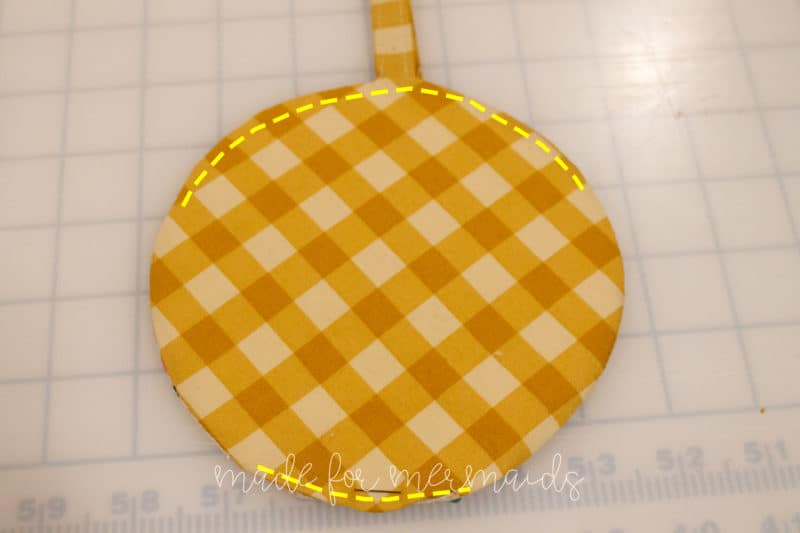
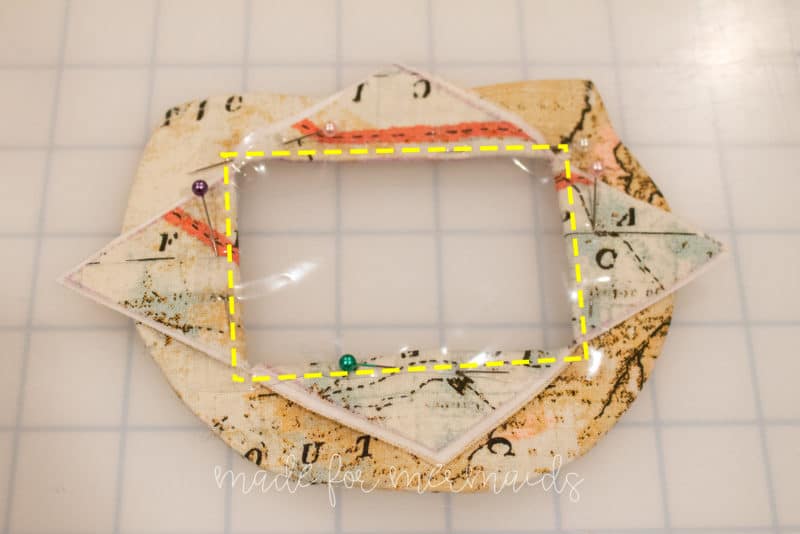
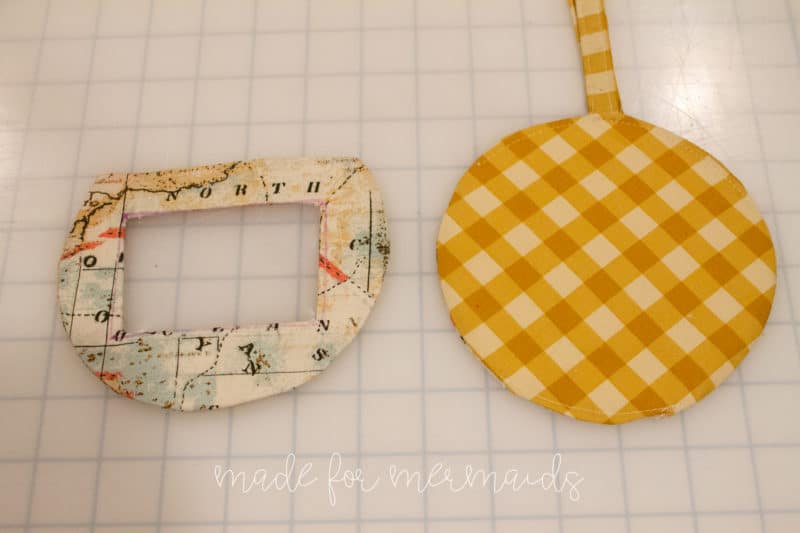
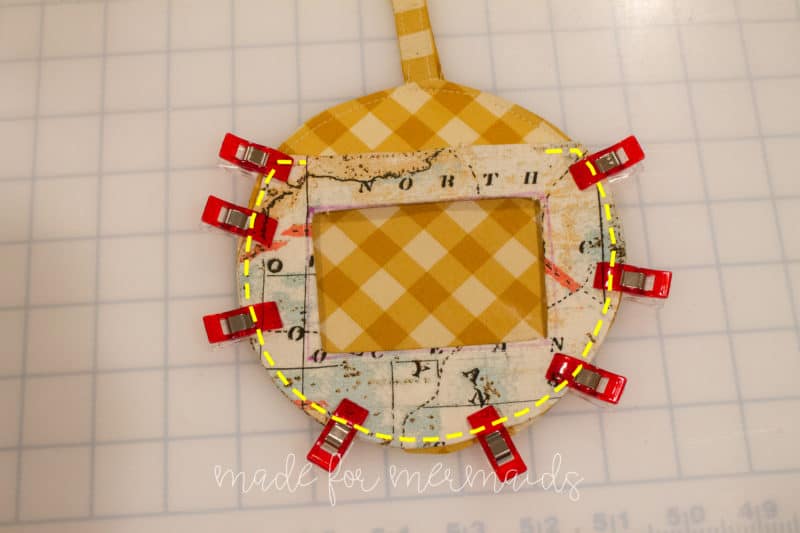
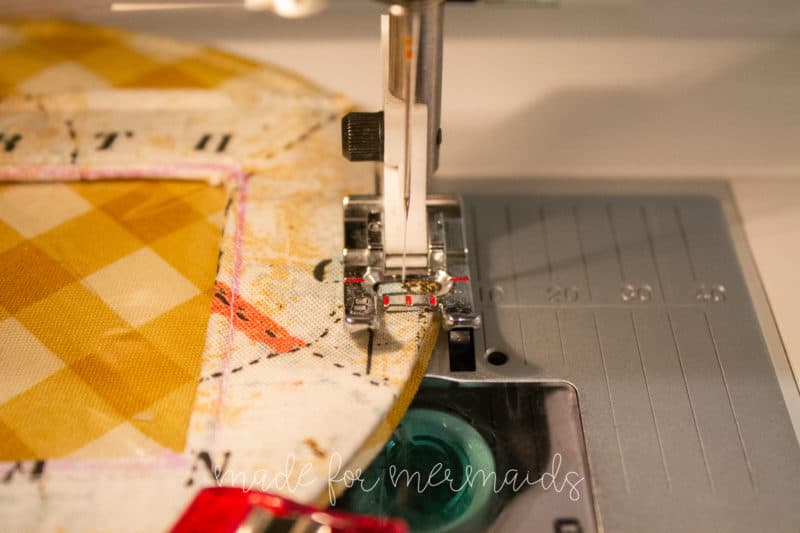
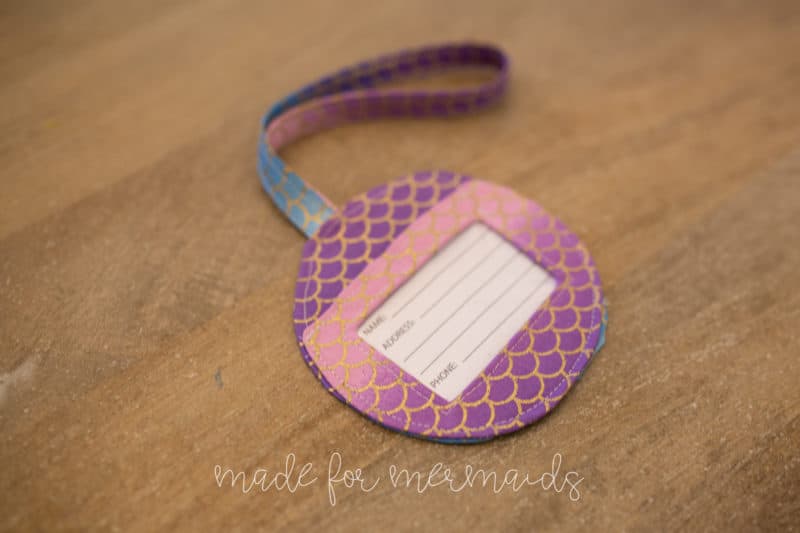
Place the window and back piece with “wrong sides” together. Pin and stitch together with 1/8″ seam allowance. I like to stitch 1/2″ across the flat top edge of the window piece as well. This helps hold your Luggage Tag ID paper in better! See dashed yellow line as a guide.
Hexagon tag:
Step 8: I.D. & TYING
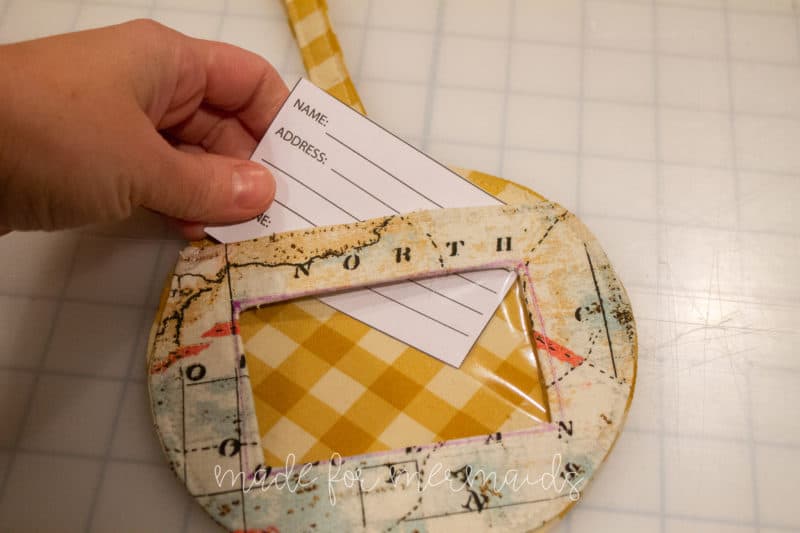
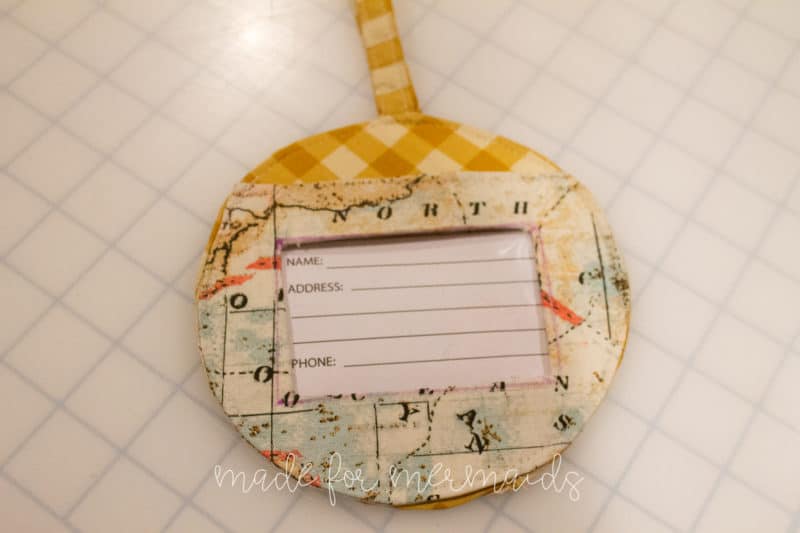
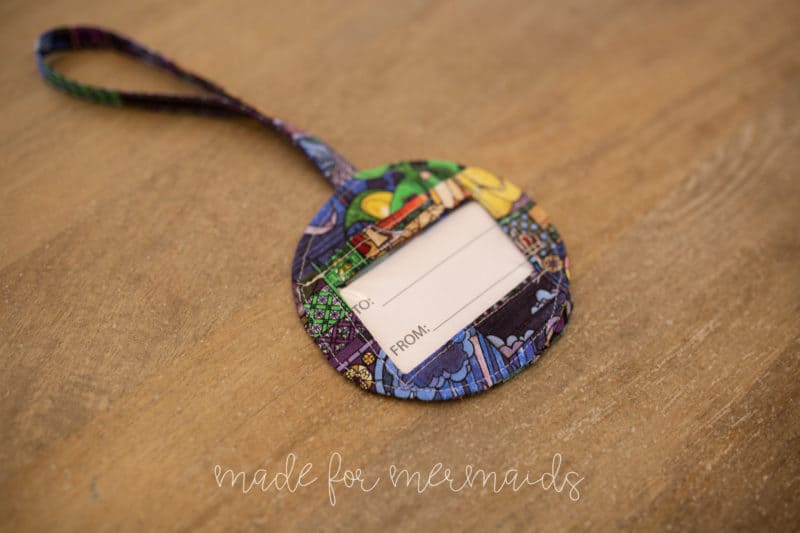
Fill out your ID or gift tag and slip under the window piece.
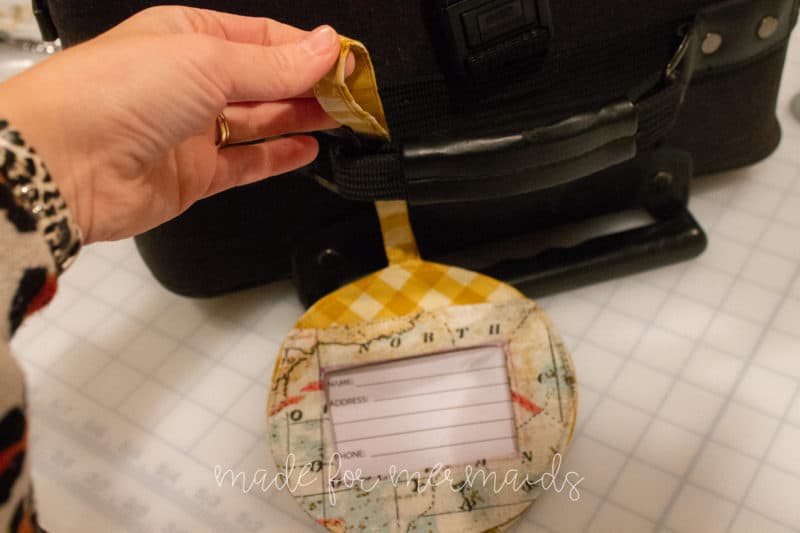
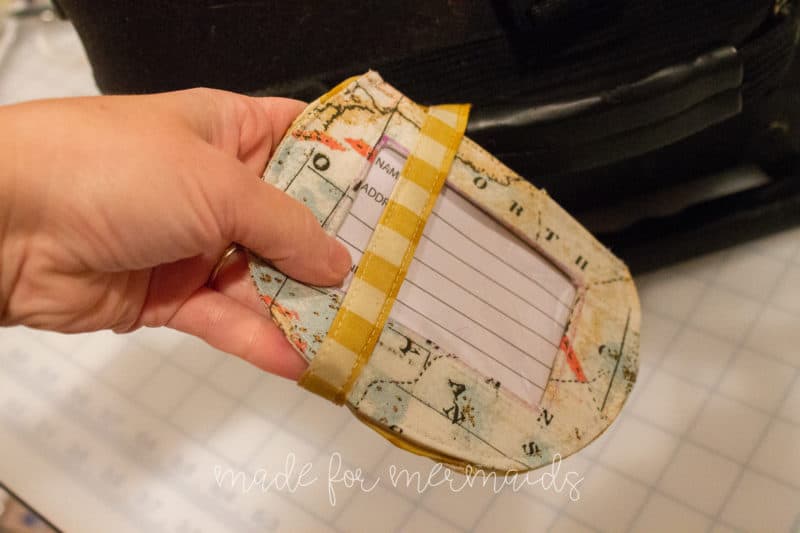
Place the strap under handle. Pull tag through the loop of the strap. Pull tight.
We hope you will enjoy your personalized luggage tag and it helps you add style to your luggage and/or easily identify your bags. Don’t forget that you can slip a gift card in the window for a unique, special gift for friends, family members, teachers, and anyone on your gift-giving list!










Leave a Reply