
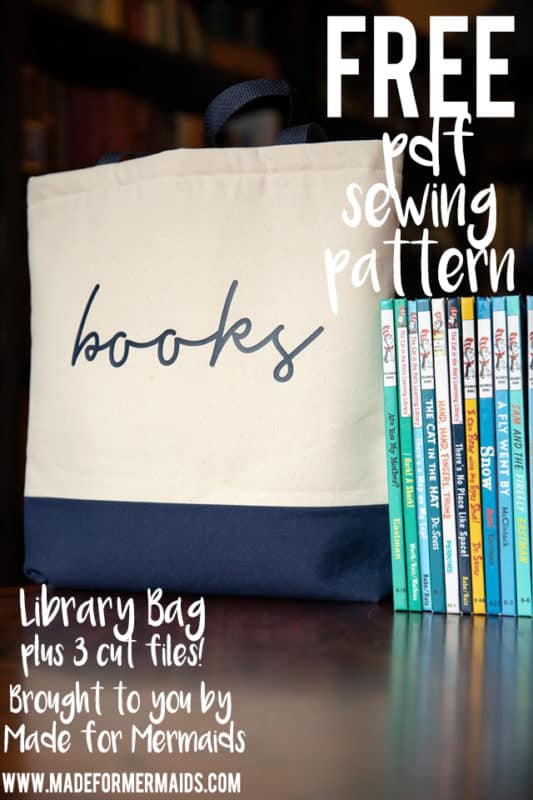
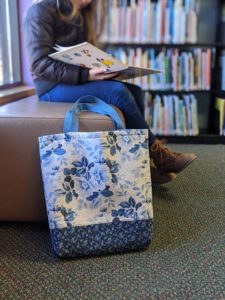
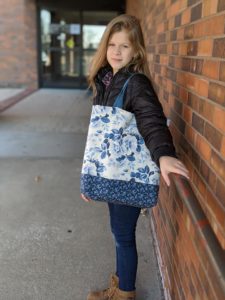
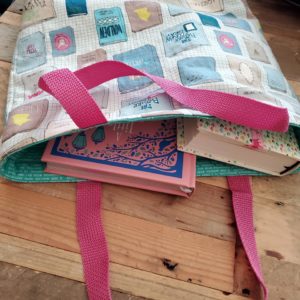
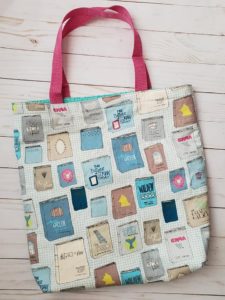
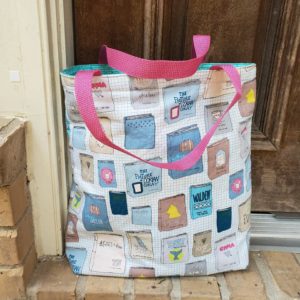
I can’t believe we’re already on Day 9 of our 12 Days of Christmas Freebies! Today we have a library bag for all of you, plus three fun cut files to embellish your library bag! My girls always come home from the library with loads of books, so we each need a library bag in our family! Let’s get started!
SUPPLIES:
- Designed for woven fabrics of all types – broadcloth, quilting cotton, canvas, etc.
- 1/2 yd main fabric
- 1/2 yd lining fabric
- 1/2 yd fusible fleece
- 1/2 yd light to medium weight interfacing
- polypro belting (36-40″)
LET’S GET STARTED!
Seam allowances vary, but are included. Please pay close attention!
Step 1: PREPPING
Go grab the pattern here! The pattern is 100% free, but you do need to add it to your cart and checkout. Then, it will always be available to download from your account. The pattern is a no trim pattern; if you need help putting the pattern together, pop over to the faqs and troubleshooting page or ask in our Facebook group .
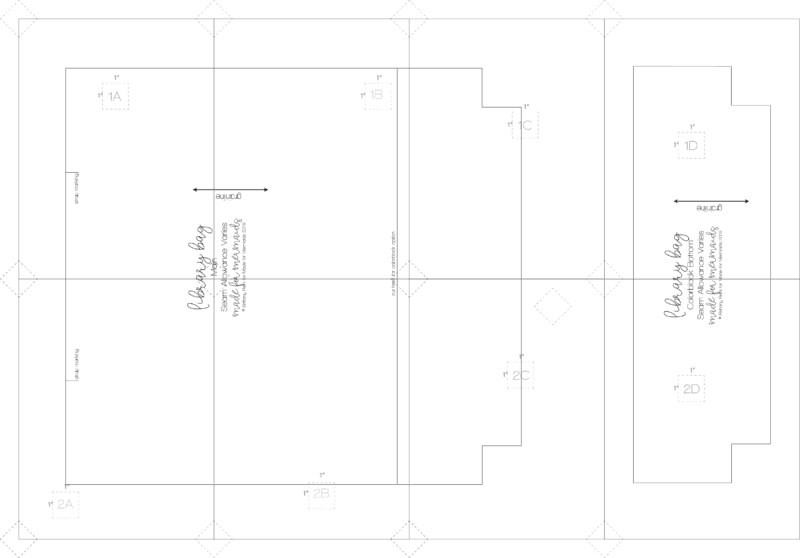
Print and assemble the pattern. There are 8 pages to print out. Pattern layout below:
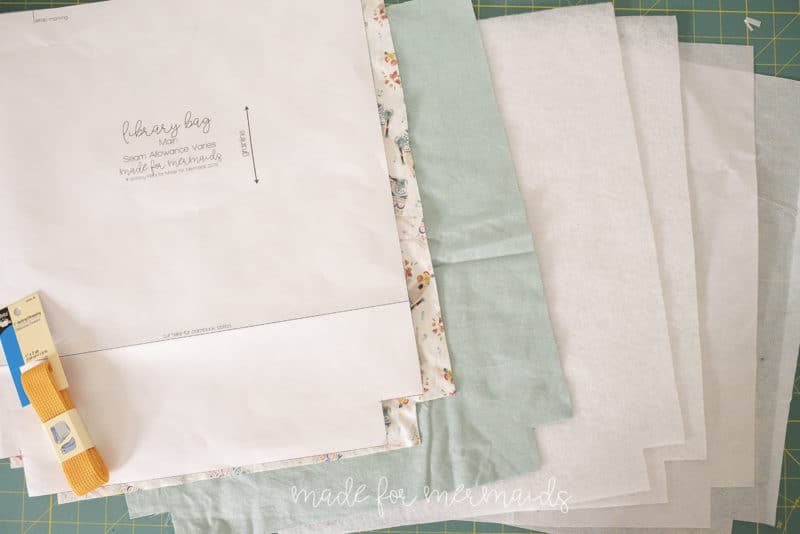
Cut your pattern pieces. Iron all pieces after you cut for the most professional looking finish.
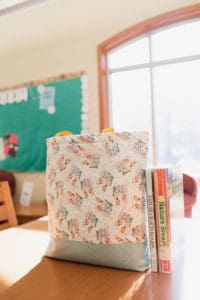
Colorblock option:
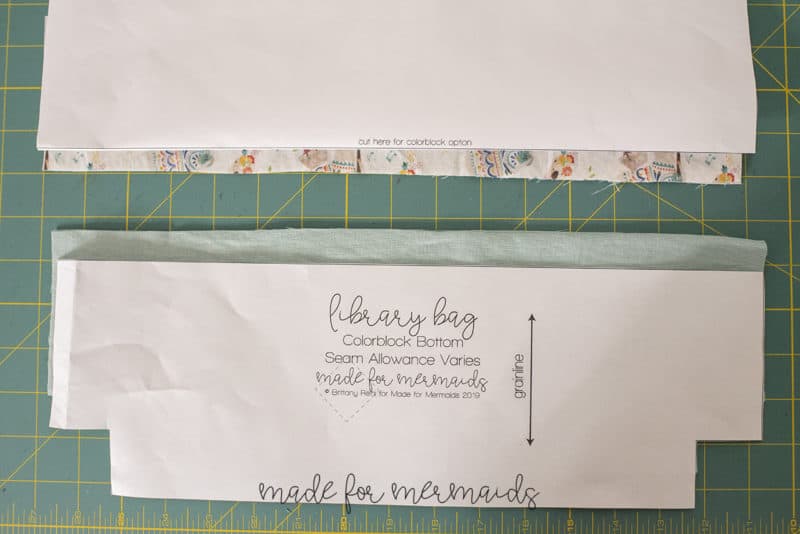
- Cut 2 main on color block cutline from main fabric
- Cut 2 colorblock bottoms from main fabric
- Cut 2 full length main bag pieces from lining fabric, fusible fleece, and interfacing
- Cut straps from polypro binding at desired length (suggested length 18-20″)
Solid option:
- Cut 2 full length main bag pieces from main fabric, lining fabric, fusible fleece, and interfacing
- Cut straps from polypro binding at desired length (suggested length 18-20″)
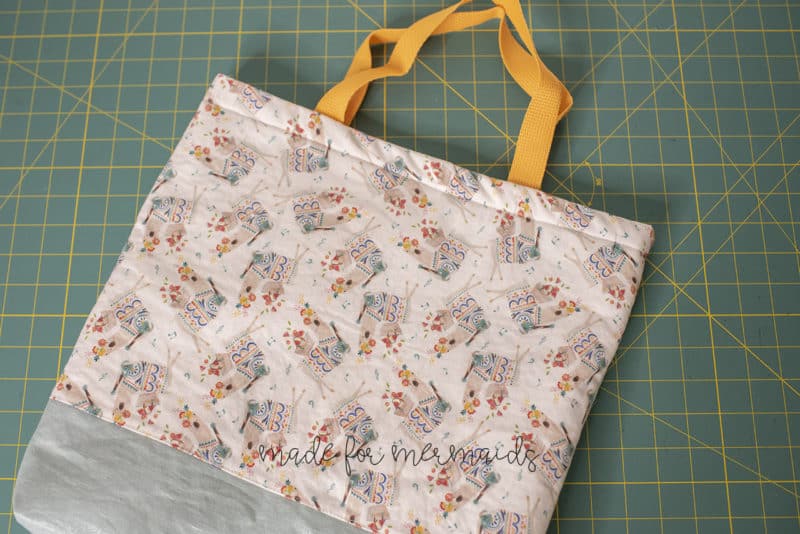
Colorblock bottom example shown below:
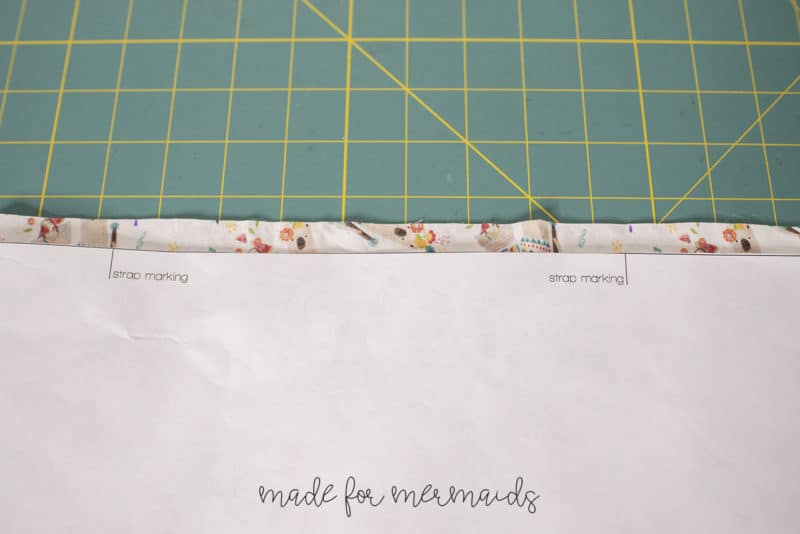
Transfer strap markings from pattern piece onto right side of both main pieces (not lining).
Step 2: Constructing Colorblock Main (Colorblock Option Only. Solid Option, continue to Step 3)
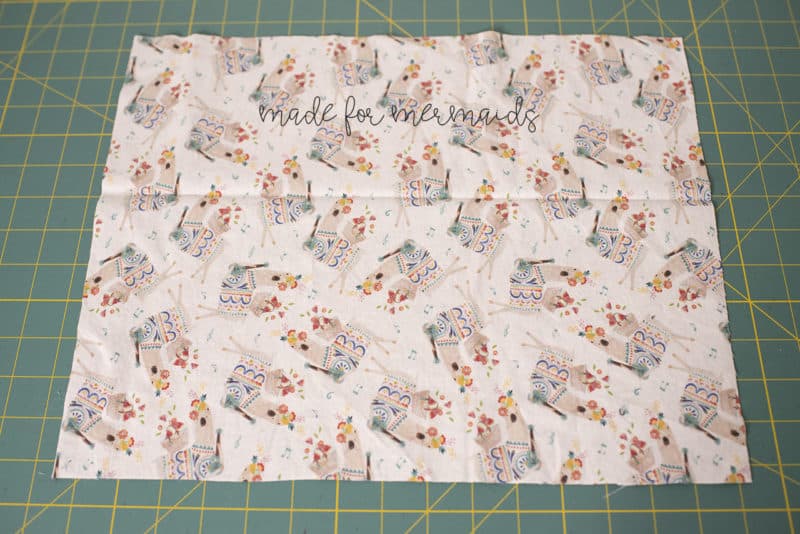
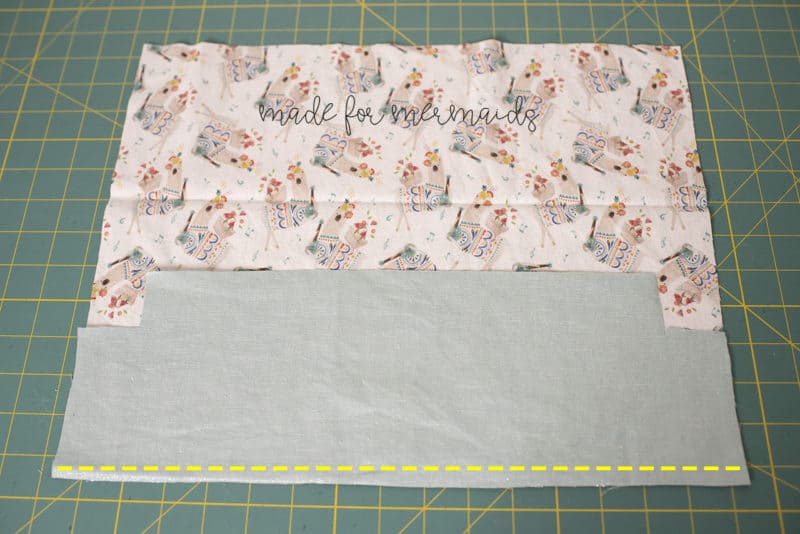
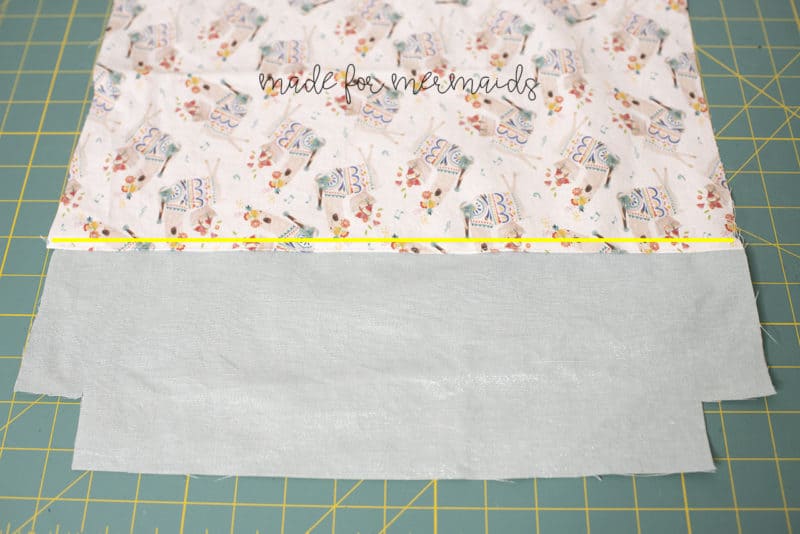
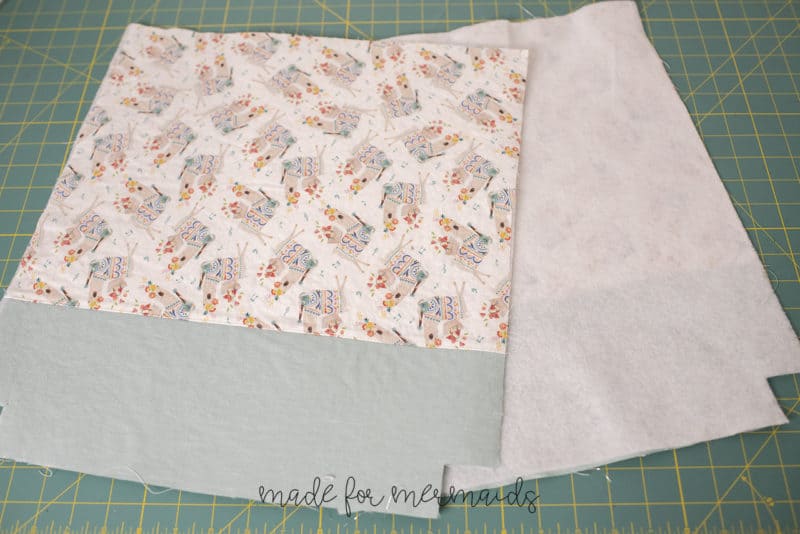
Lay main out flat, right side up. Place colorblock bottom on top, aligning long edges, with RST. Stitch with 1/4″ seam allowance.
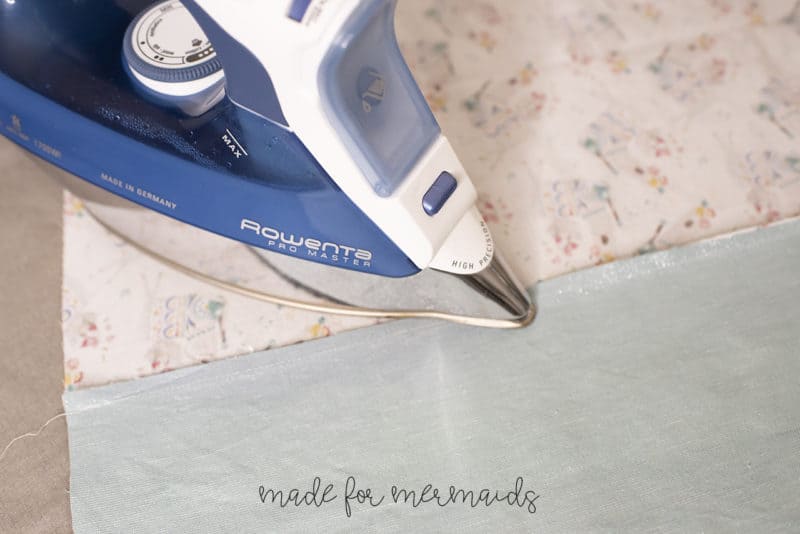
Press seam toward main. Topstitch seam in place. Treat as one piece for remainder of tutorial.
Step 3: Attaching Fusible Fleece and Interfacing
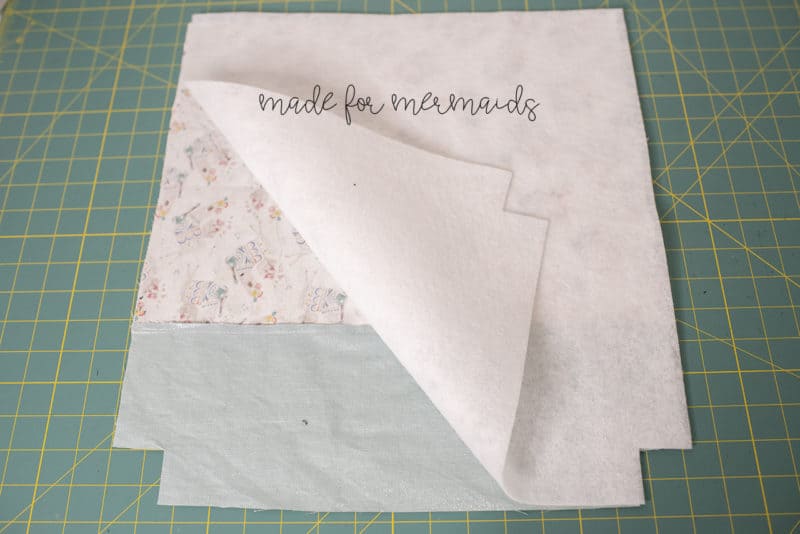
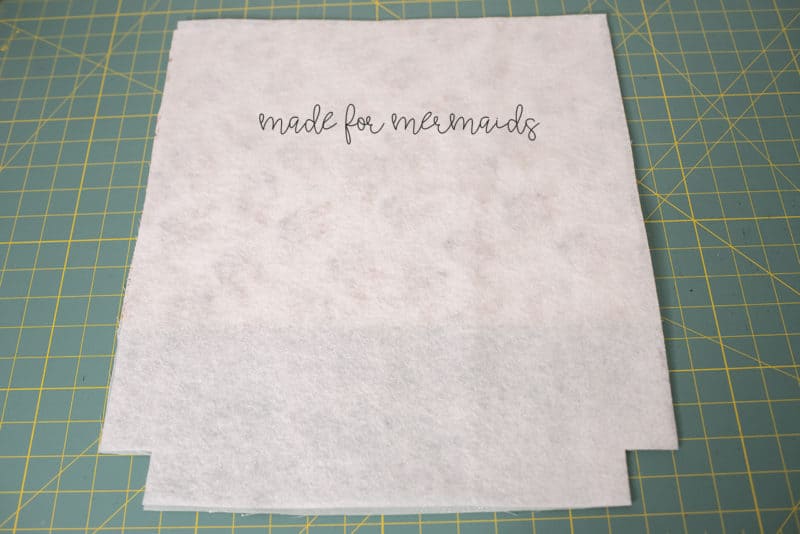
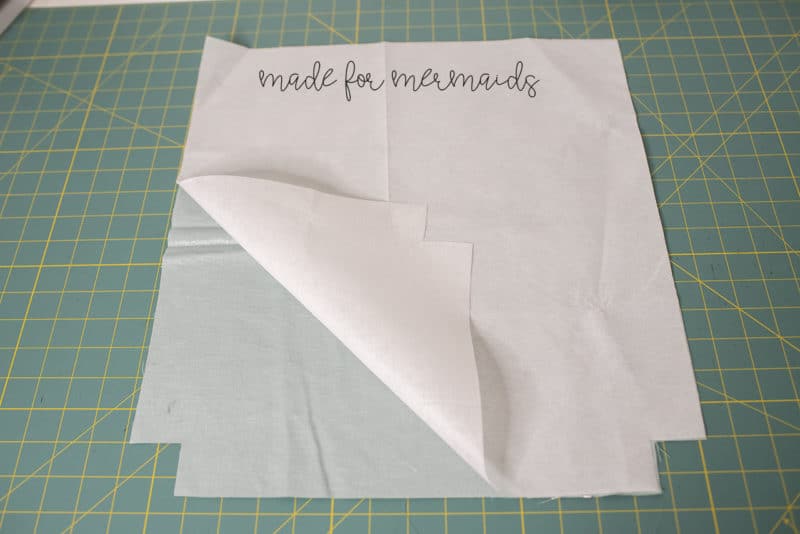
ALL OPTIONS: Place main wrong side up. Following instructions included with fusible fleece, fuse fleece to main on wrong side.
Repeat for second main piece.
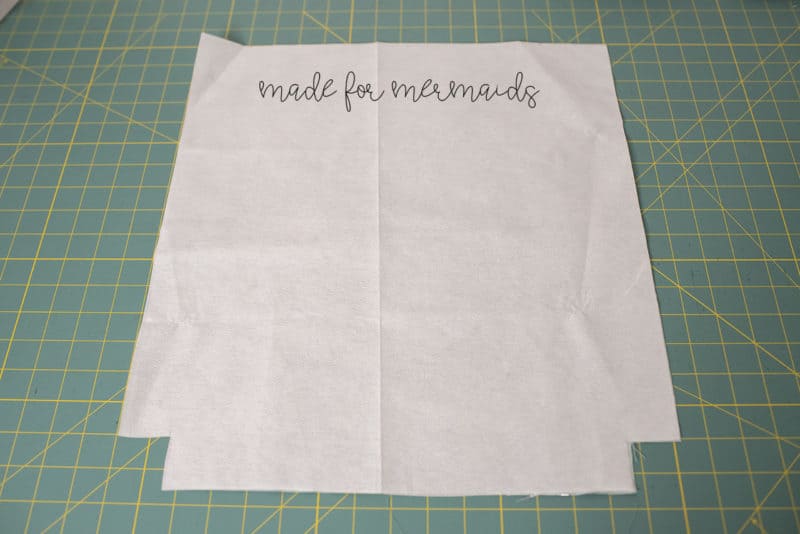
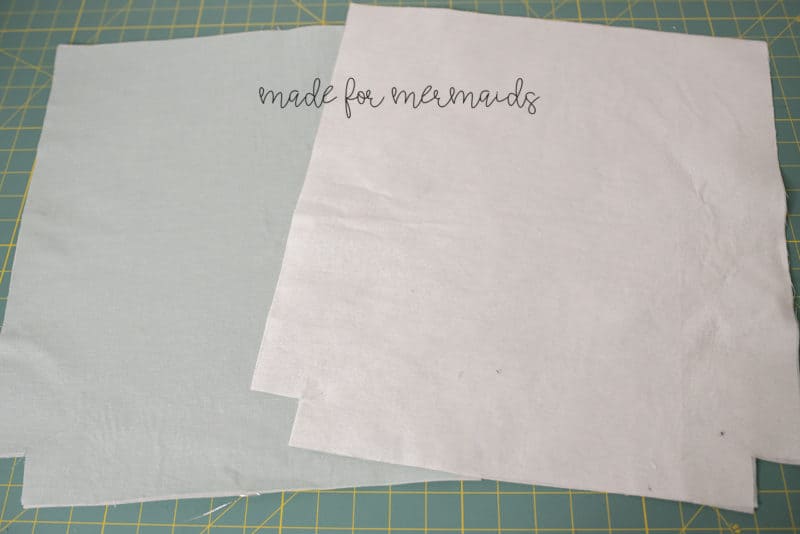
Place lining wrong side up. Following instructions included with lightweight interfacing, fuse inerfacing to lining on wrong side.
Repeat for second lining piece. Set lining aside.
Step 4: Attaching Straps
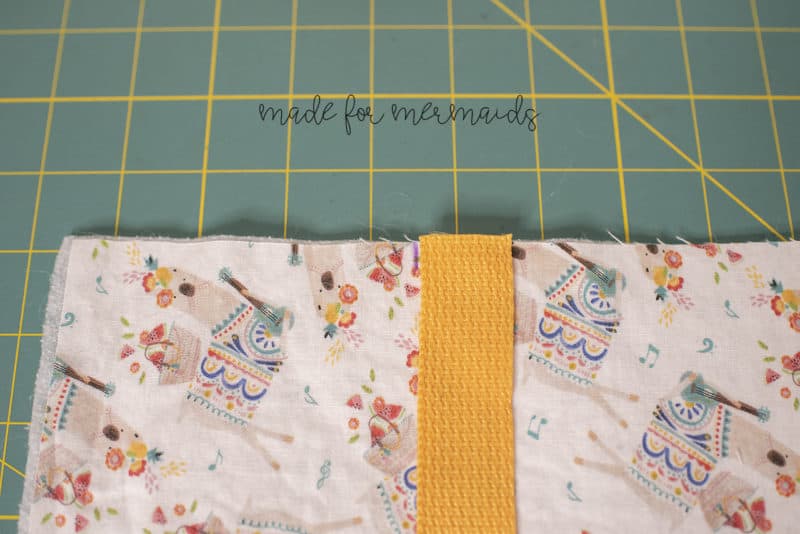
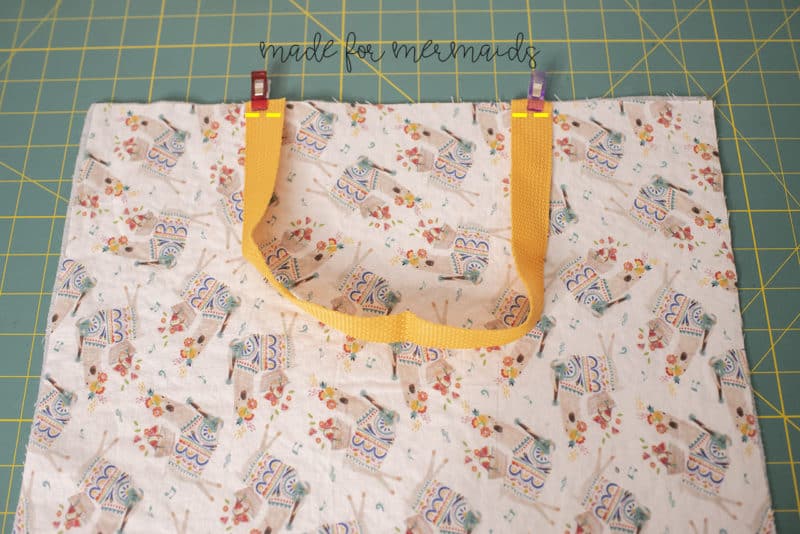
Line up cording with the INSIDE of the strap placement marking.
Repeat for second strap placement marking (be sure you don’t twist the cording!). Stitch with 1/4″ seam allowance. I like to go back and forth over this a few times to be sure it’s secure. Repeat for second main and cording pieces.
Step 5: Construction of Main
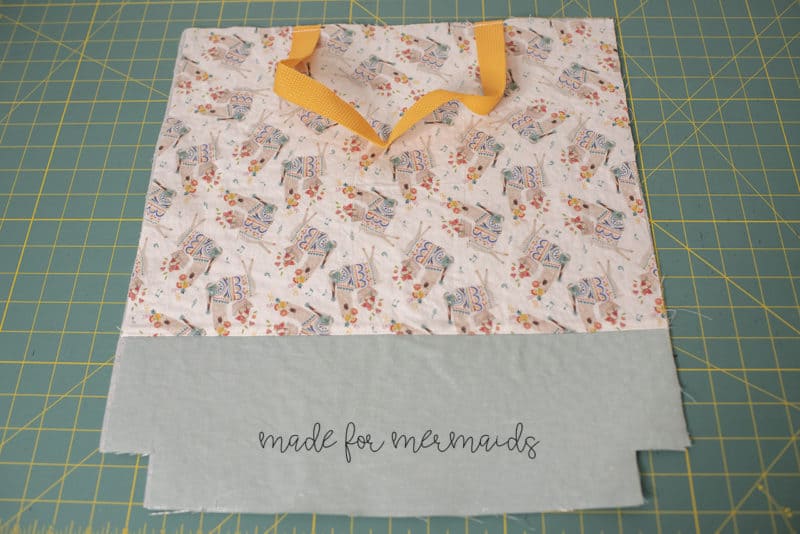
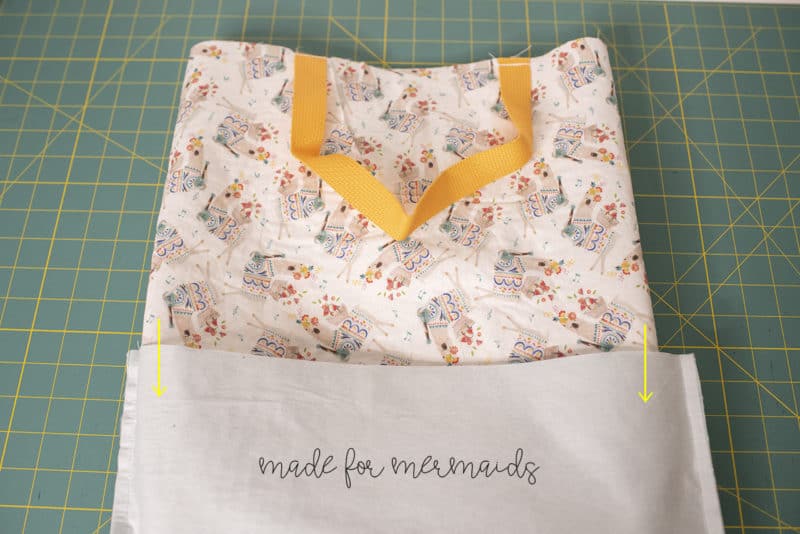
Lay main piece right side up.
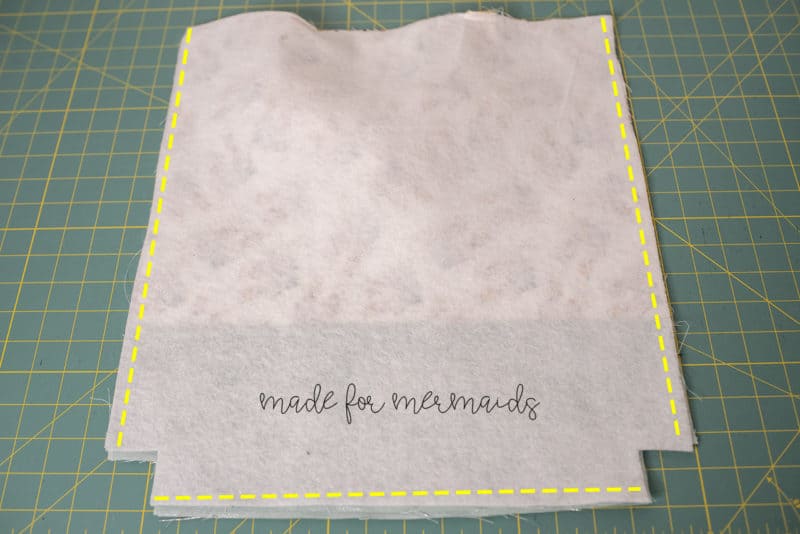
Place second main piece on top, RST. Stitch along bottom and sides with 1/4″ seam allowance. LEAVE CORNERS OPEN!
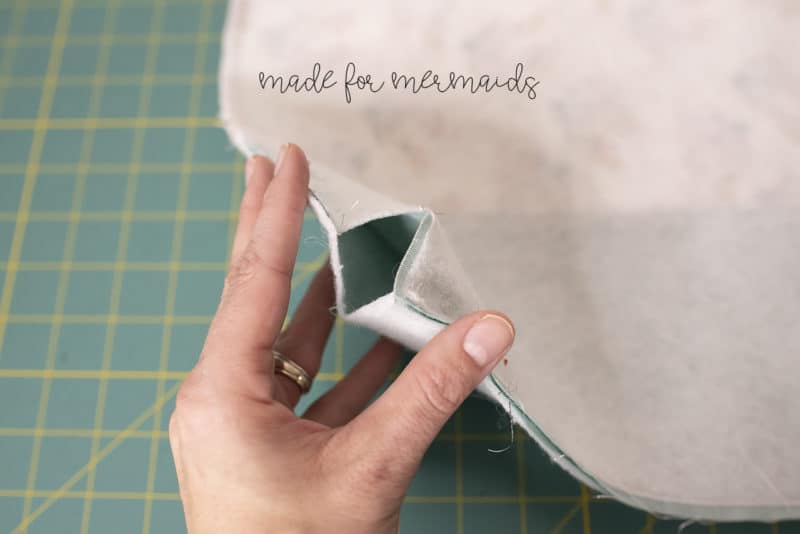
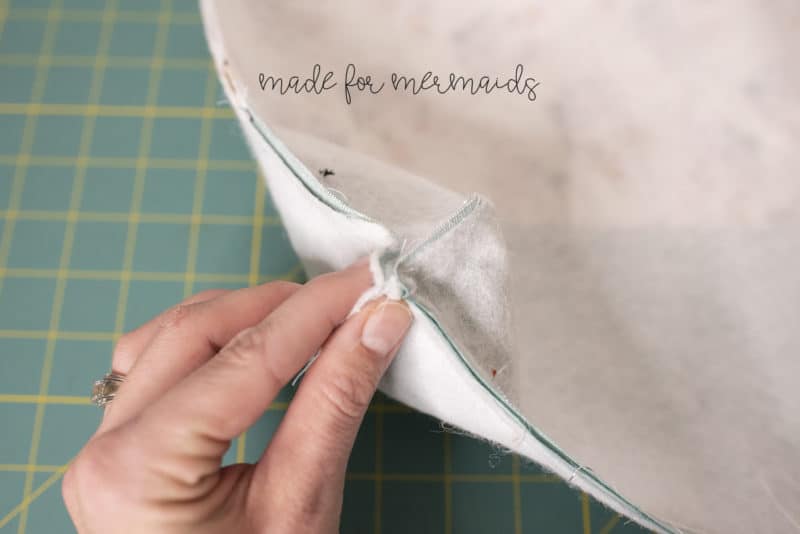
To close corners, match seams of side and bottom with RST.
Stitch with 1/4″ seam allowance.
Trim corner seam to 1/8″ seam allowance.
Step 6: Lining Construction
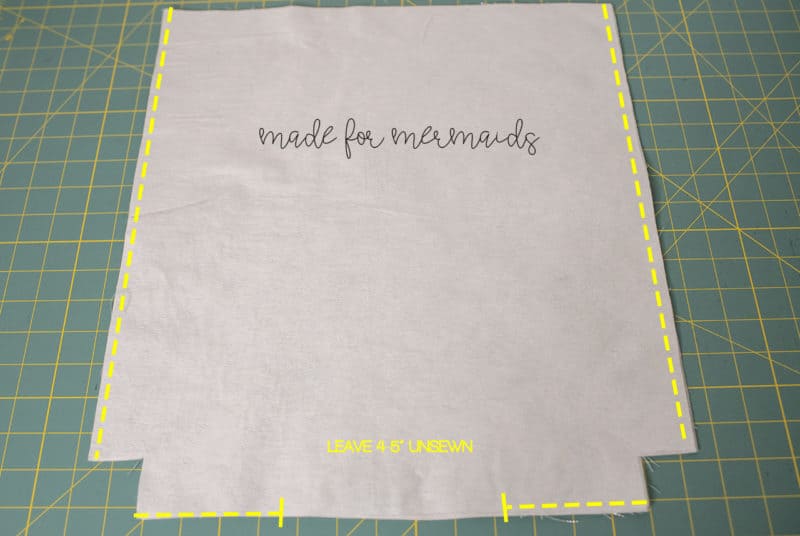
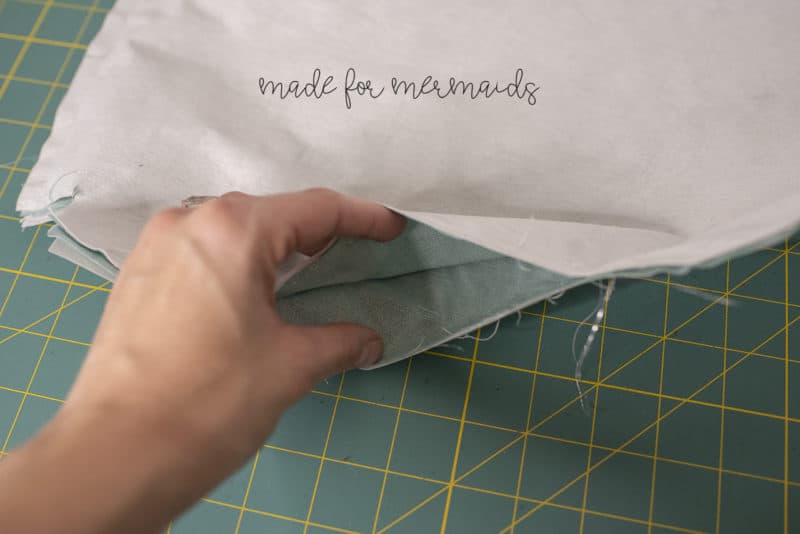
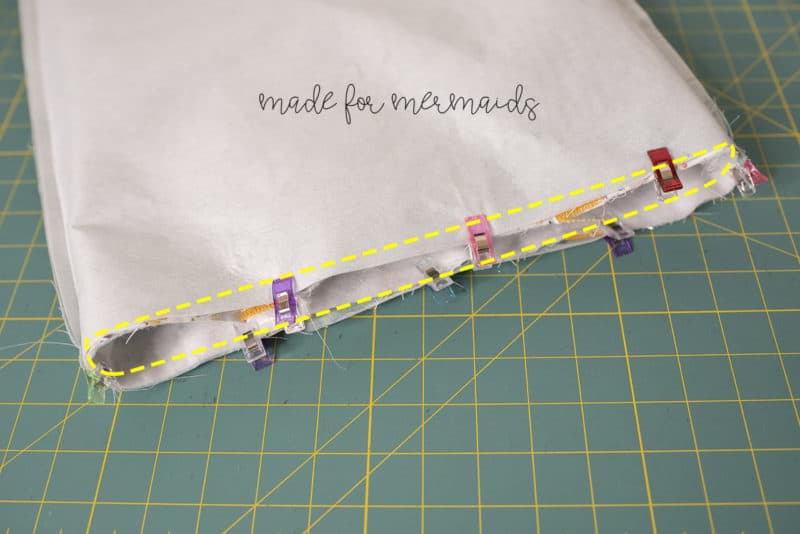
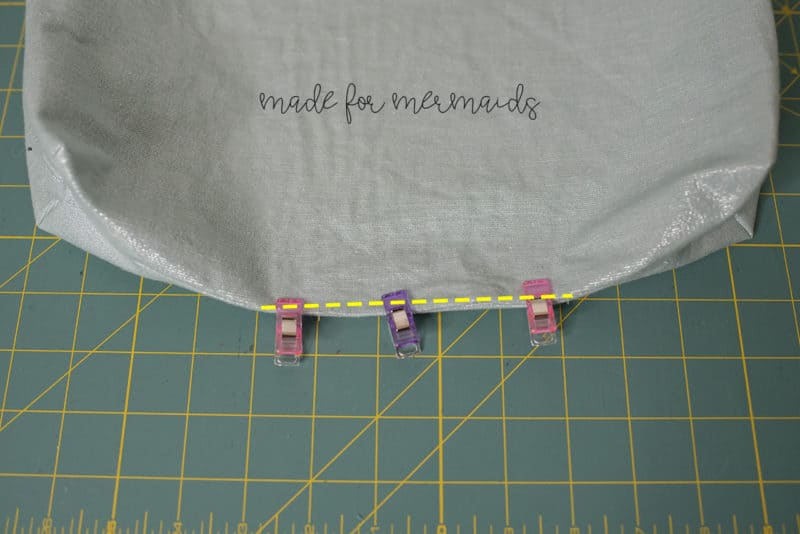
Place lining pieces RST. Stitch along sides and bottom, leaving 4-5″ unsewn along bottom for turning, with 3/8″ SEAM ALLOWANCE.
Opening of lining shown below:
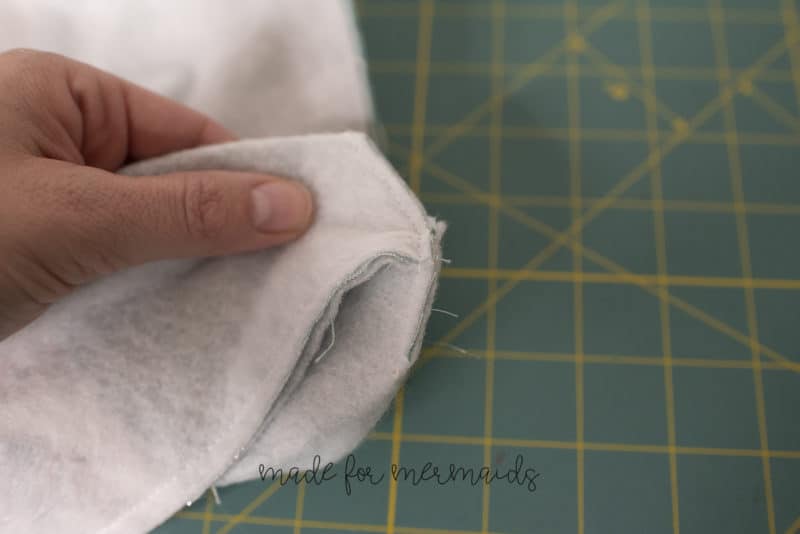
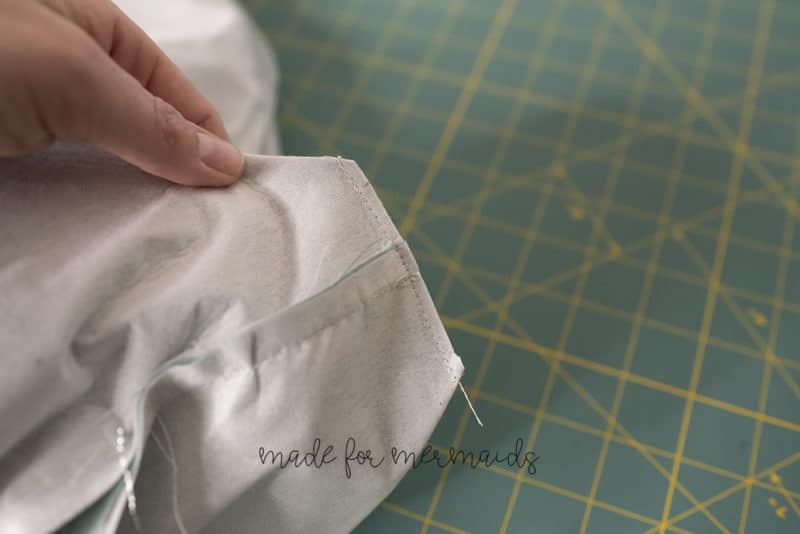
To close corners, match seams of side and bottom with RST just as with main pieces, stitch with 3/8″ seam allowance and trim to 1/8″ seam allowance.
Step 7: Attaching Main and Lining
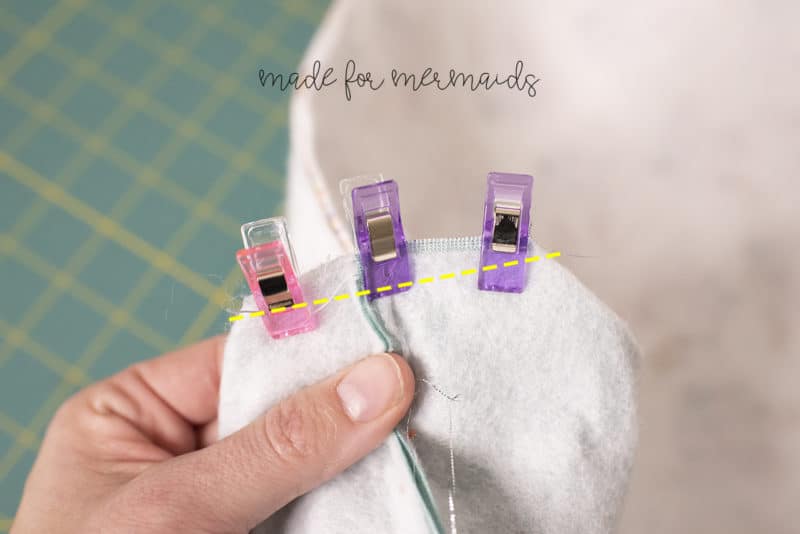
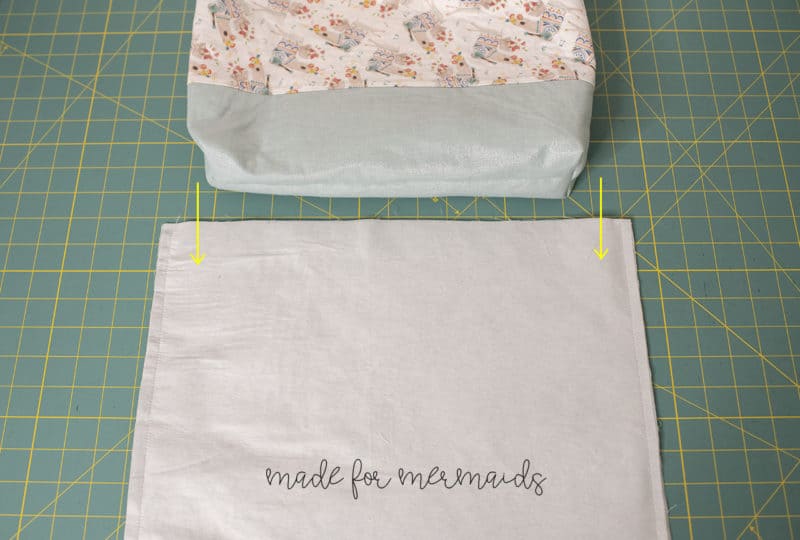
Turn main fabric right sides out and place inside lining, aligning top raw edges.
Stitch along top edge with 1″ SEAM ALLOWANCE (you may need to slightly “ease” the lining to fit since it is slightly smaller)
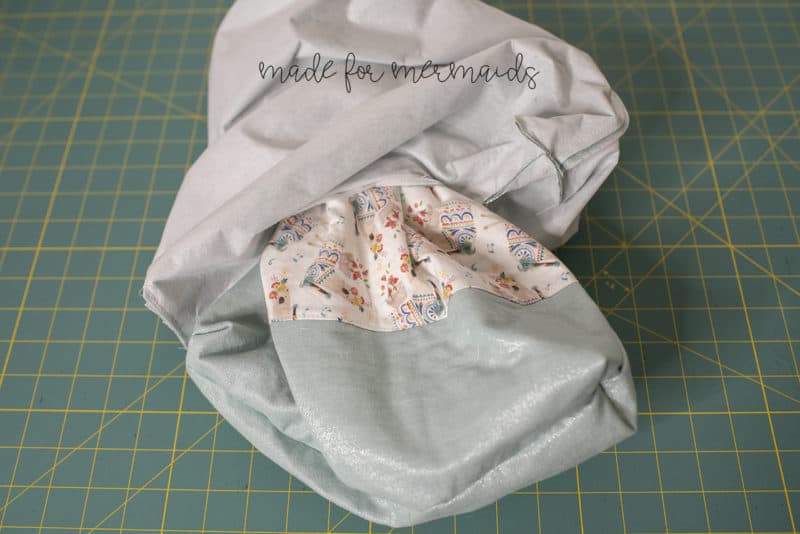
Pull bag right side out through opening in bottom of lining.
Step 8: Finishing
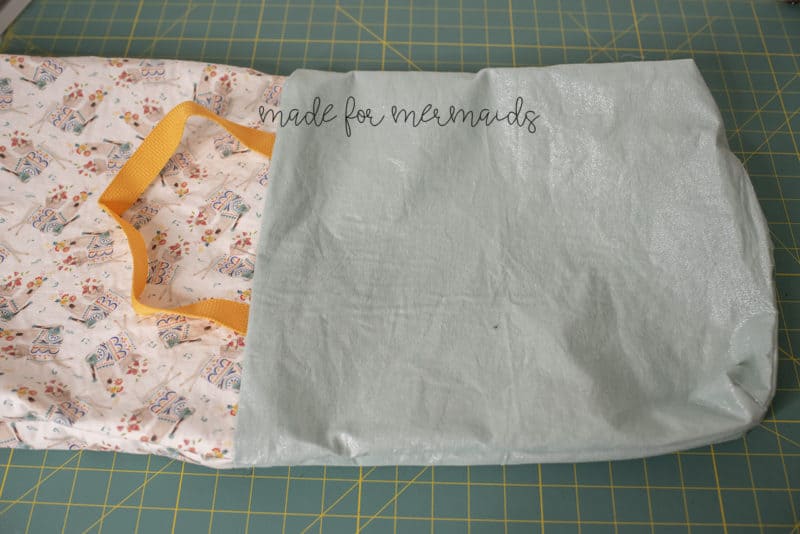
Stitch opening in lining close with small 1/8″ seam allowance on sewing machine or use a ladder stitch by hand for an extra clean finish.
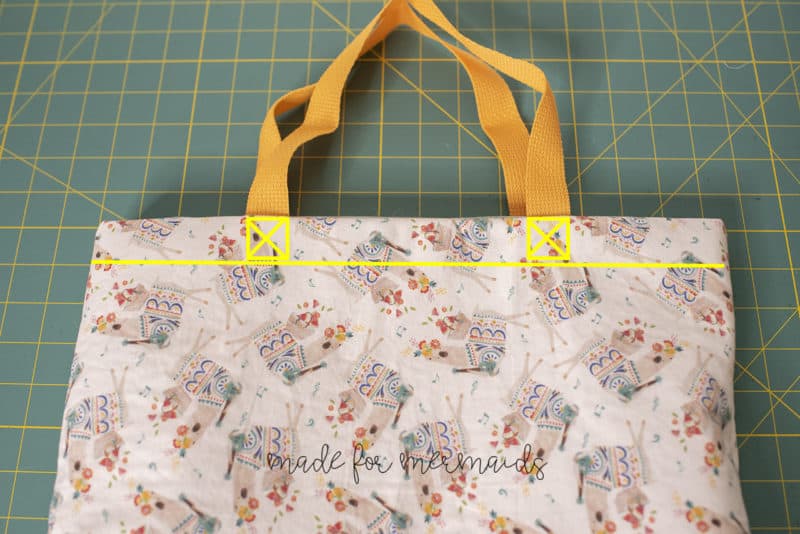
Place lining inside main with wrong sides together, press. Top stitch along top edge with 7/8″ seam allowance. Optional: Secure straps in place with square and “x”.
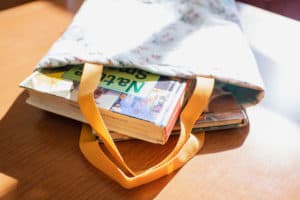
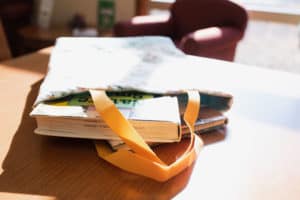
My kiddos have LOVED taking these to the library with them the last week or two, and they’re very excited about filling them up and carrying their own books because of their special bags. That means less work for me 😉 We hope you love this freebie as much as we do!




Leave a Reply