
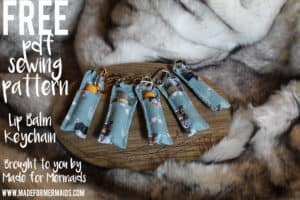
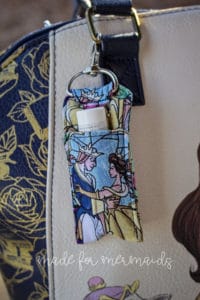
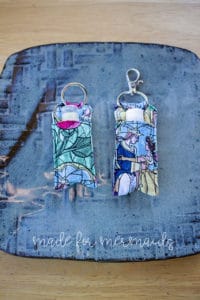
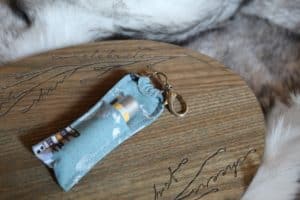
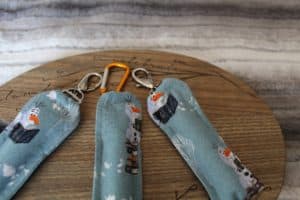
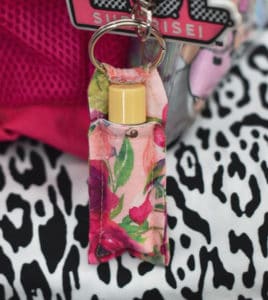
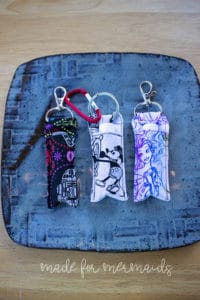
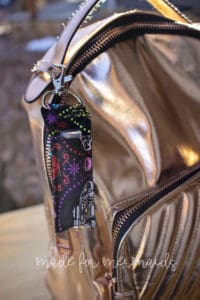
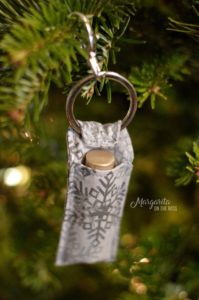
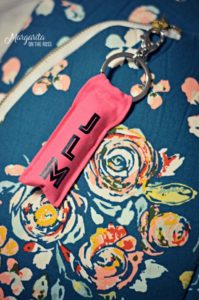
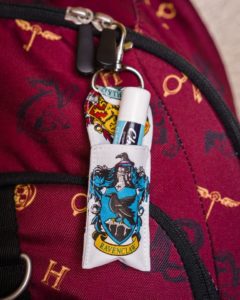
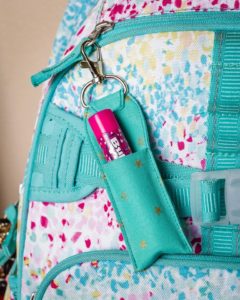
Today we have a lip balm keychain for you! My lip balm is always buried somewhere at the bottom of my purse, but now I can have it nice and handy whenever I need it with this cute little keychain. These are really quick to sew and need very minimal supplies.
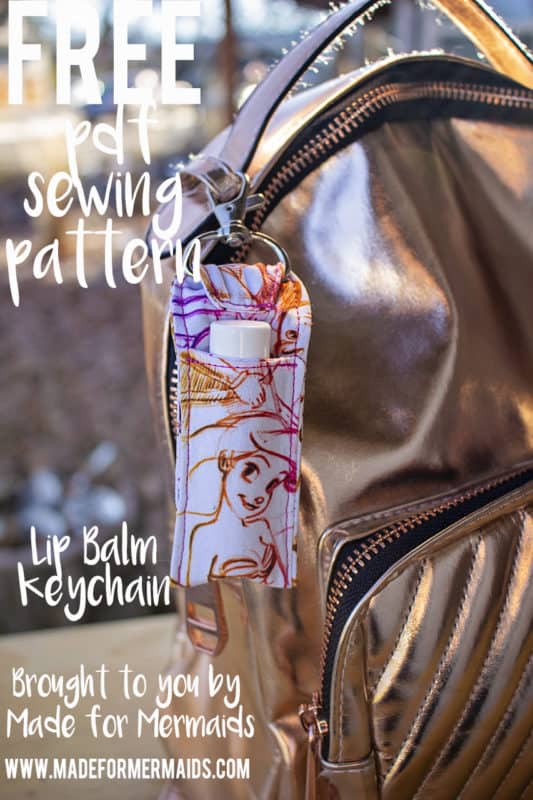
SUPPLIES:
- Scraps of quilting cotton
- Scraps of fusible interfacing
- 1 – 1 inch metal swivel clasp or 1 – 1 to 1.25 inch key chain ring
LET’S GET STARTED!
1/4″ seam allowances included.
Step 1: PREPPING
Go grab the pattern here! The pattern is 100% free, but you do need to add it to your cart and checkout. Then, it will always be available to download from your account. The pattern is a no trim pattern; if you need help putting the pattern together, pop over to the faqs and troubleshooting page or ask in our Facebook group .
Print and assemble the pattern. There is 1 page to print out. Pattern layout here:
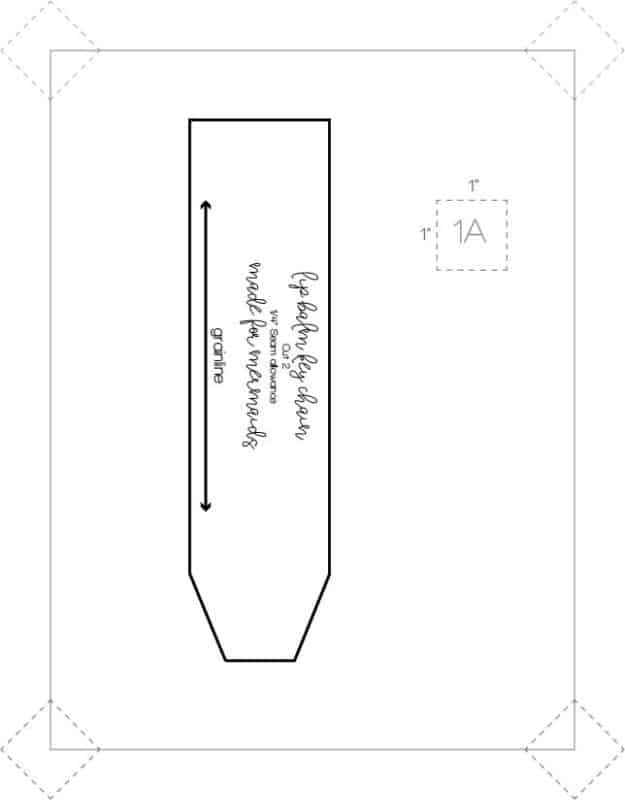
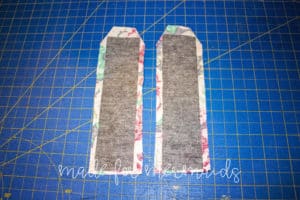
Cut 2 pieces and cut 2 strips of interfacing approximately 1 to 1.5 inches wide by 6 to 6.5 inches long. Iron your interfacing down the middle of each of your main pieces.
Step 3: Sewing main keychain
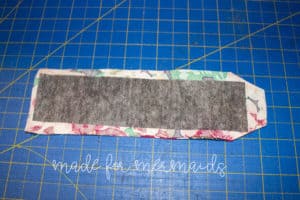
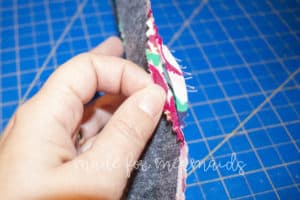
Places pieces right sides together and sew all the way around, leaving an opening of about 1.5 to 2 inches open. Press the seam allowance on the space where you did not sew out Clip your corners and trim seam allowance, I like to use pinking shears for this step. Turn inside out. Press well.
Step 4: Creating pocket
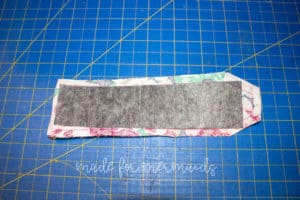
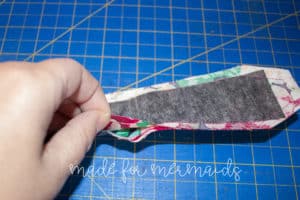
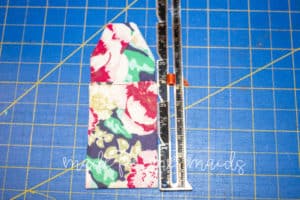
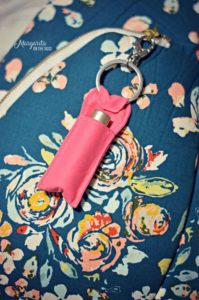
If designer, topstitch the bottom, straight edge that does not angle in. Next fold the bottom up where you just top stitched, about 2.5 inches towards the top. If you want a little more of your lip balm sticking out of the top you can do a little less or want it pretty much fully covered then you can do a little more. Anything from 2.25 to 2.75 inches works just fine. Iron well to form your pocket.
Topstitch from the top of the angled piece all the way down to the bottom on both sides. You do not stitch across the fold along the bottom or along the top edge.
Step 5: Finishing
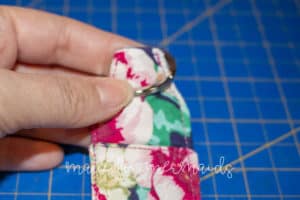
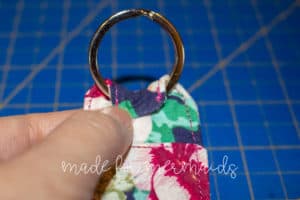
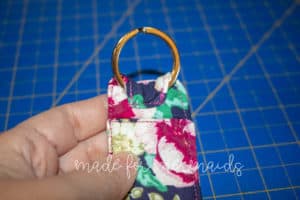
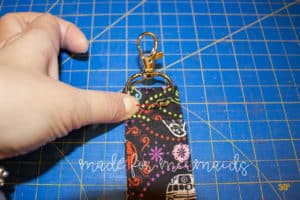
Now time to attach your swivel clasp or key ring. Slip whatever you have choose onto the top of your lip balm case and fold the top over and top stitch in place. *Tip: I found using my zipper foot was the easiest way to top stitch this down as it allows you to get closer to the clip or key ring.
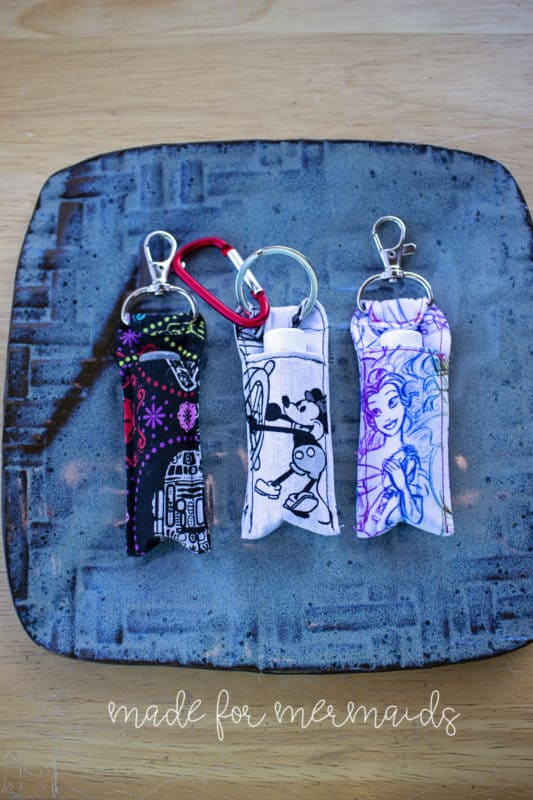
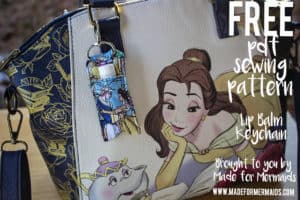
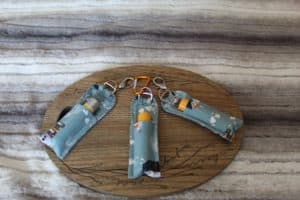
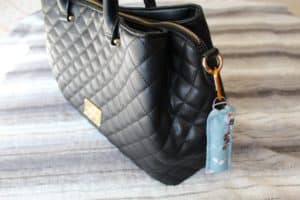
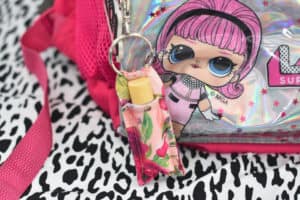
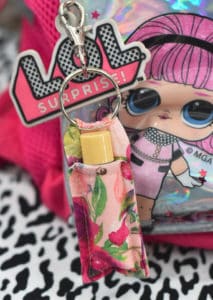
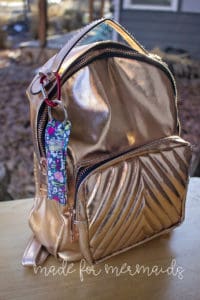
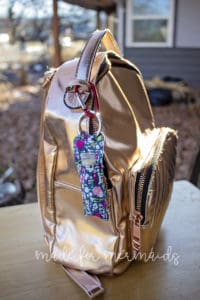
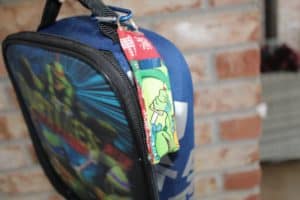
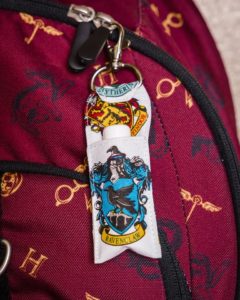
All done! Add these to gifts, in stockings, on your little ones’ backpacks or on your bag! These are so quick, simple and will be a go-to gift and scrap buster.
DECEMBER 1 – 12, 2019
DAY 1-FELT BREAKFAST SET
DAY 2-BIANCA BLANKET WRAP
DAY 3-BOW & SCARF SCRUNCHIE
DAY 4-DOG BANDANA
DAY 5-PLANNER BOOKMARK
DAY 6-TREE SKIRT
DAY 7-HADLEY HAND TIED BOW
DAY 8-LUGGAGE TAGS
DAY 9 – LIBRARY BAG














Leave a Reply