
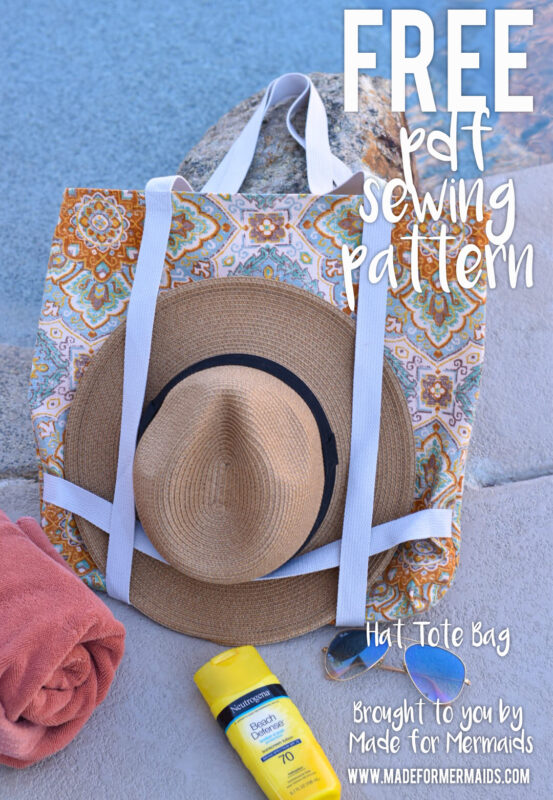
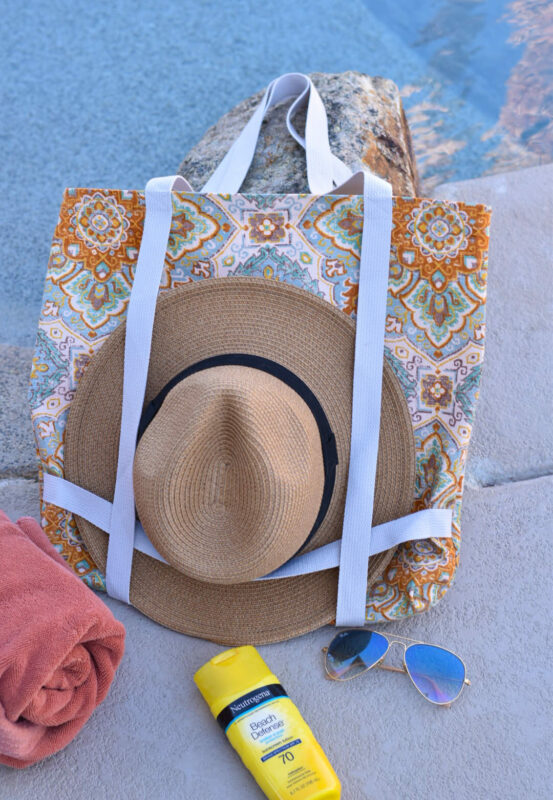
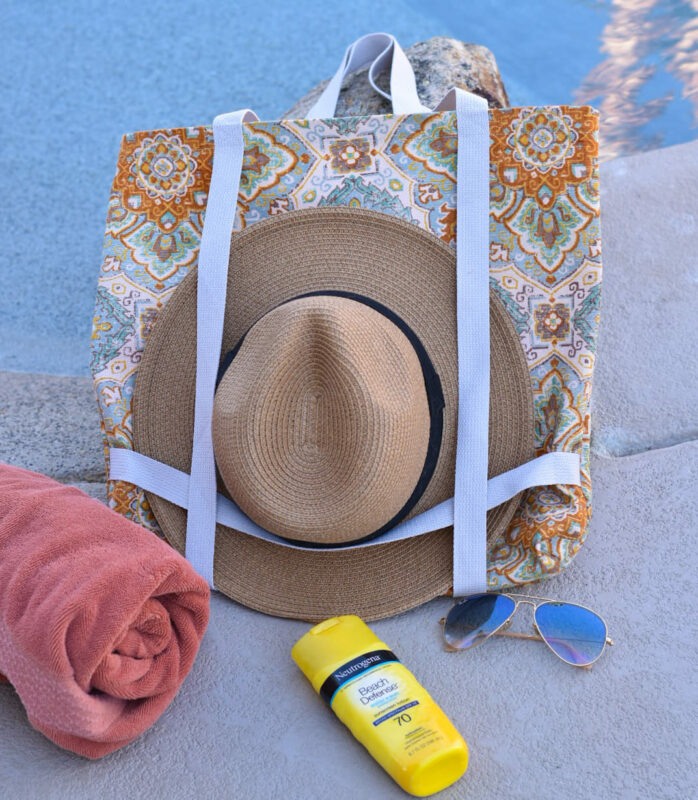
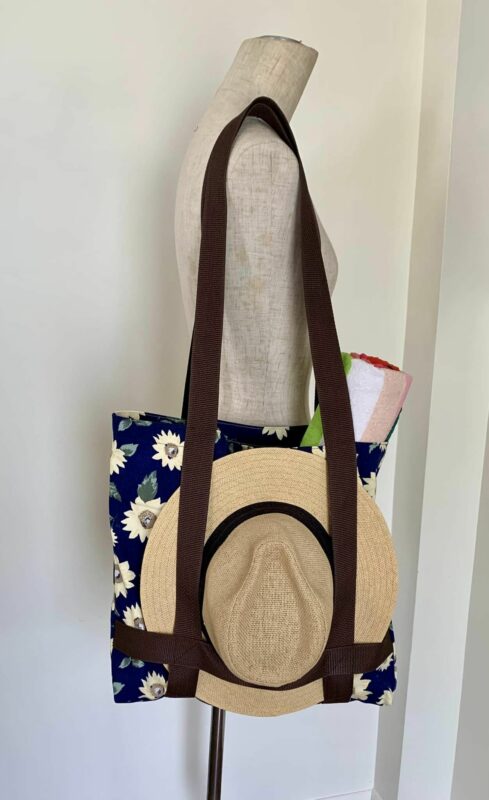
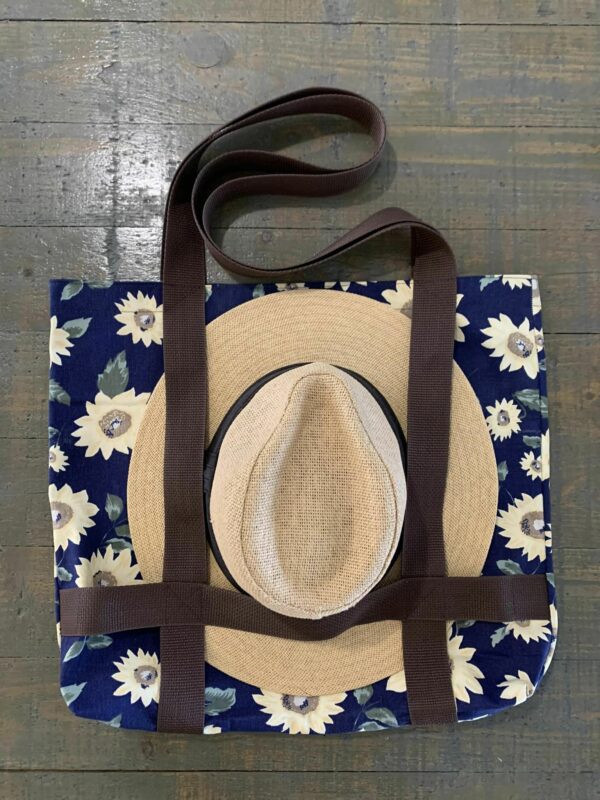
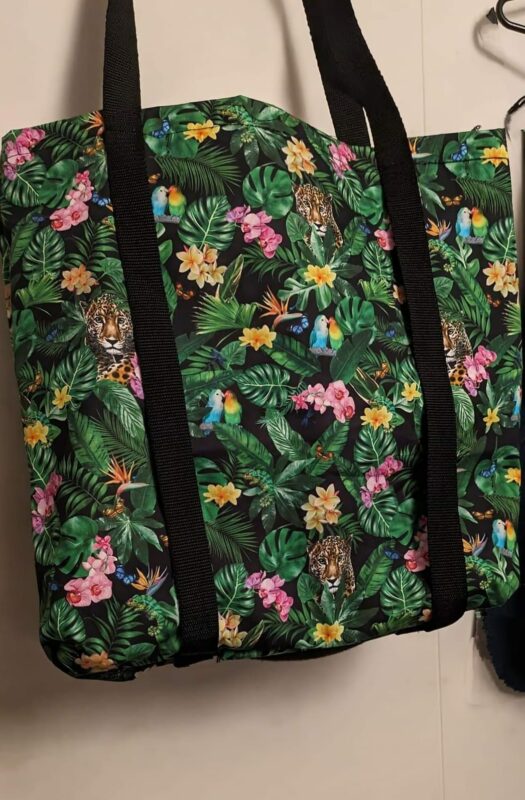
On the 5th day of Christmas, we’re here with a hat tote bag! This is perfect for traveling, a day at the beach, pool, lake, and more. Pair the tote bag with our jewelry roll, travel zip bag, reusable facial rounds, luggage tag, or the super scrunchie for the perfect travel gifts.
SUPPLIES:
- Designed for woven fabrics of all types – broadcloth, quilting cotton, canvas, etc.
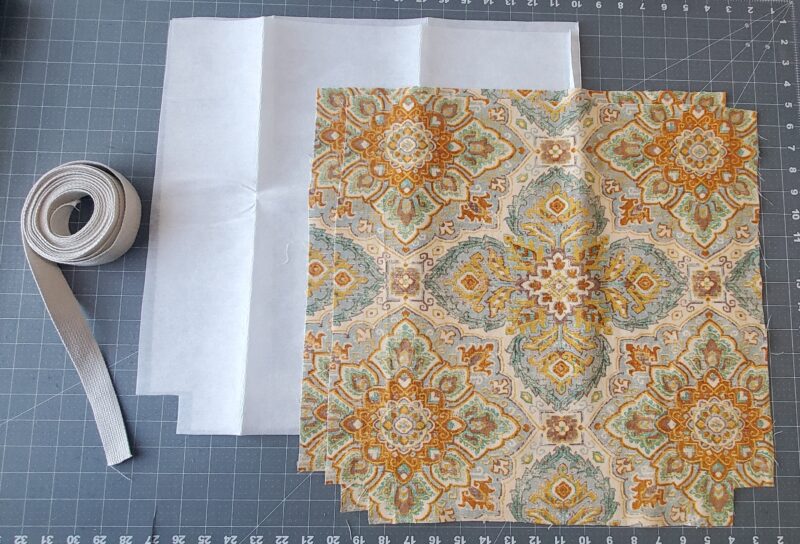
- 1/2 yd main fabric
- 1/2 yd light to medium weight interfacing
- 3 3/4 yard 1″-1.5″ strapping or polypro belting
LET’S GET STARTED!
1/2″ seam allowances included
Step 1: PREPPING
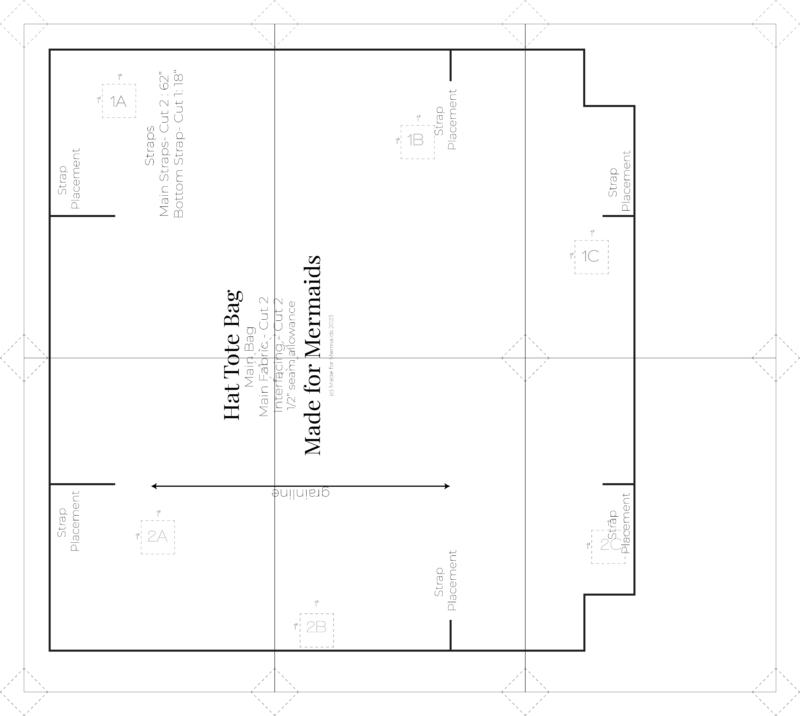
Go grab the pattern here! The pattern is 100% free, but you do need to add it to your cart and checkout. Then, it will always be available to download from your account. The pattern is a no-trim pattern; if you need help putting the pattern together, pop over to the faqs and troubleshooting page or ask in our Facebook group.
Print and assemble the pattern. Alternatively, you can use the projector file if you’re using a projector. Pattern layout below:
Step 2: CUTTING
Cut your pattern pieces. Iron all pieces after you cut for the most professional looking finish.
- Cut main bag pieces from main fabric and interfacing
- Cut straps from polypro binding at desired length
- Cut 2 main straps – 62″
- Cut 1 bottom strap – 18″
Step 3: INTERFACING
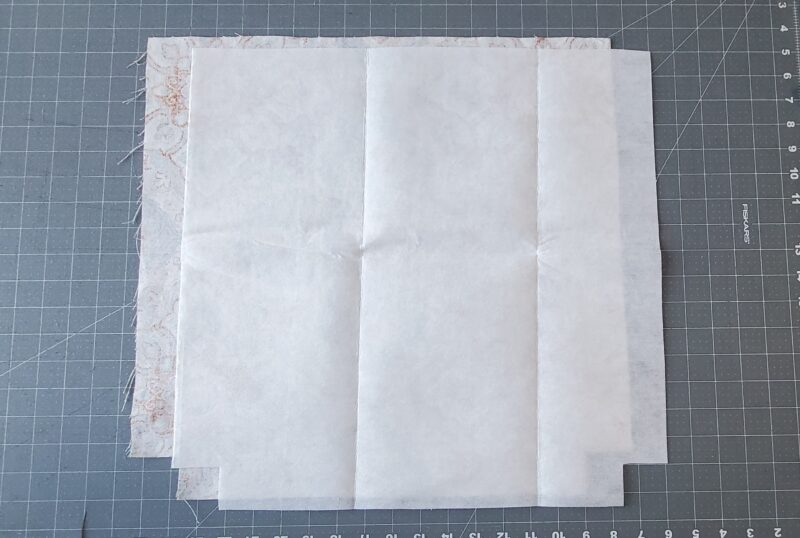
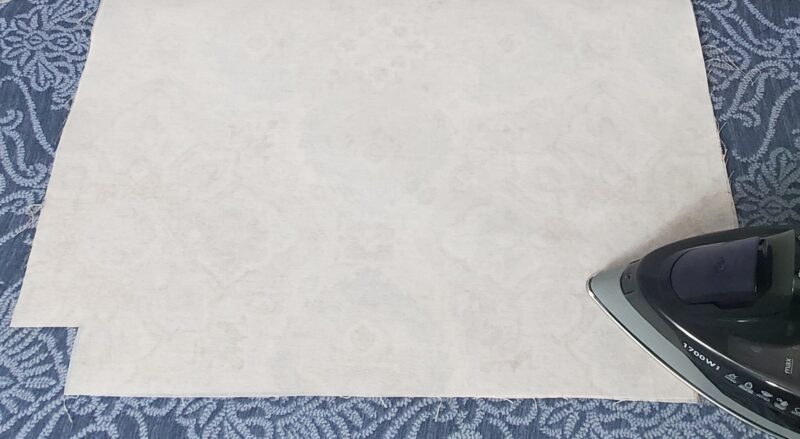
Place the main pieces wrong side up. Following the instructions included with interfacing, fuse interfacing to main pieces on the wrong side.
Step 4: ATTACHING STRAPS
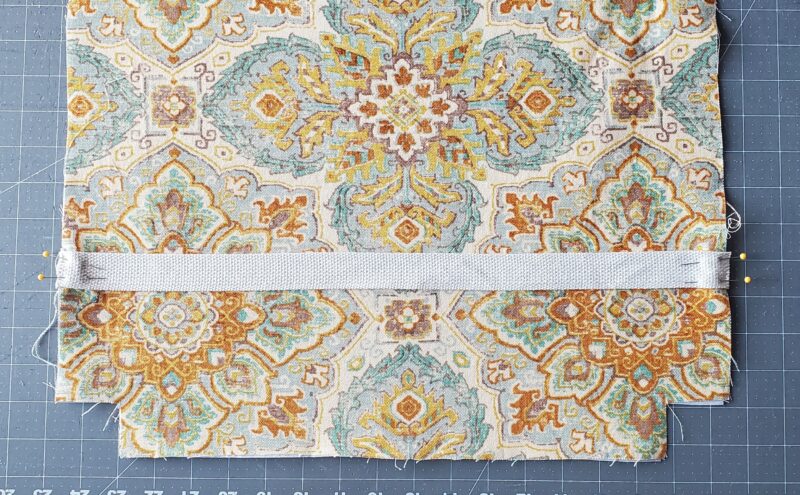
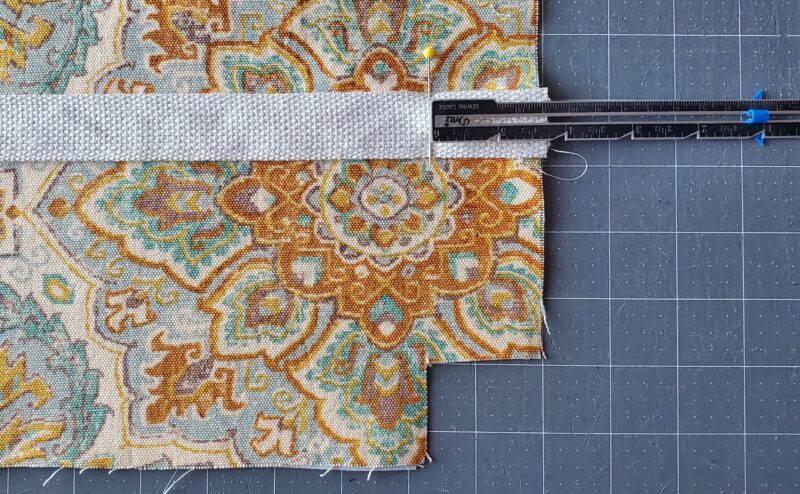
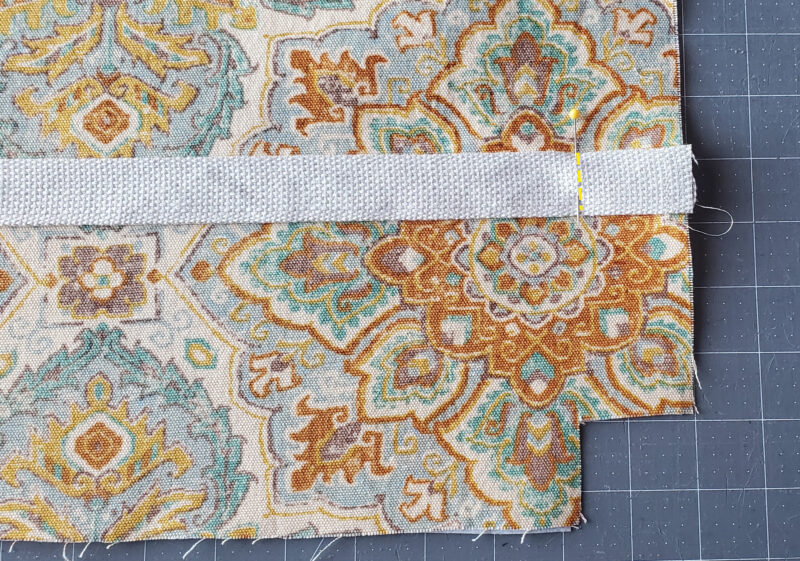
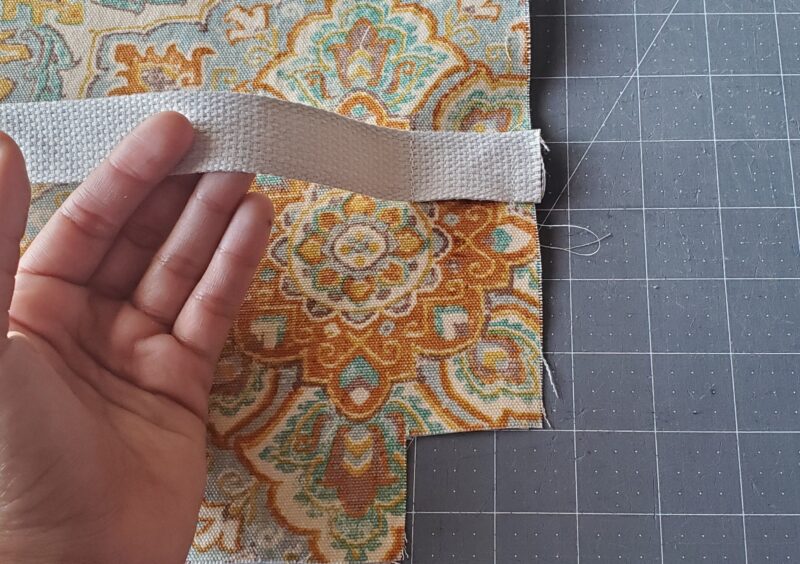
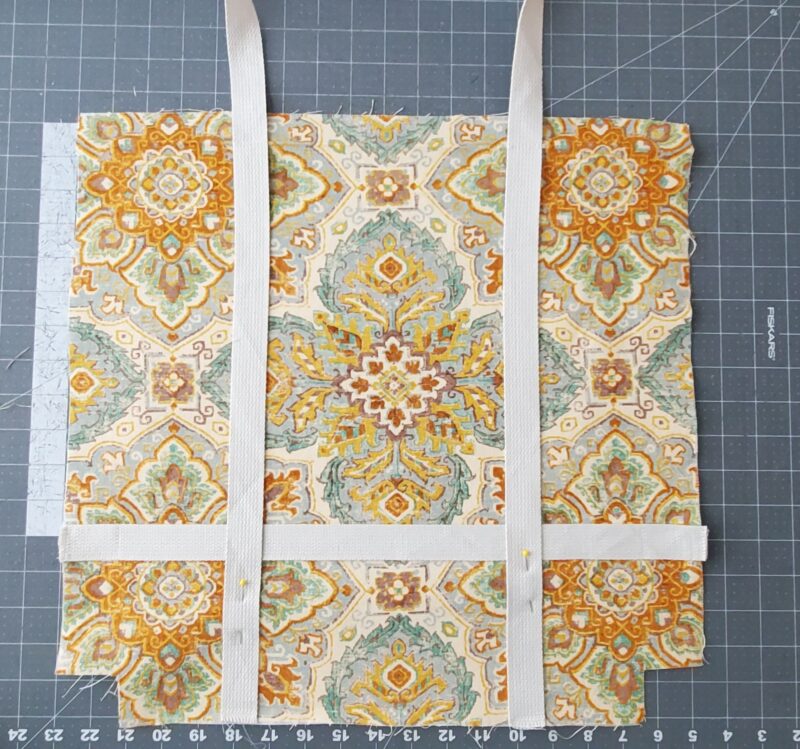
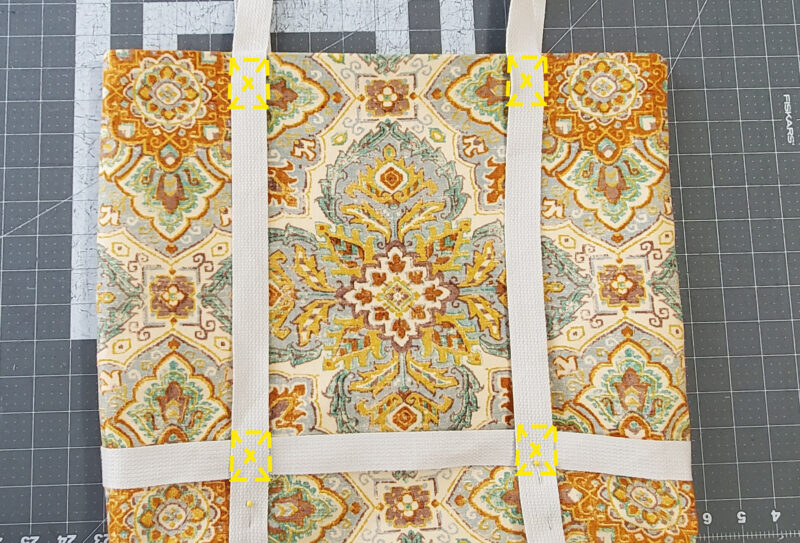
Using the strap marking placement along the bottom sides, stitch the horizontal strap in place along each side 1/4″ from the edge. Then mark 1.5″ in and stitch again on each side.
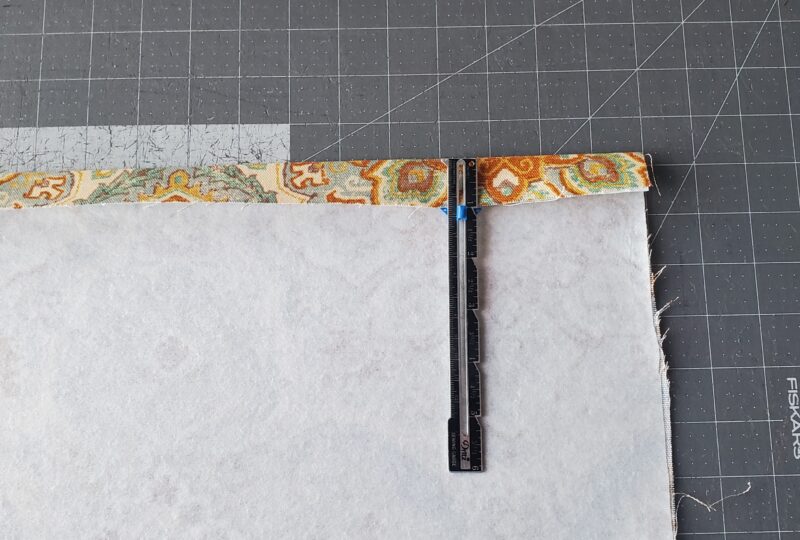
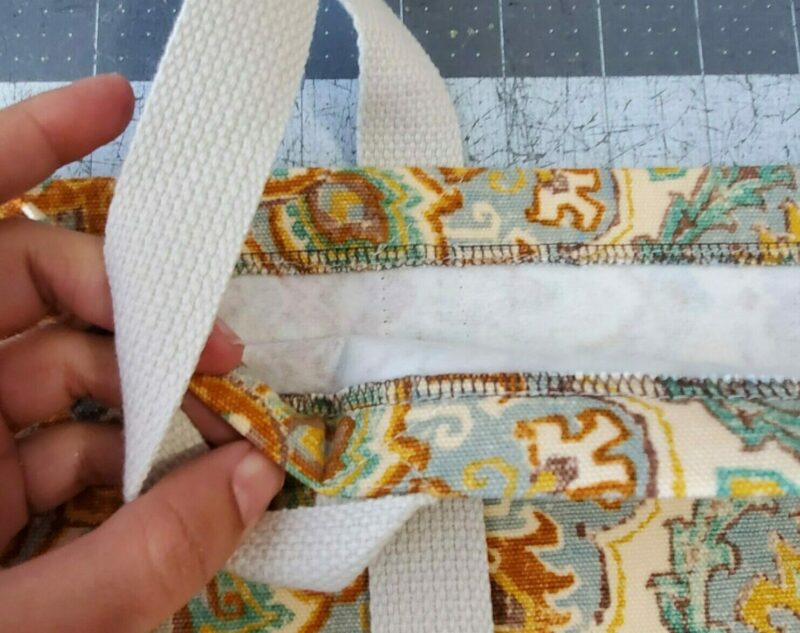
Press 1″ to wrong side along each top piece to create a memory press.
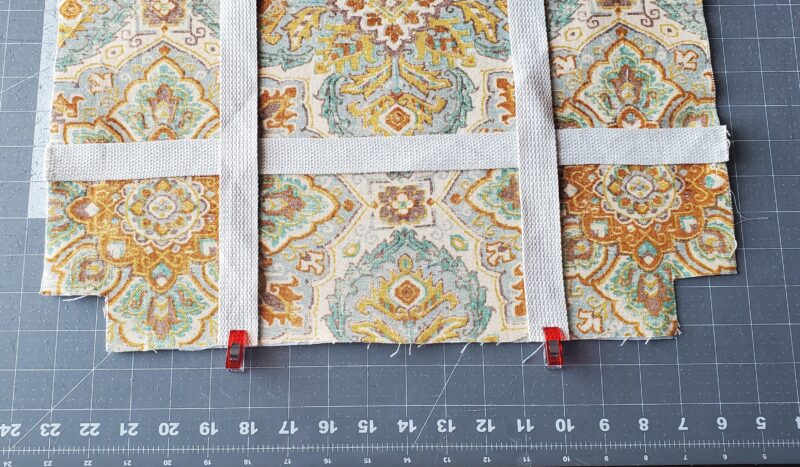
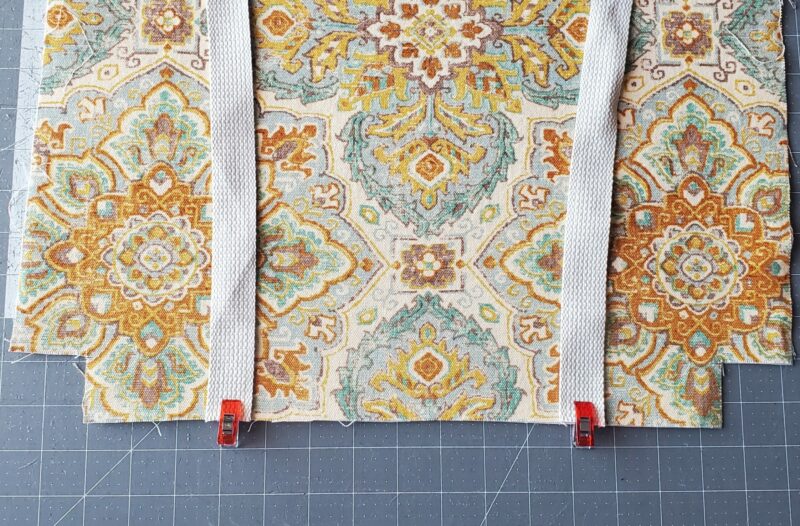
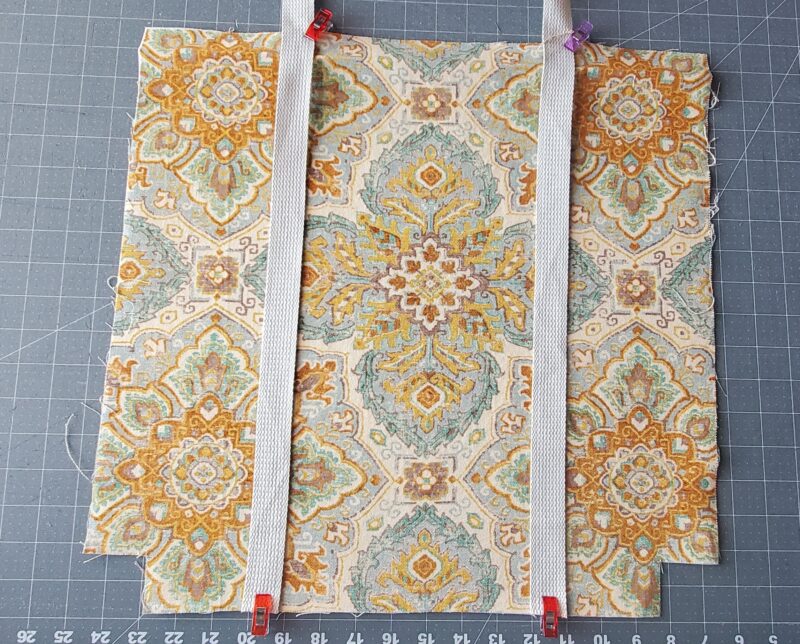
Using the bottom strap marking, pin on main strap end in place. Pin the other end of the same strap at the other strap marking. Stitch the strap in place along the bottom.
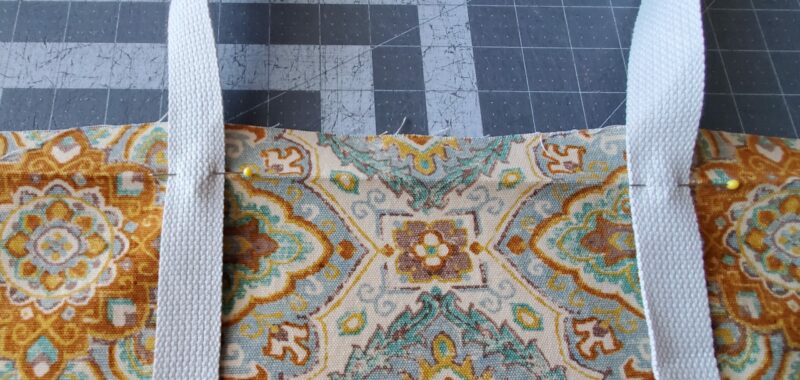
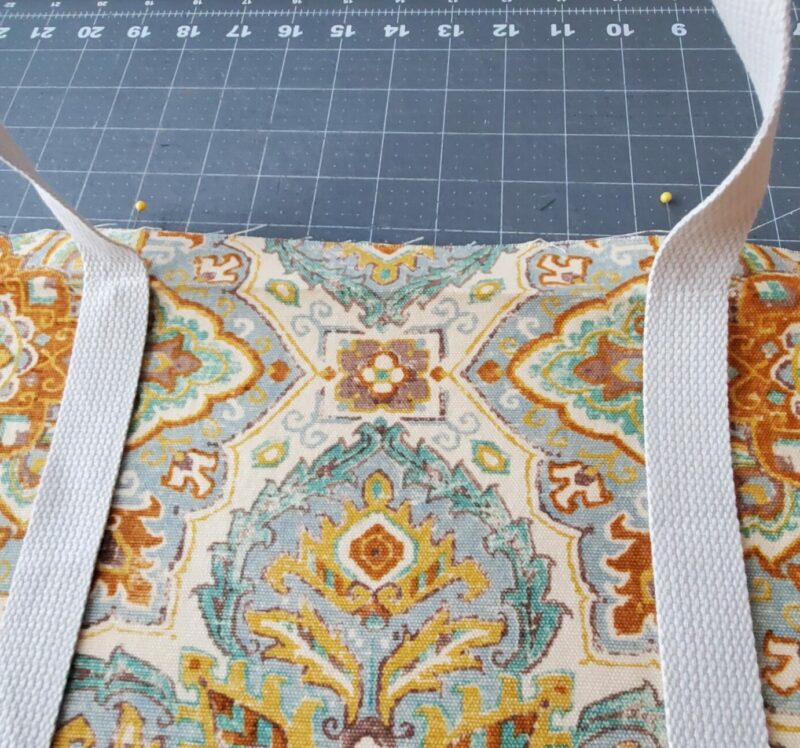
Using the top strap marking, stitch the strap along the top, directly below the 1″ memory press.
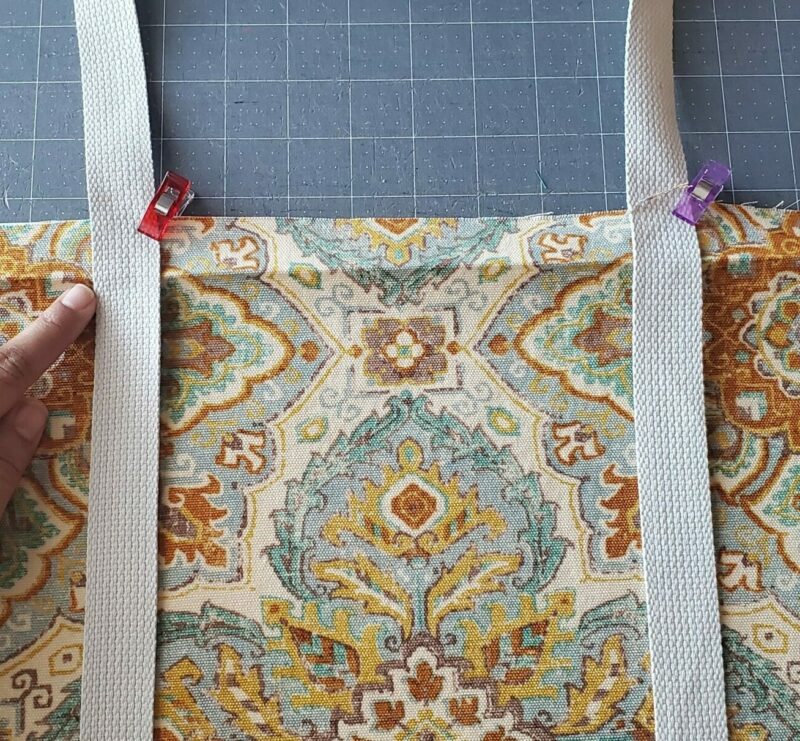
Add the remaining strap piece on the other main piece. Again, use the bottom strap marking and top strap markings for placement.
Step 5: CONSTRUCTION OF MAIN
Lay one piece right side up.
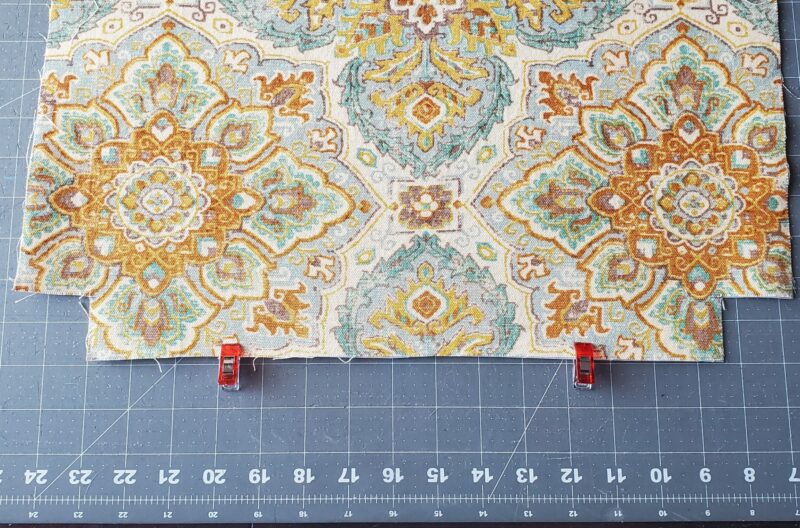
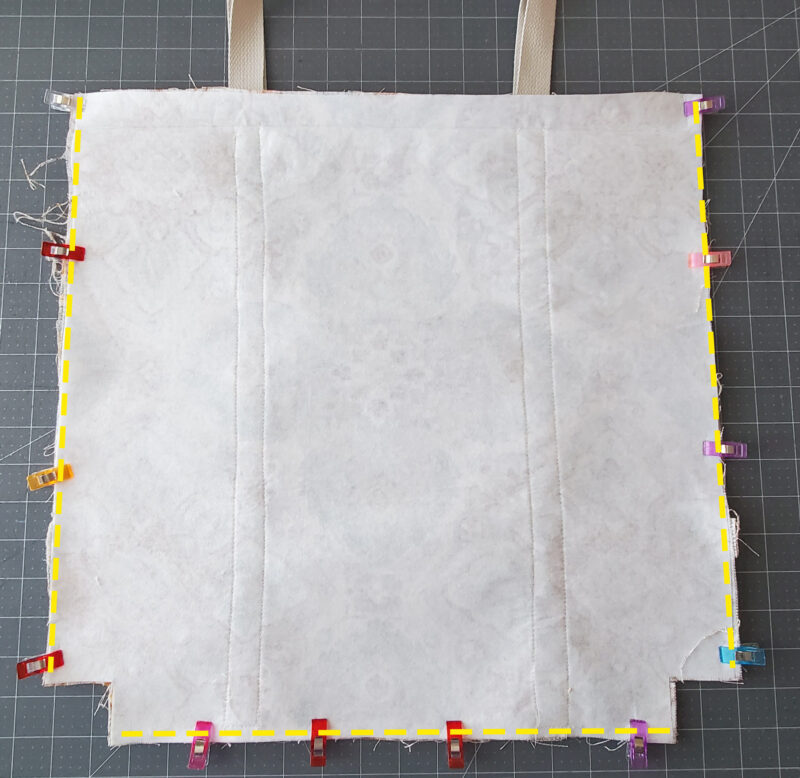
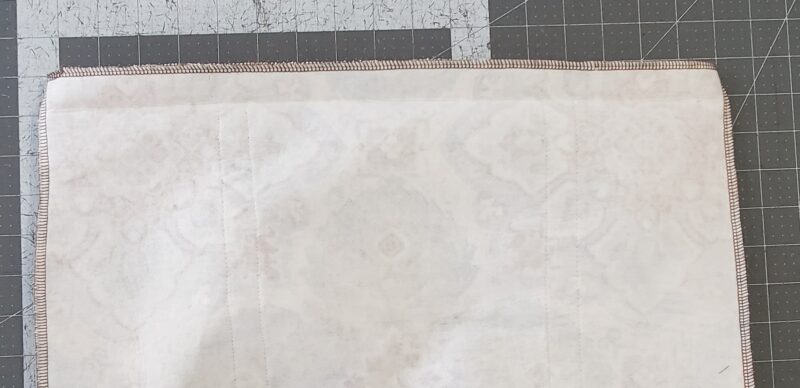
Place second piece on top, right sides together (RST). Stitch along bottom and sides with 1/2″ seam allowance. LEAVE CORNERS OPEN!
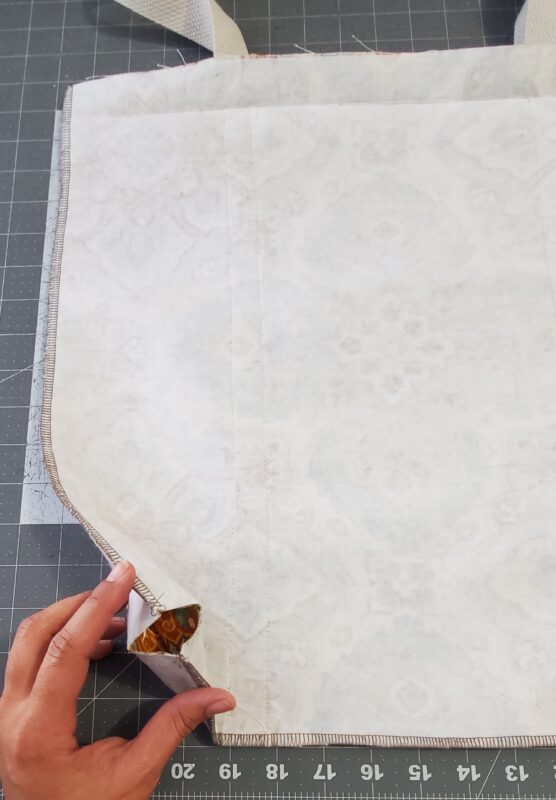
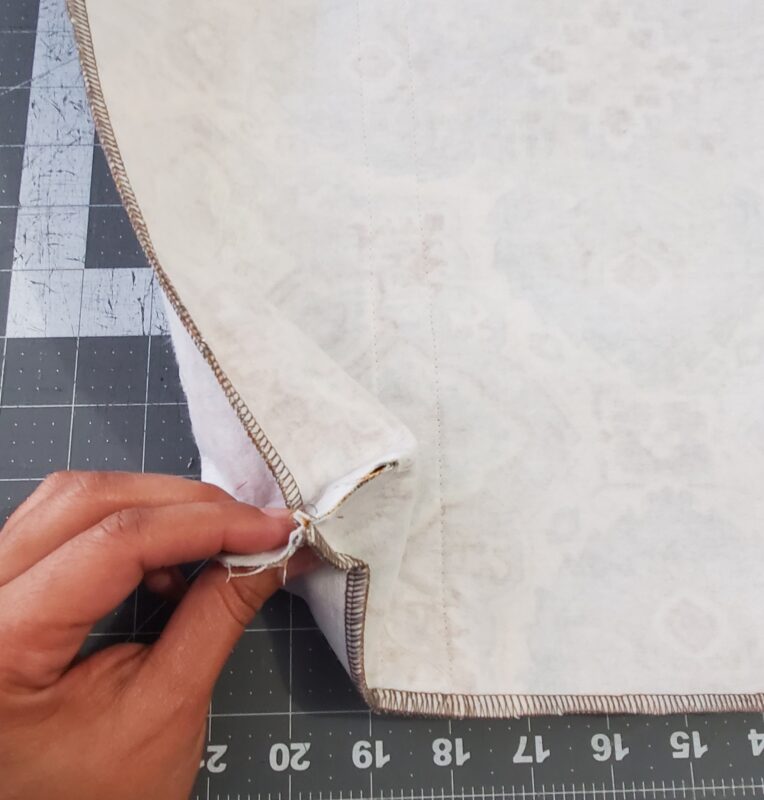
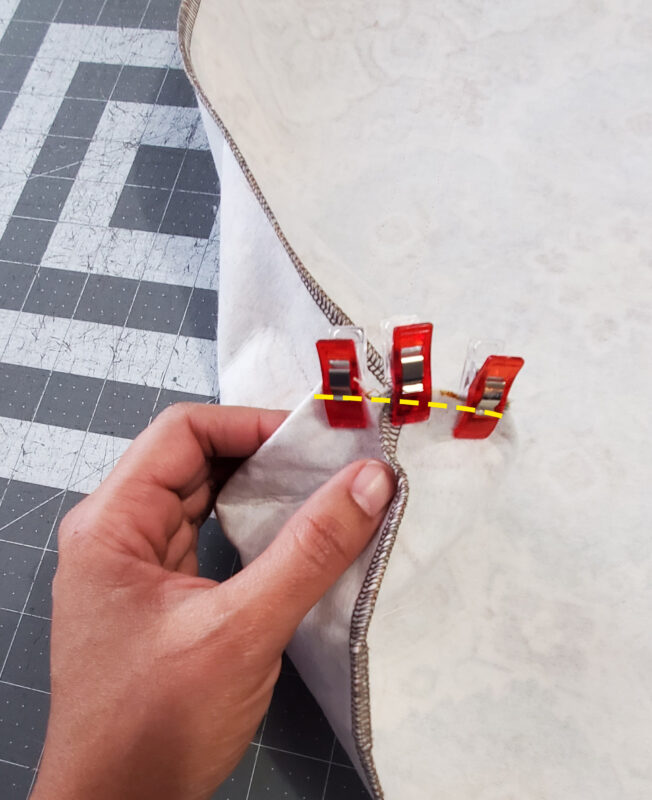
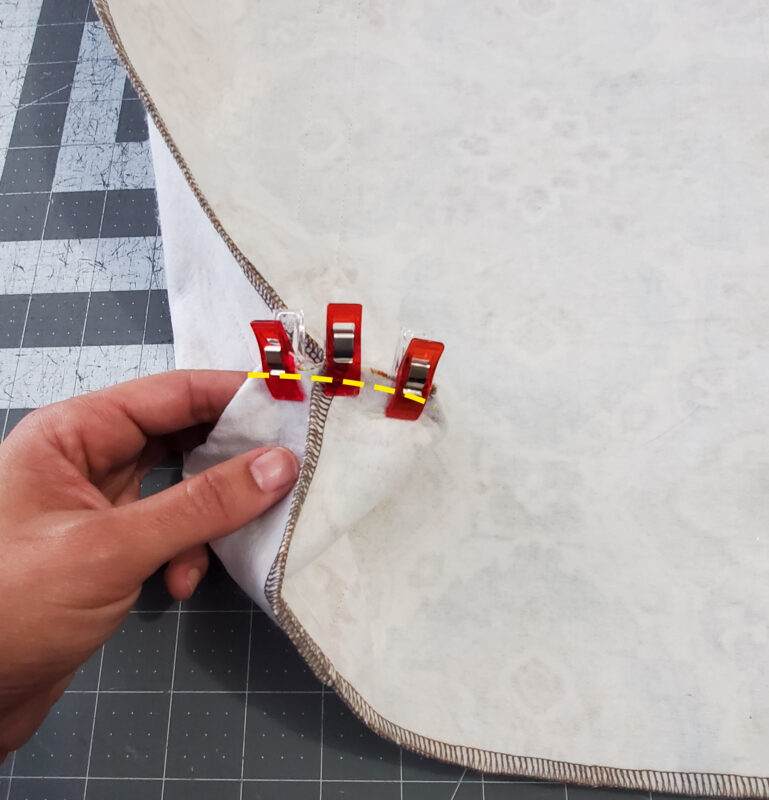
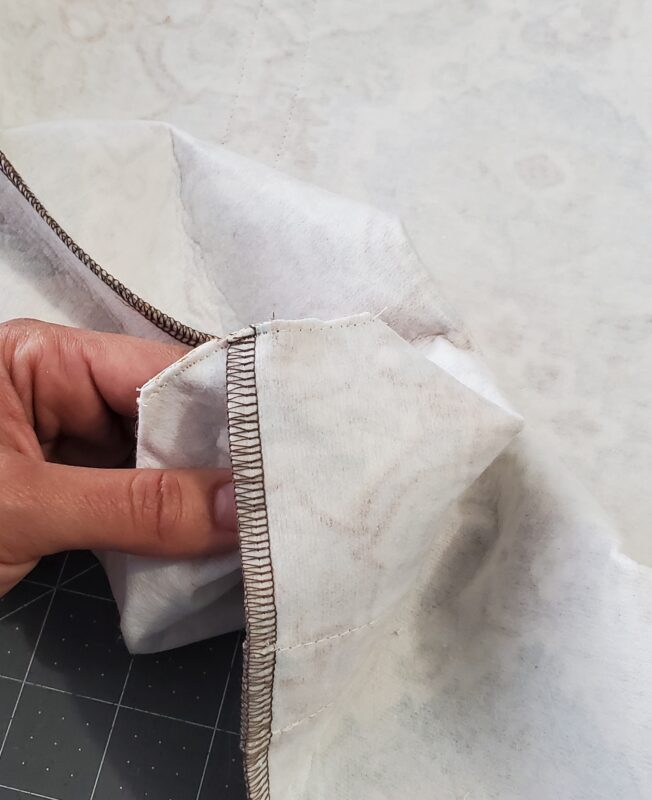
To close corners, match seams of side and bottom with RST.
Stitch with 1/4″ seam allowance. Then trim corner seam to 1/8″ seam allowance.
Step 6: FINISHING
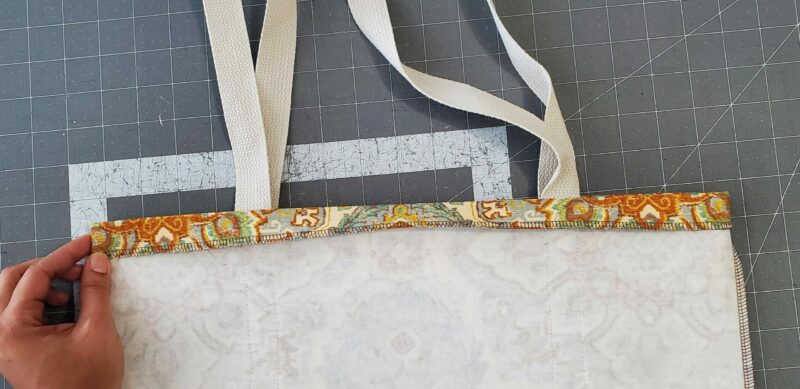
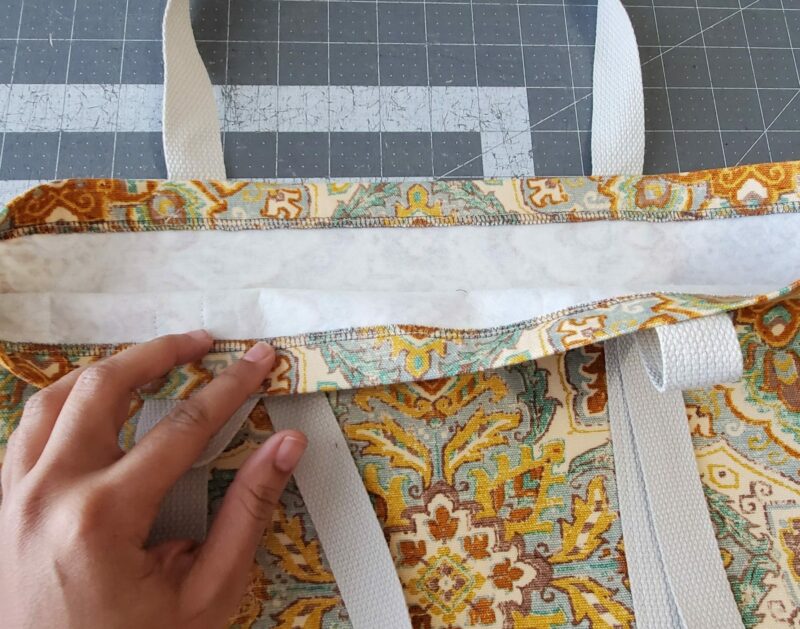
Repress the 1″ memory press along the top down toward the wrong side and edgestitch to hold the hem in place.
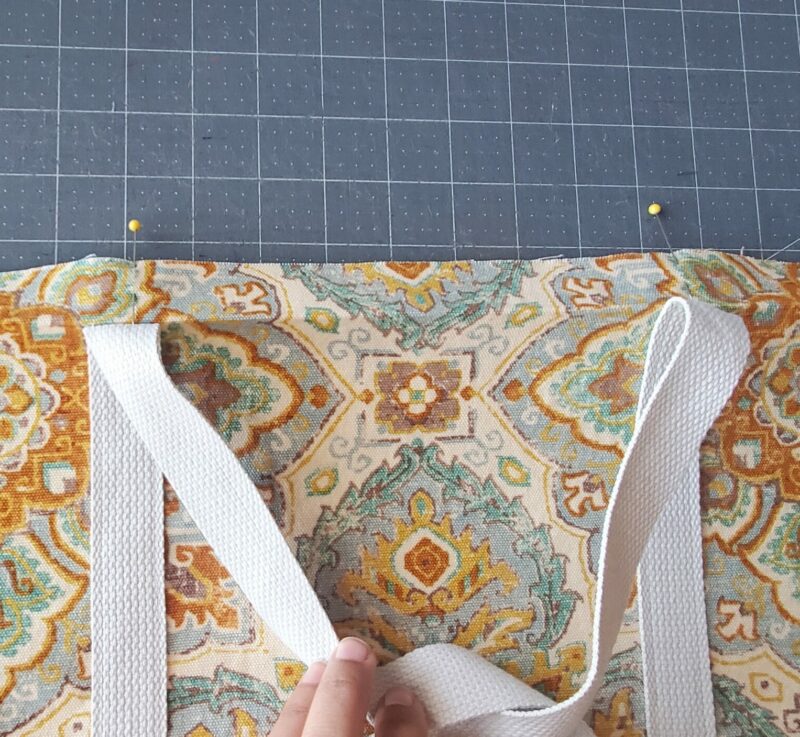
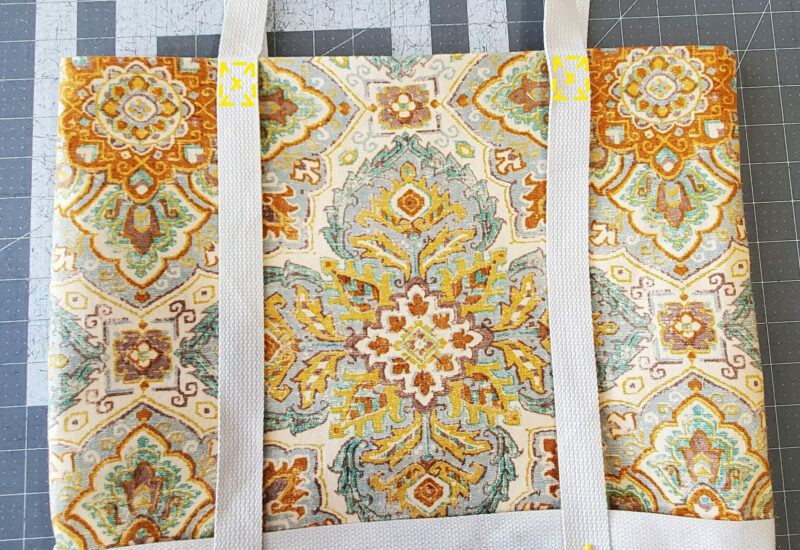
Optional- Secure straps in place with a square and sew an “x” the top hem. You can also secure the straps where the overlap; don’t topstitch/catch the bag piece underneath, only sew on top the two strap pieces to reinforce them!
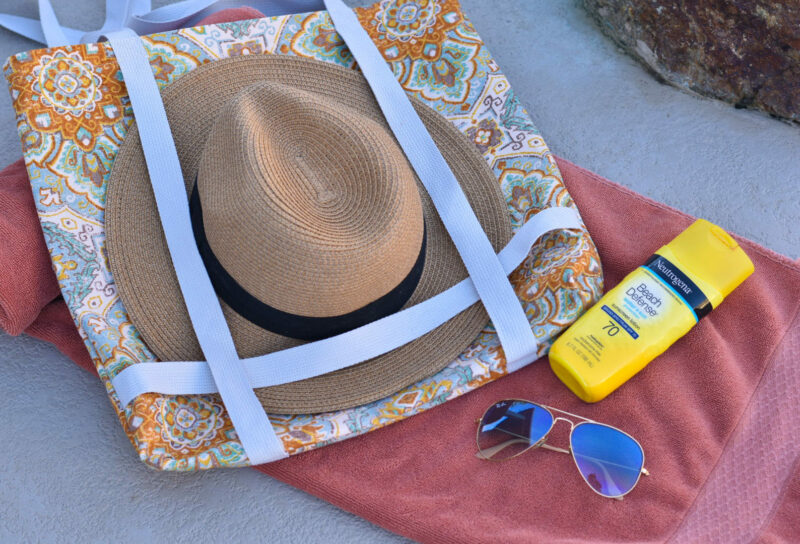
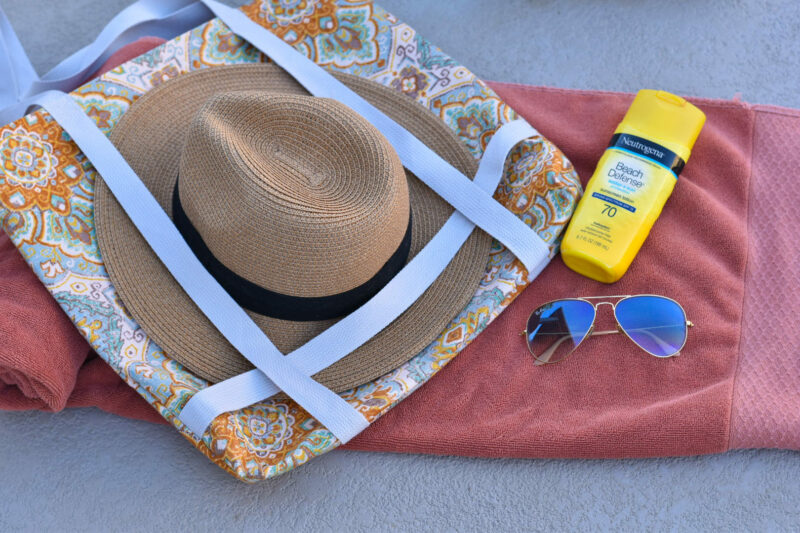
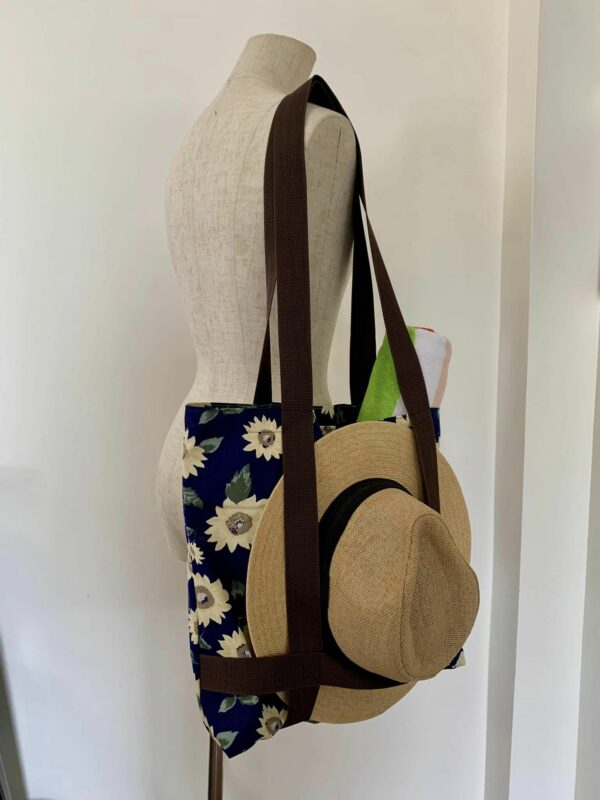
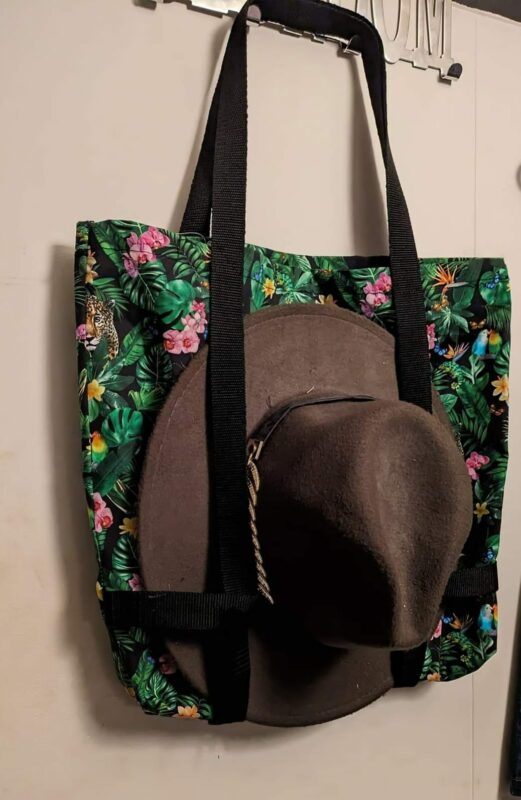
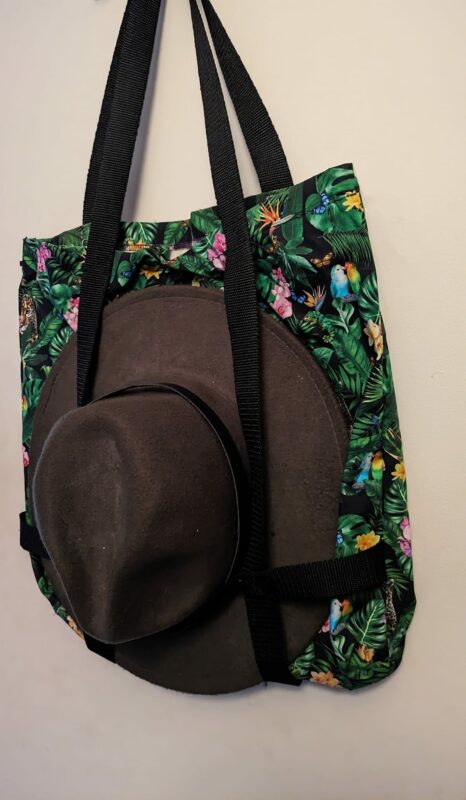
Put your favorite hat in and you’re ready for the pool or beach!
DECEMBER 1 – 12, 2023
DAY 1 –TOASTER TREAT PLAY FOOD + PLUSHIE
DAY 2 – FABRIC KEY FOB
DAY 3 – FABRIC COASTERS
DAY 4 – FELT MISTLETOE

Leave a Reply