
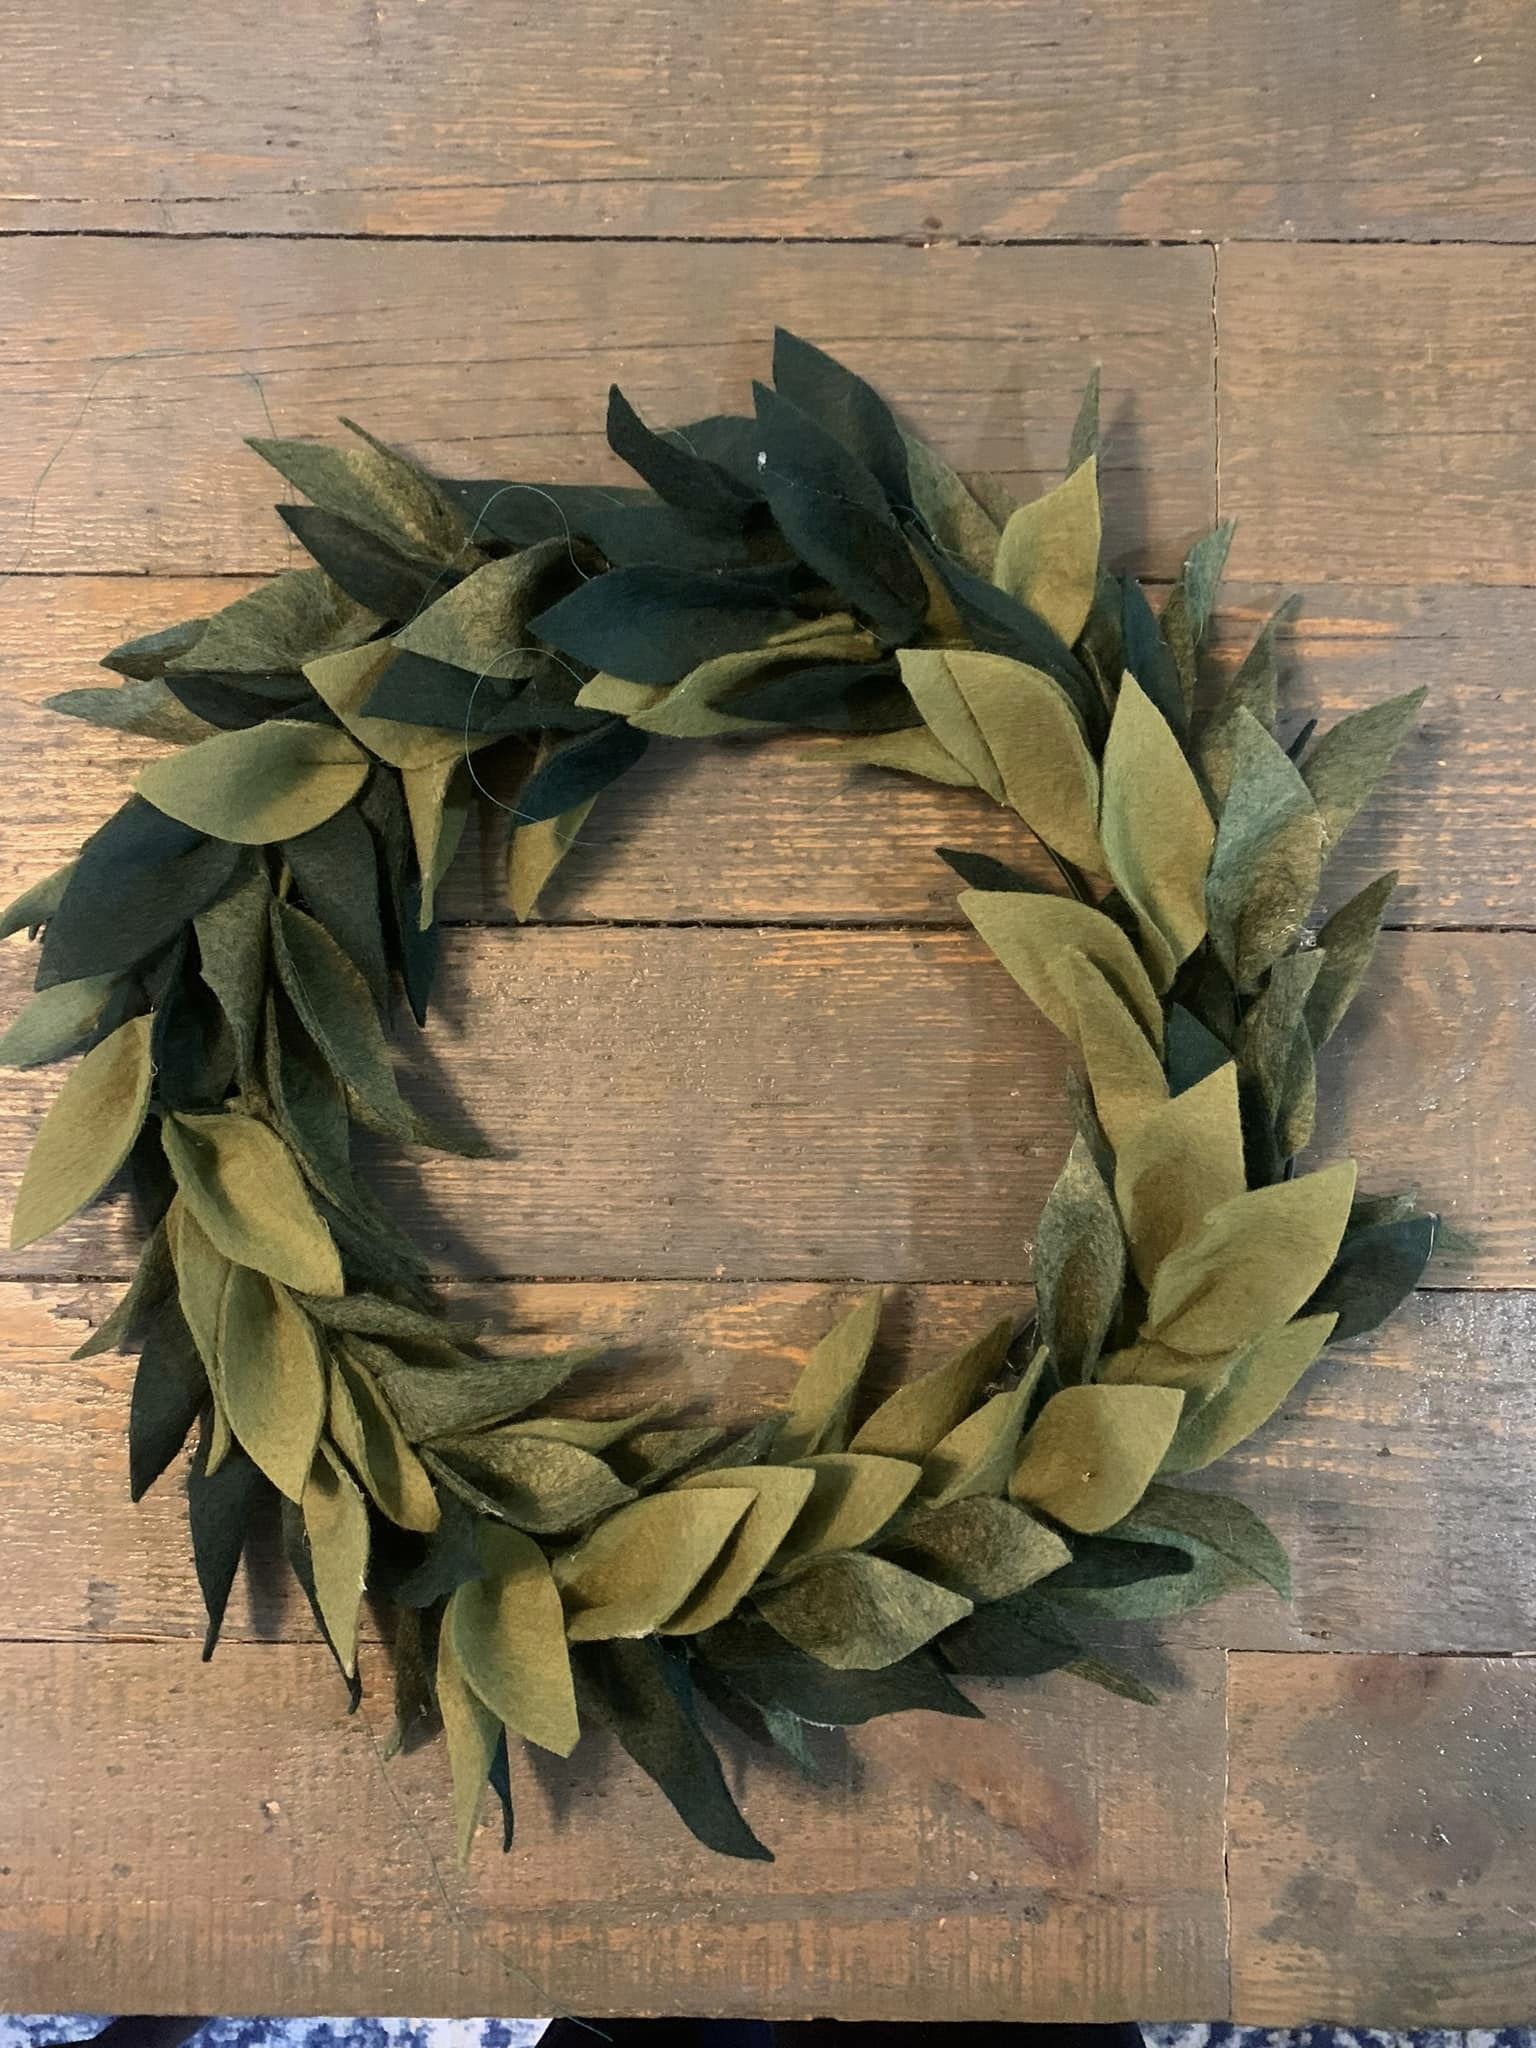
We are loving the little felt leaves on this wreath for Day 6! Pair the wreath with our Christmas Tree Pillow, Table Runner, Holiday Stocking, Tree Skirt, Pocket Pillow, or Fabric Garland to add a personalized touch to your holiday decor.
SUPPLIES:
- Felt – 3 mm felt is recommended as it will hold its shape better than thinner felt; American Felt and Craft has excellent quality felt and beautiful ranges of colors
- Paper wrapped wire stems (or wire wreath form, etc.)
- Optional – pom poms, sequins, beads, embroidery floss, etc. for berries
LET’S GET STARTED!
Step 1: PREPPING
Go grab the pattern here! The pattern is 100% free, but you do need to add it to your cart and checkout. Then, it will always be available to download from your account. The pattern is a no-trim pattern; if you need help putting the pattern together, pop over to the faqs and troubleshooting page or ask in our Facebook group.
The files also include cut files (SVG, DXF, & PNG fils) in a zipped folder if you prefer to use your cutting machine to cut the pieces!
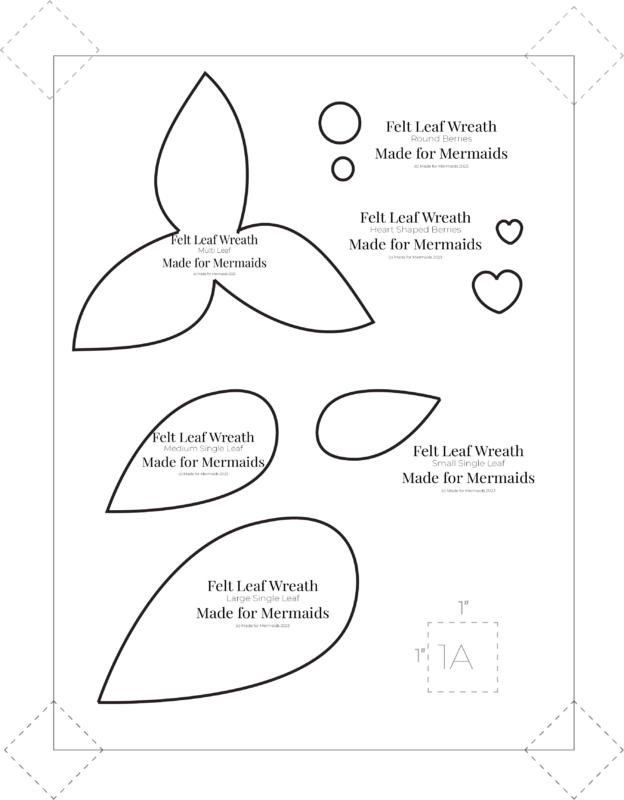
Print and assemble the pattern. Alternatively, you can use the projector file if you’re using a projector. Pattern layout below:
Step 2: CUTTING
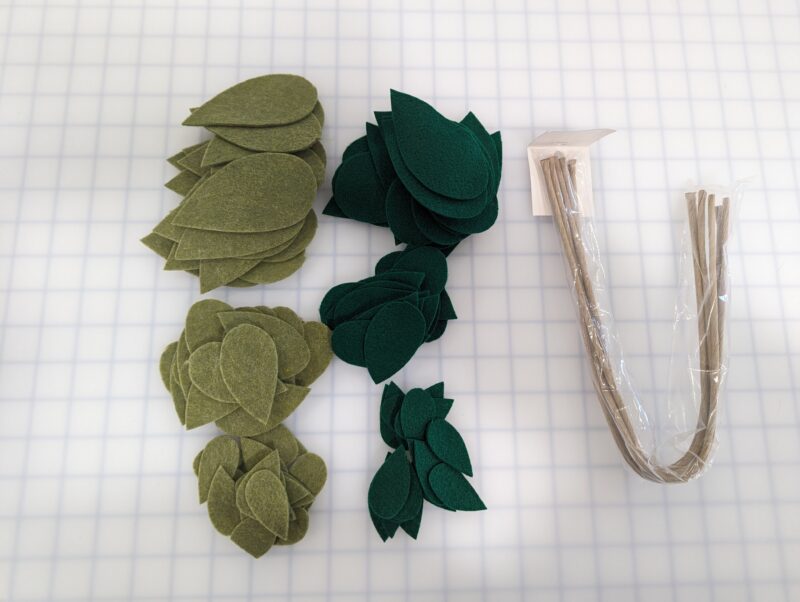
The number of leaves you will need will vary depending on the size of your wreath. For a 12″ wreath, you will need roughly 90-120 leaves. In the photos below, Megan uses two different colors and three different size leaves to give a variety. If you are using only the largest leaves, you may be able to use closer to 90 or so. You will also need paper wrapped wire stems, or another form for your wreath (cardboard, wire wreath form, embroidery hoop, foam wreath, etc.).
Step 3: LEAVES
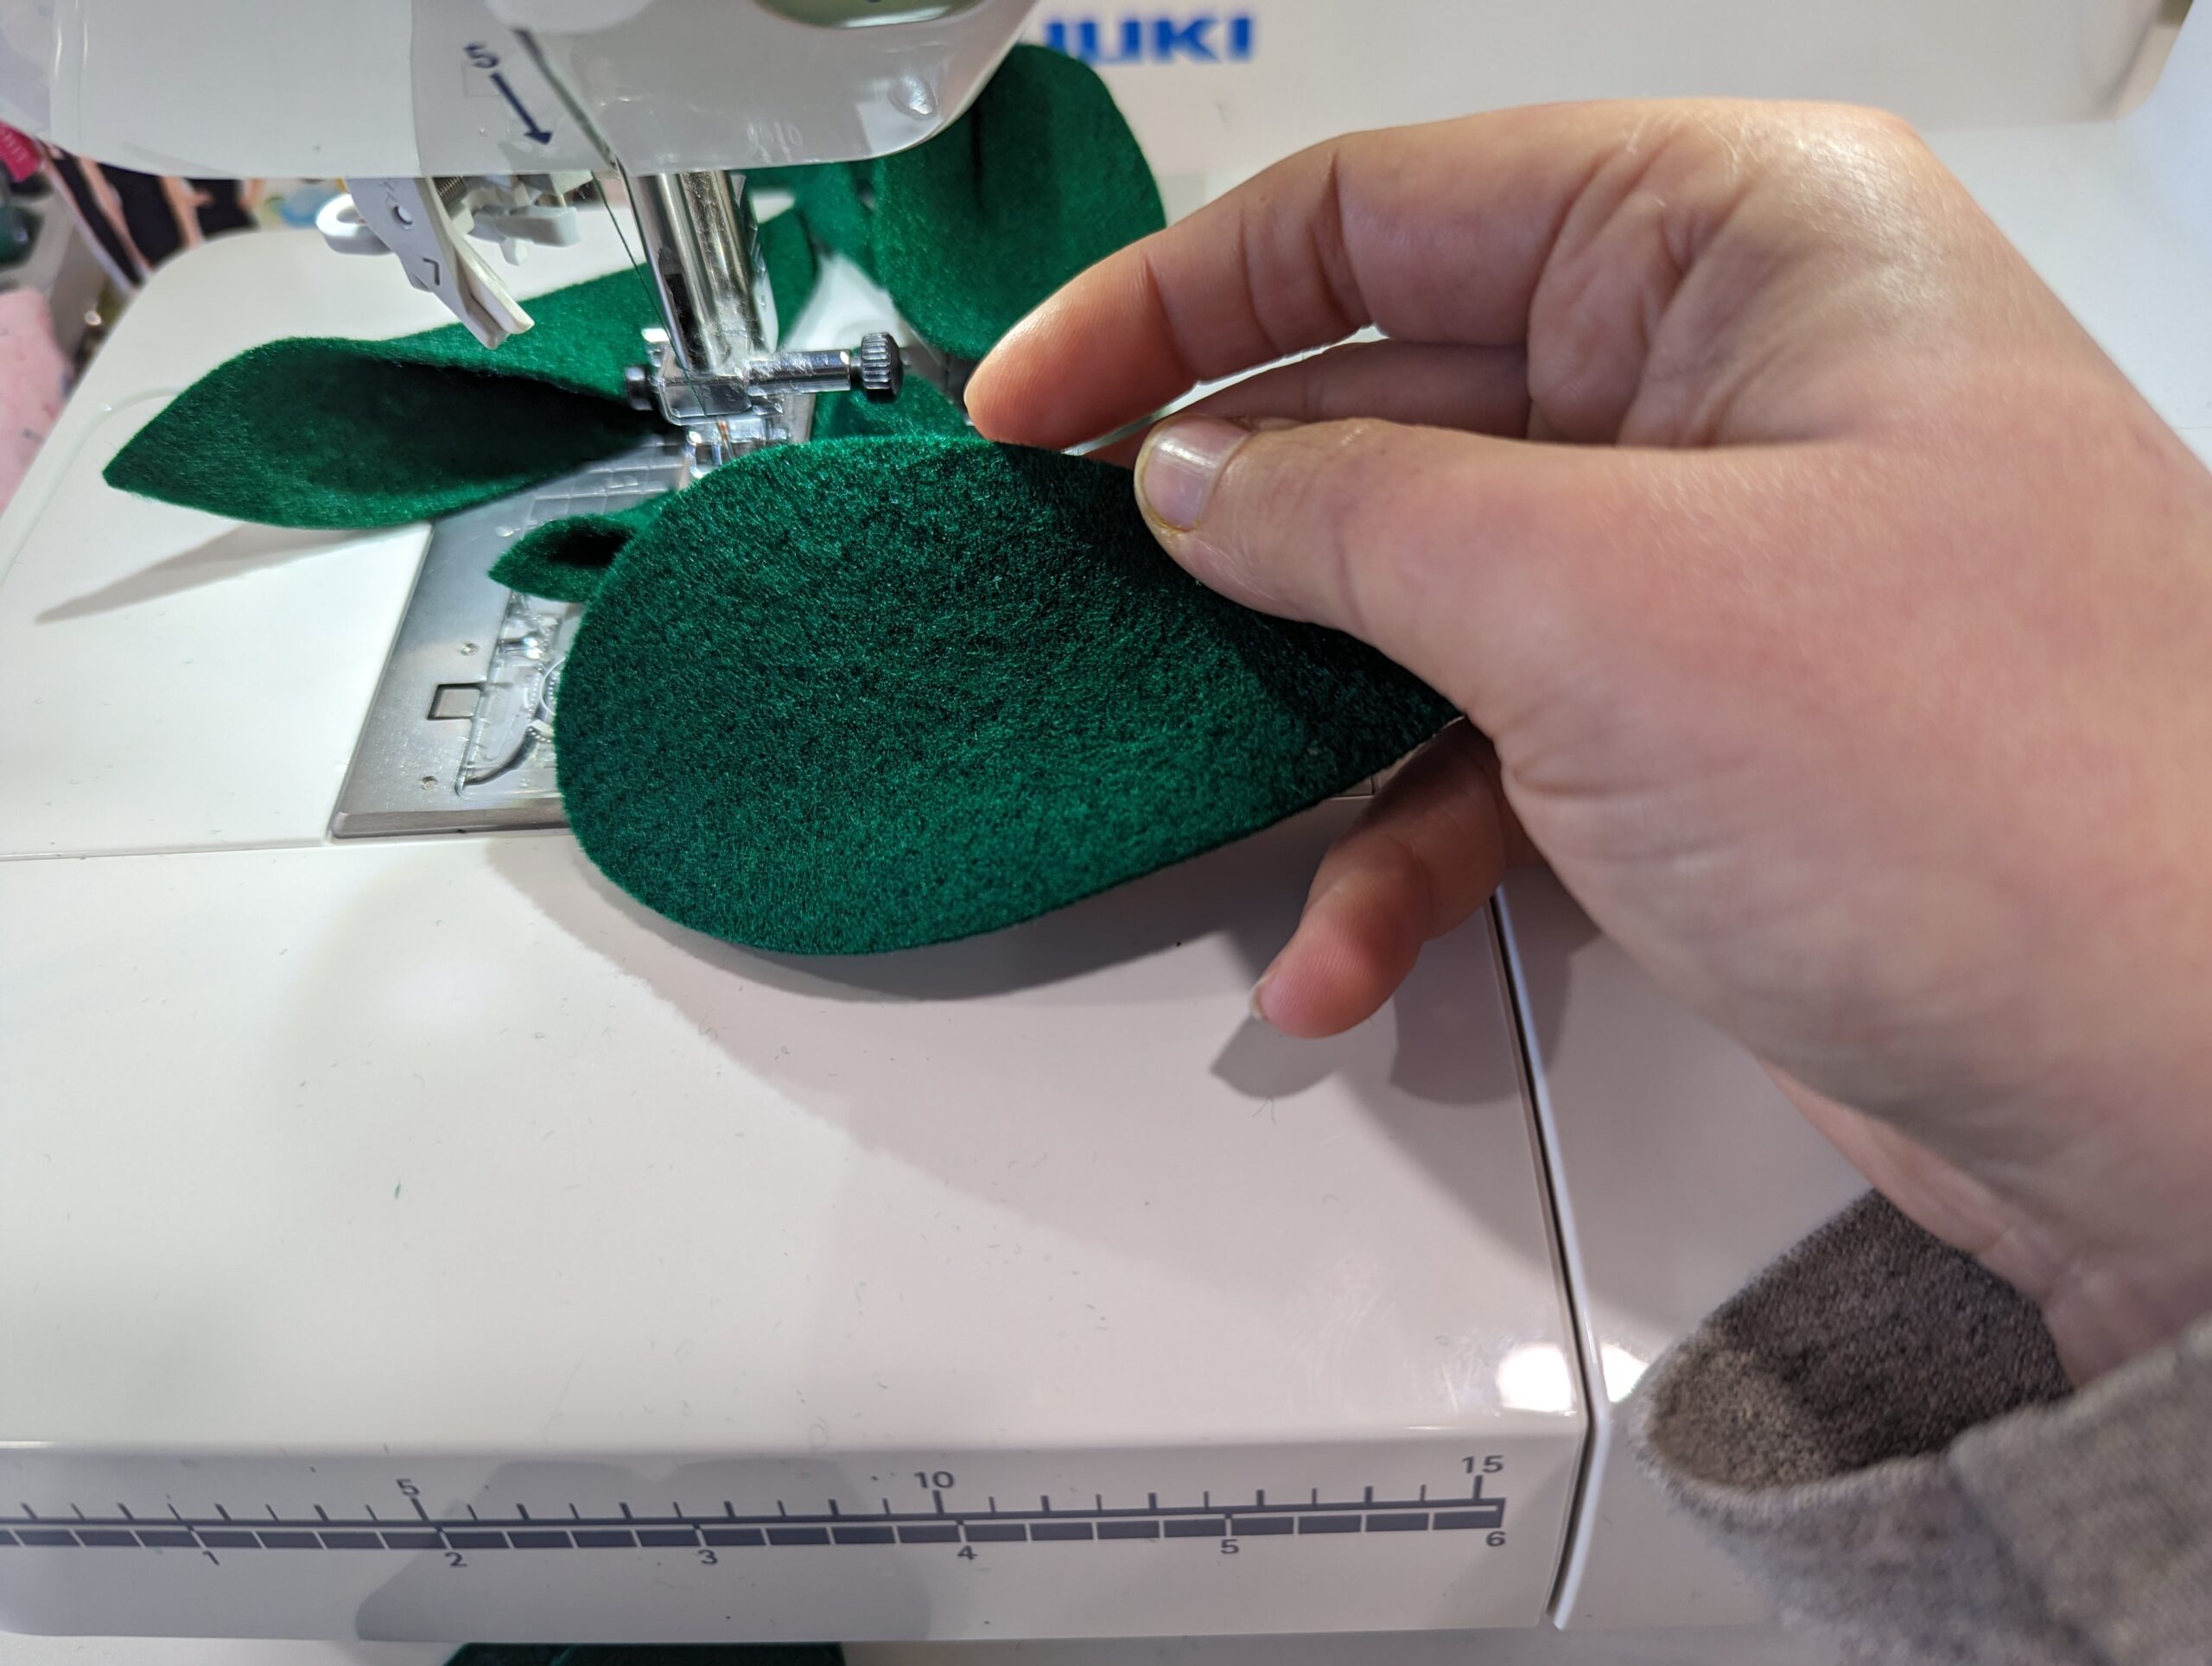
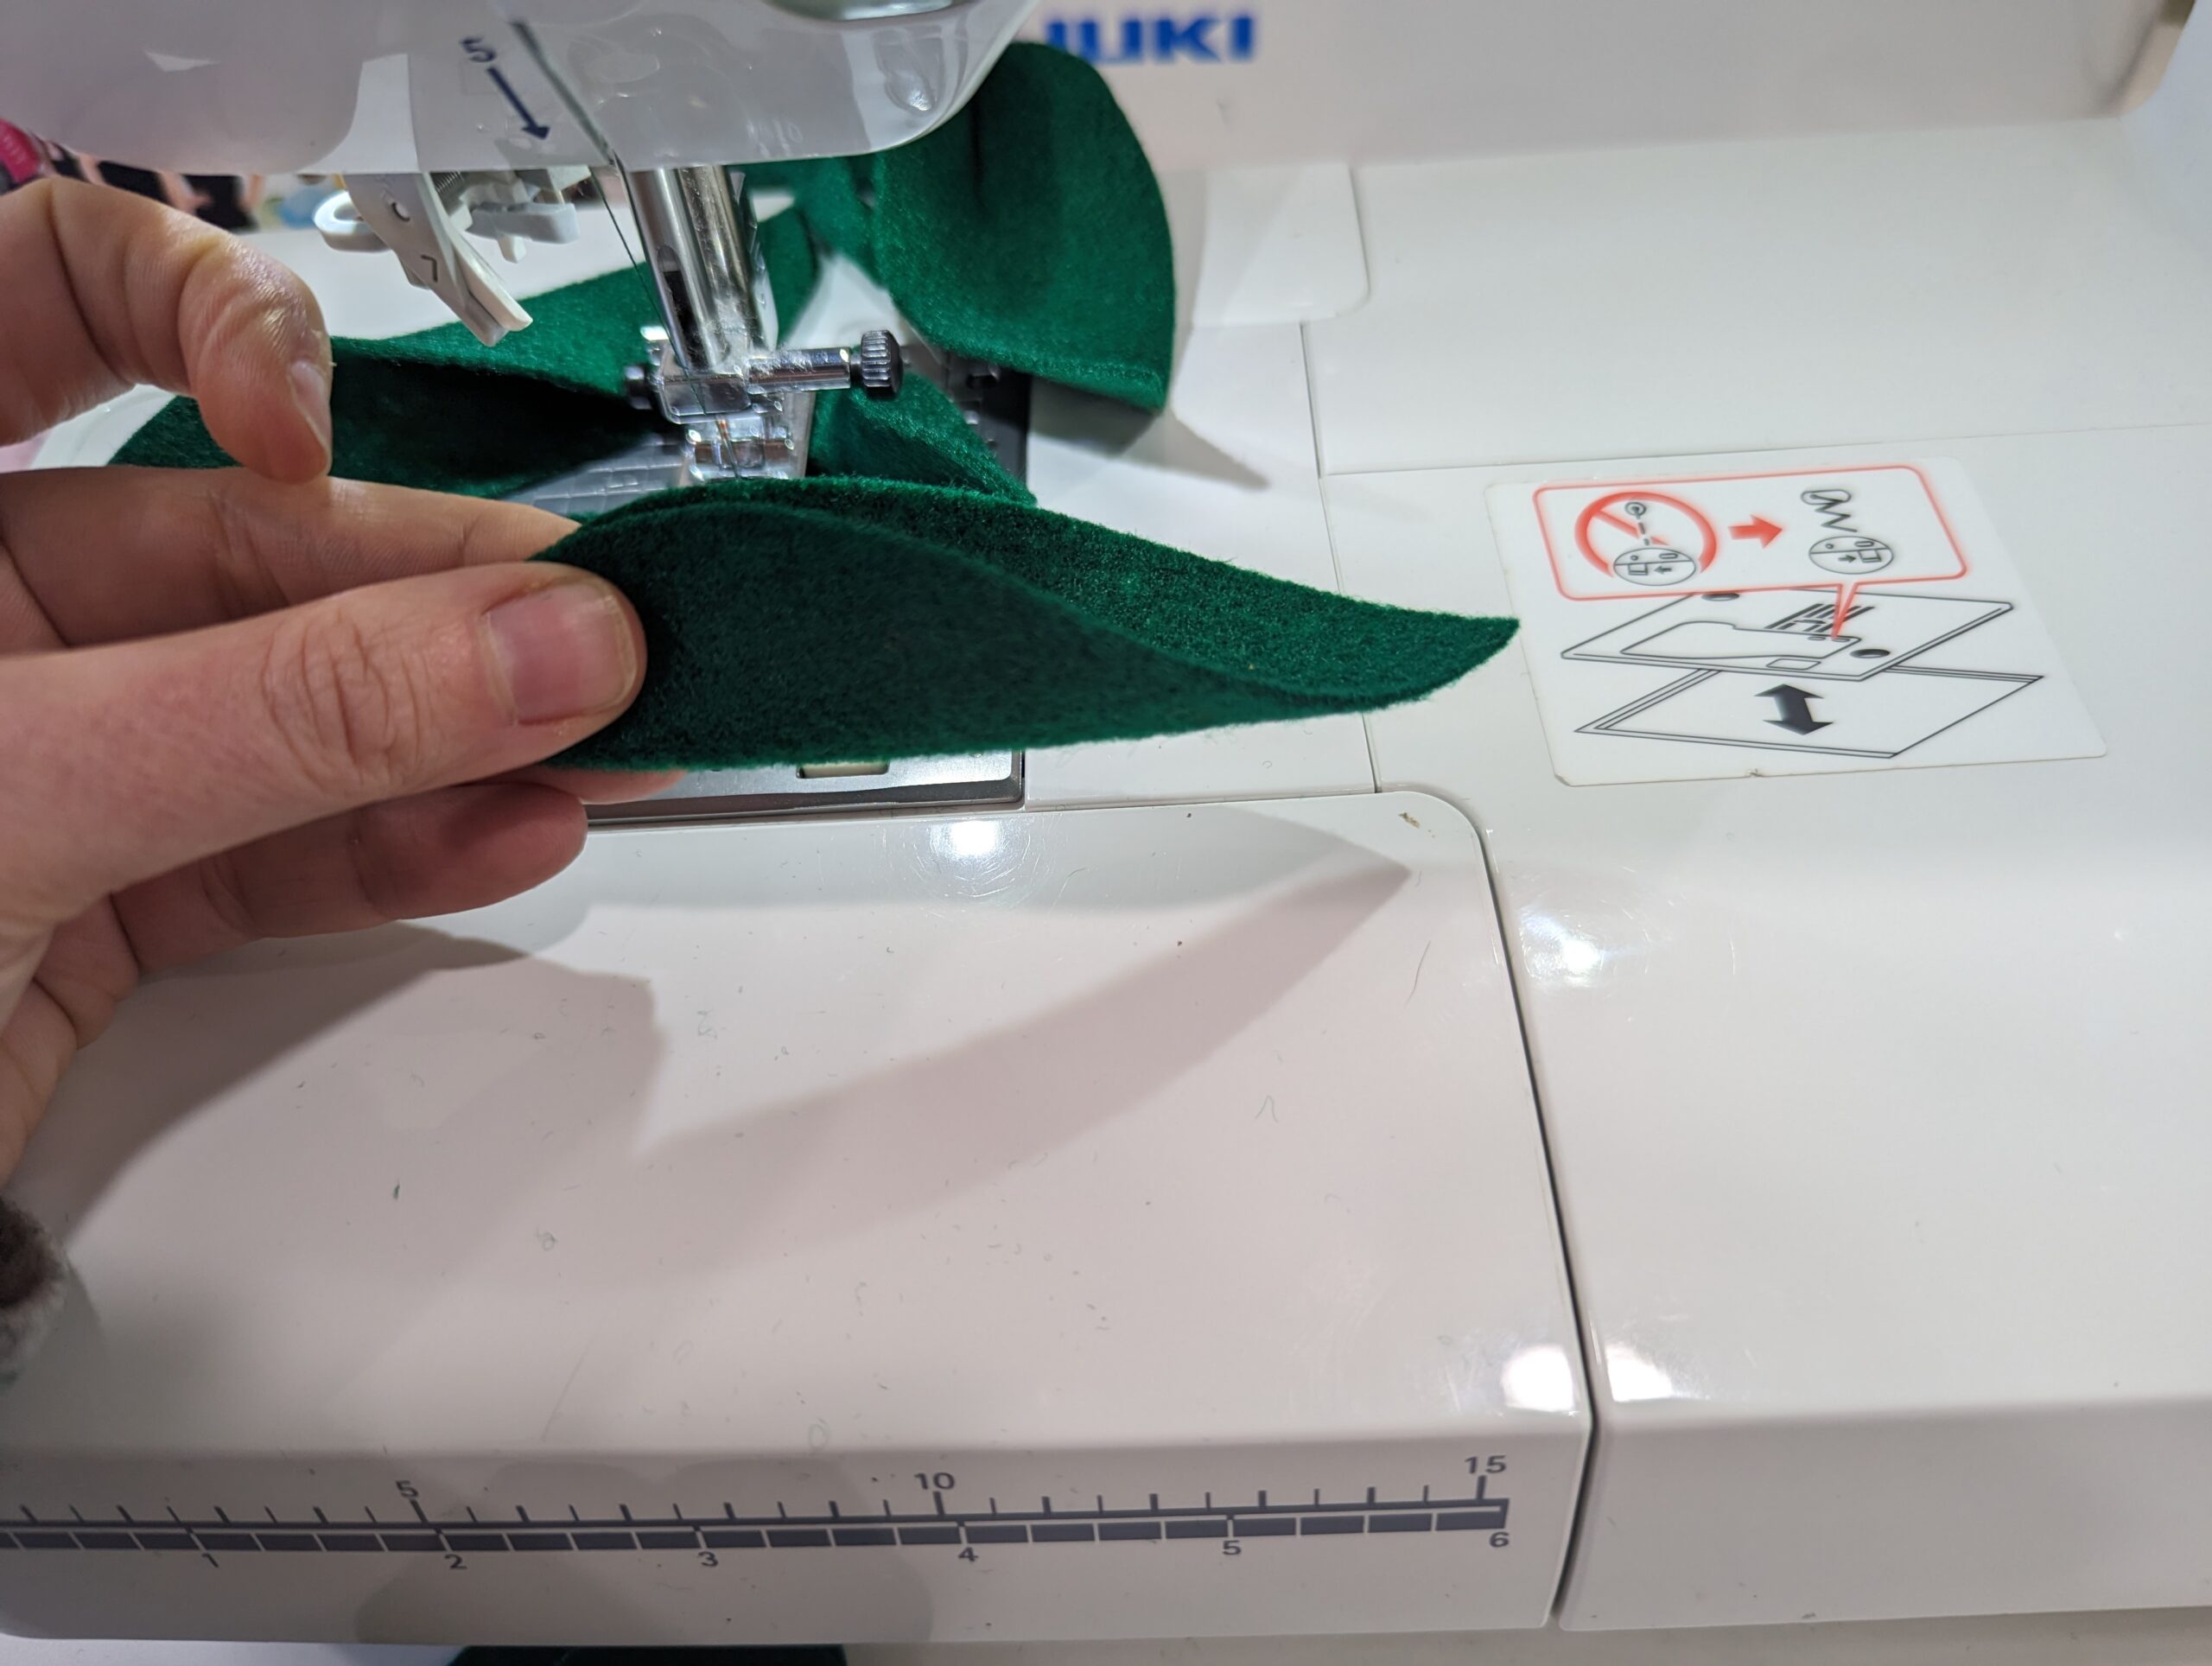
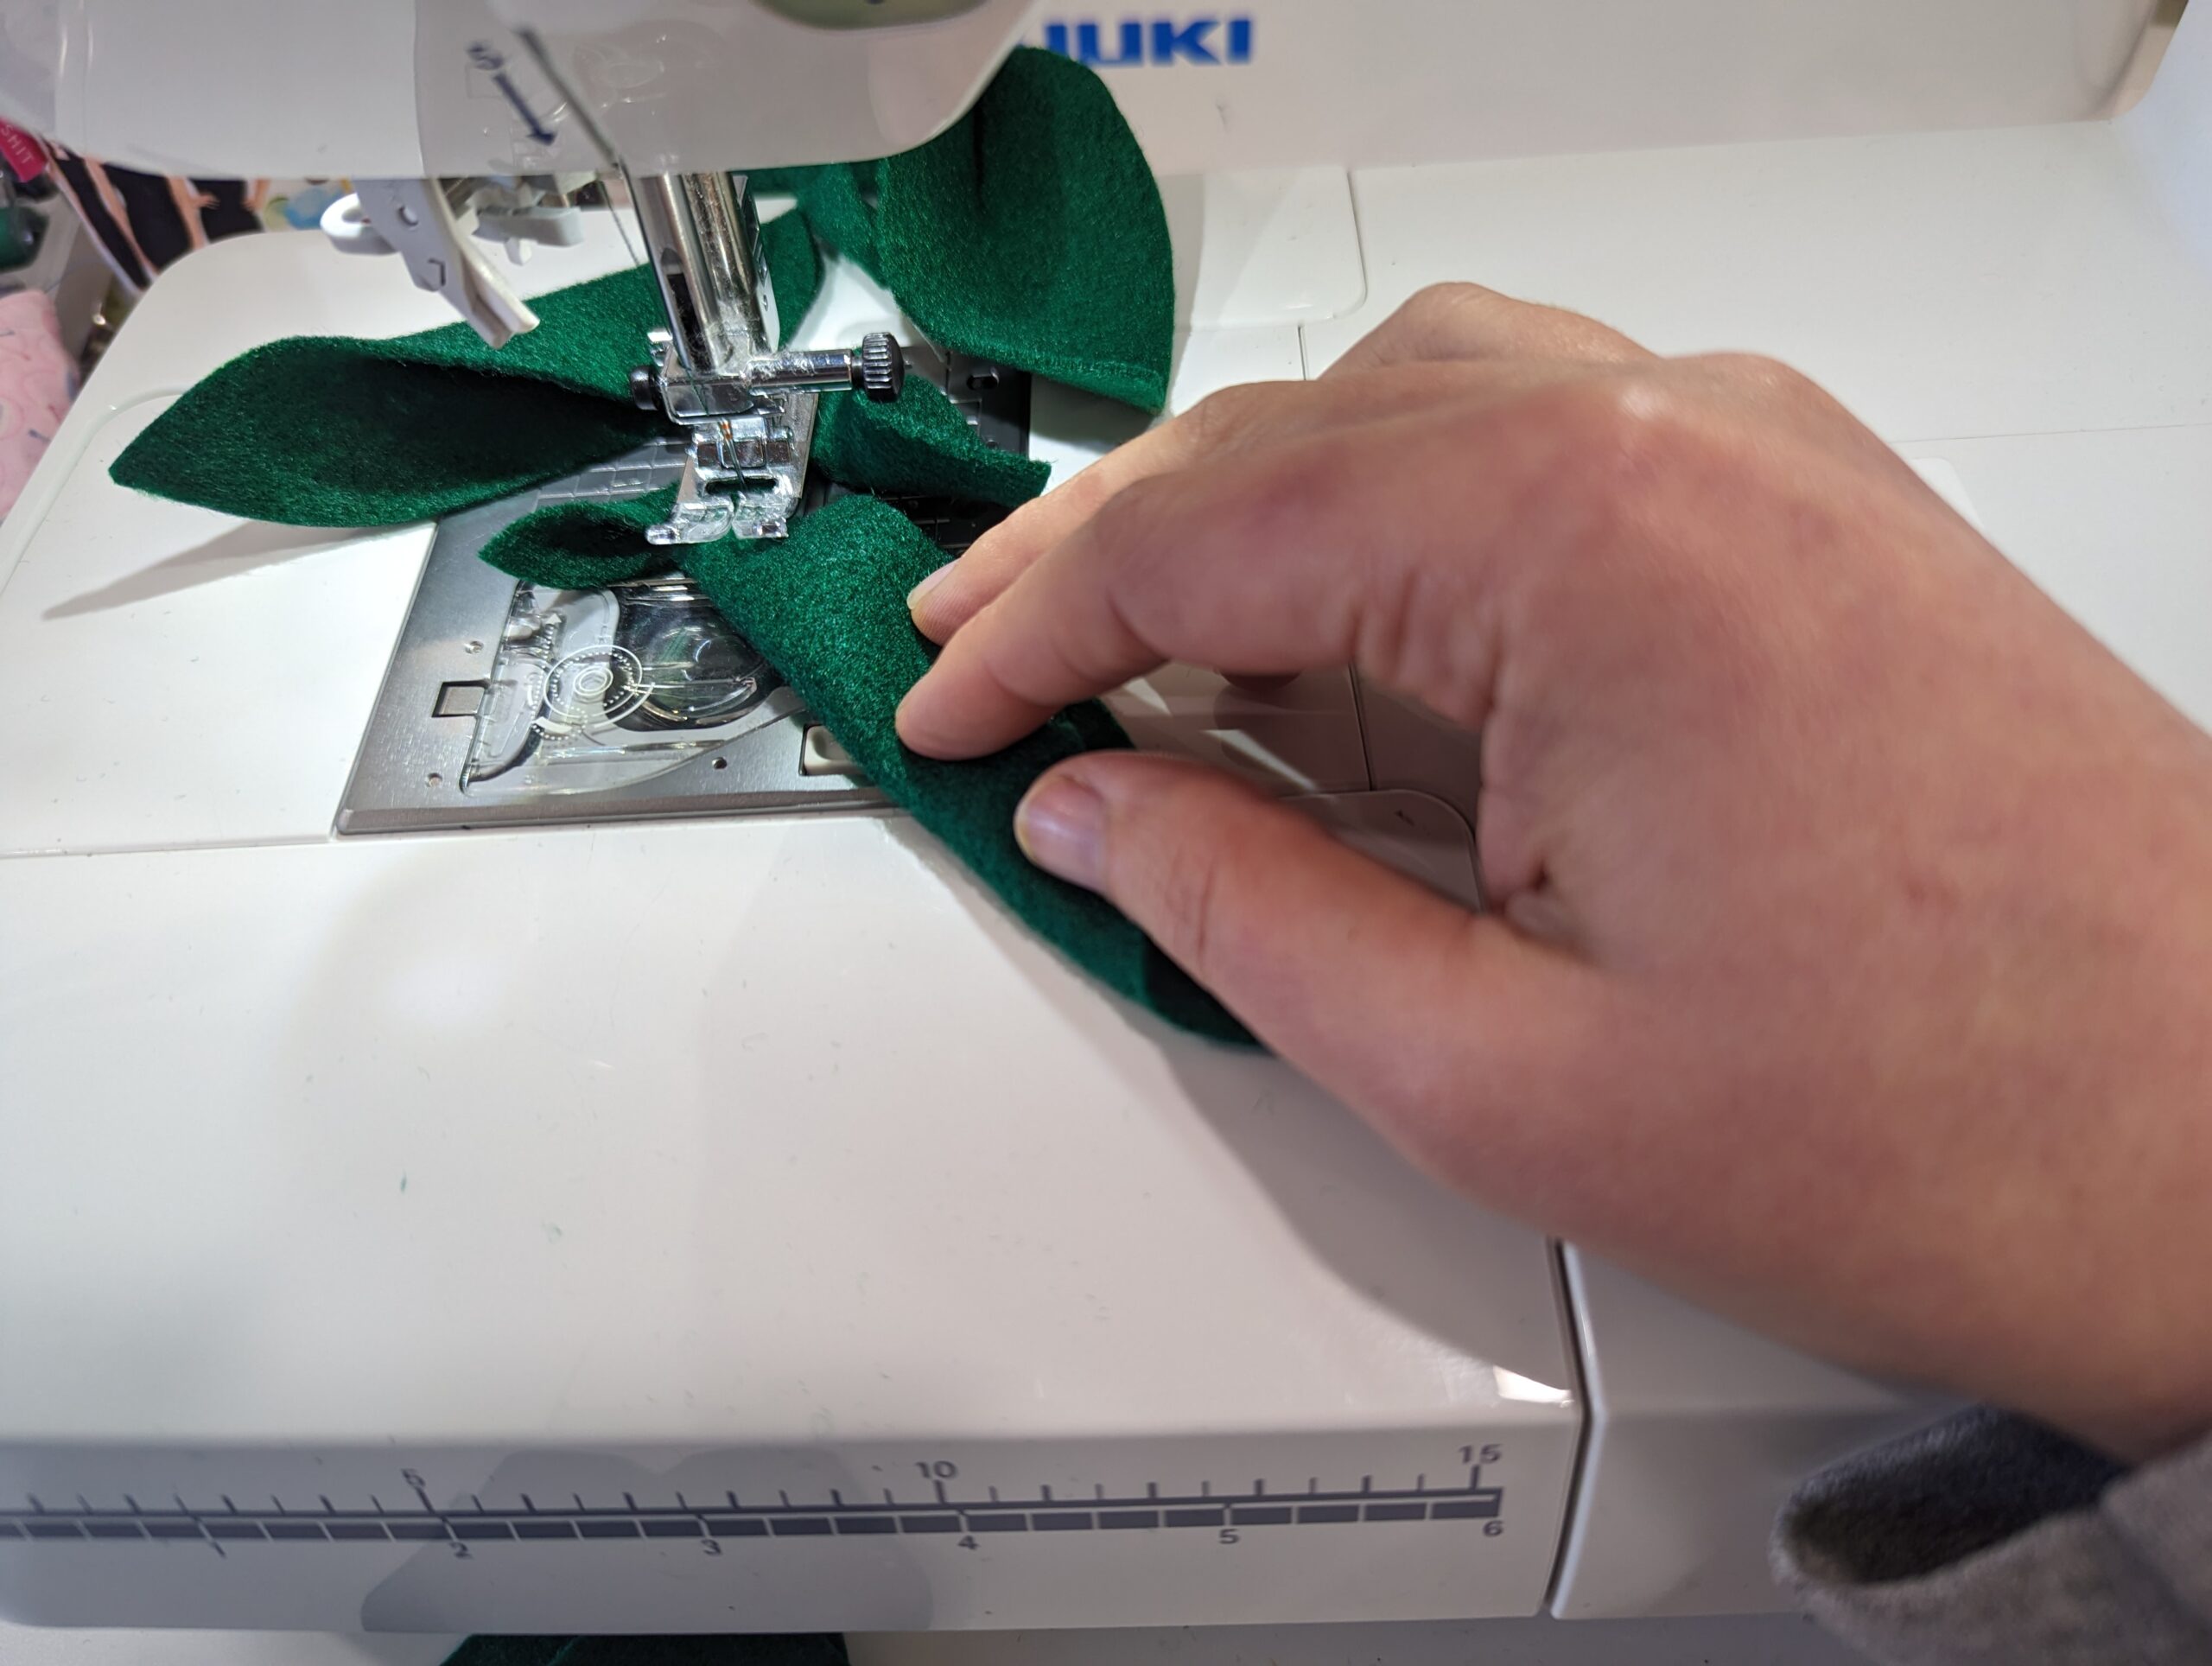
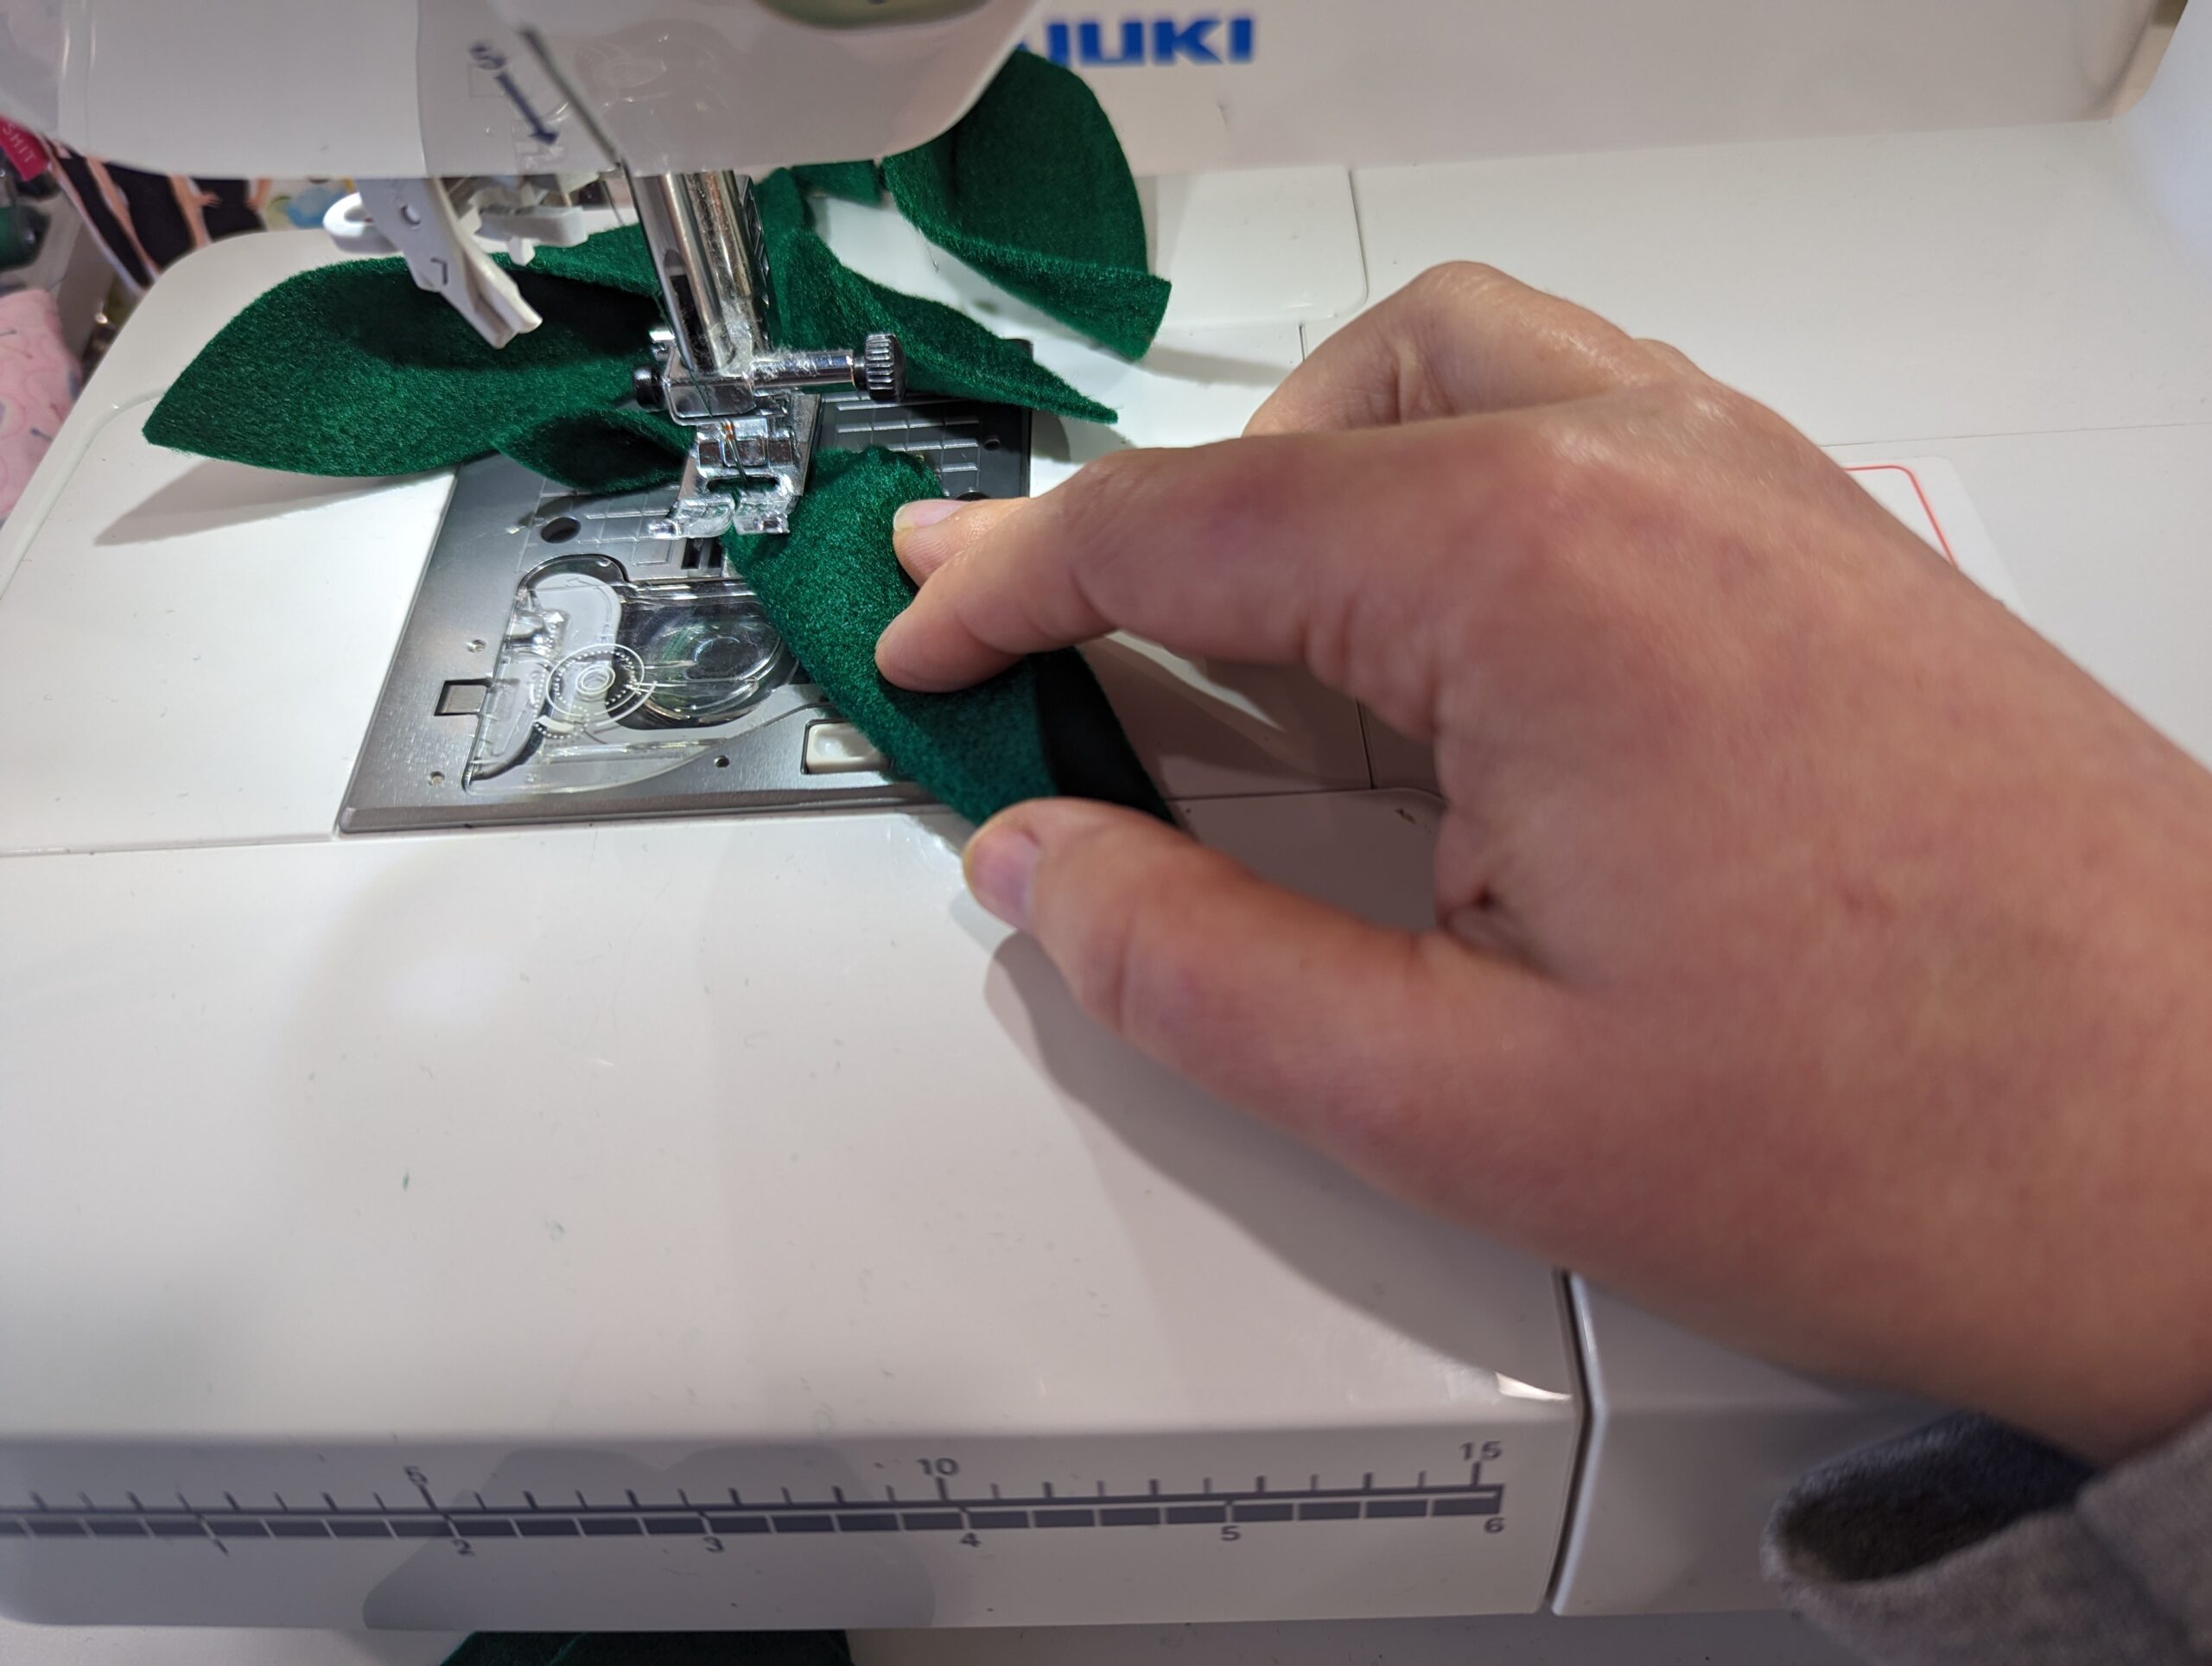
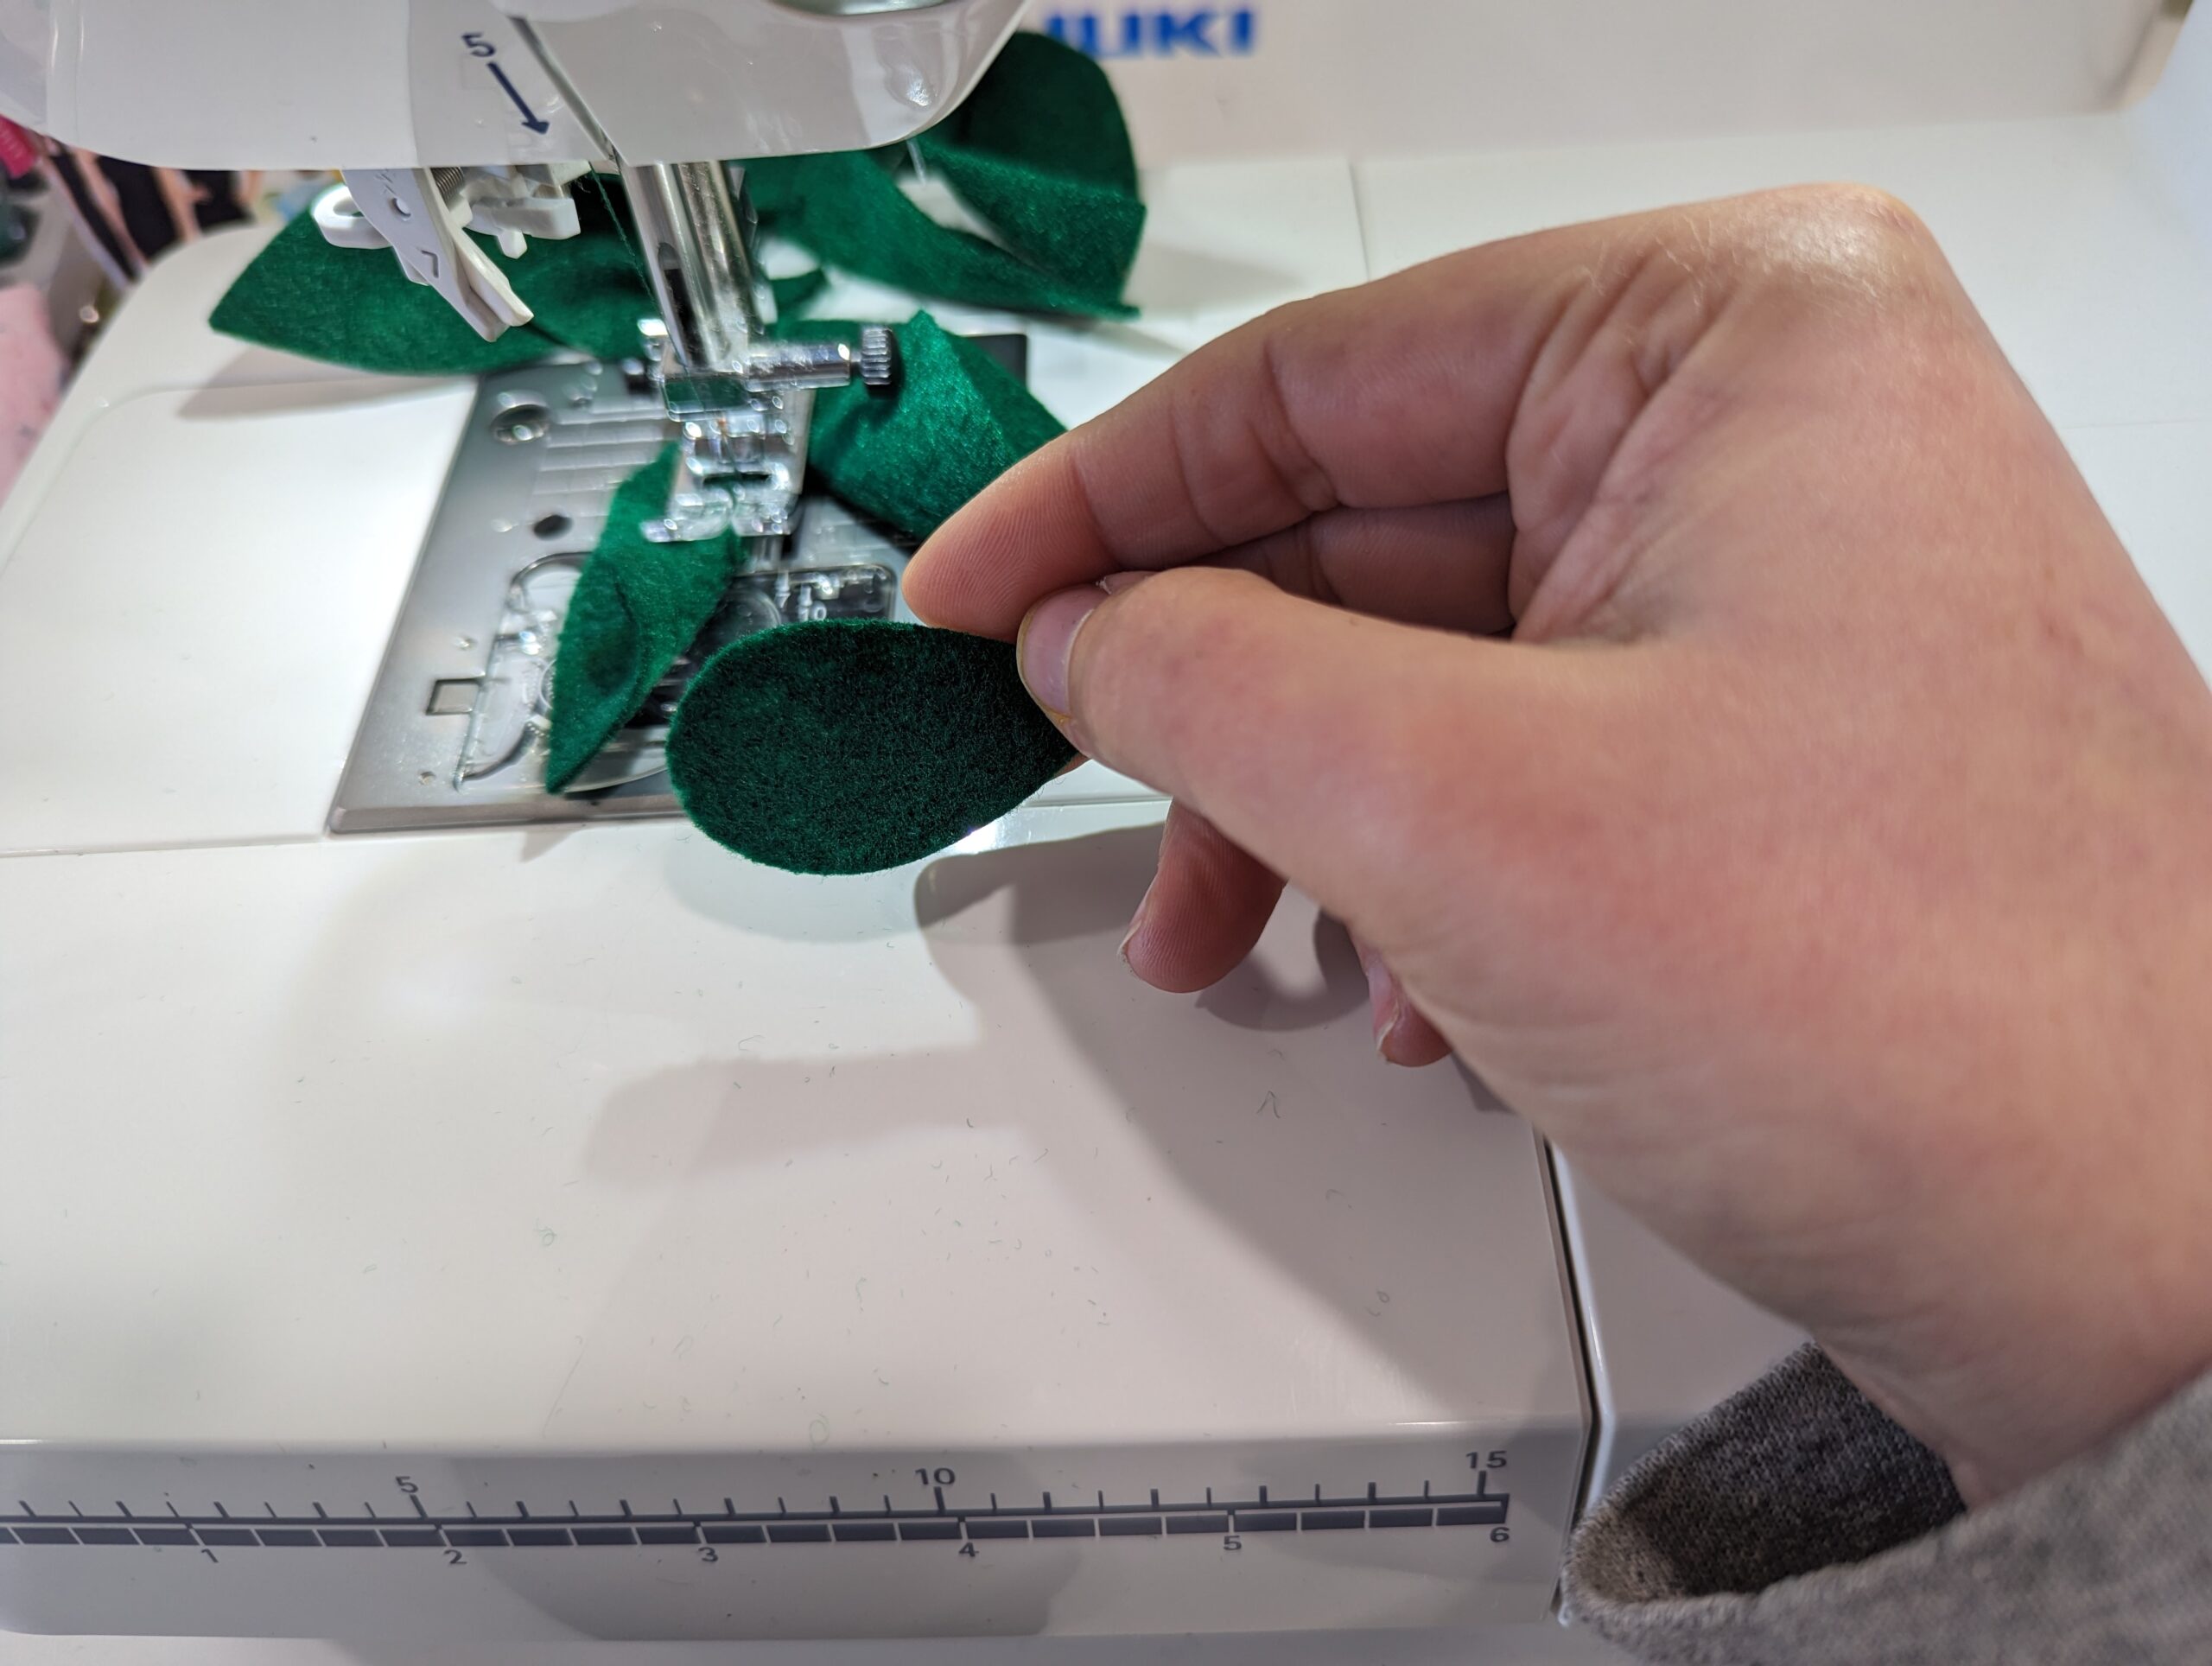
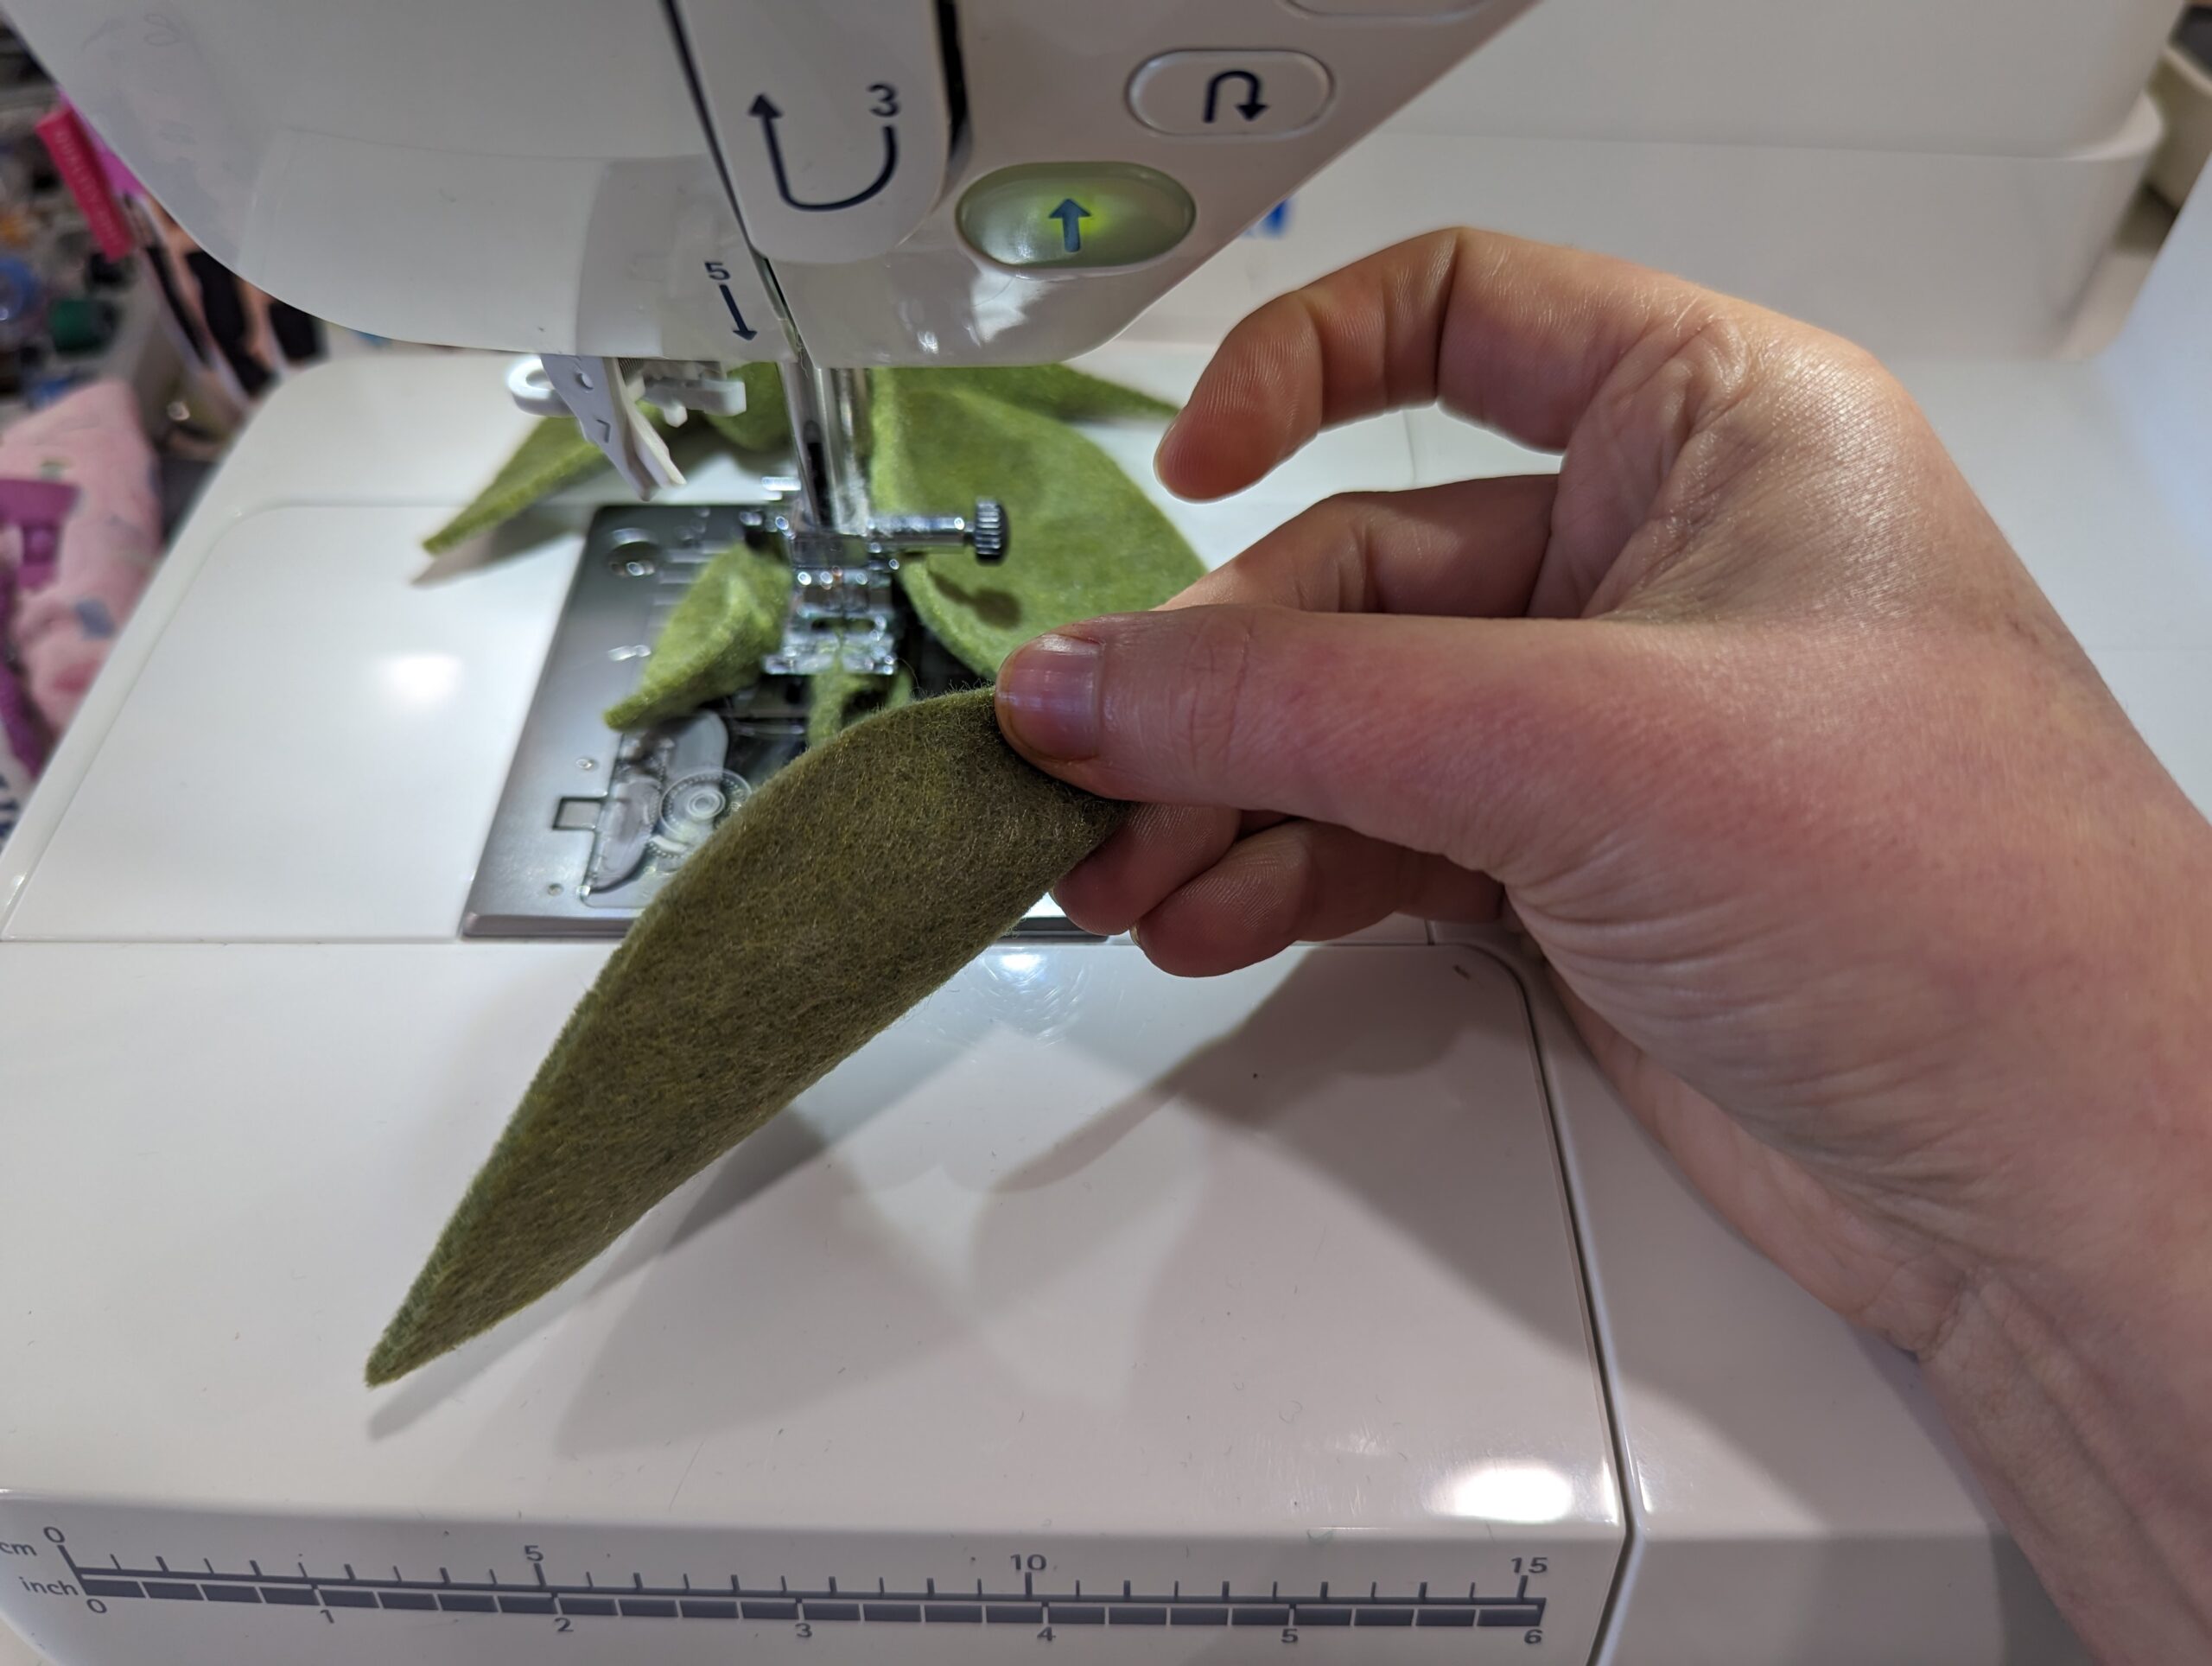
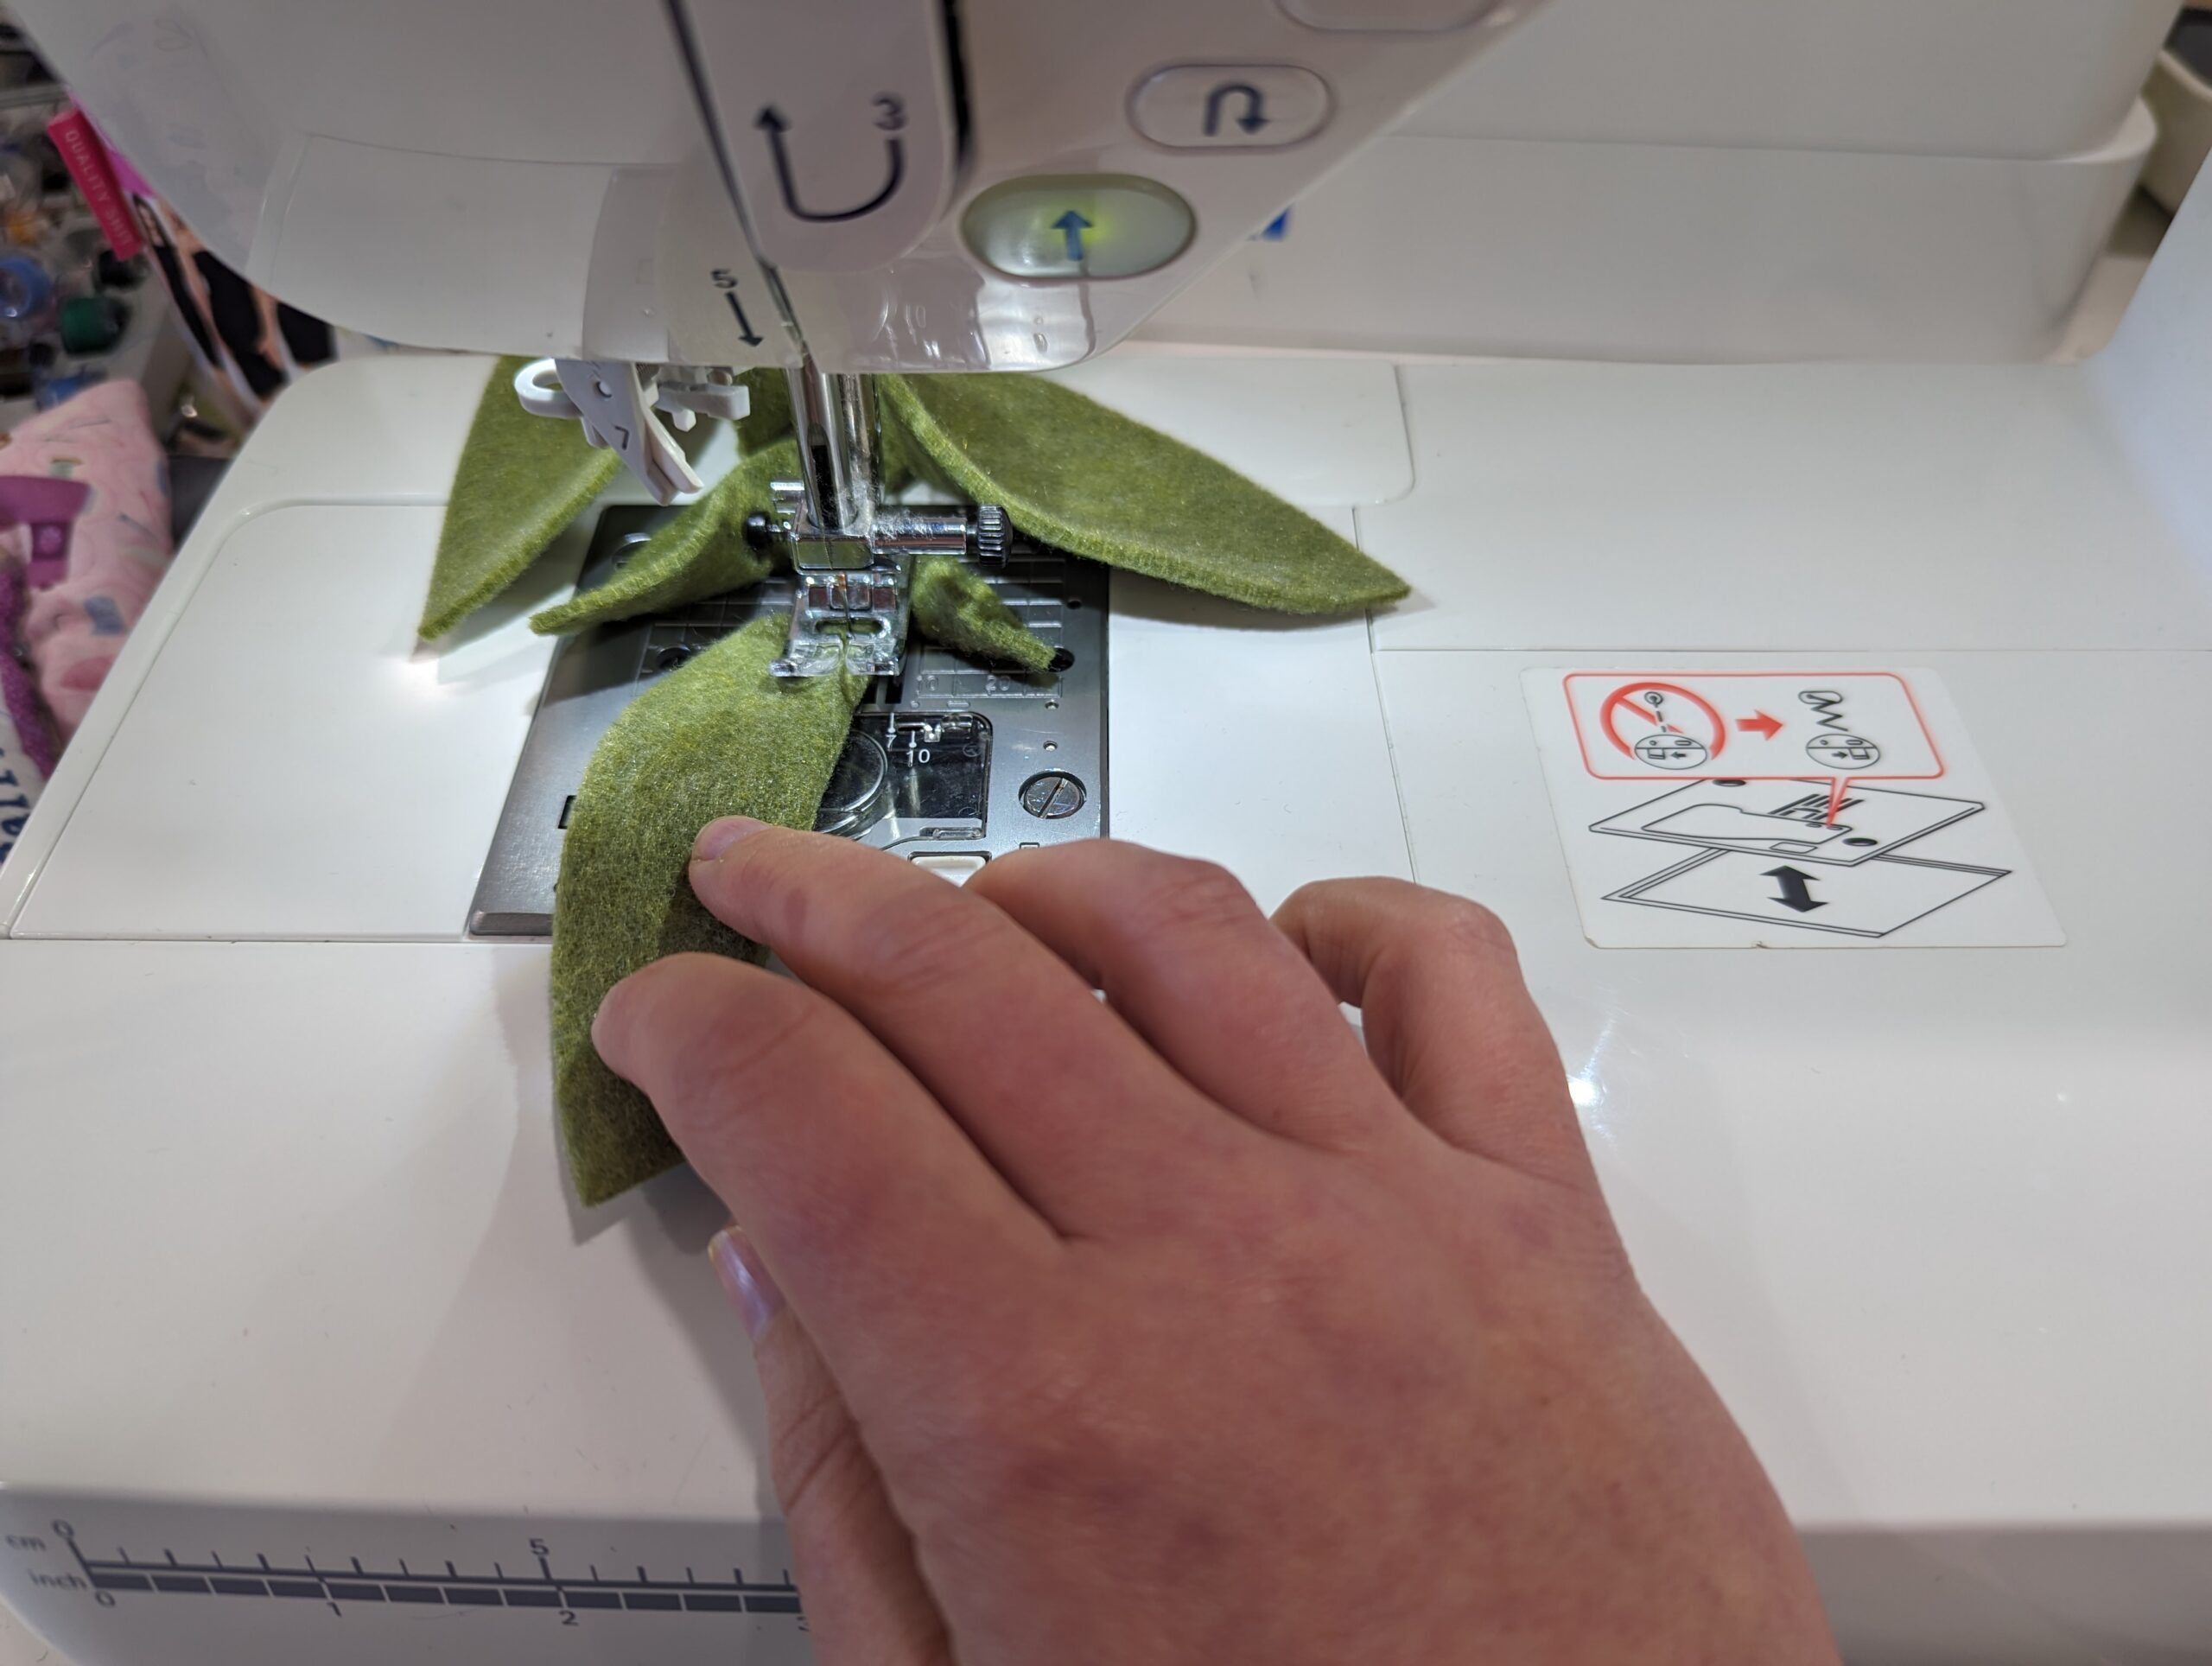
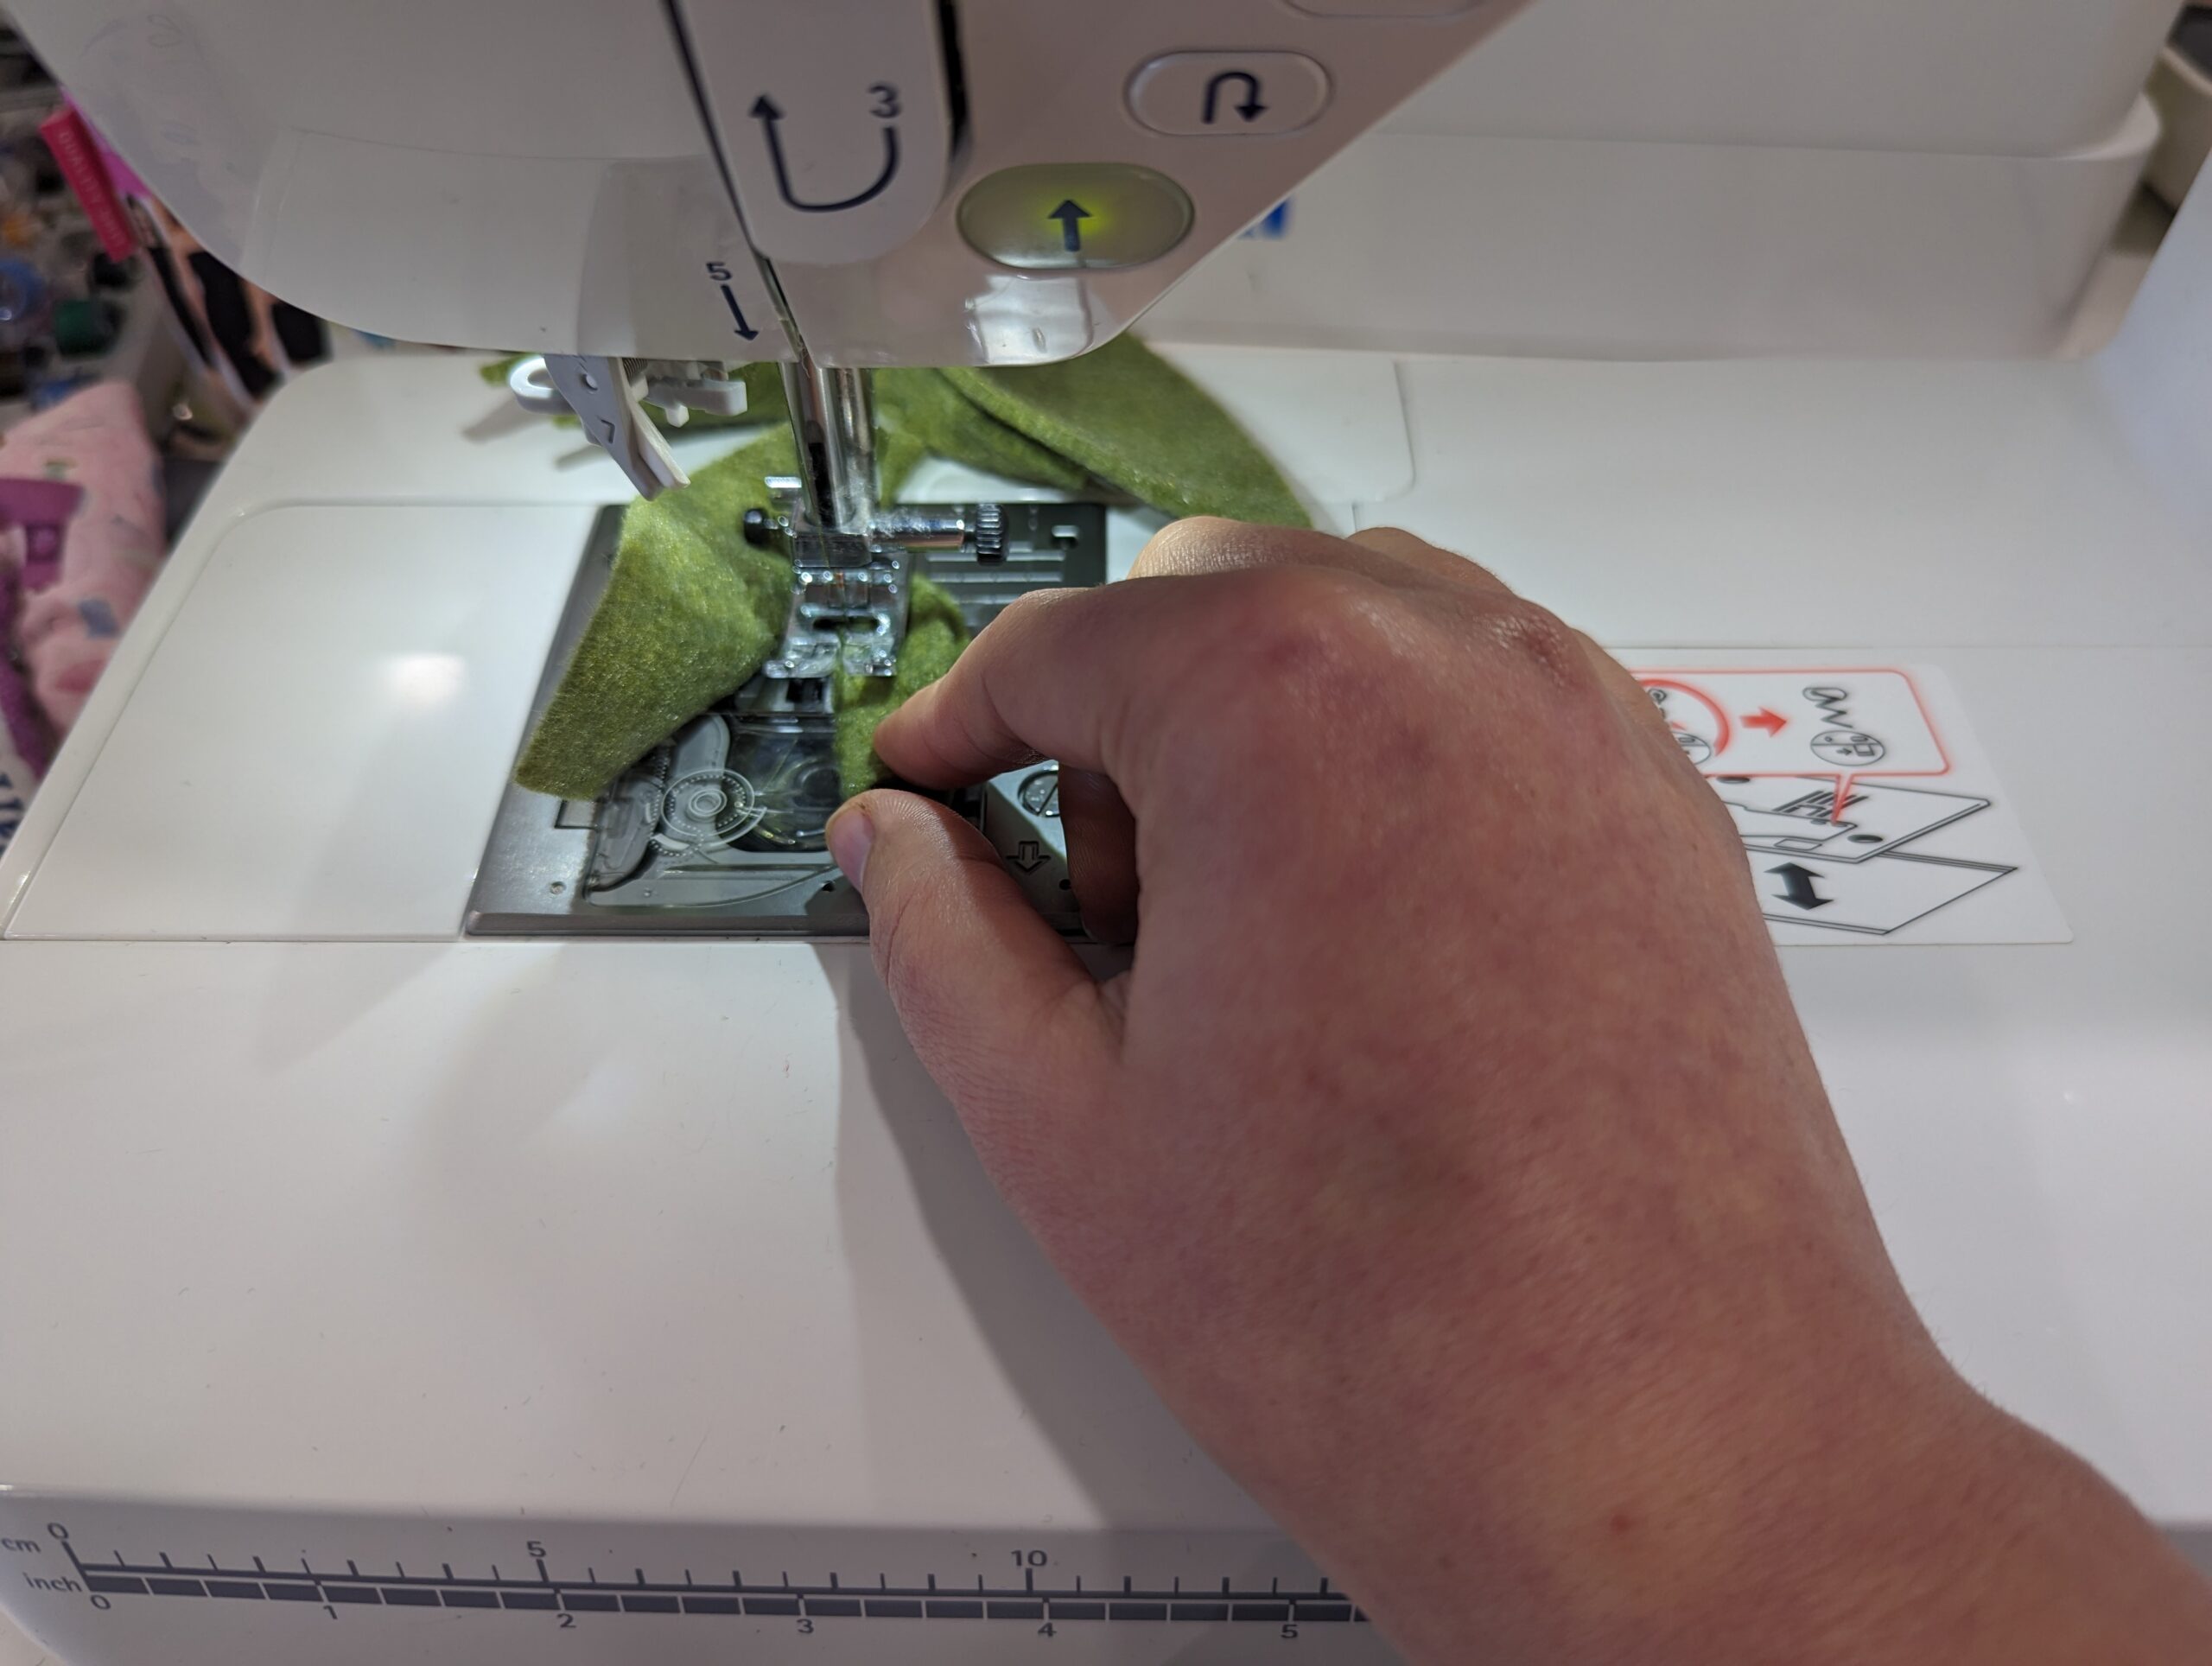
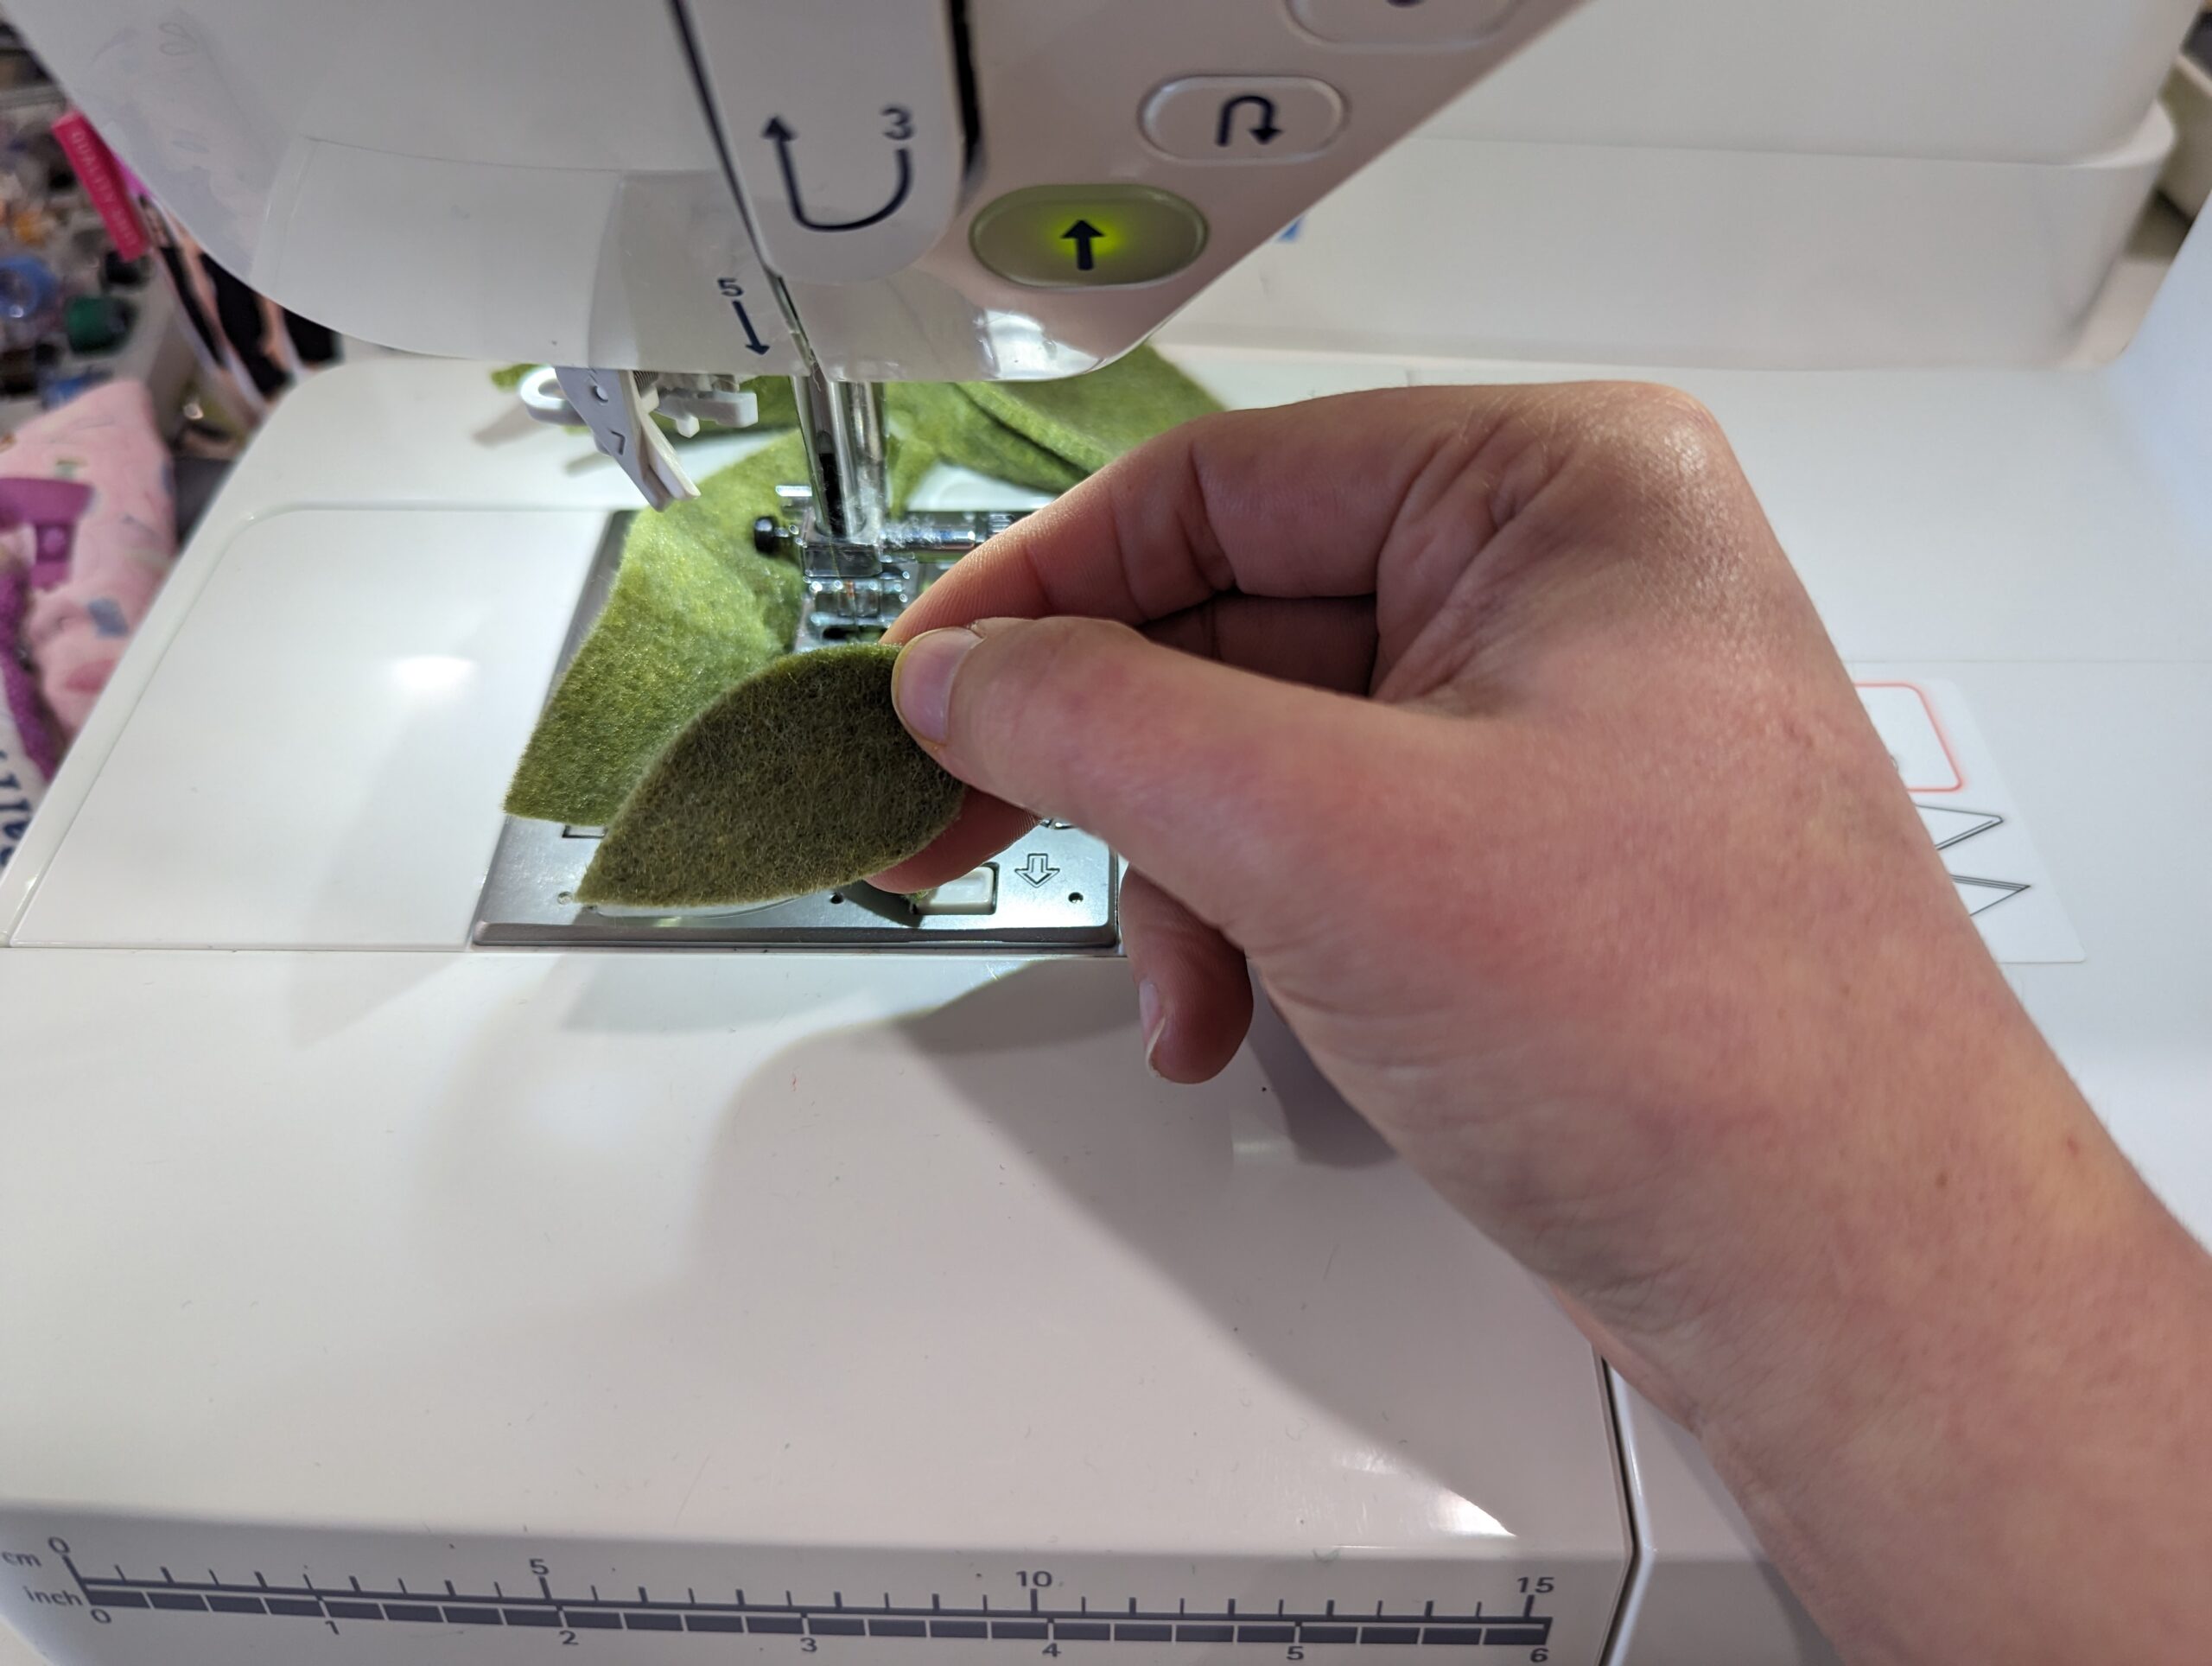
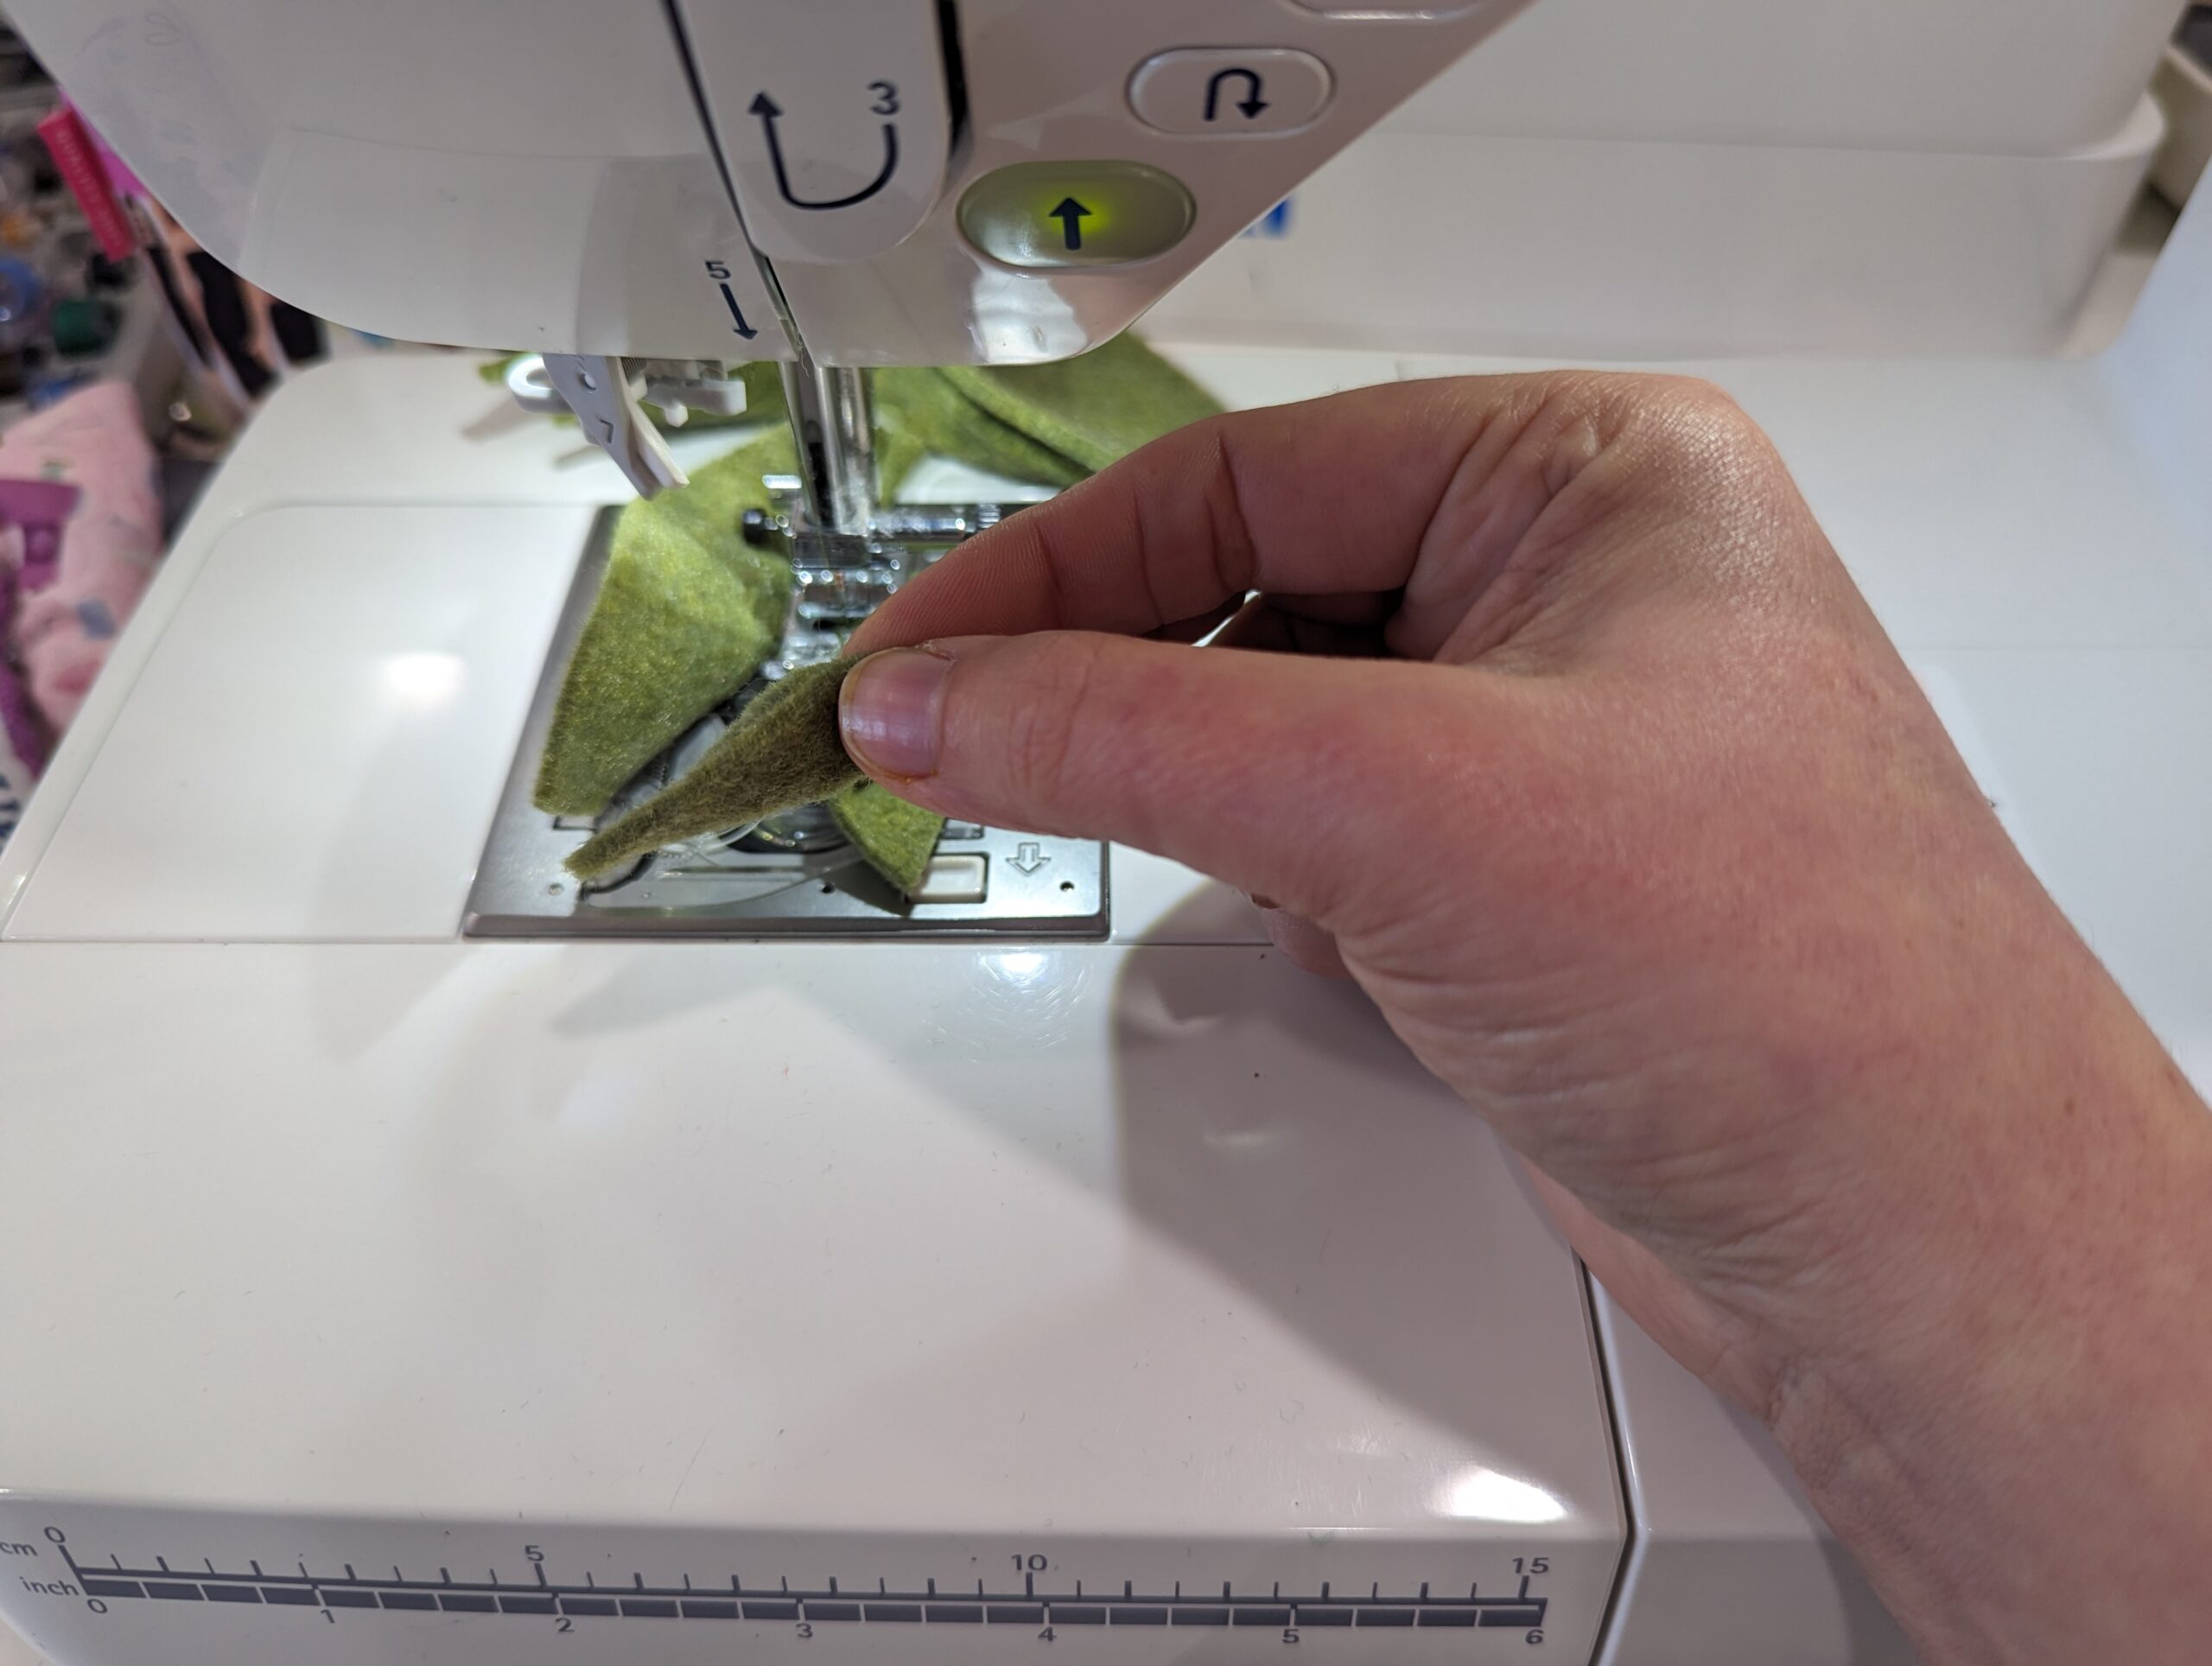
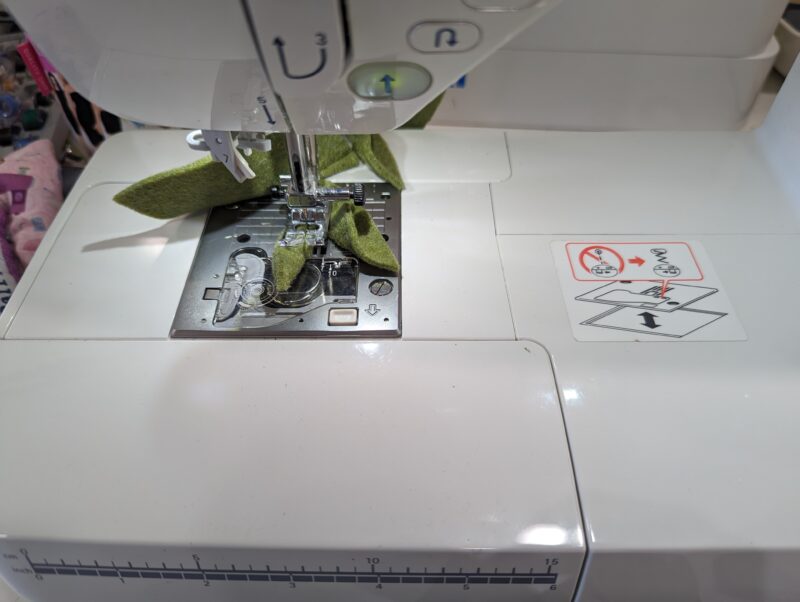
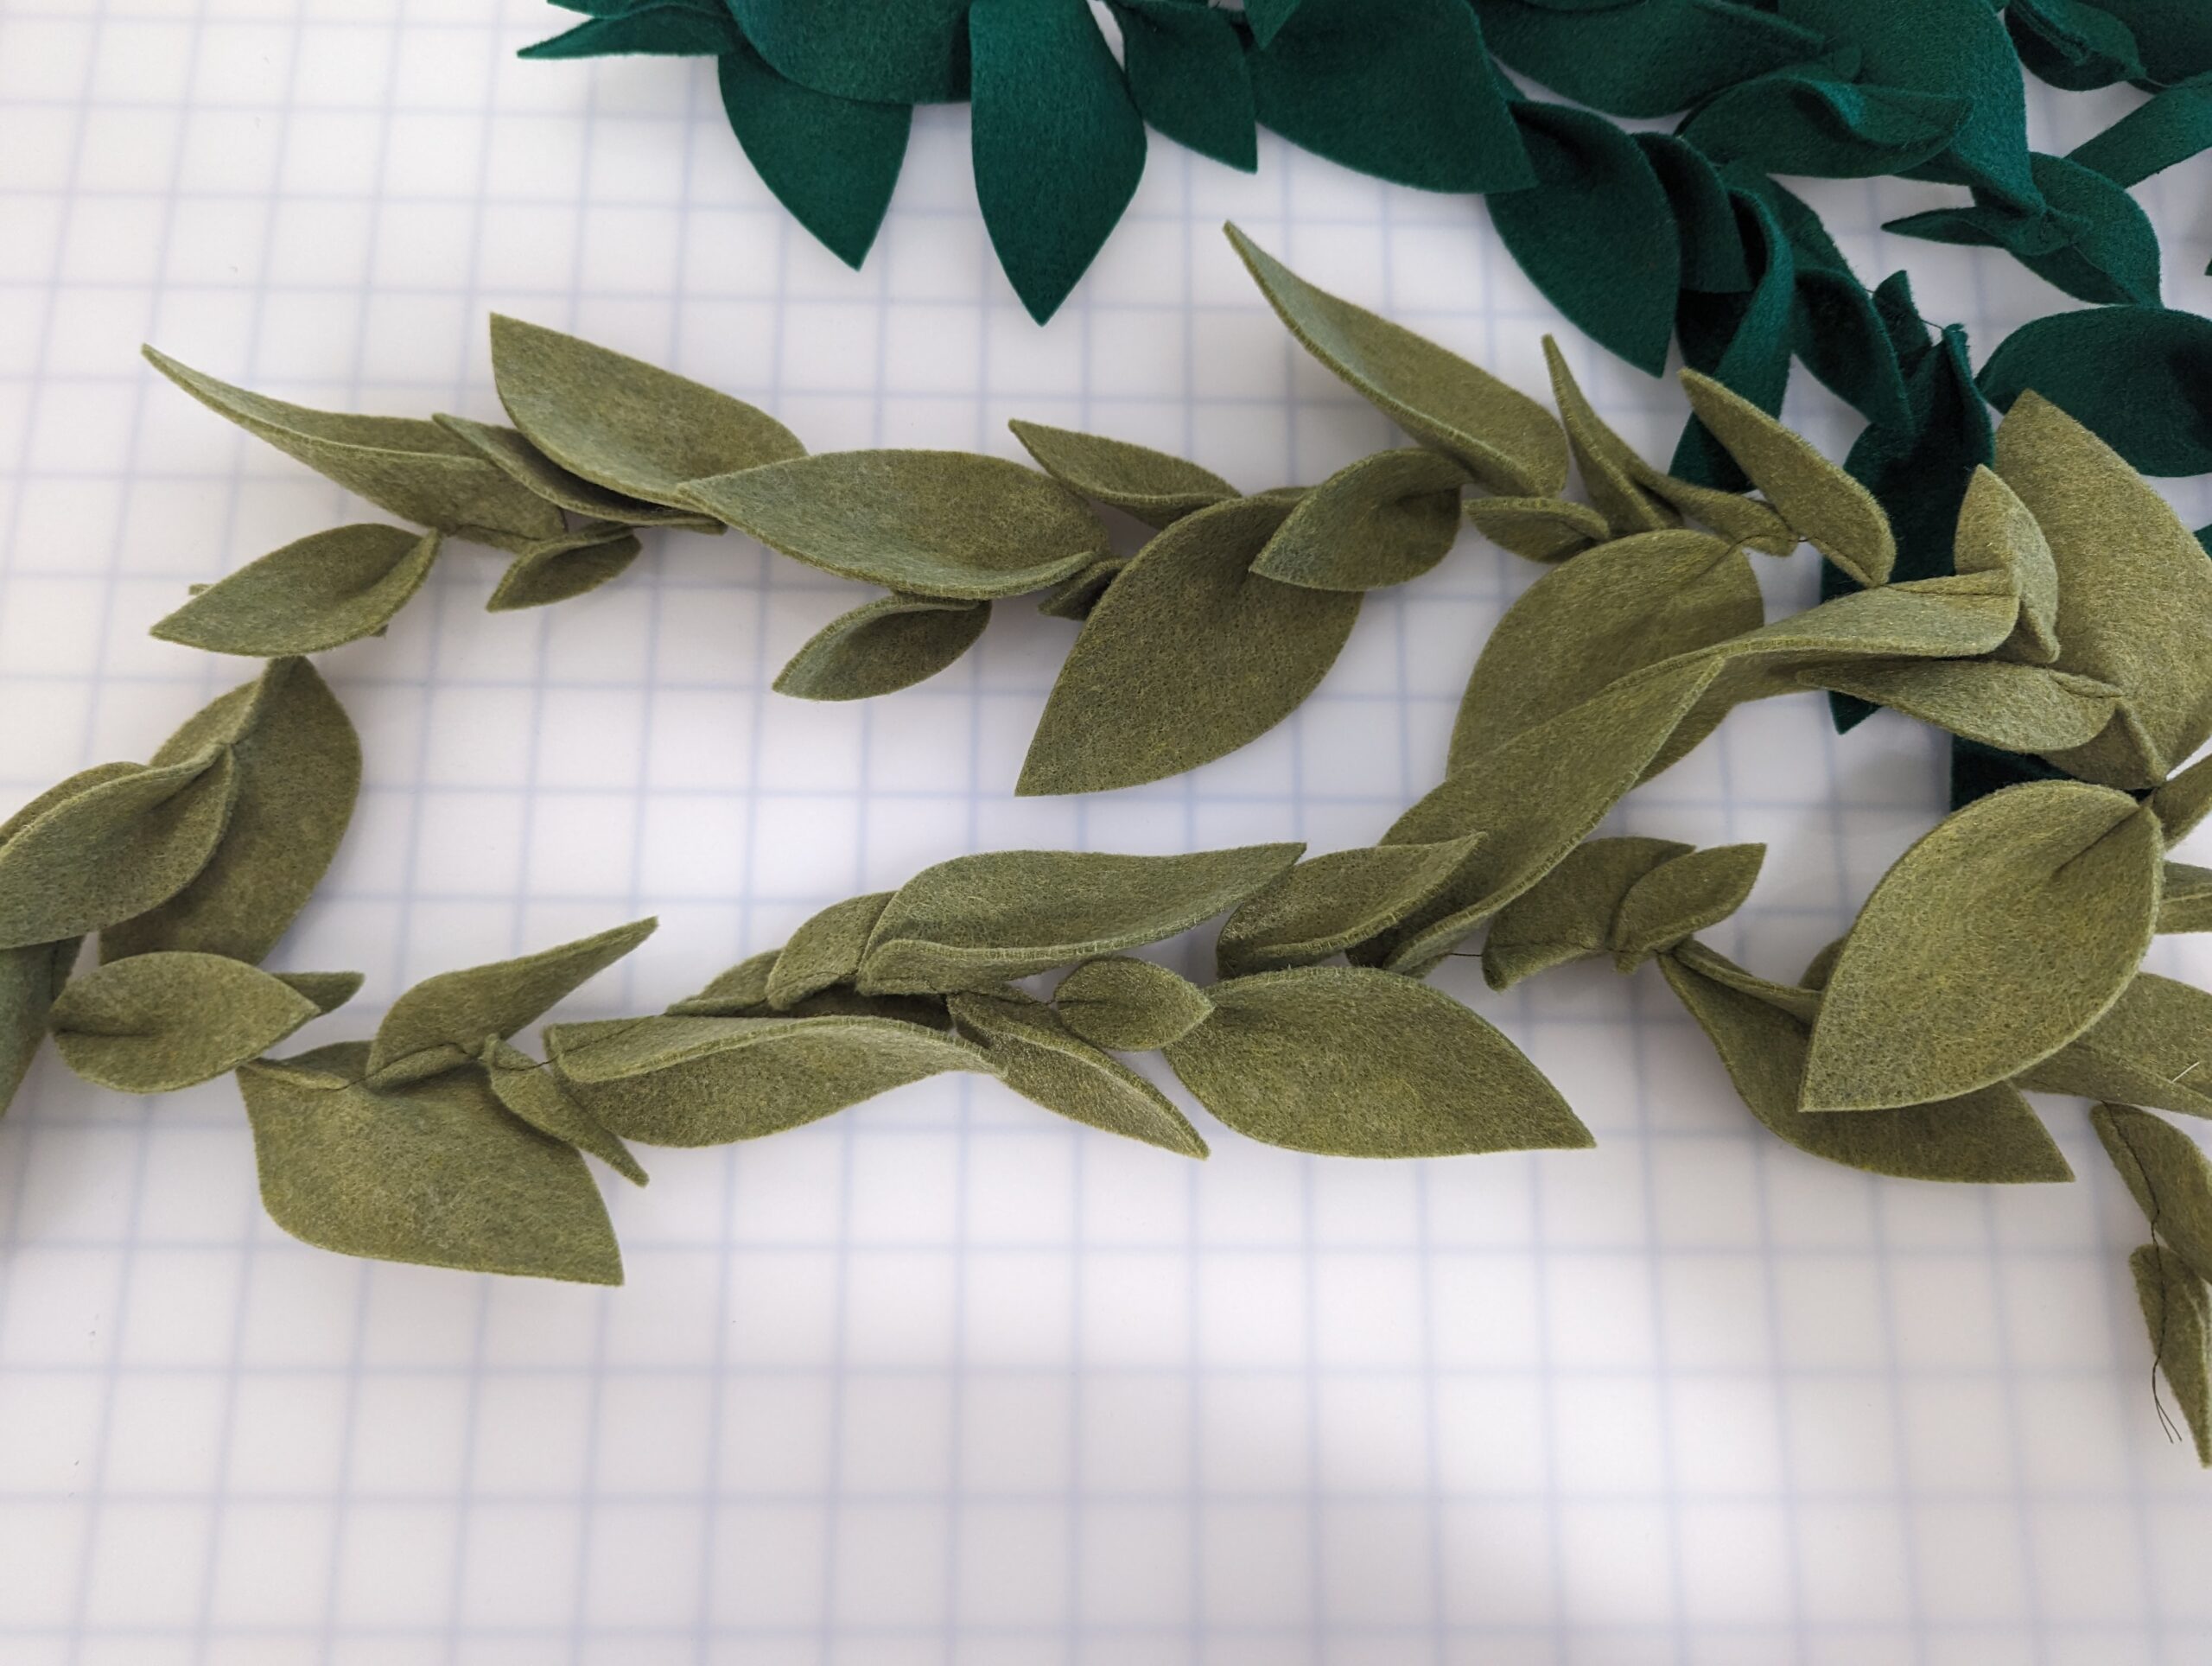
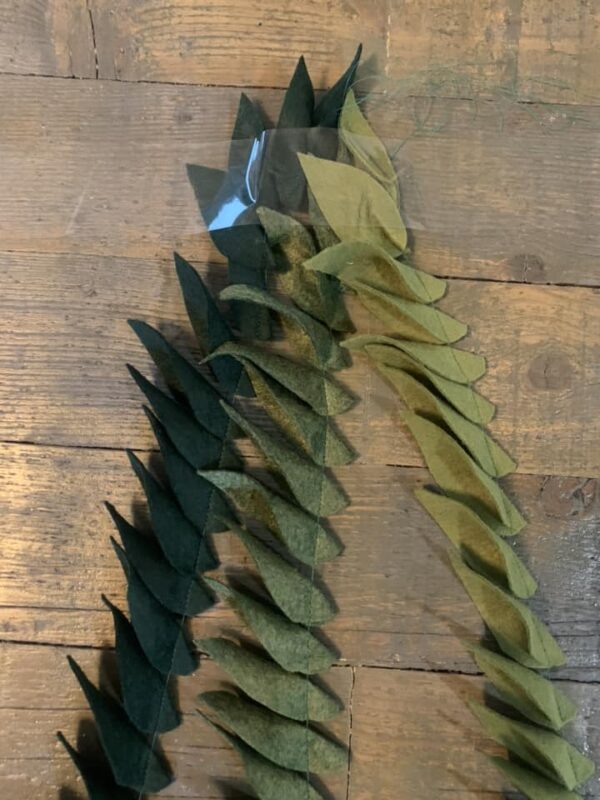
First, we’ll assemble the strands of leaves. To do this, we’ll create chains of leaves, roughly 40-60 leaves long, depending on leaf size and preference. Pinch your leaf to provide a bit of depth, and then stitch along the top of the leaf where you have pinched. Use a regular straight stitch on your sewing machine.
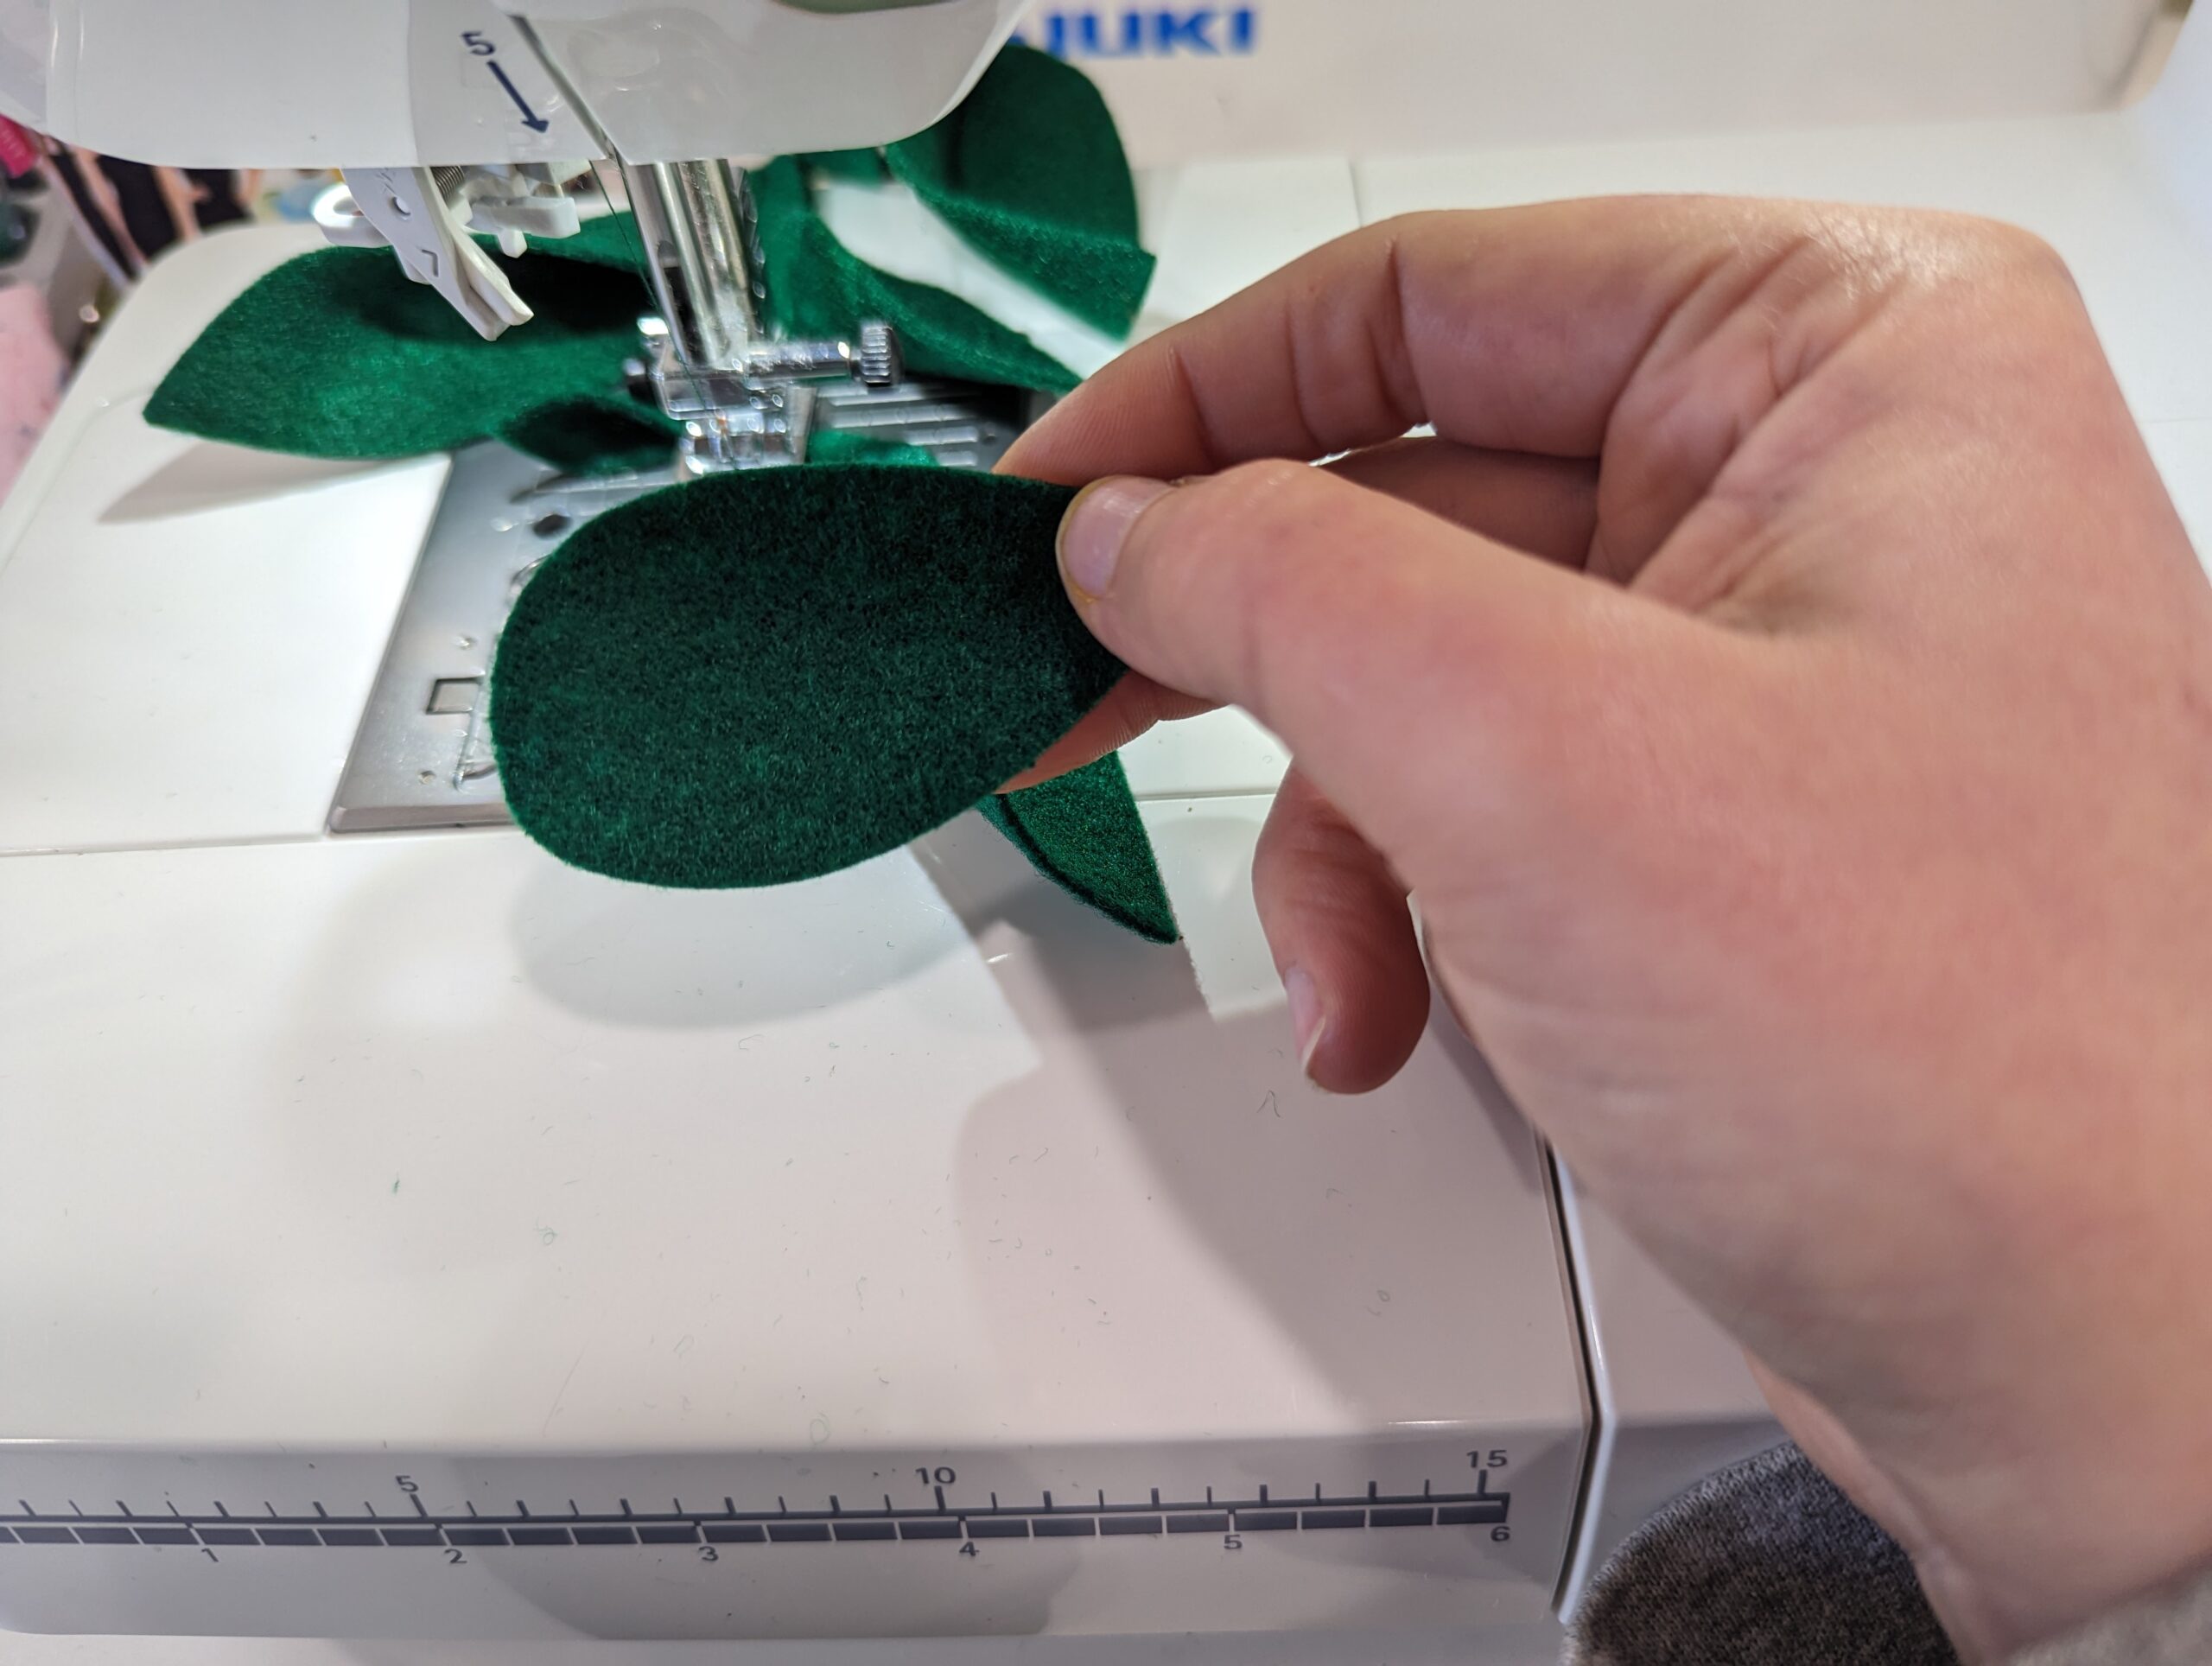
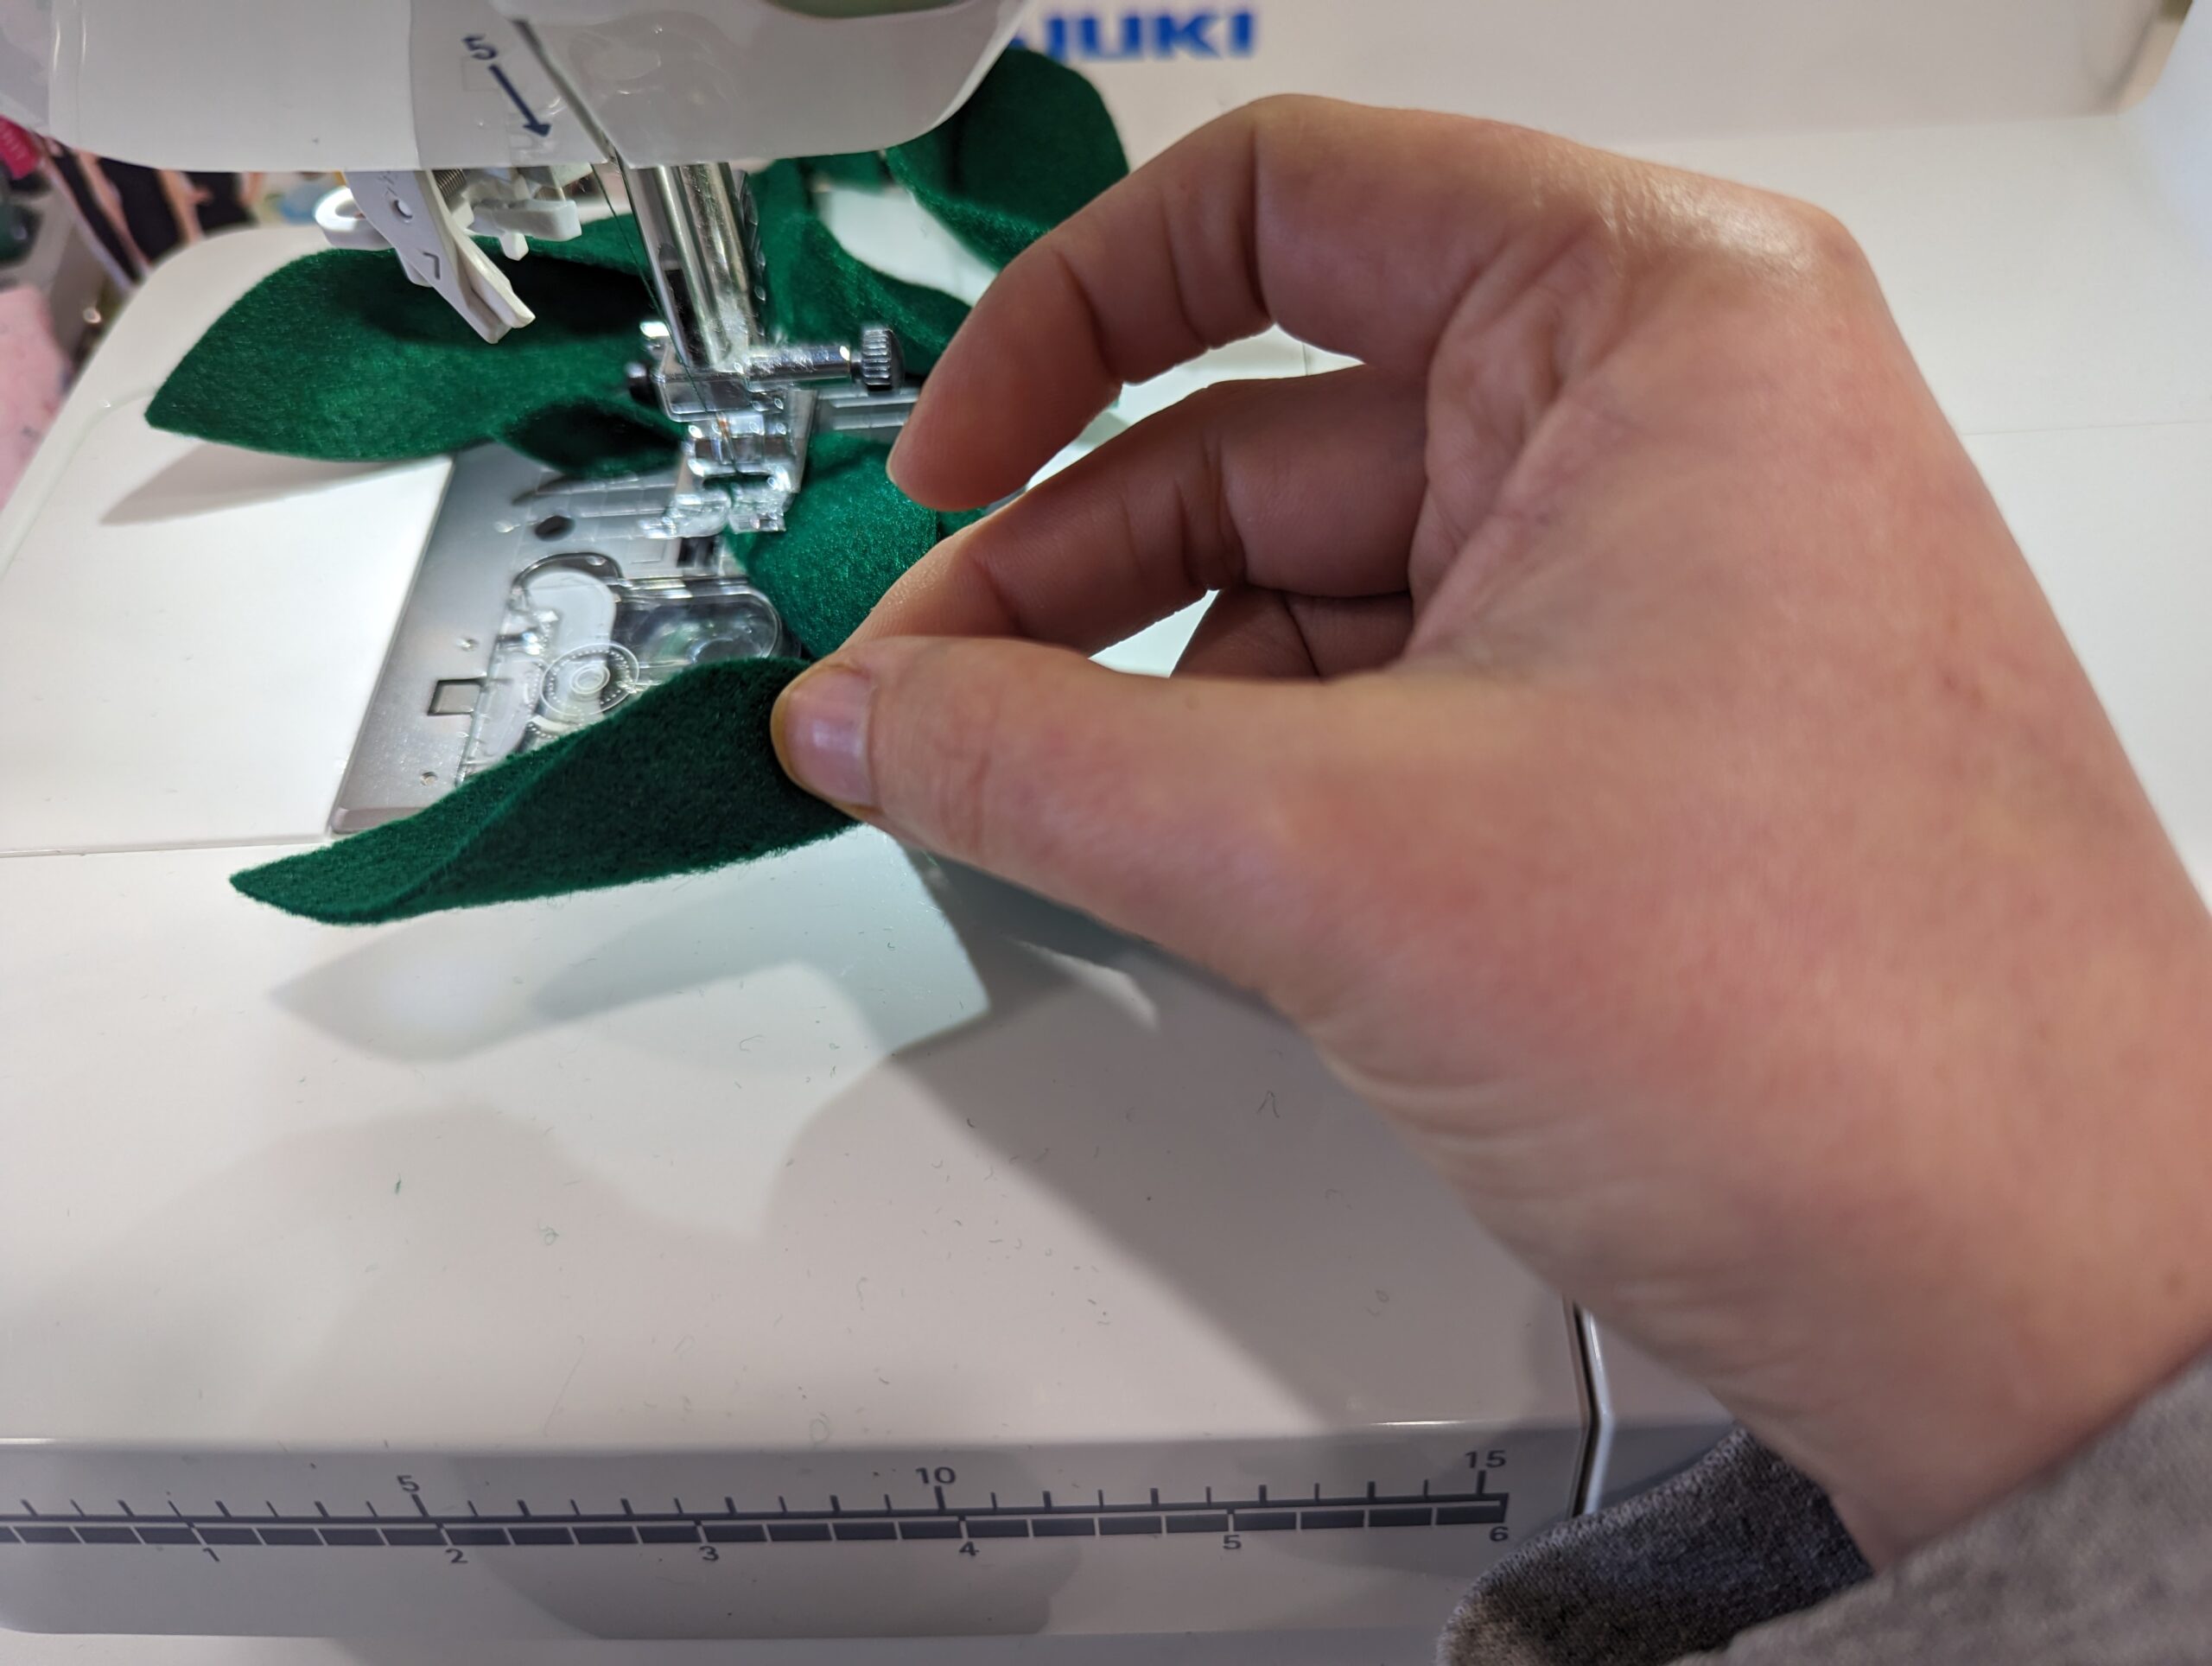
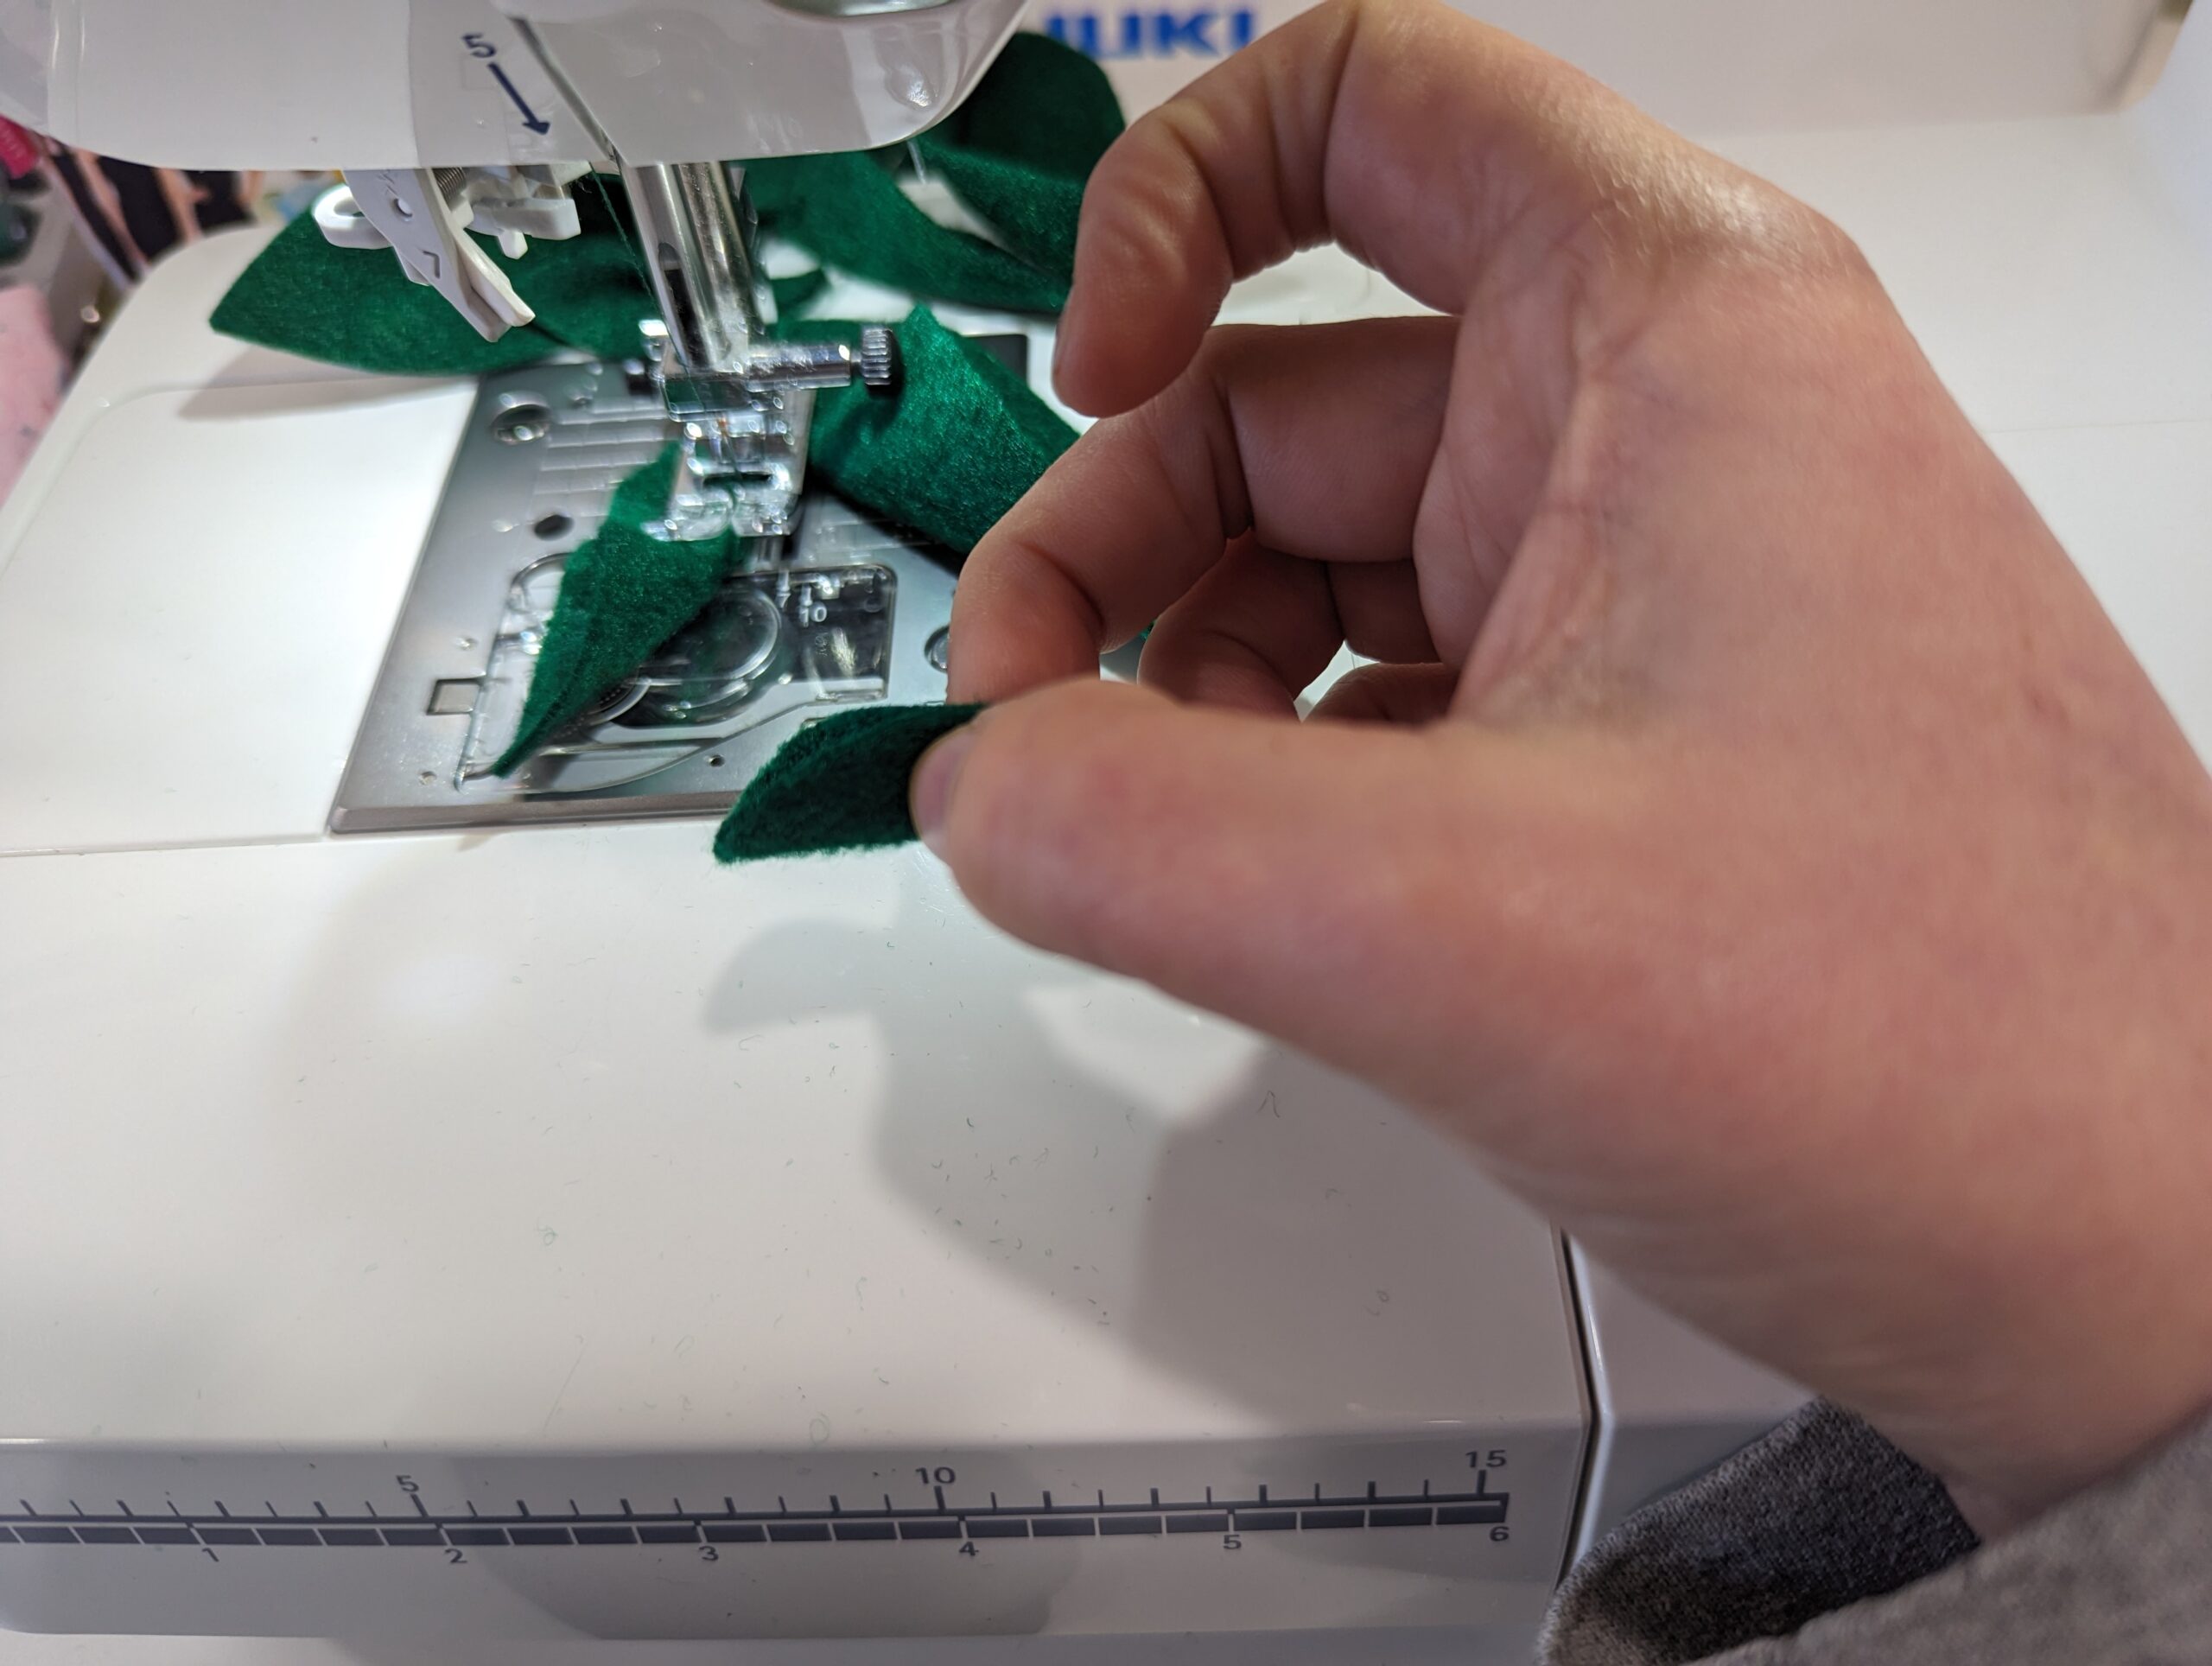
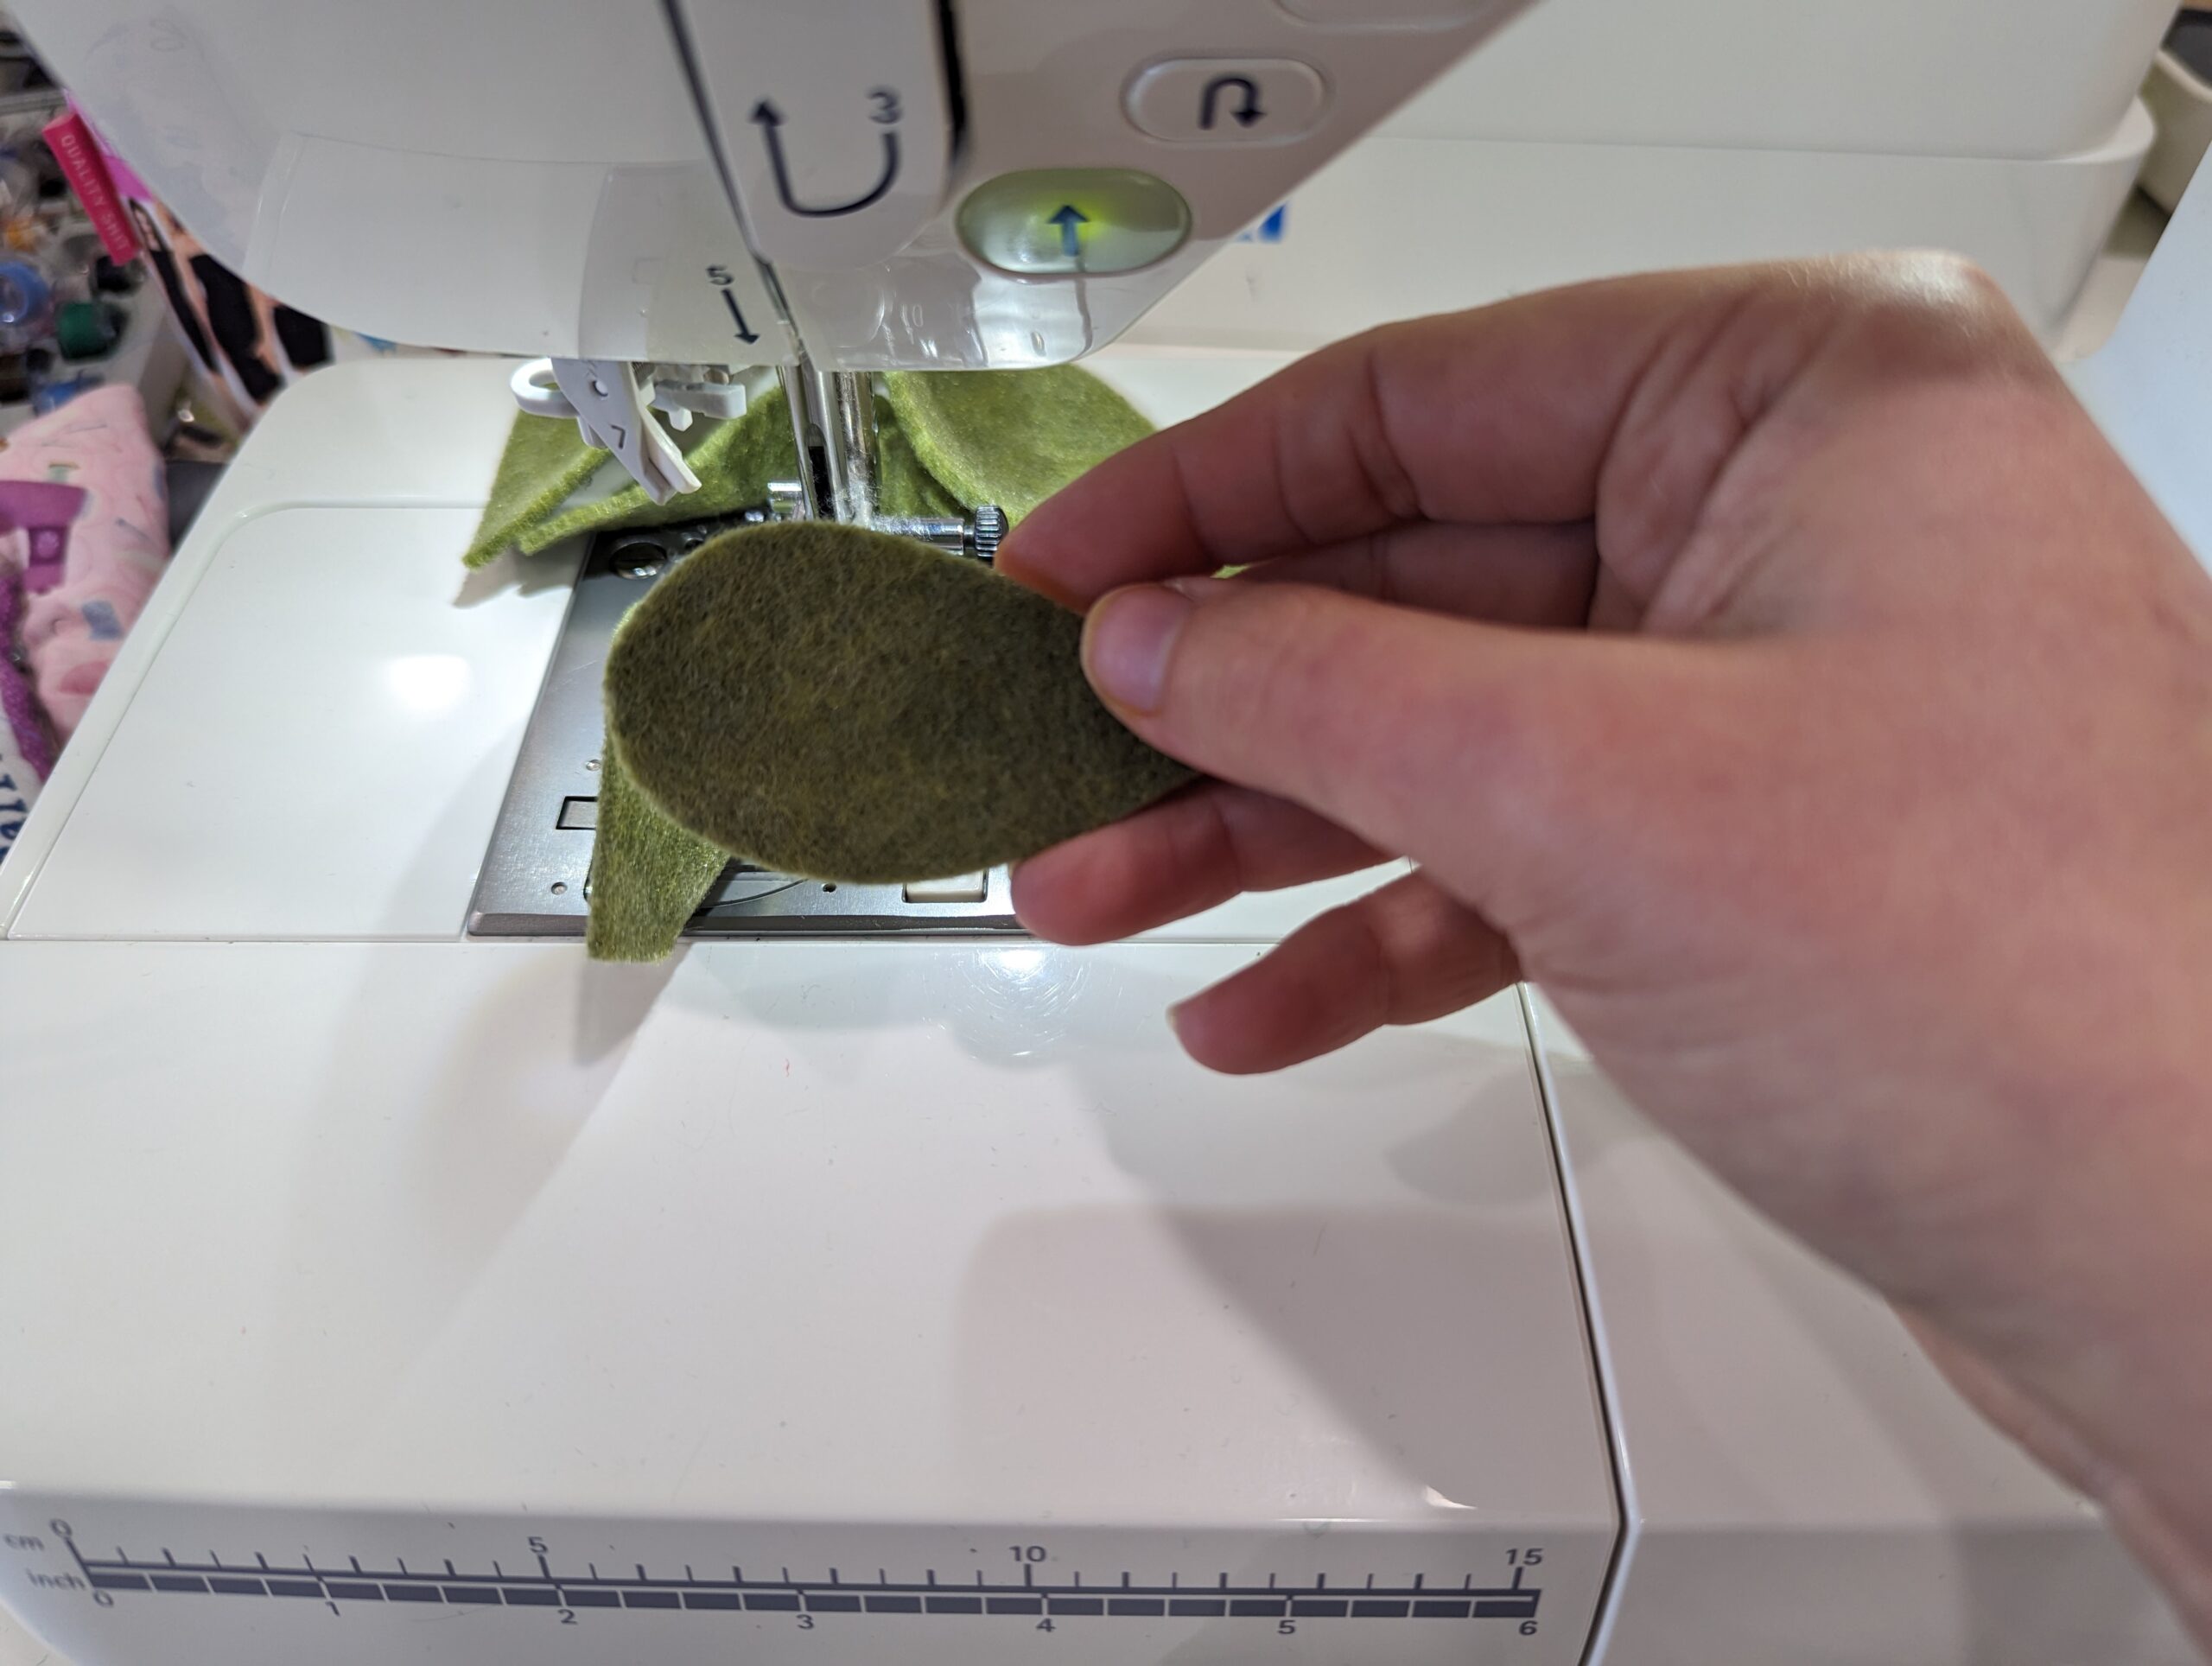
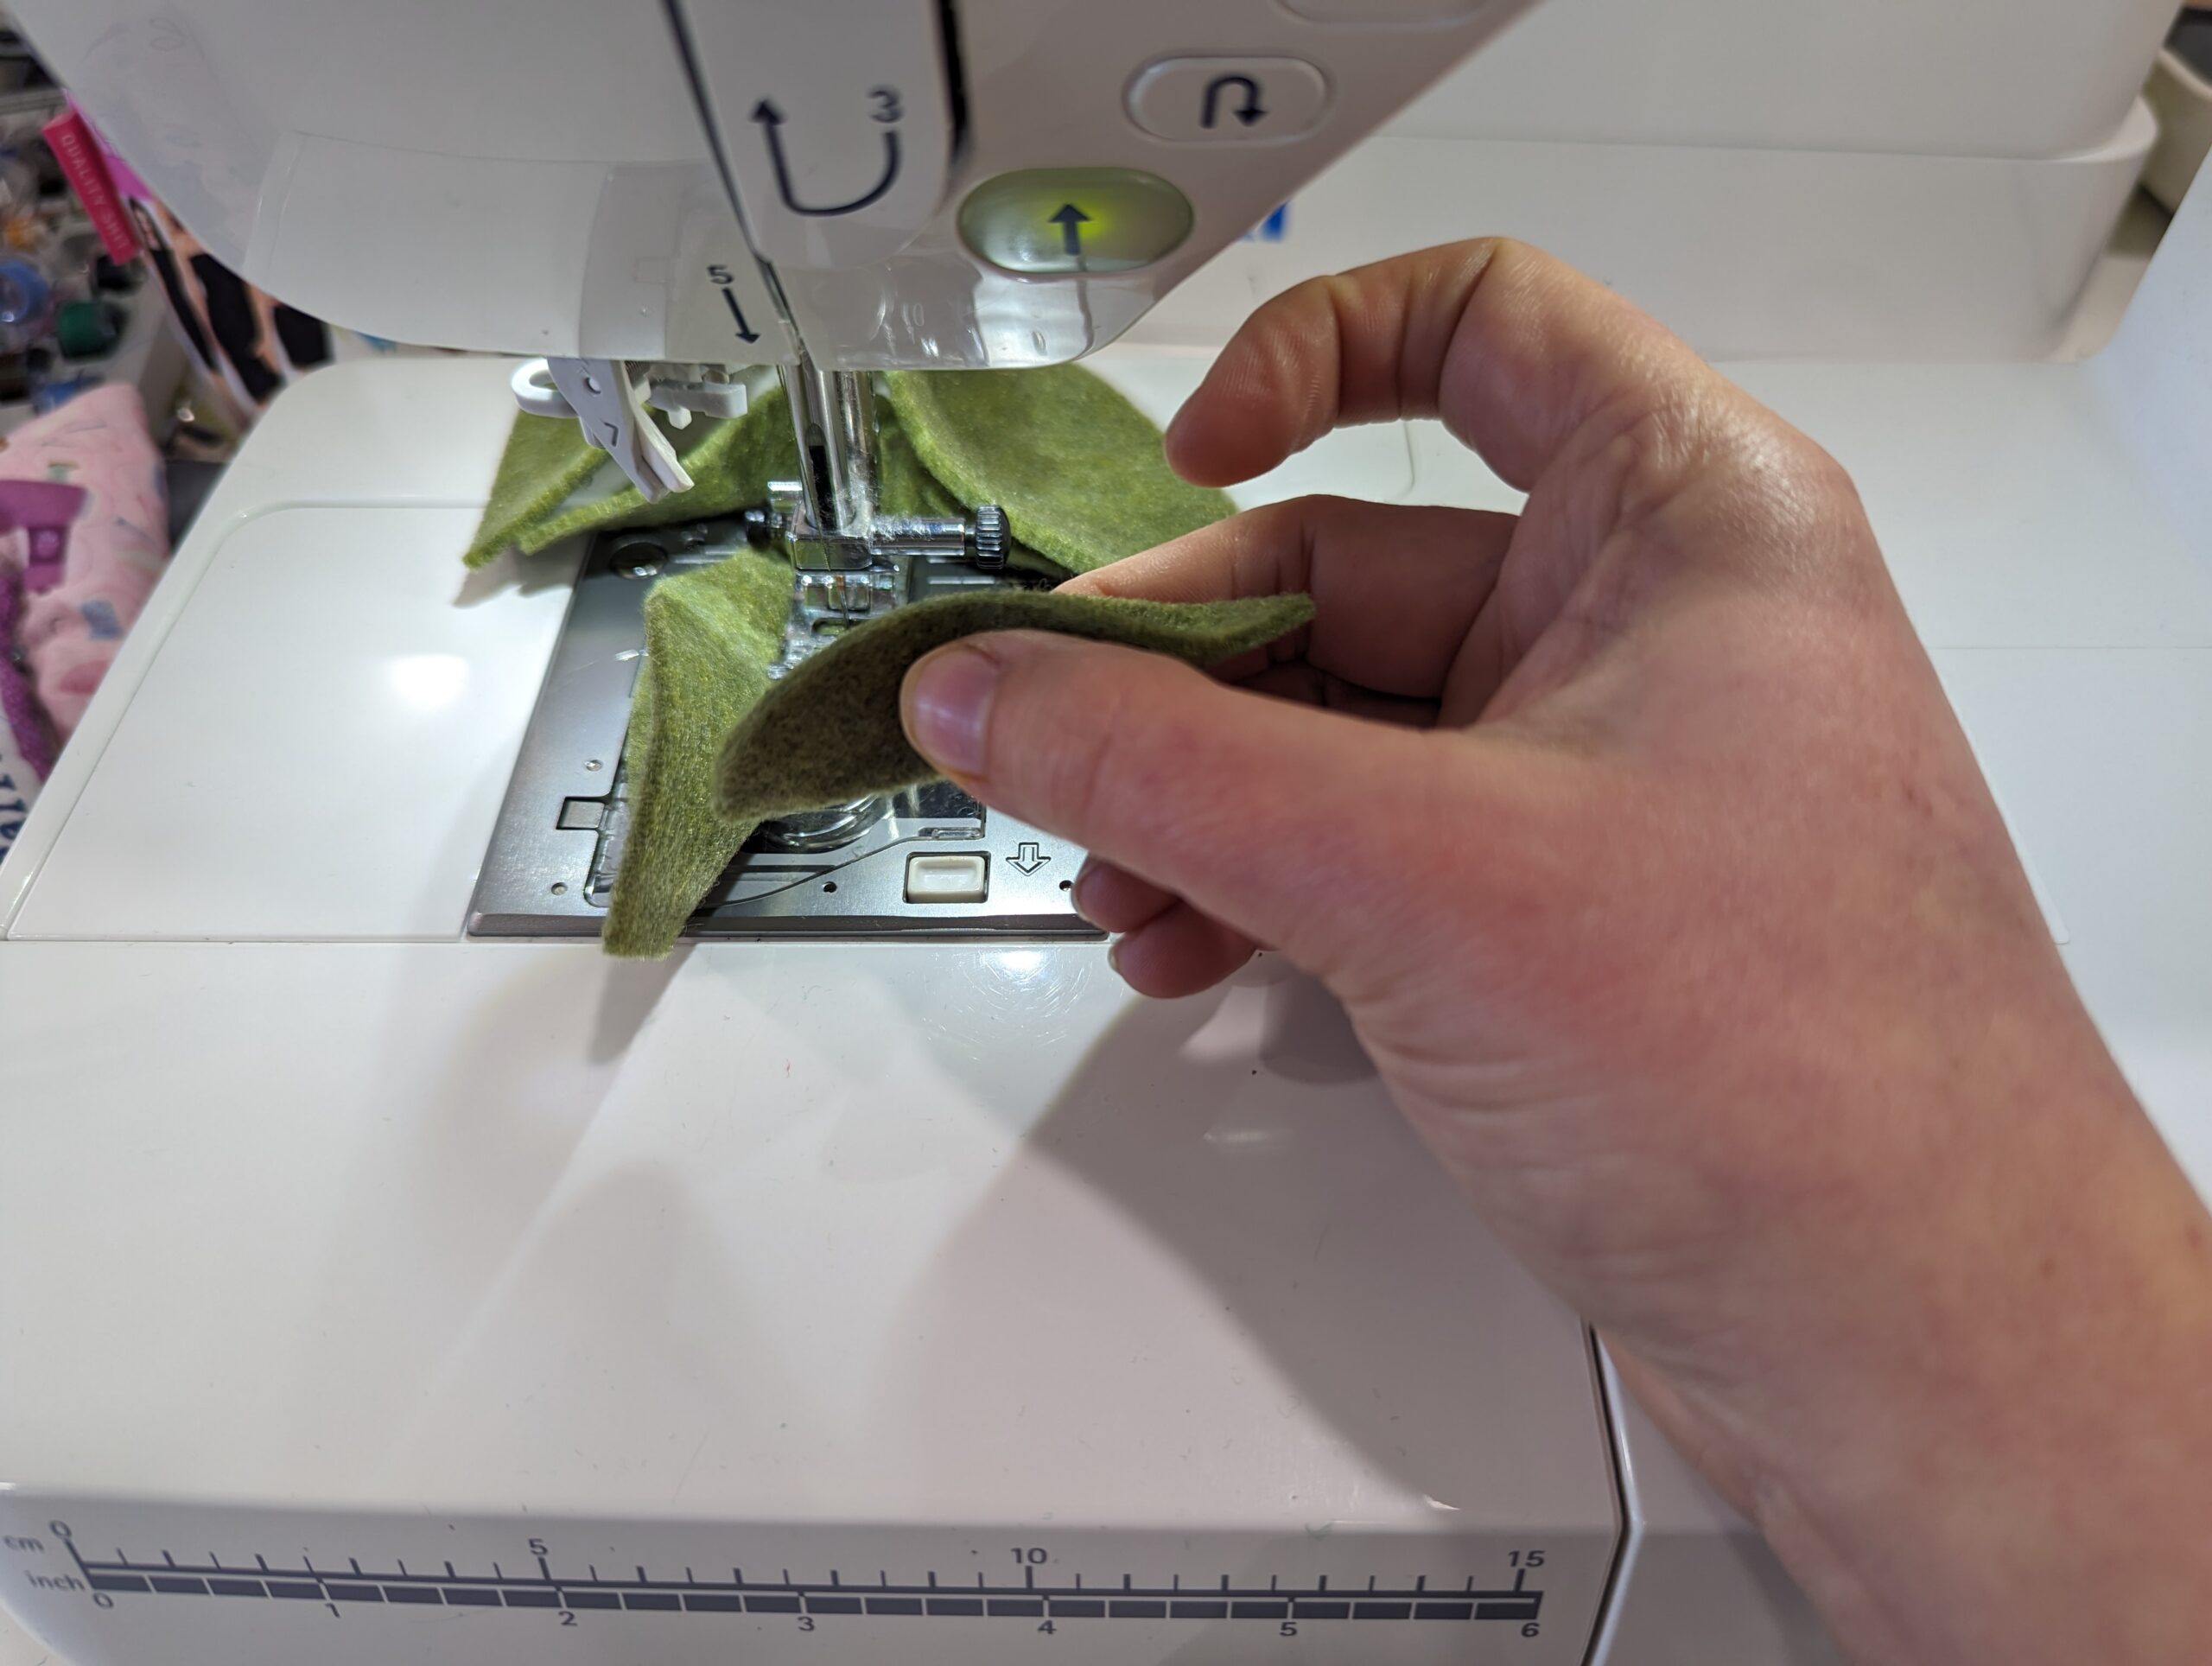
Then, pinch the next leaf and continue the chain of stitches, alternating the direction that the leaves are facing.
Repeat these steps for around 50 leaves; again, the exact number will depend on your preference, style, leaf choice, etc.
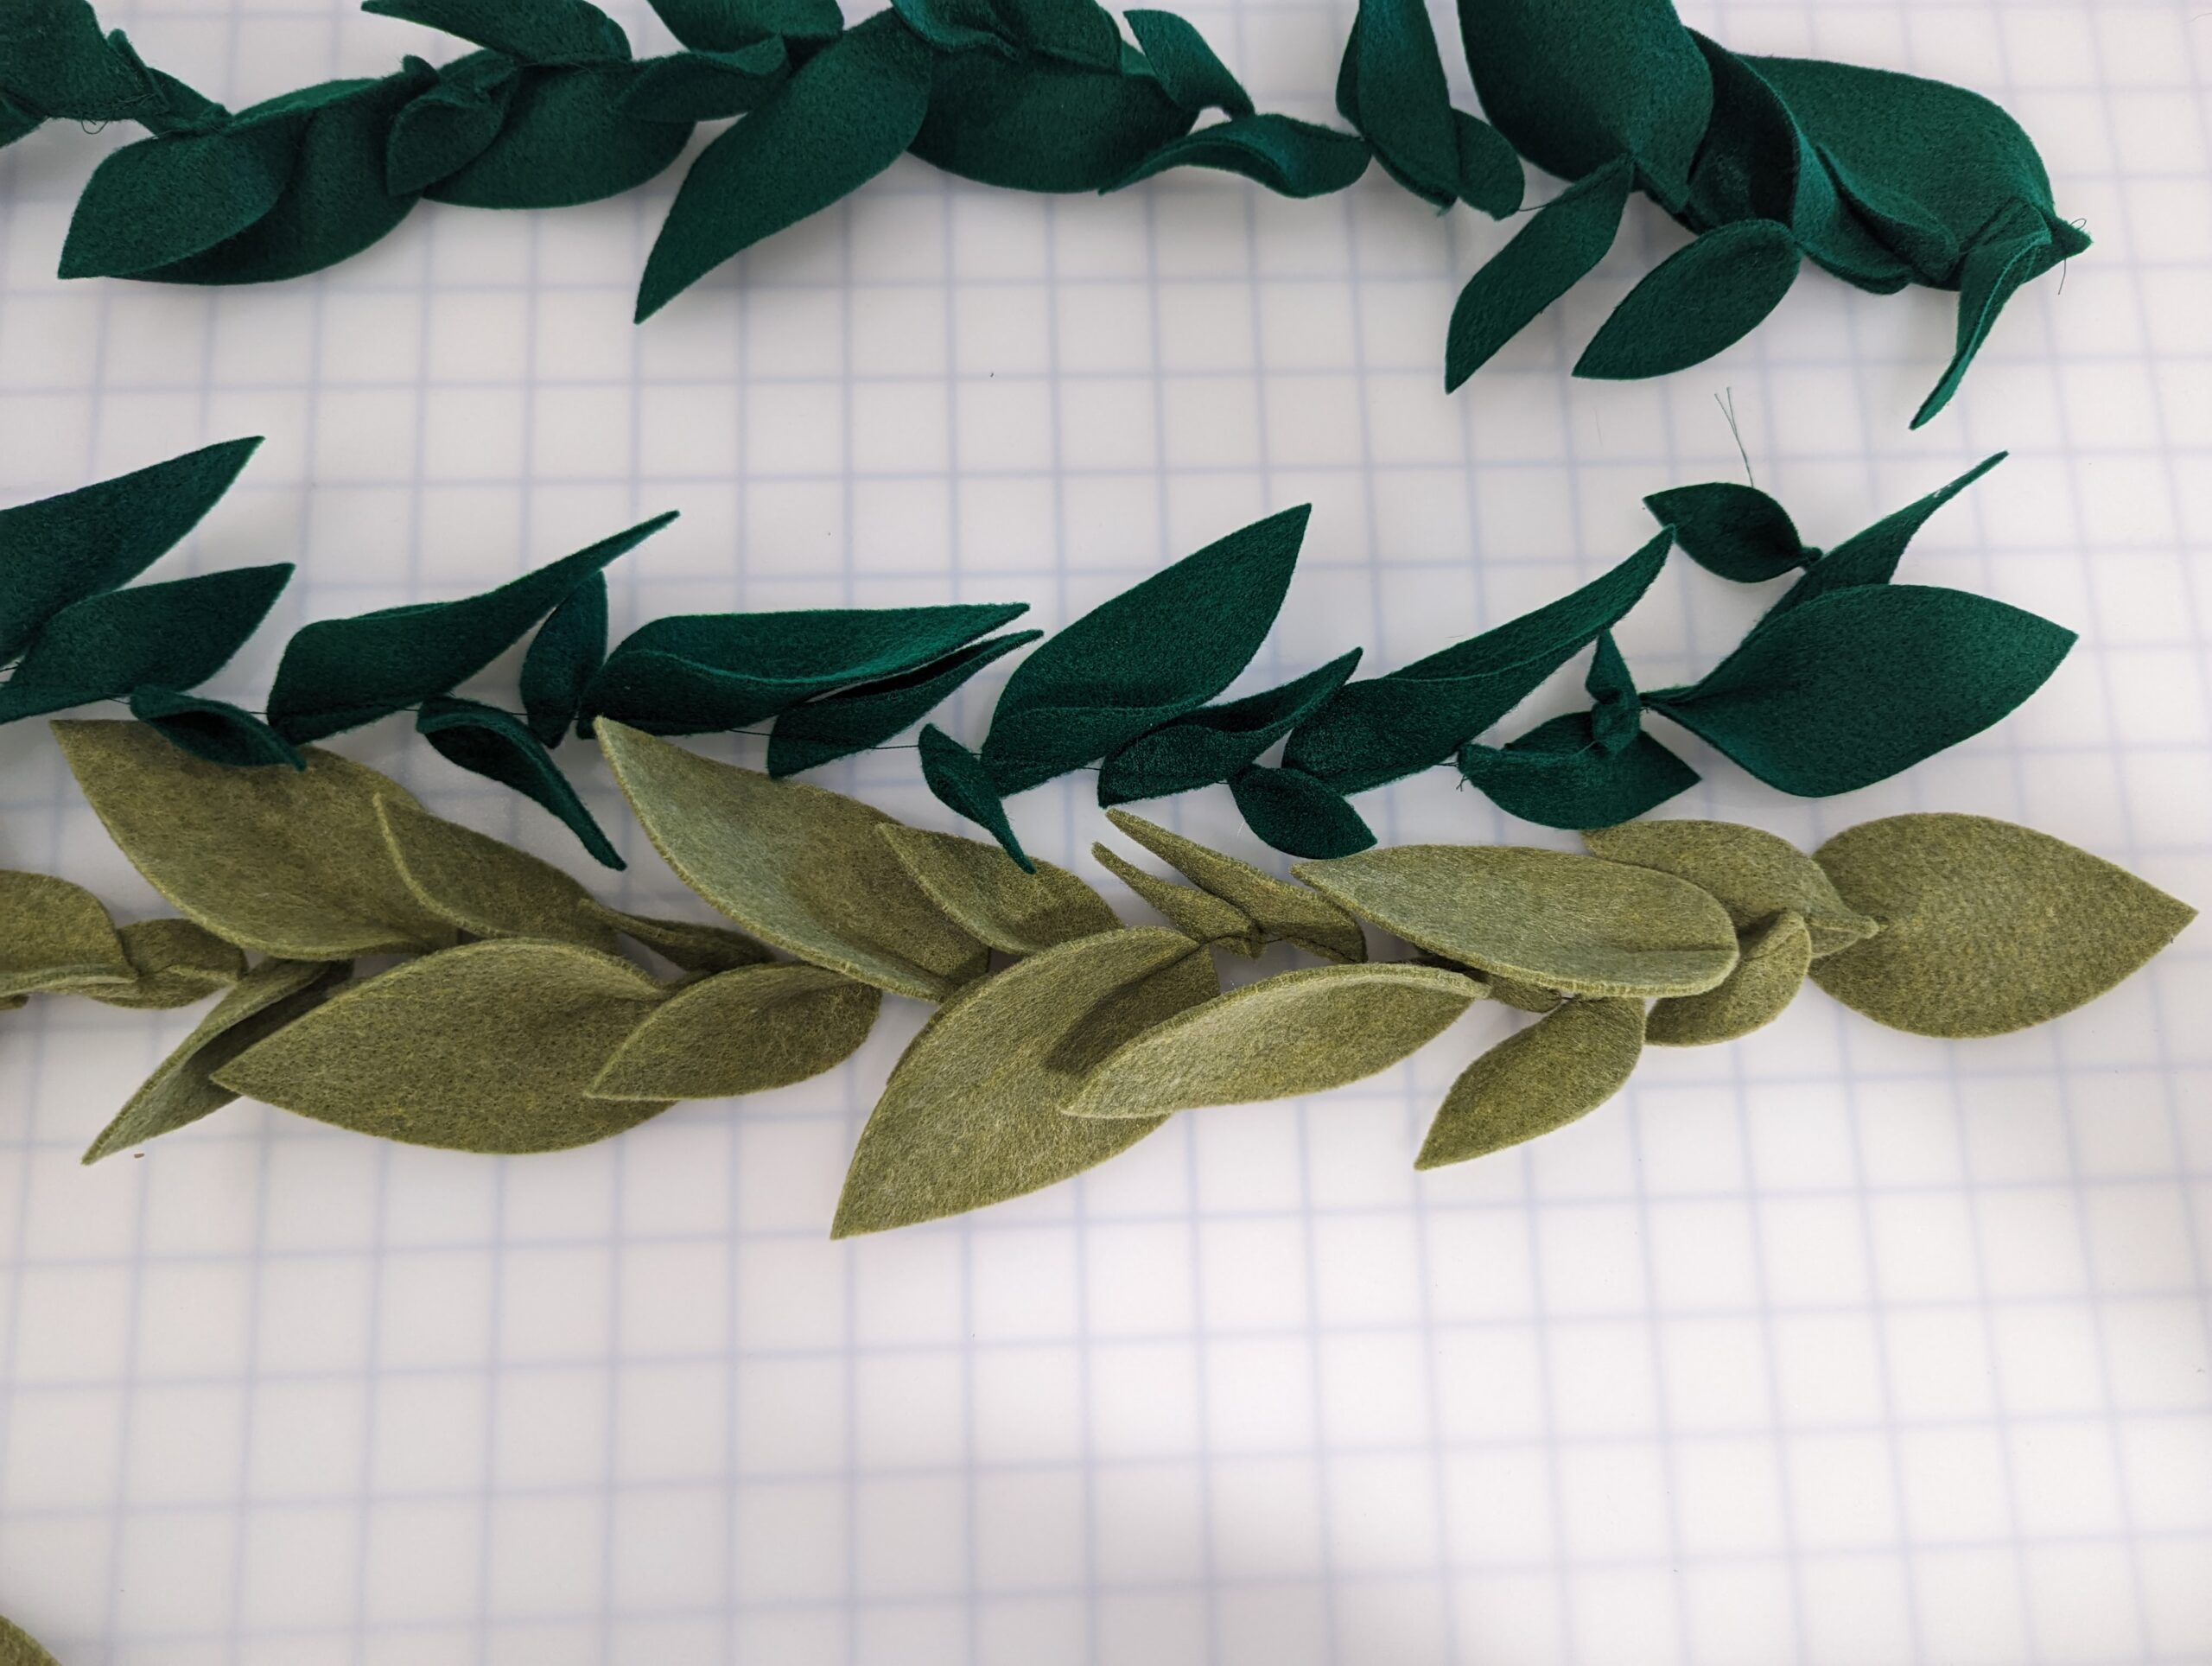
Once you’ve sewn several leaves together to create a chain of leaves, we will start stitching the next color!
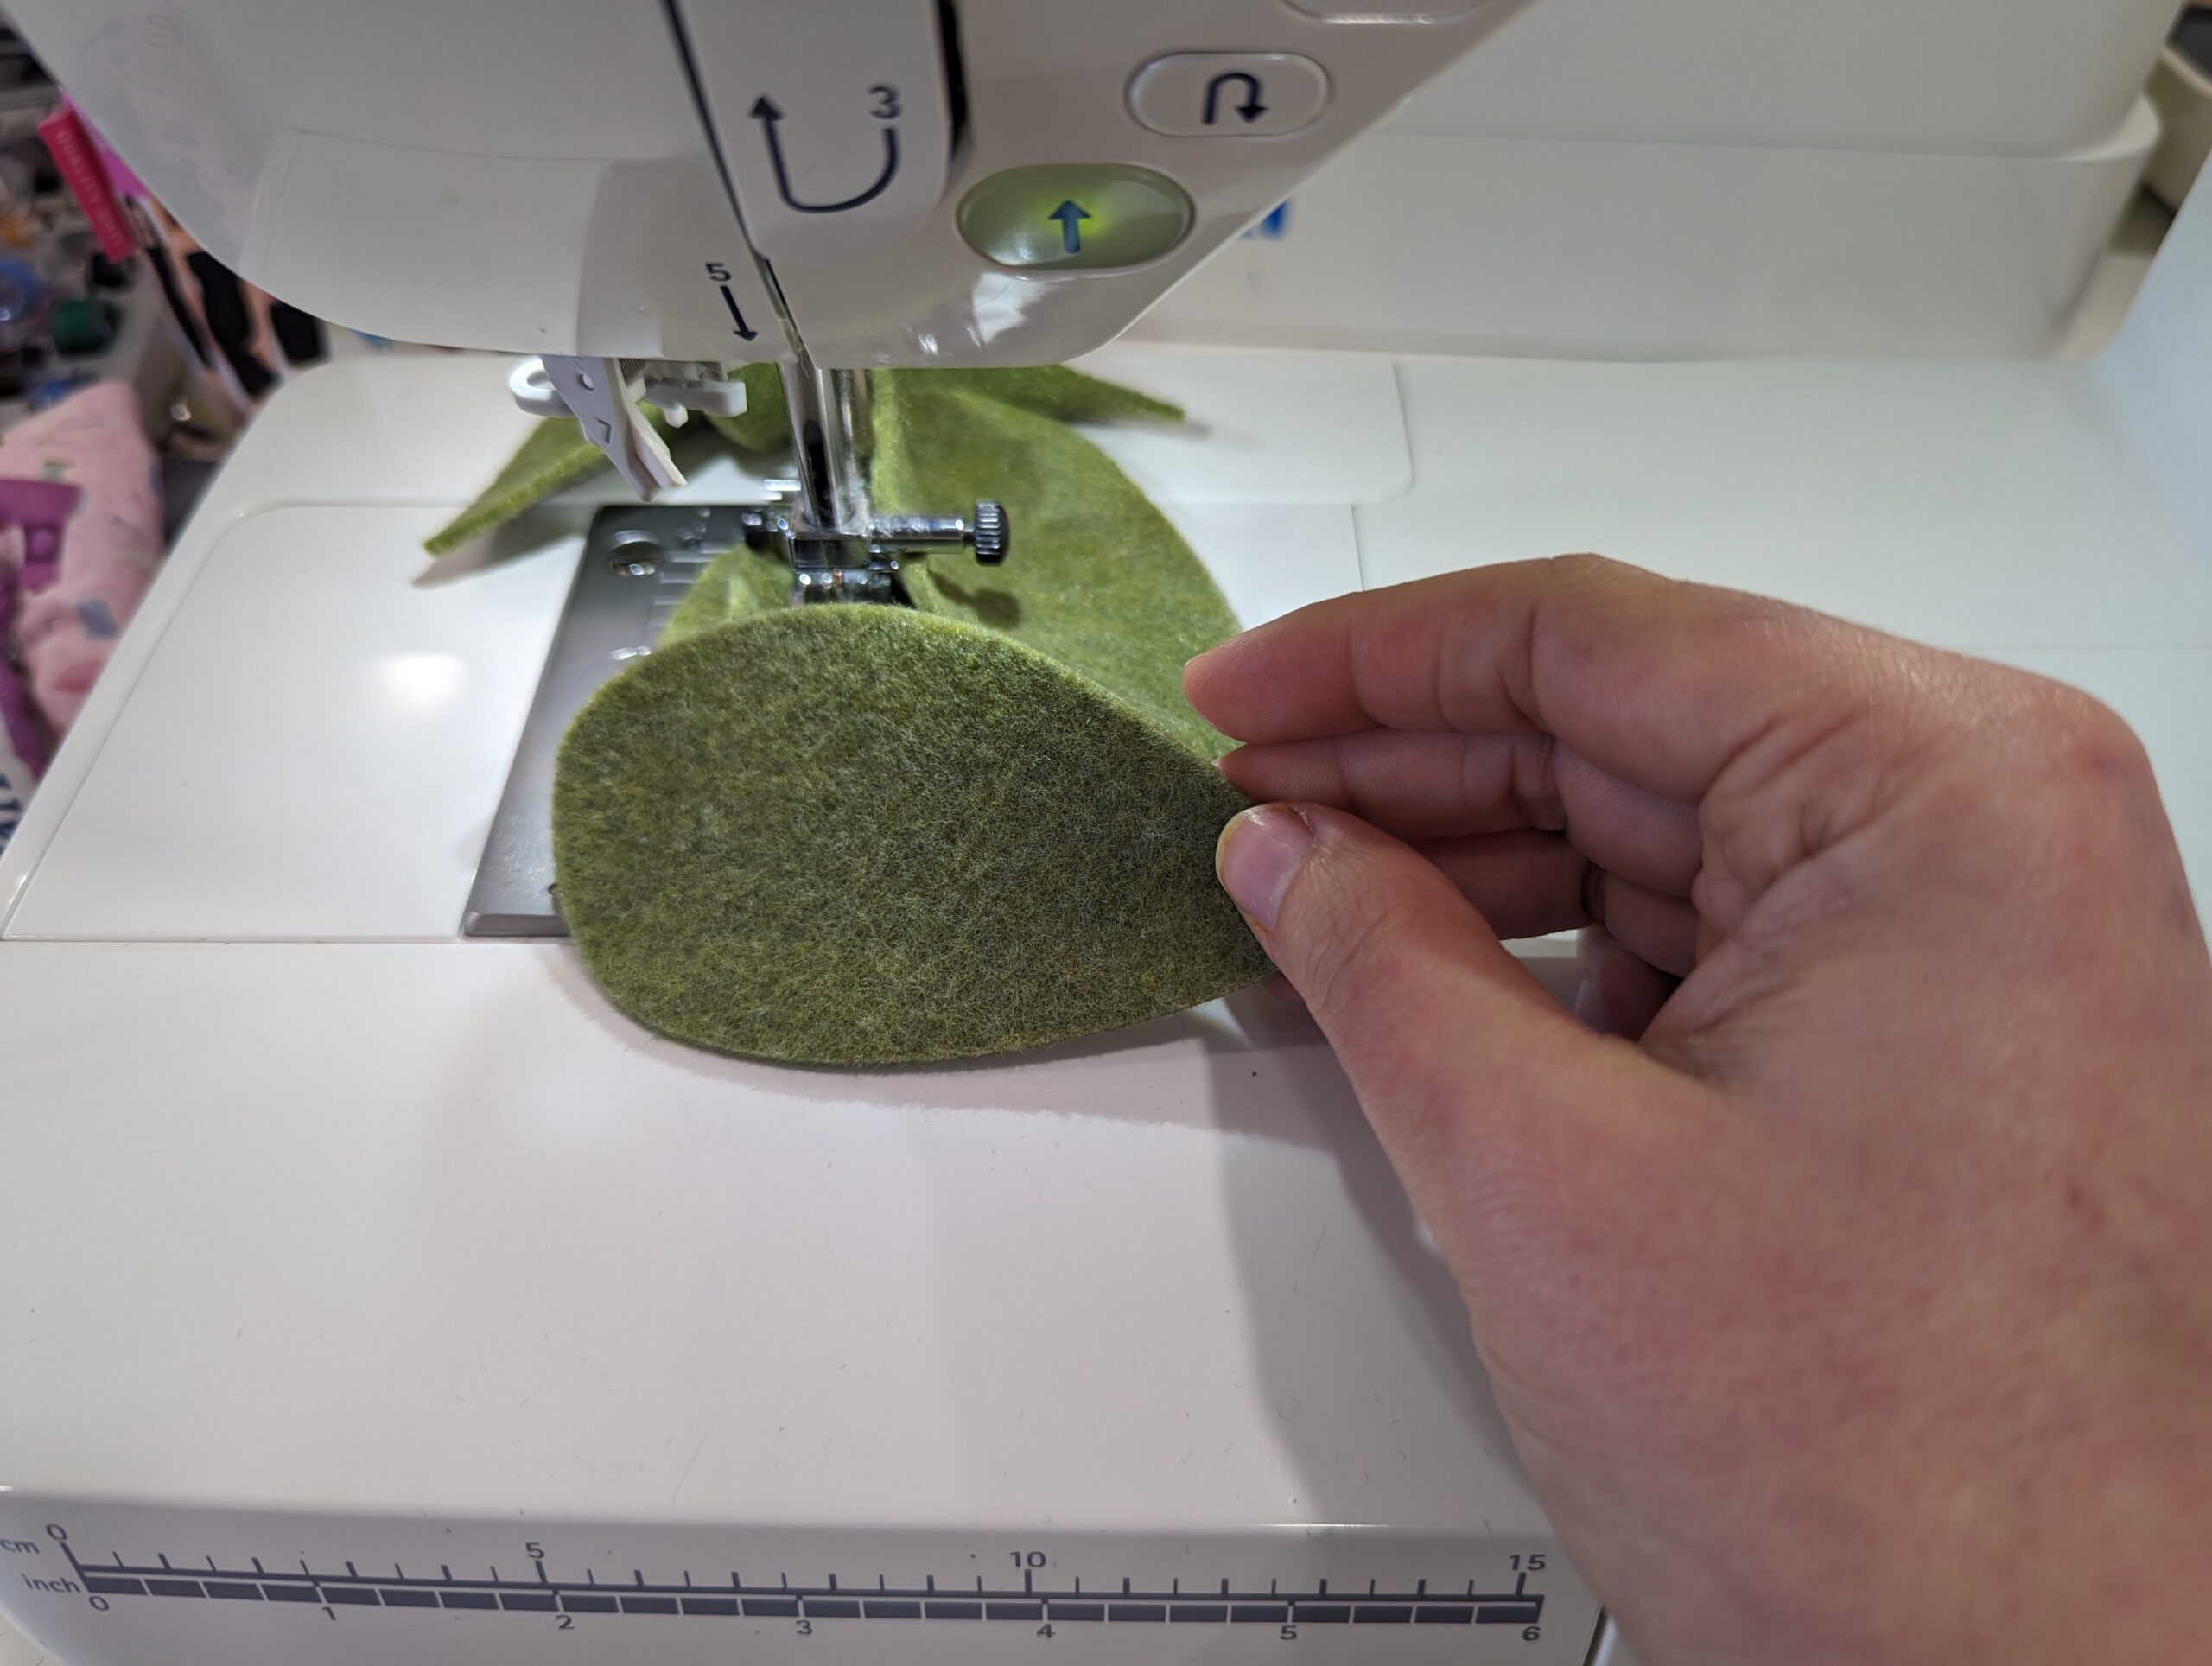
Begin the second chain the same way. Pinch the center of the leaf at the top, then straight stitch across the top.
Pinch the top of the next leaf, alternating directions. Continue for 50 or so leaves.
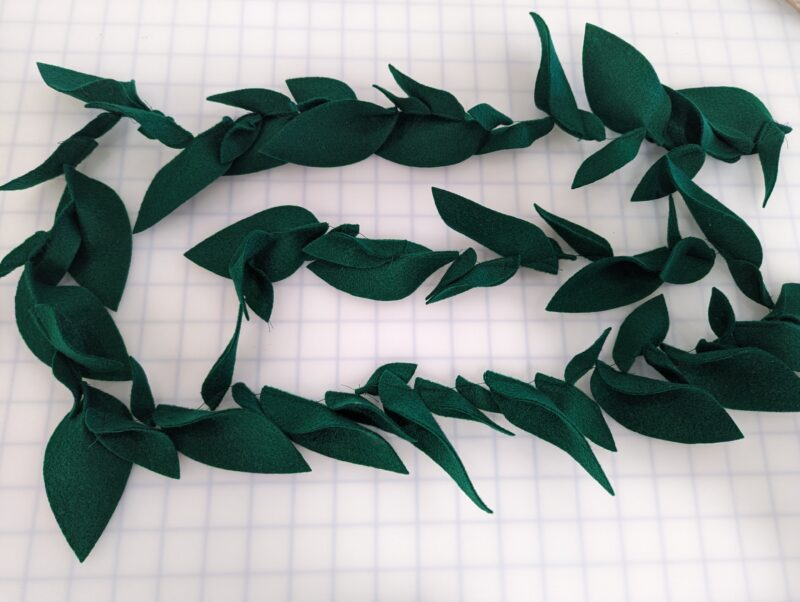
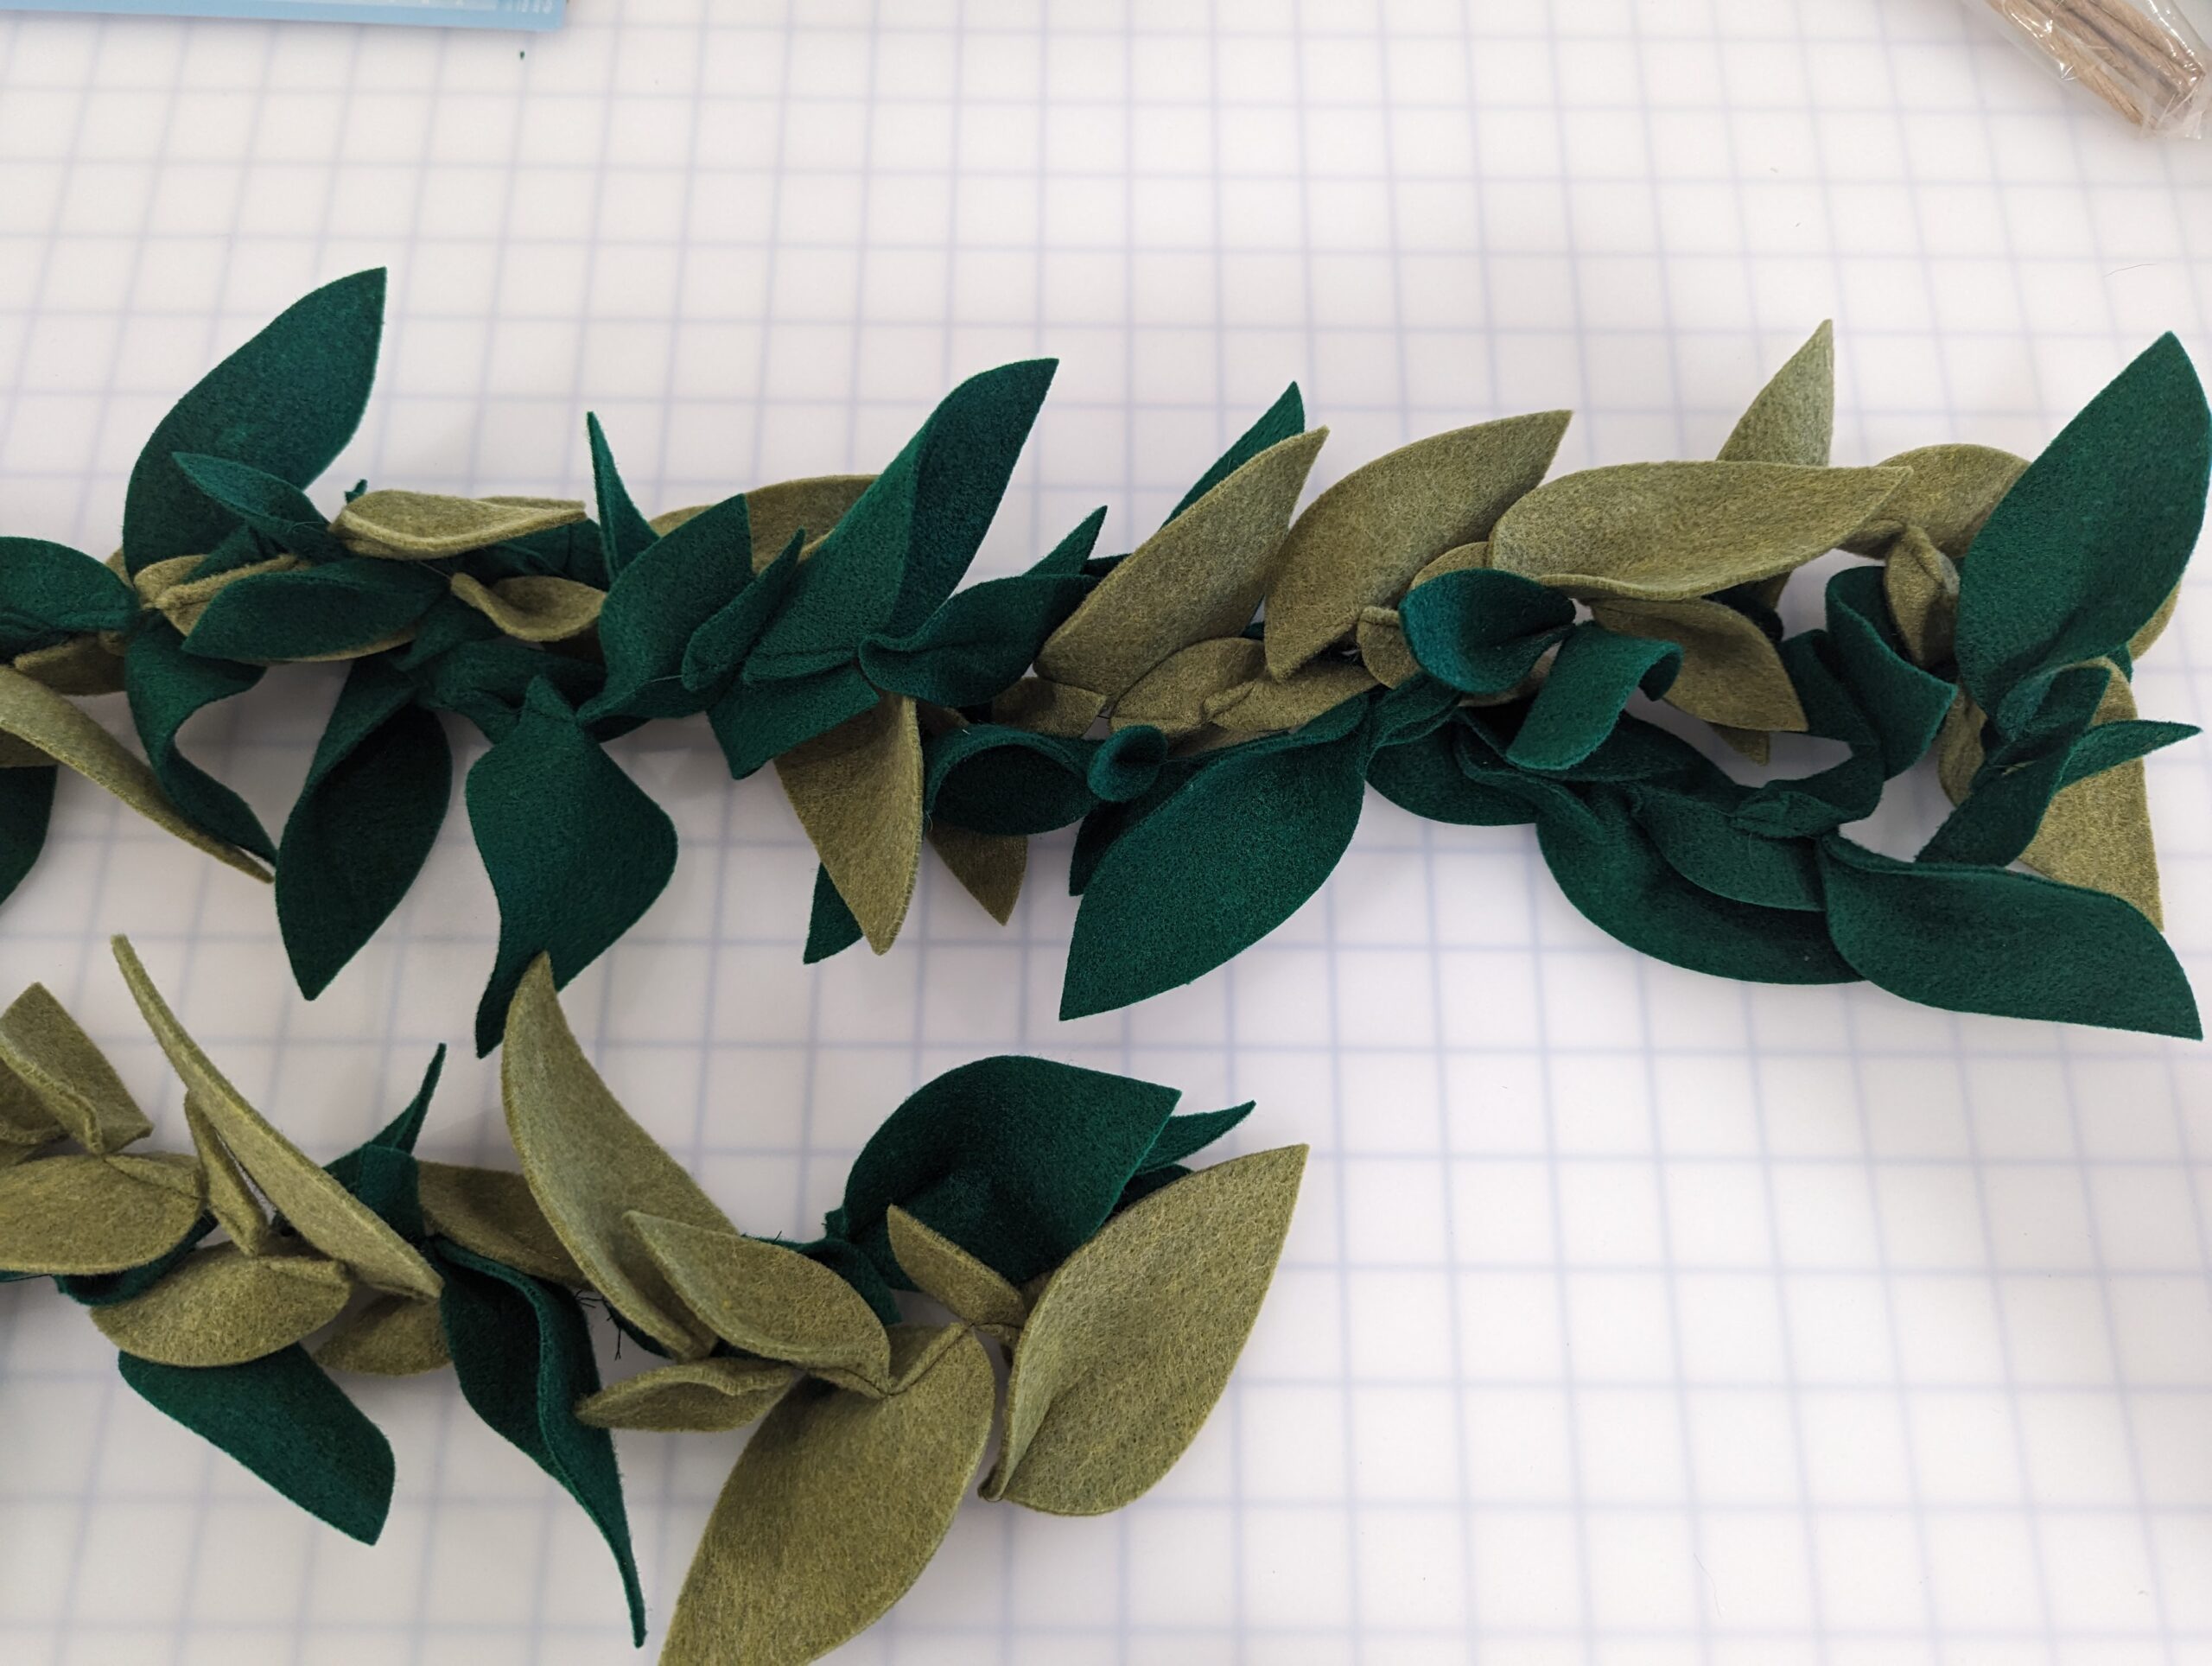
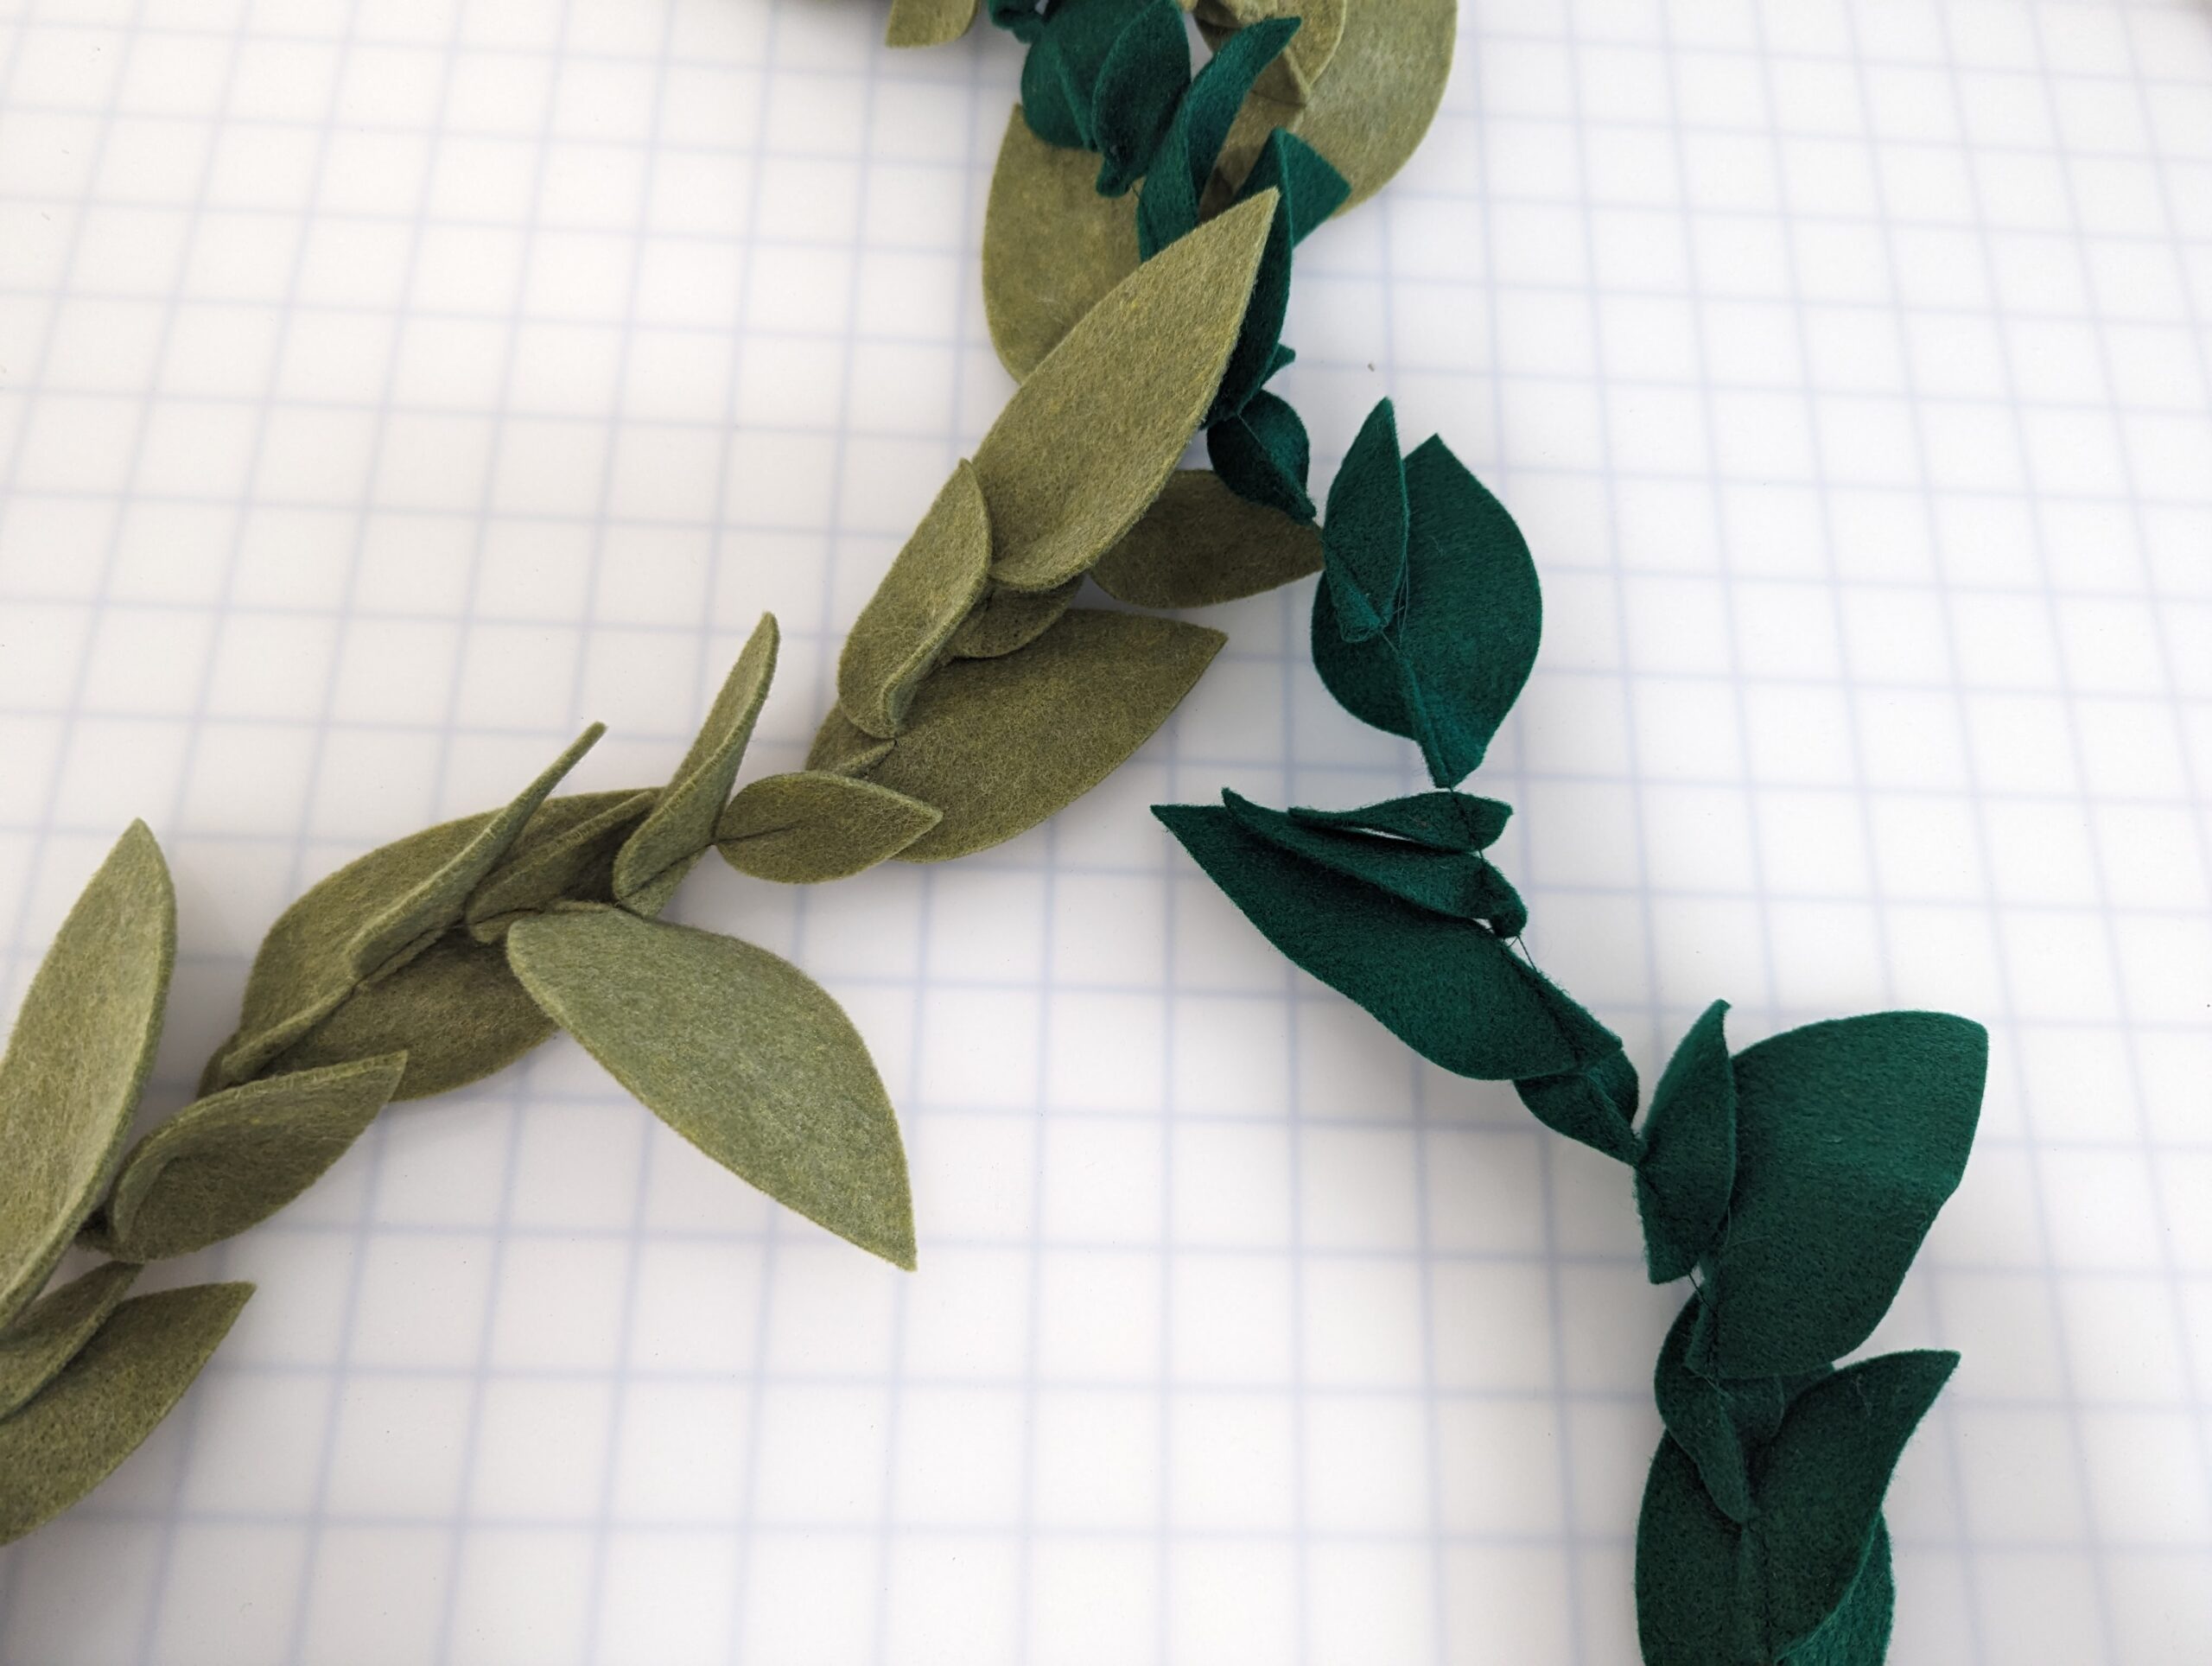
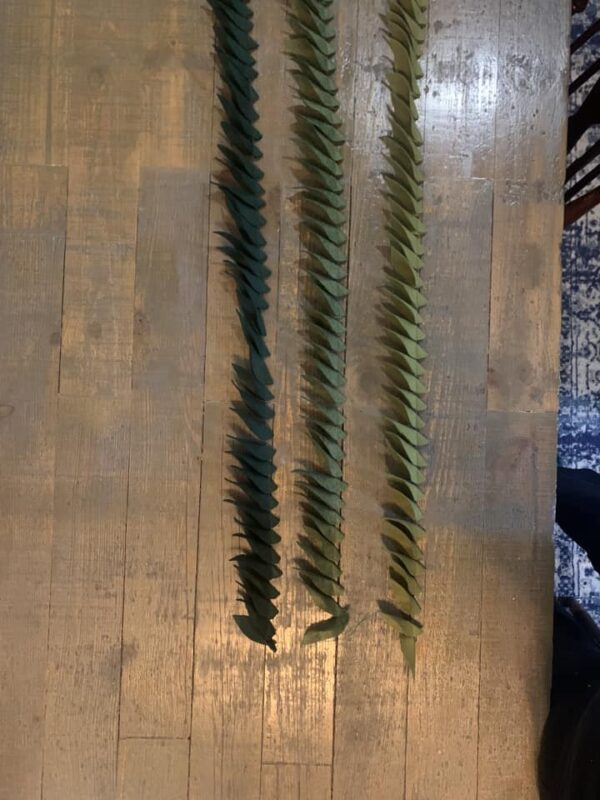
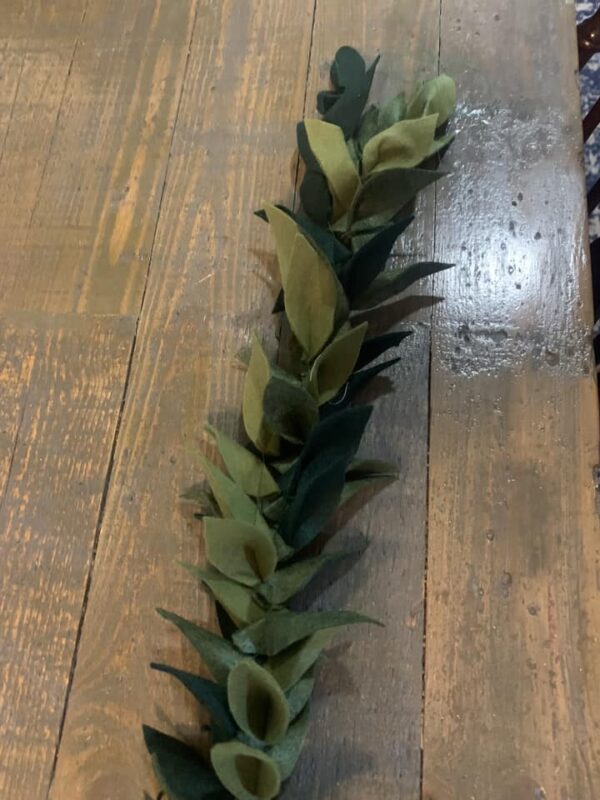
Once you have two (or more) chains completed, loosely braid or twist them together.
Be sure that your leaves are facing the same general direction as you are twisting/braiding the leaf chains together. Some of them will “nest” together, but you can fluff these out a bit once you’ve finished twisting/braiding.
- Example with 3 colors of leaves
- Example with 3 colors of leaves
- Example with 3 colors of leaves
Step 4: WREATH FORM
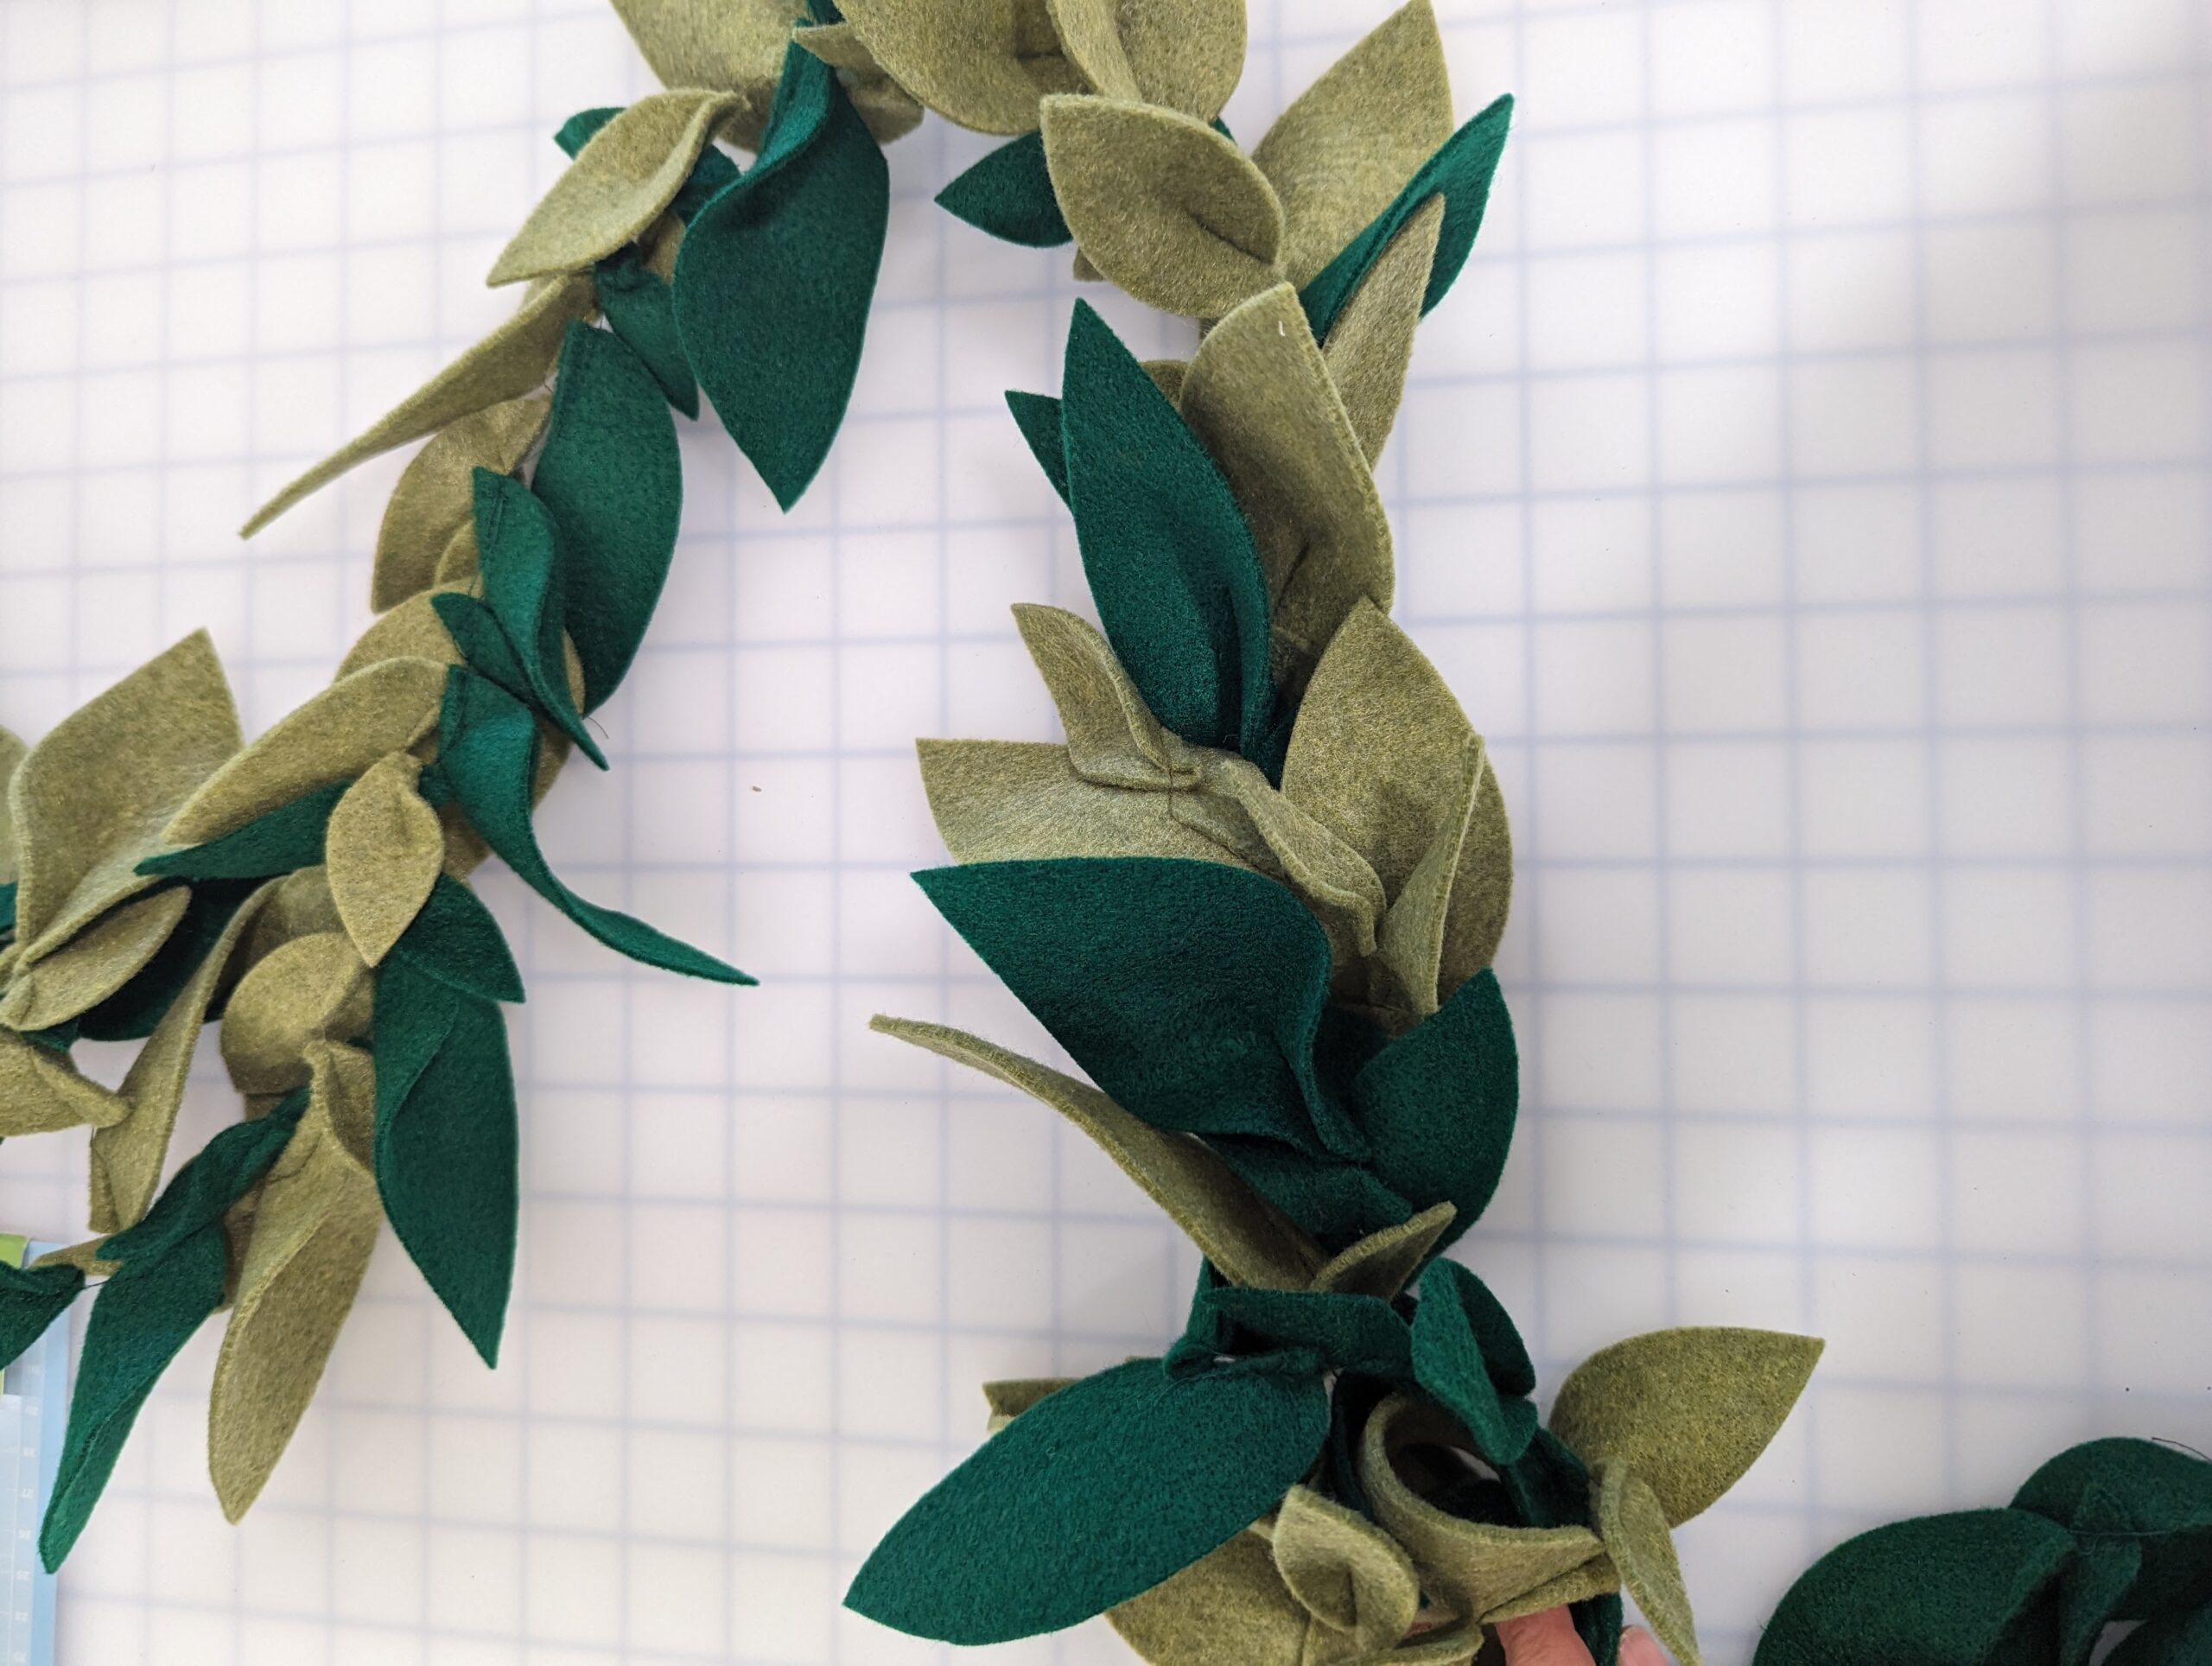
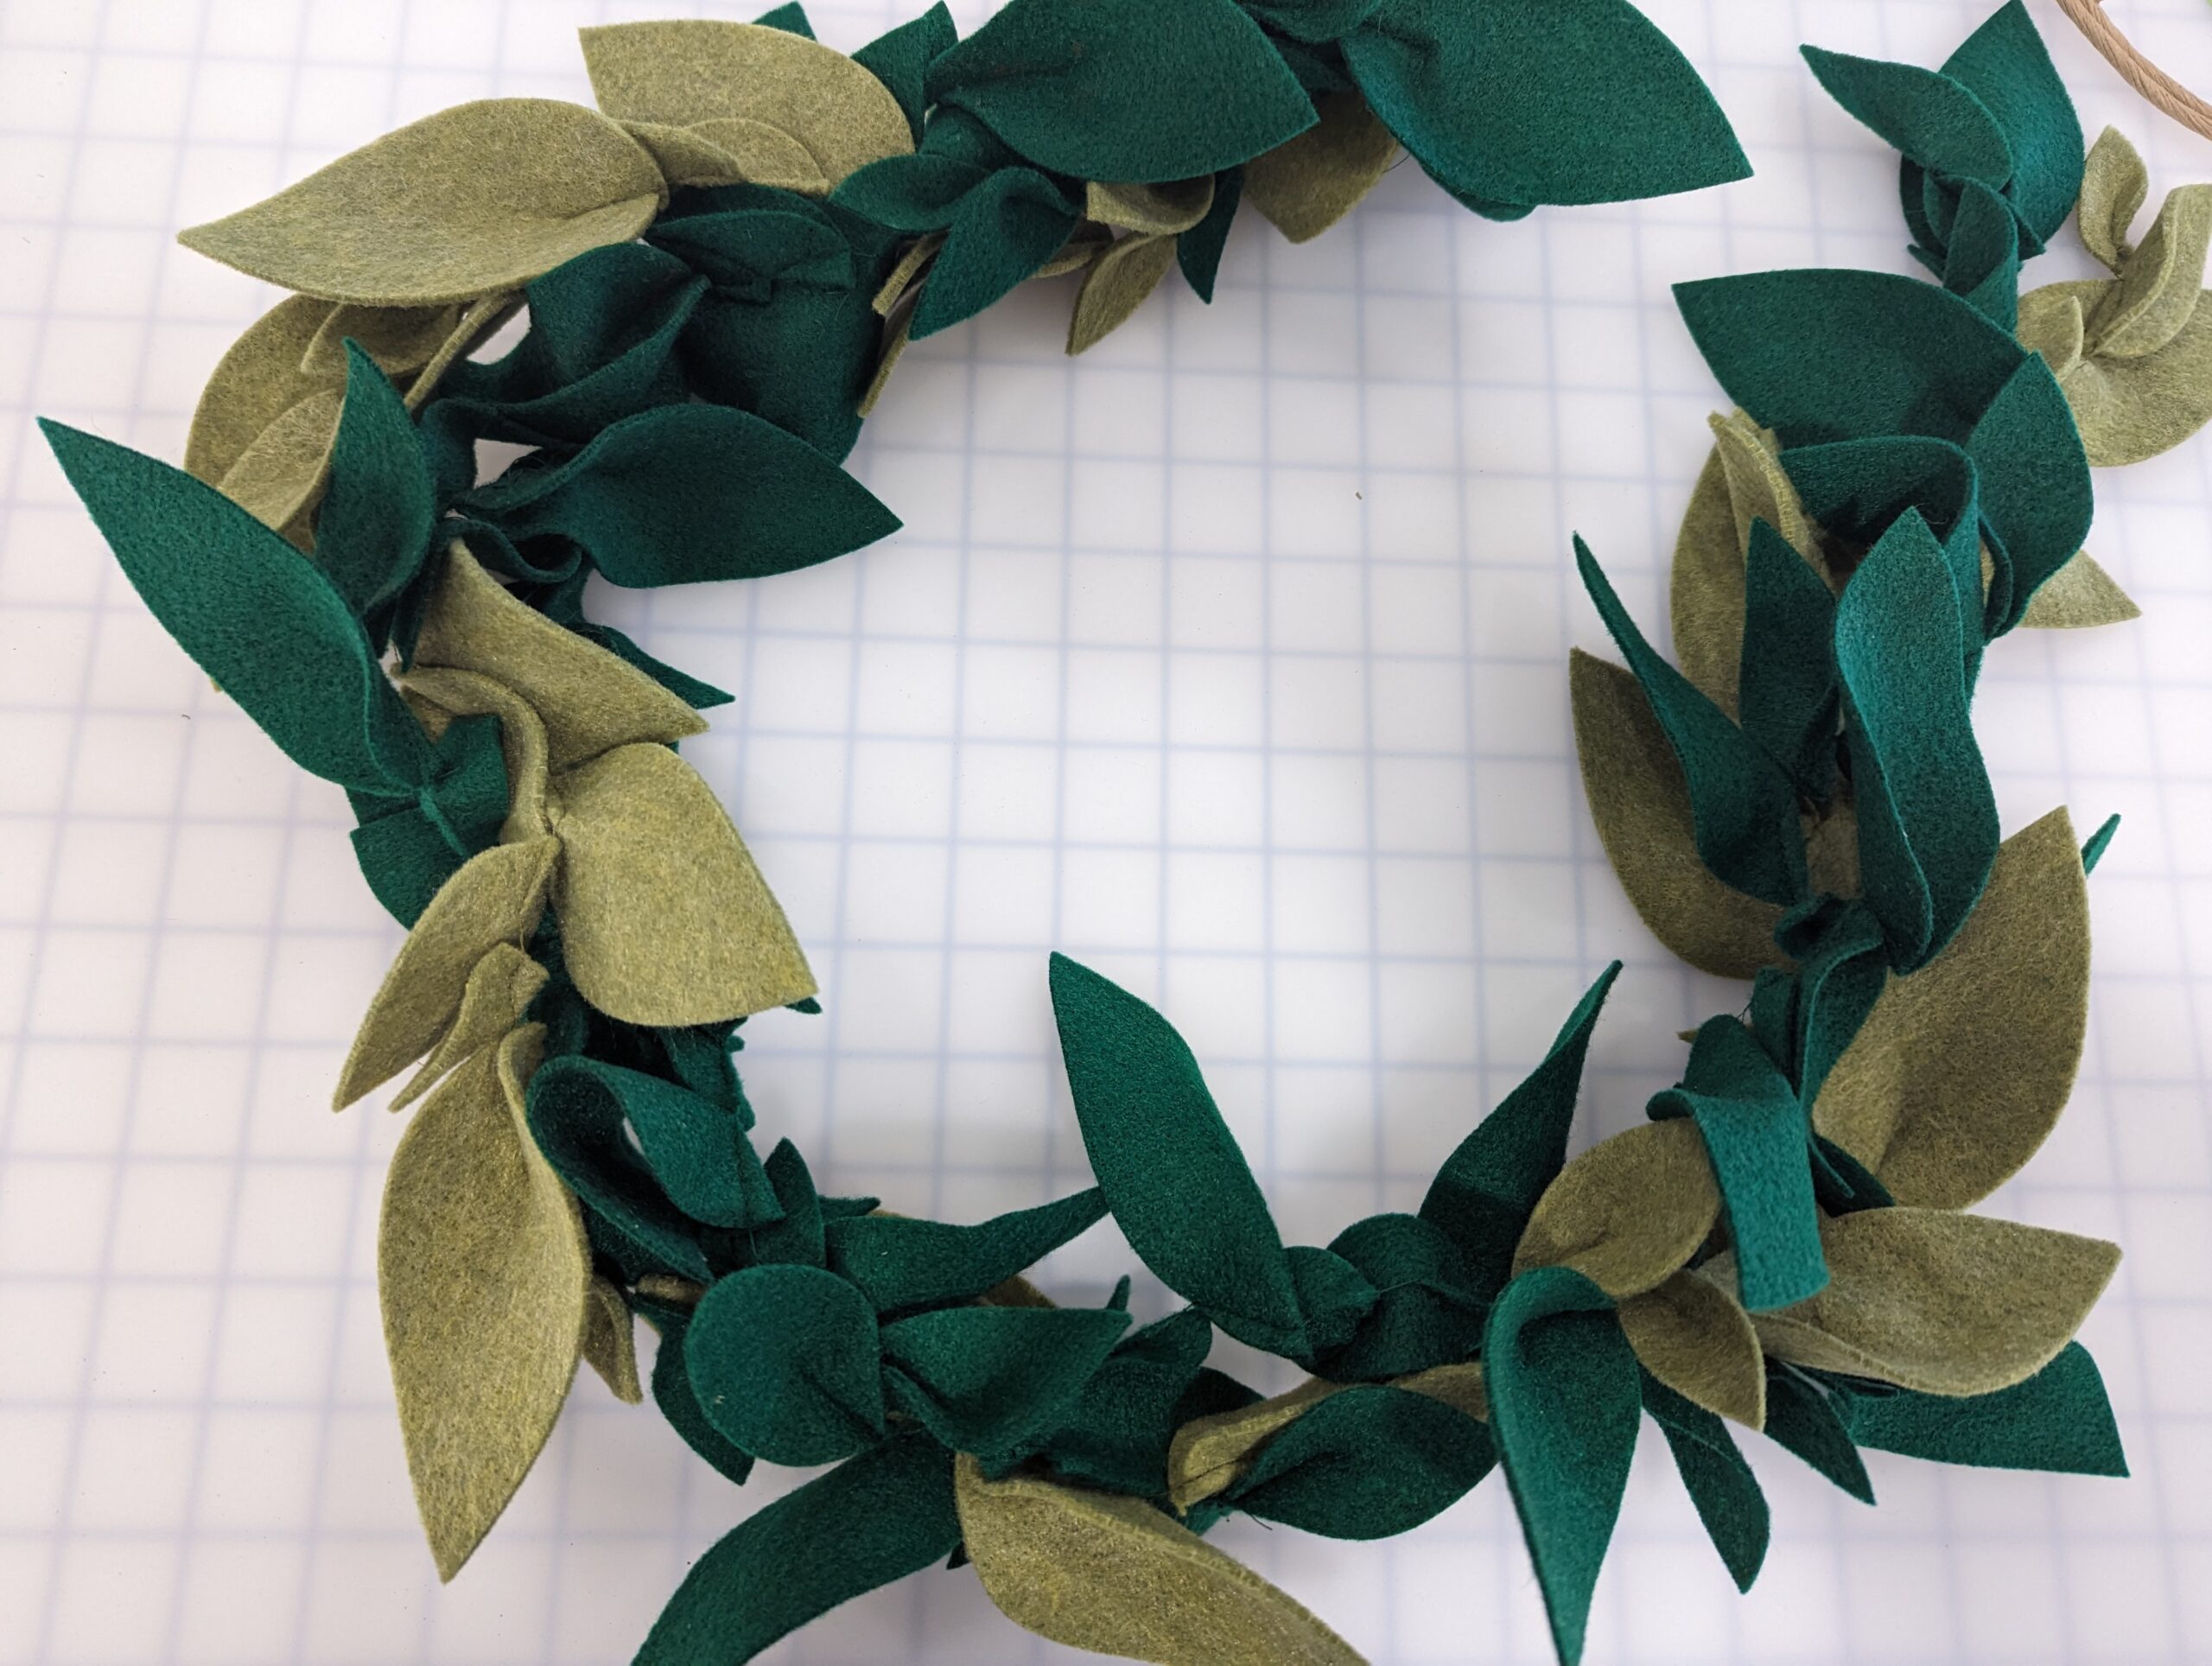
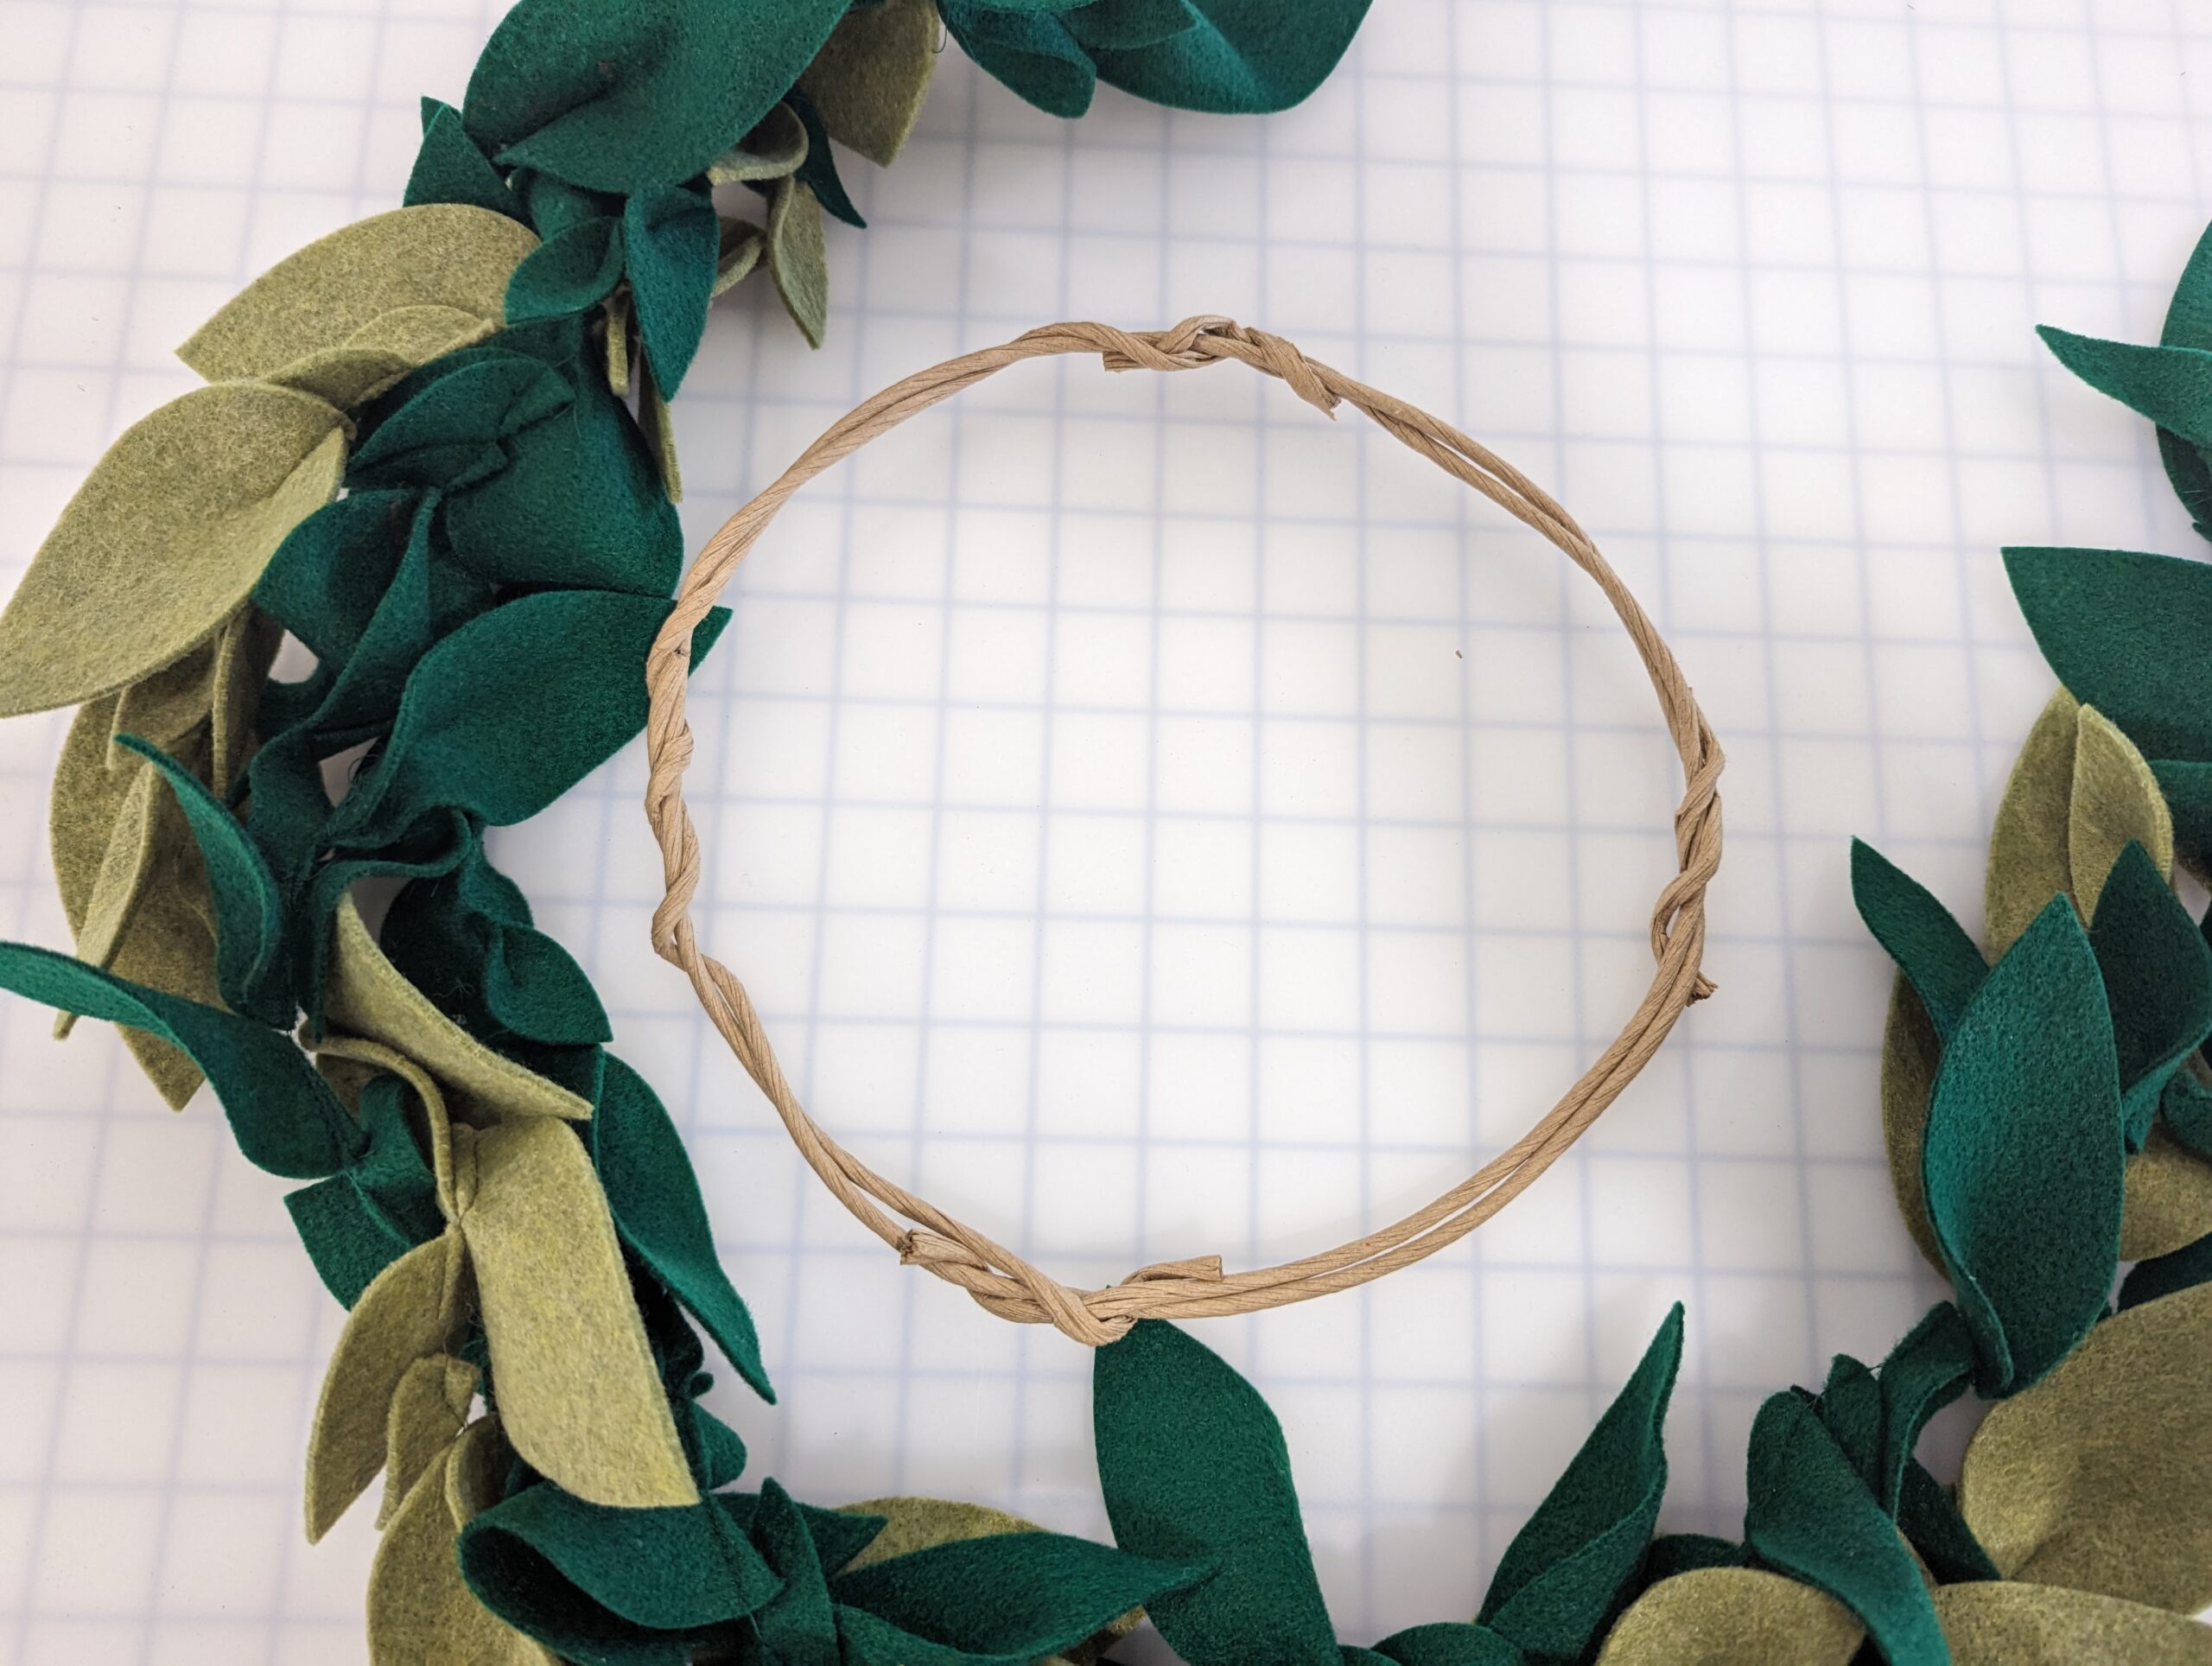
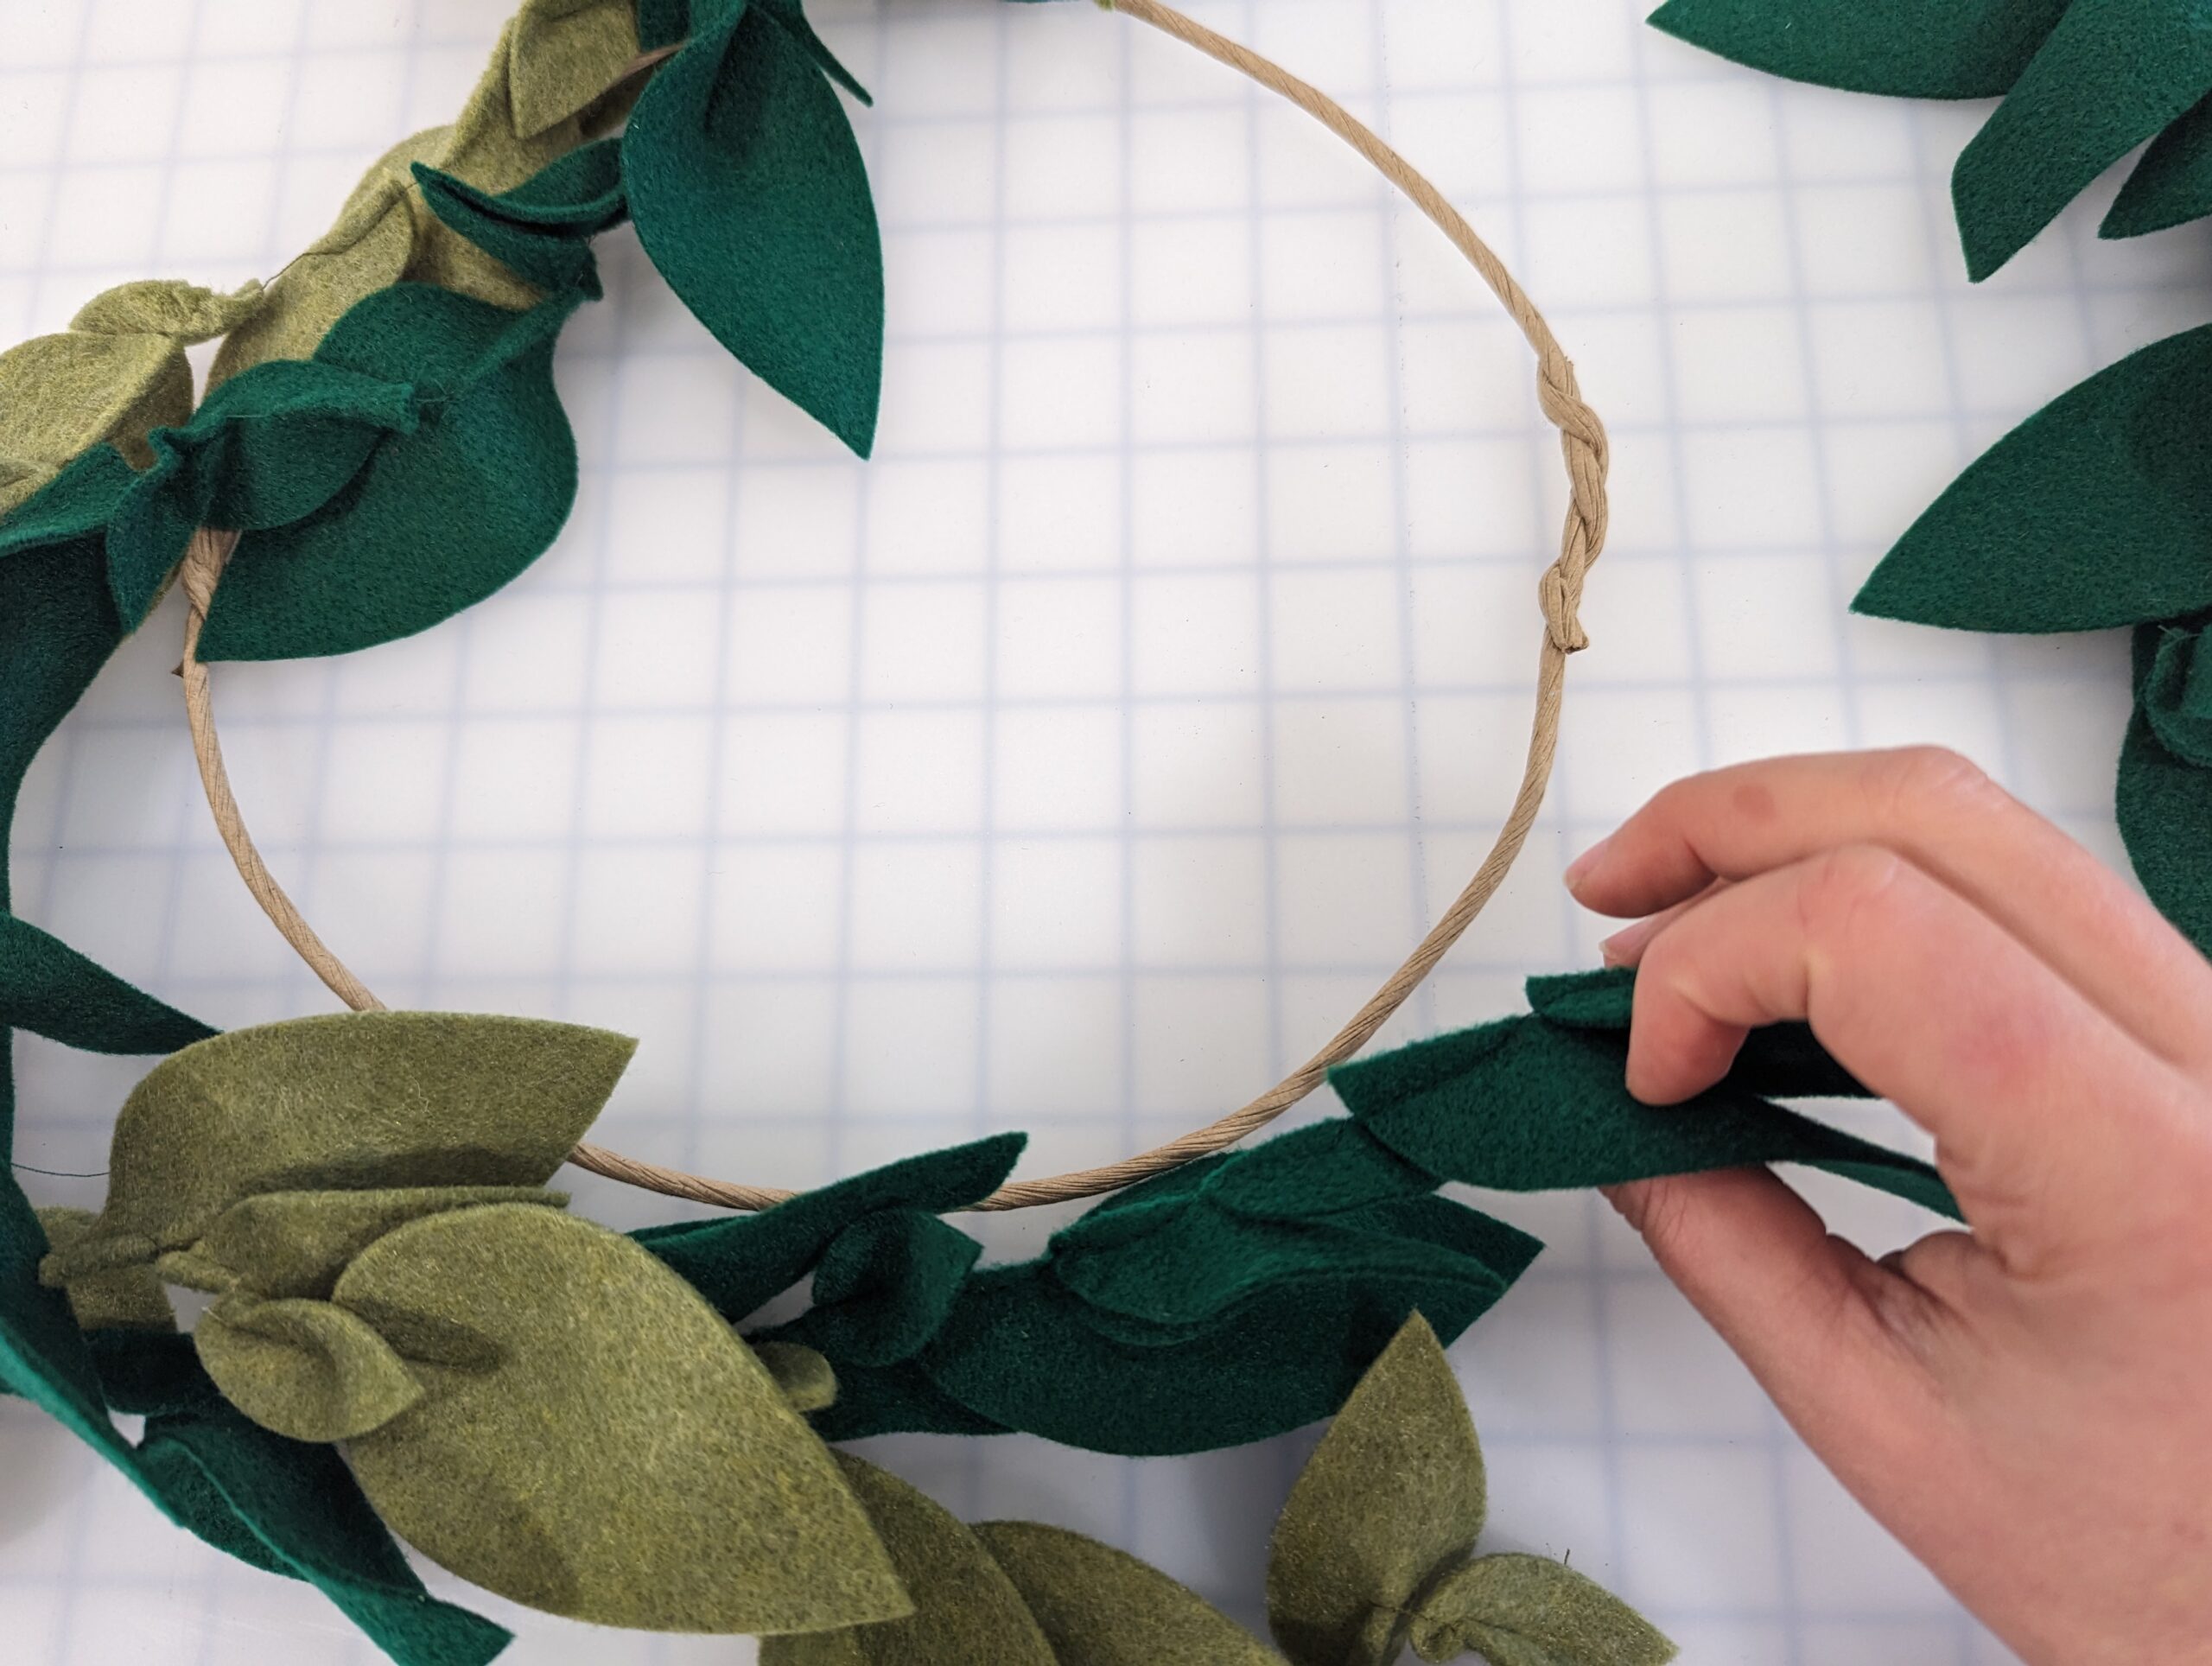
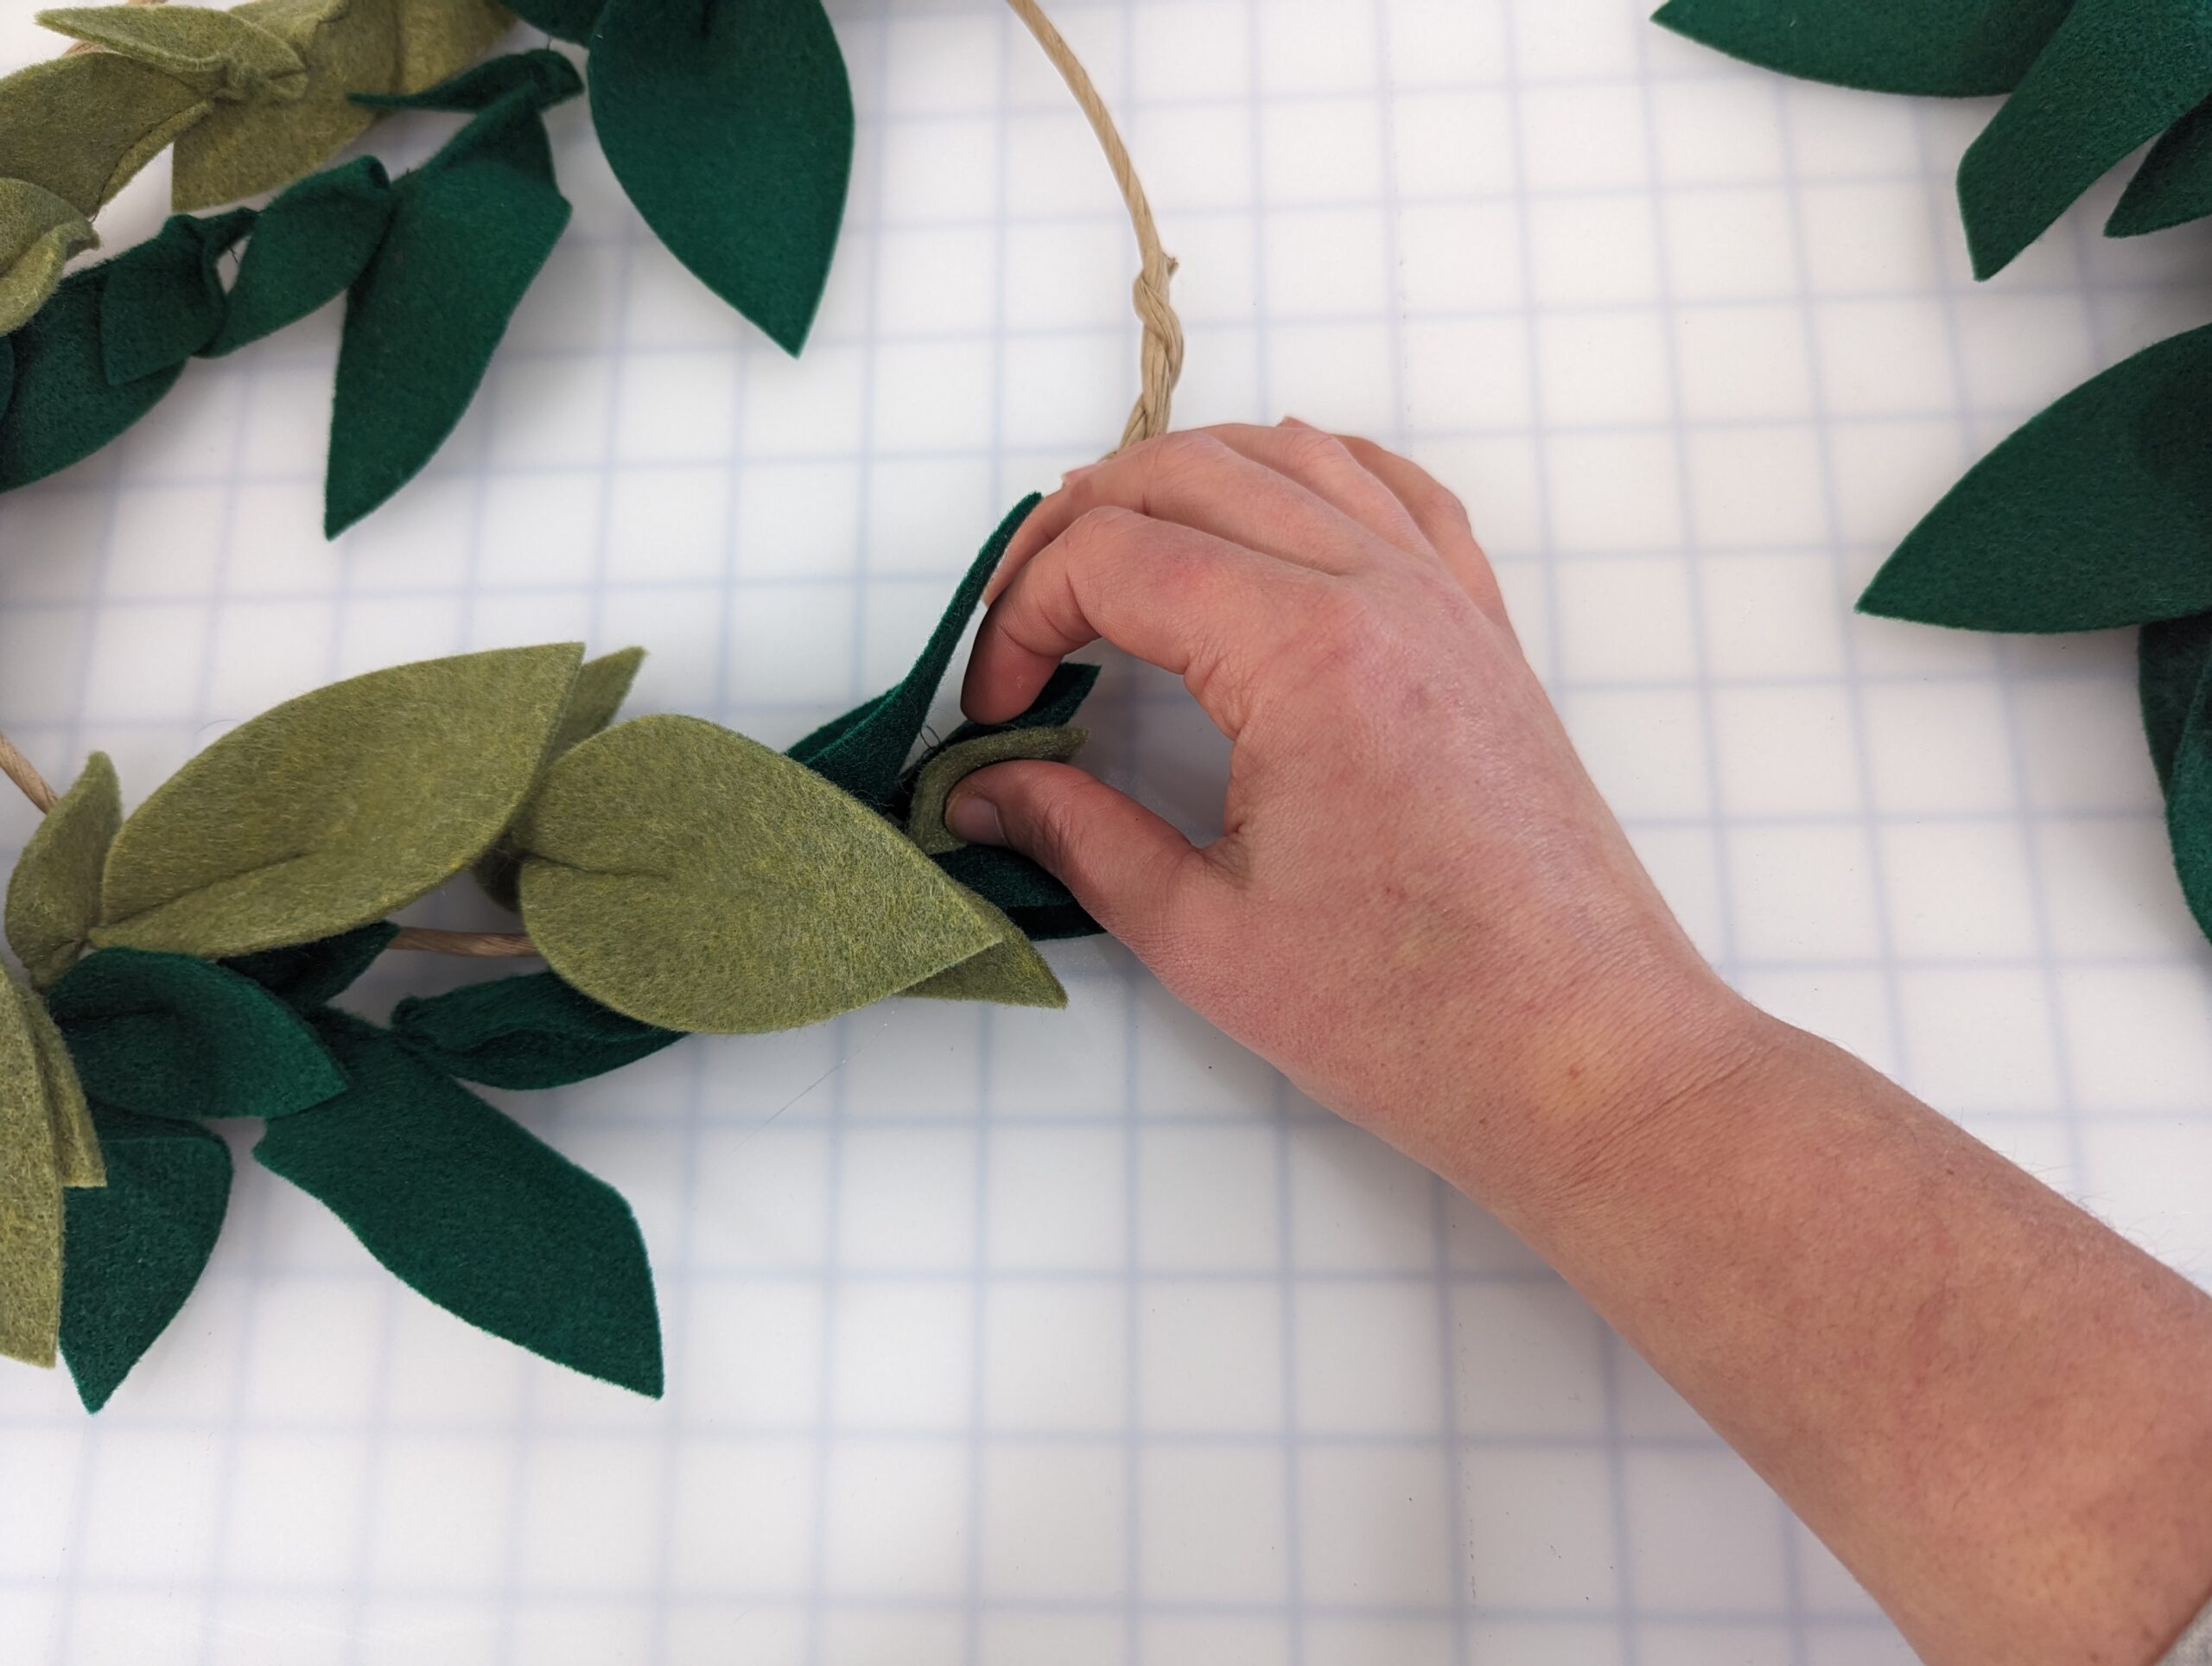
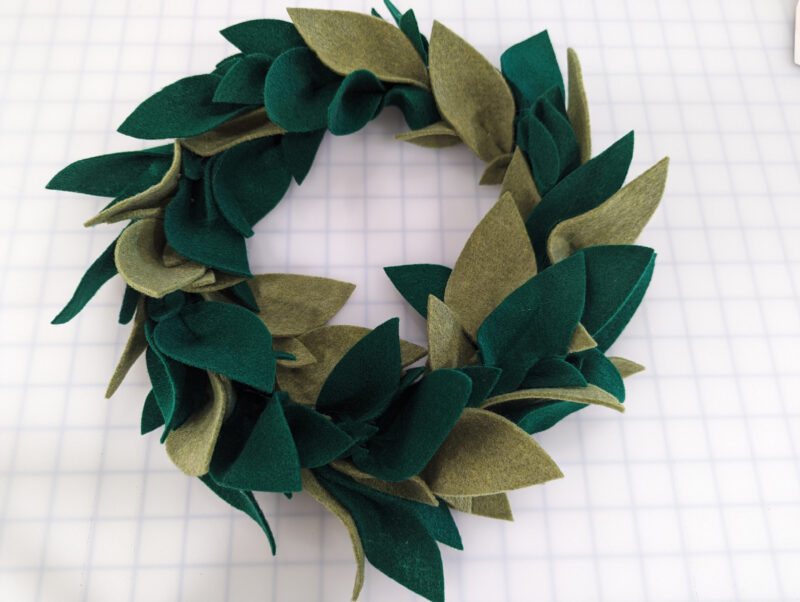
Once you have your chains twisted or braided together, create your wreath form with the paper wire stems. The wreath pictured below is around 9″, but you can utilize any size you’d like. Connect your leaves to the form using your preferred method – secure with green florist wire, twist ties, hot glue, hand stitches, or simply wrapping your chains around the paper wire stems.
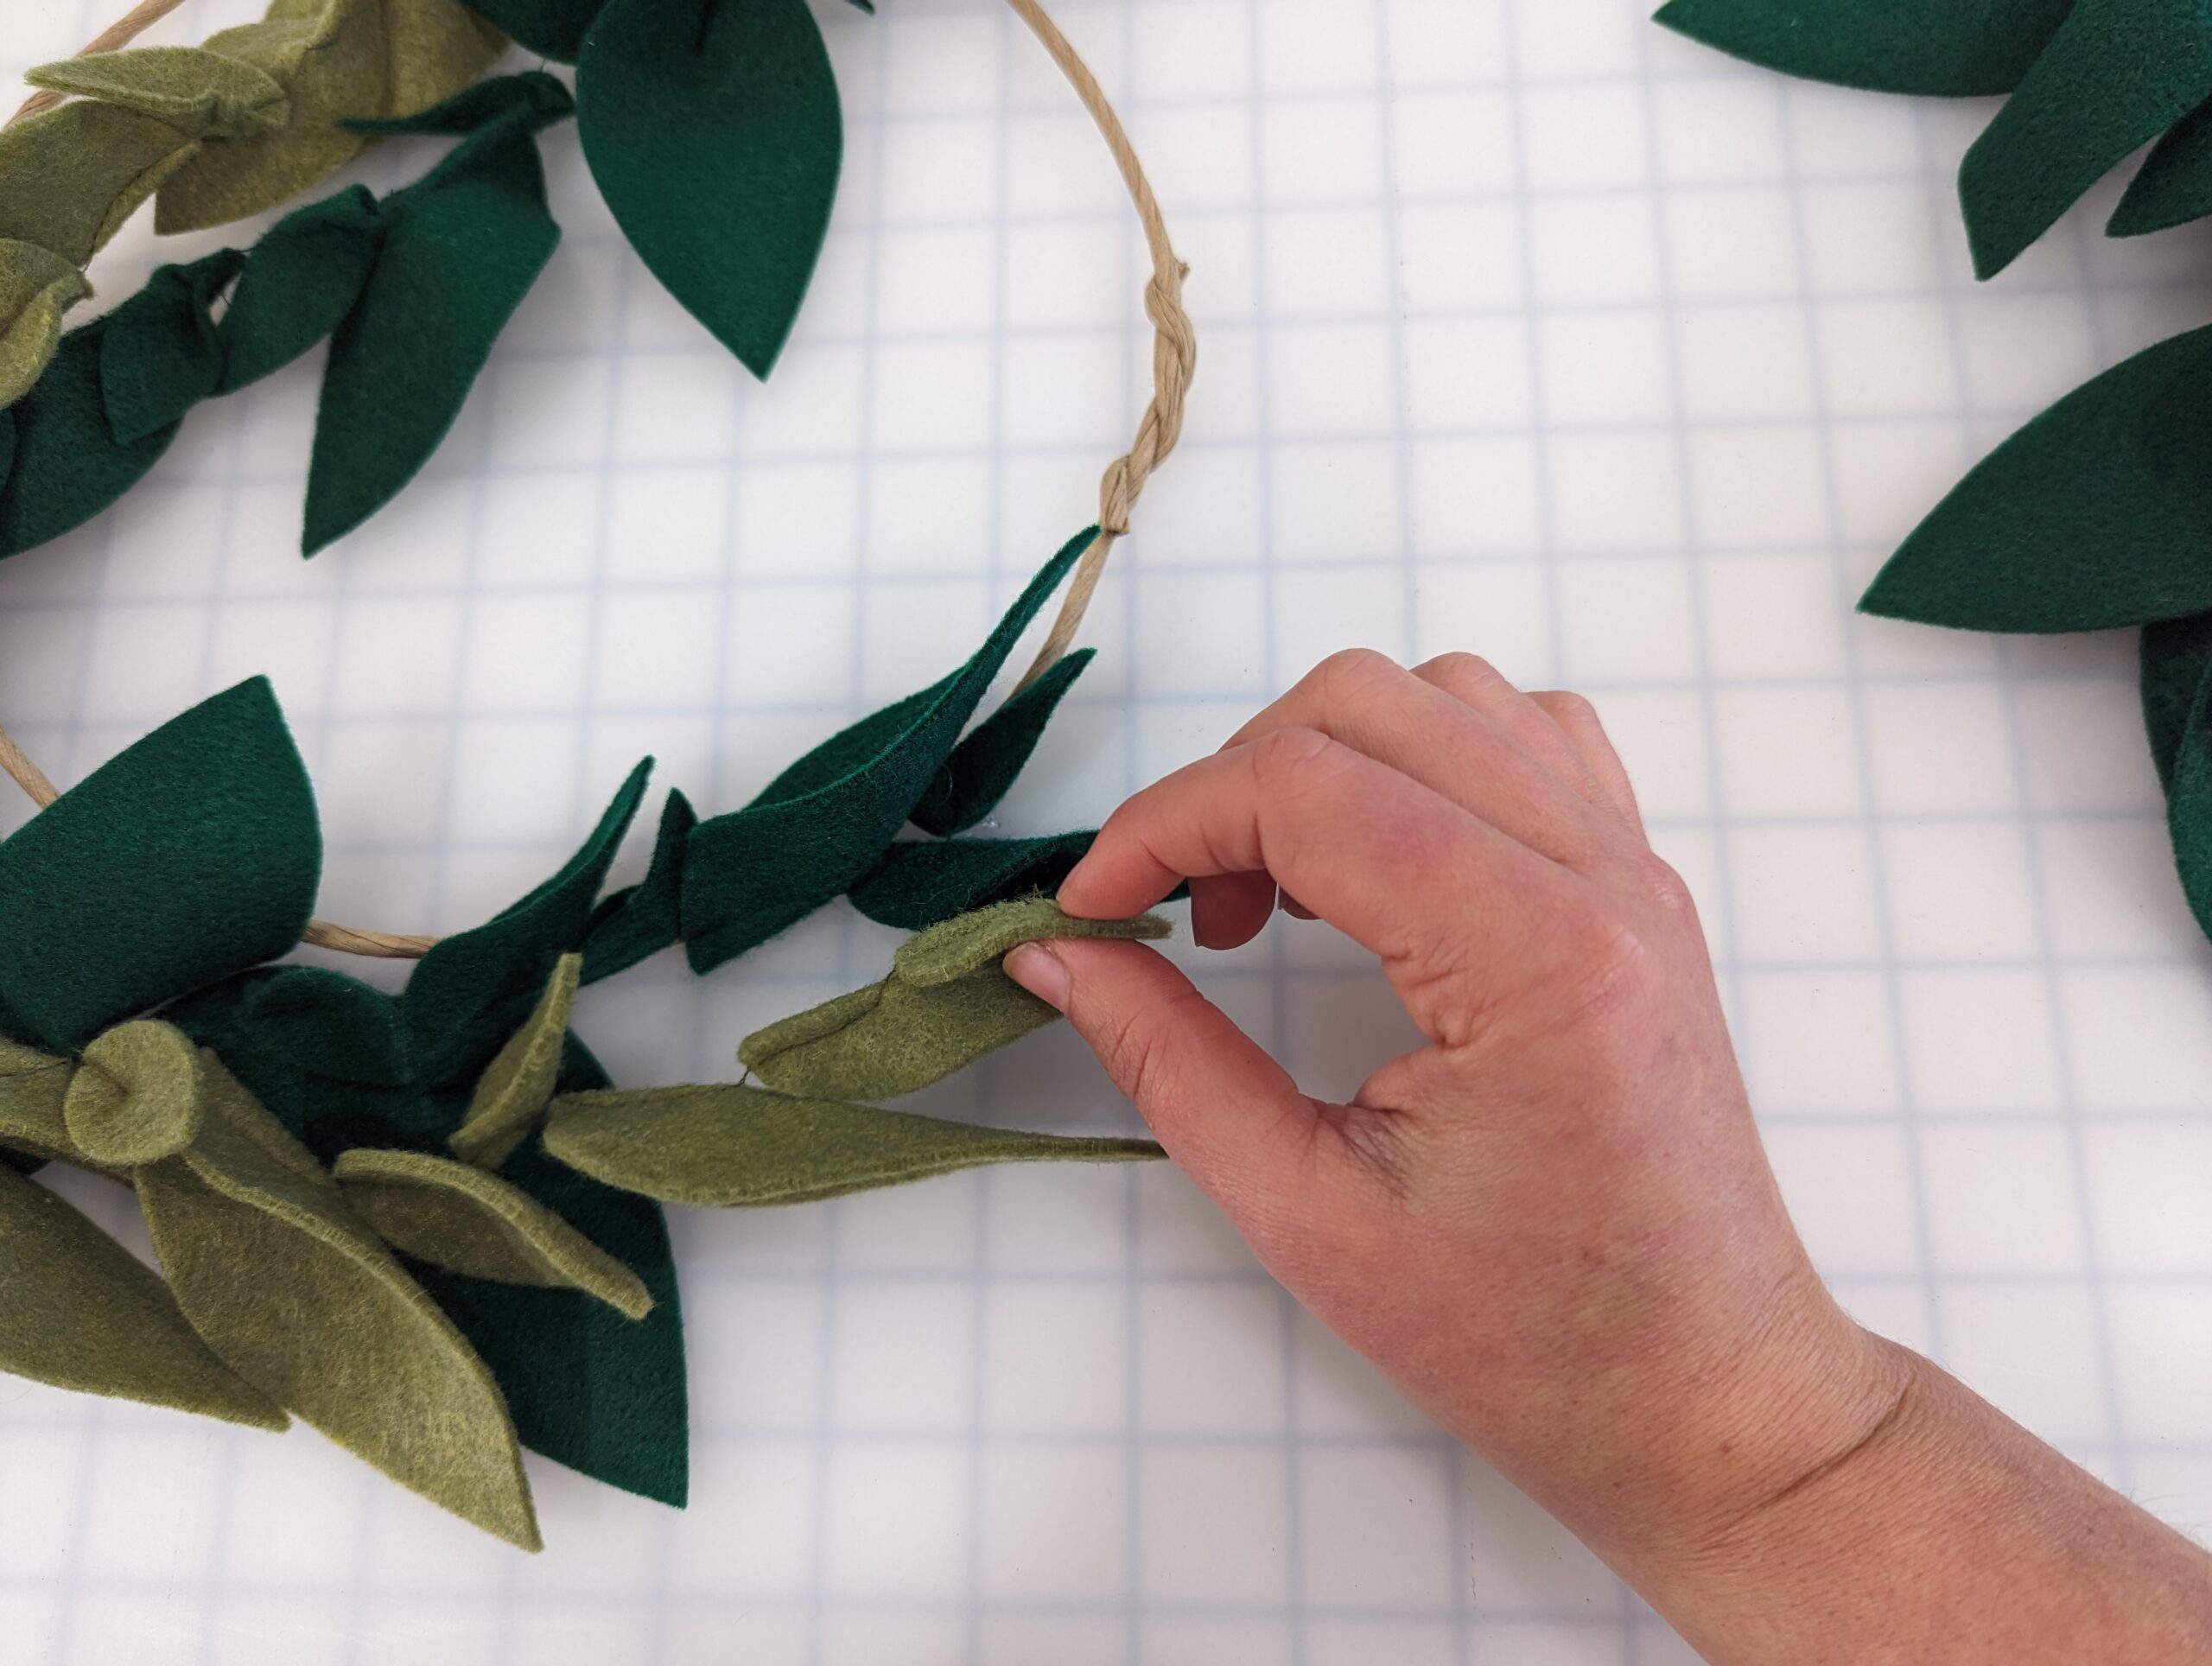
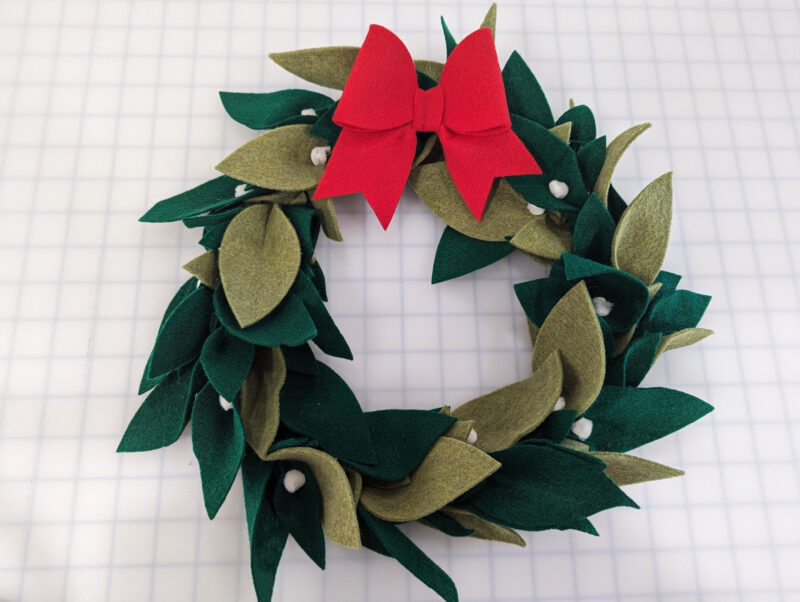
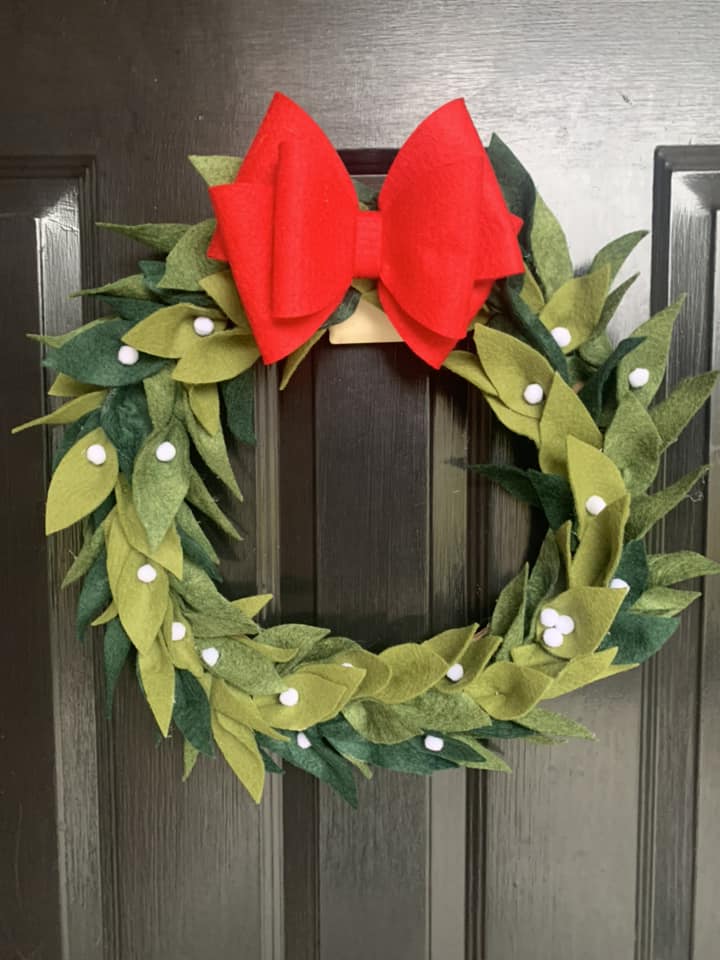
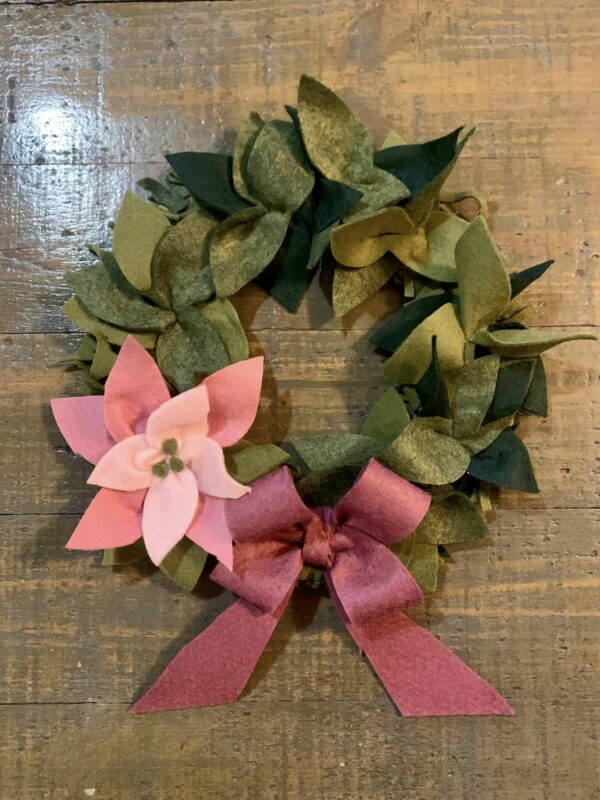
Once you have all of your leaves placed around the wreath form, “fluff” your leaves out to make the wreath appear fuller and cover up and visible wire. Then, embellish any way you’d like! We love simple white pom poms and the bow from the Felt Mistletoe, but you could embellish with most anything – dainty pinecones with a plaid ribbon would be ADORABLE!
Add to your mantle, a table scape, or even make smaller versions as napkin rings! We can’t wait to see what you make.
- You can use the tri-leaf pattern piece to make poinsettias, as well!
DECEMBER 1 – 12, 2023
DAY 1 –TOASTER TREAT PLAY FOOD + PLUSHIE
DAY 2 –FABRIC KEY FOB
DAY 3 – FABRIC COASTERS
DAY 4 – FELT MISTLETOE
DAY 5 – HAT TOTE BAG
DAY 6 – FELT WREATH





Leave a Reply