
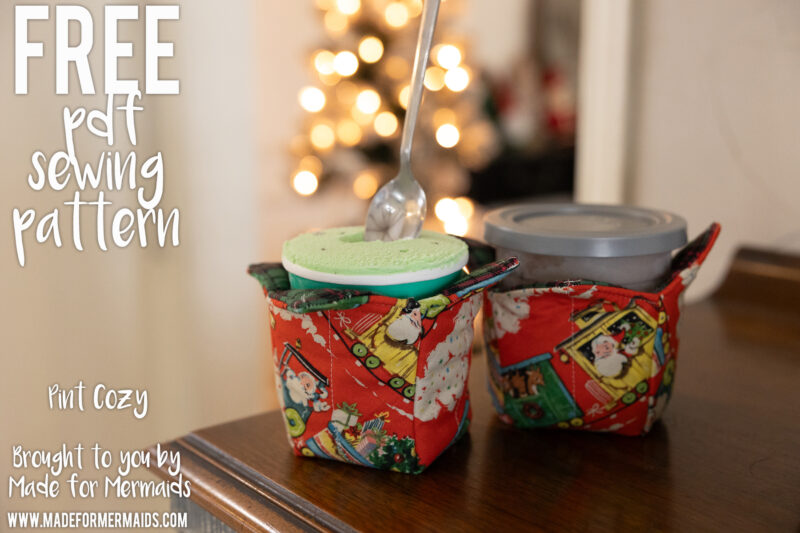
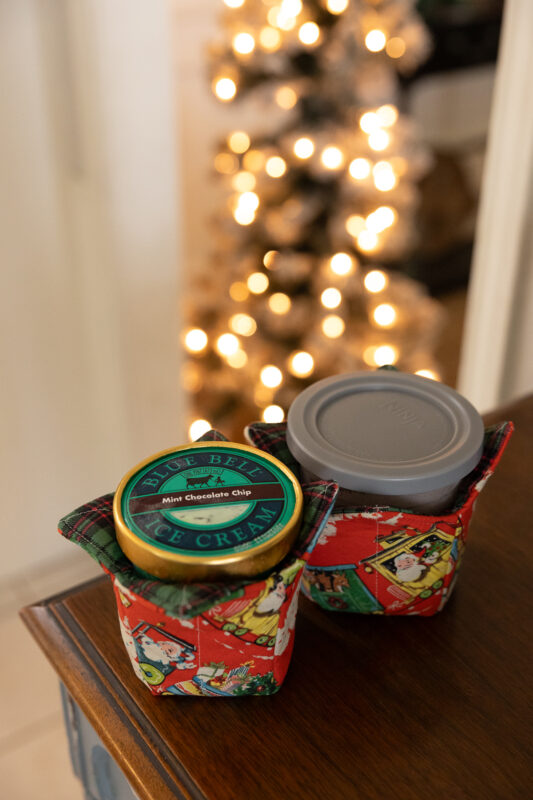
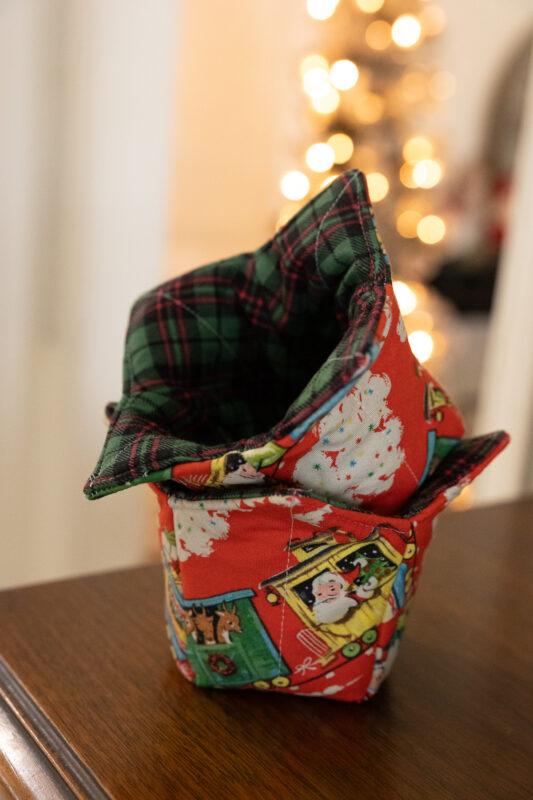
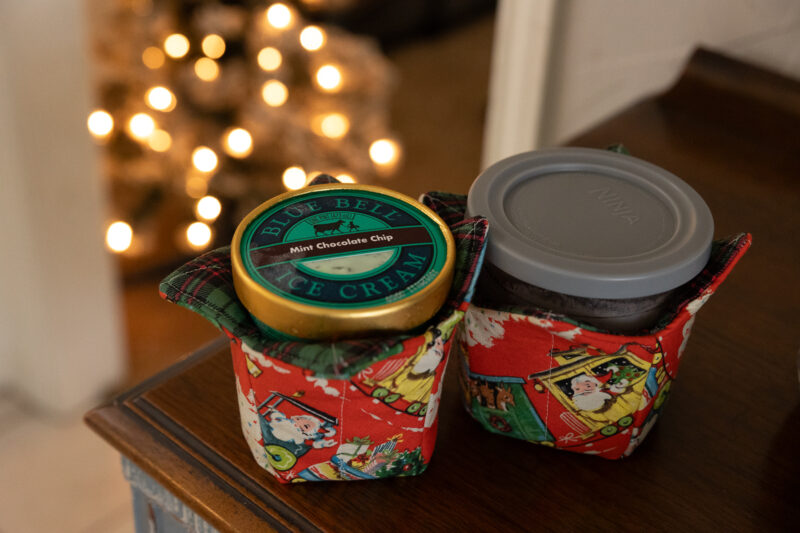
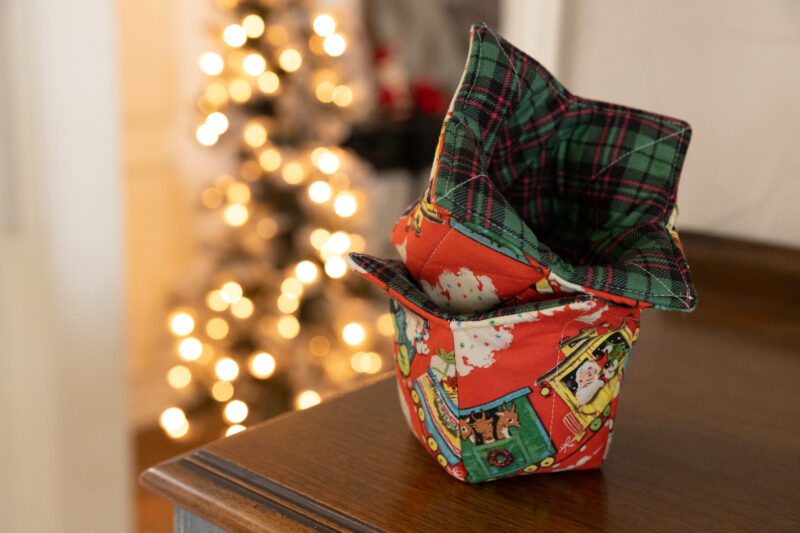
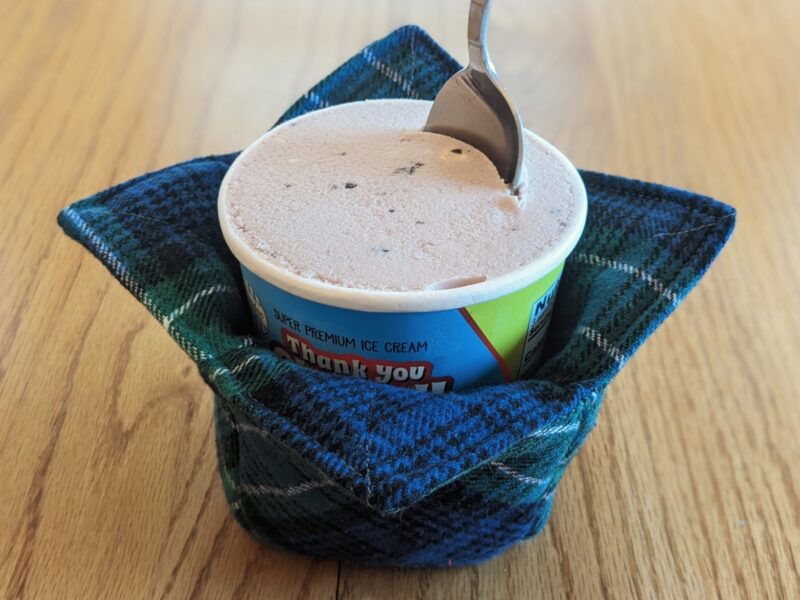
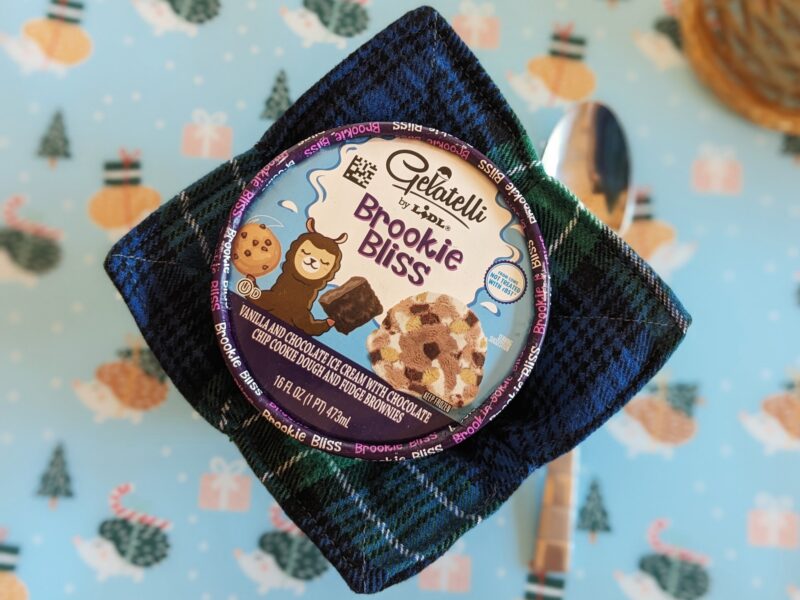
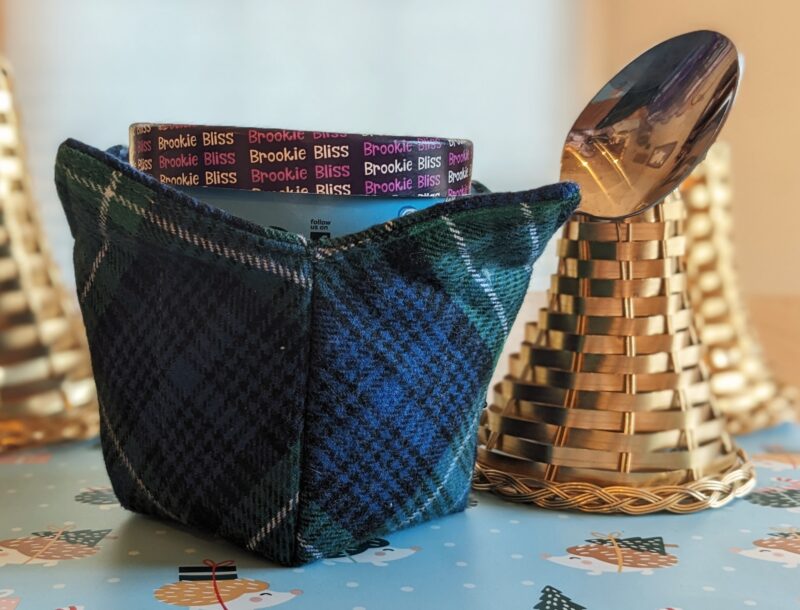
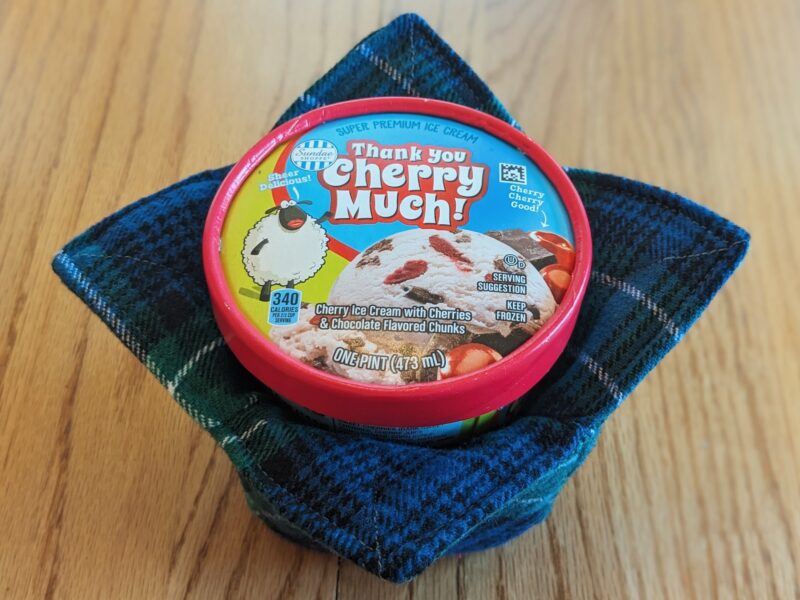
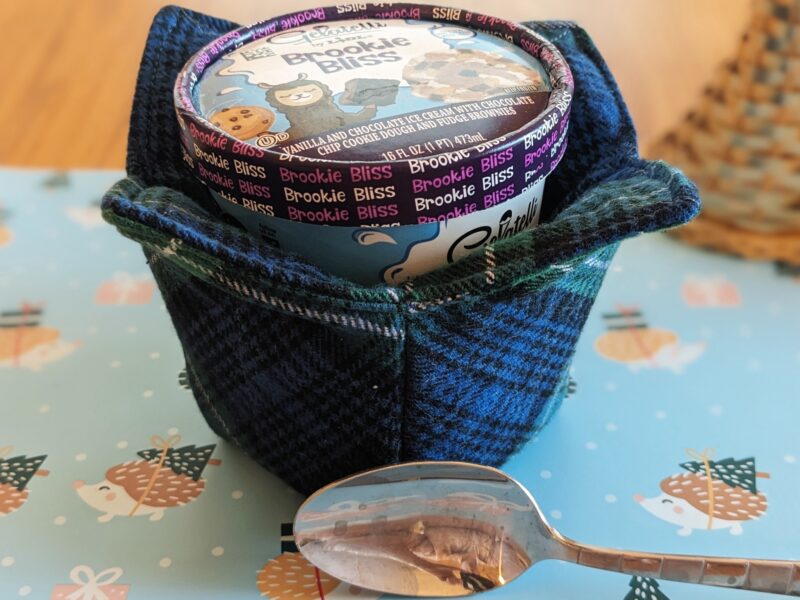
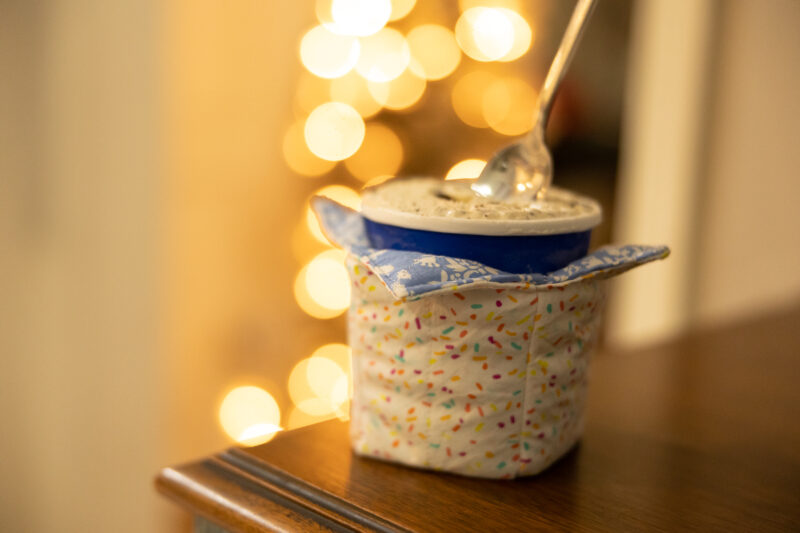
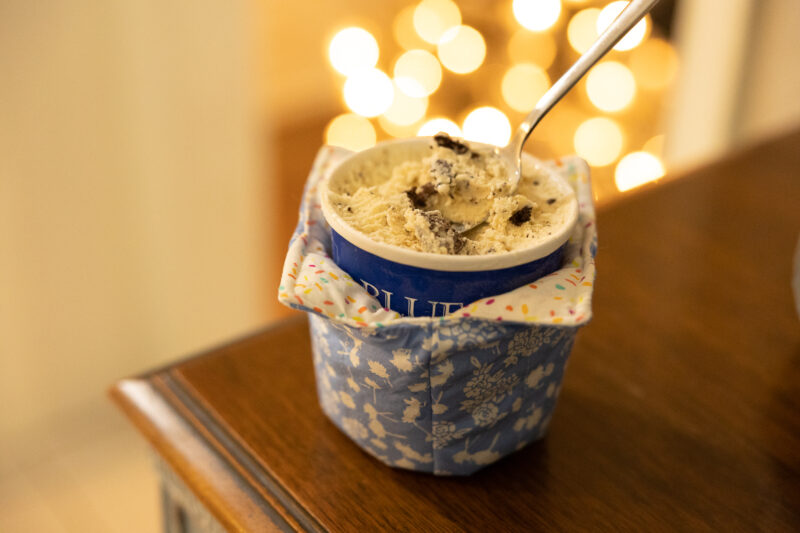
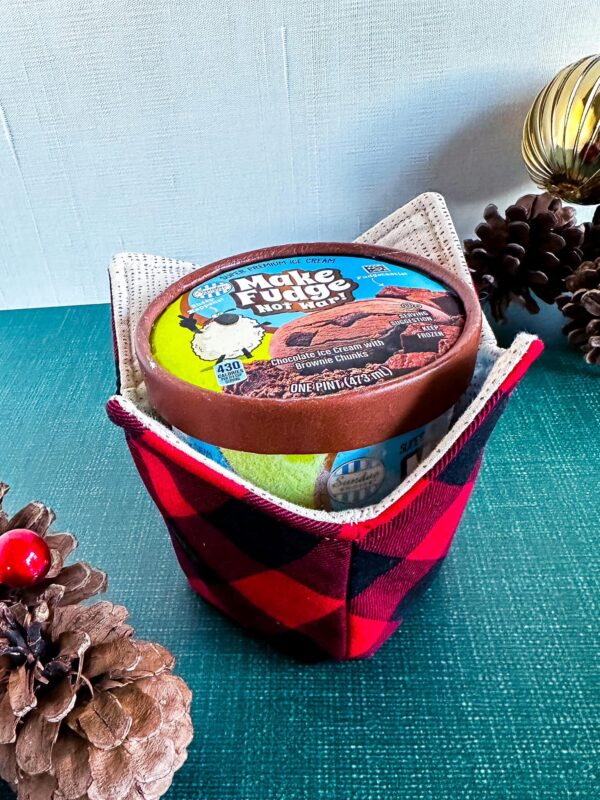
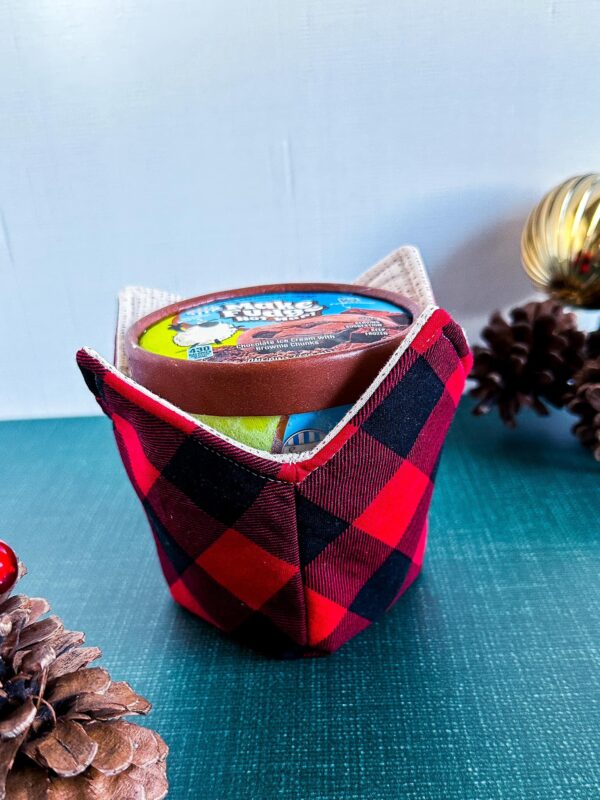
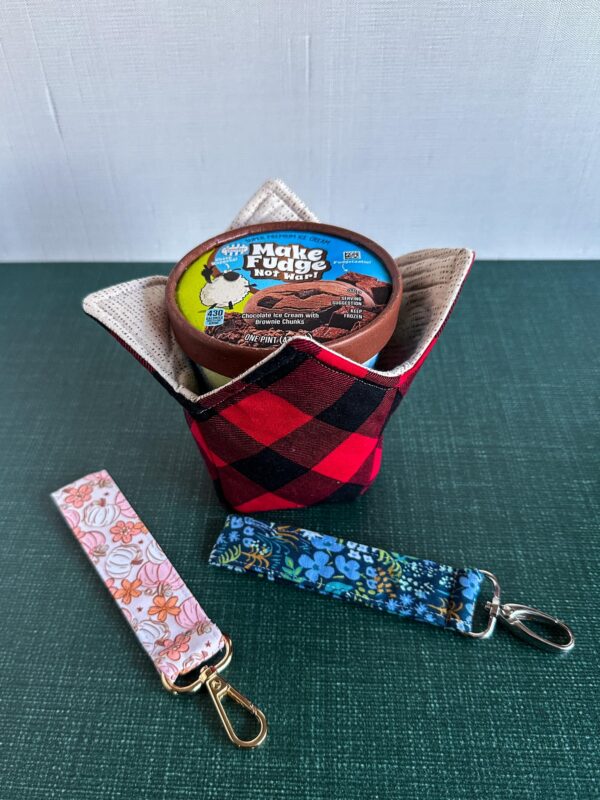
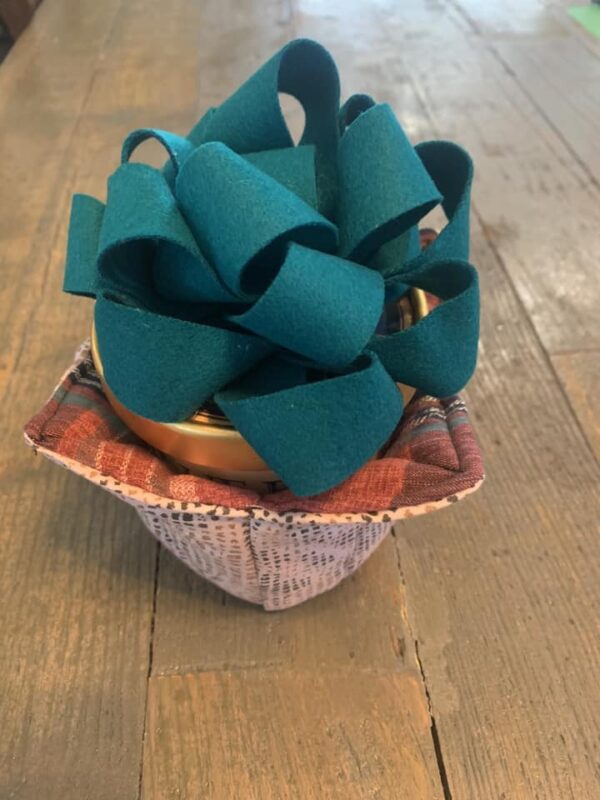
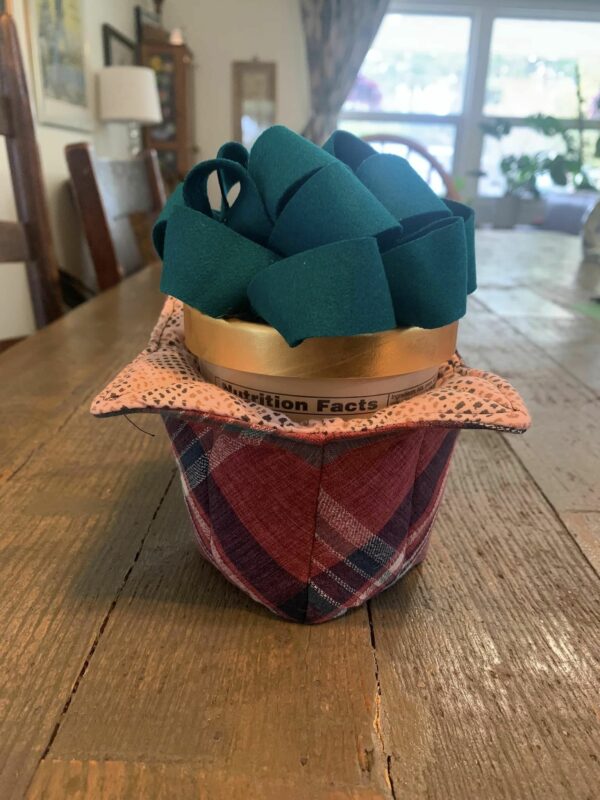
Are you all ready for day 8 of our Christmas freebies?! We have such a fun one today… a pint cozy! Perfect for yourself, and your little ones or sew up a set as a gift to pair with popcorn, hot cocoa, your favorite Christmas movie, and a Felt Gift Tag for the best gift! These can fit a normal pint from the store and the Ninja Creami pints. They’re really easy to personalize with your favorite prints, colors, characters, etc. You will need a main and lining fabric, plus either cotton batting or fleece to layer on the inside and keep your hands warm!
SUPPLIES:
- 1/3 yard or fat quarter of cotton woven fabric, such as quilting cotton, flannel, etc.
- 1/3 of 100% cotton batting OR fleece for lining.
LET’S GET STARTED!
Seam allowances VARY
Step 1: PREPPING
Go grab the pattern HERE! The pattern is 100% free, but you do need to add it to your cart and check out. Then, it will always be available to download from your account. The pattern is a no trim pattern; if you need help putting the pattern together, pop over to the faqs and troubleshooting page or ask in our Facebook group .
Print and assemble the pattern. Alternatively, you can use the projector file if you’re using a projector. Pattern layout below:
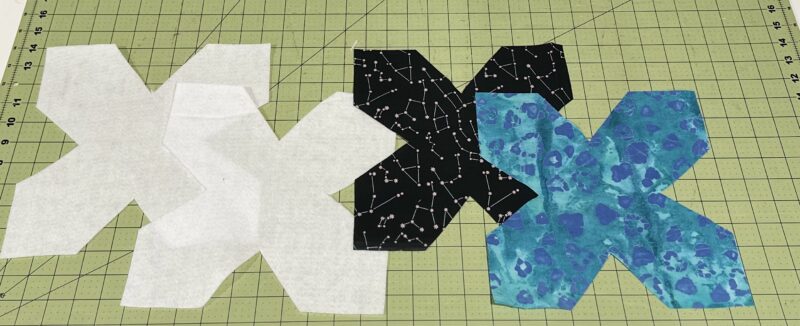
You will need to cut 2 out of the main fabric (you may use the same fabric for both pieces or two different fabric pieces), and 2 out of the batting.
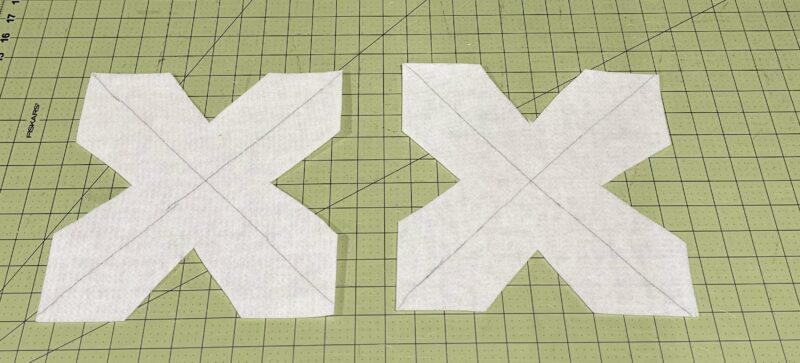
Mark the stitch lines from the pattern on the batting pieces.
Step 2: ATTACHING THE BATTING
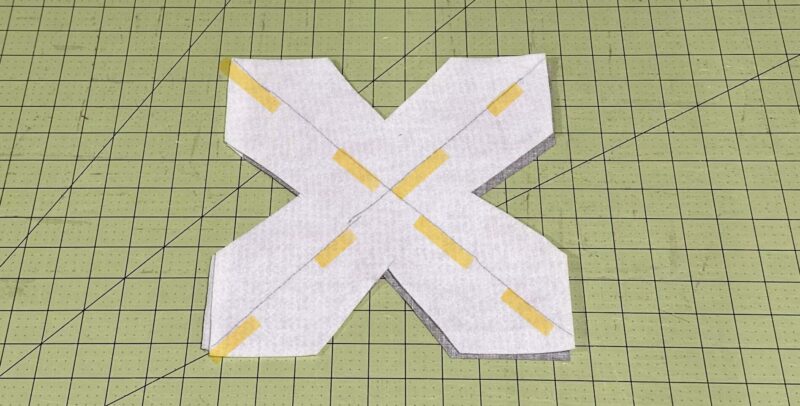
Place one batting piece on top of the wrong side of one main piece. Pin in place. Sew a straight line along the two diagonal marked lines you just made, attaching the batting to the main fabric. Repeat with other pieces.
Step 3: SEWING THE SIDES
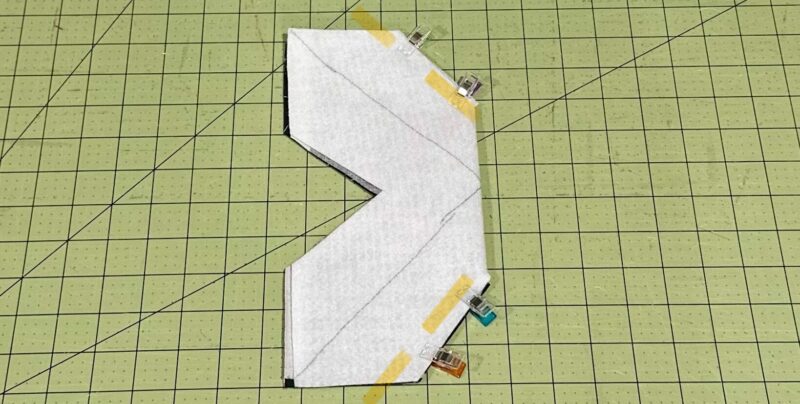
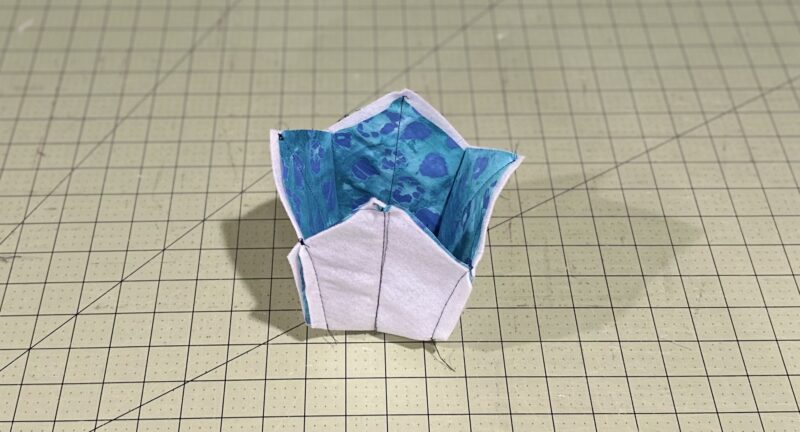
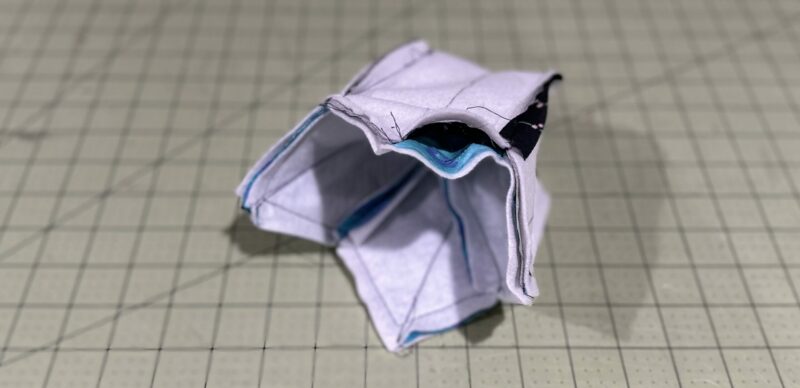
Fold one piece in half, with right sides together, aligning the raw edges. Stitch together at the top and bottom edges along the fold.
FOR NORMAL PINTS USE A 1/2″ SEAM ALLOWANCE.
FOR NINJA CREAMI PINTS USE A 1/4″ SEAM ALLOWANCE.
If you’d like to use it for both, use a 1/4″ seam.
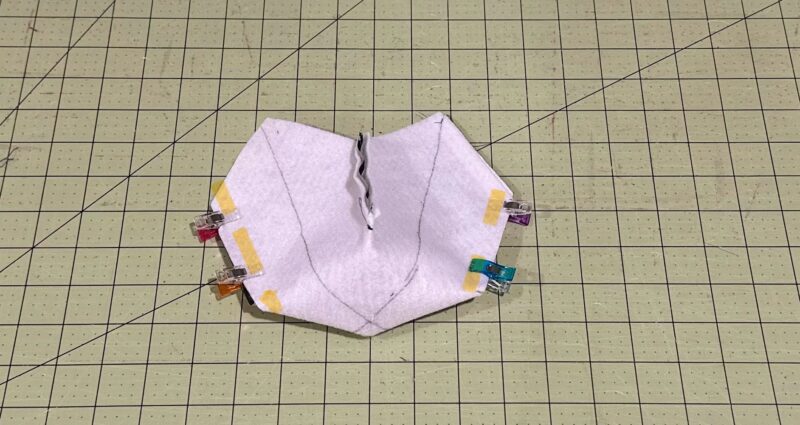
Then fold the piece in half again, in the other direction, and stitch the remaining two sides together. Repeat the steps with the other main piece.
FOR NORMAL PINTS USE A 1/2″ SEAM ALLOWANCE.
FOR NINJA CREAMI PINTS USE A 1/4″ SEAM ALLOWANCE.
Step 4: FINISHING THE BOWL
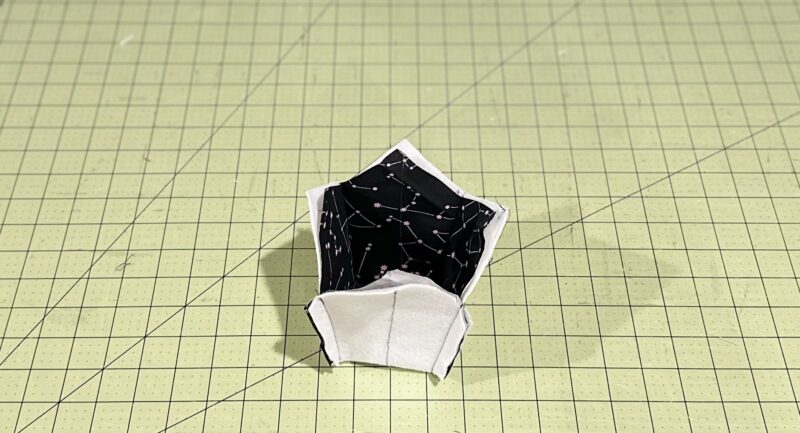
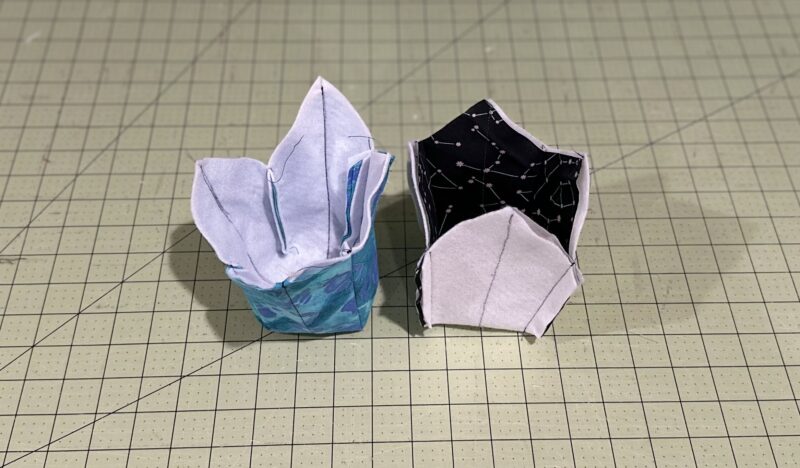
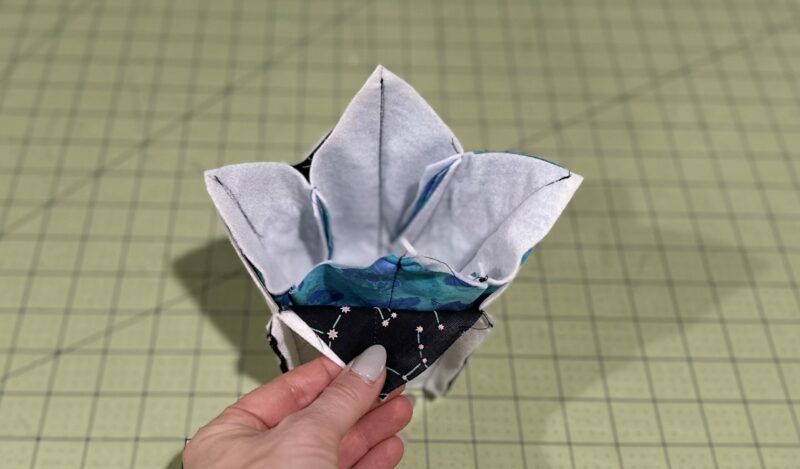
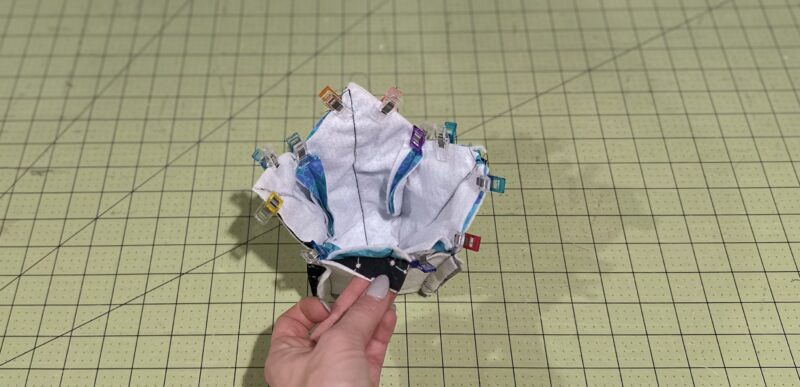
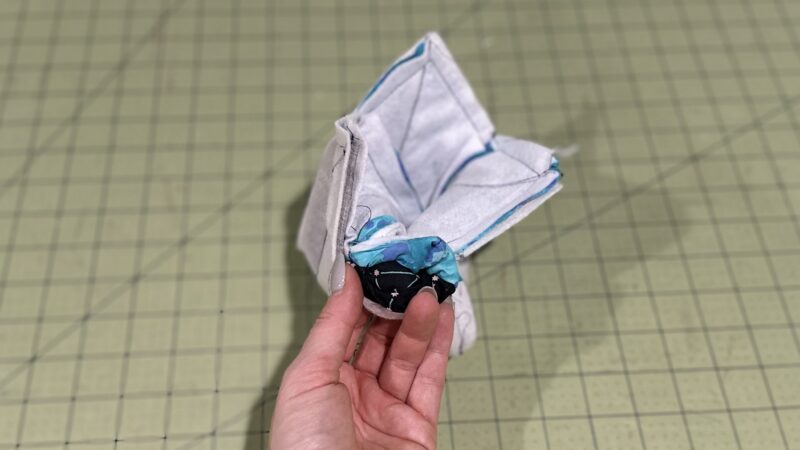
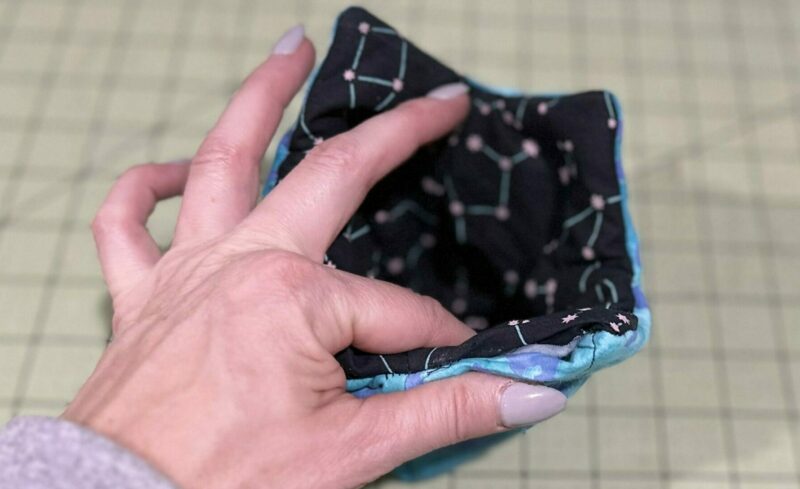
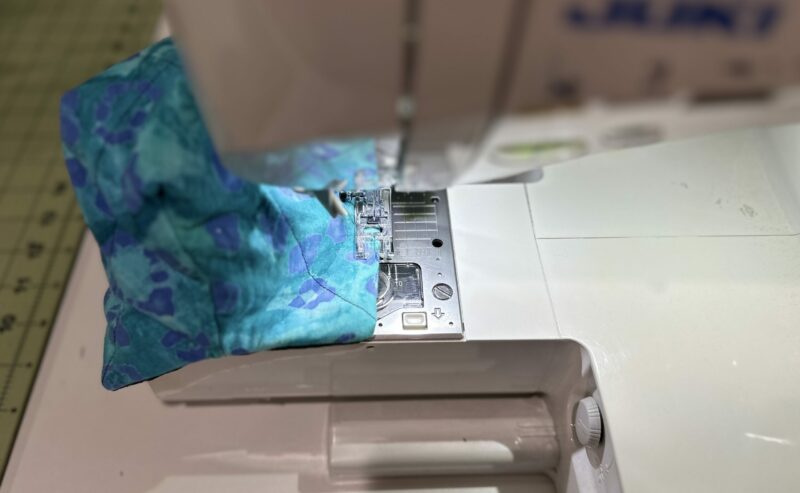
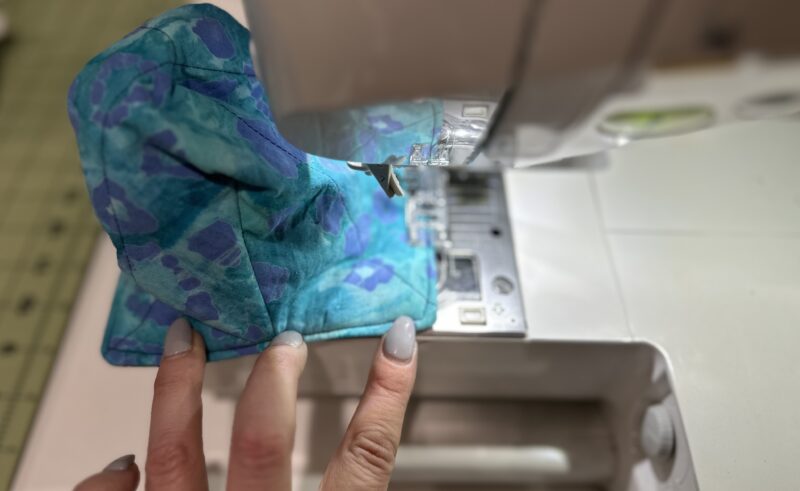
Turn one ‘bowl’ wrong side out and place it inside the the other bowl. The bowls will be right sides together. Match the seams and sewn lines together. Sew the two pieces together along the top edge with a 1/2″ seam allowance for a normal pint and 1/4″ seam allowance for a Ninja Creami pint, leaving a 2″ gap unsewn. Clip corners and trim the seam allowance in half with pinking shears to reduce the bulk (do NOT trim down the unsewn portion).
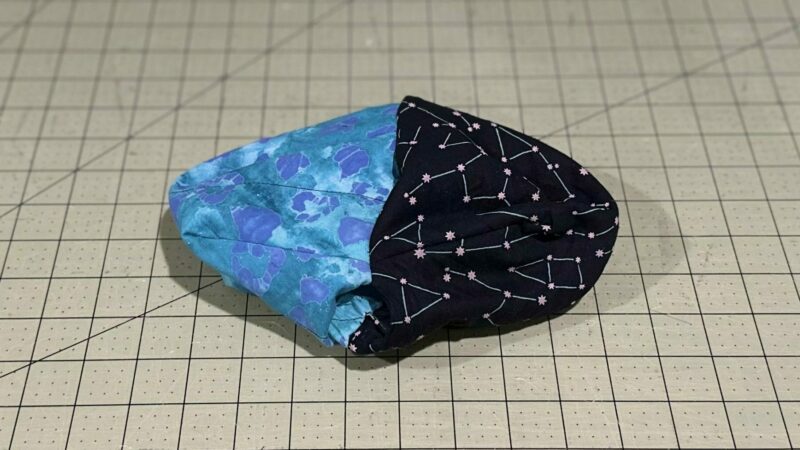
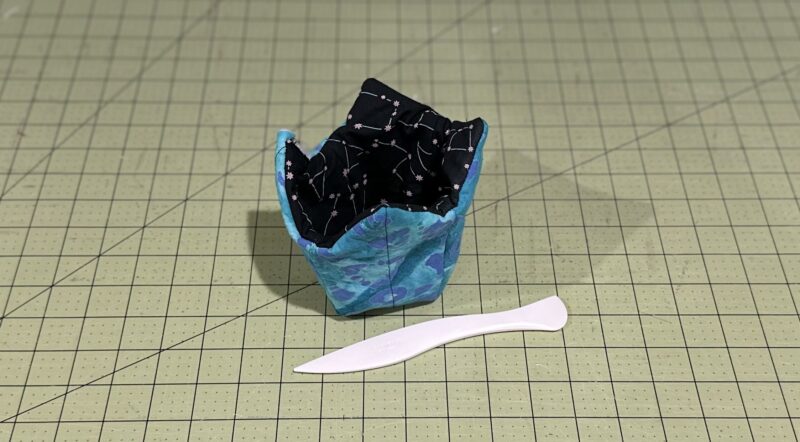
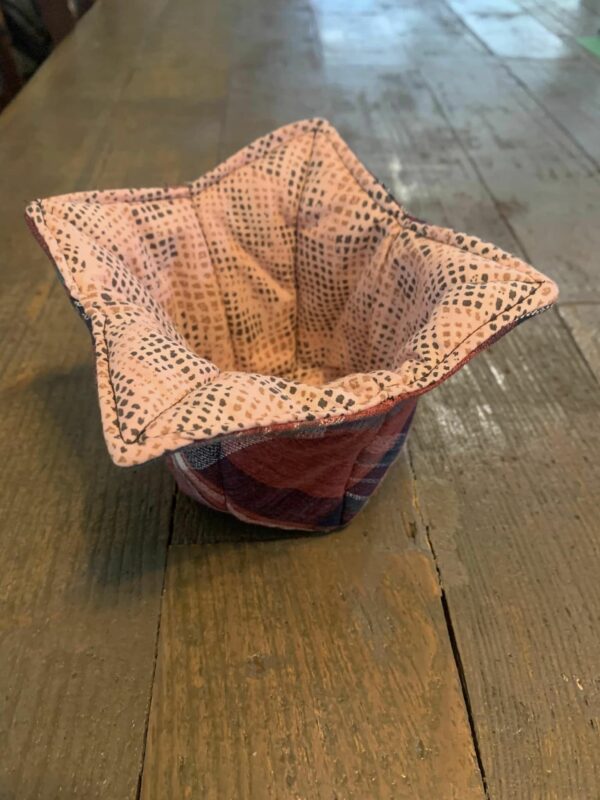
Now turn the bowl right sides out. Tuck the unsewn edge in. Topstitch along the outer edge, closing up the unsewn edge.
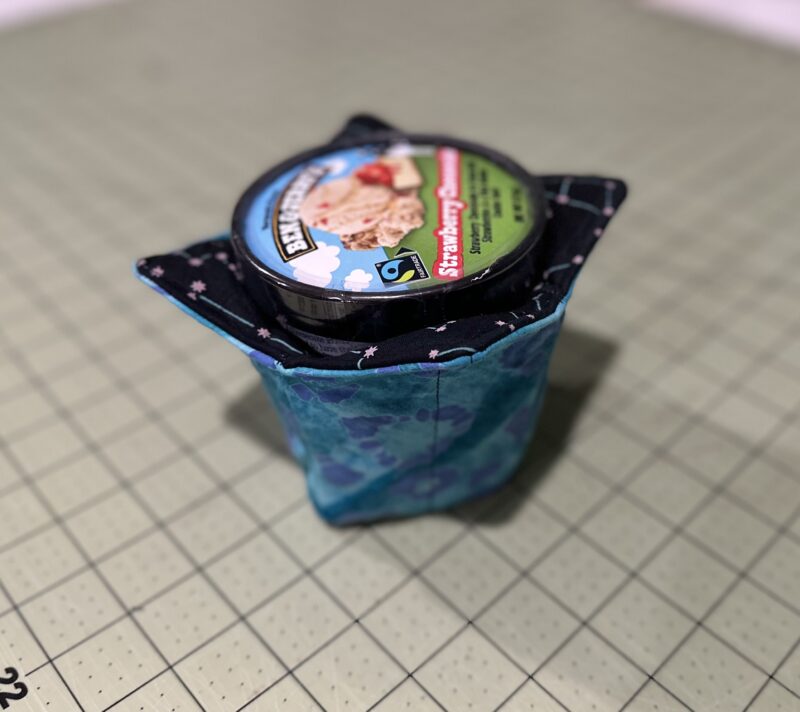
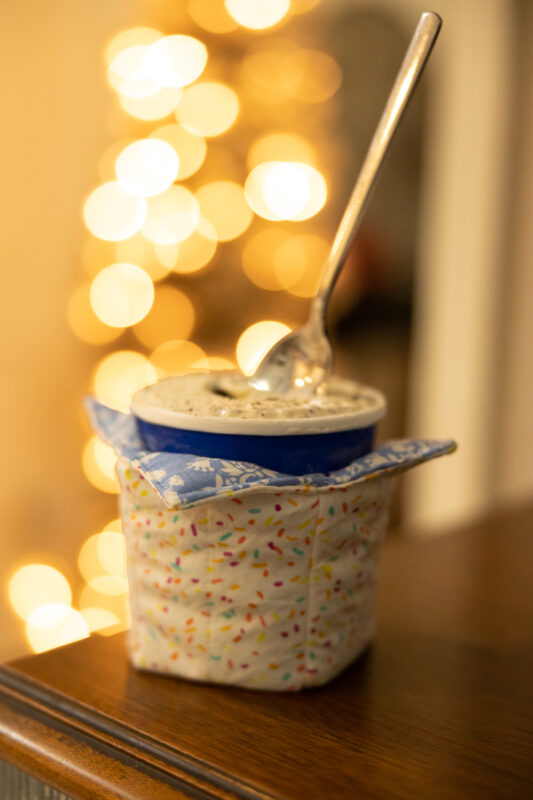
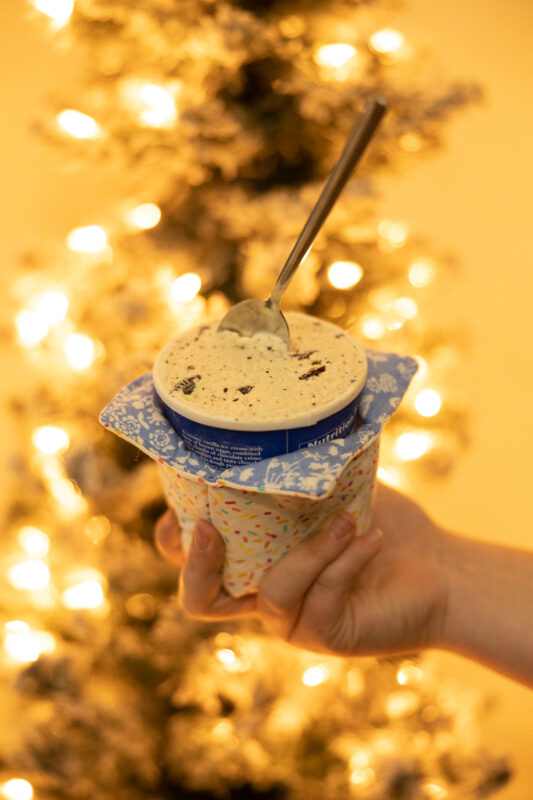
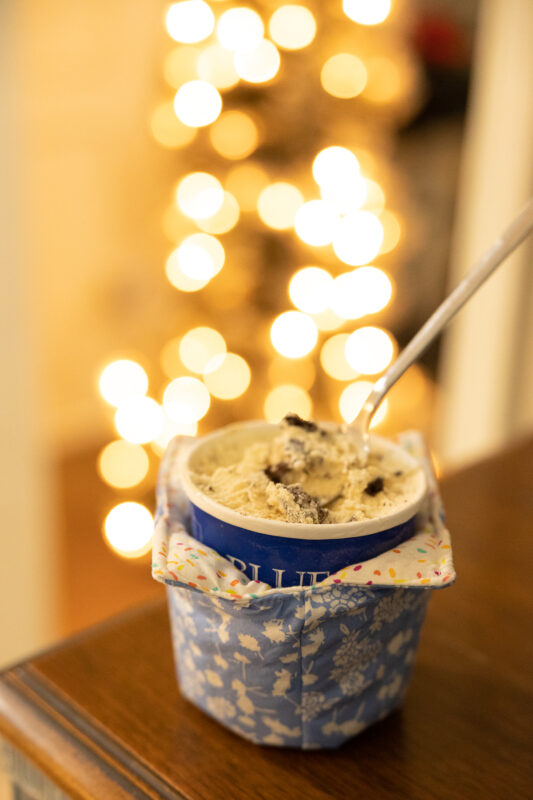
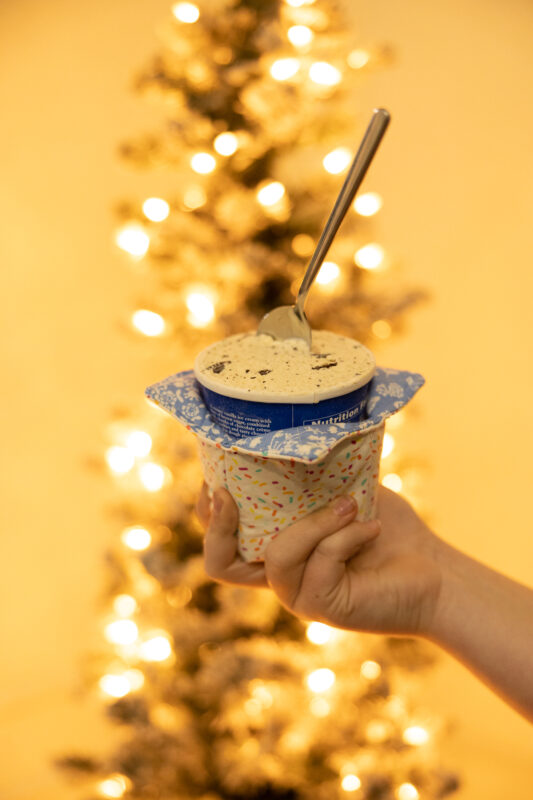
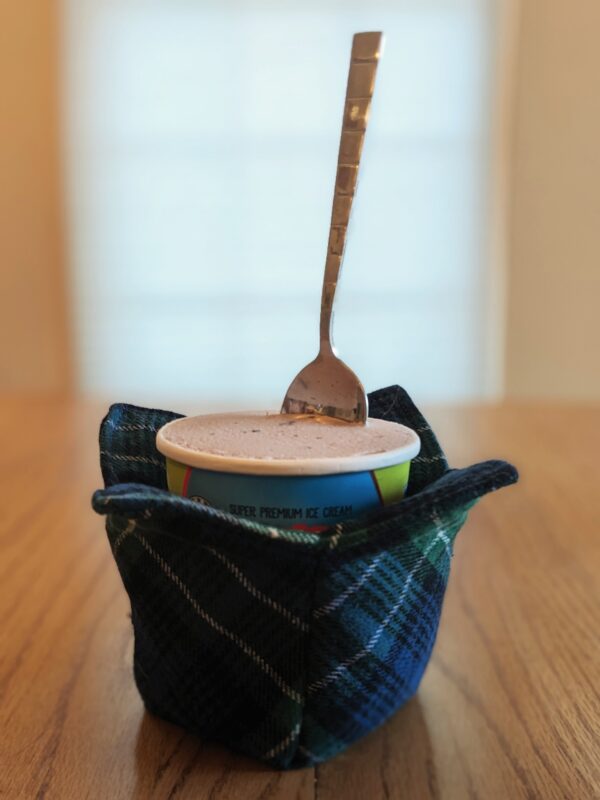
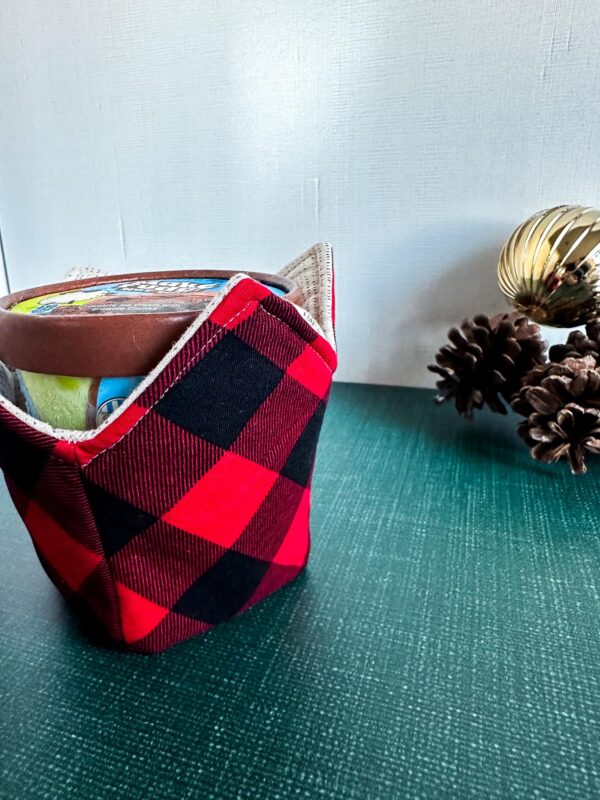
Place your delicious pint of ice cream inside your cozy and enjoy!!




Leave a Reply