
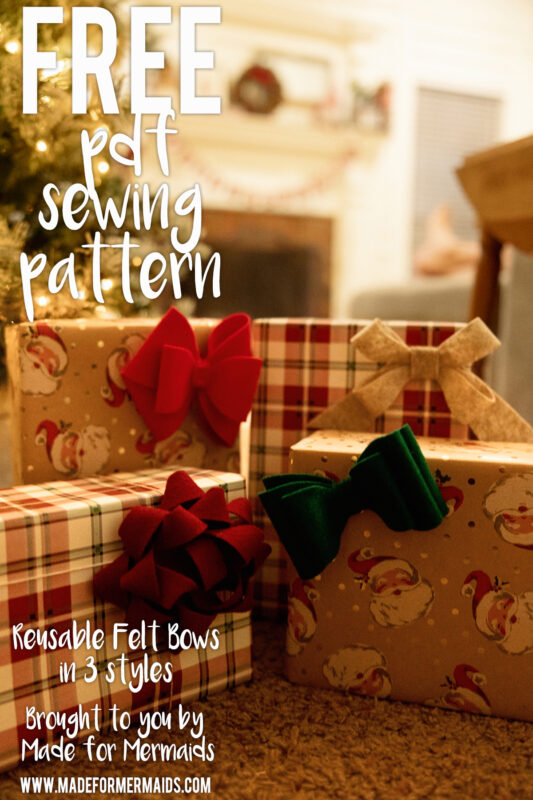
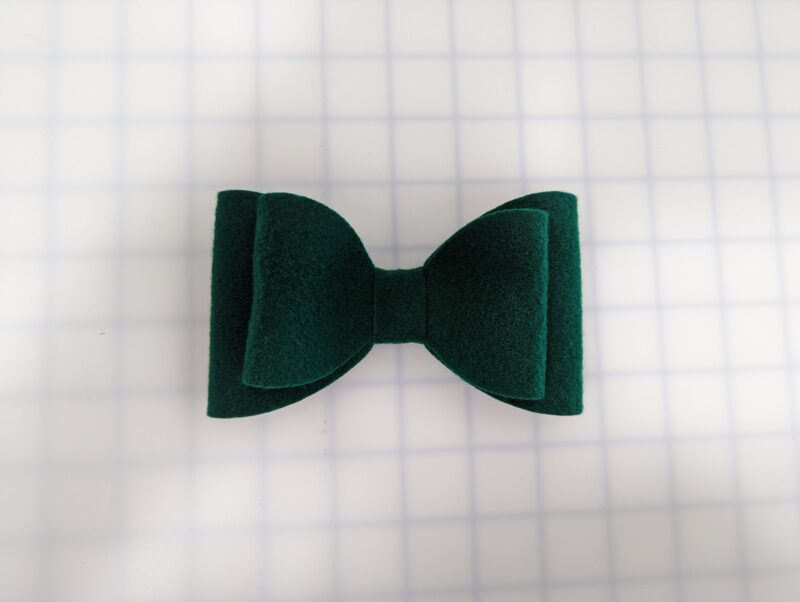
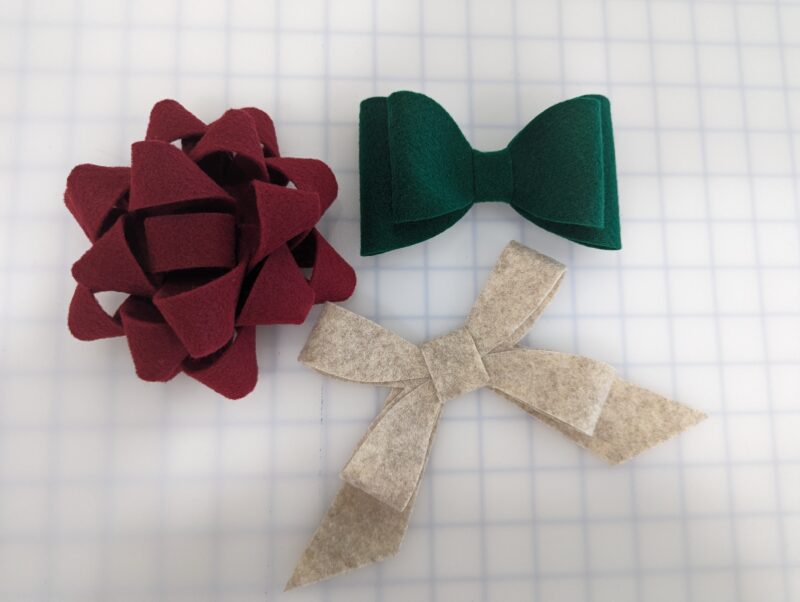
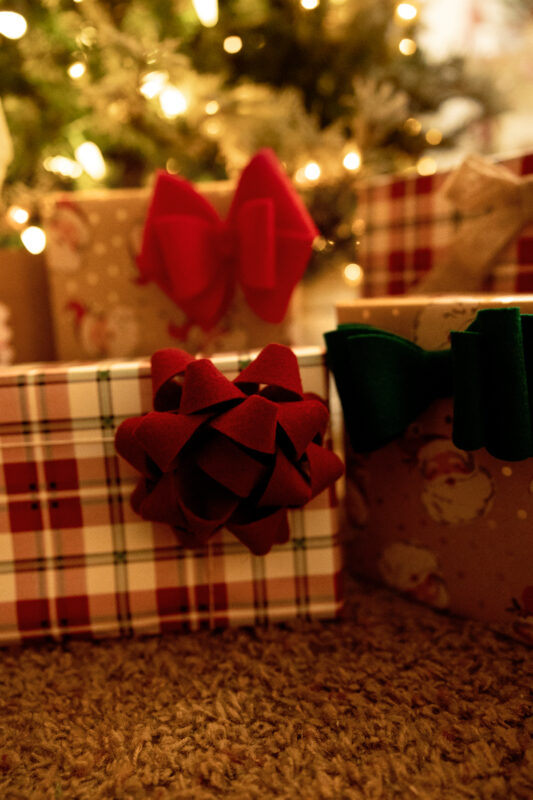
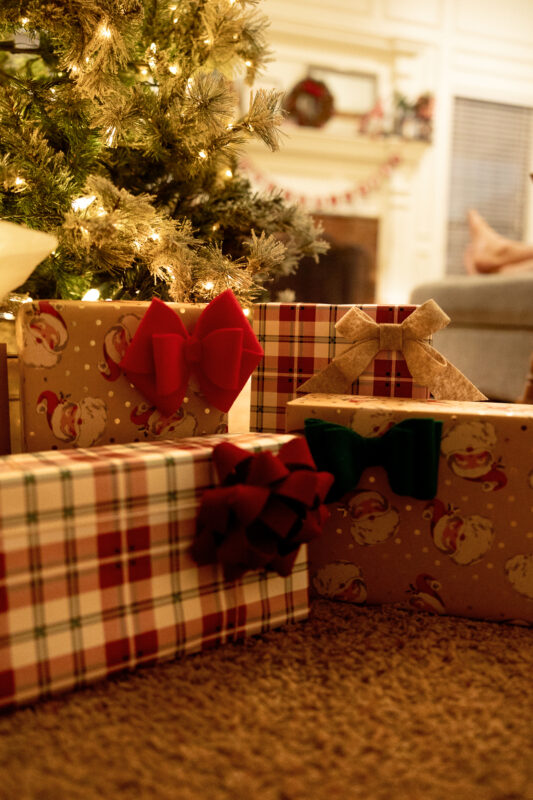
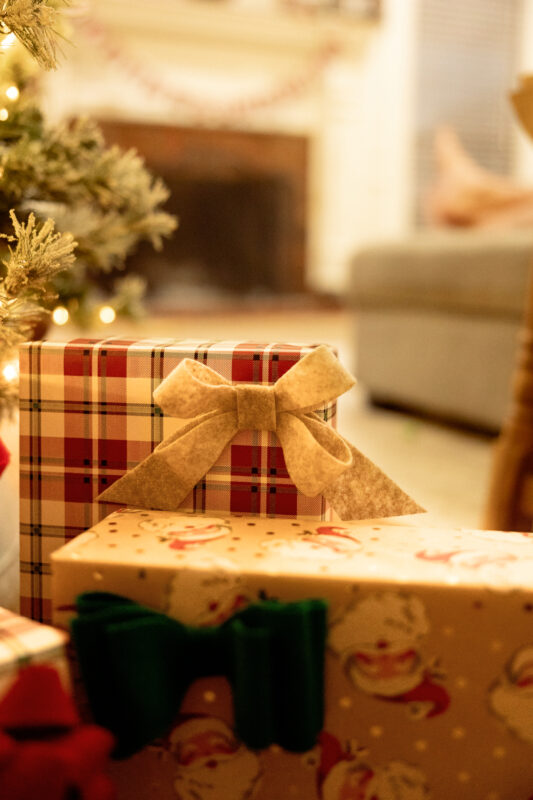
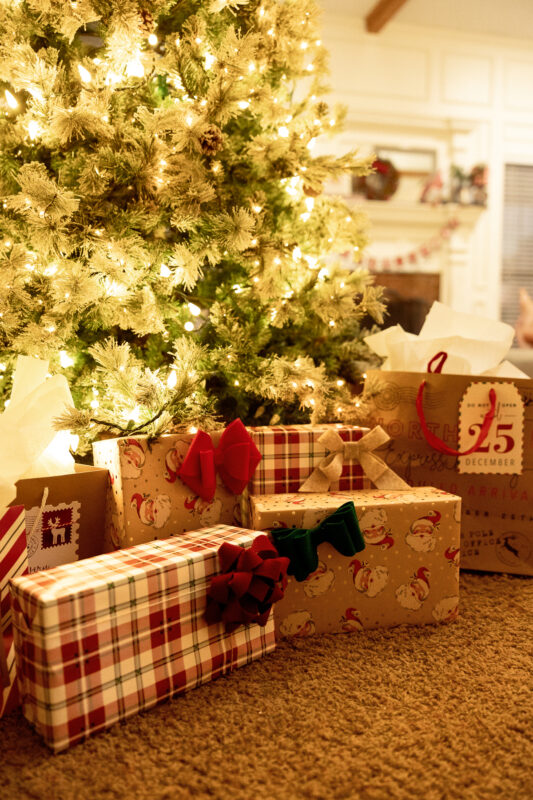
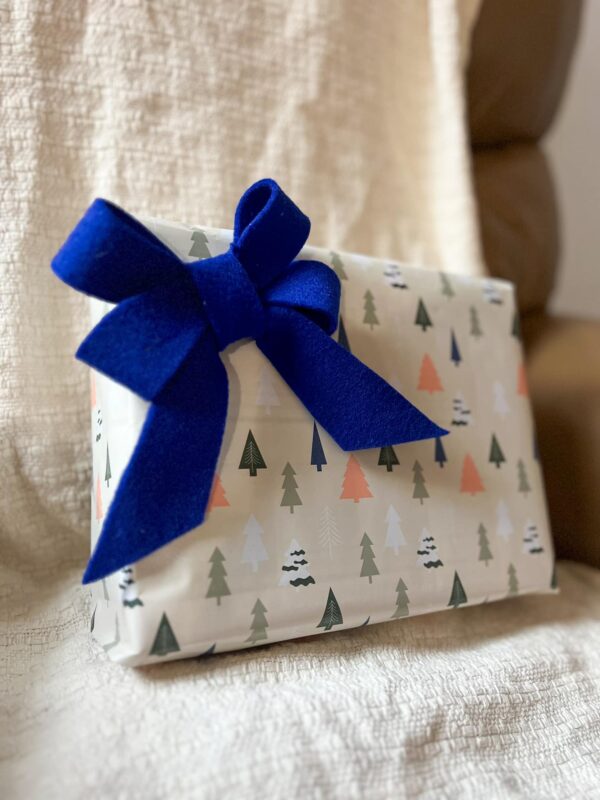
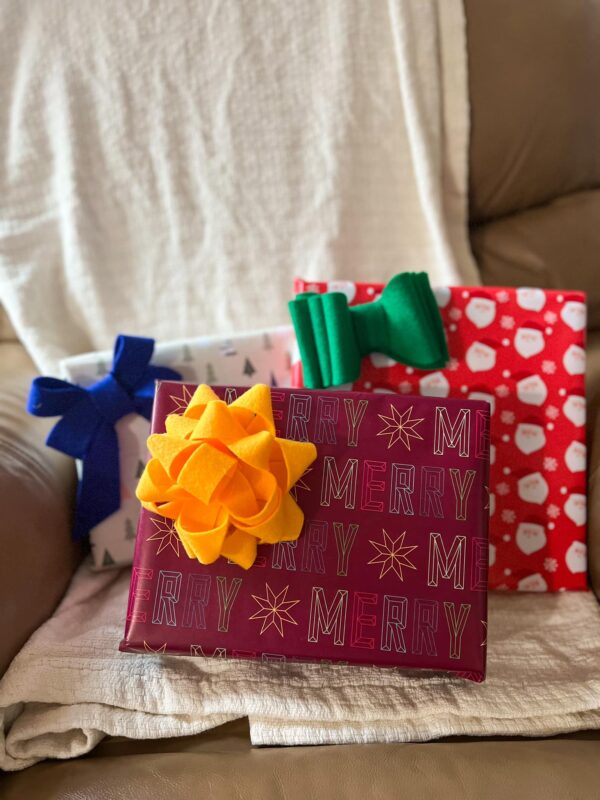
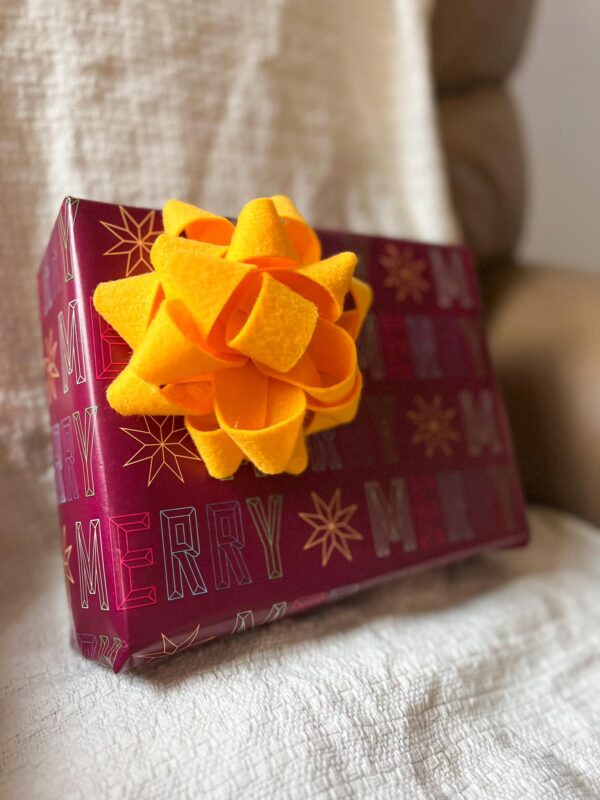
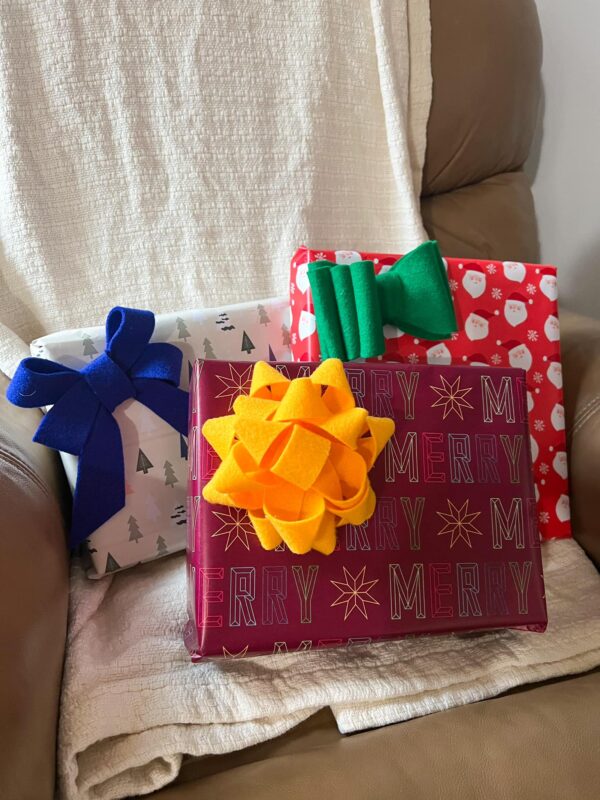
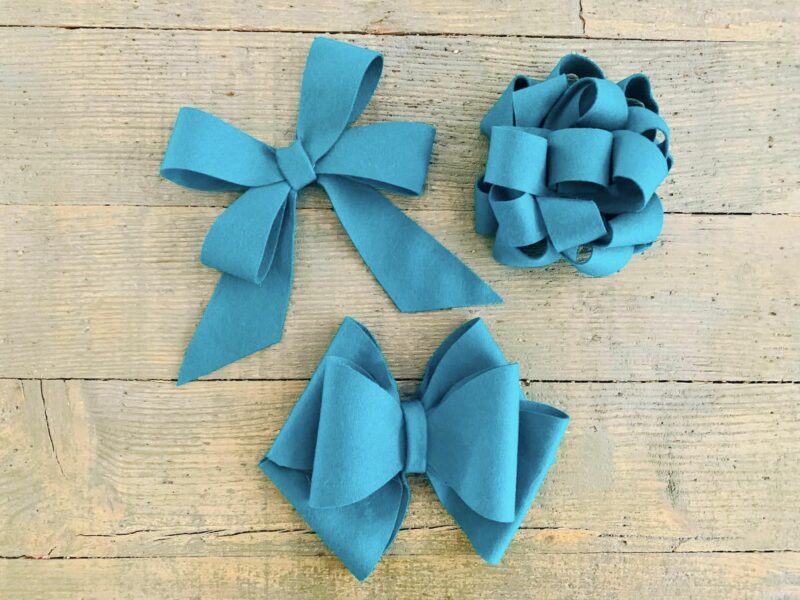
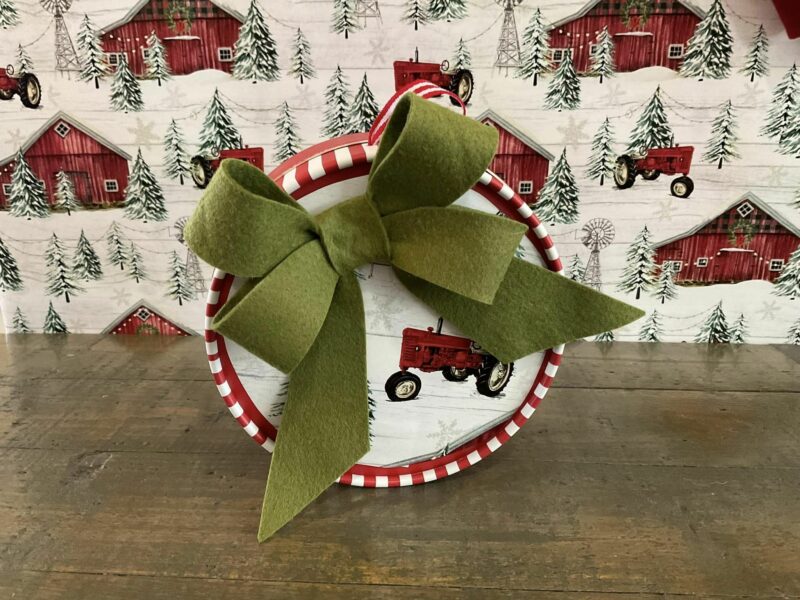
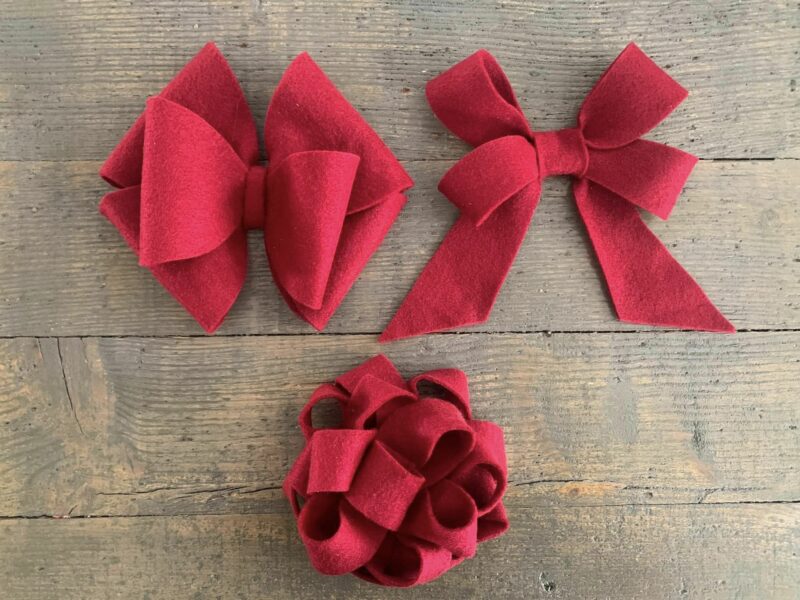
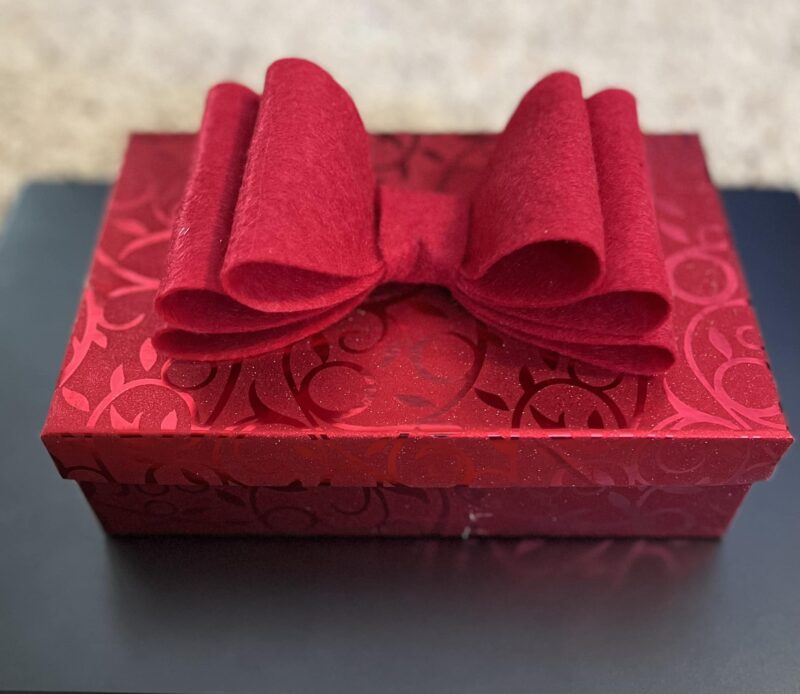
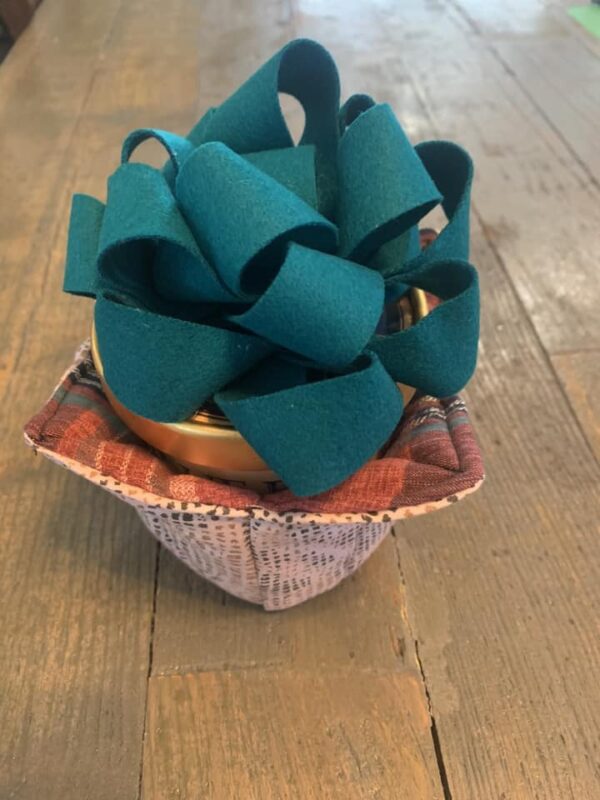
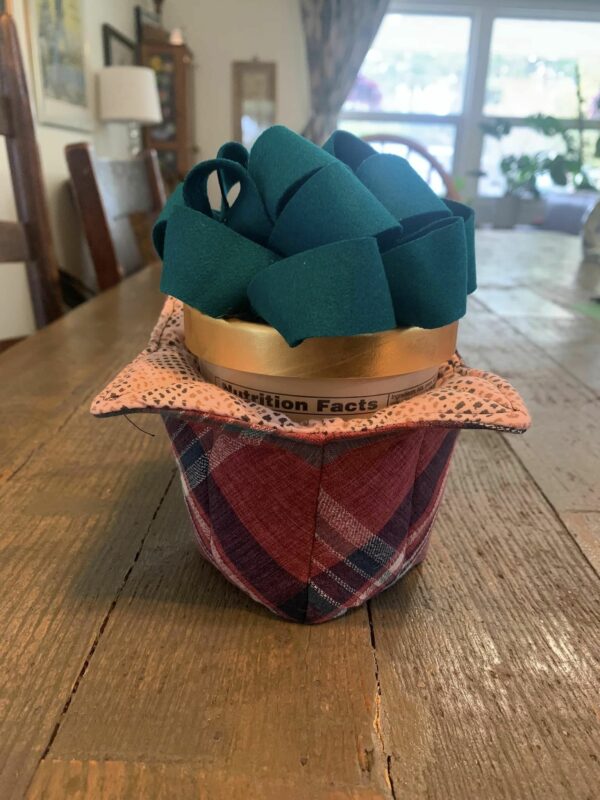
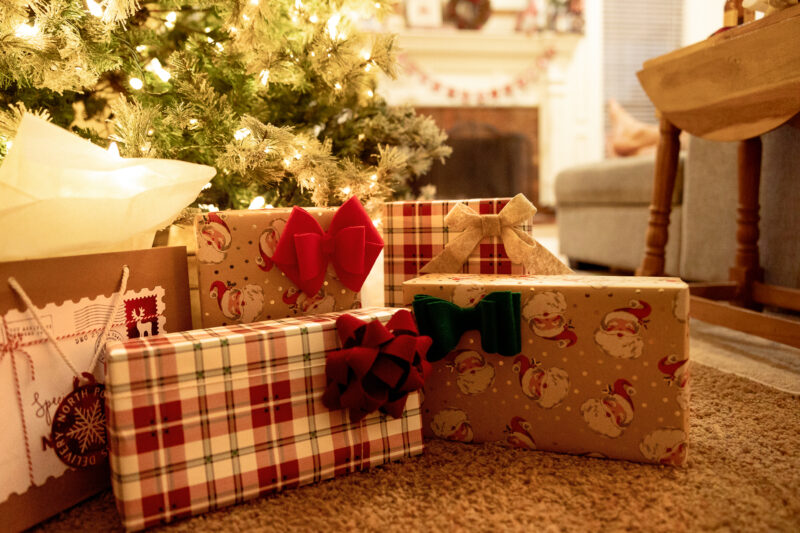
It’s the 9th day of Christmas at Made for Mermaids. Ready to add some flair to your presents this holiday season? Let’s tie up those gifts with reusable felt bows! Ya’ll have to know by now that I love a felt project. I also love making my gifts look special, but I hate throwing out ribbons and bows every year. So, I decided to create 3 different style bows that are perfect for making your presents pop. Plus, these adorable bows can be used year after year AND you could also use these as a hair bow for your little one. Check out our felt gift tags, alphabet ornaments, fabric bows, Santa sacks, and fabric gift or wine bags for more sustainable wrapping ideas!
SUPPLIES:
- Each bow can fit on one piece of 9 x 12 felt- 3 mm felt is recommended as it will hold its shape better than thinner felt; American Felt and Craft has excellent quality felt and beautiful ranges of colors
- You could also make these in vinyl or even a cardstock
LET’S GET STARTED!
Step 1: PREPPING
Go grab the pattern here! The pattern is 100% free, but you do need to add it to your cart and checkout. Then, it will always be available to download from your account. The pattern is a no-trim pattern; if you need help putting the pattern together, pop over to the faqs and troubleshooting page or ask in our Facebook group.
The files also include cut files (SVG, DXF, & PNG fils) in a zipped folder if you prefer to use your cutting machine to cut the pieces!
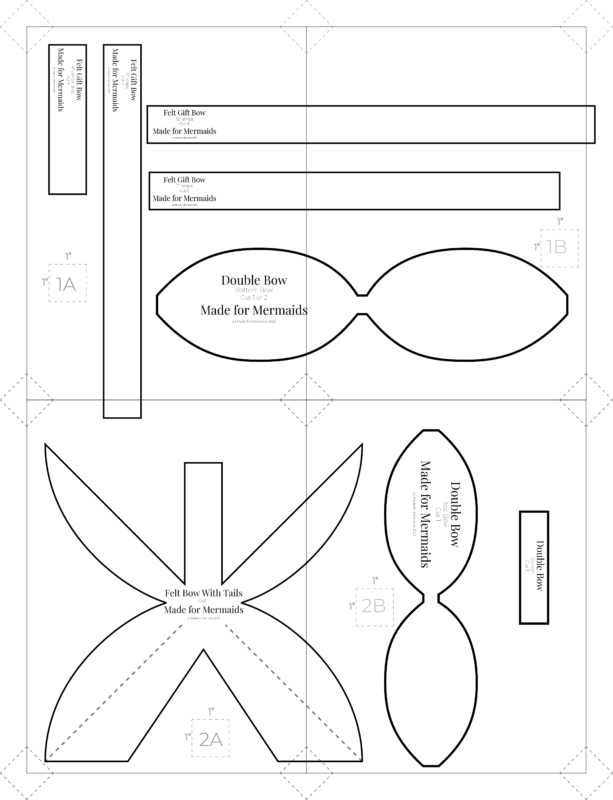
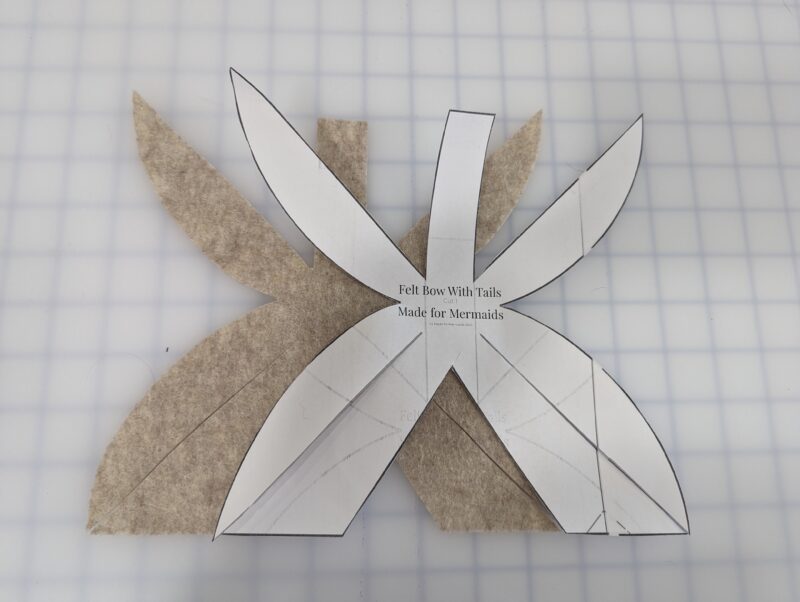
Print and assemble the pattern. Alternatively, you can use the projector file if you’re using a projector. Pattern layout below:
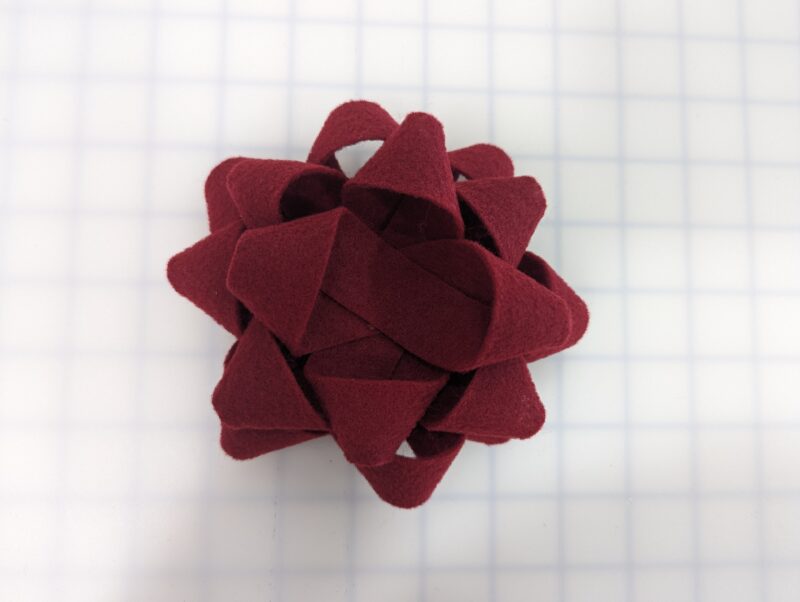
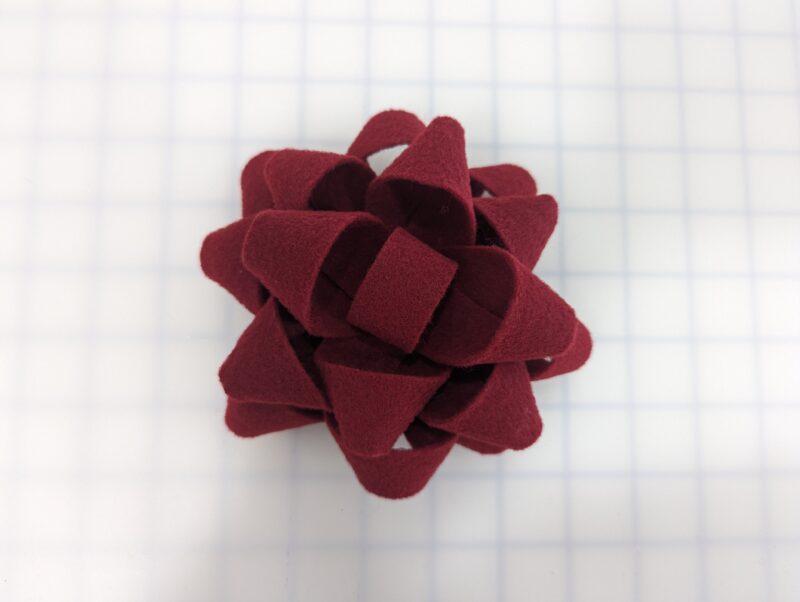
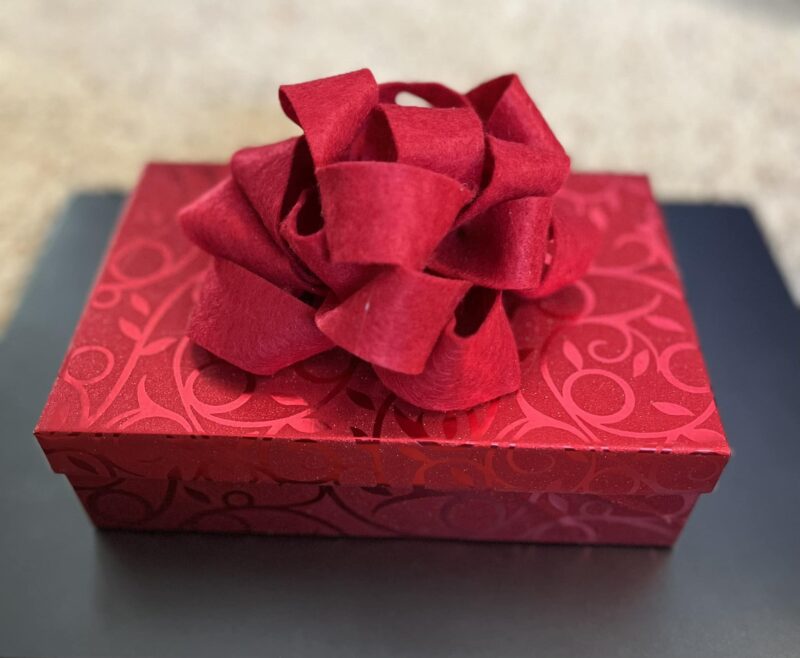
For the classic bow:
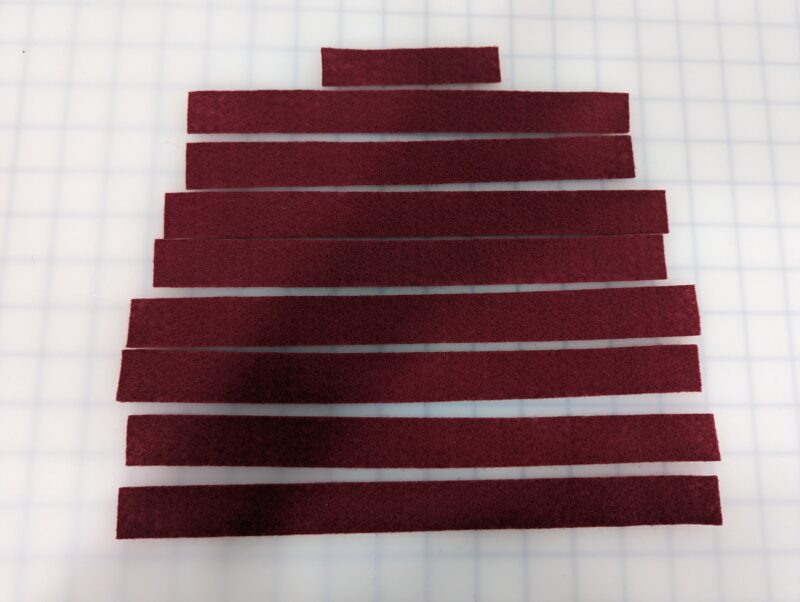
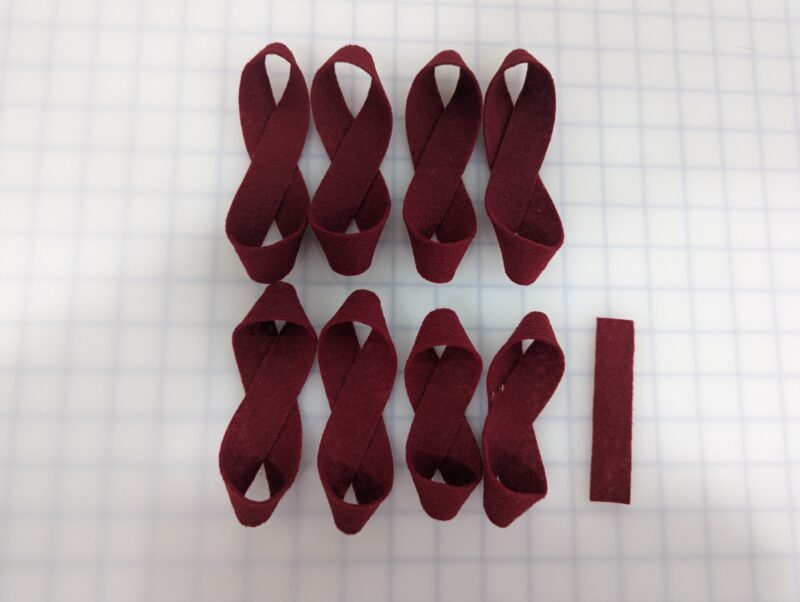
Cut 4 pieces 1″ x 12″
Cut 2 pieces 1″ x 11″
Cut 2 pieces 1″ x 10″
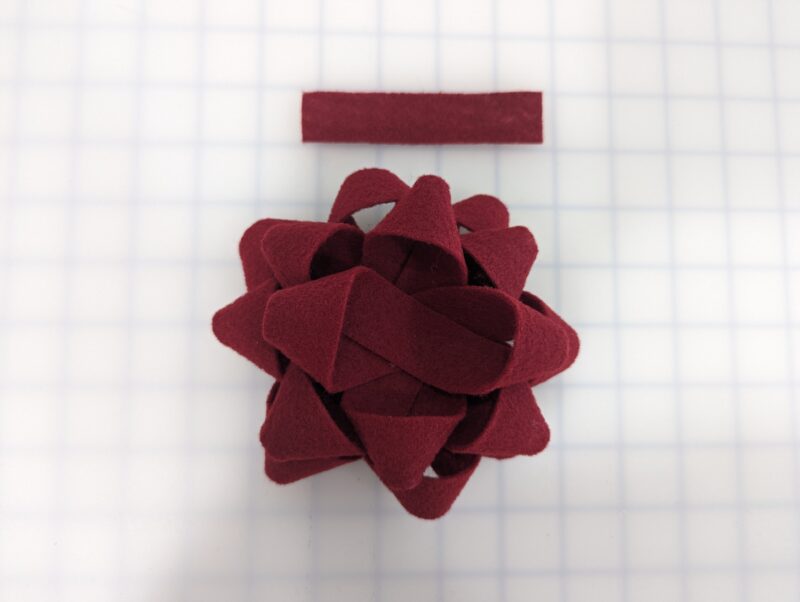
Cut 1 piece 1″ x 4″
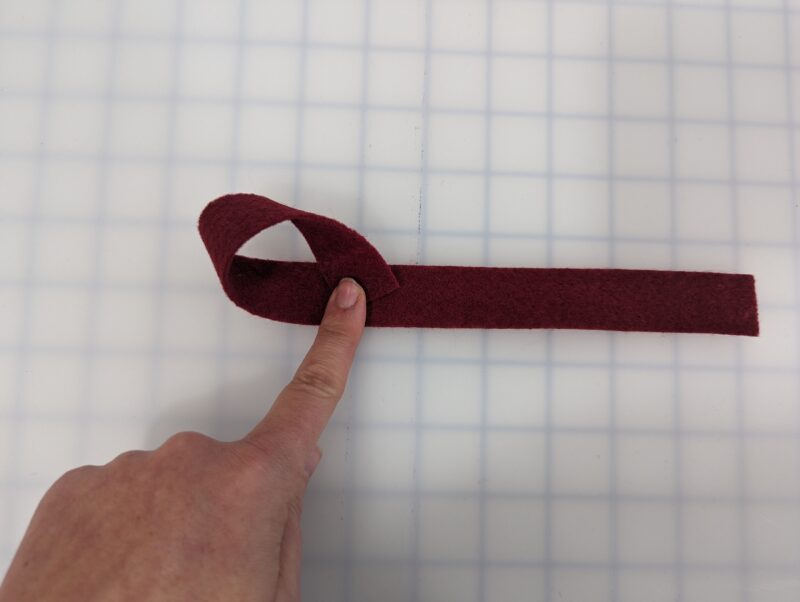
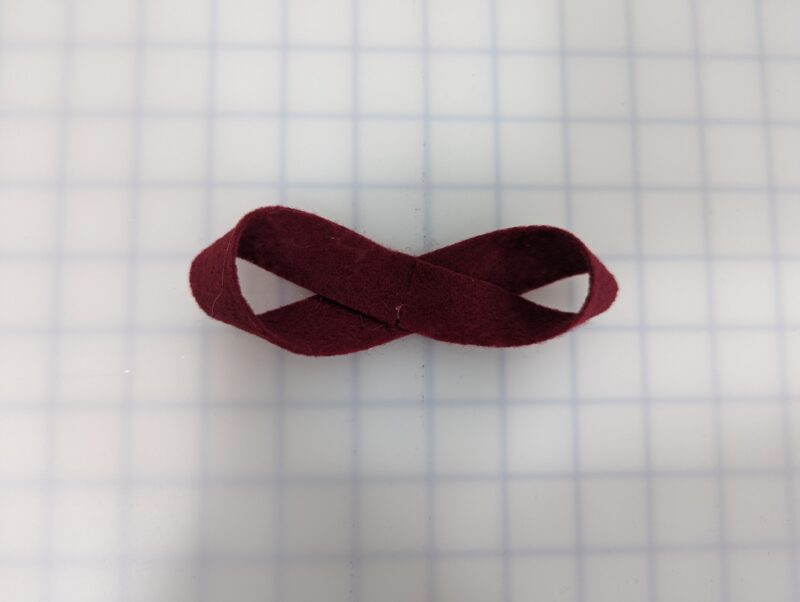
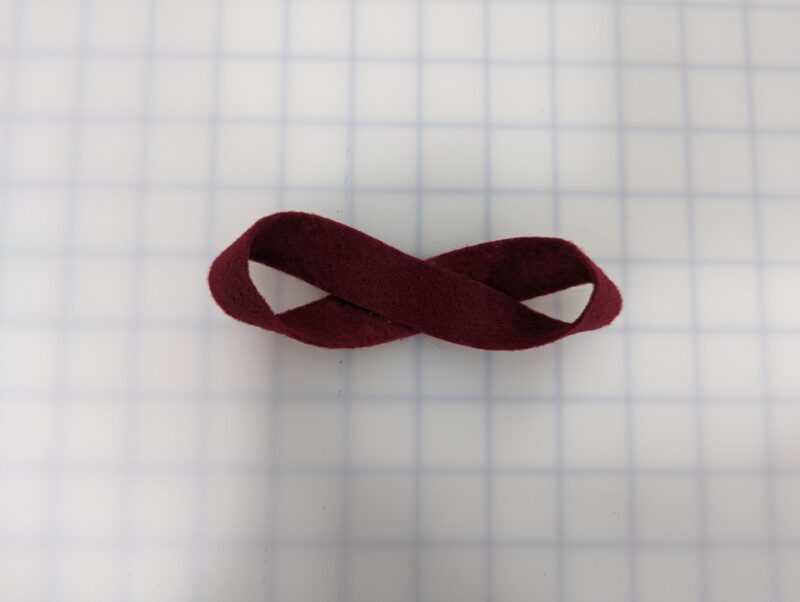
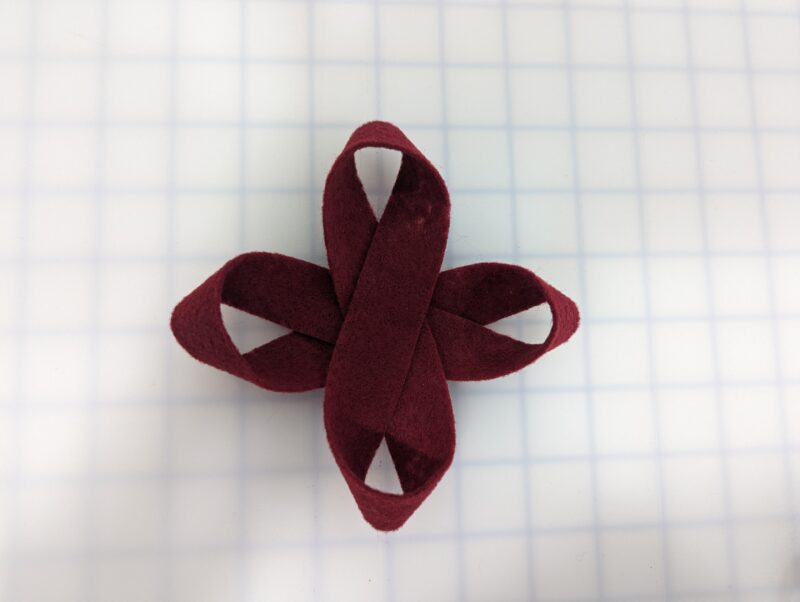
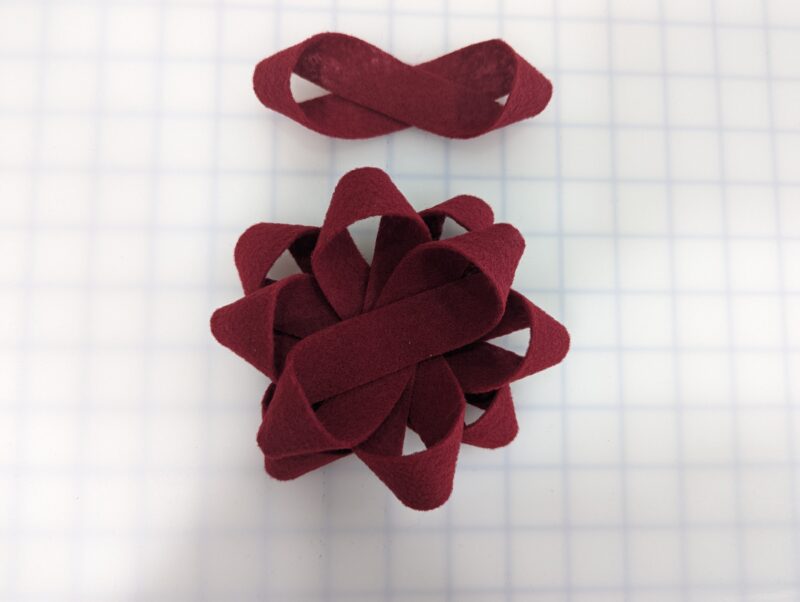
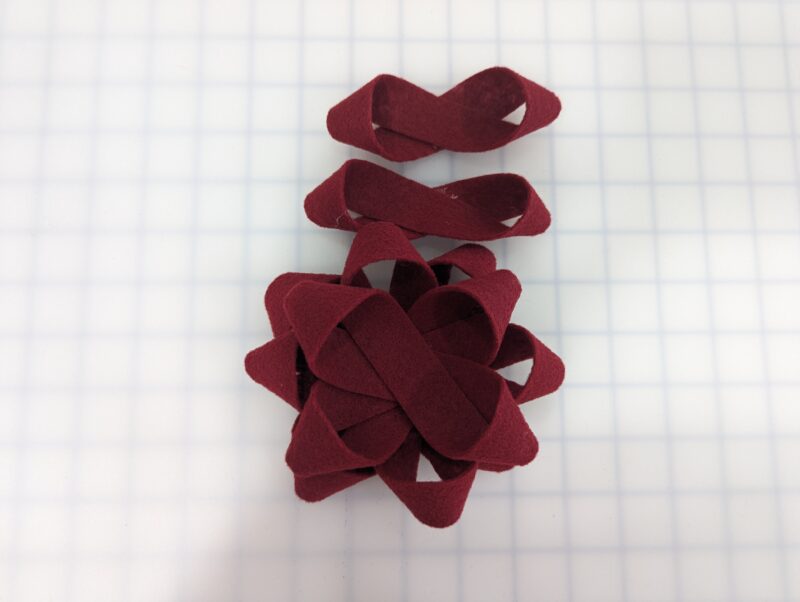
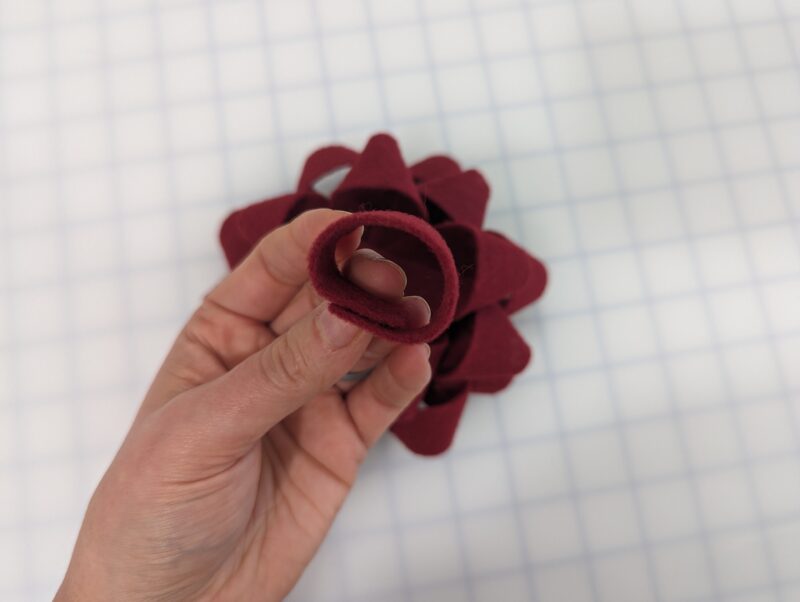
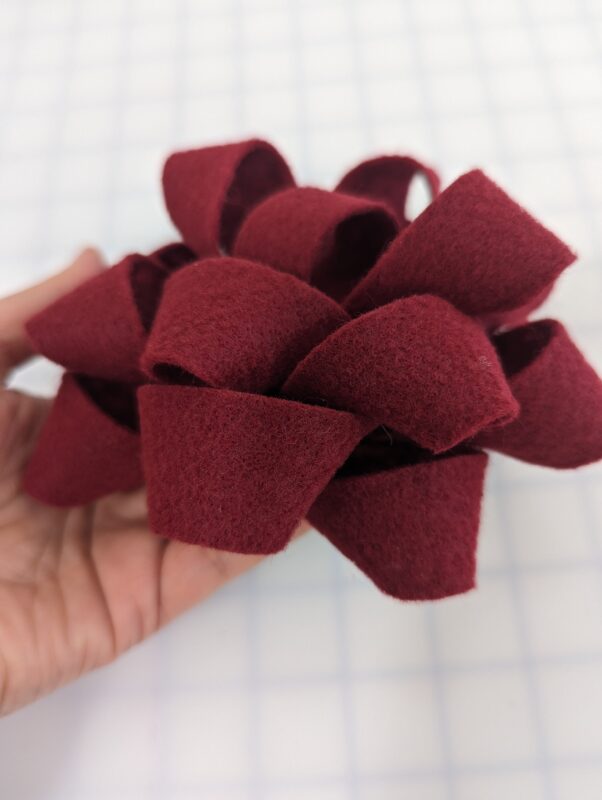
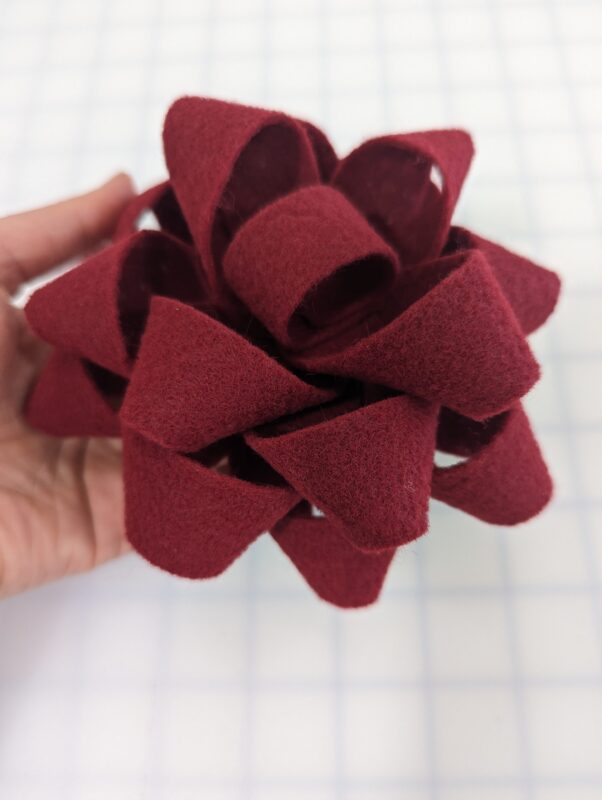
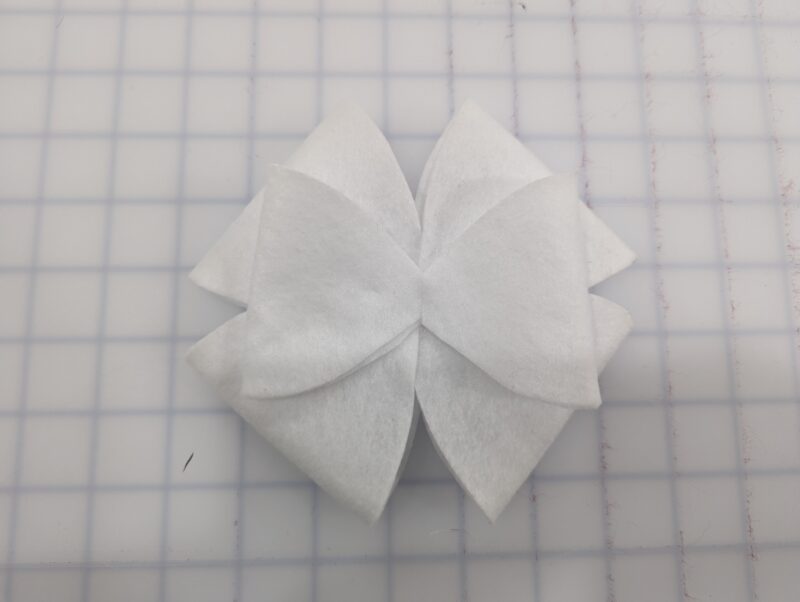
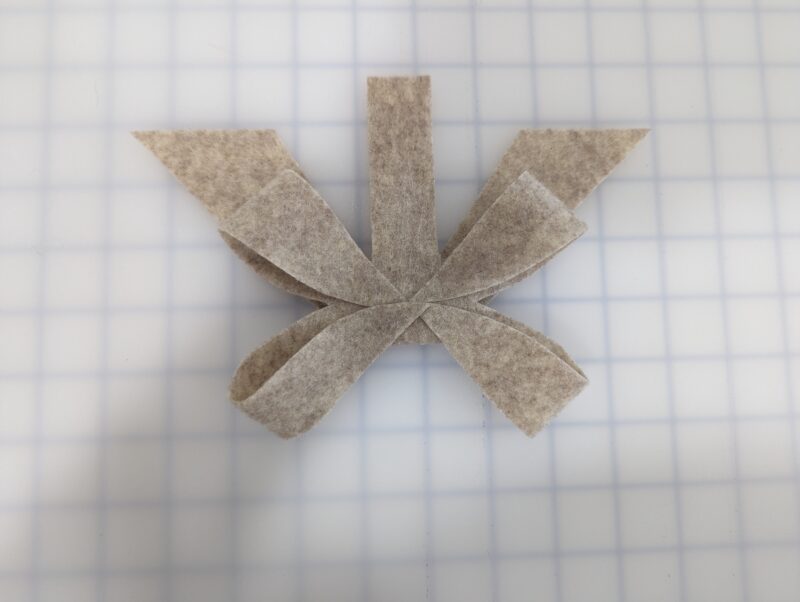
With all the pieces, but the smallest 4″ piece, we’re going to create a figure 8 loop. Take one end and loop toward the center. Take the other end and loop the other direction, toward the center. The end pieces should meet, but not overlap. Stitch or glue in place. Repeat with the remaining 7 pieces.
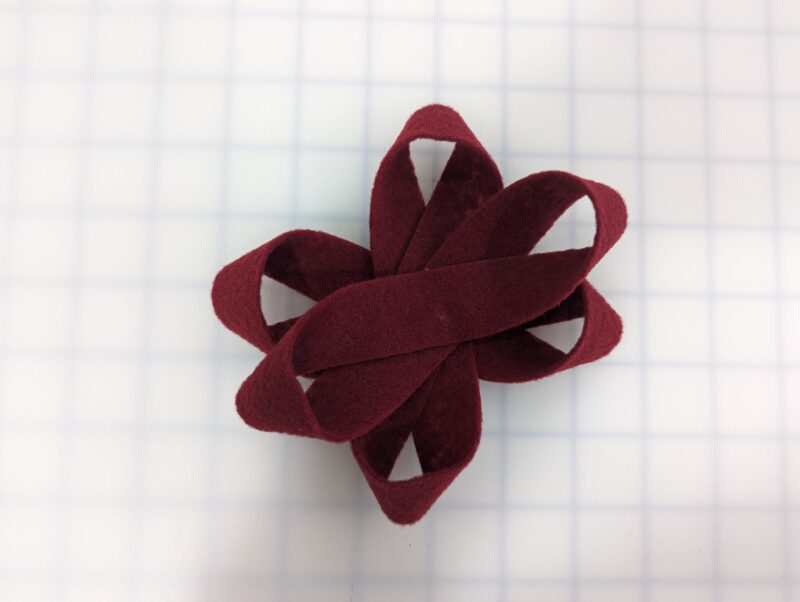
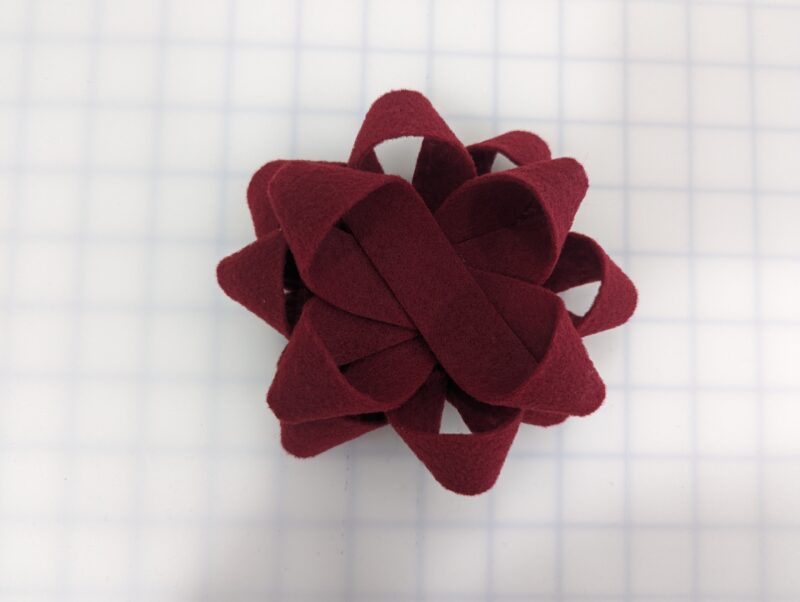
Now we’re going to stack the longest 12″ loops on top of each other, crossing each over each other at the center.
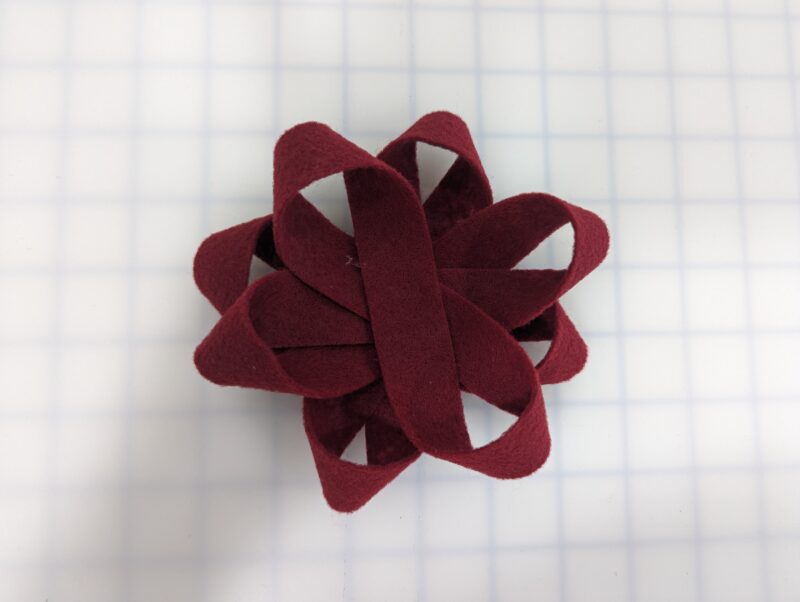
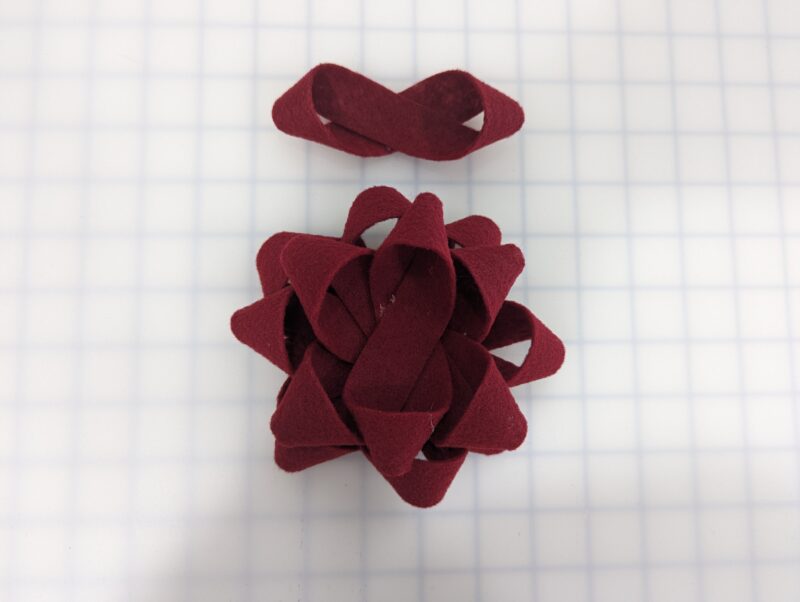
Now repeat with the 11″ loop pieces, then the 10″ loop pieces.
For the smallest 4″ piece, you will put the ends on top each other, creating a loop. You can play with how much you want to overlap the ends, I find it depends on the thickness of my felt. I overlapped it about 1″ here. Then stitch or glue it directly to the center.
Step 3: DOUBLE BOW
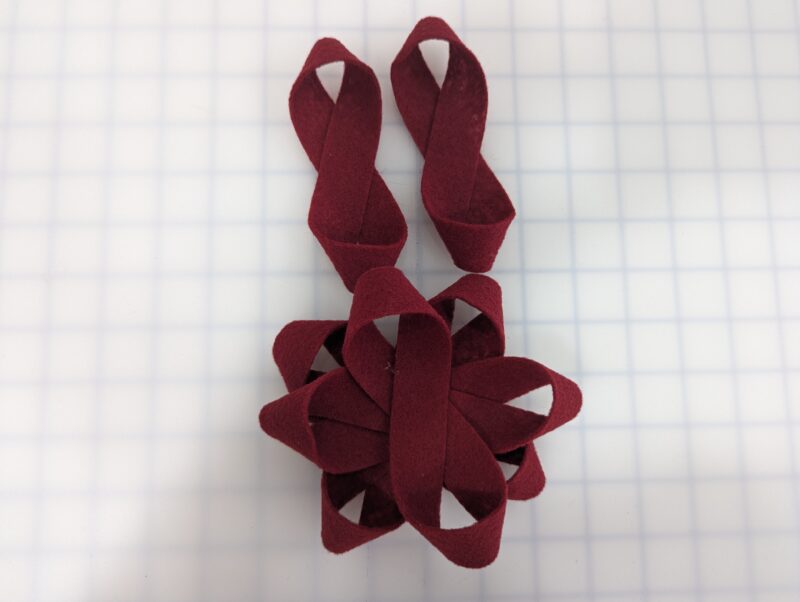
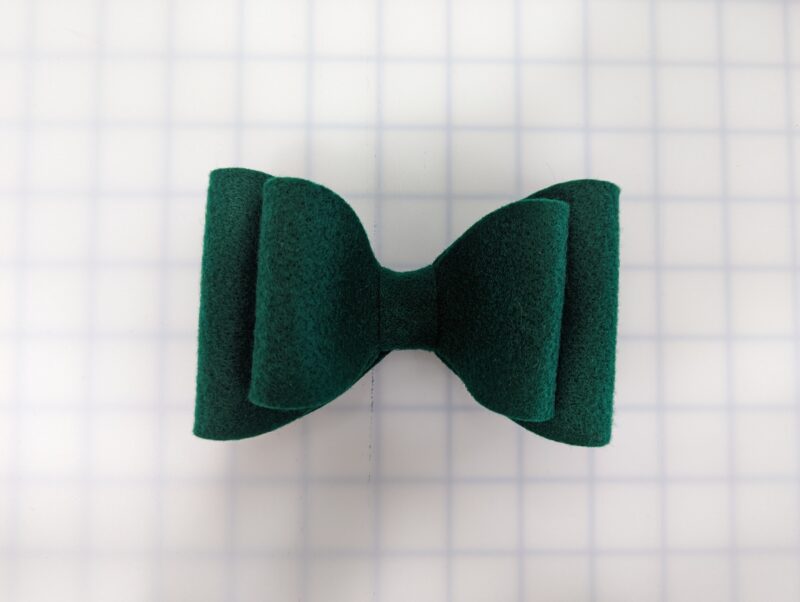
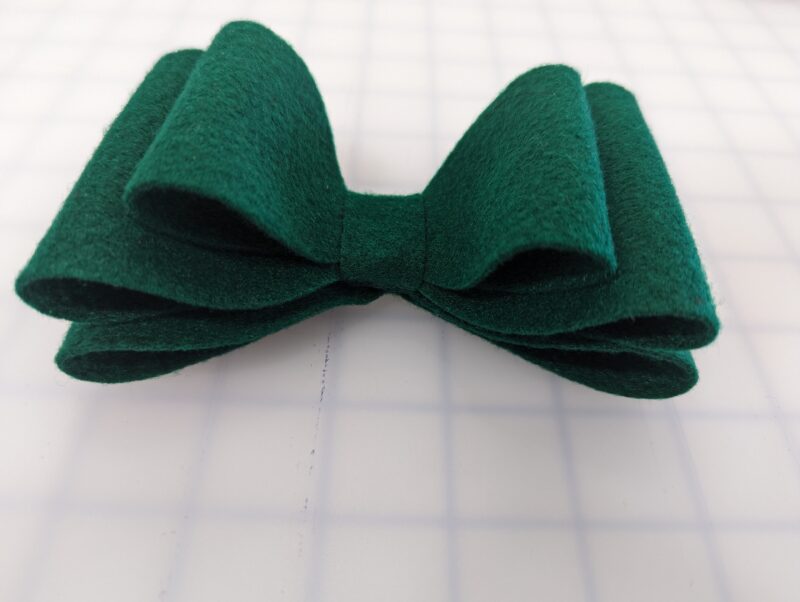
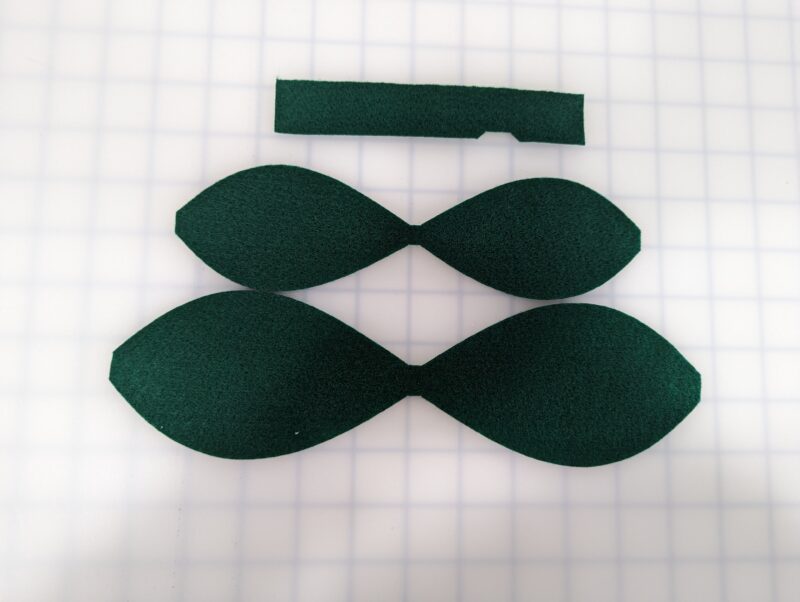
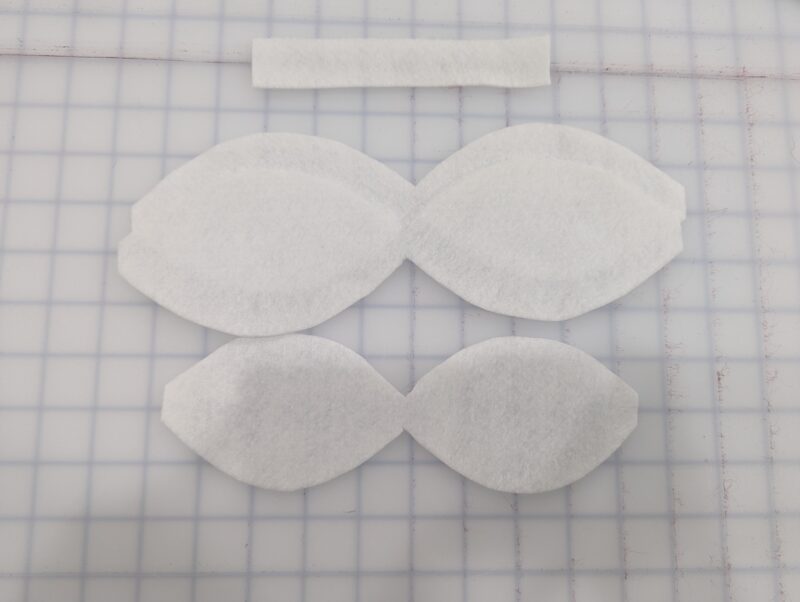
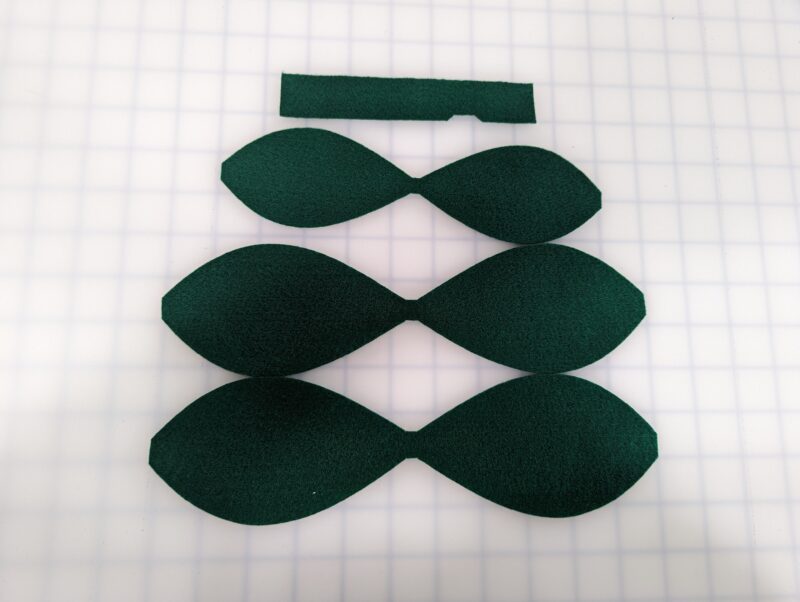
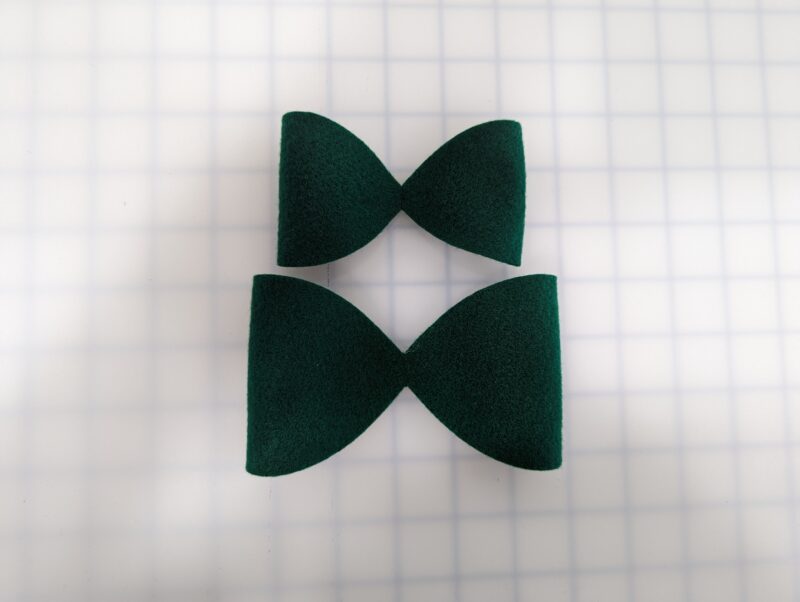
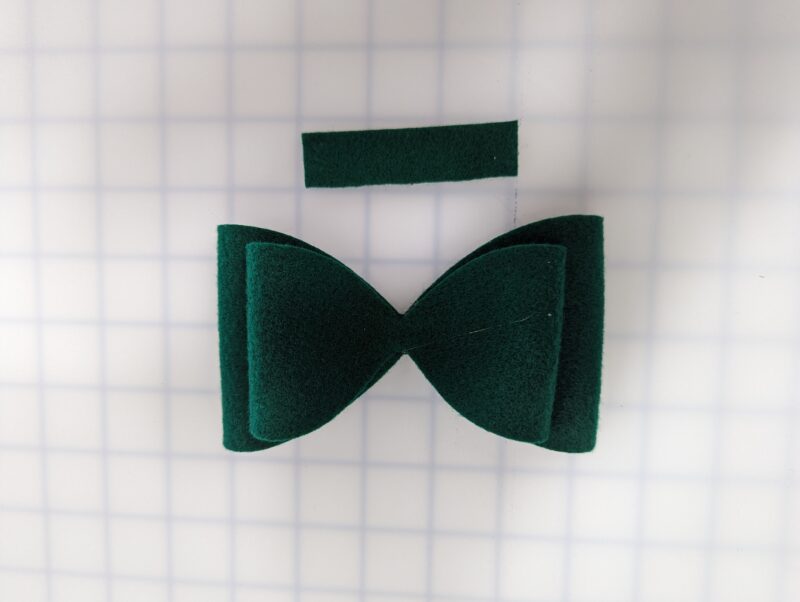
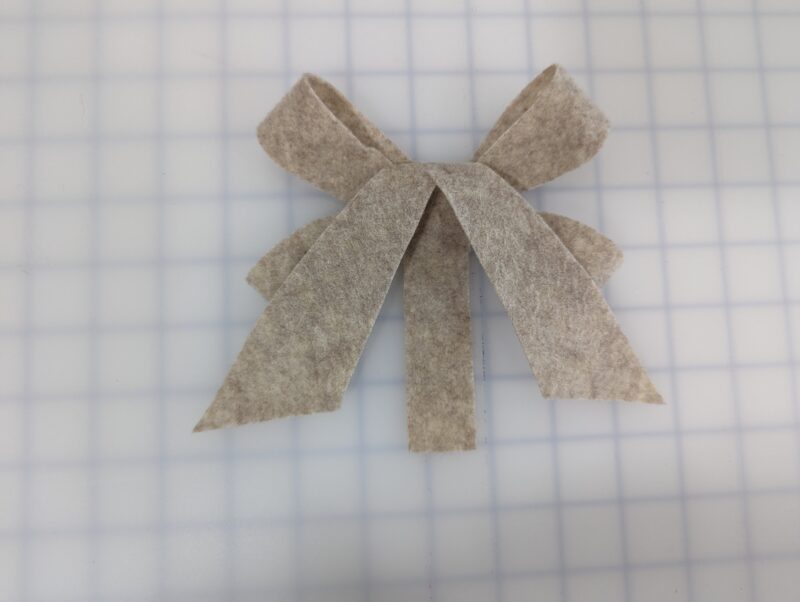
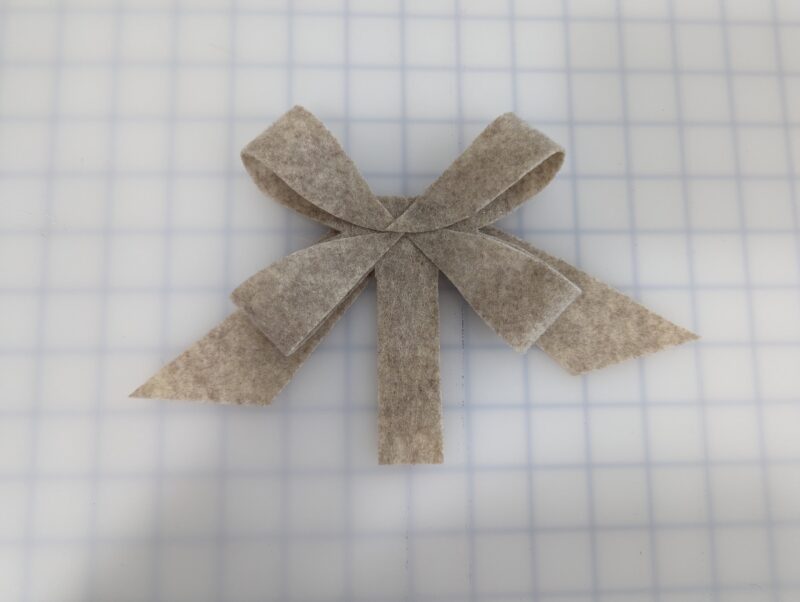
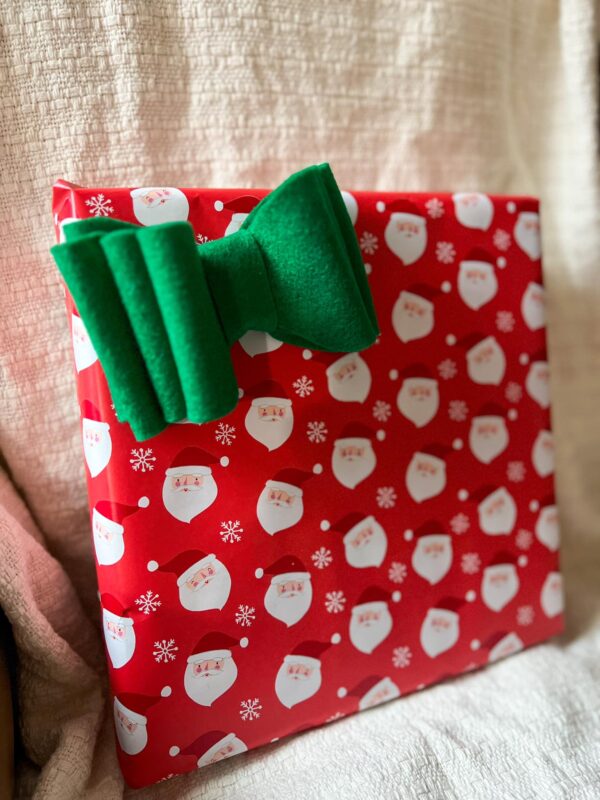
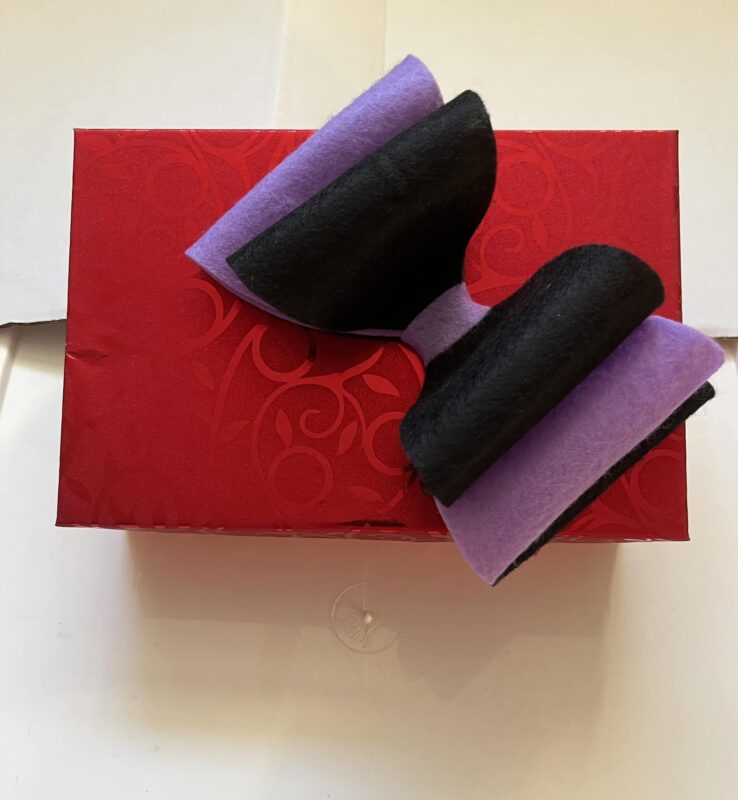
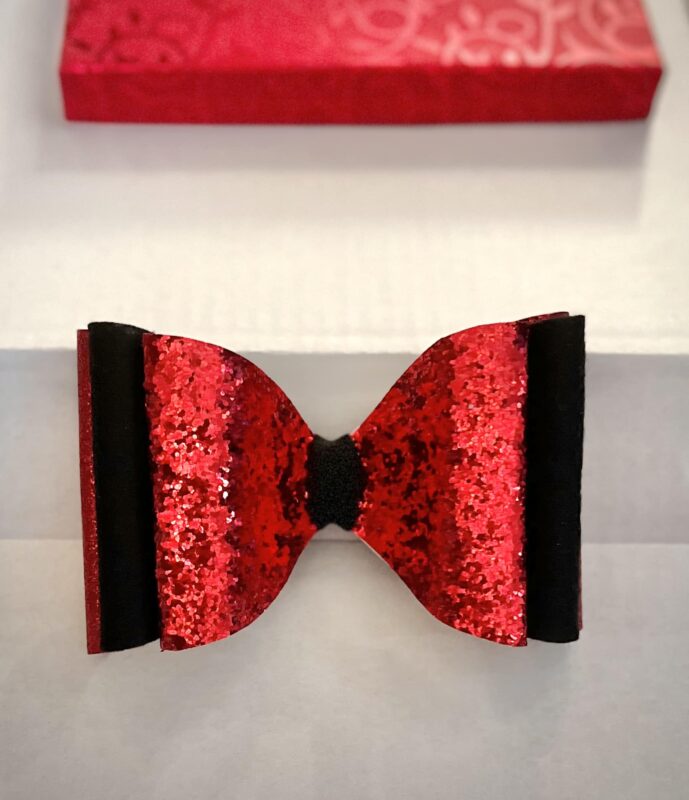
For the double bow cut 1 center, 1 top bow, and 1 or 2 bottom bows. You can put this together in a few different ways for different looks. You can have the bow layers stacked with 1 bottom bow, the bottom bows diagonal, or stacked with 2 bottom bows.
For the diagonal style, lay one bottom bow flat. Place the other bottom bow on top diagonally. Then fold the pieces toward the center, touching the raw edges. Sew or glue in place.
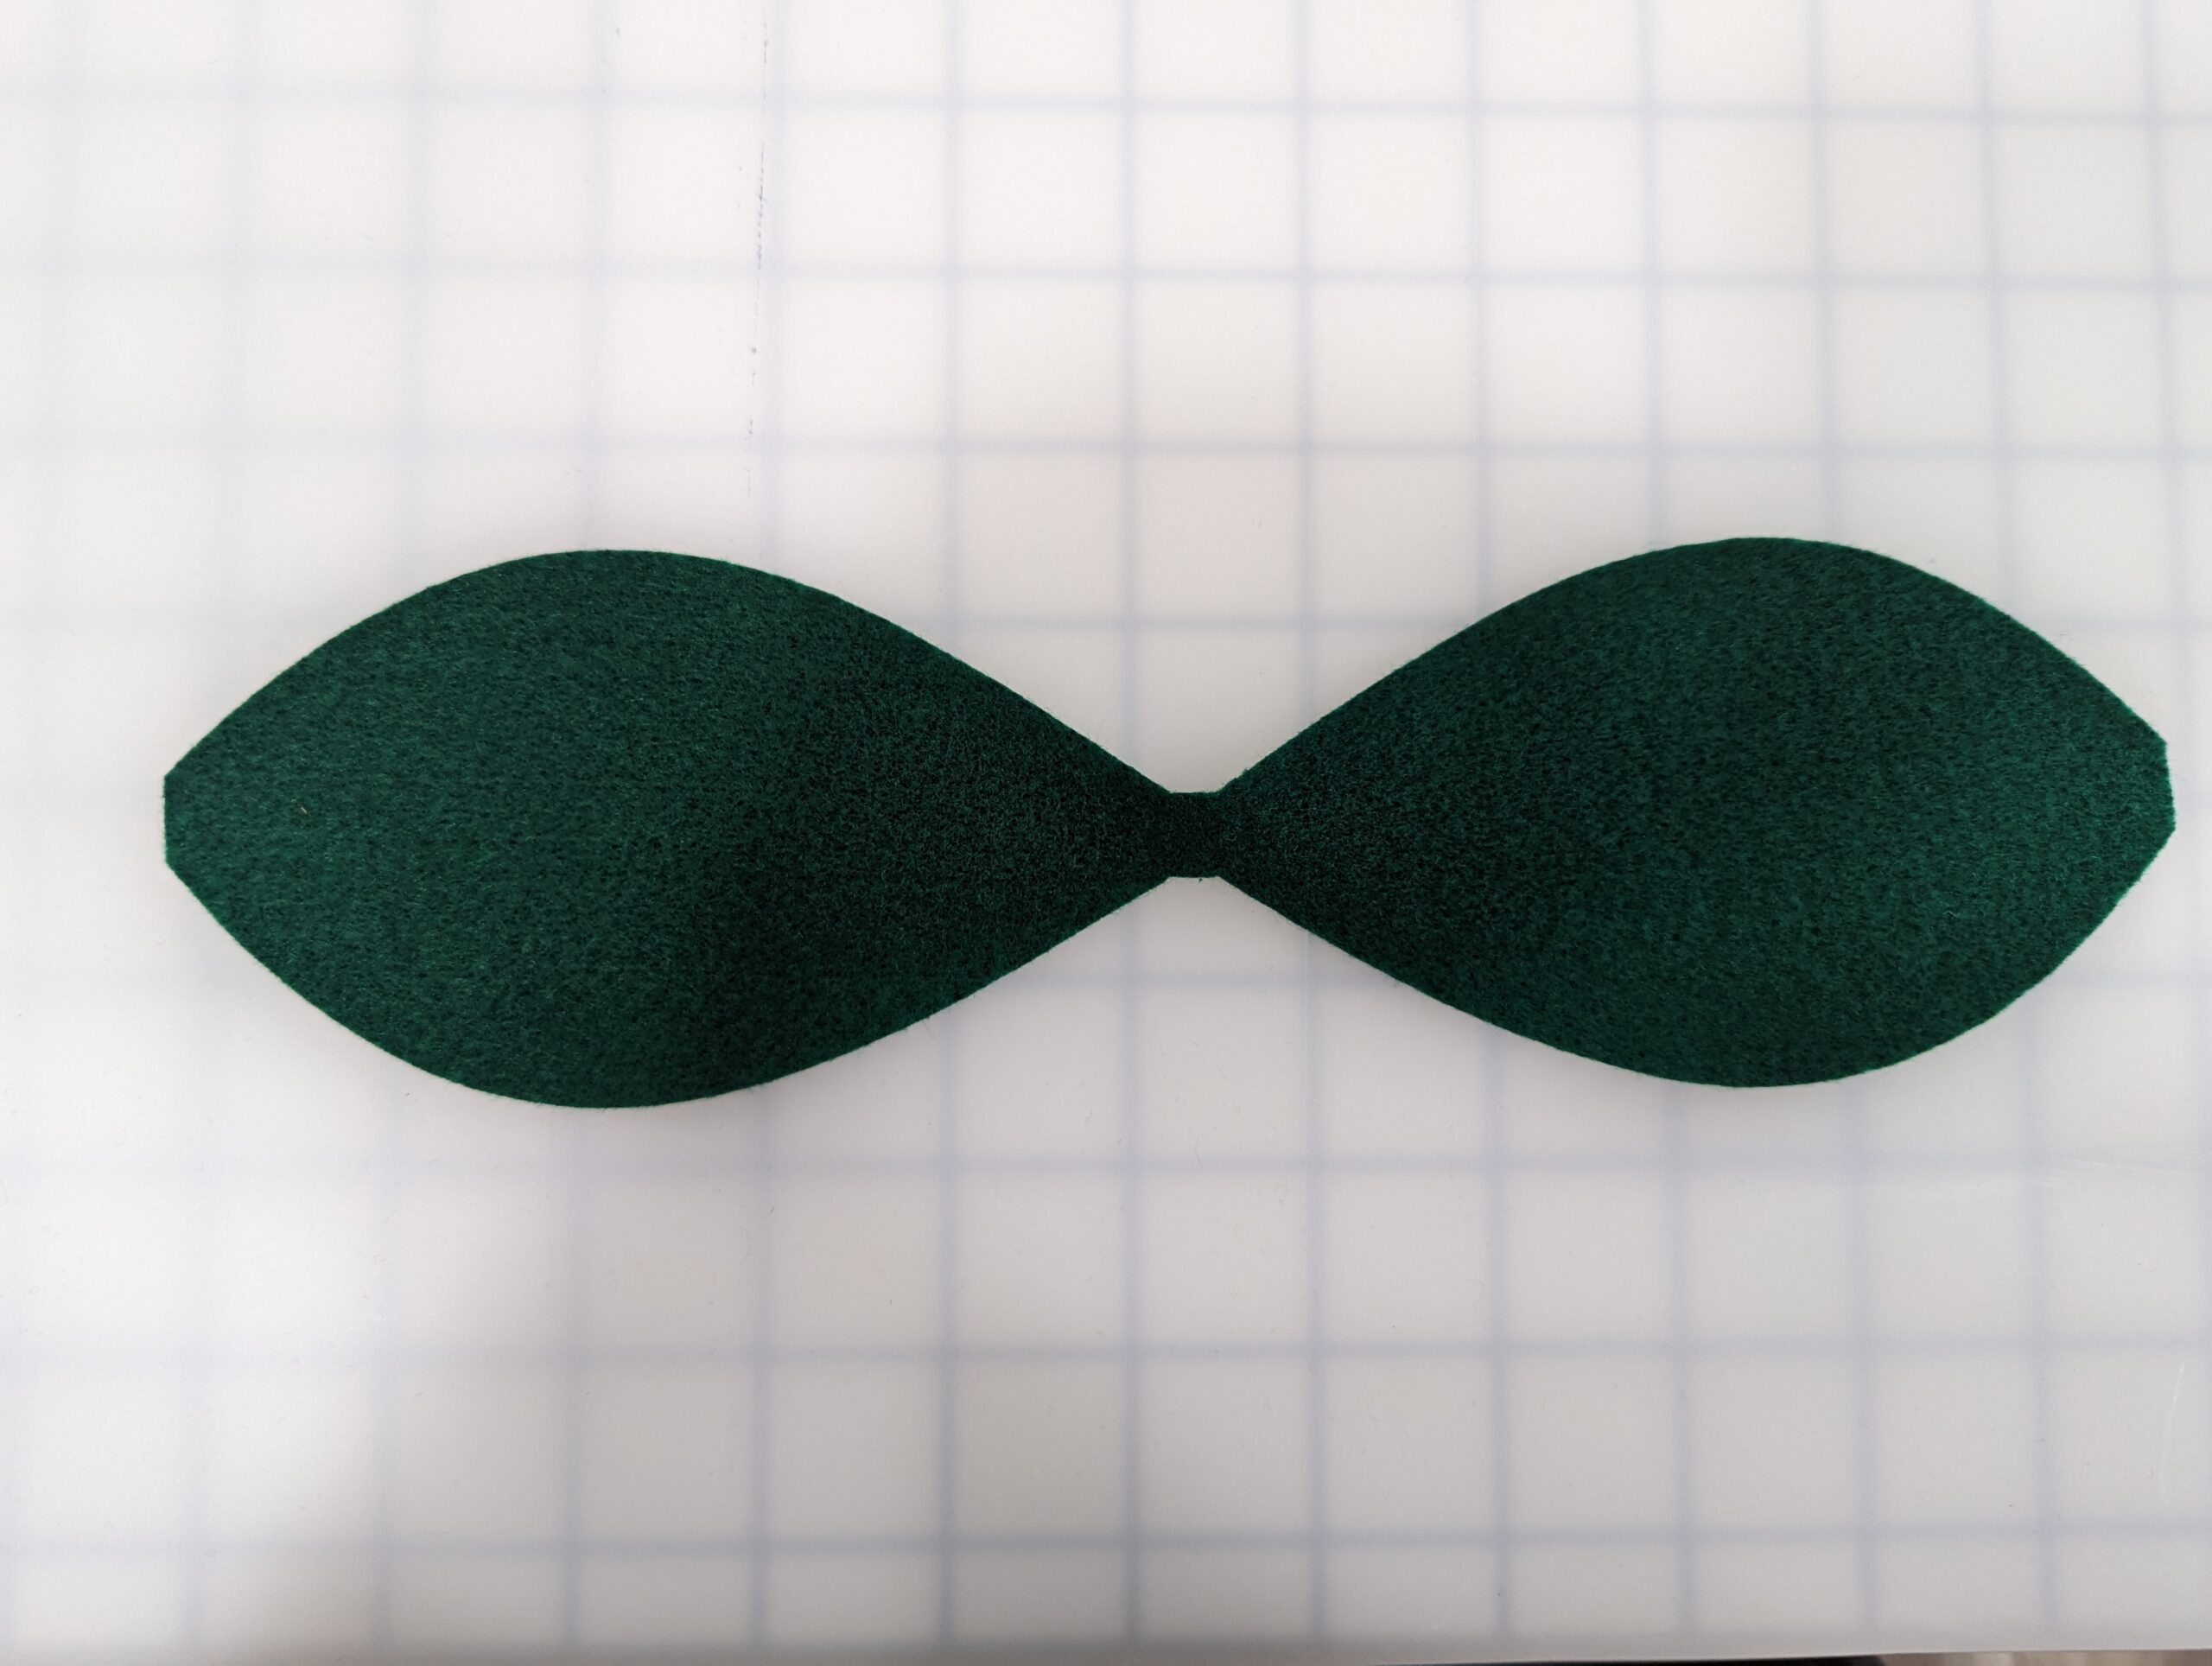
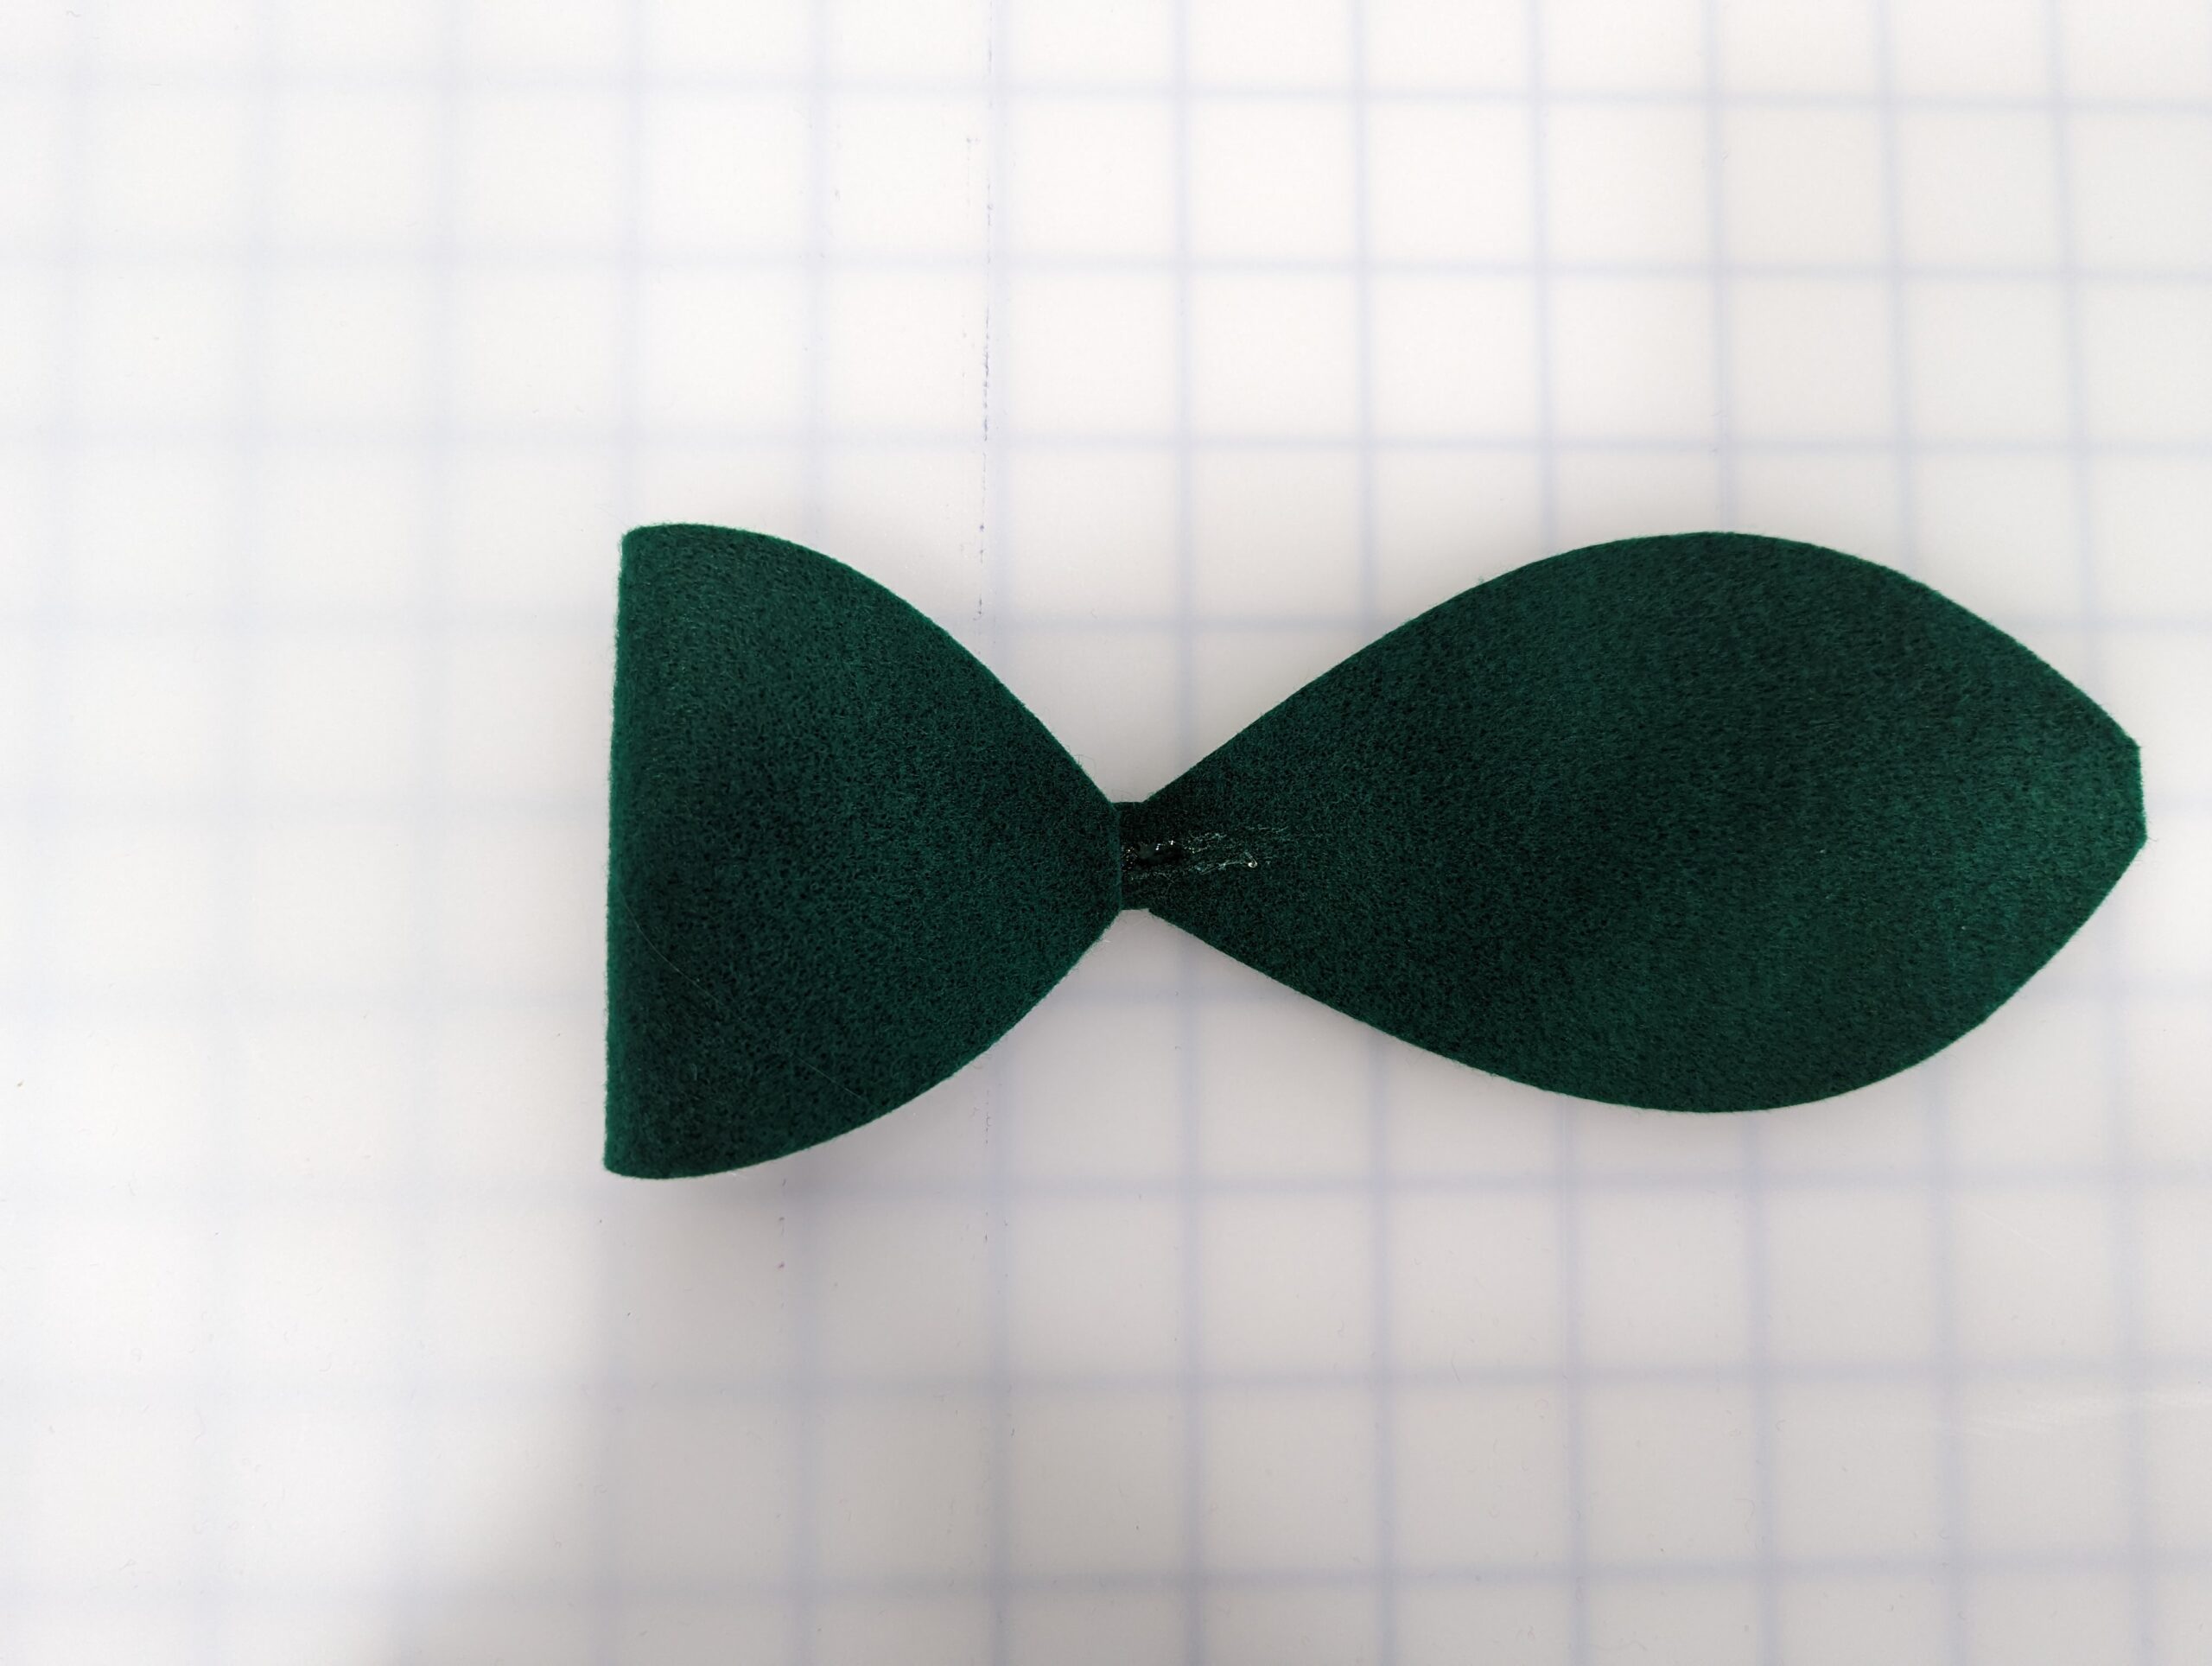
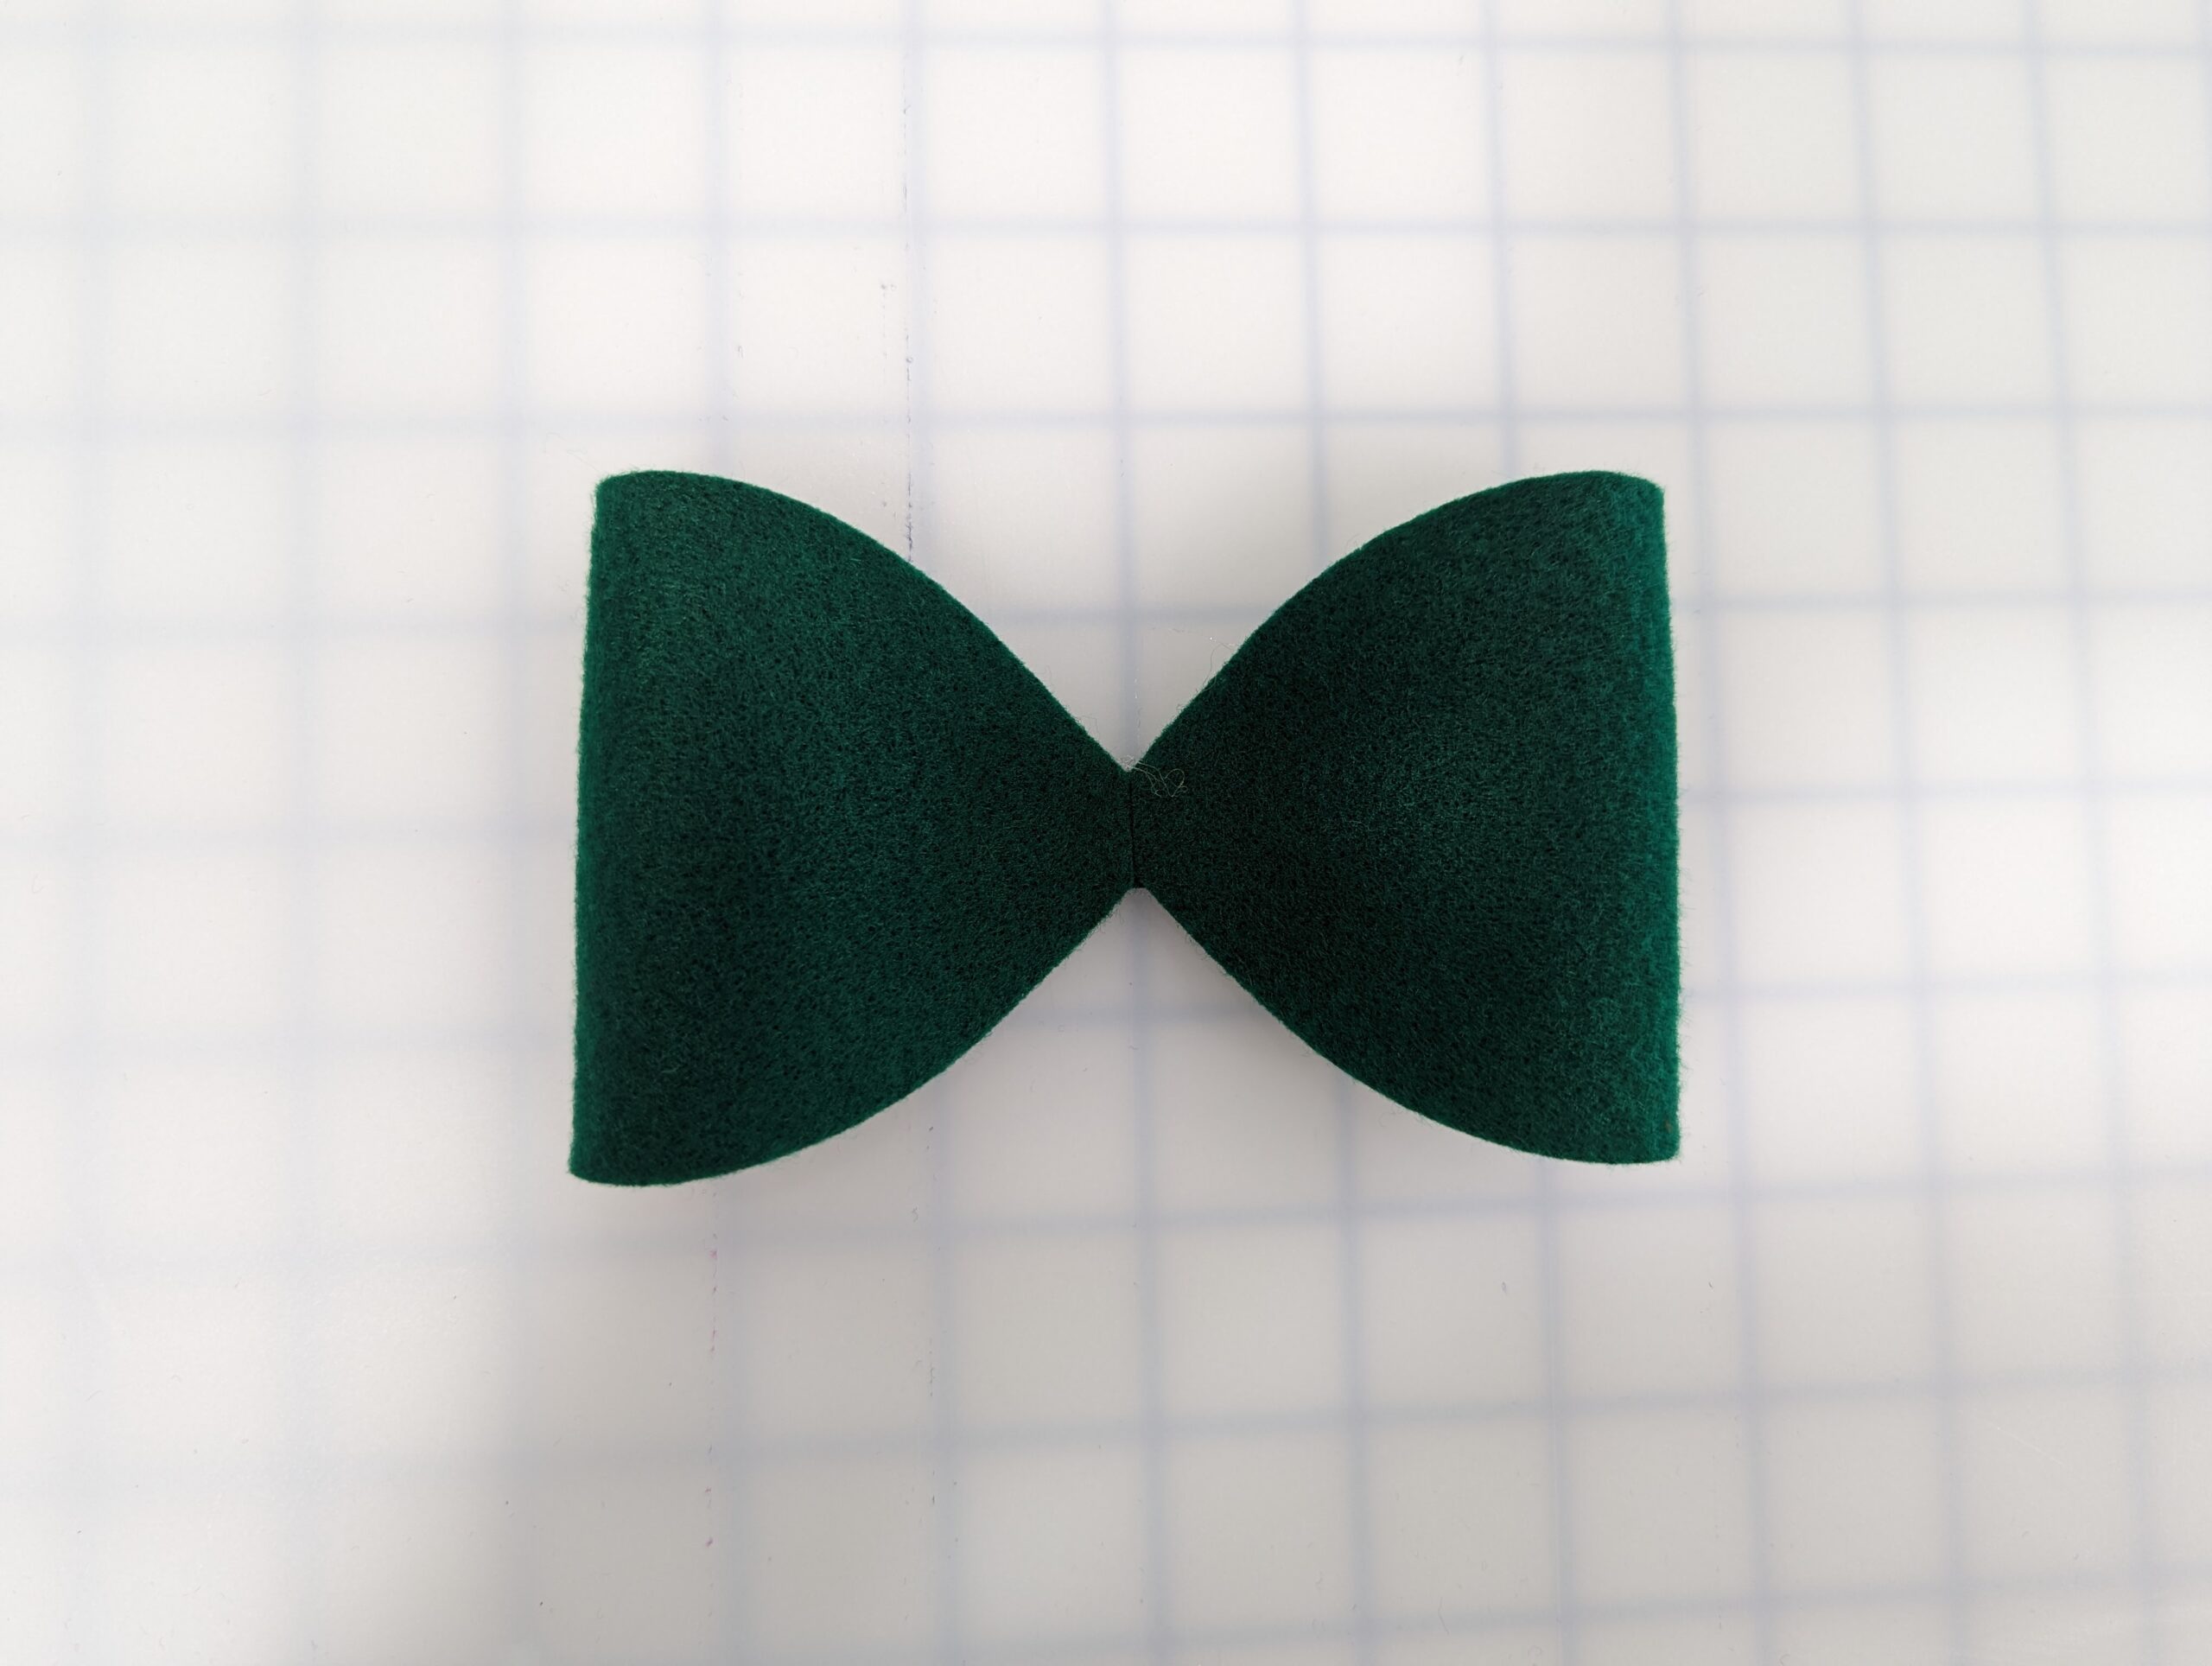
Now all bows continue. Lay one main bow piece flat. Fold the left side toward the middle. Fold the right side toward the middle. Both raw edges should touch without any overlap. Using your favorite hand stitch, place a few stitches to secure each end. NOTE – only stitch in the center. Repeat with the remaining bow pieces.
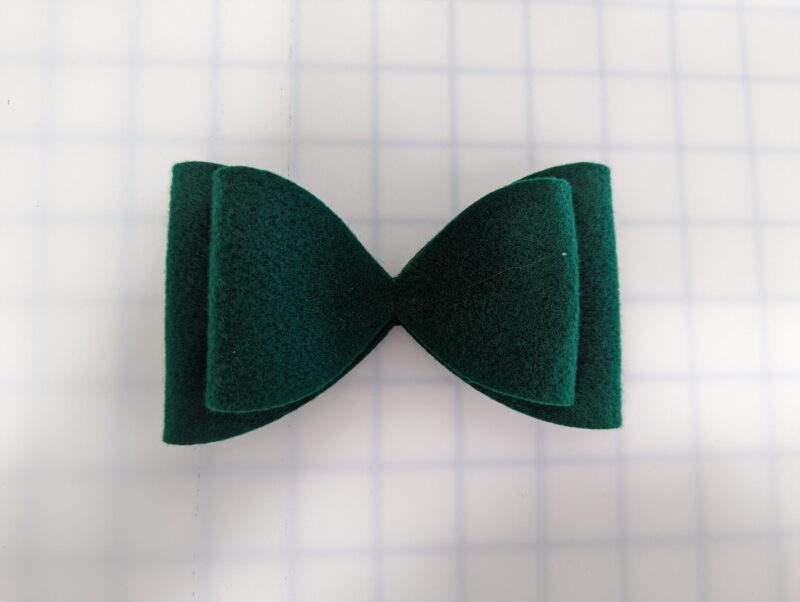
Now lay the bottom bow out flat. Then layer the next bow on top. If adding another bow, add it now. Then stitch through the center.
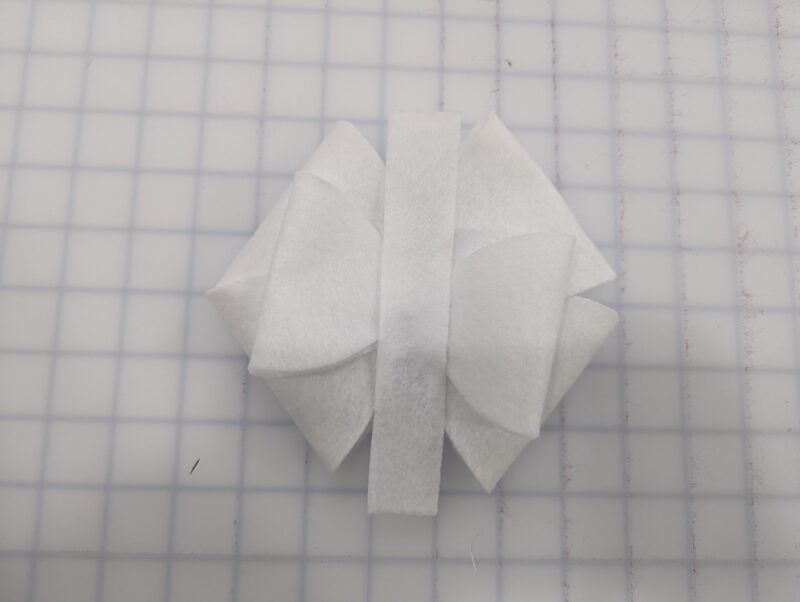
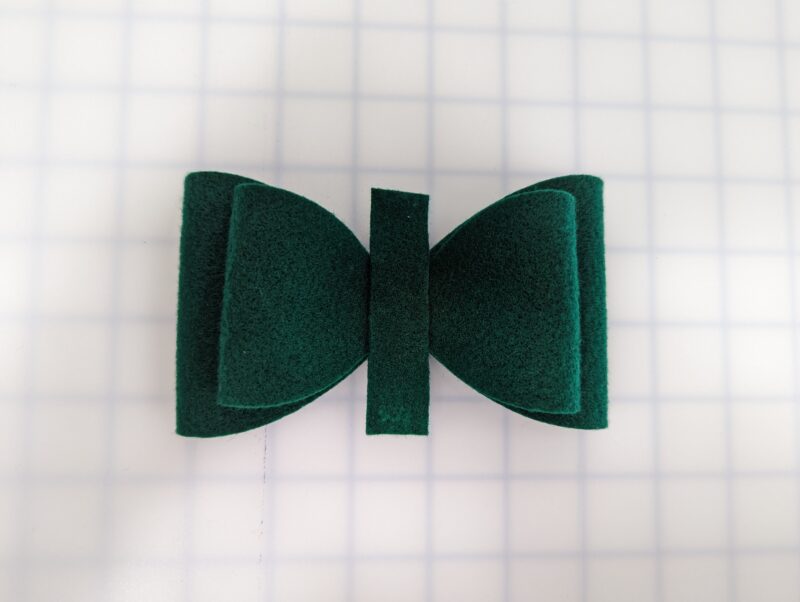
Place your center bow piece on top of the front main bow piece, being sure to match up centers.
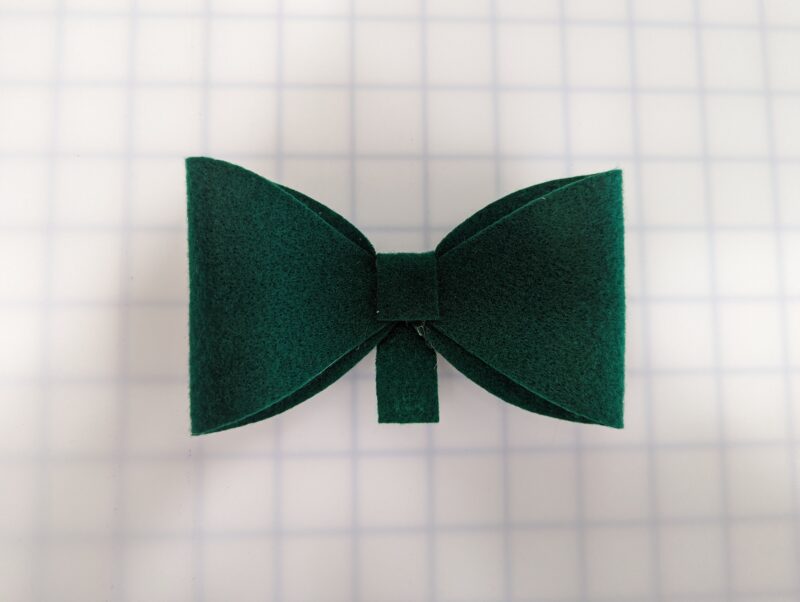
Wrap the center around the bow, and using either thread or glue, secure the center in the back.
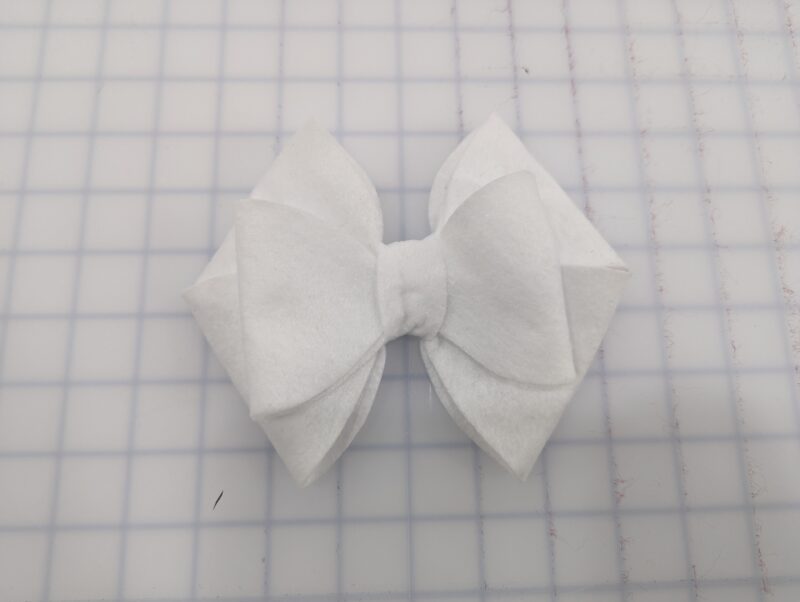
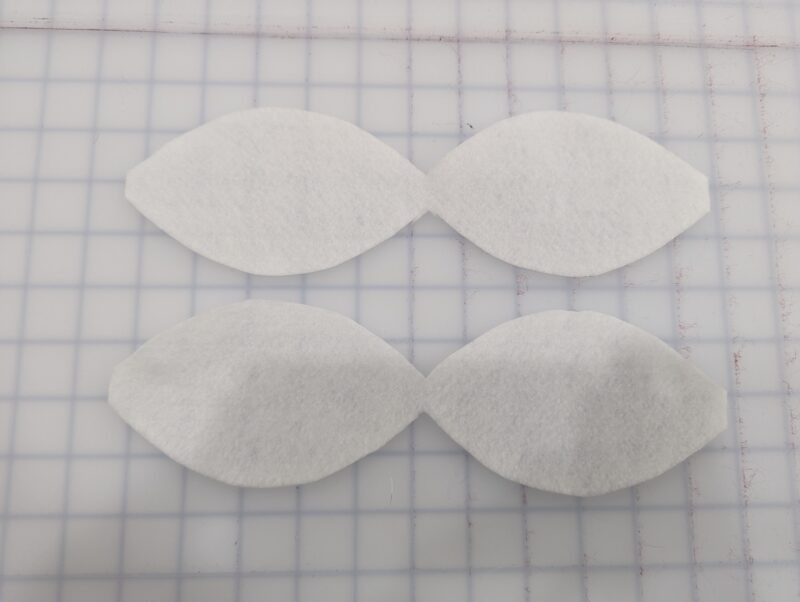
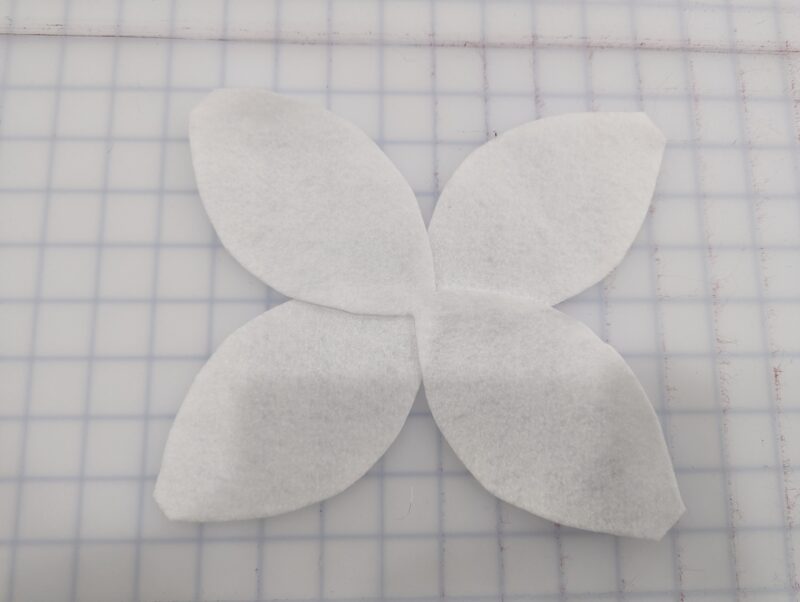
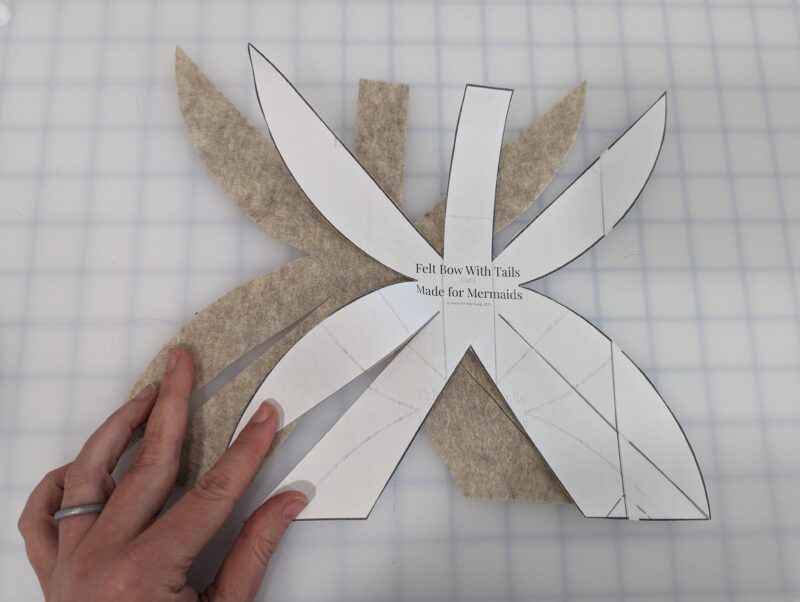
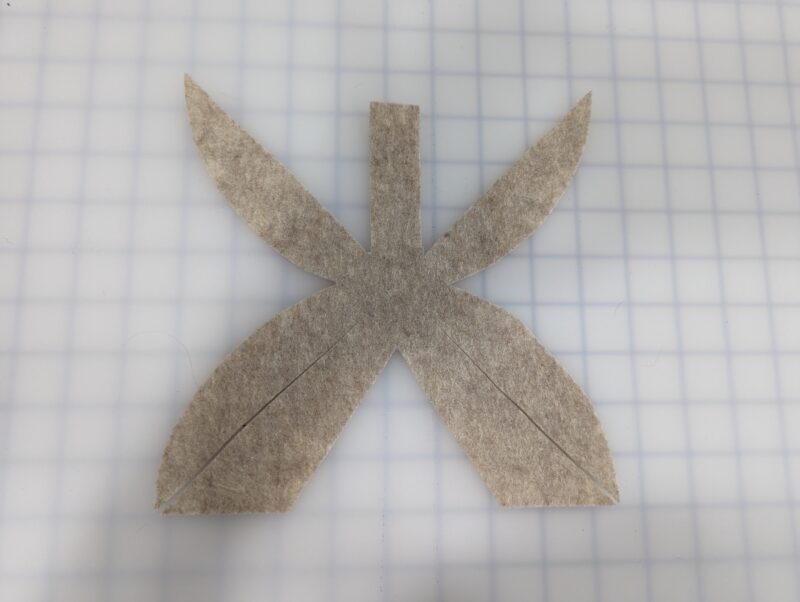
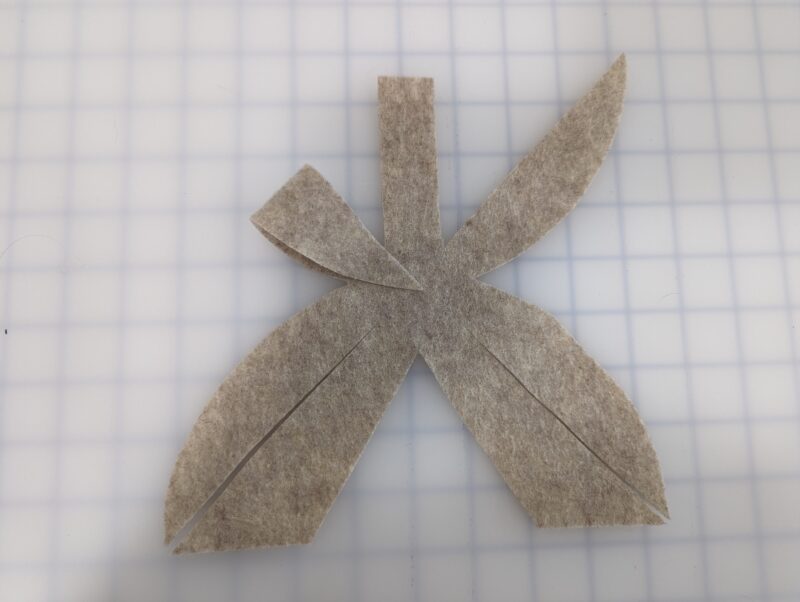
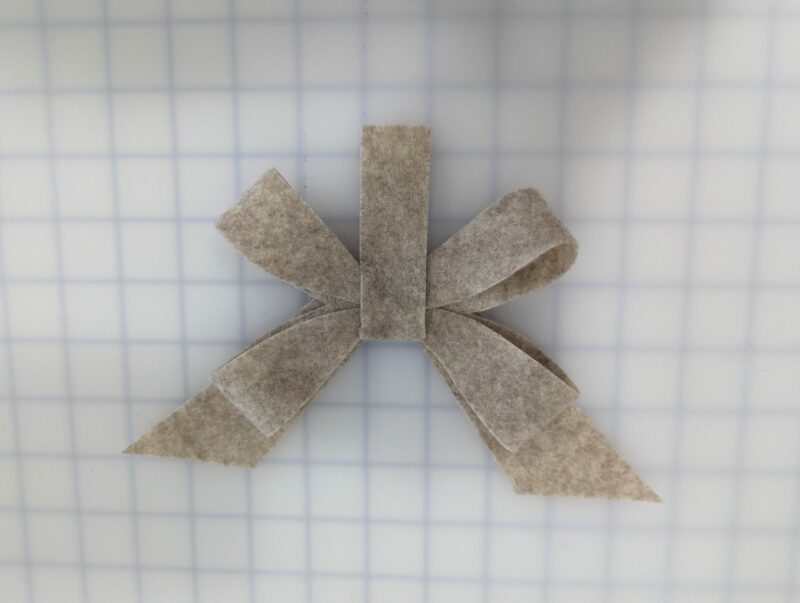
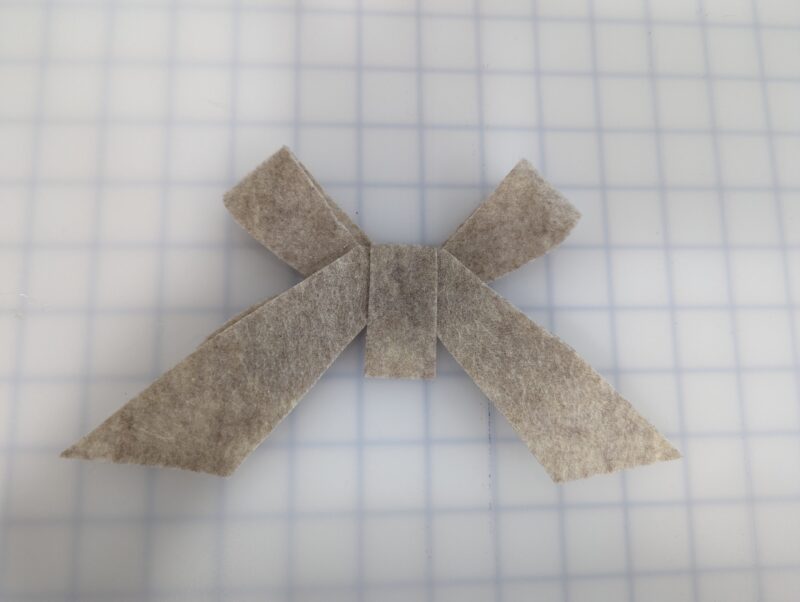
Cut your bow piece out. Along the LIGHT grey, dashed lines, you will cut into your felt, as shown, to create the bow tails.
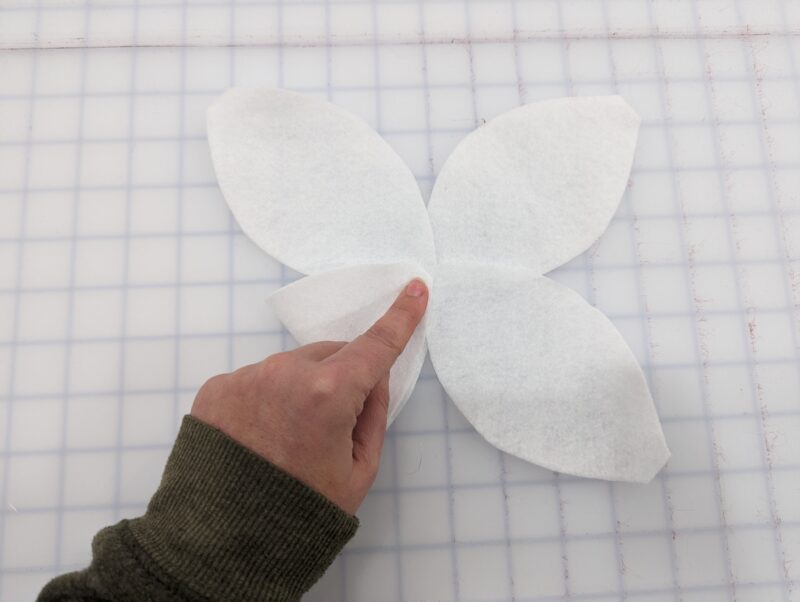
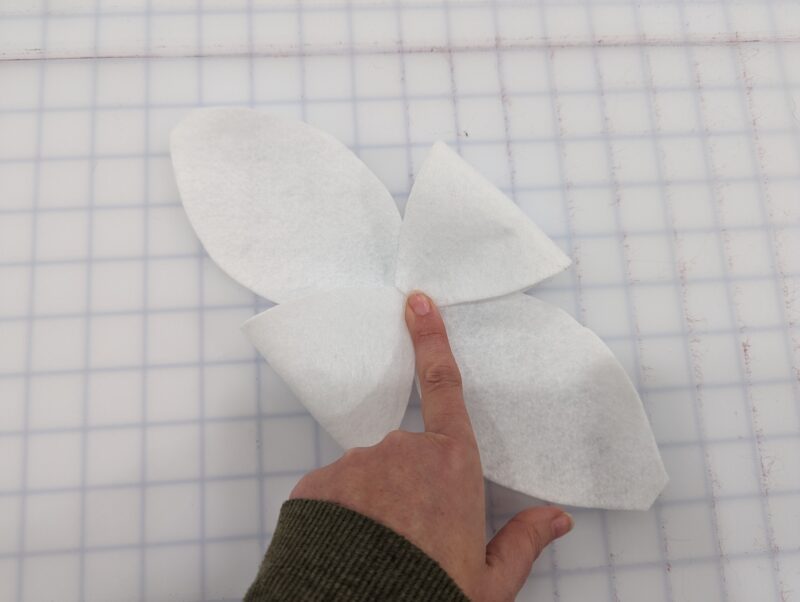
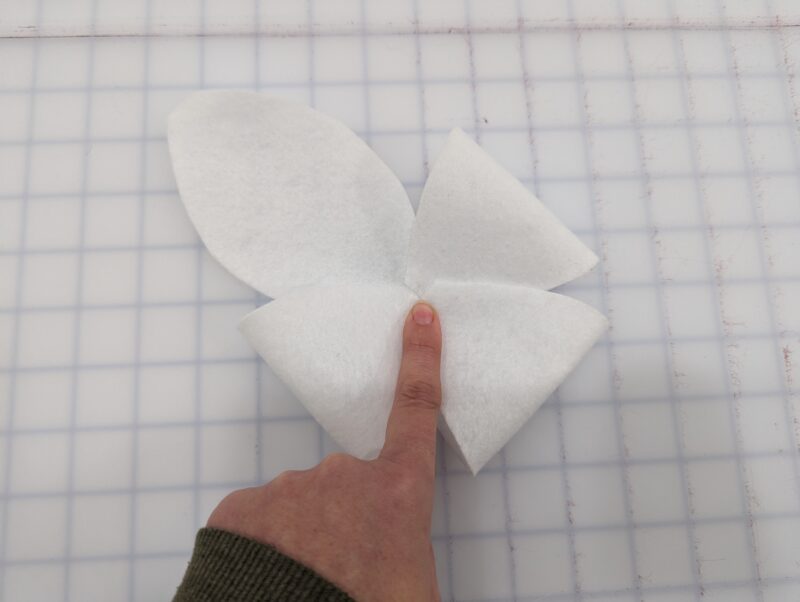
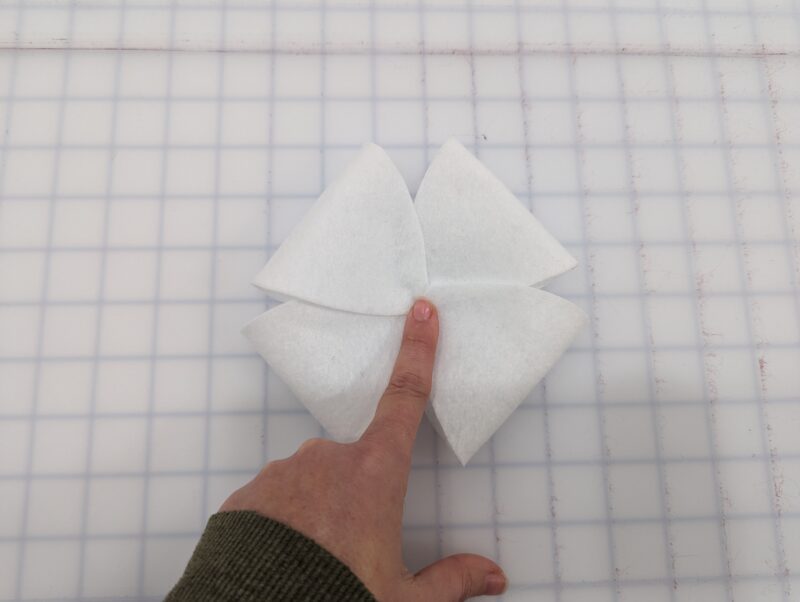
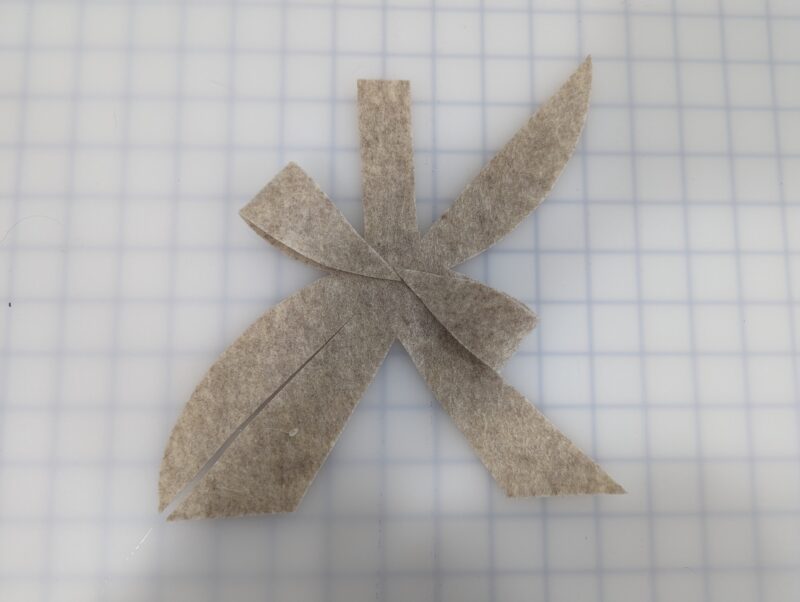
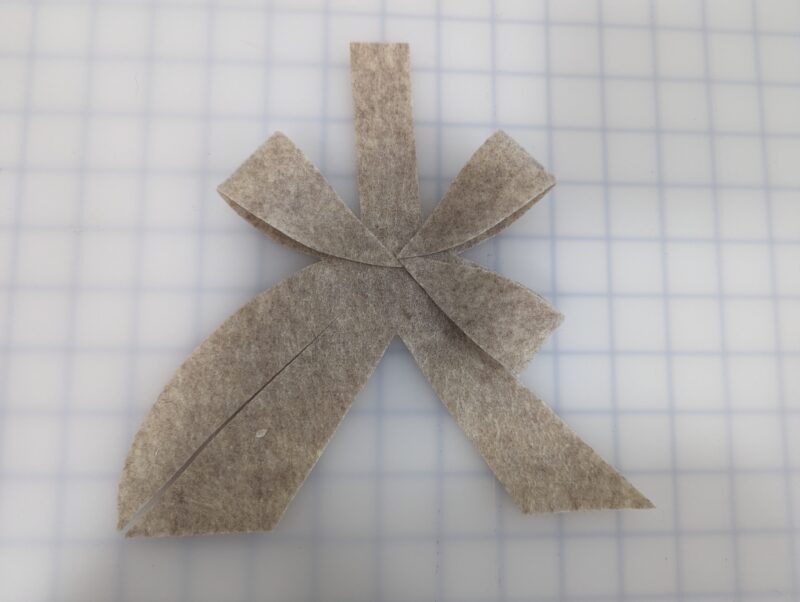
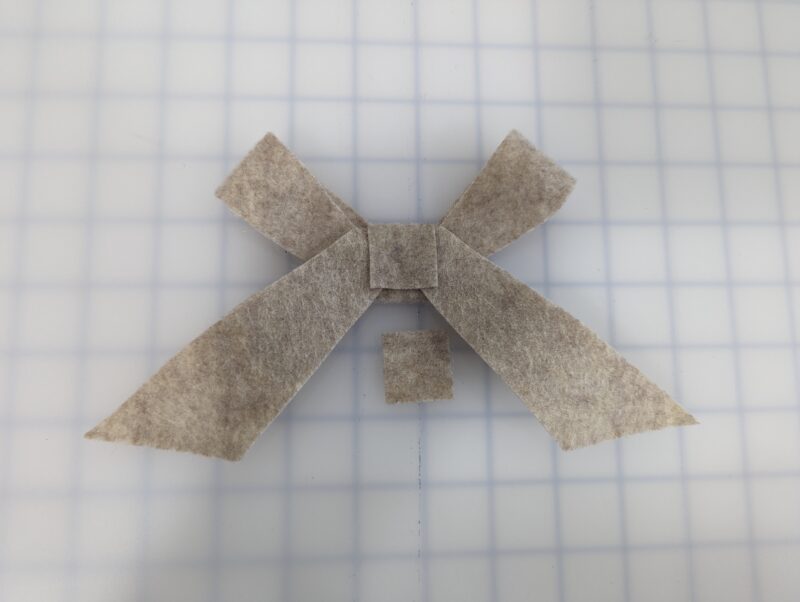
Take the top left piece and place it in the center of the bow. Then repeat with the bottom left piece, top left piece, and bottom right piece.
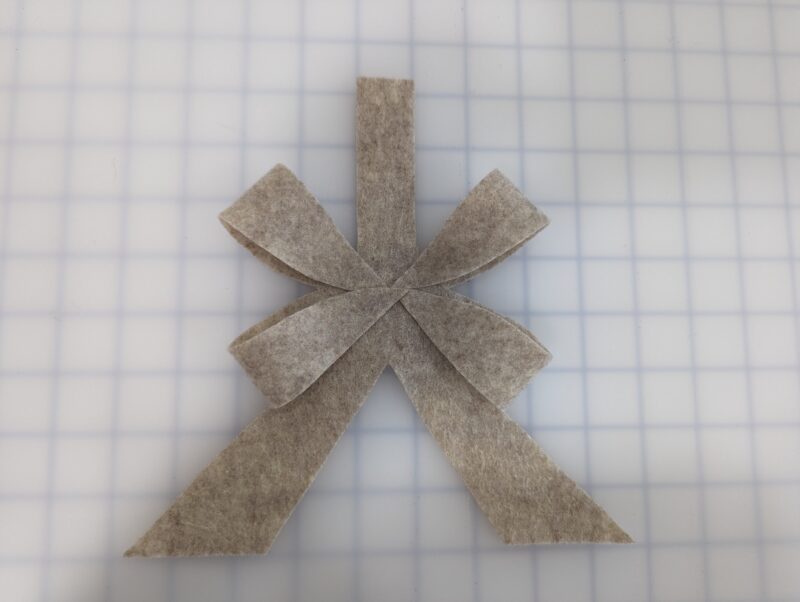
Take the bottom bow tail pieces and flip them up, toward the wrong side of the bow. Glue or stitch in place. Your center piece should now be facing down.
- Wrong side view
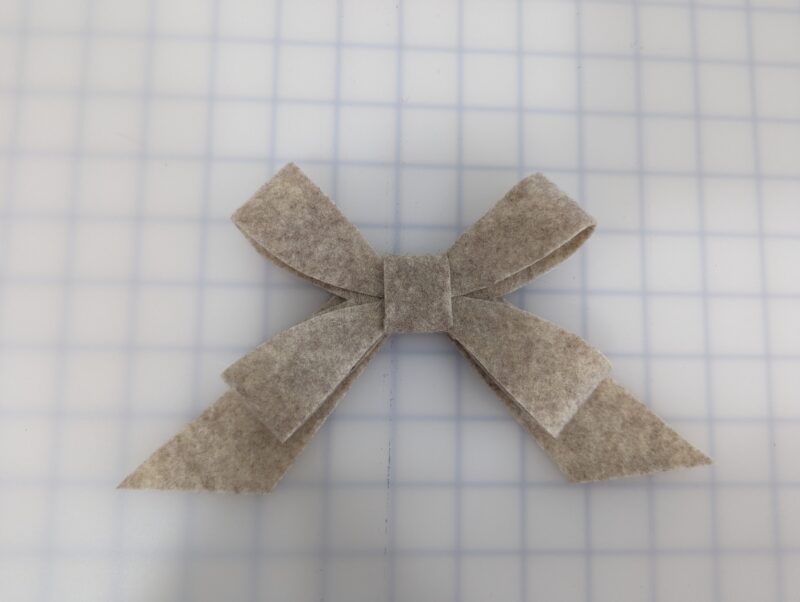
Wrap the center piece up, covering the bow ends in the center, and around toward the back. Trim the excess center bow piece.
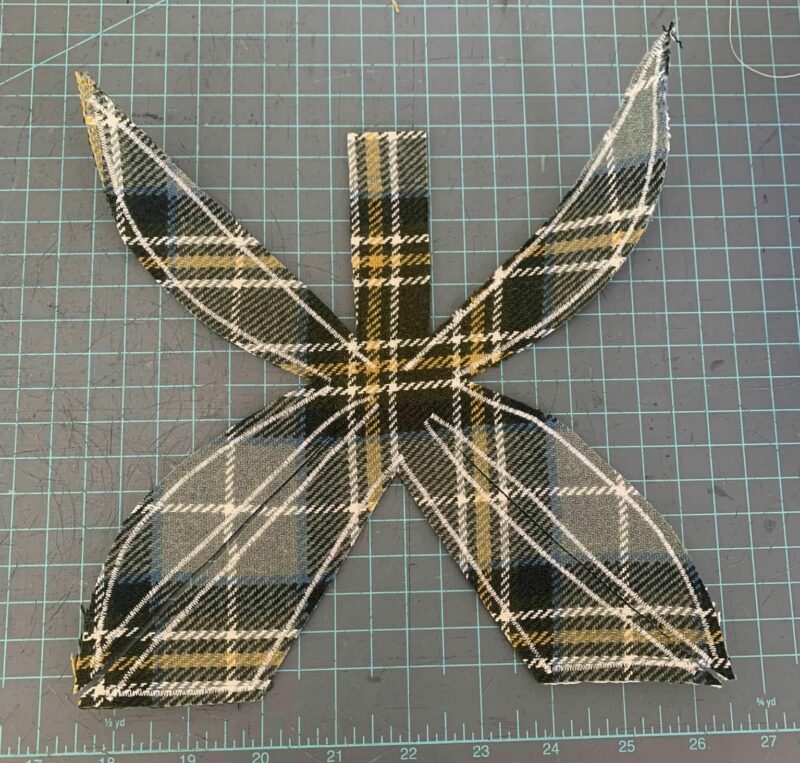
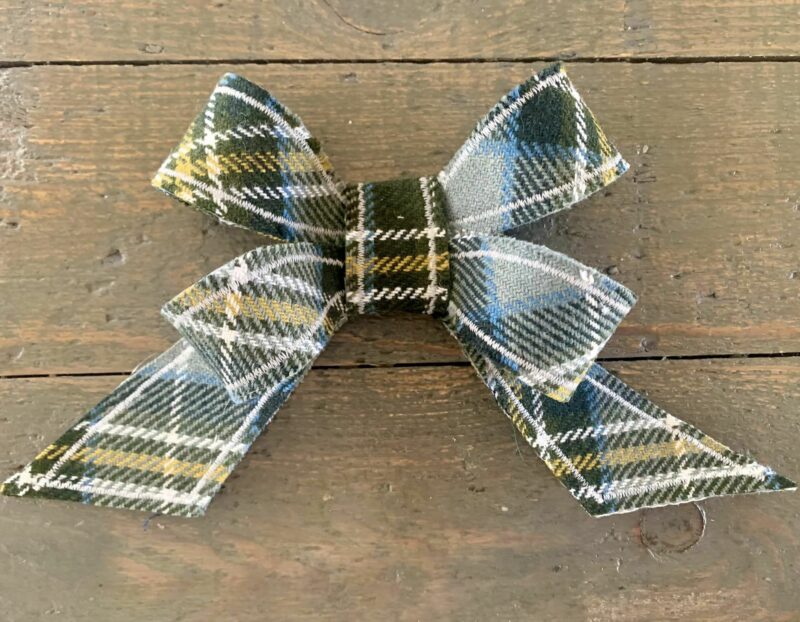
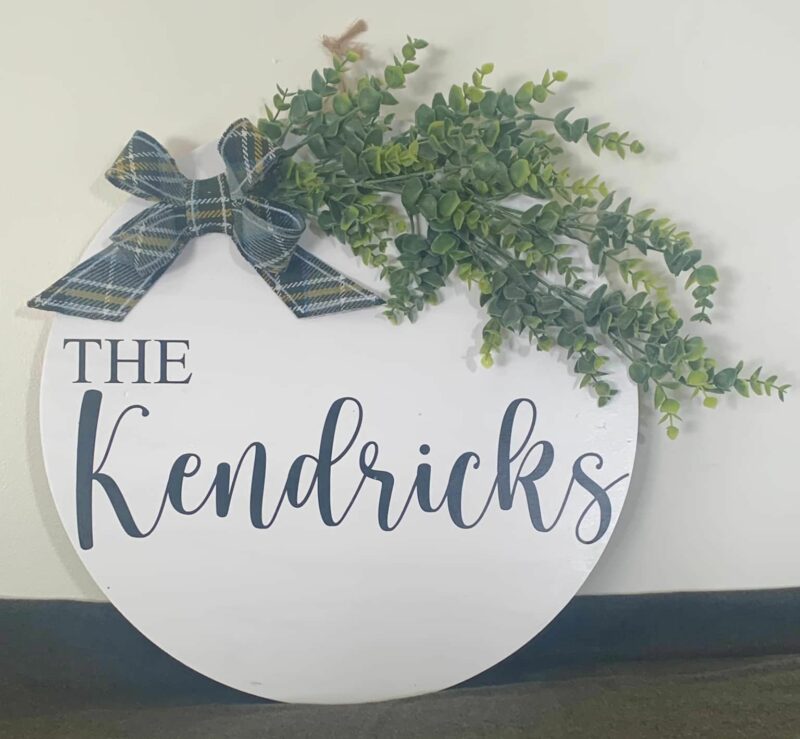
Tanya used two layers of wool, one interfacing layer, and one heat bond layer to make it one layer. A little satin stitch for the edge. To create this adorable bow. You can really get creative with these!
That’s it, use all the cute bows on your gifts for years to come!
DECEMBER 1 – 12, 2023
DAY 1 –TOASTER TREAT PLAY FOOD + PLUSHIE
DAY 2 –FABRIC KEY FOB
DAY 3 – FABRIC COASTERS
DAY 4 – FELT MISTLETOE
DAY 5 – HAT TOTE BAG
DAY 6 – FELT WREATH
DAY 7– LINEN TEA TOWEL
DAY 8– PINT COZY


Leave a Reply