
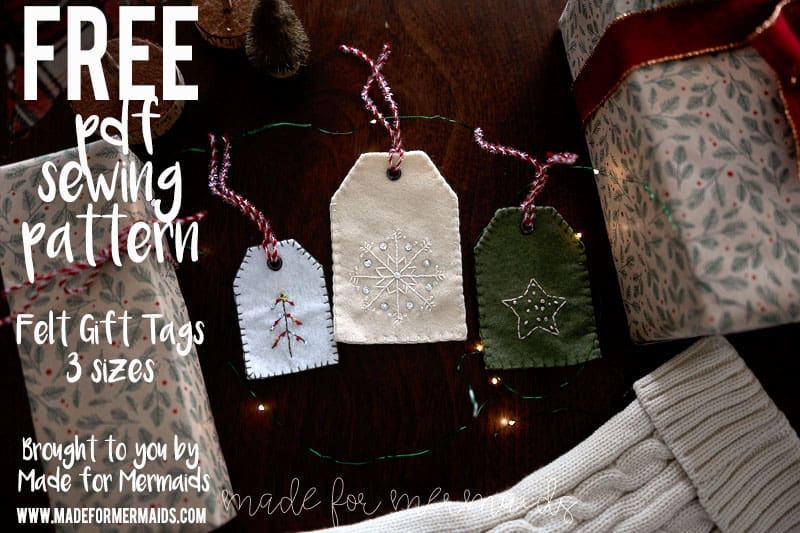
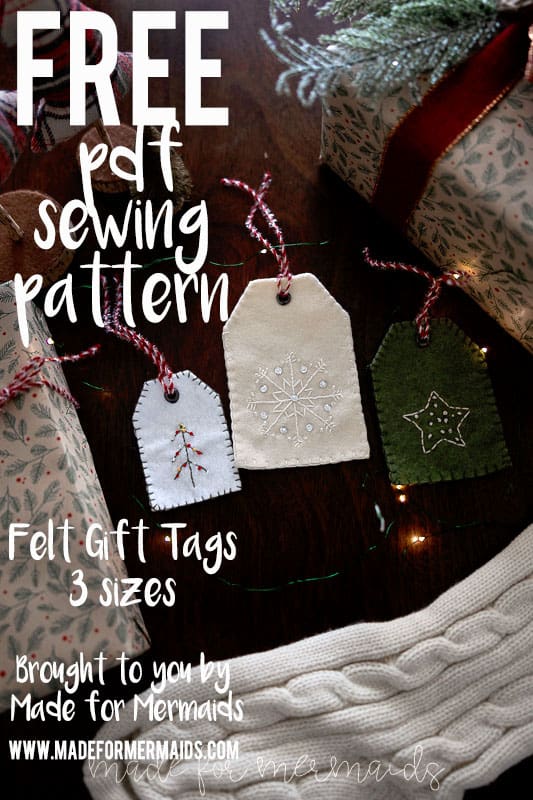
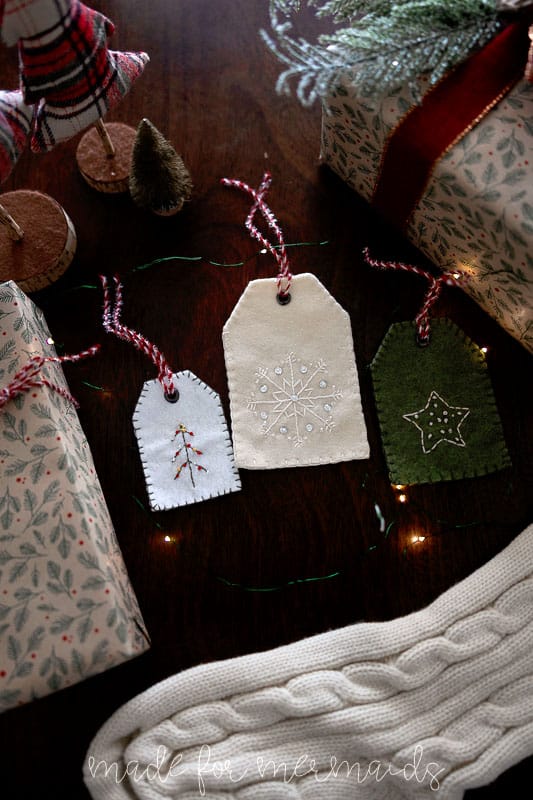
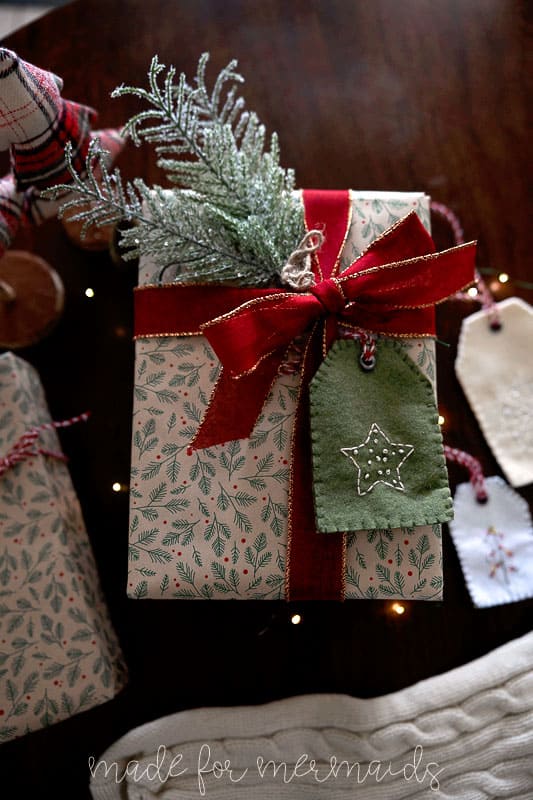
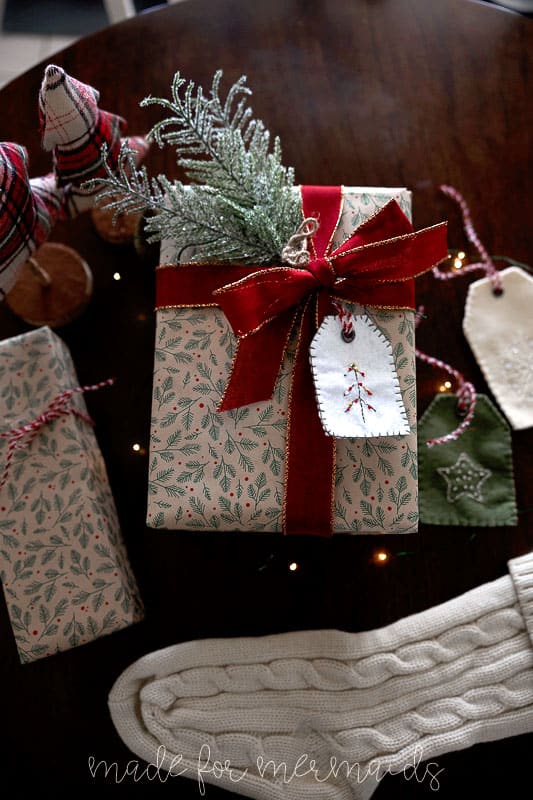
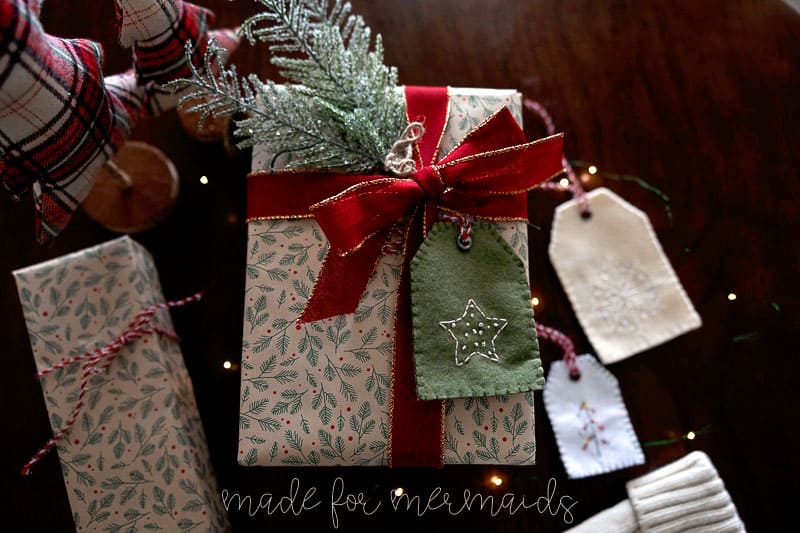
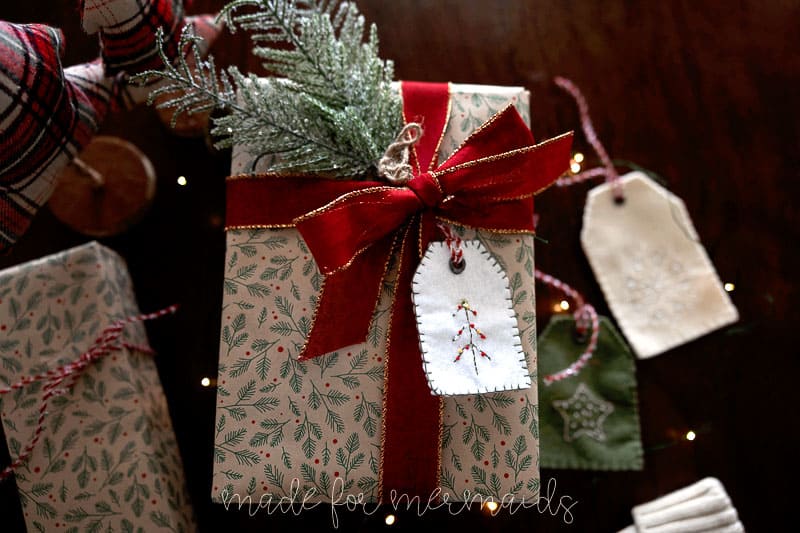
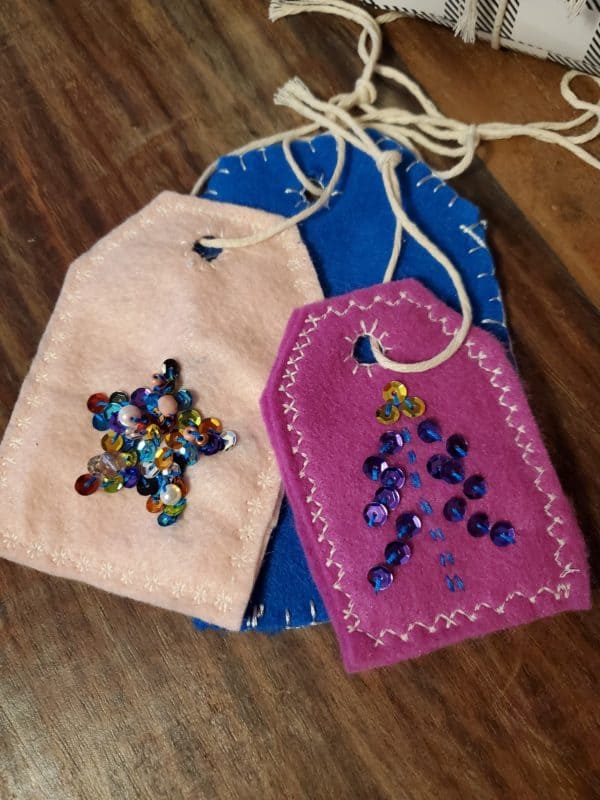
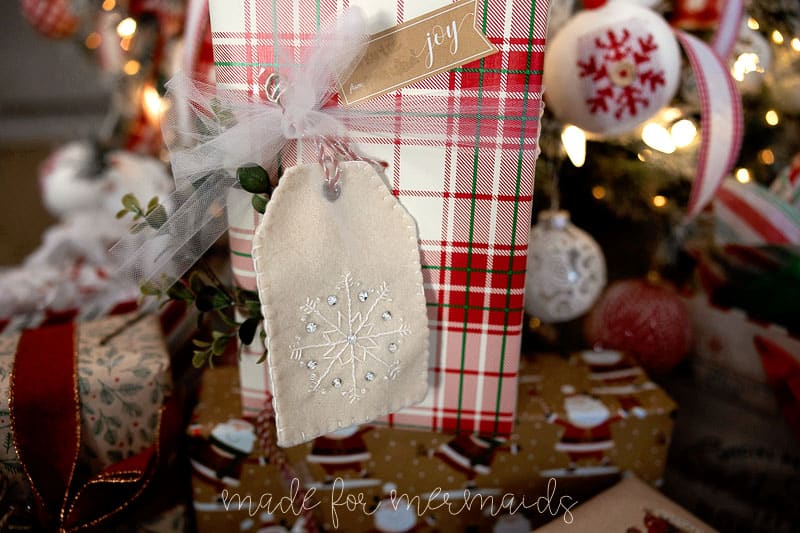
It’s the 11th day of Christmas and we have a beautiful felt gift tag pattern in 3 sizes today! These are so fun, a great activity for kids, for sitting while watching tv, or in carline. You can make these all by hand or with your sewing machine. I love to hand embroider and it really adds something sweet and special to a gift. I reuse my gift toppers every year, so these will be used many times!
SUPPLIES:
- felt
- hand embroidered option: embroidery floss, embroidery needle
- ribbon or twine for hanging loop
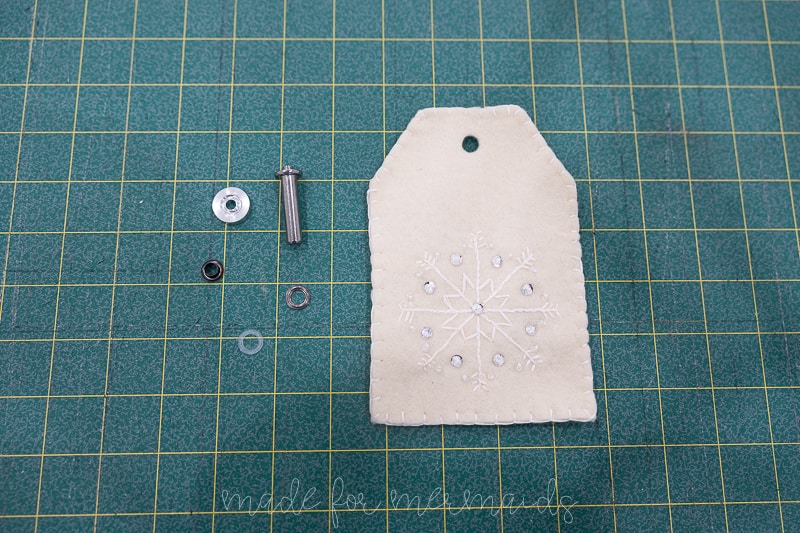
- optional- grommet
- optional- embellishments like sequins, beads, bells, rik rack, mini pom-poms, etc.
LET’S GET STARTED!
Step 1: PREPPING
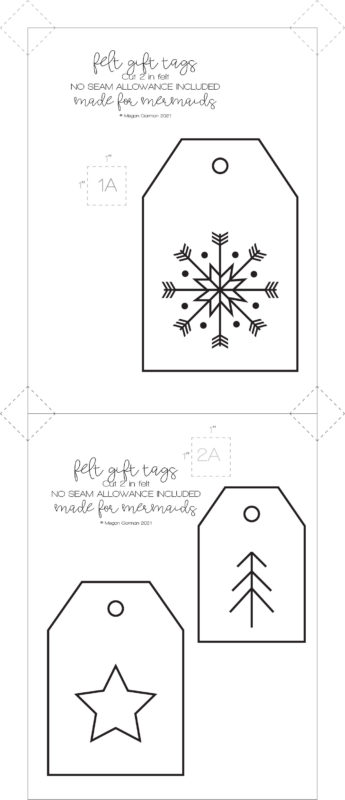
Go grab the pattern here! The pattern is 100% free, but you do need to add it to your cart and checkout. Then, it will always be available to download from your account. The pattern is a no trim pattern; if you need help putting the pattern together, pop over to the faqs and troubleshooting page , check out the blog post here, or ask in our Facebook group .
Print and assemble the pattern. There are 2 pages to print out. The pattern layout is below so you can just print the pages your need for your desired ornament/s:
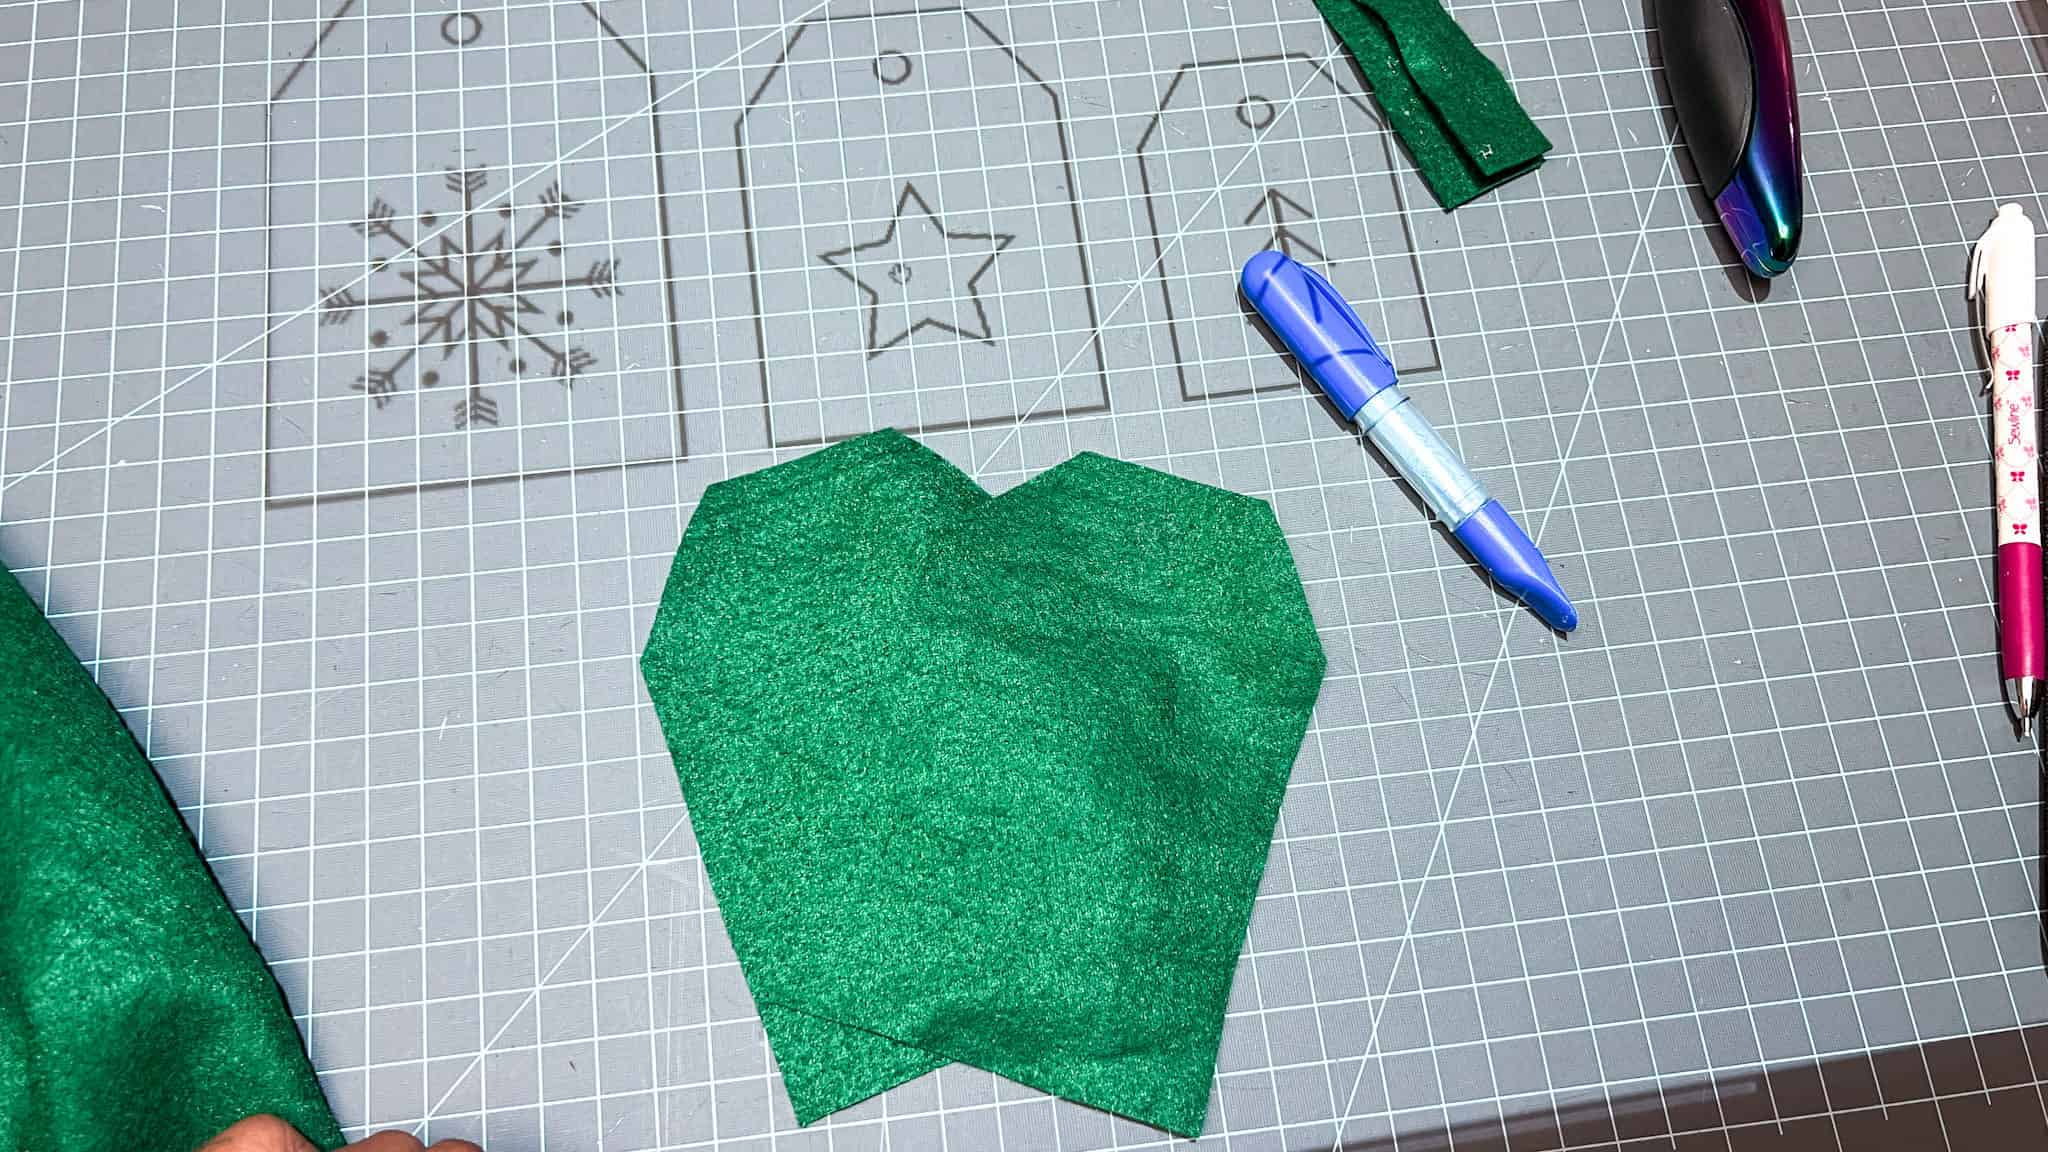
Alternatively, you can use the projector file if you’re using a projector.
If you prefer a video tutorial, check it out on YouTube here:
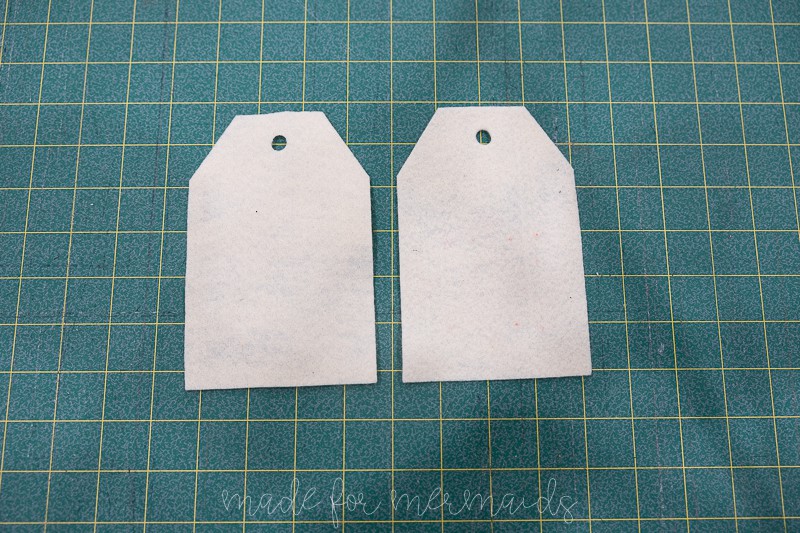
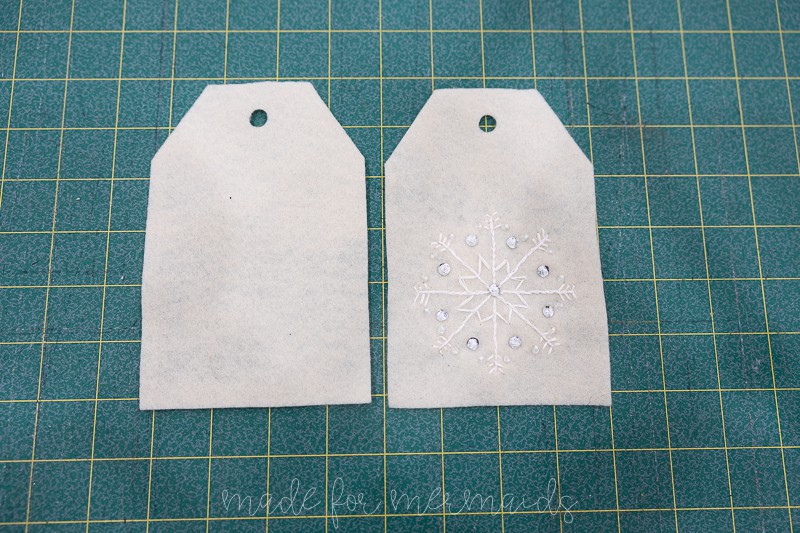
You’ll want to cut 2 pieces of your gift tag. I find it easiest to pin the piece to the felt and use shears to cut instead of a rotary cutter.
Step 3: Embellishing
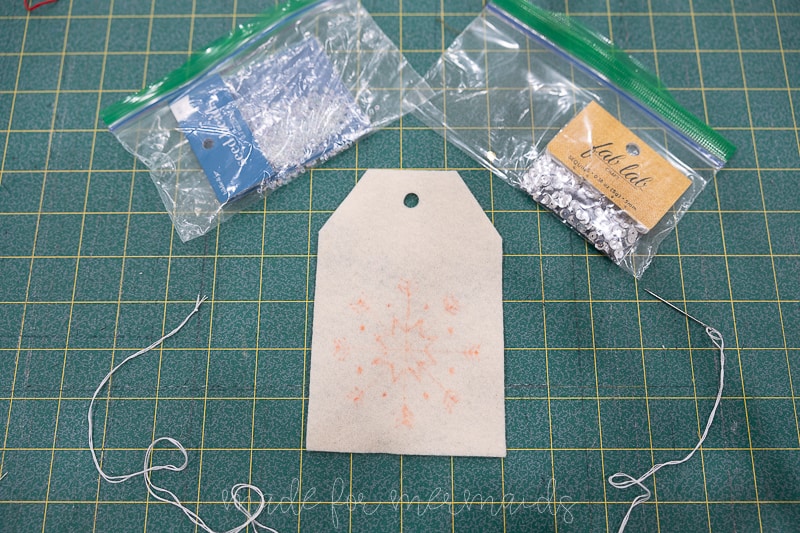
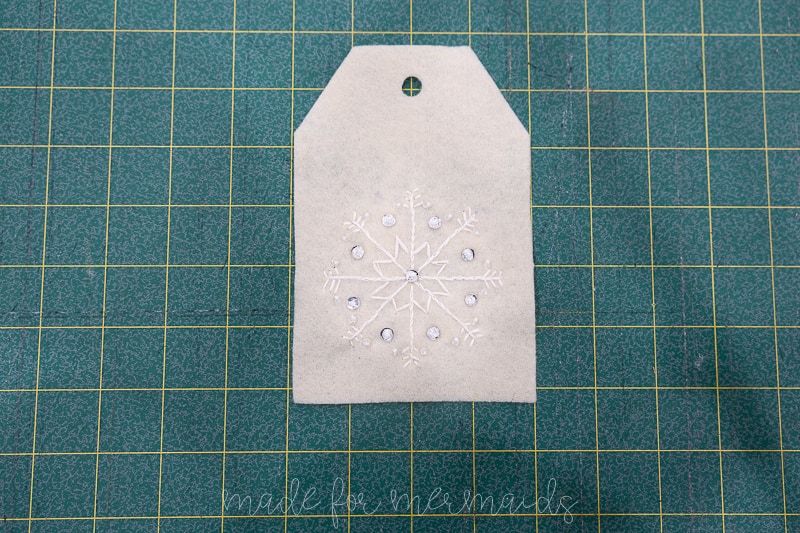
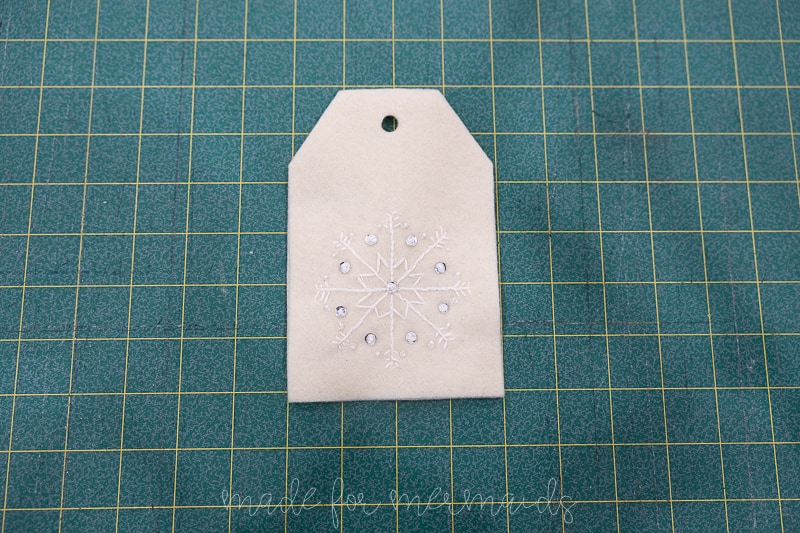
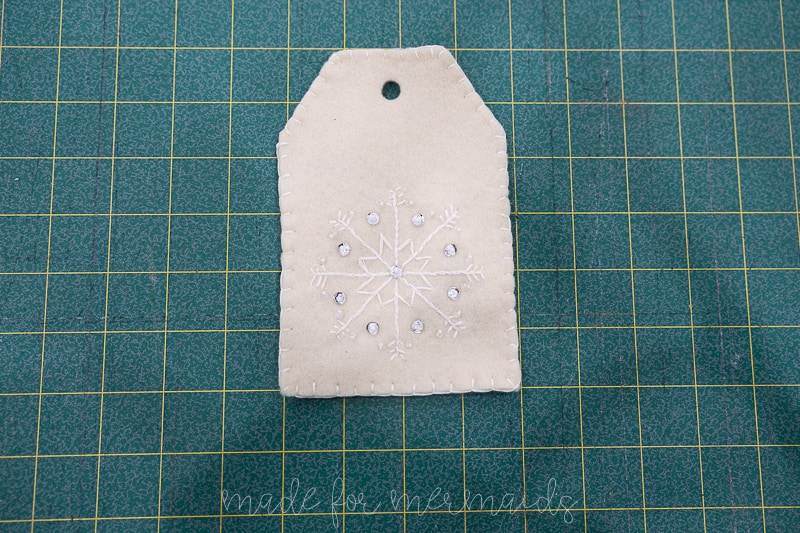
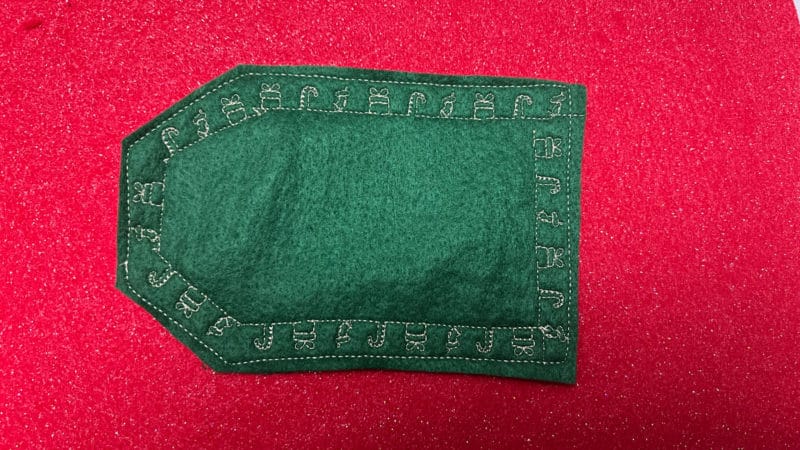
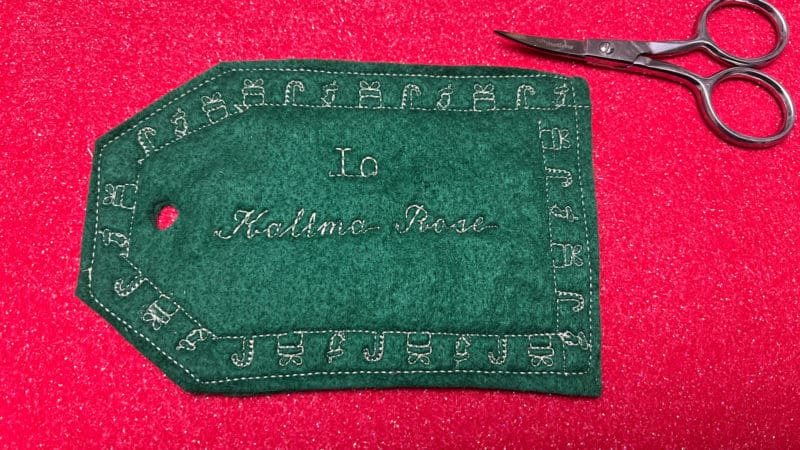
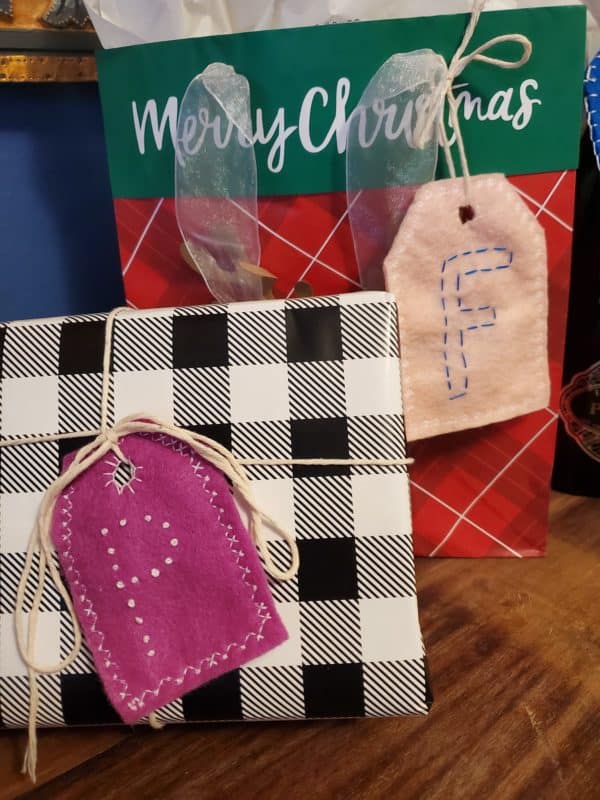
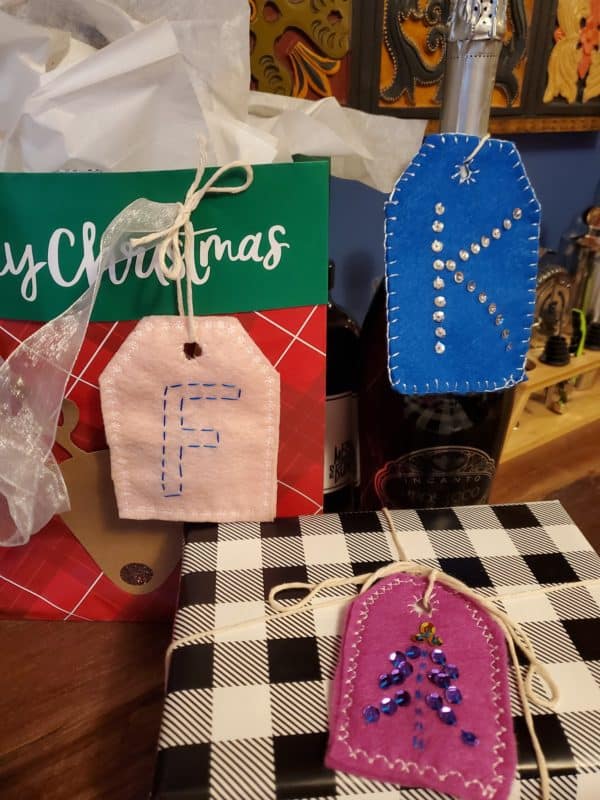
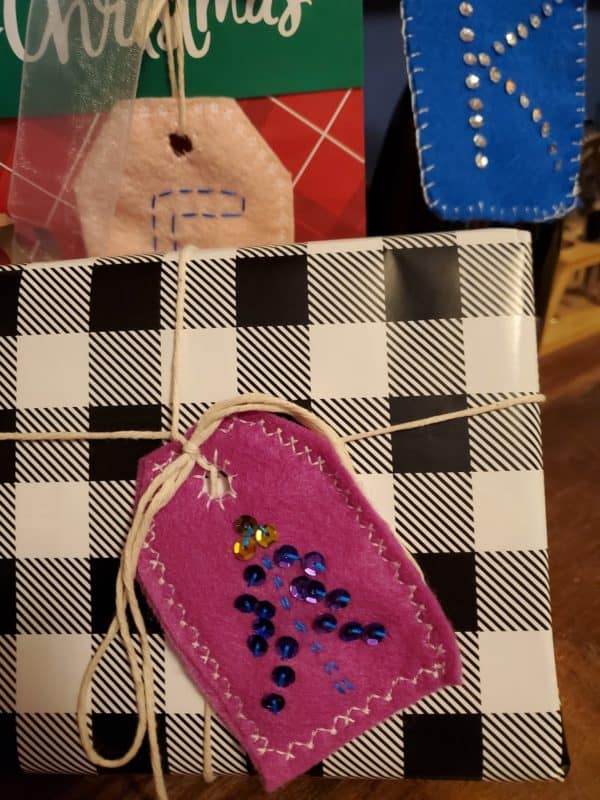
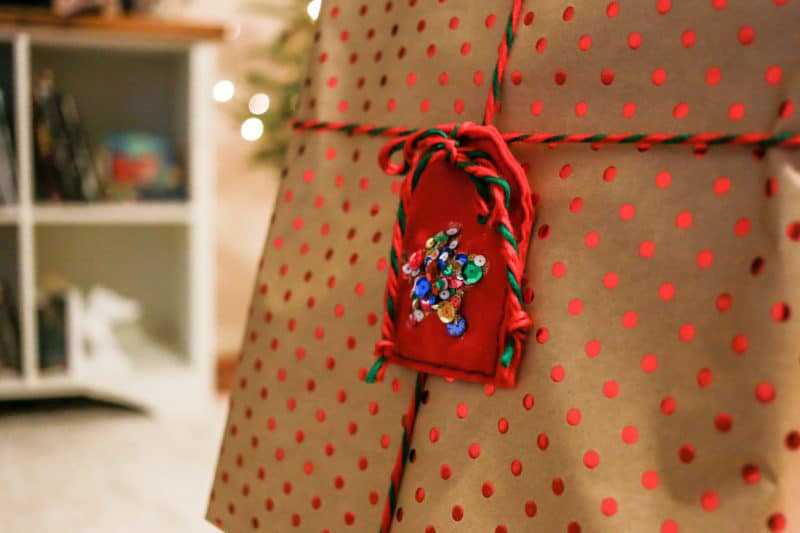
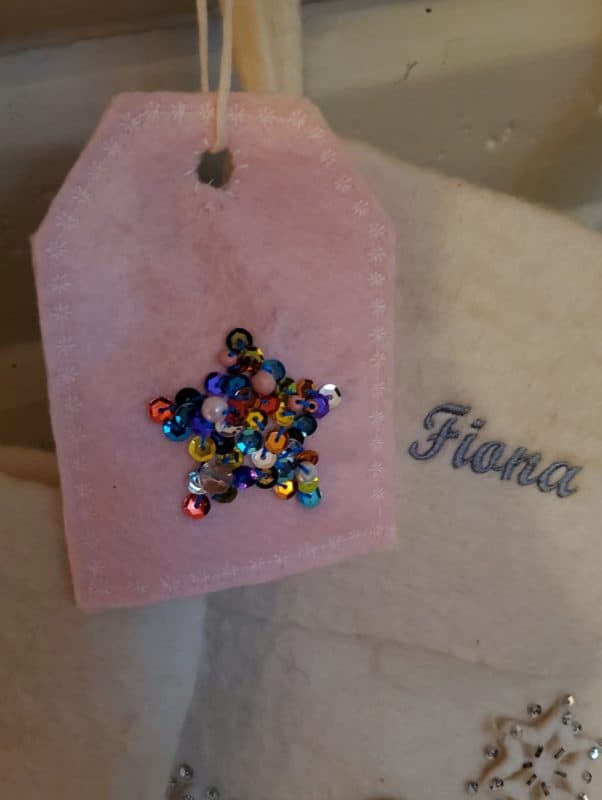
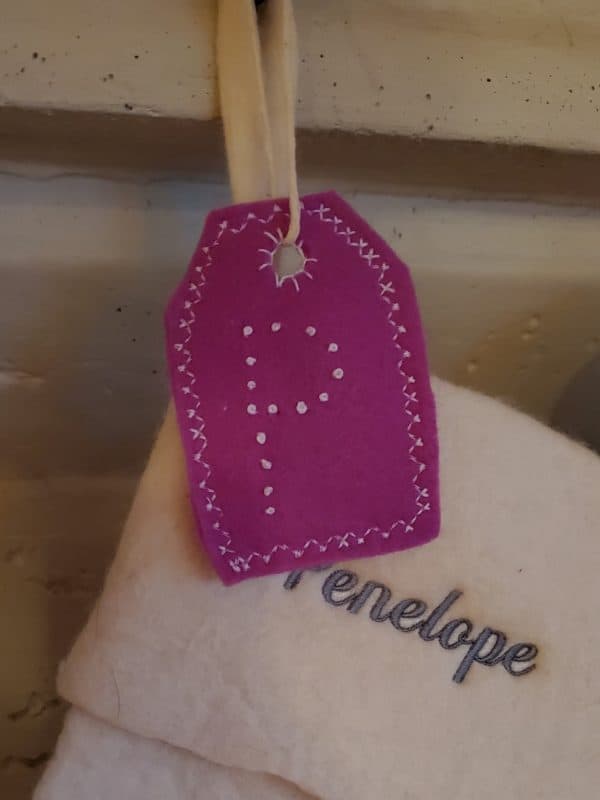
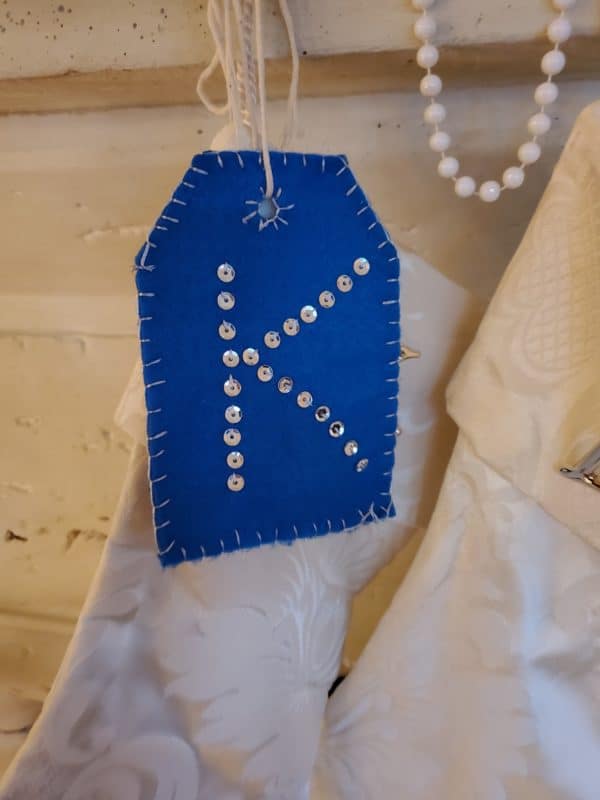
If you’d like to embellish your ornament, now is the time to do it! If you want a video on how I embellish, see the YouTube video below. You could add lace, rik-rack, trims, sequins, beads, or even use your sewing machine if you have fun stitches on it.
You can transfer the design to your tags in lots of different ways – project them, trace them using a fabric marker, or stitch right over the paper! If you’re going to stitch over the paper, use lightweight tissue-type paper. It will *work* to stitch over regular copy paper, but it’s a bit more tedious.
Step 4: Stitching together
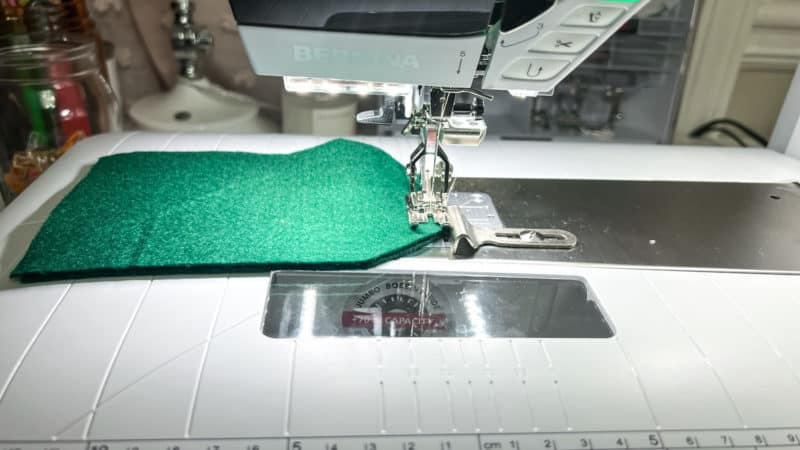
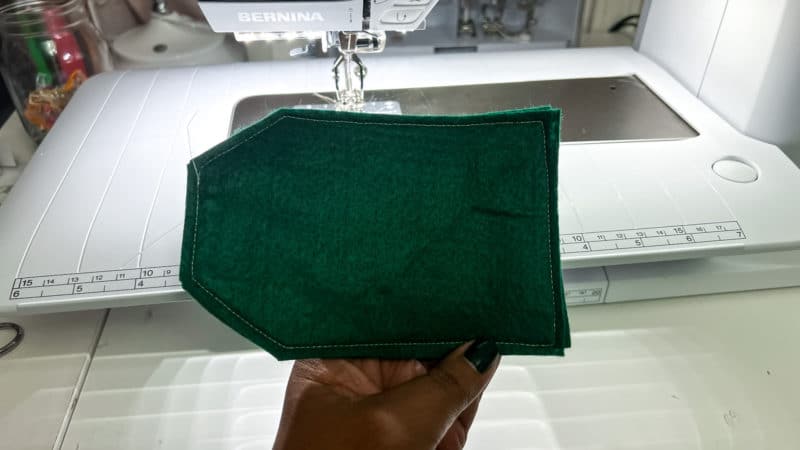
Layer your two pieces together with the wrong sides together. You have a few options here, you can blanket stitch around or just stitch together with your machine. Don’t forget to stitch around the hole (tag hanger) if you are not using a grommet.
You can also use a blanket stitch. If you’re not sure how to blanket stitch, I linked a quick video I created last year below!
Step 5: Finishing
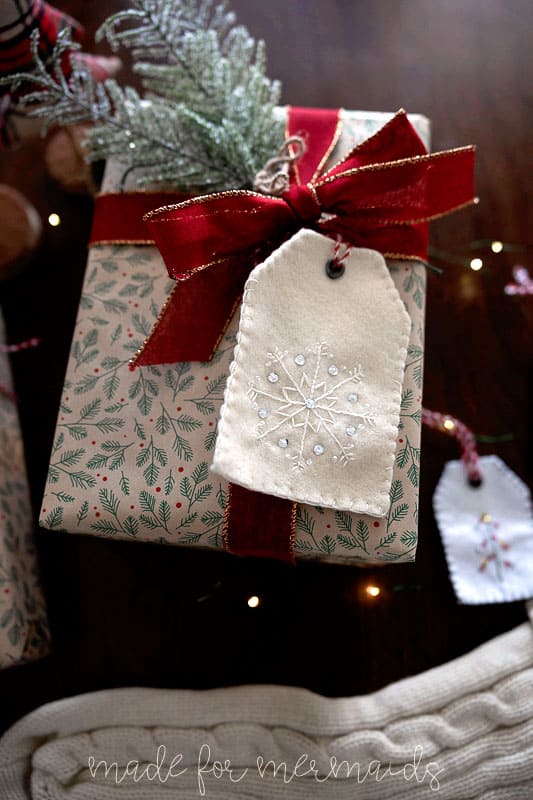
You can use a grommet for the hole, or just carefully cut out the middle. Thread a ribbon or string through the center, tie on to your gift, and that’s it!
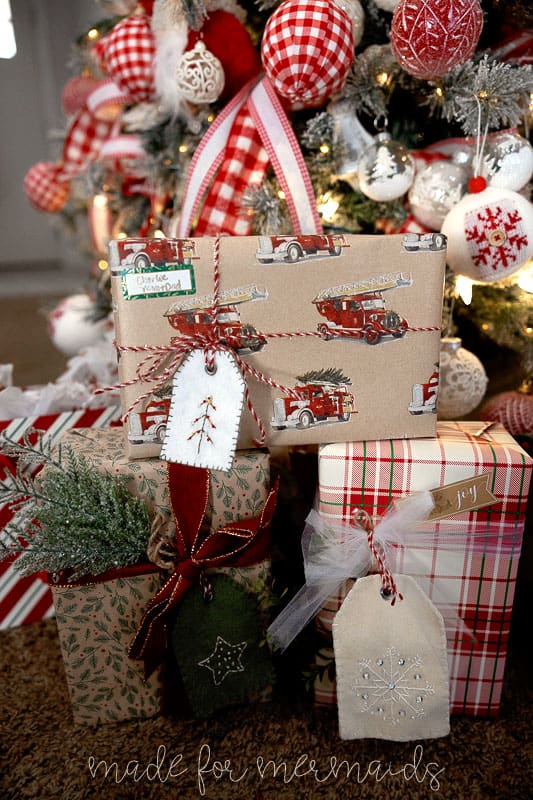
Use these sweet little tags to personalize gifts for everyone on your list. 🙂 We can’t wait to see your creativity shine through!









Leave a Reply