
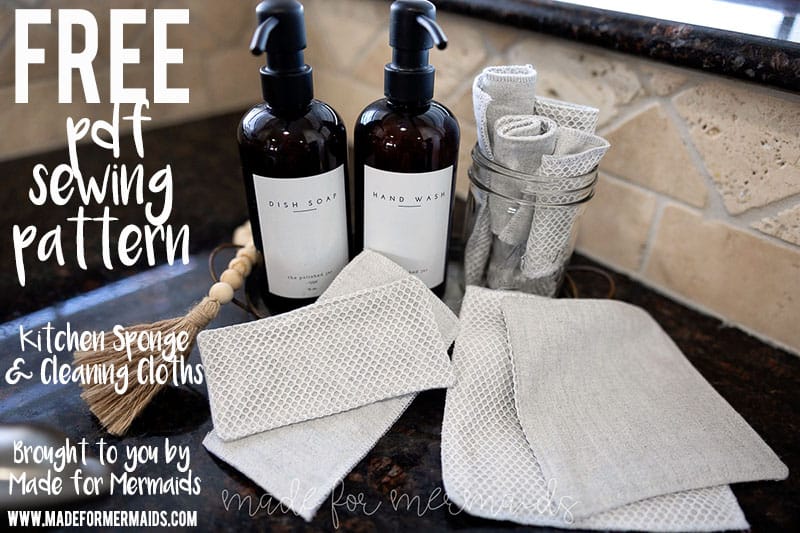
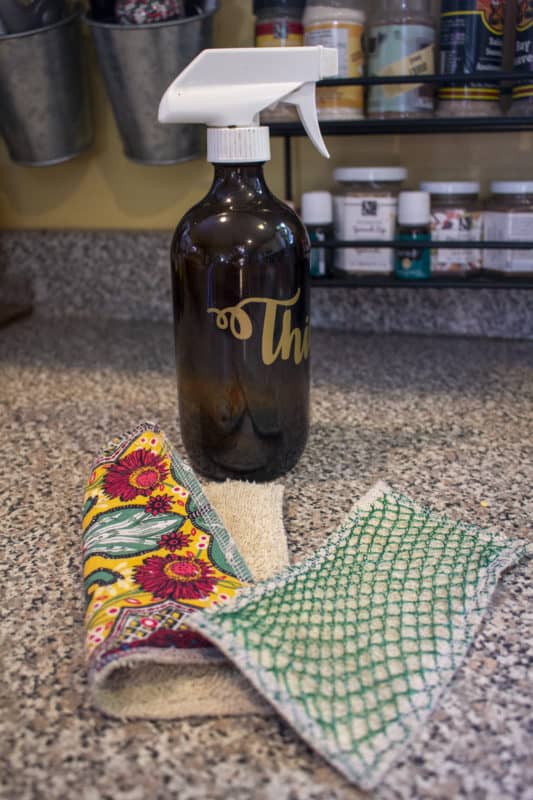
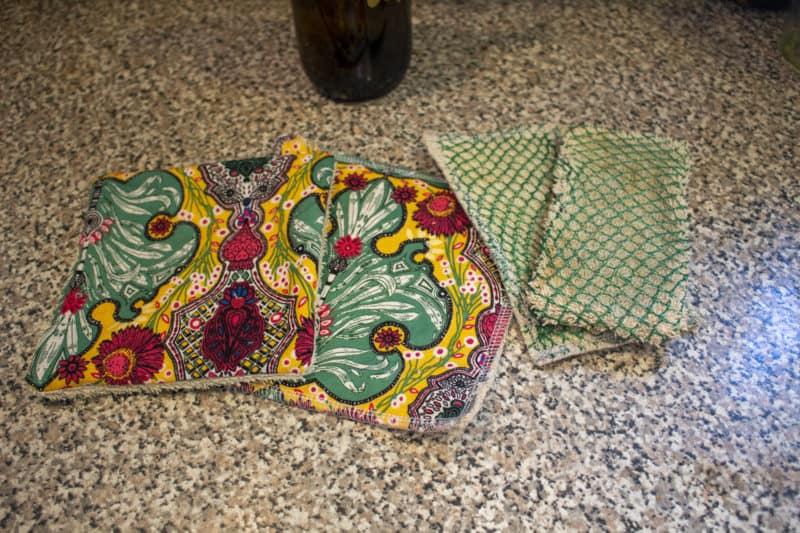
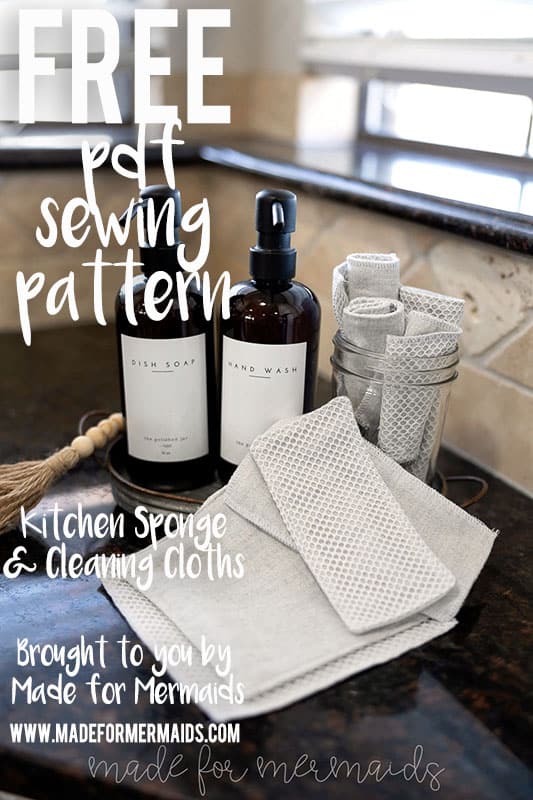
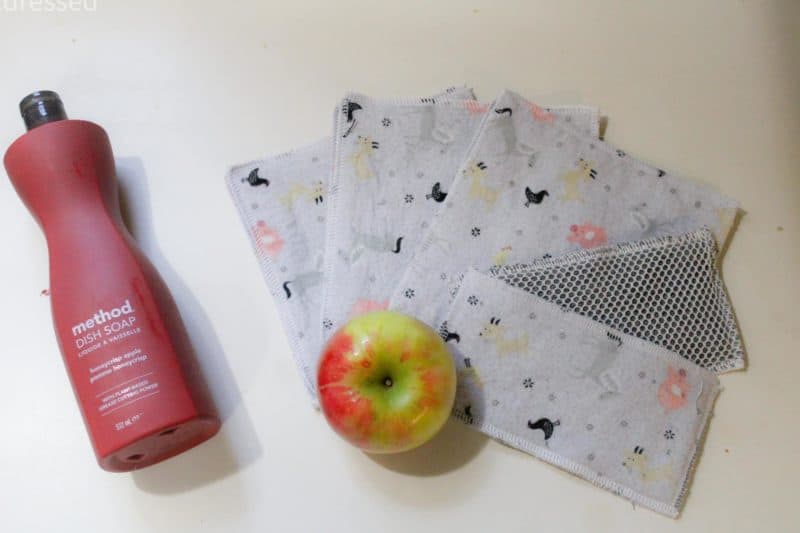
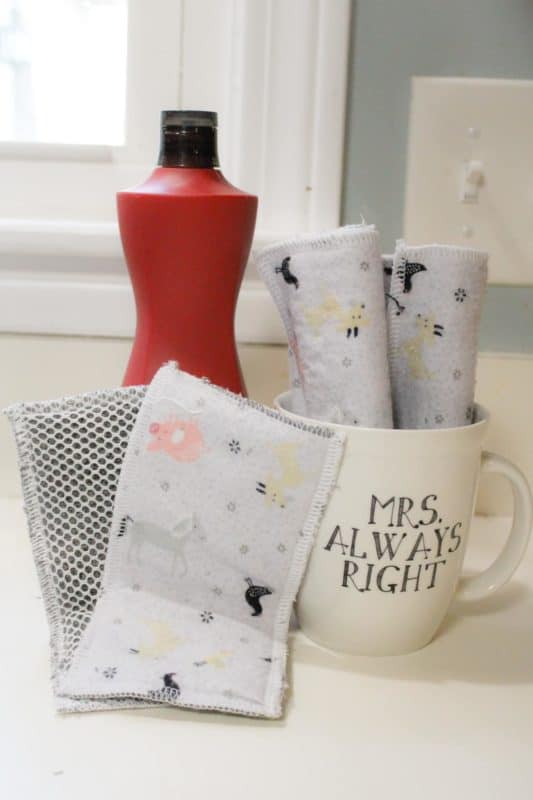
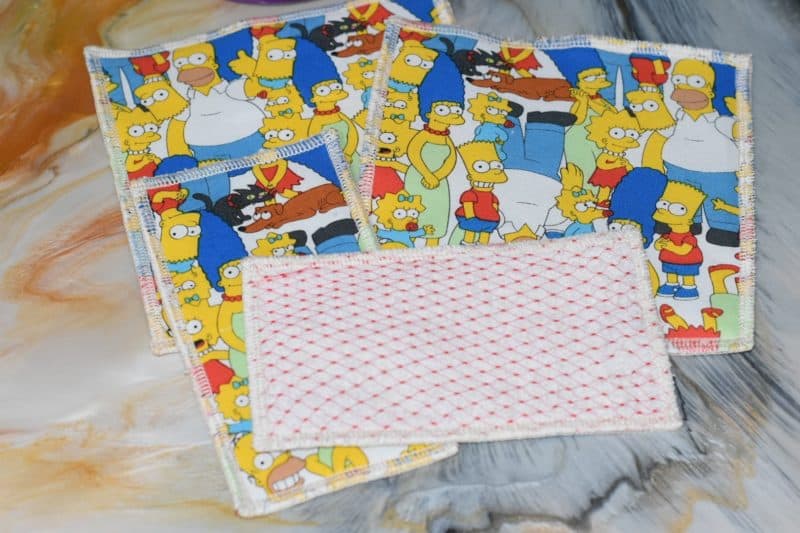
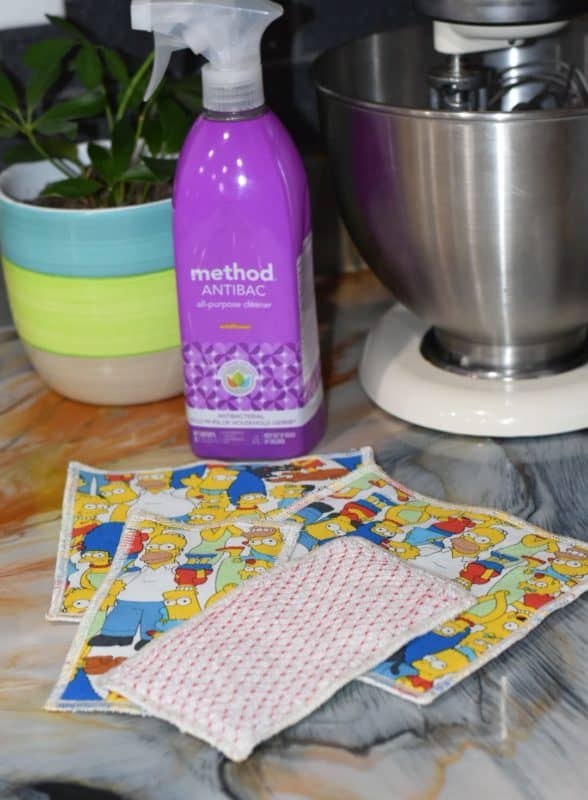
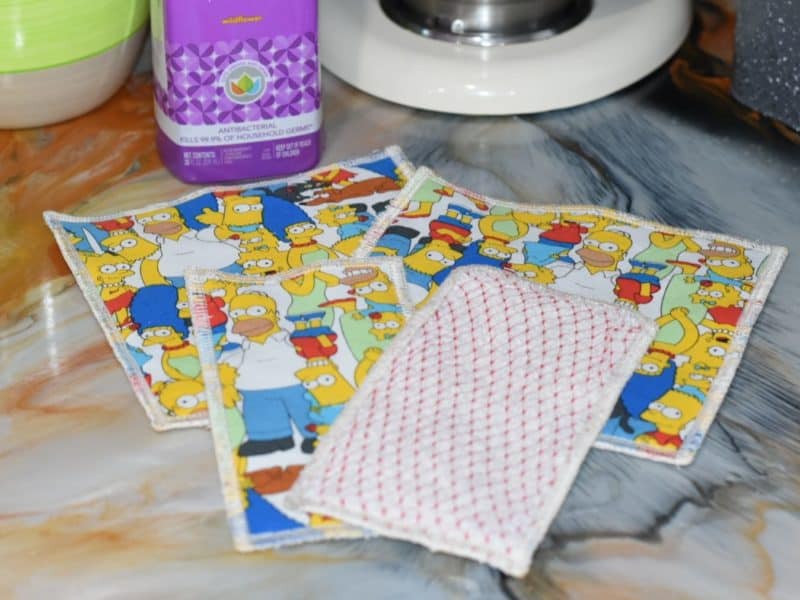
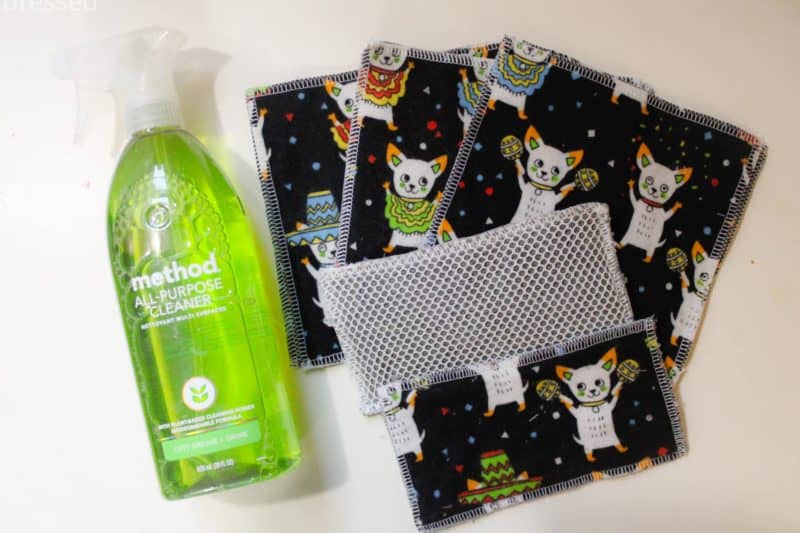
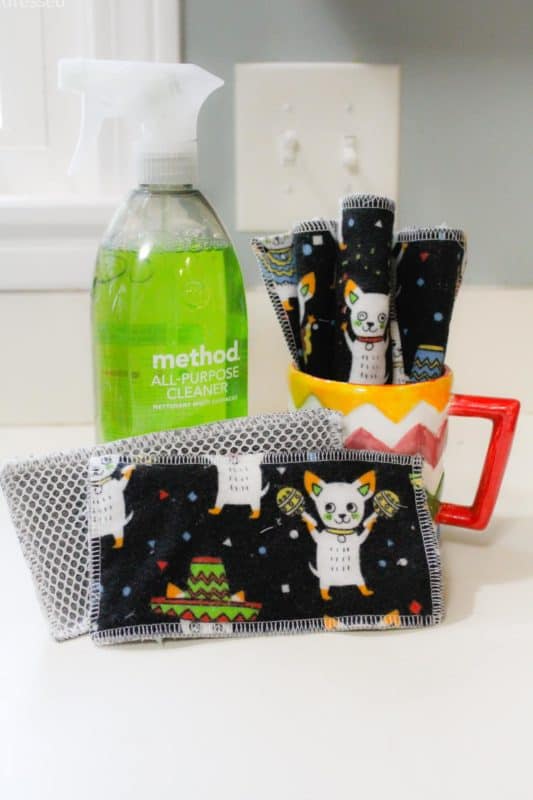
It’s the 10th day of freebies and today we may have the easiest pattern yet and perfect for upcycling too – a Kitchen sponge and cloth set. The kitchen sponge and cloth are perfect for creating custom cloths for your kitchen. You can use pretty much any little scraps you have at home and cut up old towels as well.
SUPPLIES:
- a small scrap of fabric or 1/4 yard if you’re purchasing.
- You can use just about anything for these, but toweling, microfiber, and french terry work great for an absorbent layer. Then you can use quilting cotton or cotton lycra for your decorative layer.
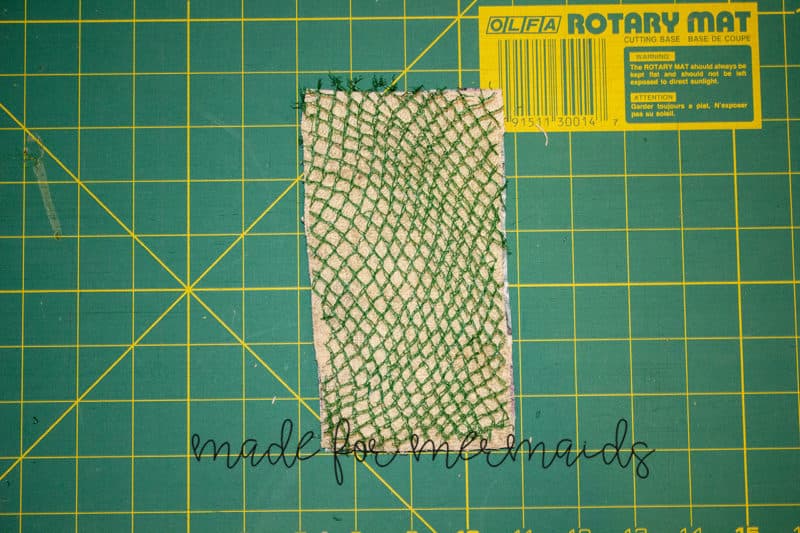
- Optional- netting layer for scrubbing (found in the utility section of the fabric store or can upcycle fruit/veggie bags)
LET’S GET STARTED!
1/4″ seam allowance
Step 1: PREPPING
Go grab the pattern here! The pattern is 100% free, but you do need to add it to your cart and checkout. Then, it will always be available to download from your account. The pattern is a no trim pattern; if you need help putting the pattern together, pop over to the faqs and troubleshooting page , check out the blog post here, or ask in our Facebook group .
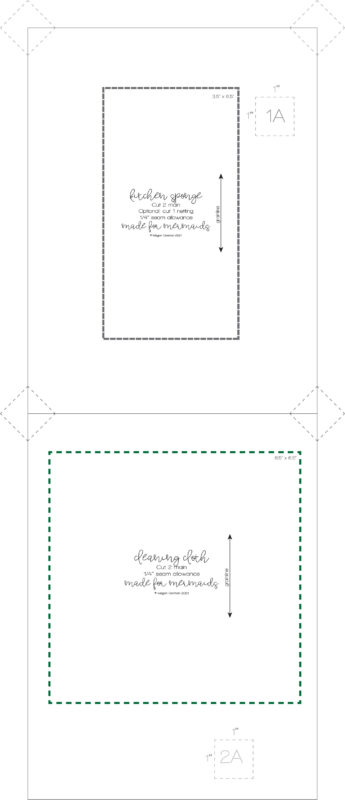
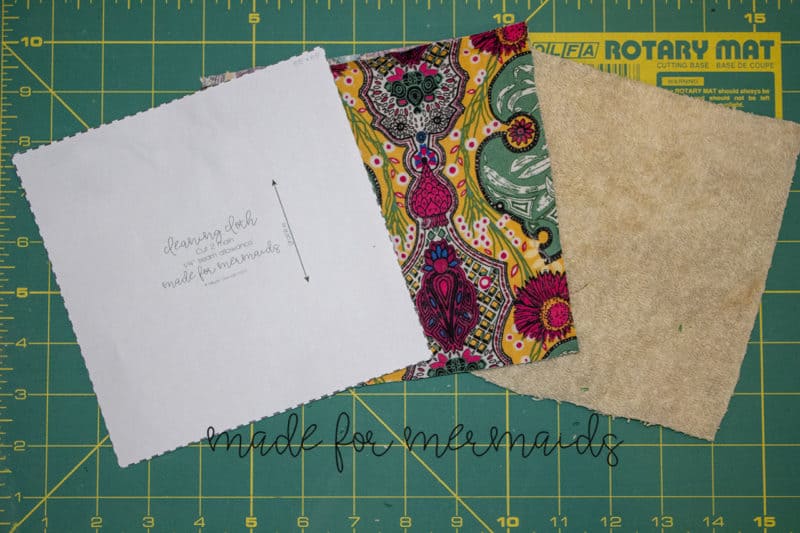
Print and assemble the pattern. Alternatively, you can use the projector file if you’re using a projector. There are 2 pages to print out. Pattern layout below:
If you don’t want to print the pieces, cut the following:
- for kitchen sponge: cut 2 pieces 3.5″ x 6.5″ and optional 1 netting in the same size.
- for cleaning cloth: cut 2 pieces 6.5″ x 6.5″ and optional 1 netting in the same size
If you prefer a video tutorial, check the YouTube below:
Step 1: Cut your pieces
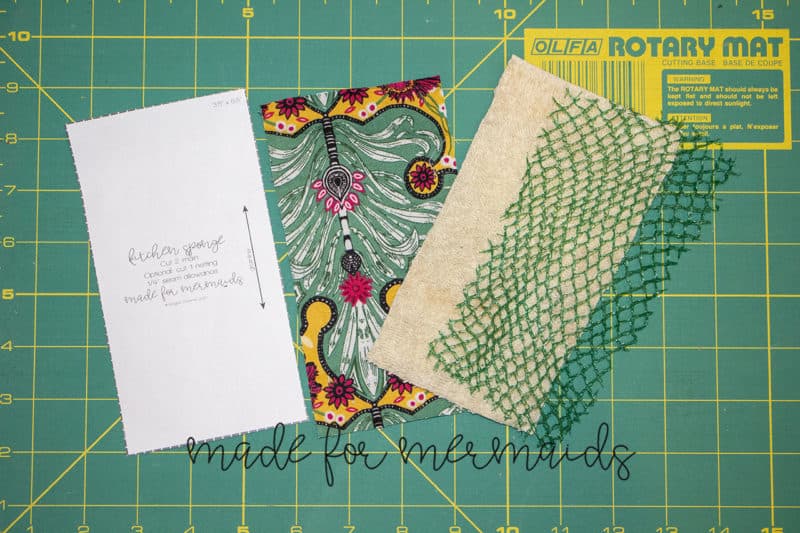
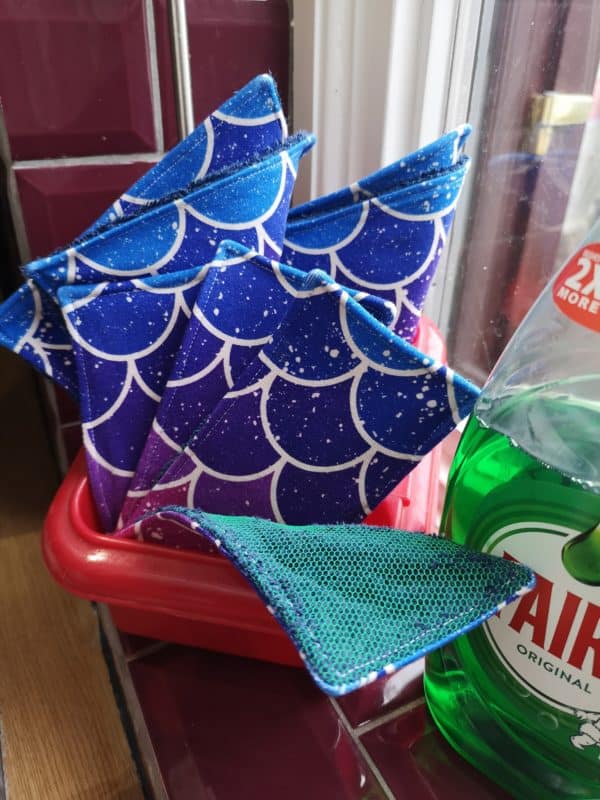
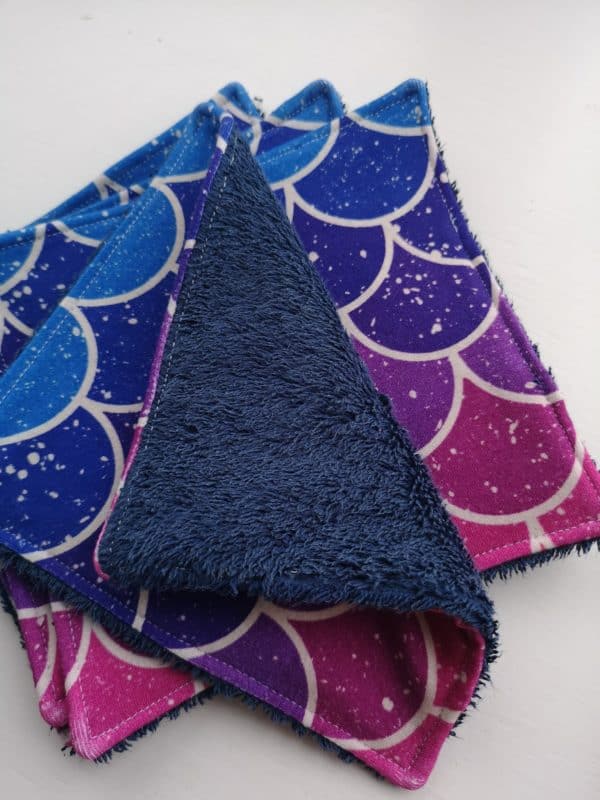
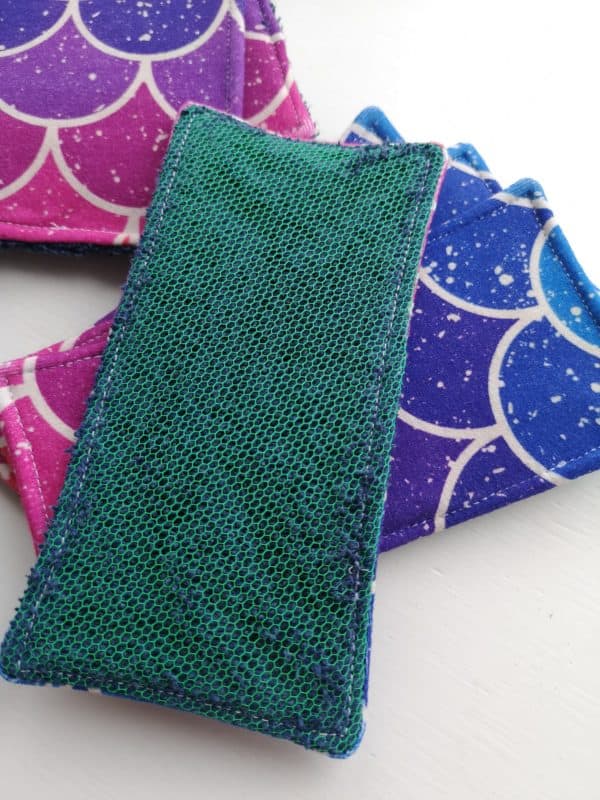
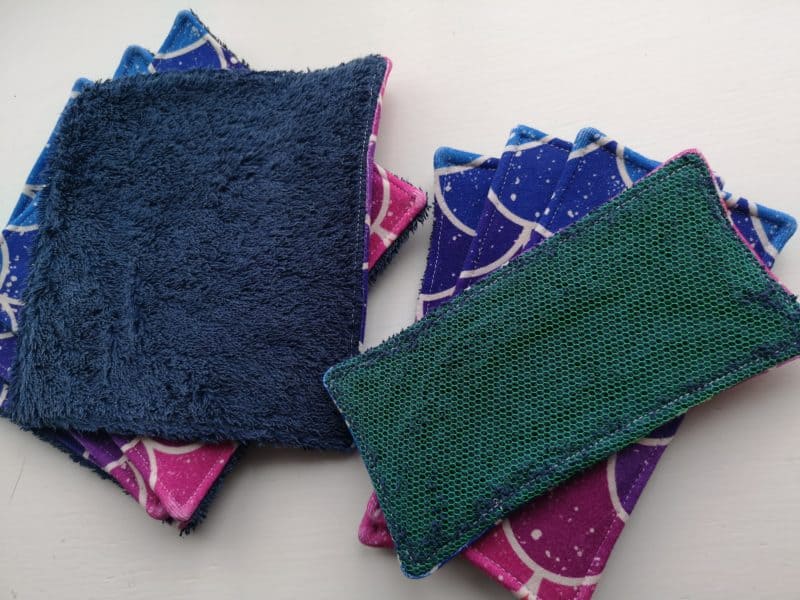
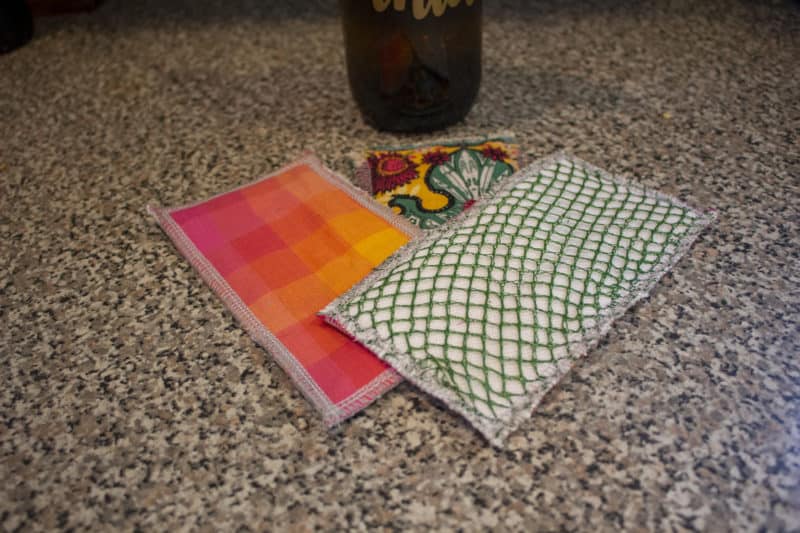
For both your sponge and your cloth, you will need a minimum of two layers. I have used one decorative layer of quilting cotton, a layer of toweling for my absorbent layer, and then you can also add a scrubbing layer if you choose. This is a great project for upcycling! I used an old towel for my absorbent layer for this project, and instead of buying netting, I used the bag my avocados came in; all those netted bags that fruit comes in are perfect for this!
Step 2: Layer your pieces
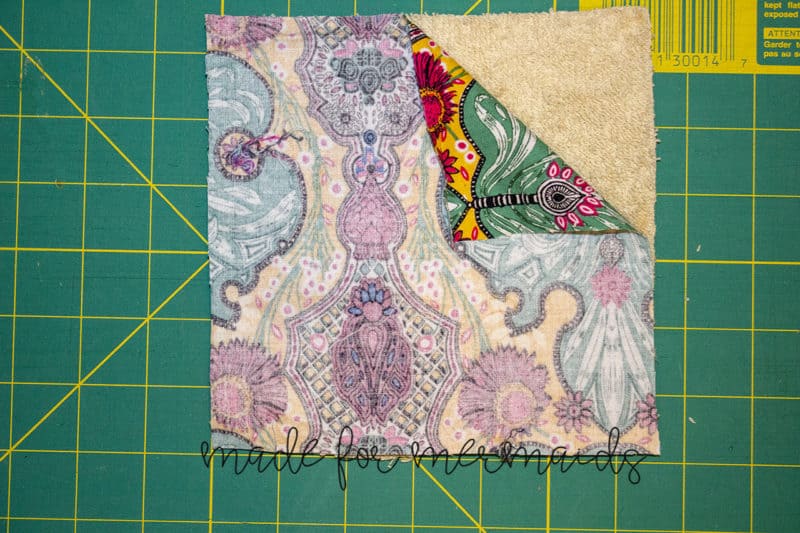
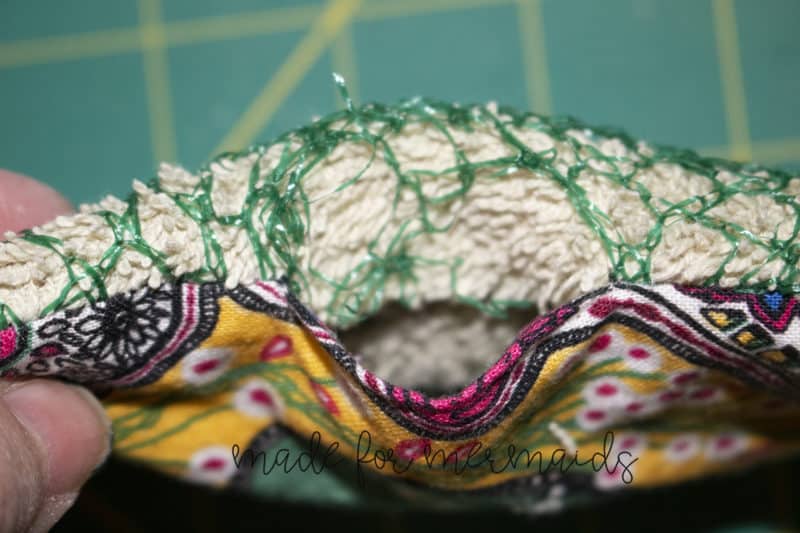
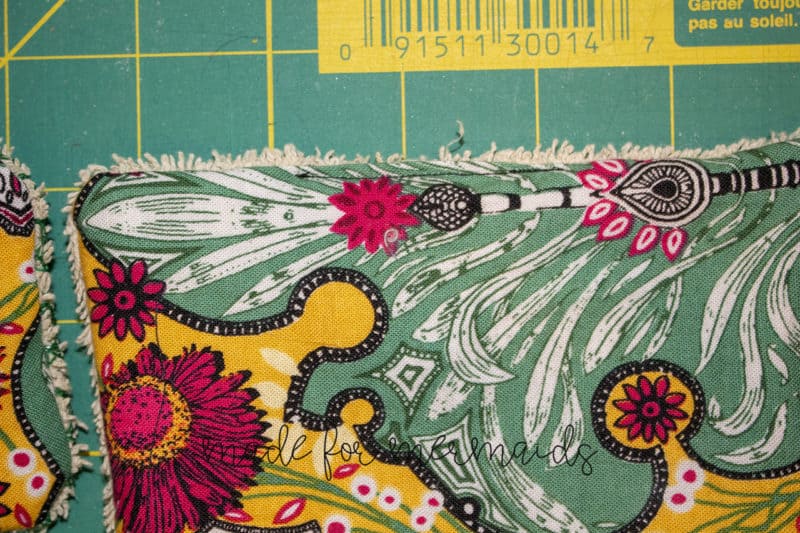
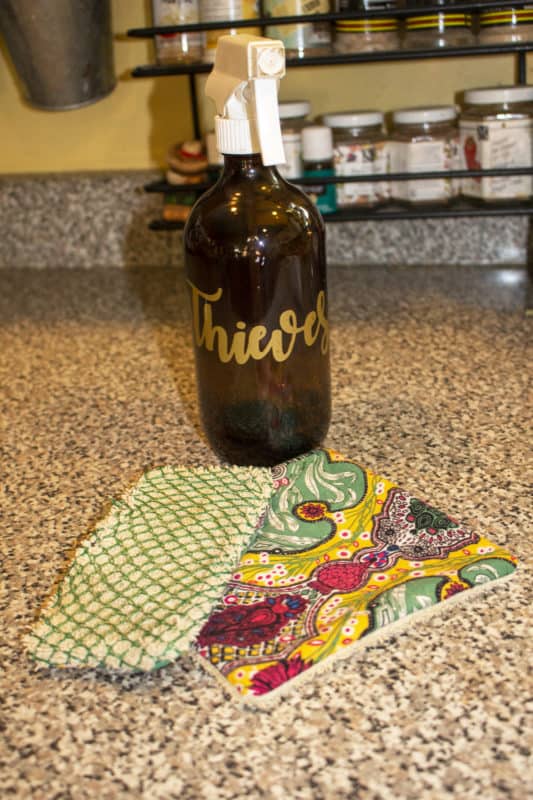
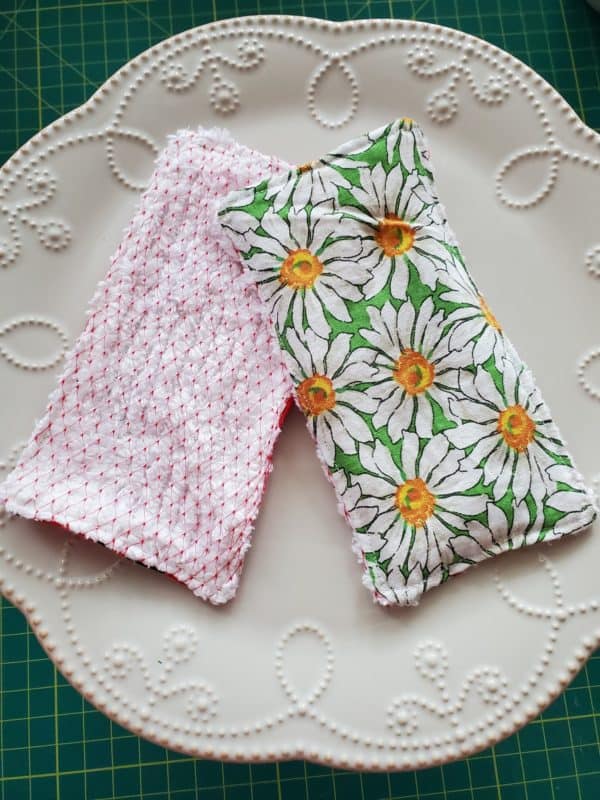
We have two options for this pattern, exposed serged seams or enclosed seams. For the exposed seams, you will layer your pieces wrong sides together with your netting piece on top of your absorbent layer. If you are doing enclosed seams, then you will layer your decorative layer right side up, then your netting, and then your absorbent layer right side down. Photos show if you are doing enclosed seams; the kitchen cloth has no netting and is shown on the left:
Step 3: Sew together & finish
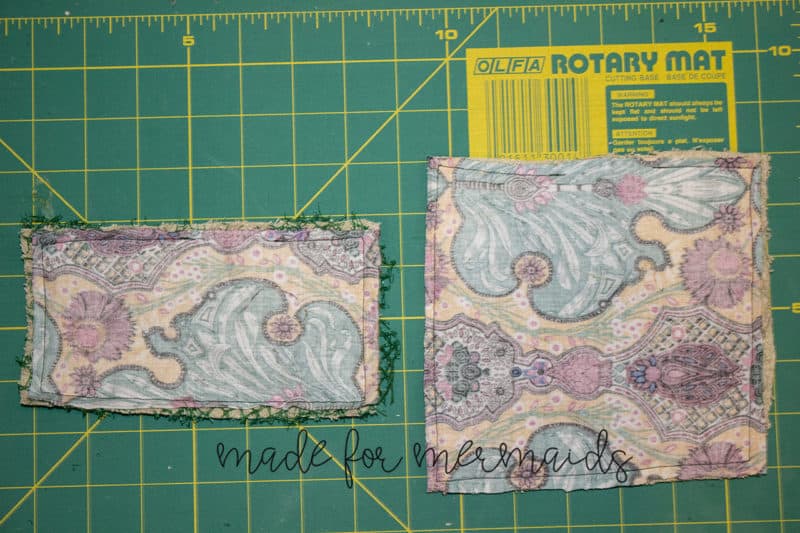
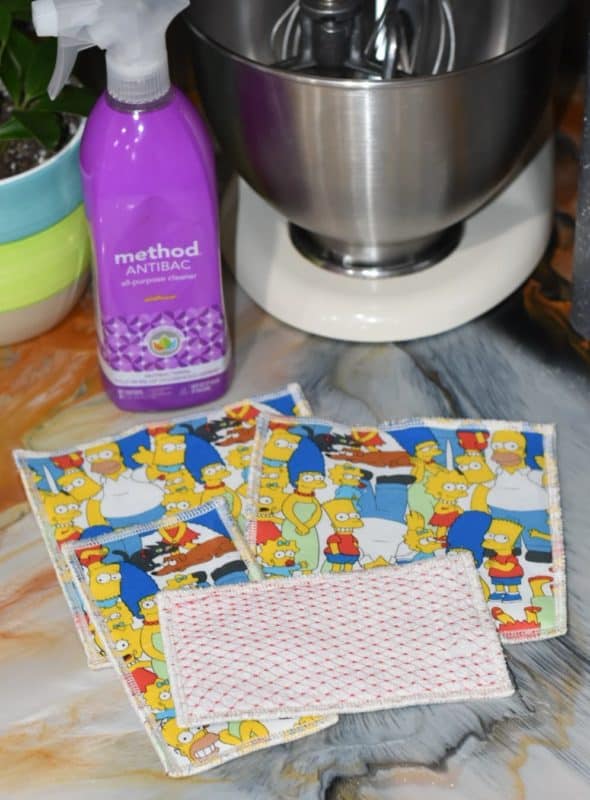
For your exposed seams, you will just serge all the way around your sponge or cloth, I personally like to go around twice just to make sure it’s really secure and doesn’t come apart while you are scrubbing away!
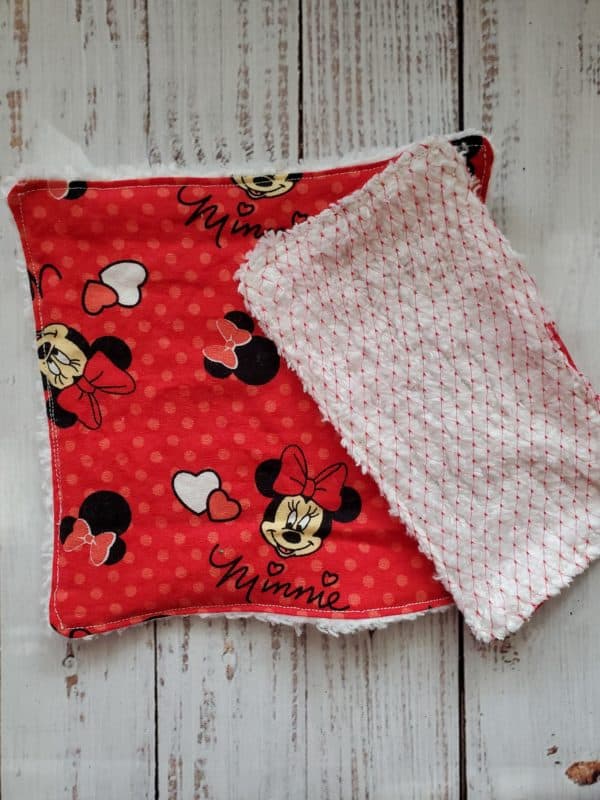
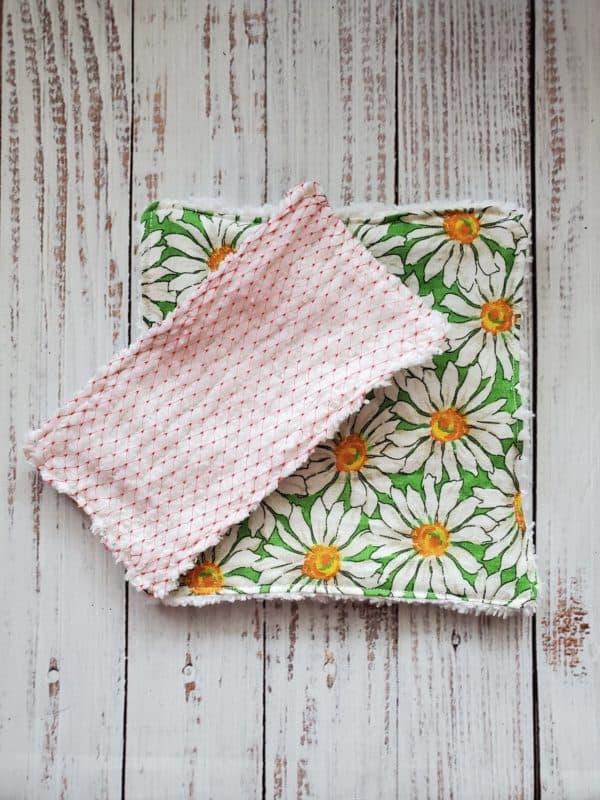
For your enclosed seams, sew all the way around, leaving a space about 2 to 3 inches open. Once you have sewn, turn your sponge or cloth right side out. Press the seam to the inside where you have the open space, and then topstitch closed. You could also hand stitch the open space closed, but since it’s a cleaning sponge, I went the easy route and just topstitched. You could also topstitch all the way around if you like.
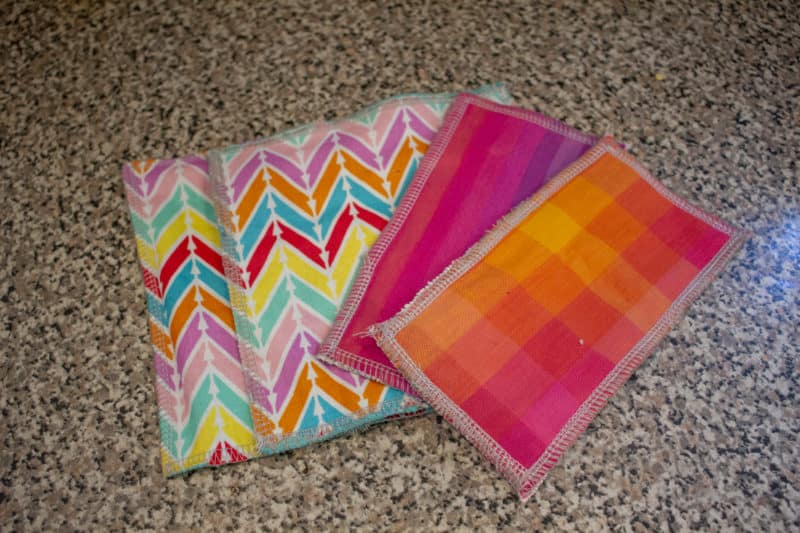
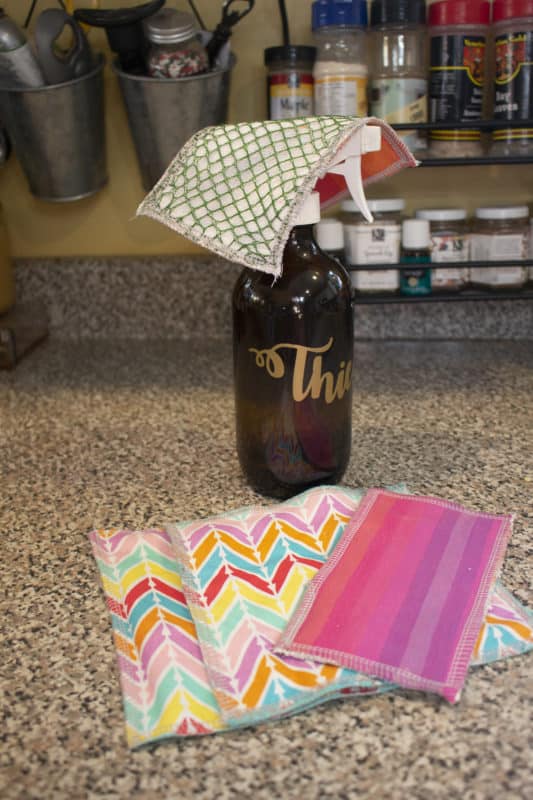
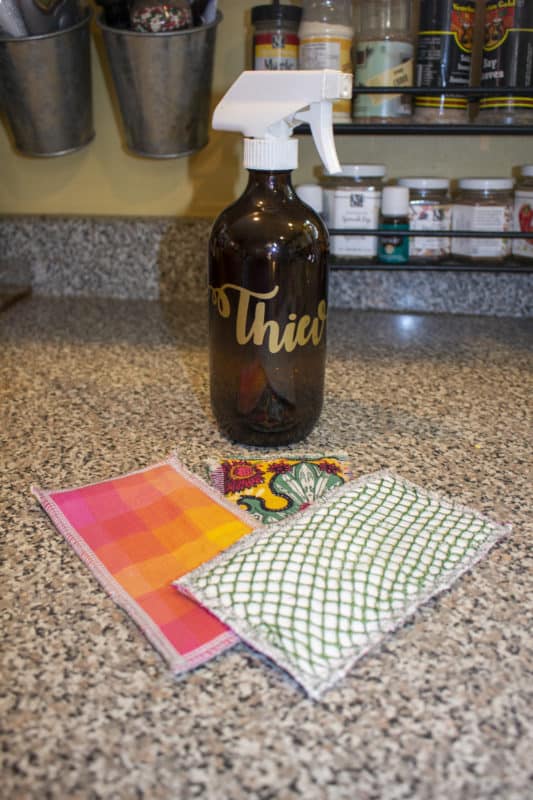
All done – quickest little project ever!



Leave a Reply