
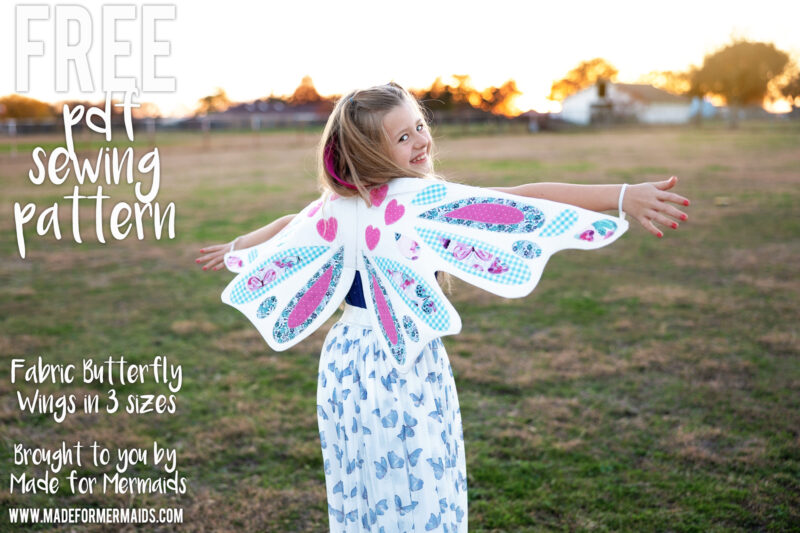
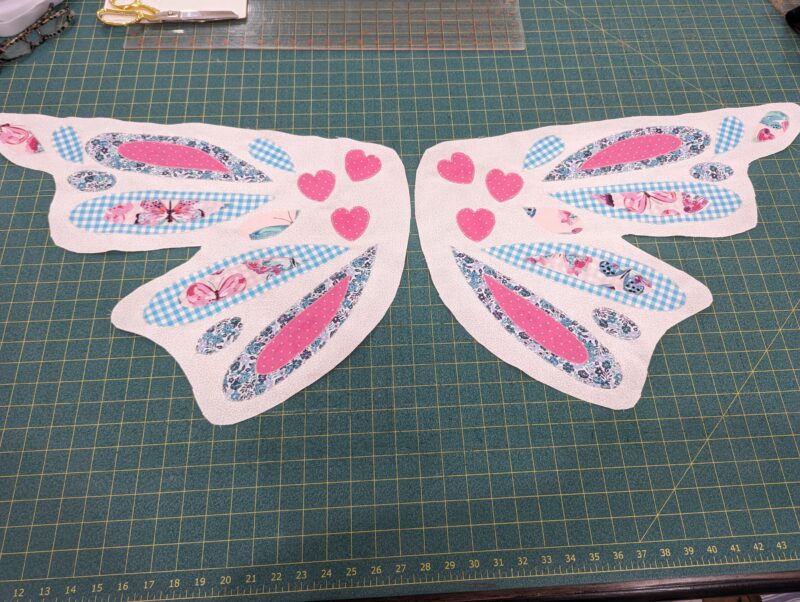
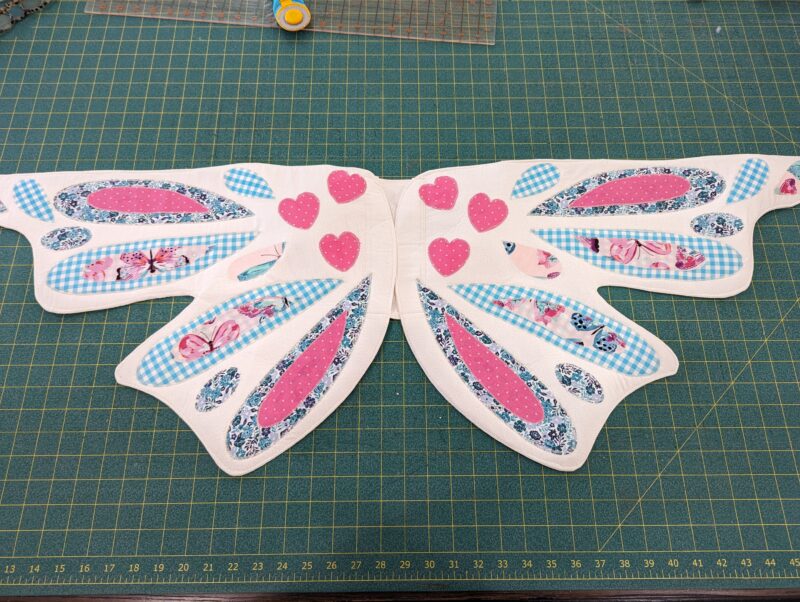
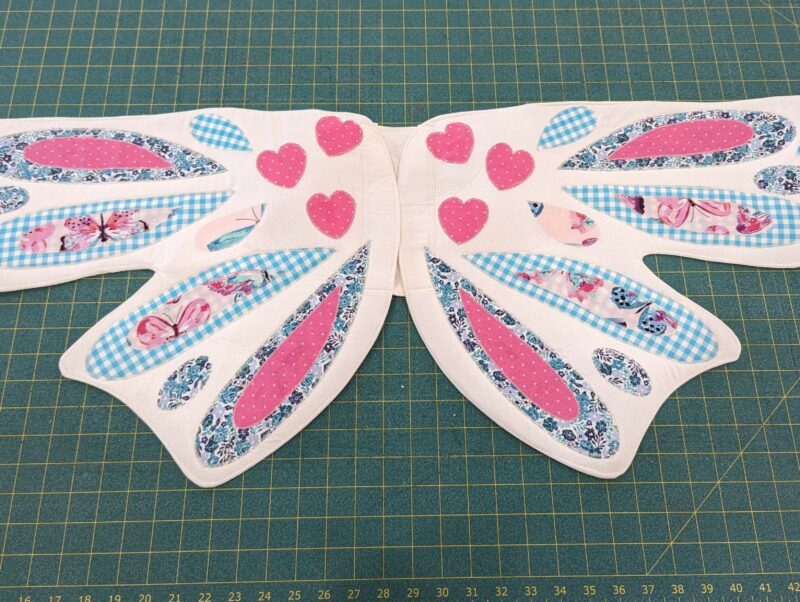
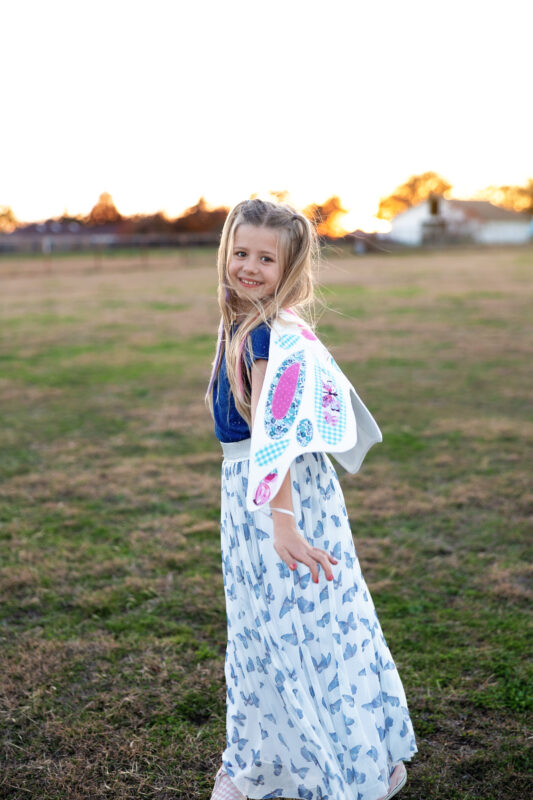
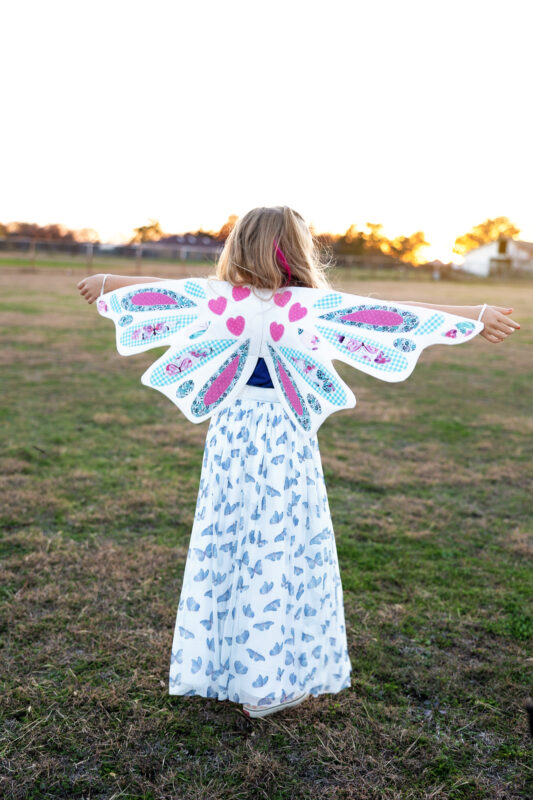
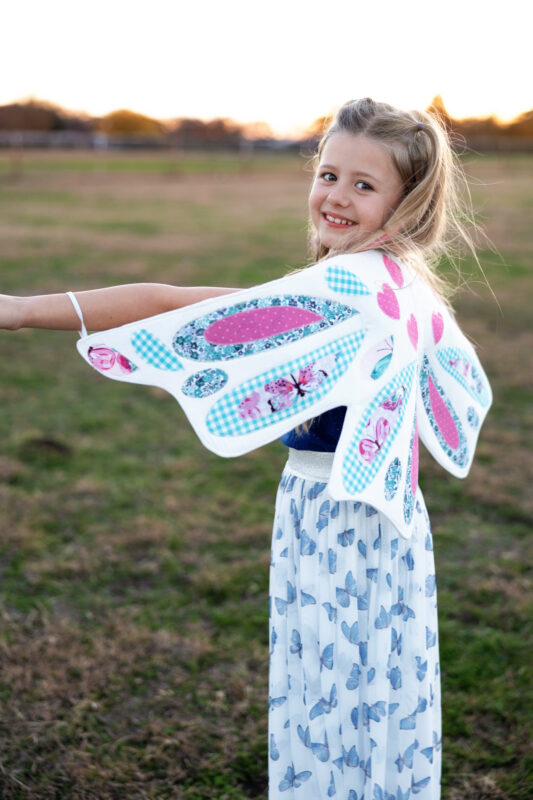
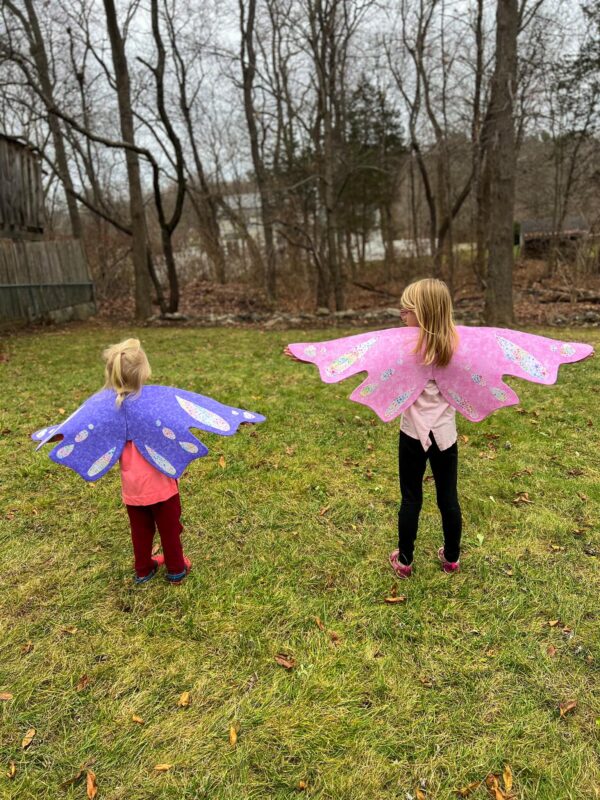
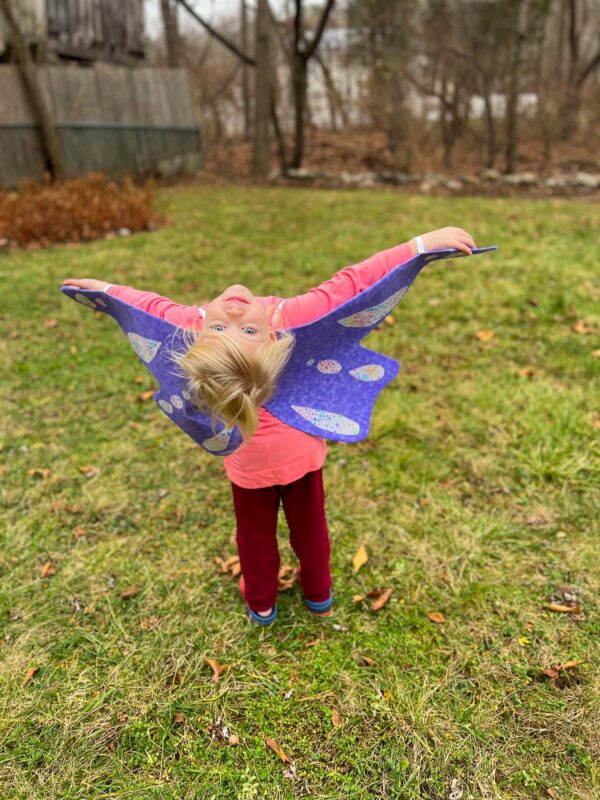
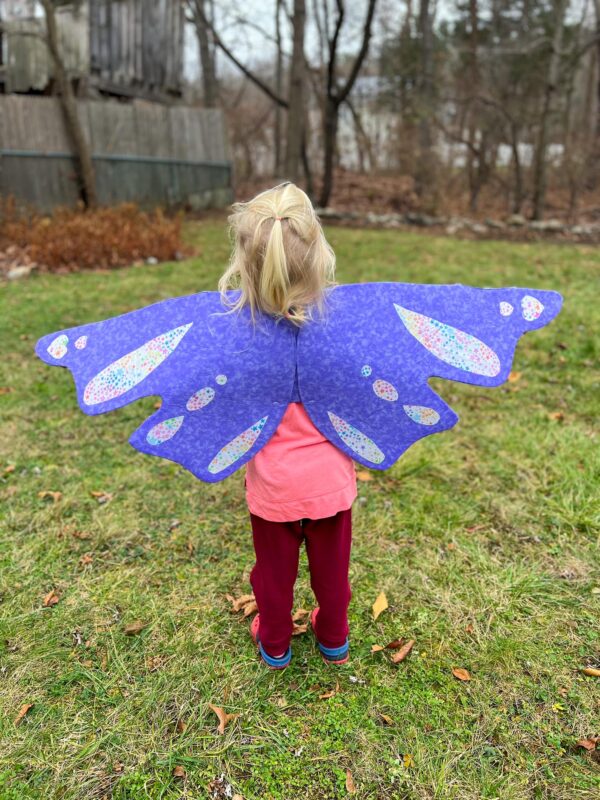
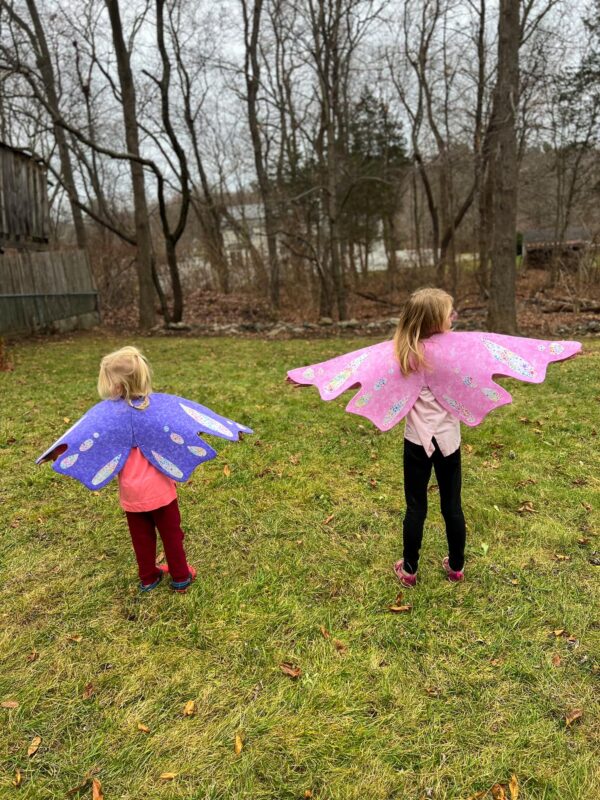
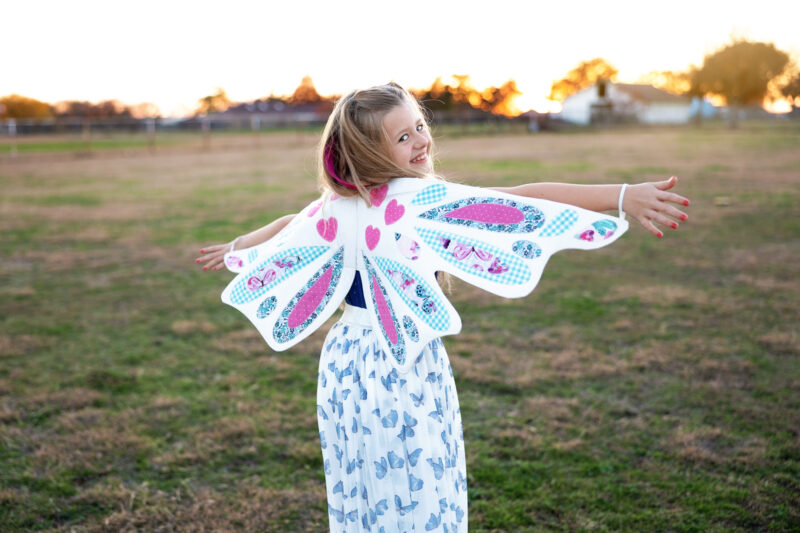
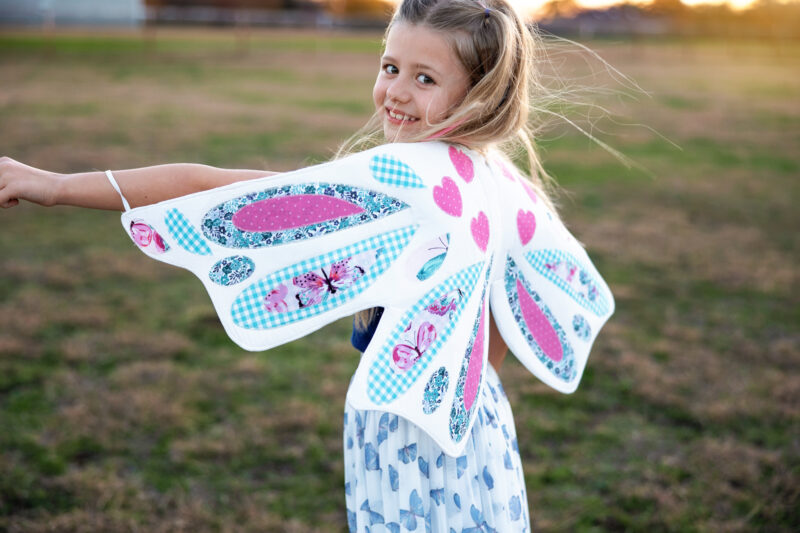
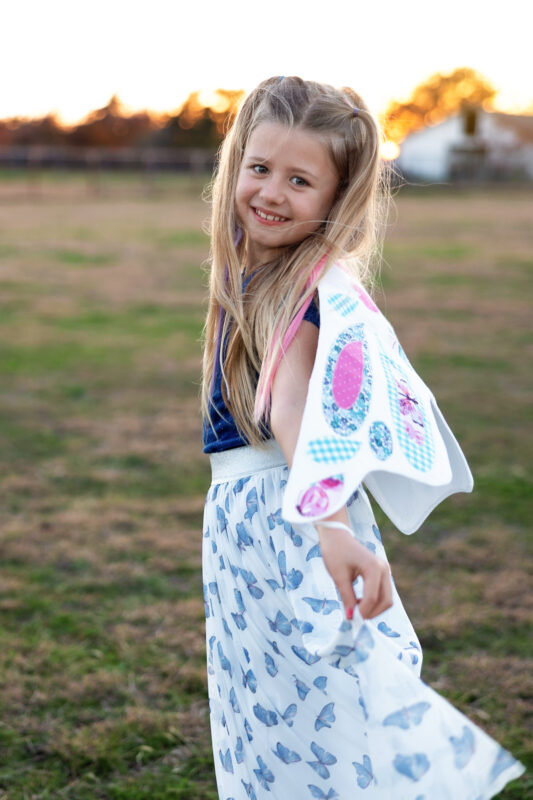
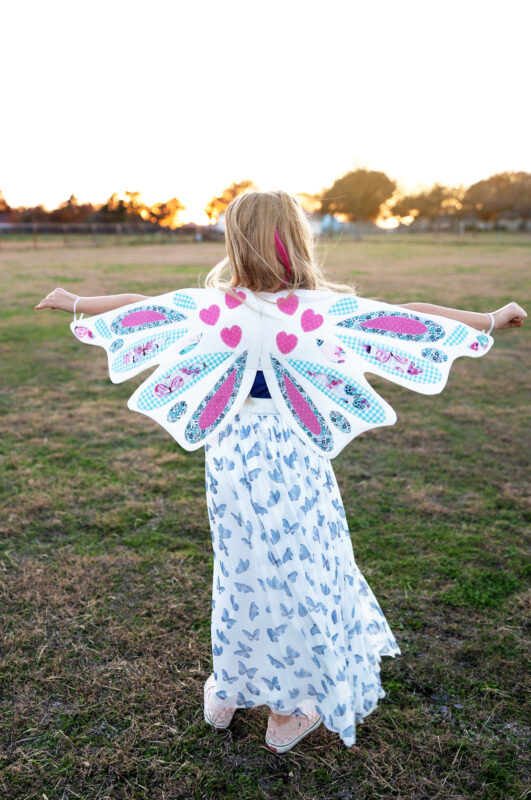
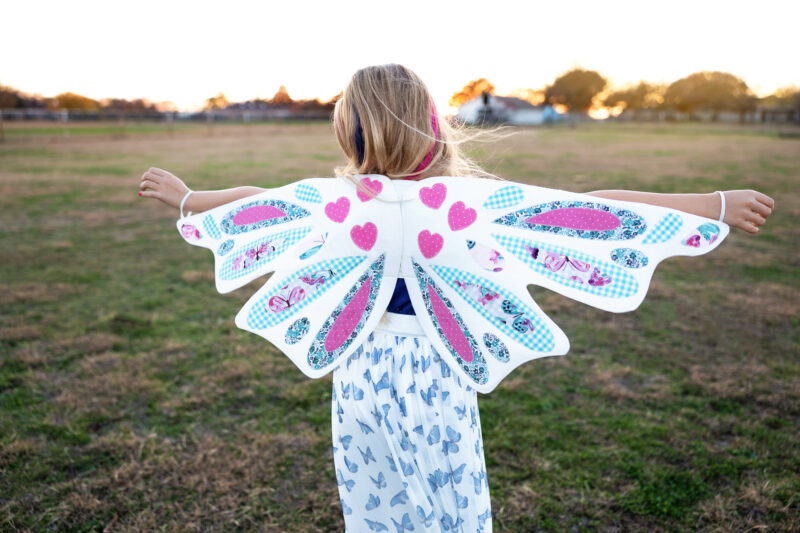
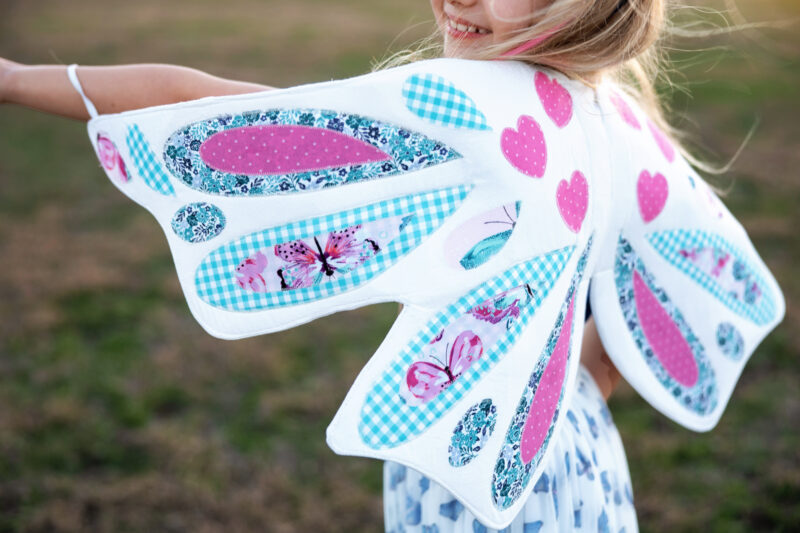
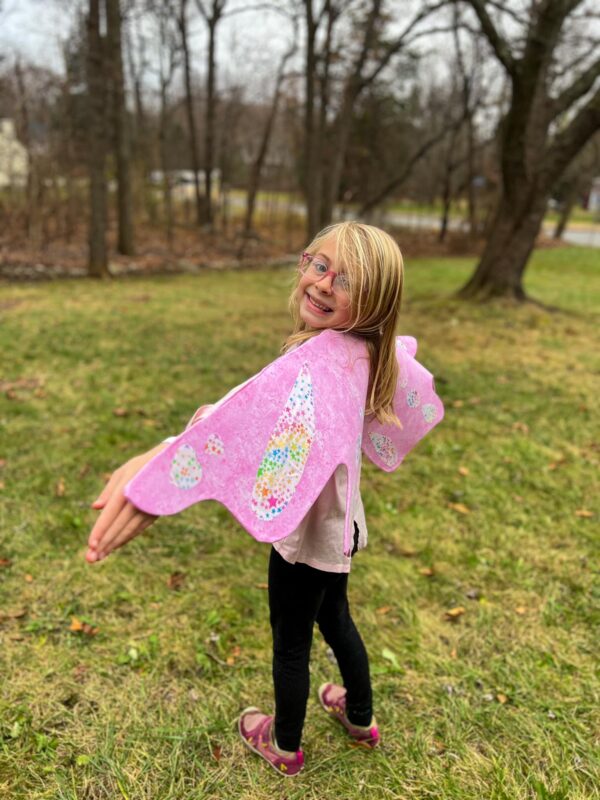
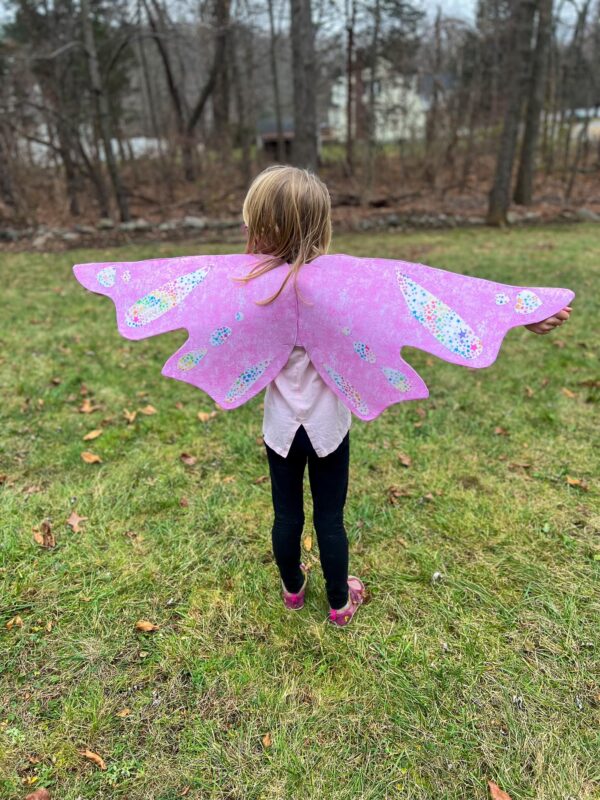
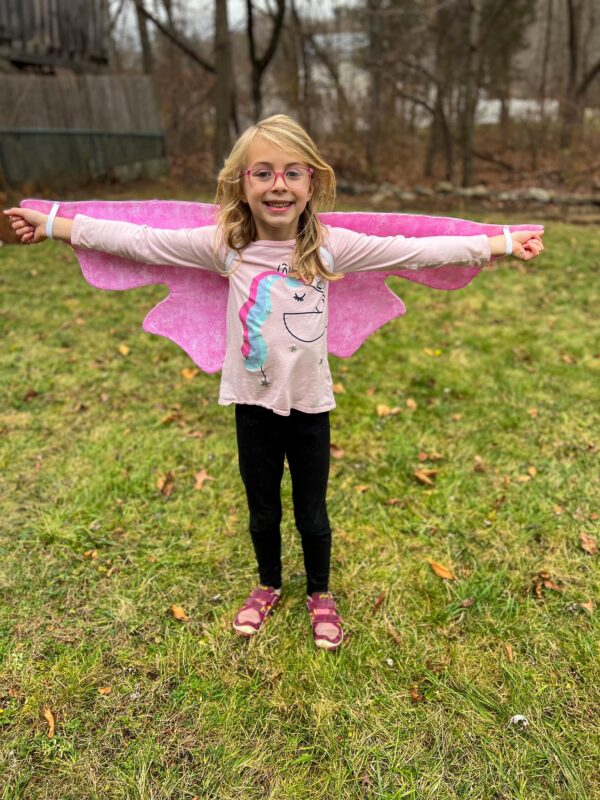
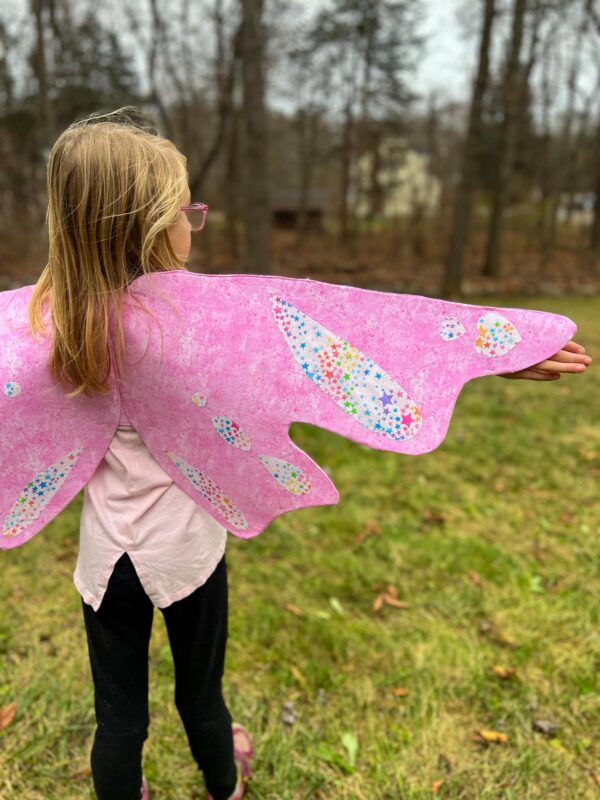
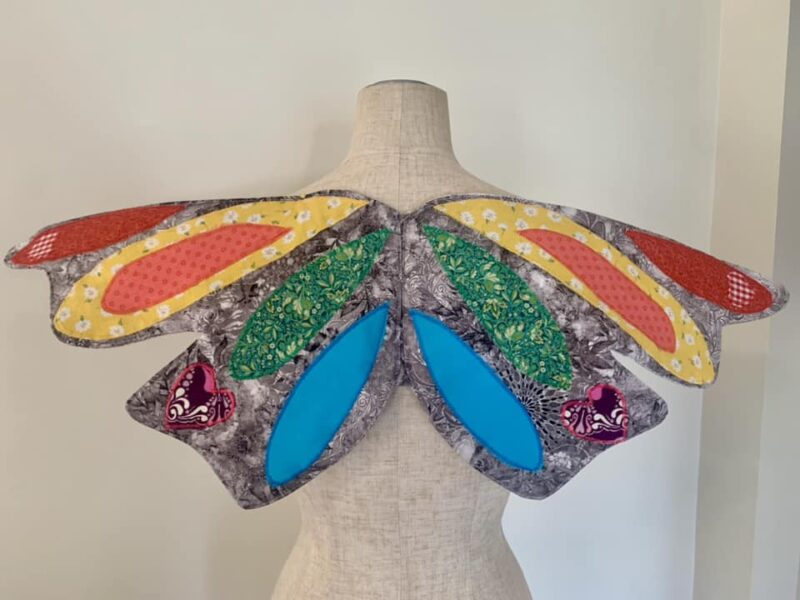
I’m so excited about Day 10 of our 12 days of Christmas freebies. Today, we have beautiful fabric butterfly wings in 3 sizes. These are so fun for little ones; you could alter and change them to be dragon, angel, fairy, bumblebee, etc. Perfect for everyday dress-up play, costumes, plays, or dances. I paired the wings with the adorable Belle skirt. Check out our Free Cinderella Gown, Hooded Caplet, Mermaid tail, Shark tail, or any of our Everyday Princess Patterns to pair with the wings. You can make these very simple with little to no decorations or as detailed as you want. It would be so fun to let your little one help you decide on how to decorate them!
SIZES:
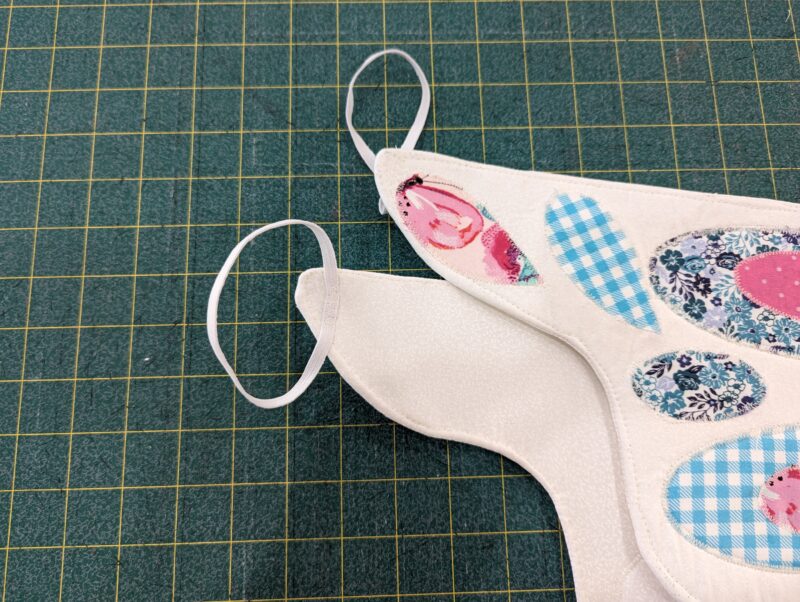
The wings are designed to spread the child’s wingspan. For the best fit, measure the child’s wingspan to determine the best size. These are also pretty fluid in size; the wings could be larger or smaller on the child. If you want them to last many years, make a larger size and move the wrist elastic as they grow.
Approximate finished size (height x width):
- Small: 10.75 x 30.25 {Ages 1-3}
- Medium: 14 x 33 {Ages 4-6}
- Large: 16.25 x 46.5 {Ages 7-10}
SUPPLIES:
- Quilting Cotton for main fabrics.
- Small- 1/2 yard for main
- Medium- 3/4 yard for main
- Large- 1 yard for main
- Interfacing- Depending on the look you’re going for, you can use different types of interfacing. I wanted my wings to hold their shape, so I used Pellon 72F Peltex. You could also use lighter-weight interfacing and layer with batting or fleece if you have that on hand and don’t want to purchase extra supplies. The interfacing I purchased was 20″ wide, so I’m giving yardage for that width. If the interfacing you’re purchasing is a different width, measure the wind size before heading to the store, to ensure you’re purchasing enough.
- Small- 5/8 yard
- Medium- 1 yard
- Large- 1 1/4 yard
- You will also need scrap pieces or fat quarters for the decorations on the wings. Alternatively, you could add vinyl, paint, or even just use decorative stitches on the wings.
LET’S GET STARTED!
1/4″ seam allowances included
Step 1: PREPPING
Go grab the pattern here! The pattern is 100% free, but you do need to add it to your cart and checkout. Then, it will always be available to download from your account. The pattern is a no-trim pattern; if you need help putting the pattern together, pop over to the faqs and troubleshooting page or ask in our Facebook group.
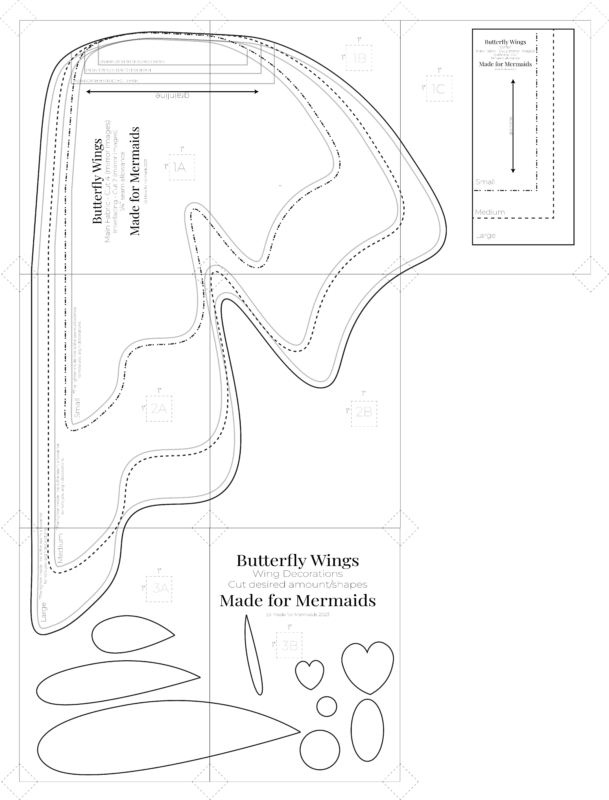
Print and assemble the pattern. Alternatively, you can use the projector file if you’re using a projector. Pattern layout below:
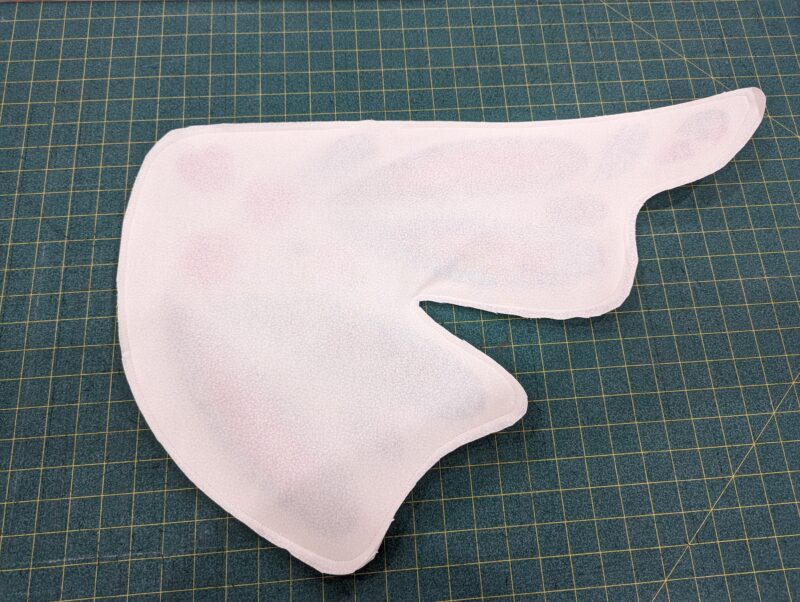
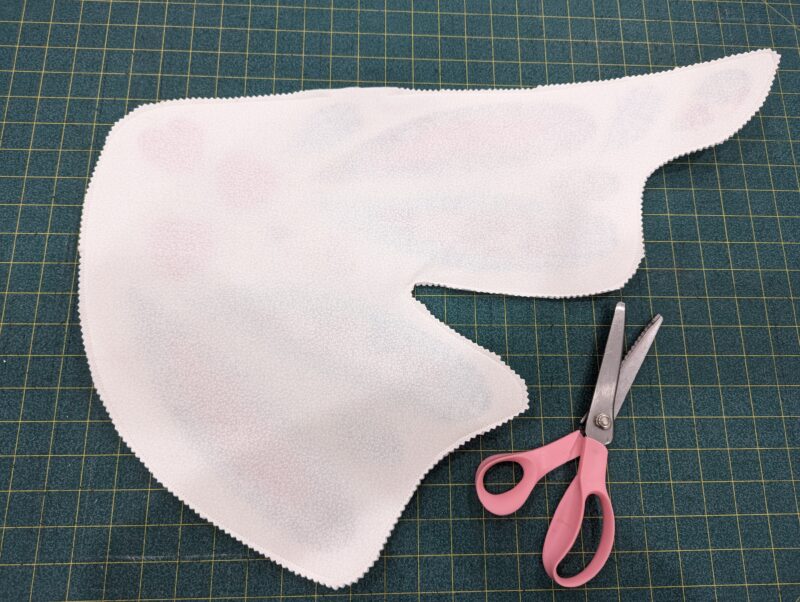
Step 2: CUTTING & PREPPING
- Small: 7″
- Medium: 9″
- Large: 11″
- Small: 5″
- Medium: 7″
- Large: 9″
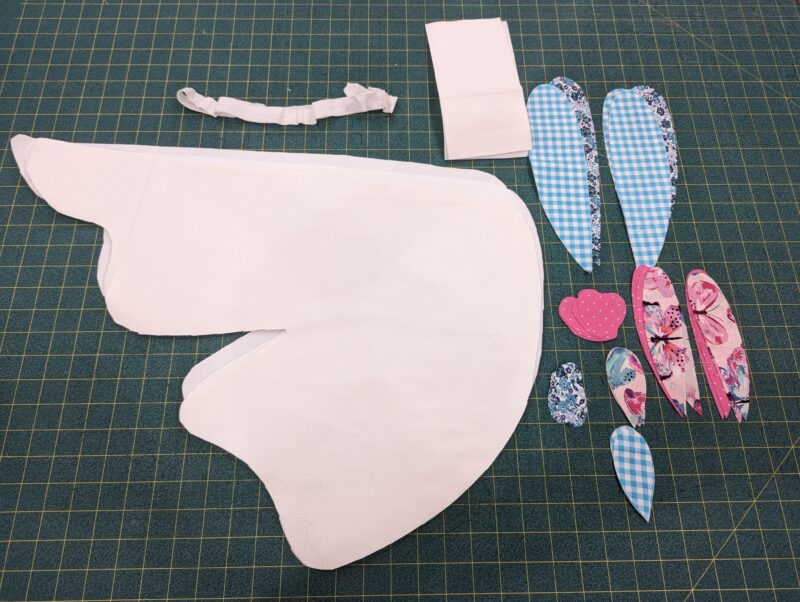
Cut as many decorations as you’d like. Alternatively, you can add heat and bond or interfacing to your pieces to help applique them.
You will add the interfacing to the wrong side of your pieces. If you’re using a thicker interfacing (like me), you can add the interfacing after adding your decorations to make it easier to work with.
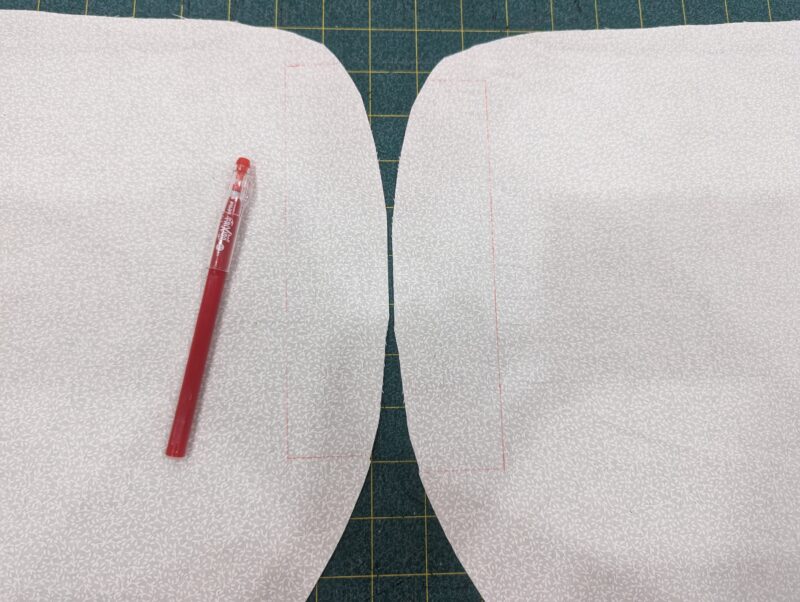
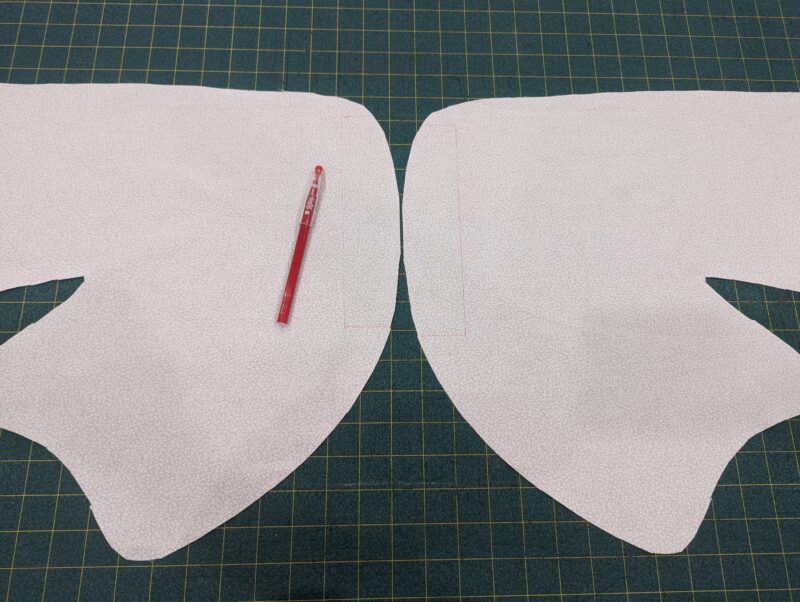
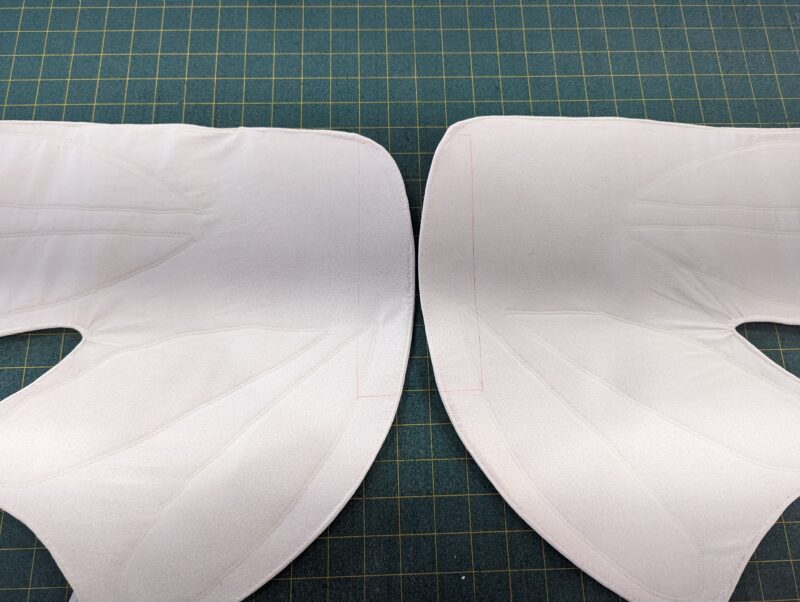
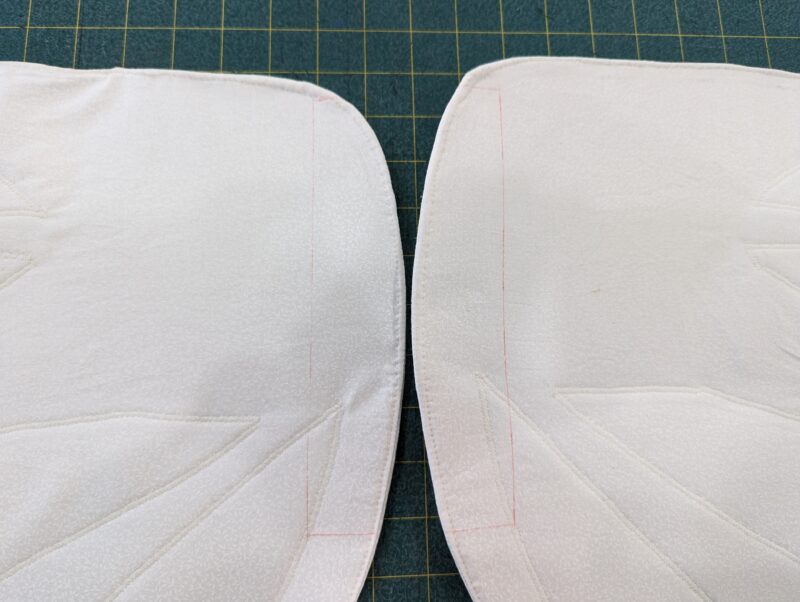
Mark the placement for the center piece on the RIGHT side of 2 wing pieces (mirror images) with an erasable pen.
Step 3: ADDING DECORATIONS
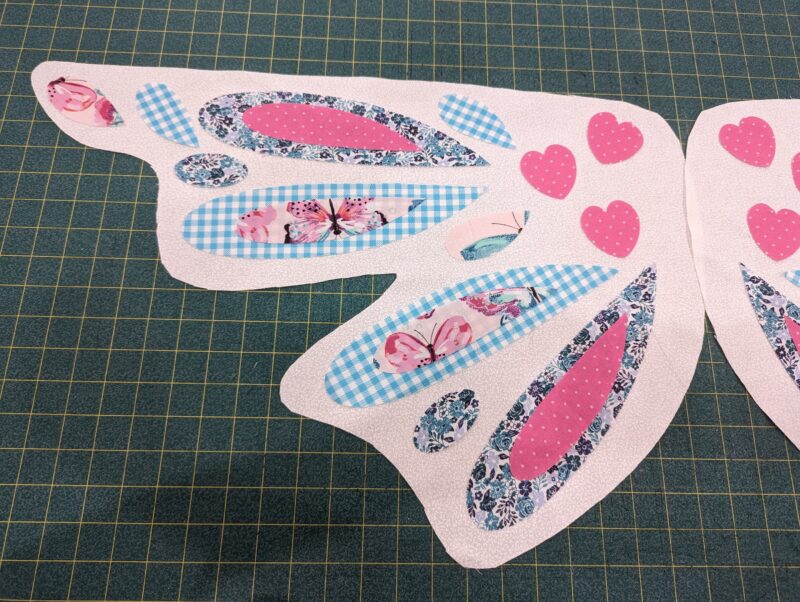
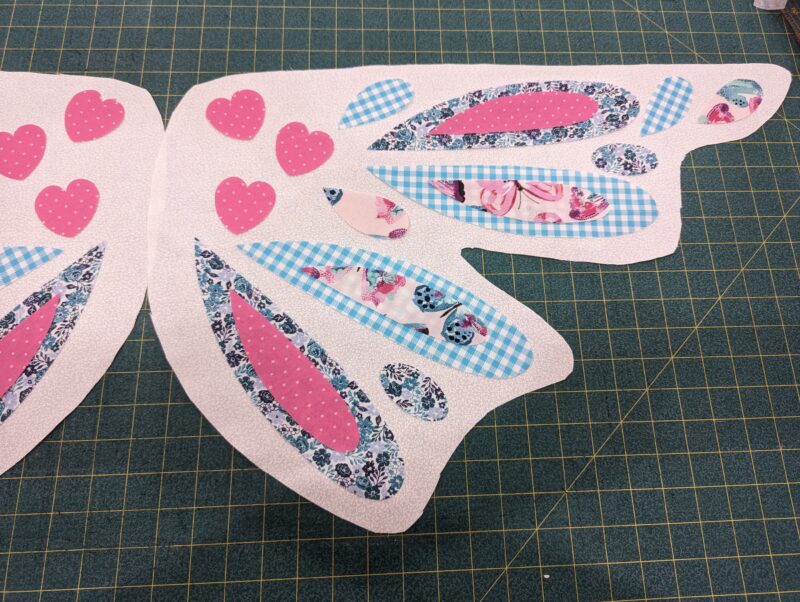
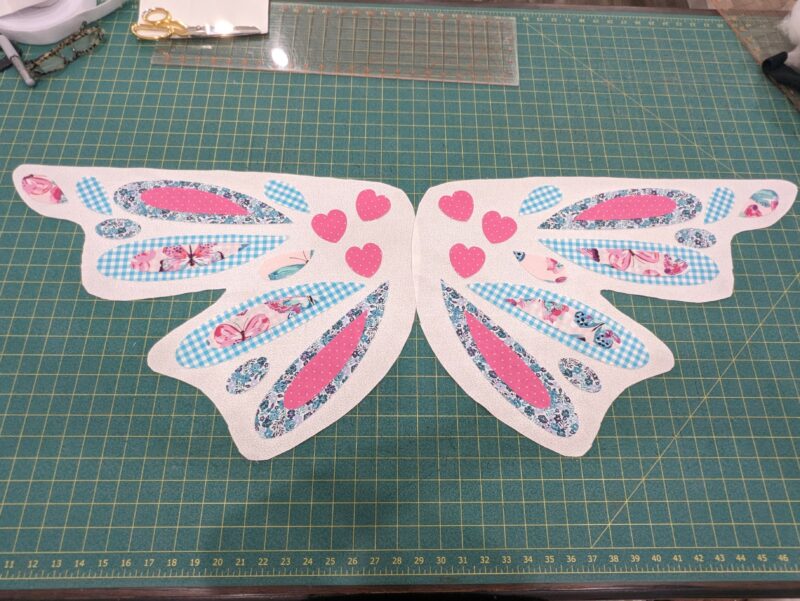
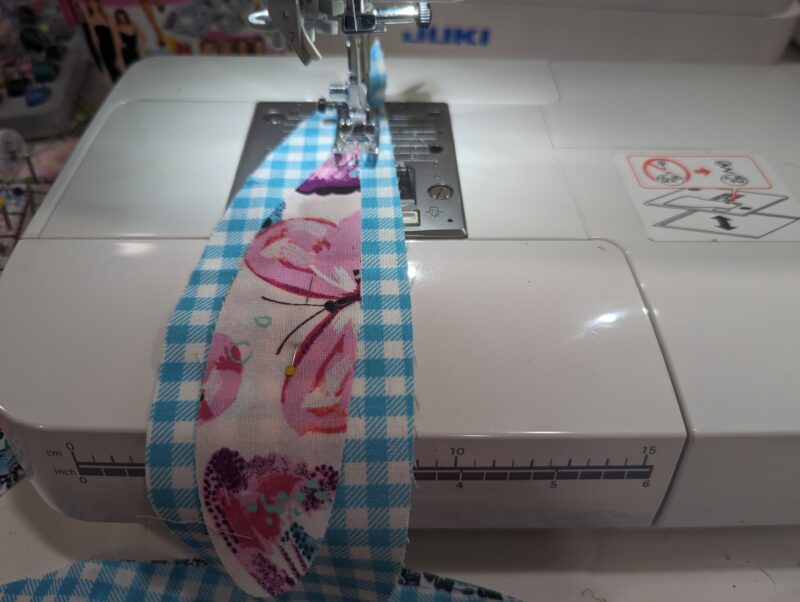
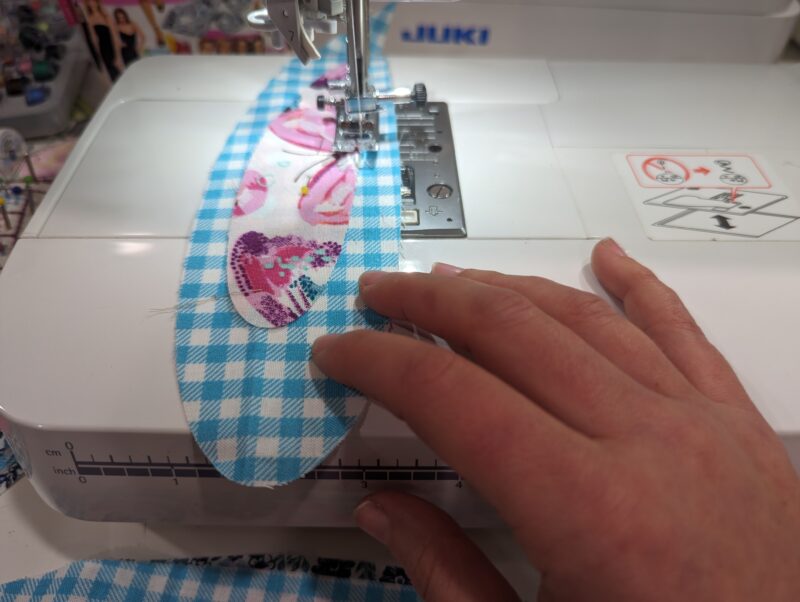
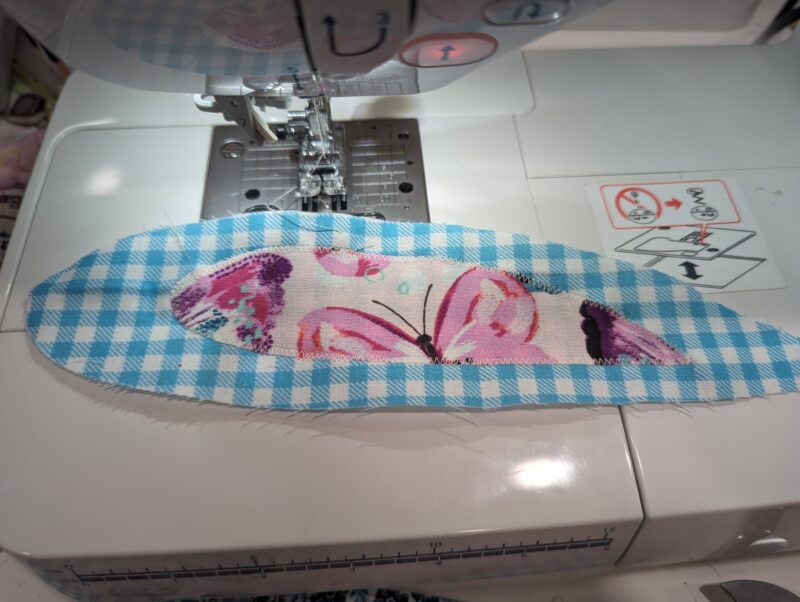
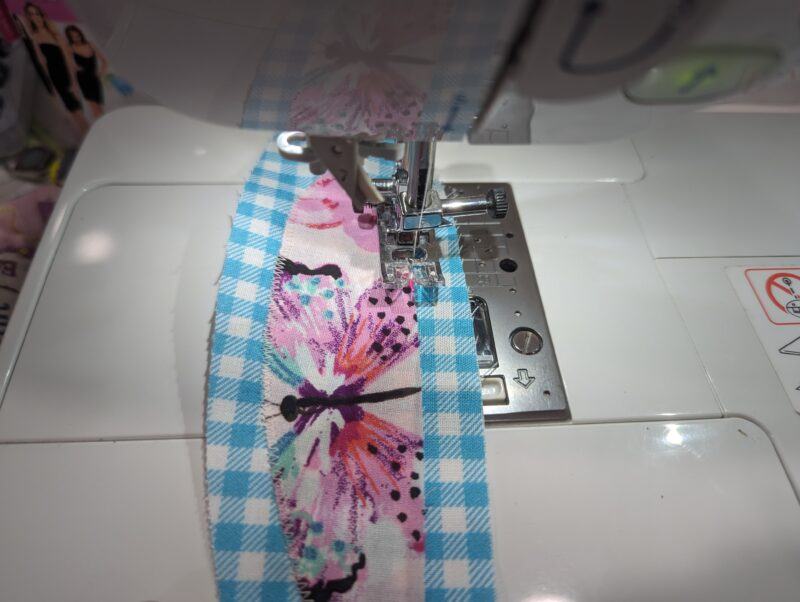
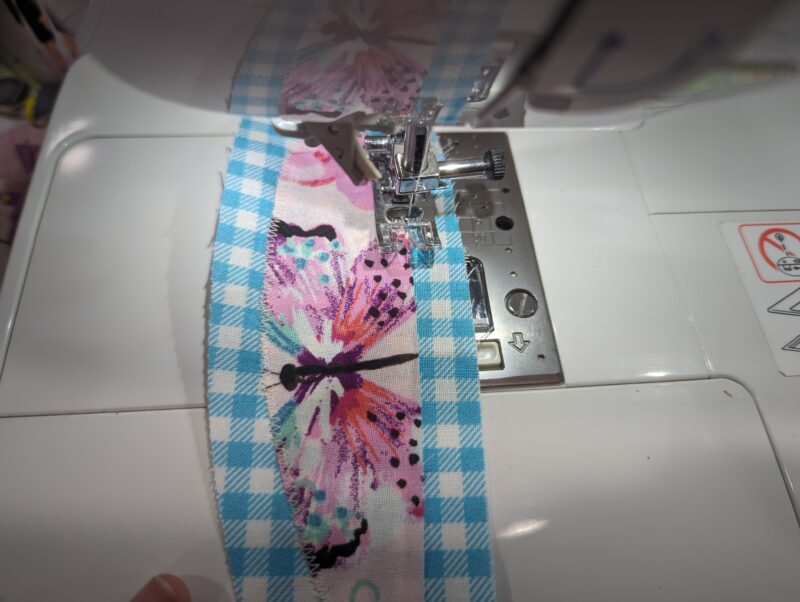
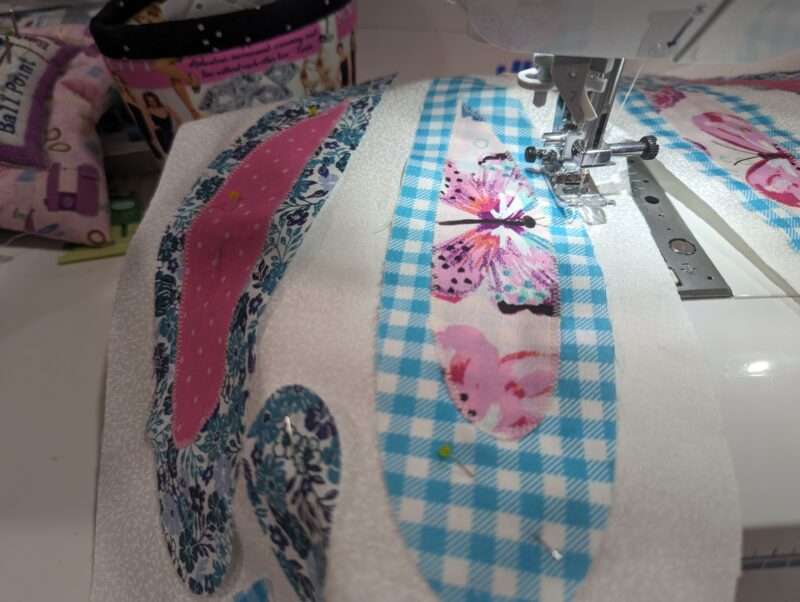
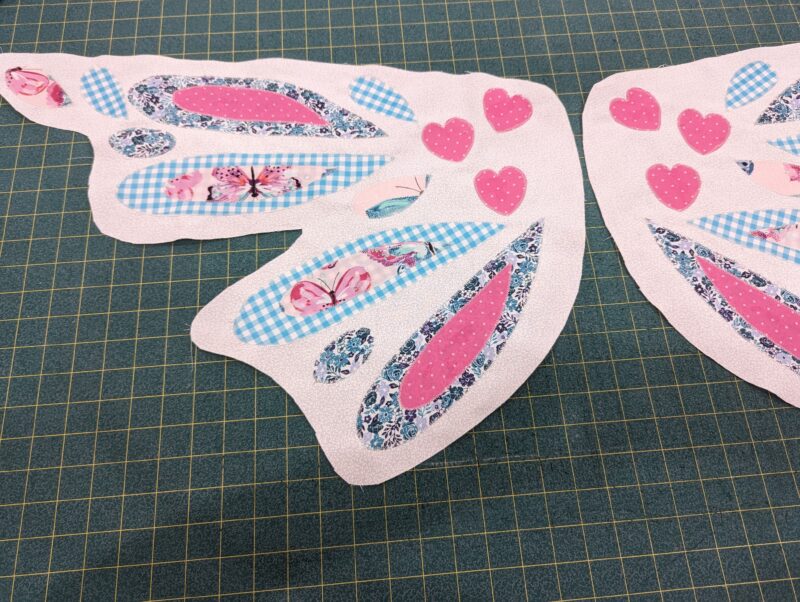
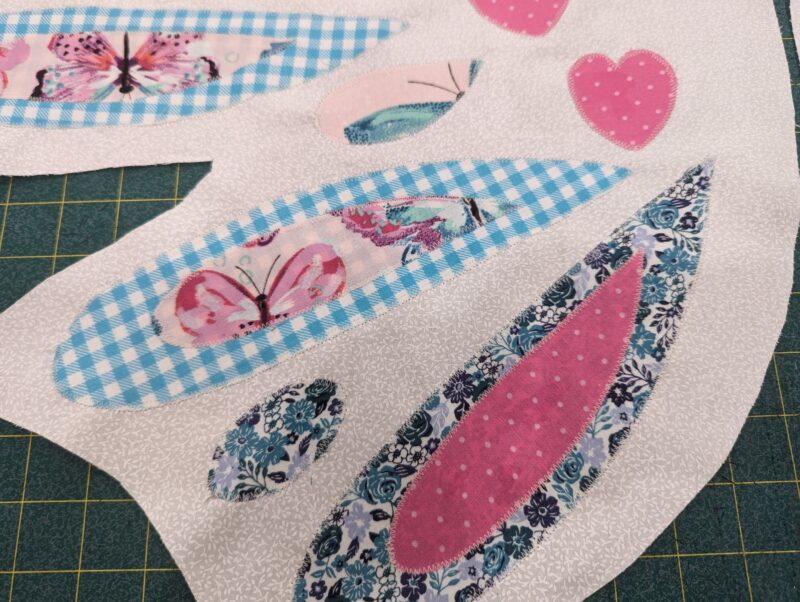
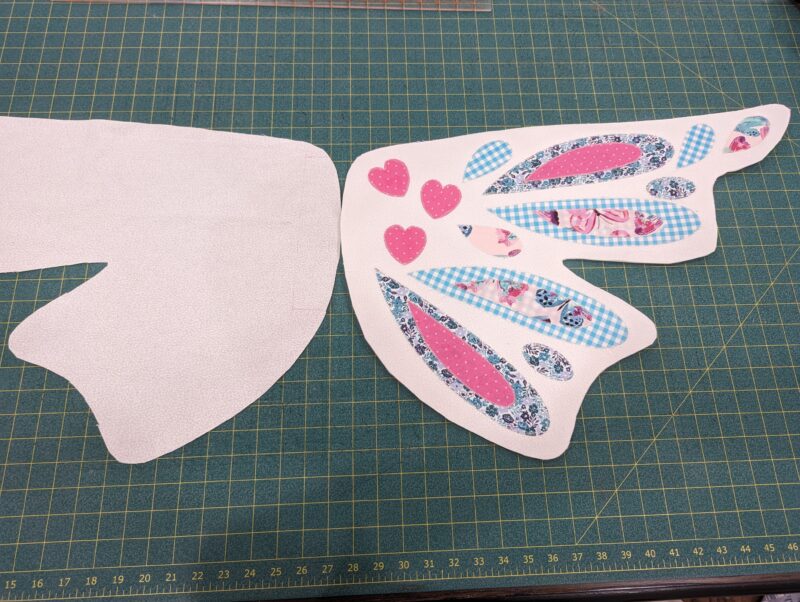
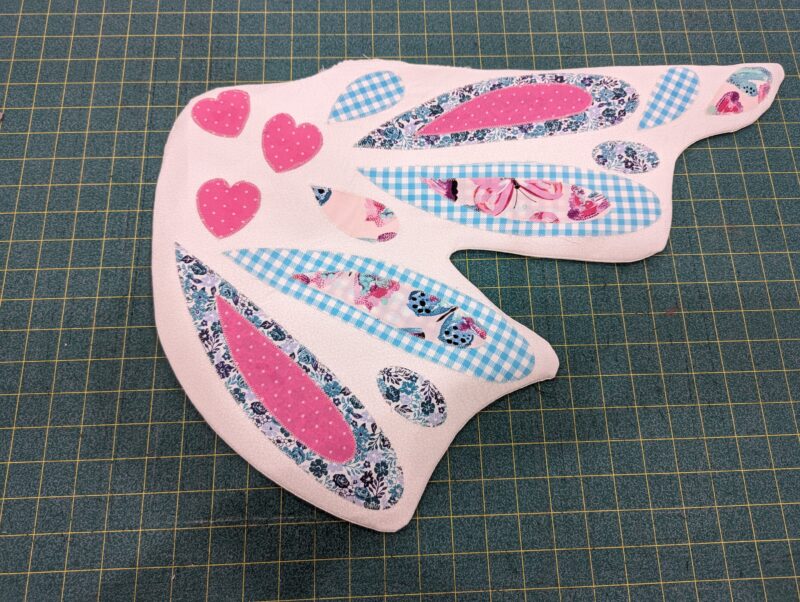
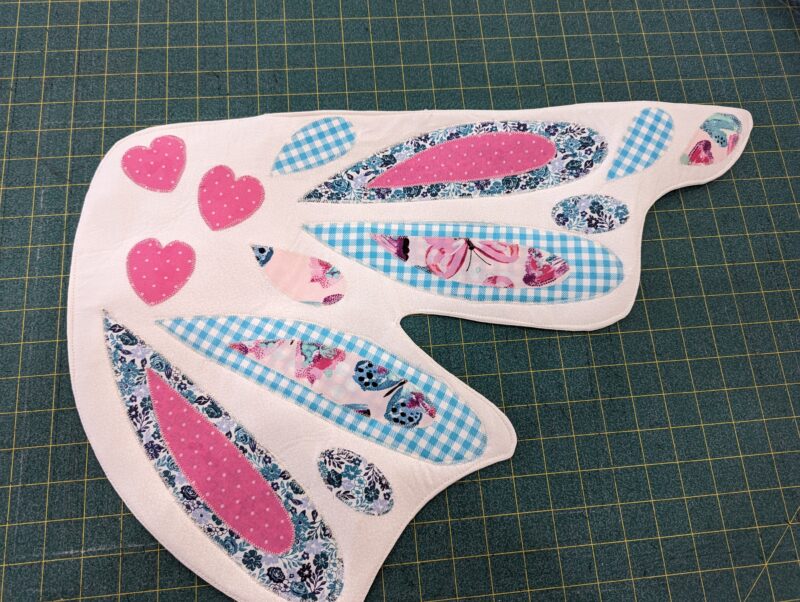
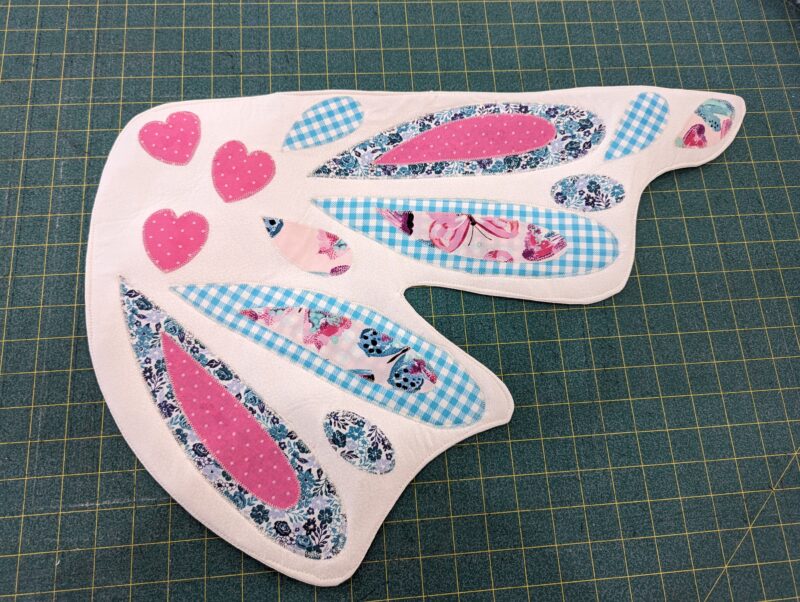
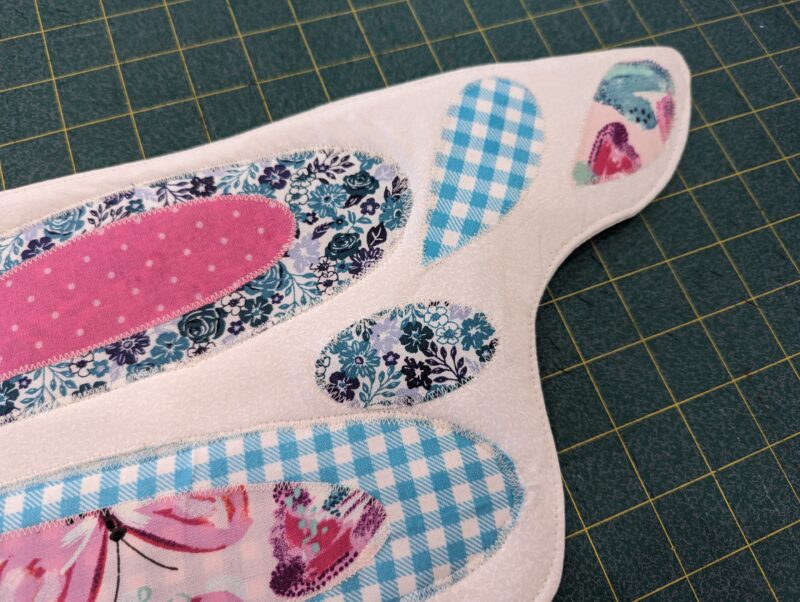
Lay out the 2 UNMARKED wing pieces and add the decorations by appliqueing them on with a zig-zag stitch. You can pin them on, use heat and bond or other fusible interfacings, or basting spray to help hold the pieces on. If you want to use felt and glue instead, that would work too/be quicker. OR use vinyl/paint, etc, whatever you want! I like first to lay out my pieces to decide on a design. Then I use a narrow zig-zag (3 length and .5-.8 width) to stitch any layered pieces, then the pieces to the wing.
If you haven’t added your interfacing to the wrong side of your main wing pieces yet, do so now.
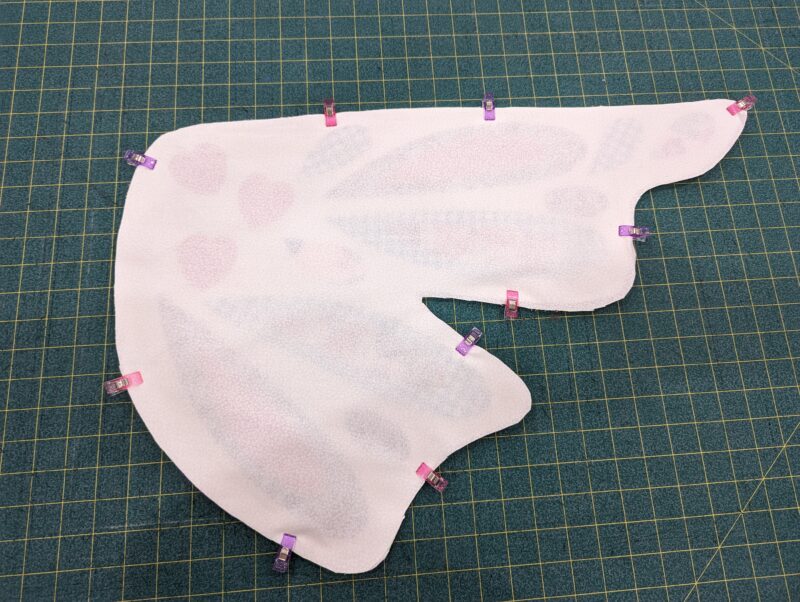
Place 1 decorated wing and 1 marked with right sides together, aligning the raw edges. Stitch them together all along the outside with a 1/4″ seam allowance, leaving a 3.5″-4″ opening to turn.
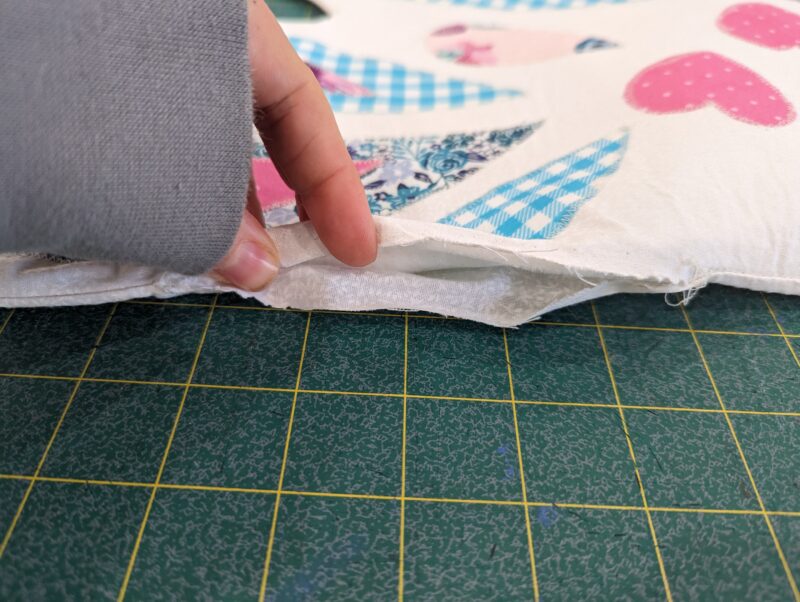
Clip the corners and trim down the seam to reduce bulk. Do not trim the unsewn portion.
Press the wing right side out through the opening you left. Press the curves out with a chopstitch or tool. Press nicely with iron. Press the unsewn edge 1/4″ to the wrong side.
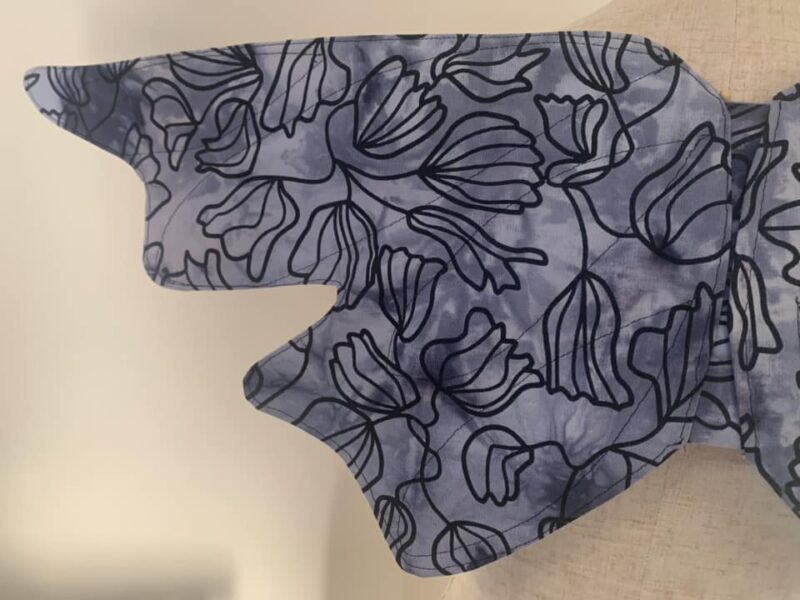
Topstitch around the entire wing, closing the opening. Optional- quilt on top of the wing or decorations. Repeat with other wing pieces.
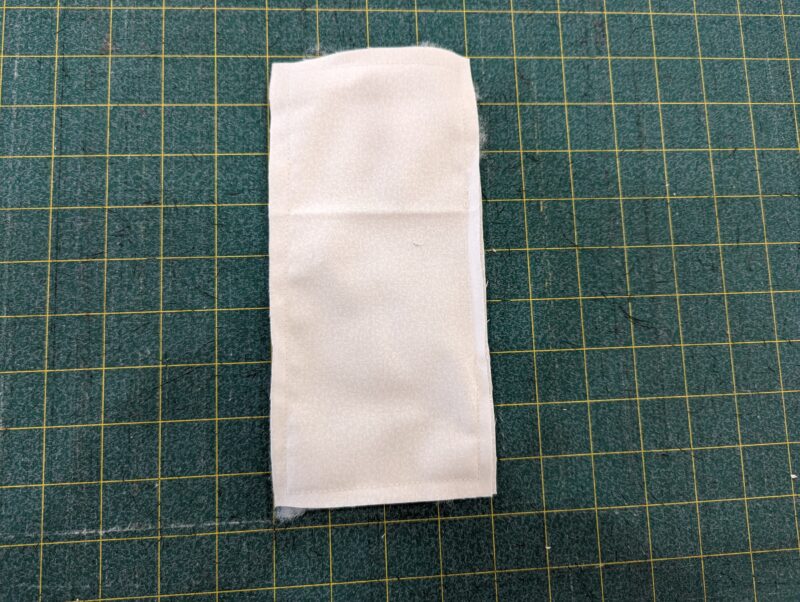
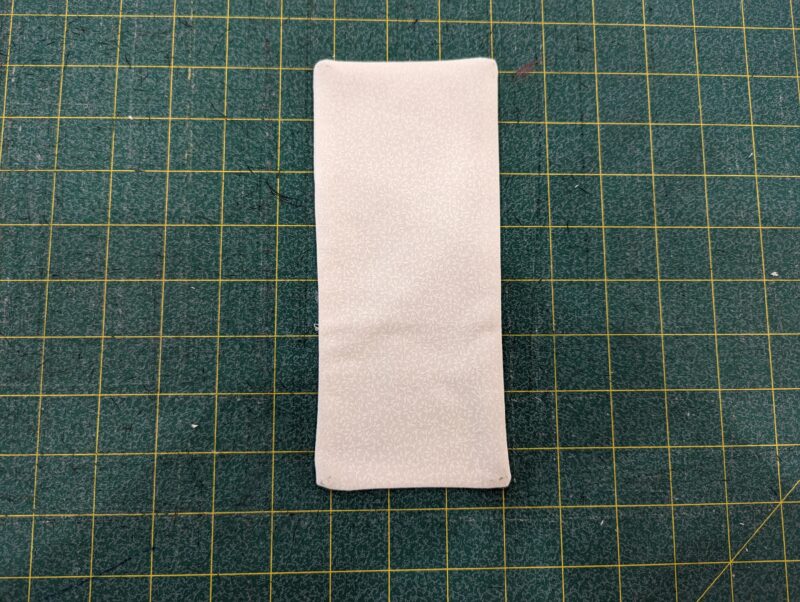
With the right sides together, stitch your two center pieces together with 1/4″ seam, leaving an opening to turn. Press them right side out and topstitch around the entire rectangle.
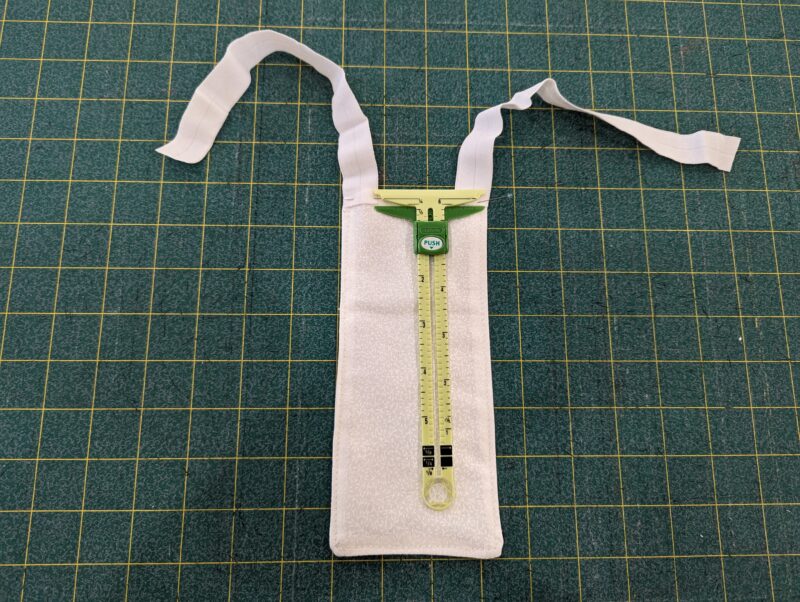
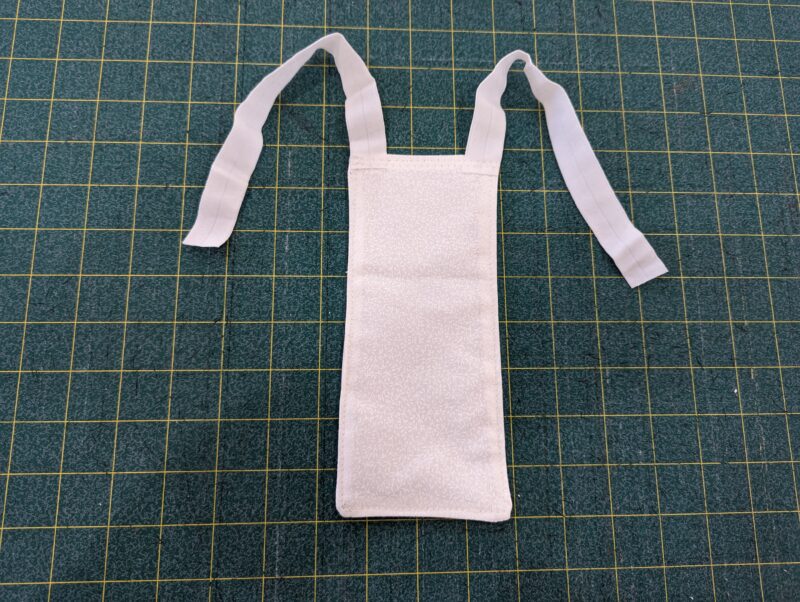
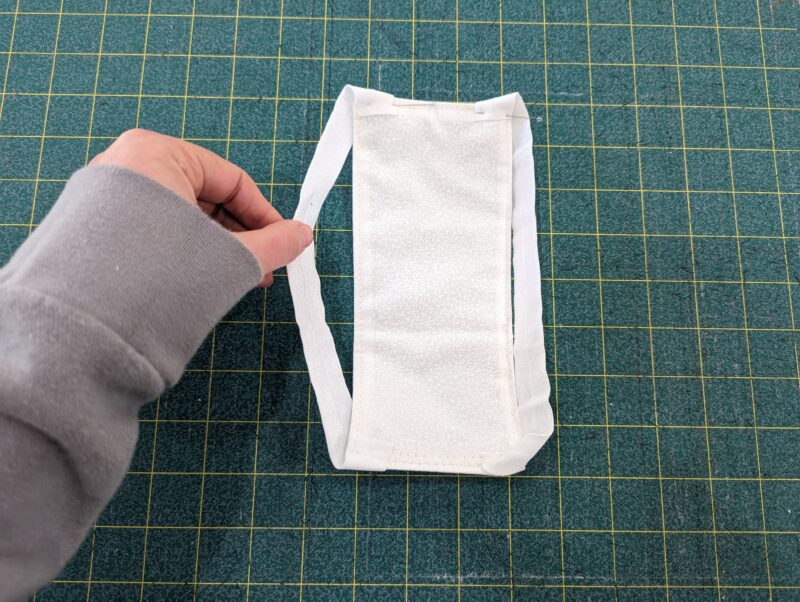
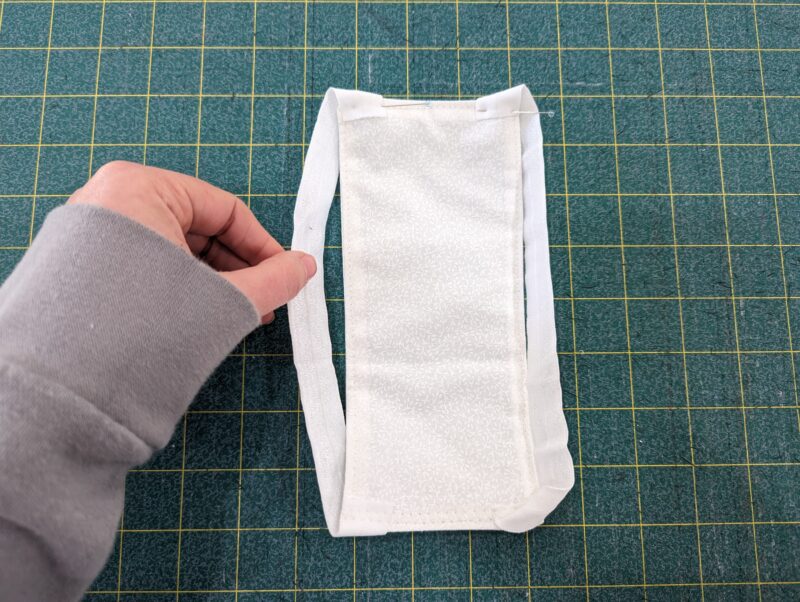
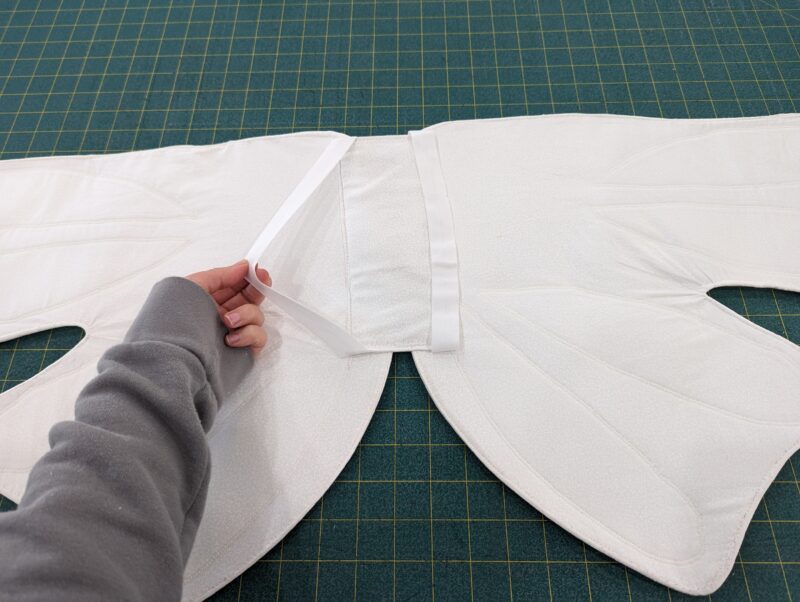
Now you’ll attach your strap pieces to the center piece. Lay your center piece WRONG side up. Pin one piece of elastic to the top corner with the right side down, aligning the edge of the elastic to the edge of the center piece. Overlap the elastic and center piece by 1/4″. Repeat the same steps on the other top corner and elastic. Stitch the elastic on the center piece along the top edge with a 1/4″ seam.
- Small: 7″
- Medium: 9″
- Large: 11″
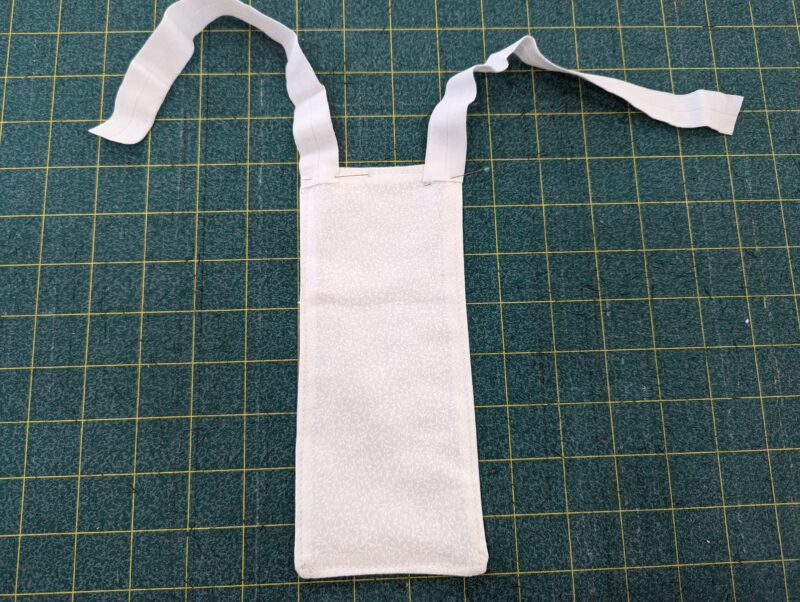
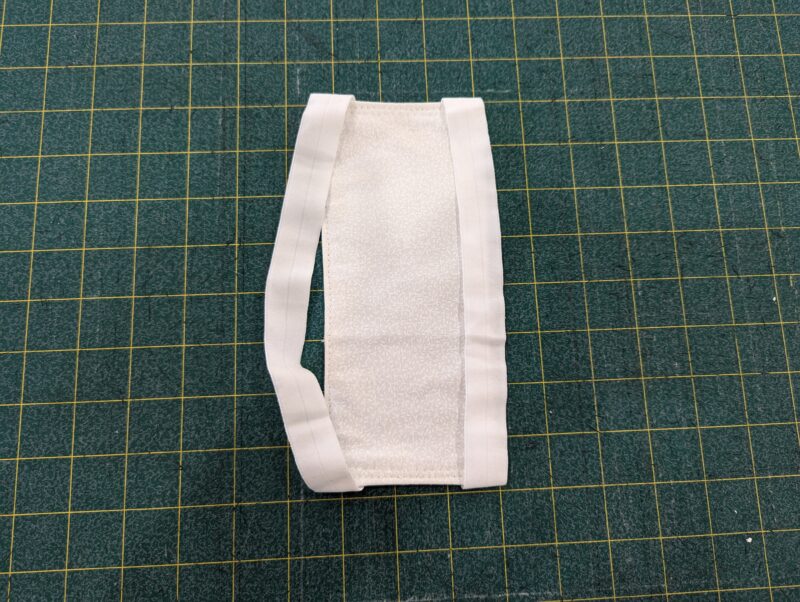
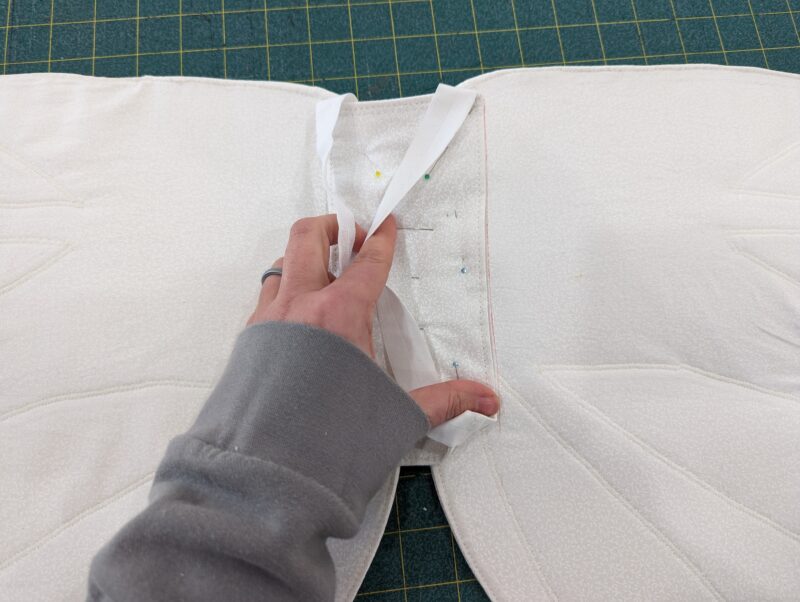
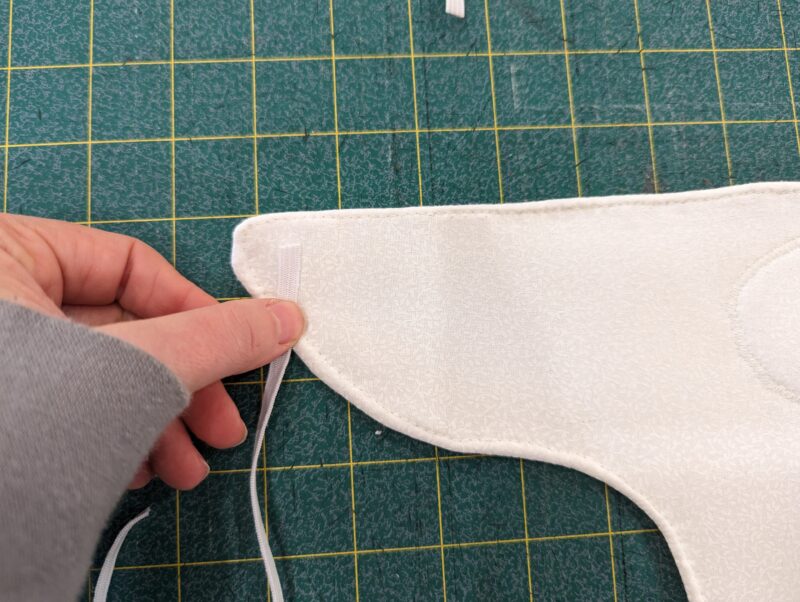
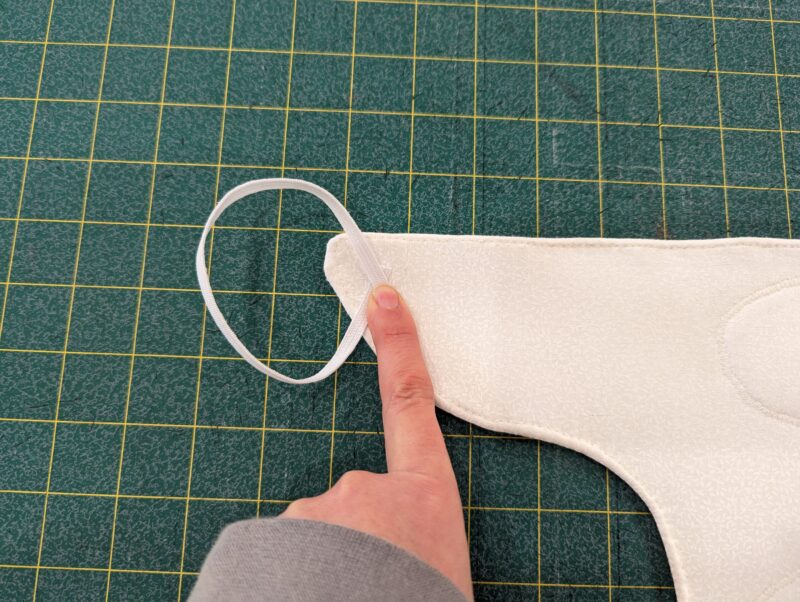
Take the other end of the elastic and attach it to the bottom corners of the center piece in the same way. Align the edge of the elastic to the edge of the center piece and overlapping by 1/4″. Then stitch the elastic with a 1/4″ seam.
Step 5: FINISHING
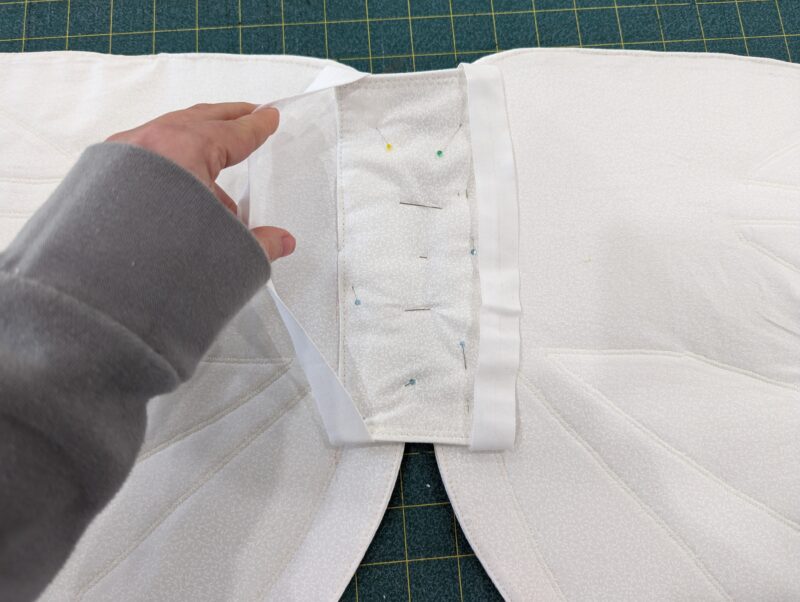
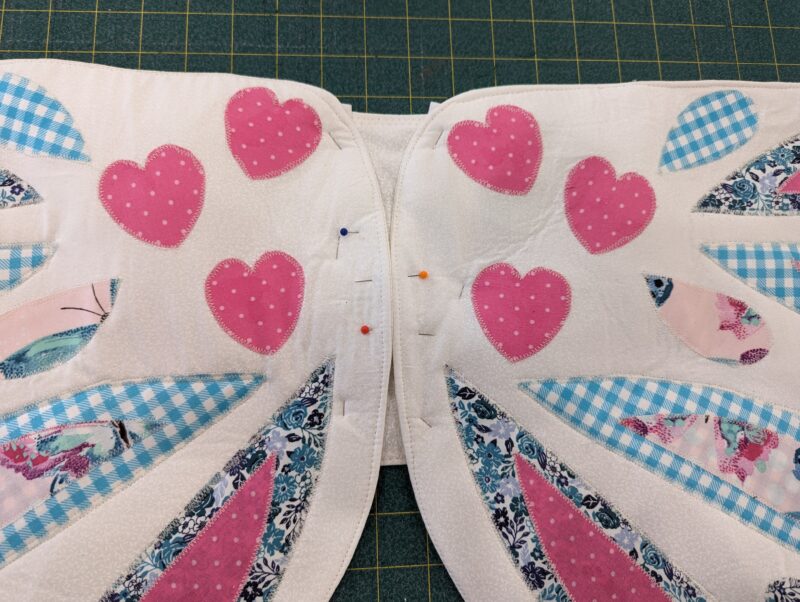
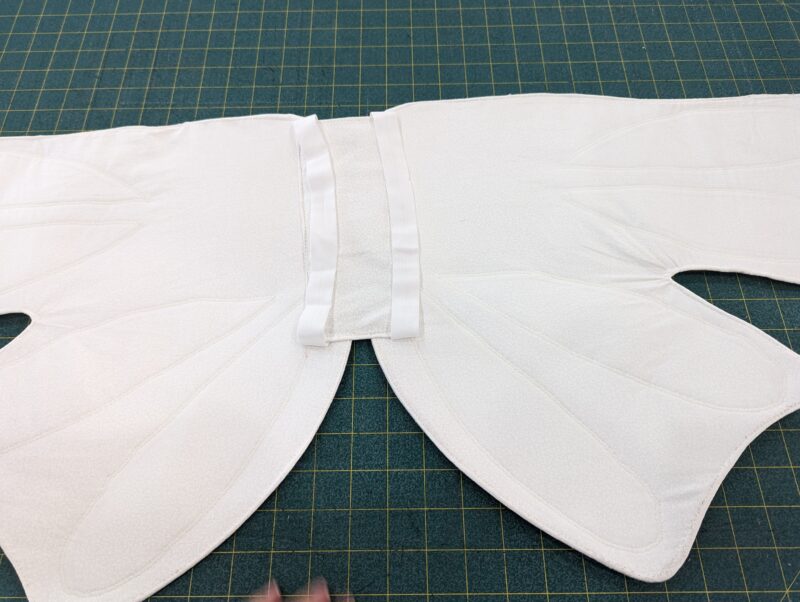
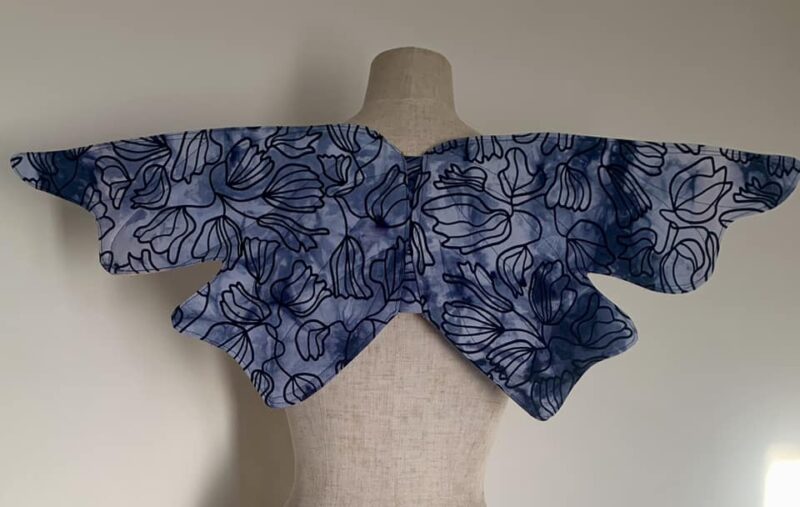
Flip the wings over so the wrong side with the markings faces up. Align the wings so they are just touching in the center, and the markings are lined up.
Pin the center piece on the wings, using the markings as a guide. I flip it over and ensure everything is even and aligned, and the two wing pieces are touching in the center.
- Small: 5″
- Medium: 7″
- Large: 9″
That’s it! Your little one is going to love these so much!
DECEMBER 1 – 12, 2023
DAY 1 –TOASTER TREAT PLAY FOOD + PLUSHIE
DAY 2 –FABRIC KEY FOB
DAY 3 – FABRIC COASTERS
DAY 4 – FELT MISTLETOE
DAY 5 – HAT TOTE BAG
DAY 6 – FELT WREATH
DAY 7– LINEN TEA TOWEL
DAY 8– PINT COZY
DAY 9– REUSABLE FELT BOWS
Leave a Reply