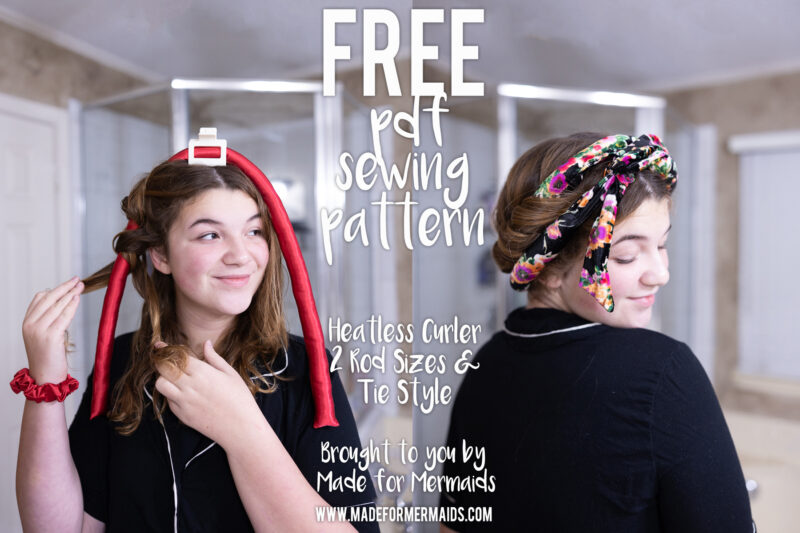
On the 11th Day of Christmas, Made for Mermaids gave to me… a heatless curler for free! I created 2 different styles of curlers because I just couldn’t choose between the 2, I love both! There is a rod style in 2 sizes, a smaller 1.5″ and a larger 2″. Plus a 1.5″ tie style that wraps around your head. You can use any of our many free scrunchie patterns like the classic scrunchie in 3 sizes (I used the medium size for my set), super scrunchie, scarf and bow scrunchie, or ruffle scrunchie. These are really quick to put together and use very little fabric (my favorite kind of project). Plus they are SO useful and great to add to a stocking or any gift. Try pairing it with our towel wrap, reusable facial rounds, spa headband, and sleep mask, and put it all inside a travel bag, zip up, or drawstring pouch as an amazing gift! Add a Rita, Marilyn, or Spencer robe too.
SUPPLIES:
- Tie Style- I like to use a medium-weight knit like velour, velvet, french terry, etc. You’ll need just a small WOF scrap or 1/8 of a yard.
- Rod Style- Satin, silk, or other soft, silky woven fabric. 1/8 yard
- You will also need something to stuff the curlers like polyfill, foam stuffing, batting, or you could cut up knit scraps to stuff inside.
LET’S GET STARTED!
1/4″ seam allowances included
Step 1: PREPPING
Go grab the pattern here! The pattern is 100% free, but you do need to add it to your cart and checkout. Then, it will always be available to download from your account. The pattern is a no-trim pattern; if you need help putting the pattern together, pop over to the faqs and troubleshooting page or ask in our Facebook group.
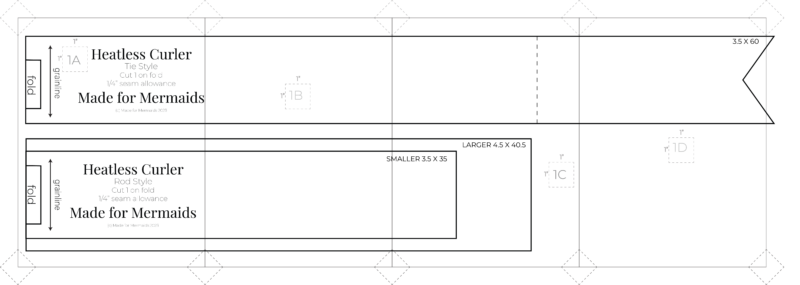
Print and assemble the pattern. Alternatively, you can use the projector file if you’re using a projector. Pattern layout below:
Step 2: CUTTING
Cut 1 on the fold or use the measurements below.
- Tie style- (I did do diagonal edges, but you could just sew/cut the diagonal ends yourself if you don’t want to print the pieces out.)
- 3.5 x 60
- Note- if your knit fabric isn’t quite 60″, just cut it by the WOF (width of fabric) and that should work. My stretch velvet was about 56″ and it worked great.
- Rod style-
- Smaller 3.5 x 35
- Larger 4.5 x 40.5
Step 2: SEWING
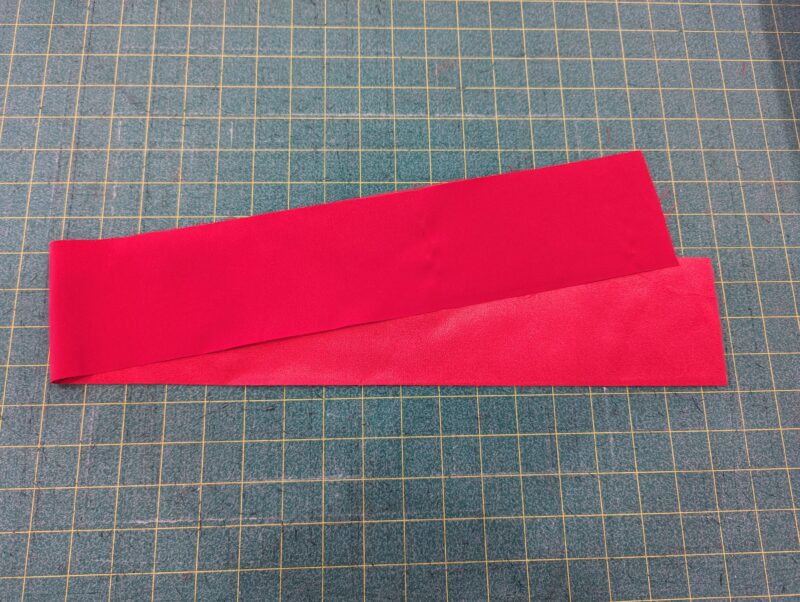
Press in half widthwise with the right sides together.
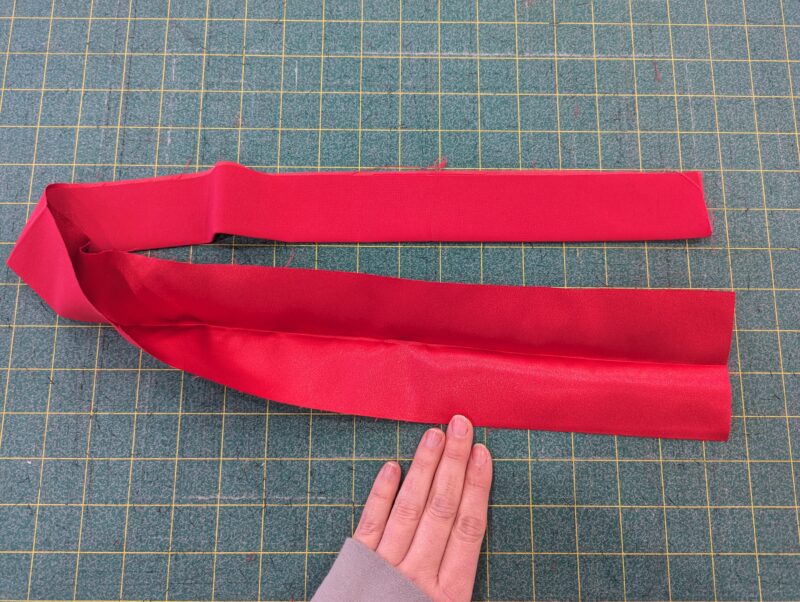
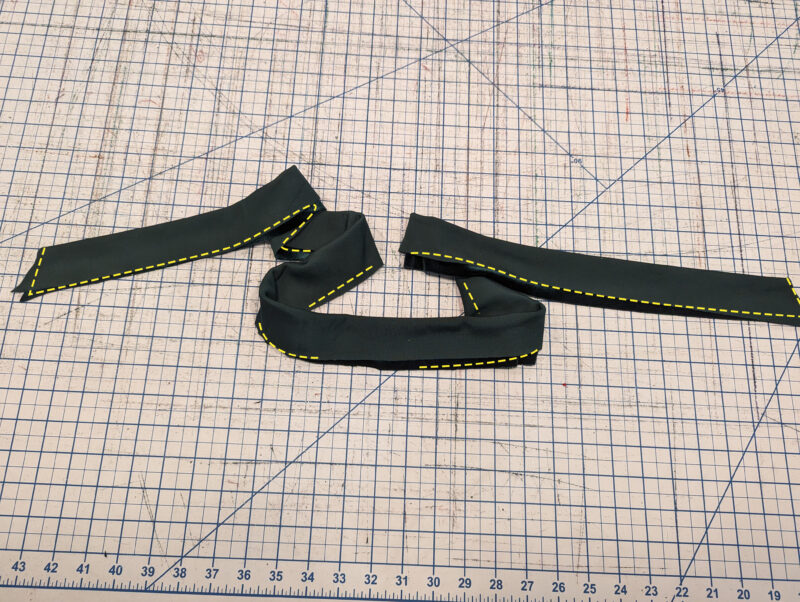
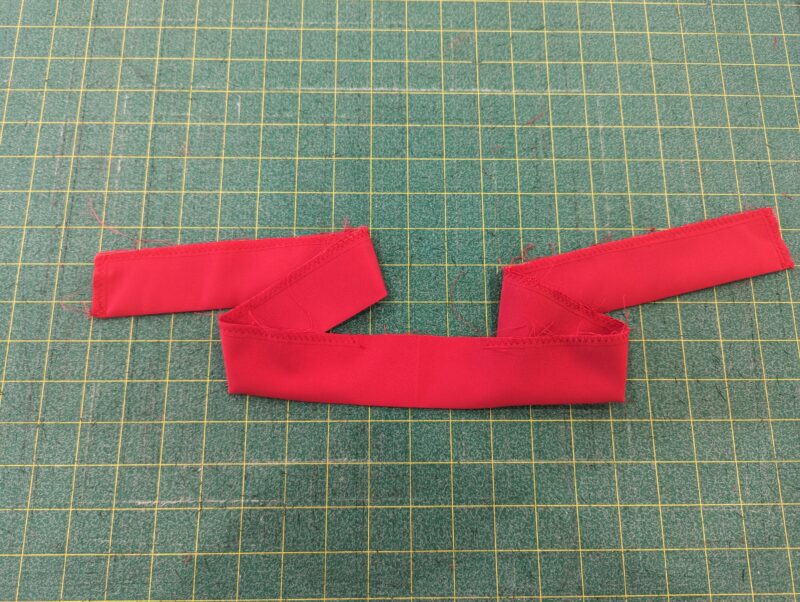
With a 1/4″ seam allowance, stitch together at short ends and along the long edge, leaving a 2″-3″ opening in the center.
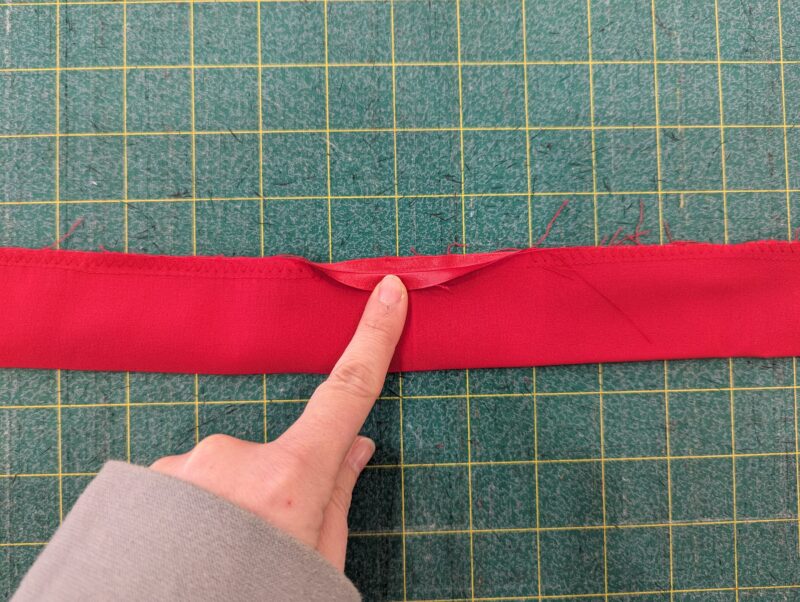
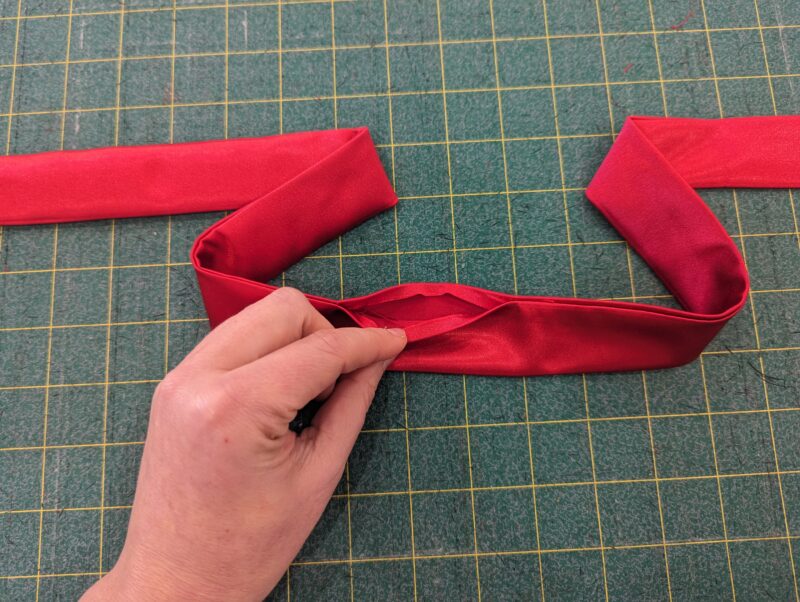
Press the unsewn portion 1/4″ to the wrong side. Clip corners. Optional- finish the edges if you’re using a woven fabric.
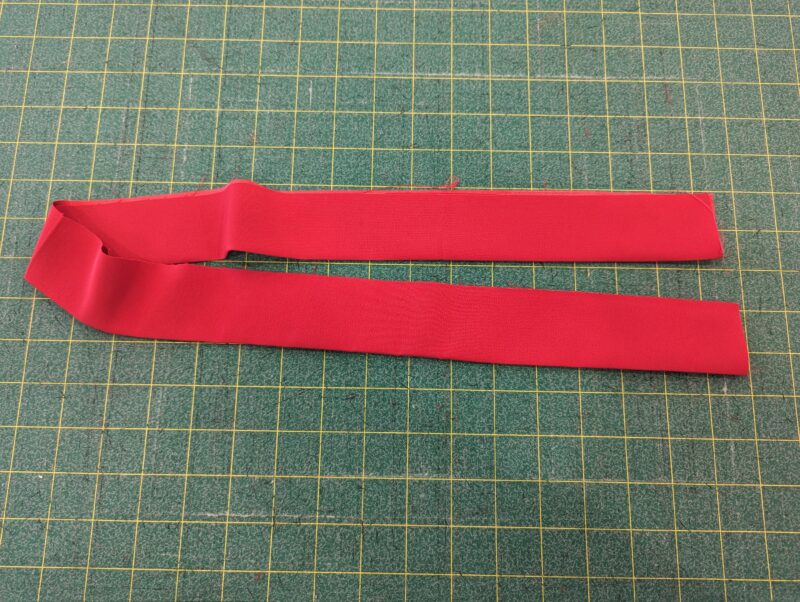
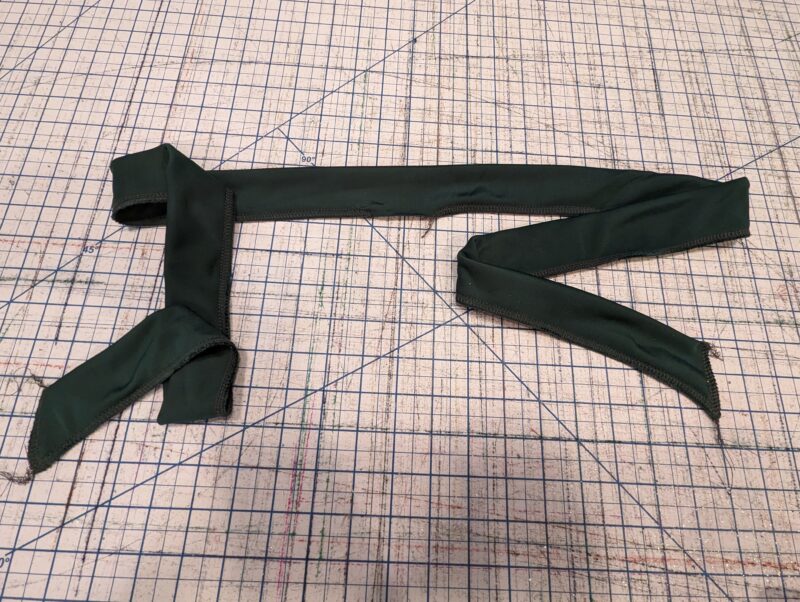
Flip it right sides out and press the corners out.
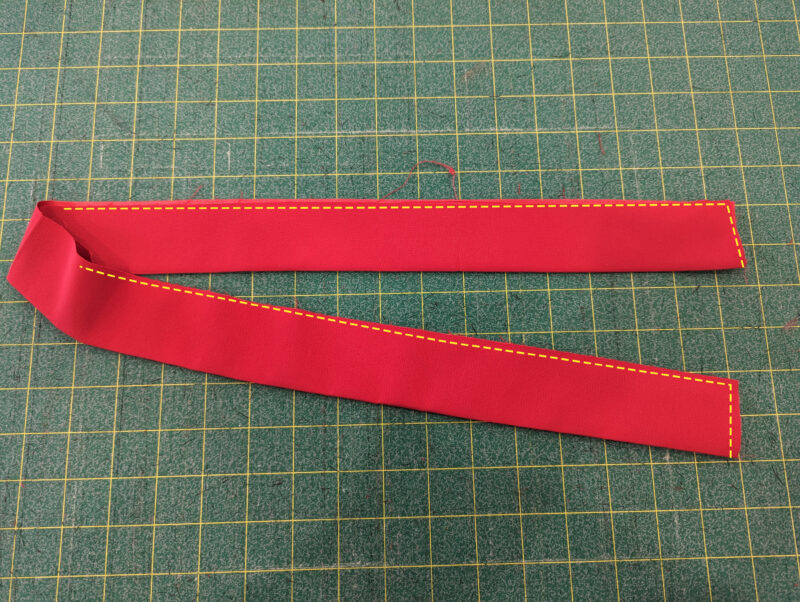
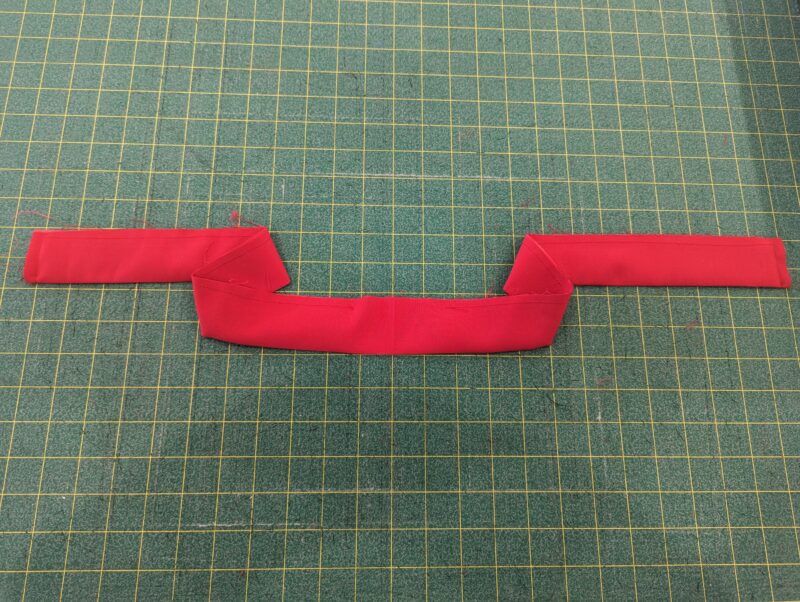
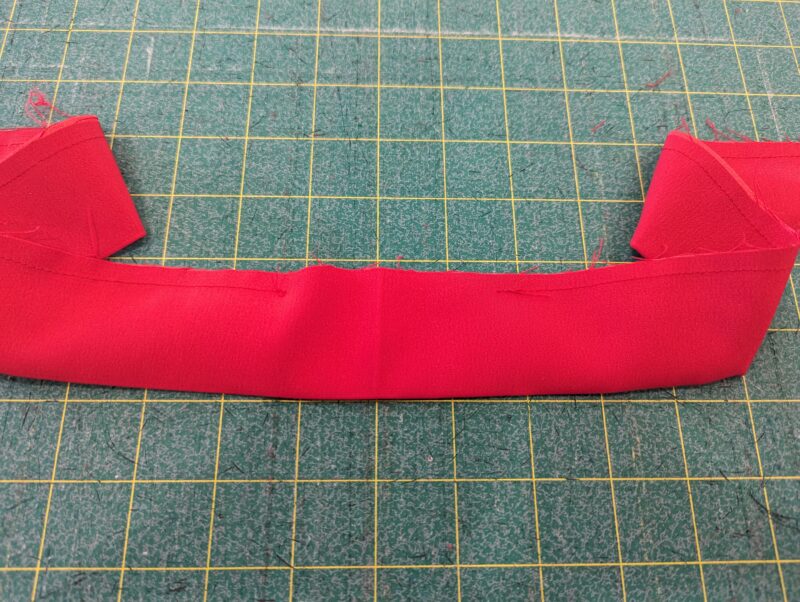
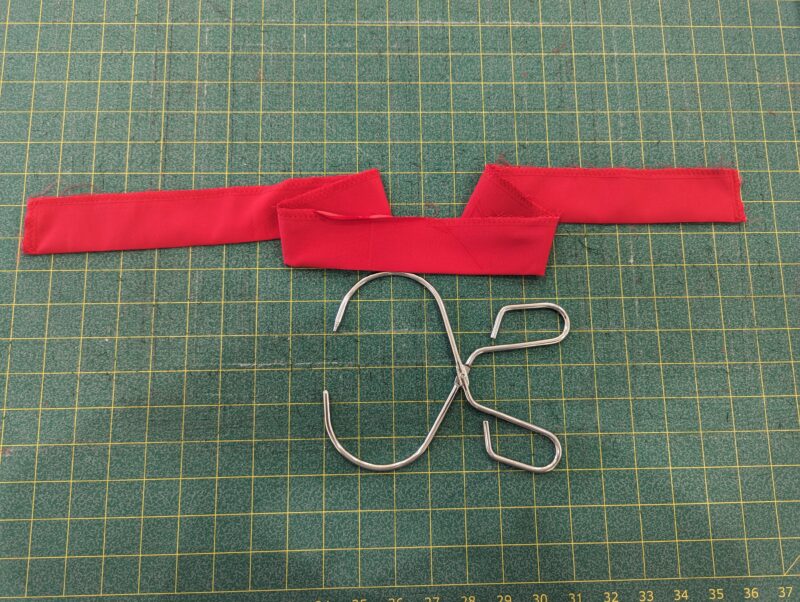
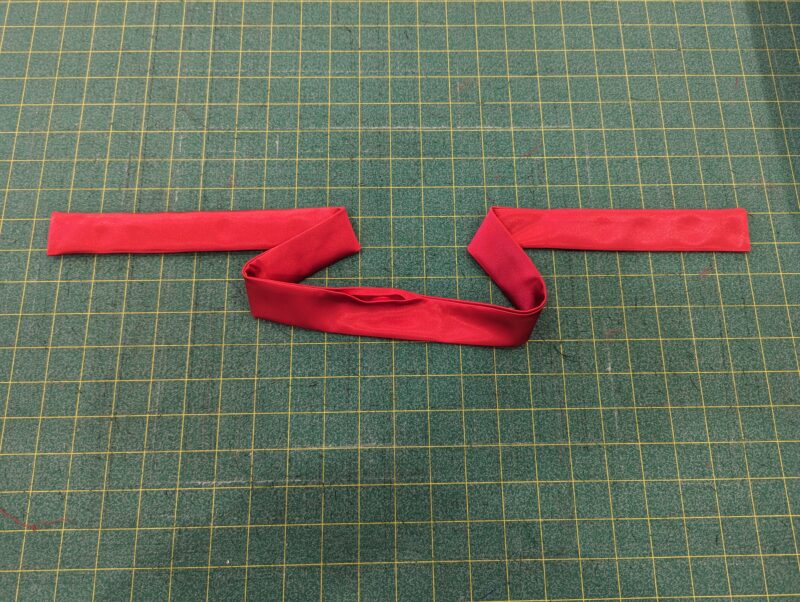
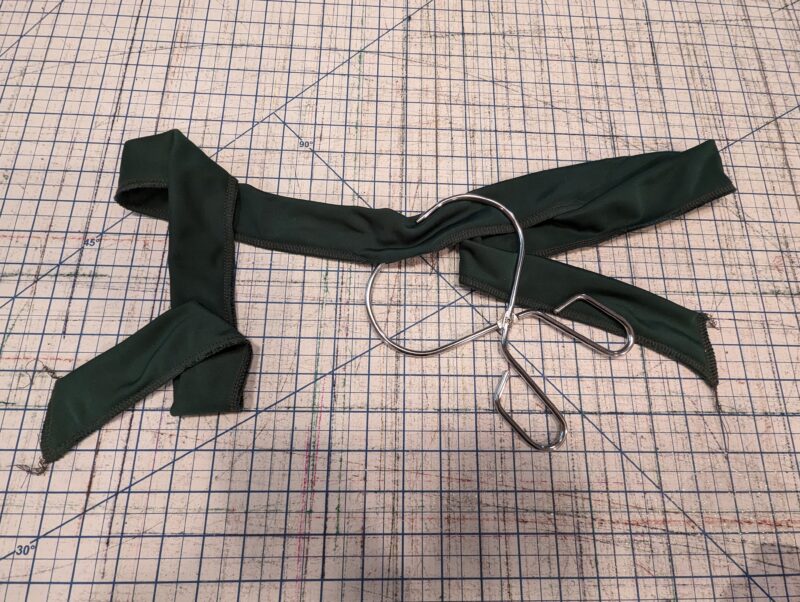
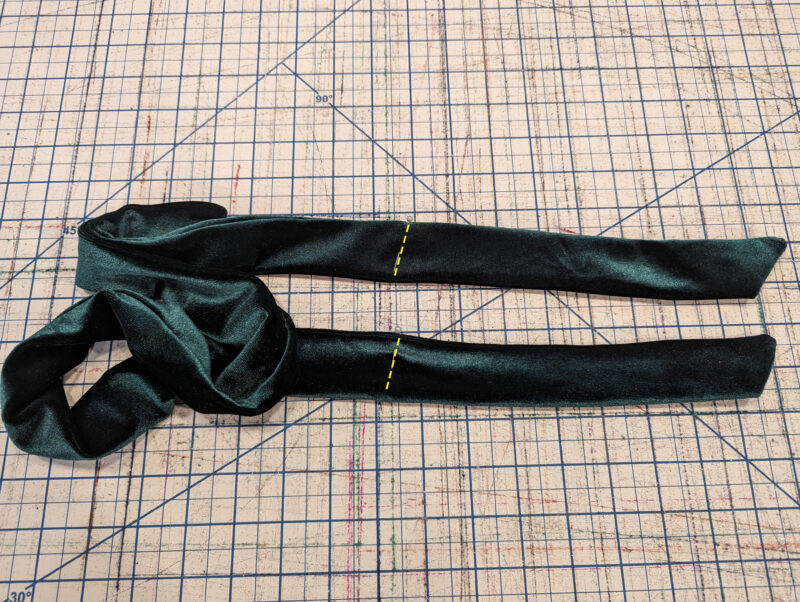
Tie Style- Stitch directly on the markings from the pattern piece, or measure 9.25″ from each edge and stitch across your piece. I like to use a triple stitch (3 or 3.5 length) here so the seam doesn’t pop once I’m wrapping it on my head. This will create the ‘tails’ for you to tie.
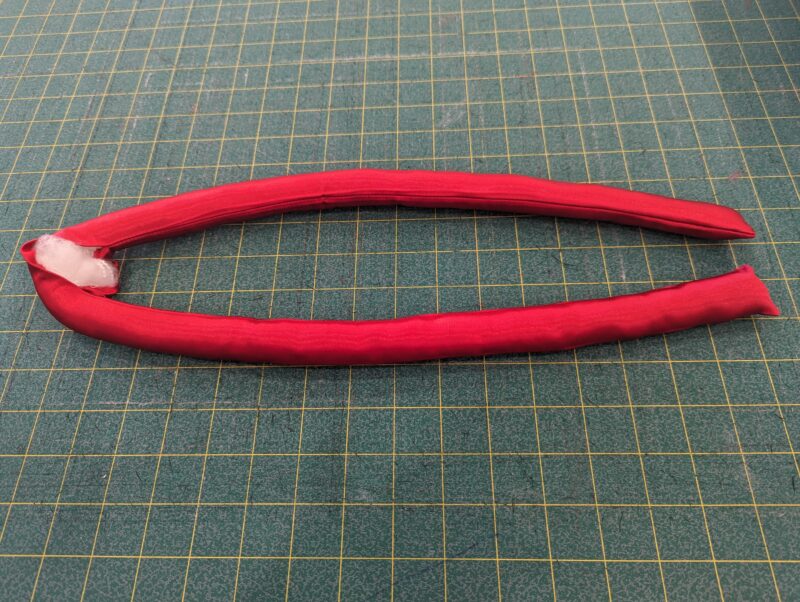
All options continue- Stuff with stuffing, foam, strips of knit, etc.
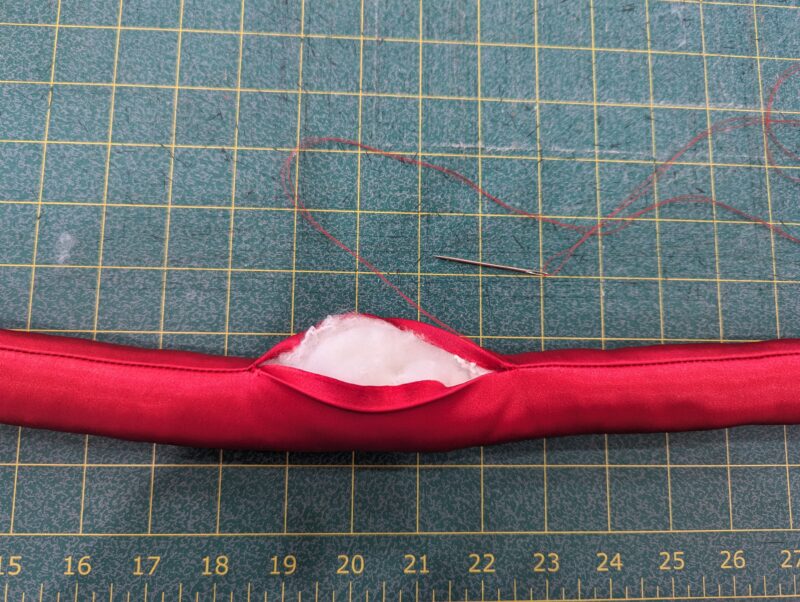
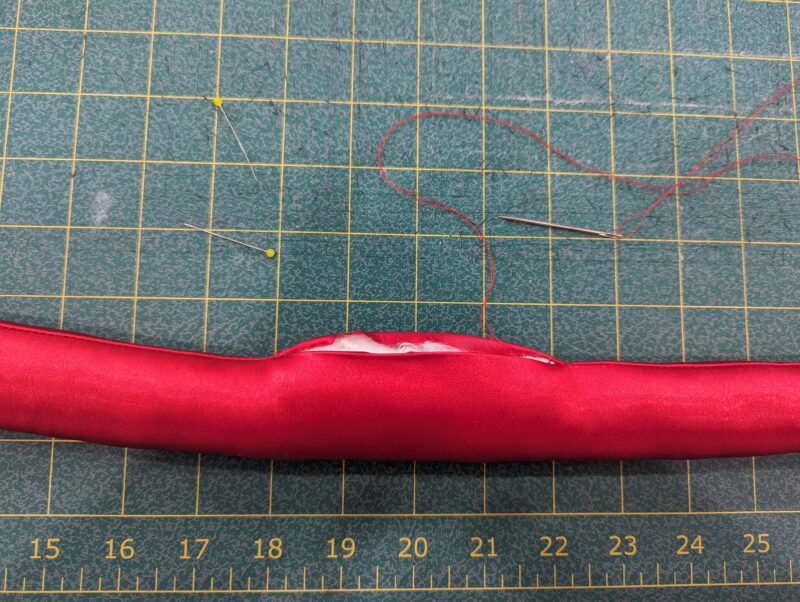
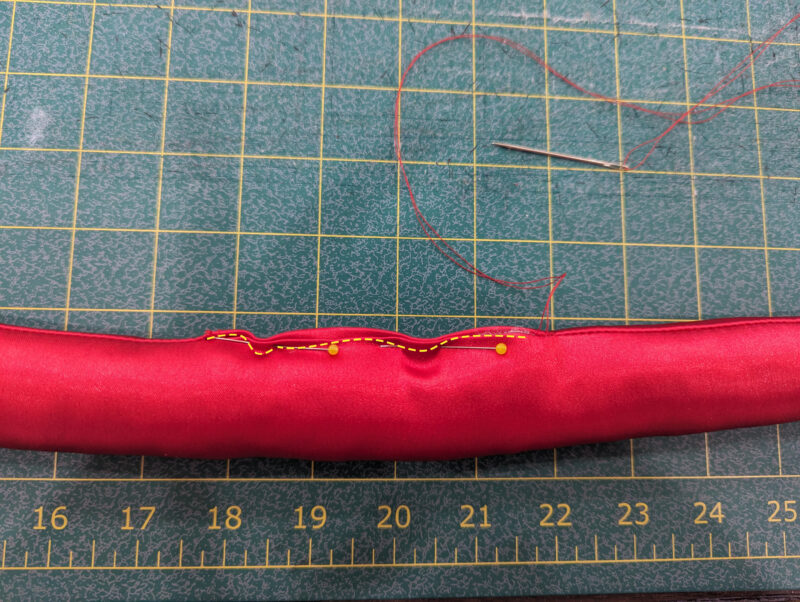
Close the center opening by hand using a ladder stitch, or use your machine to close.
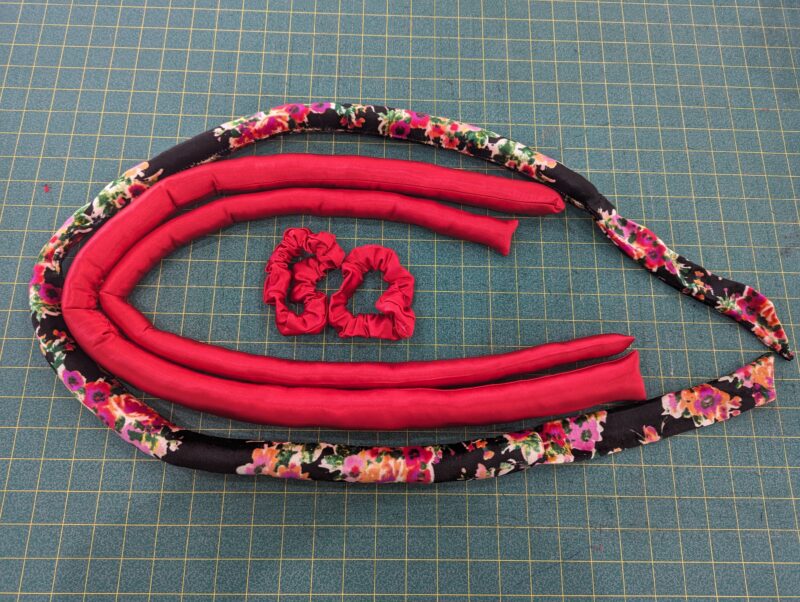
That’s it! Your heatless curling rod or tie wrap is complete. You can see the finished size differences below. In the center is the smallest rod style, then the larger rod style, and the floral is the tie style. I also made 2 medium size scrunchies from our free pattern here to complete the rod set.
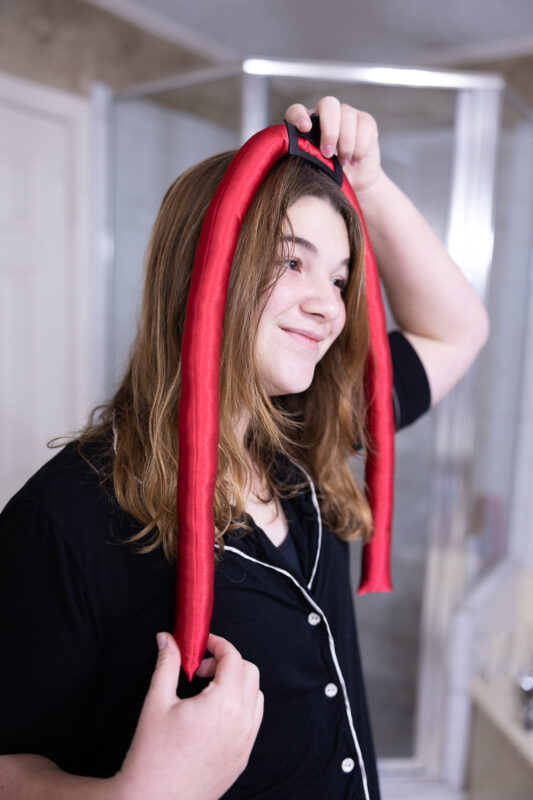
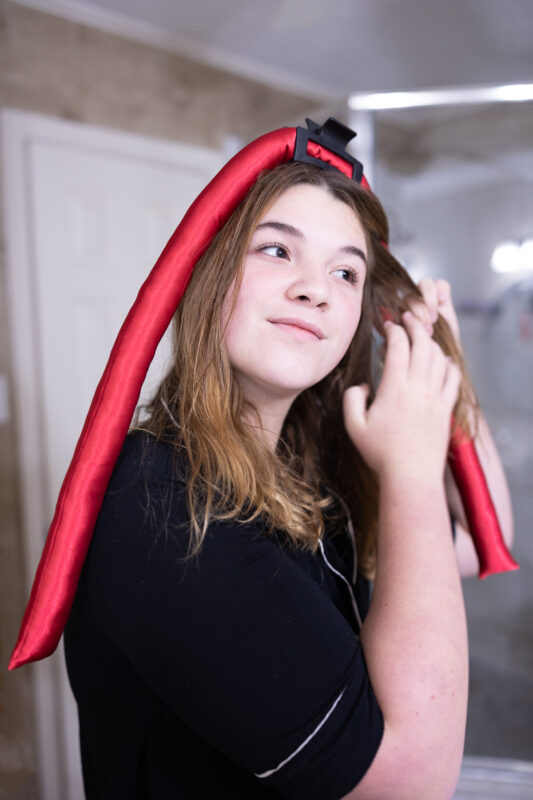
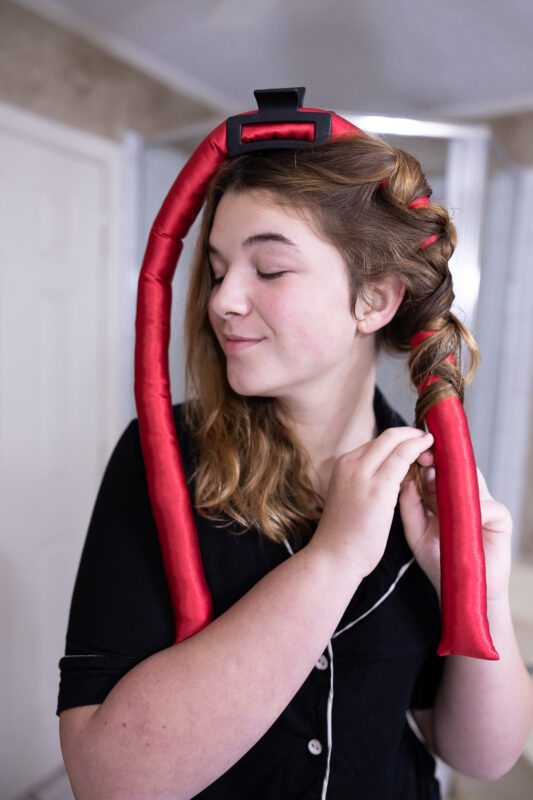
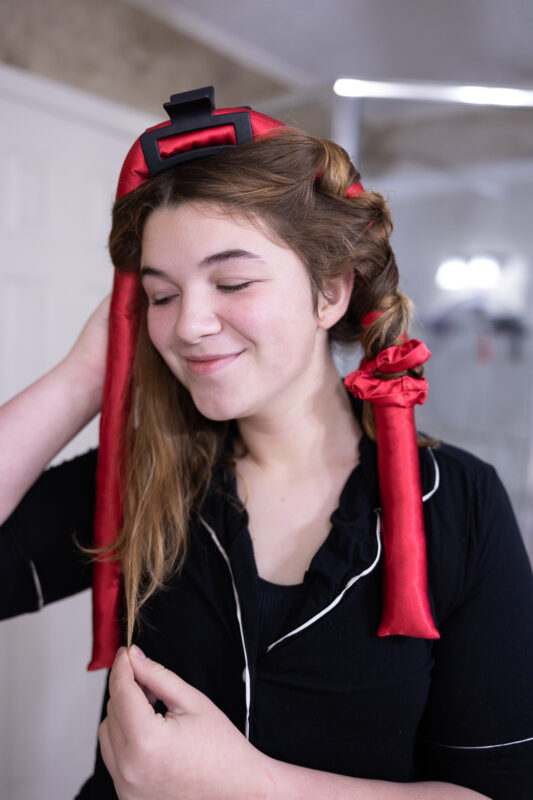
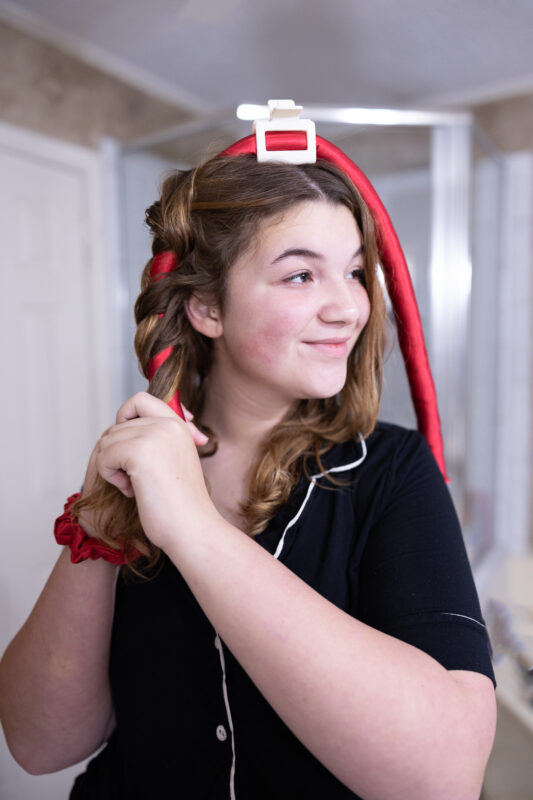
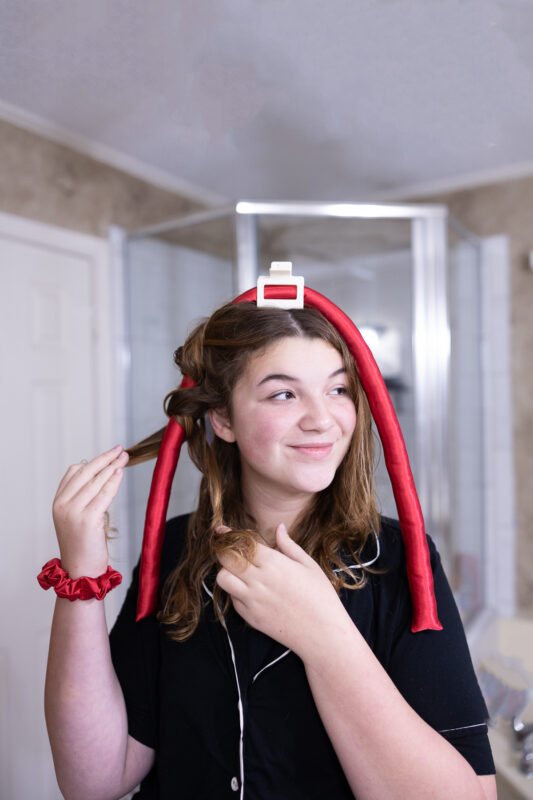
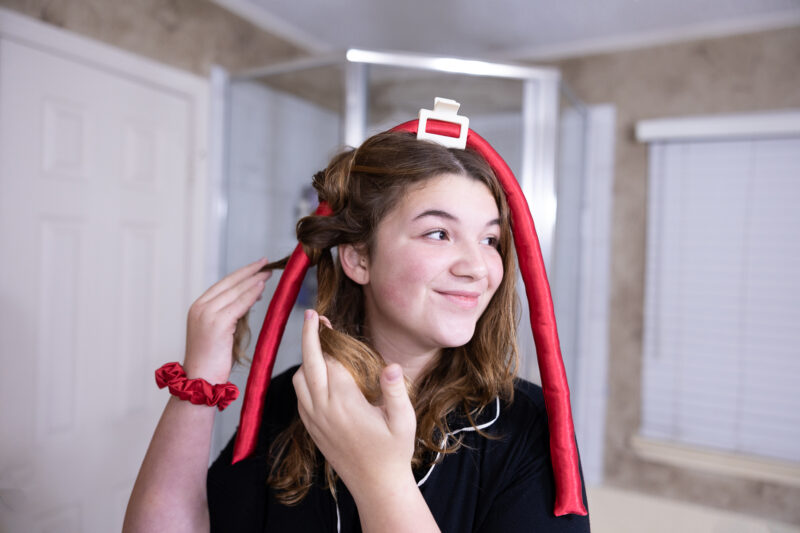
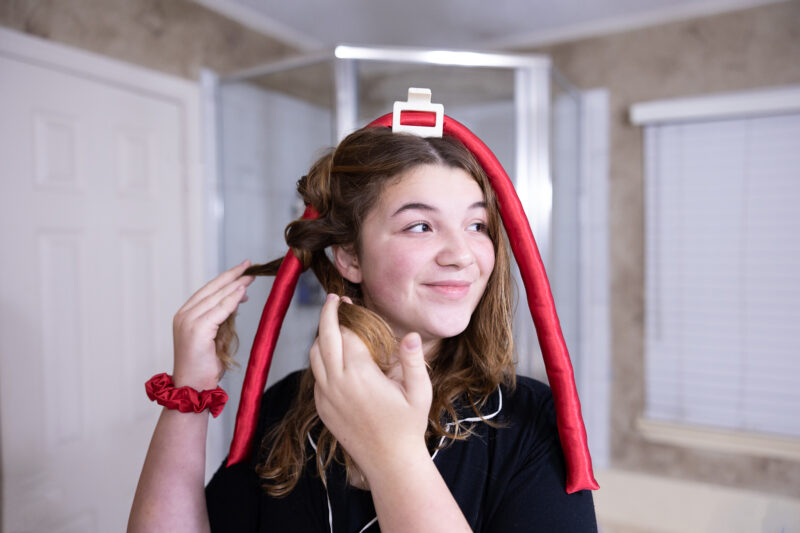
For the rod style, I like to use a clip to hold the center, split my hair down the center, then wrap each side of my hair around, and use a scrunchie to hold the hair in place. Repeat on the other side and then I remove the clip once my hair is wrapped.
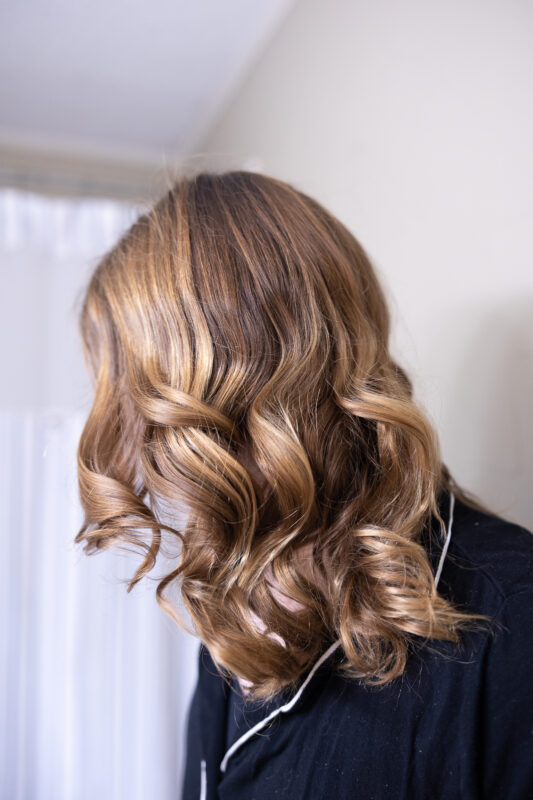
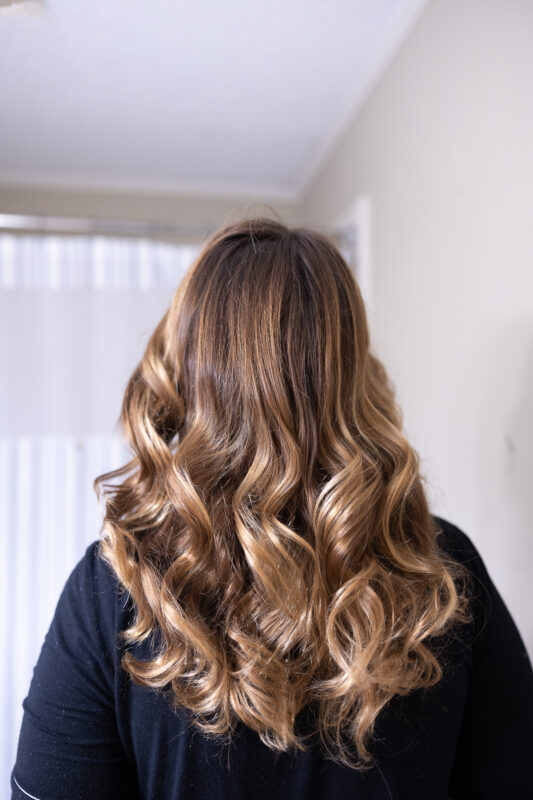
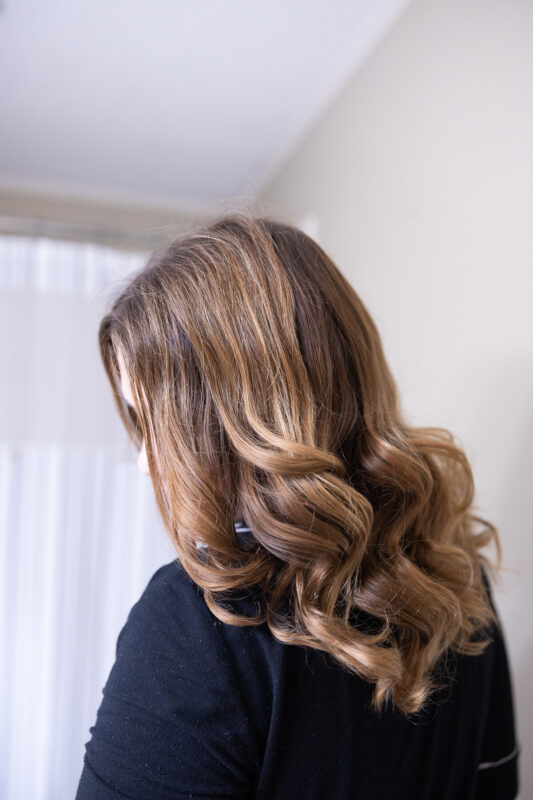
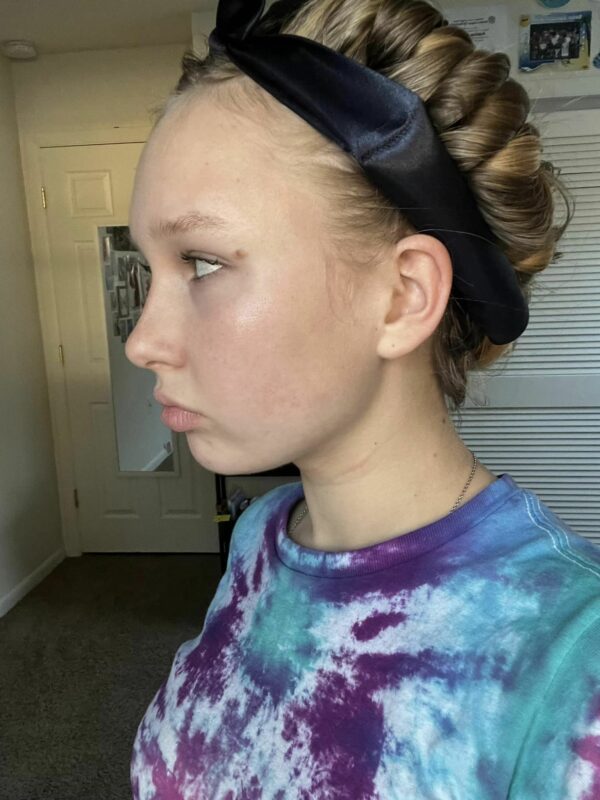
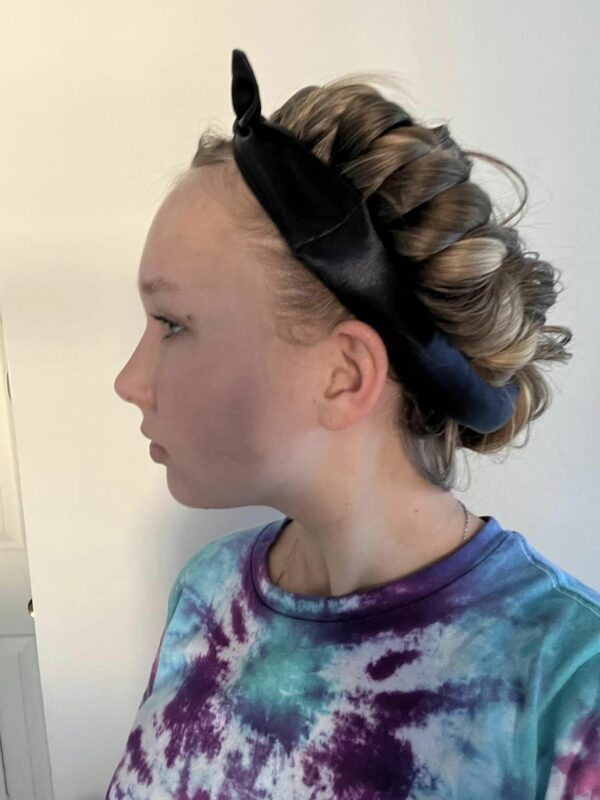
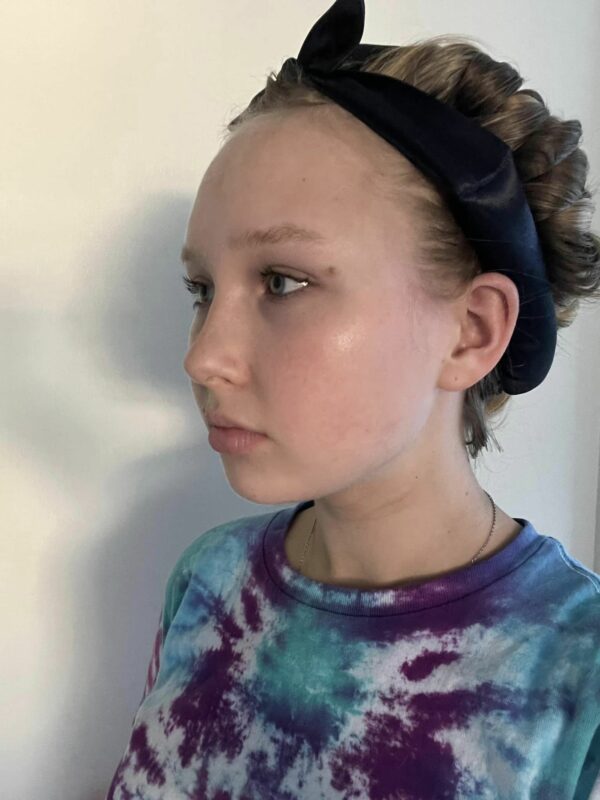
If you want a visual of the two sizes on someone, my daughter has the larger rod style shown below with the black clip. The photos with the white clip are the smaller rod style, which is what she wore for the final curls shown. She has mid-length hair and is almost 5’9″.
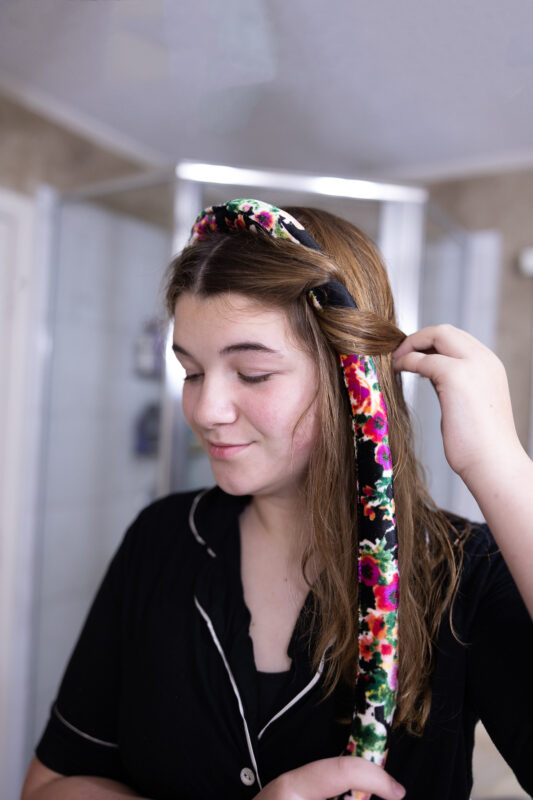
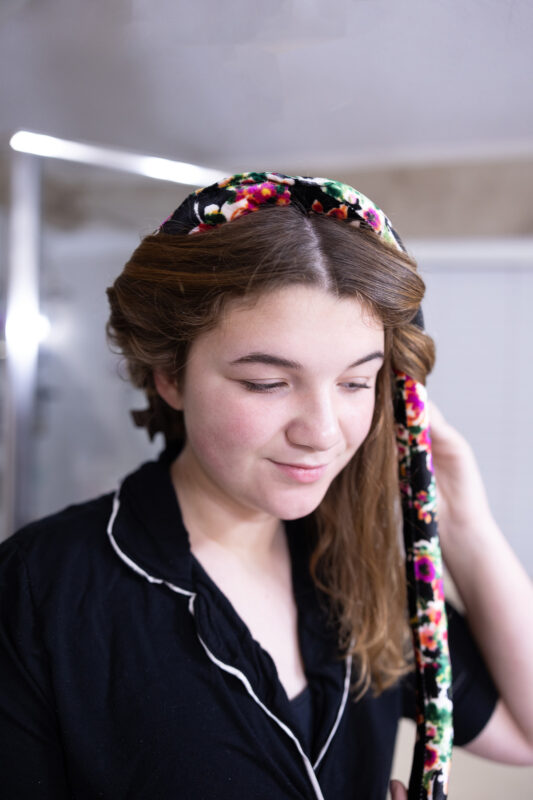
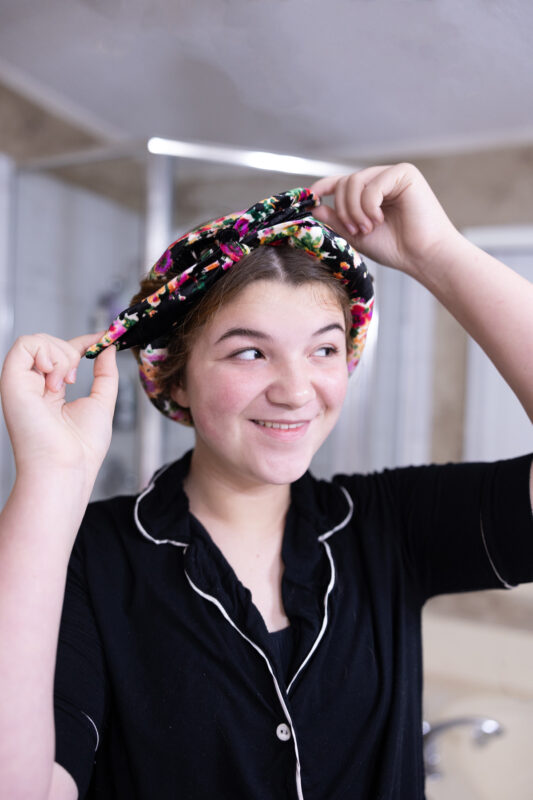
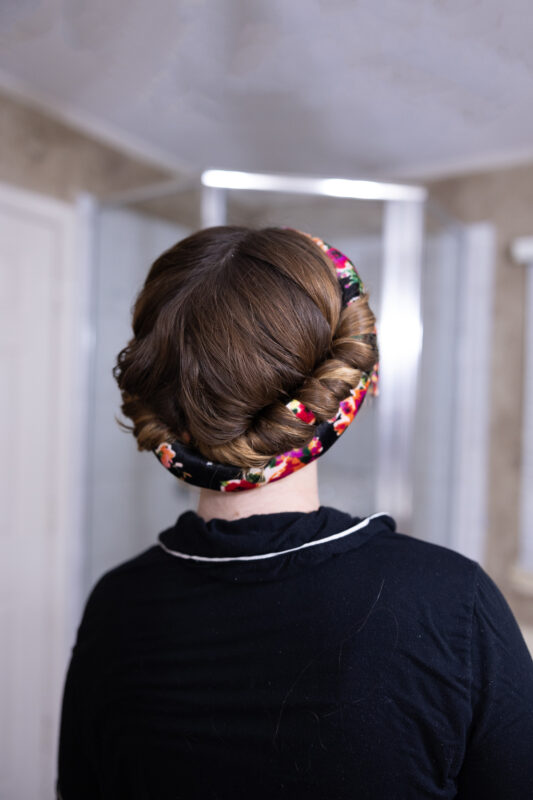
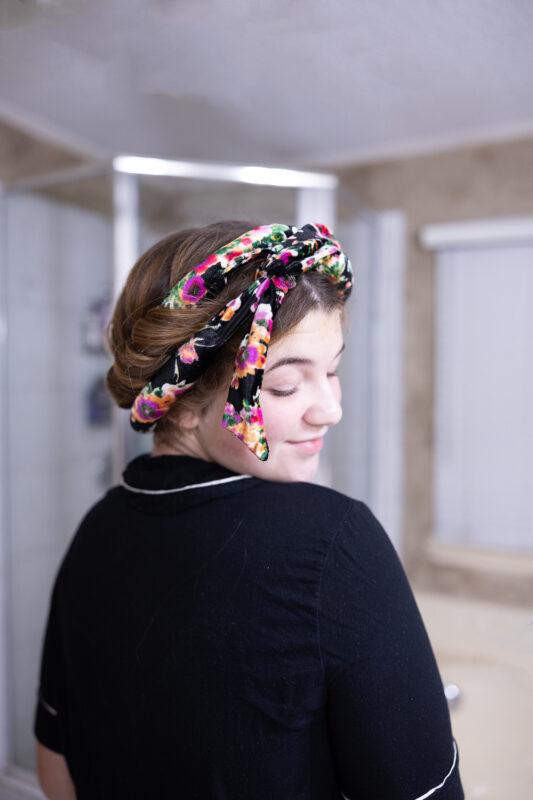
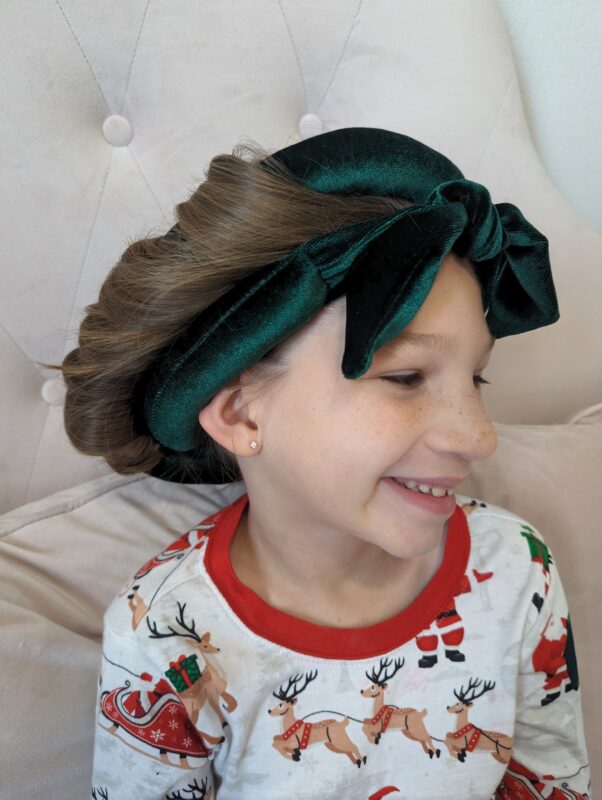
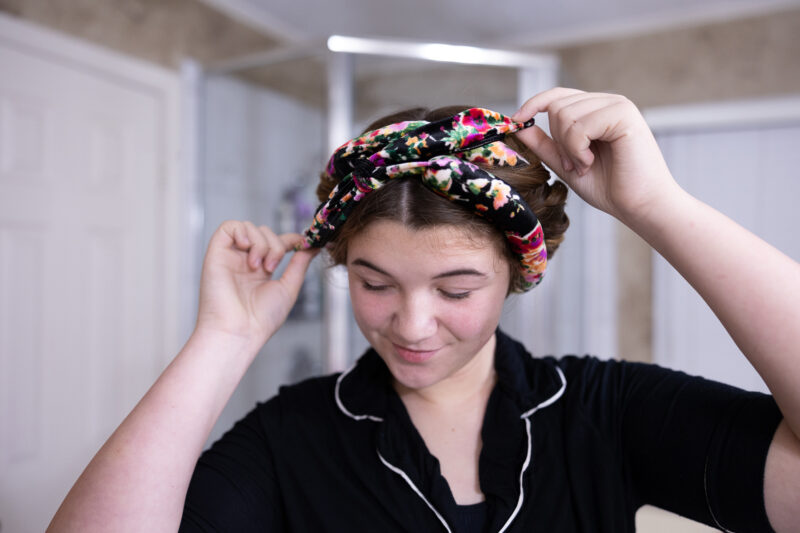
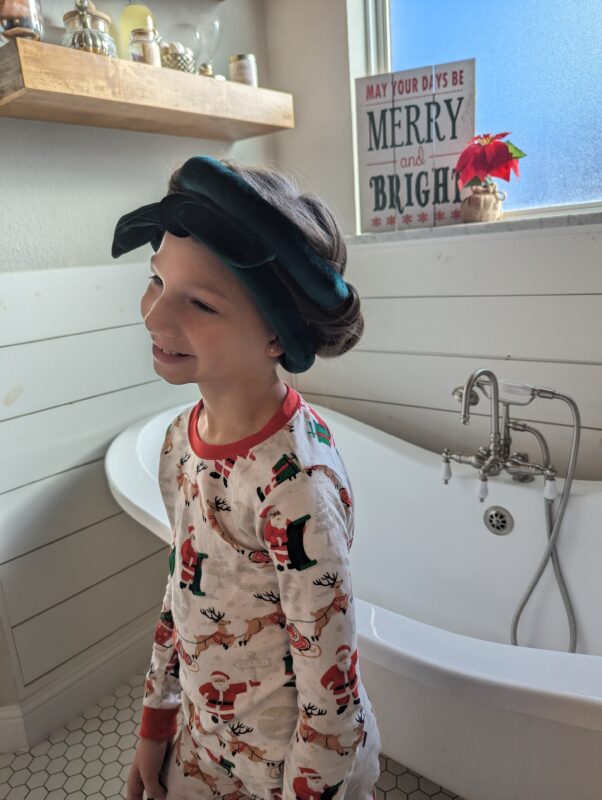
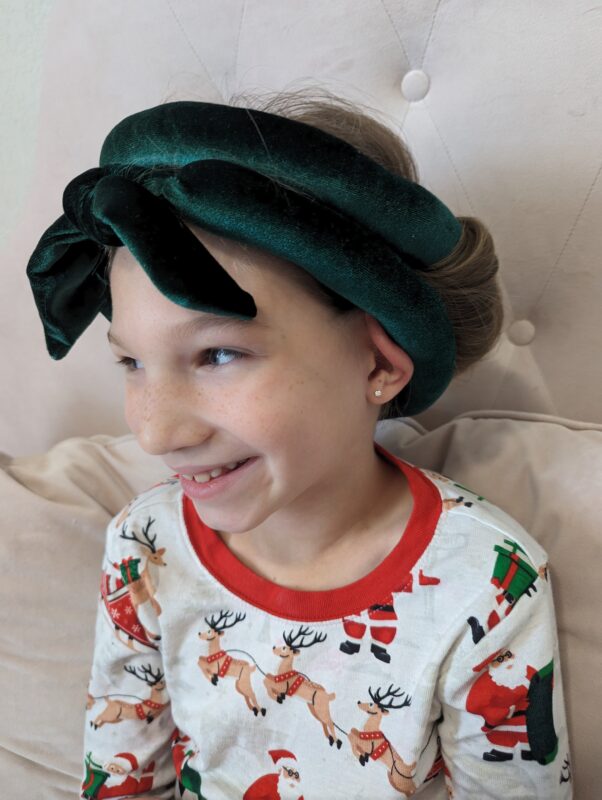
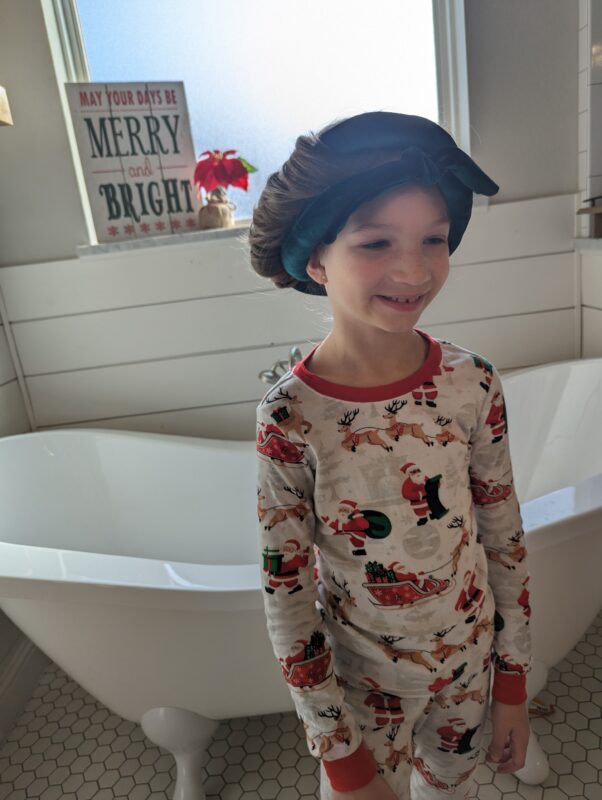
For the tie style, I again, will use a clip to hold the center of the hair, wrap each side of my hair around one side, then take the tie tails, wrap them toward the center of my head, and tie them in a knot.
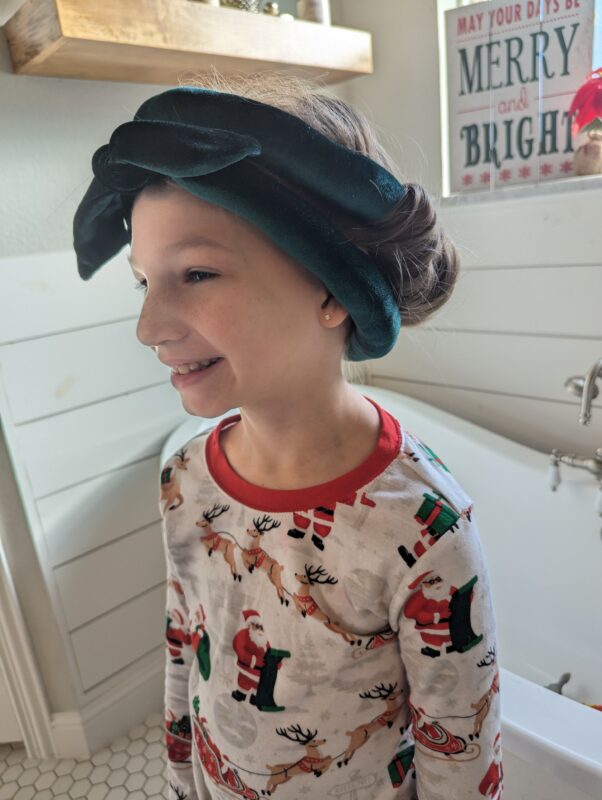
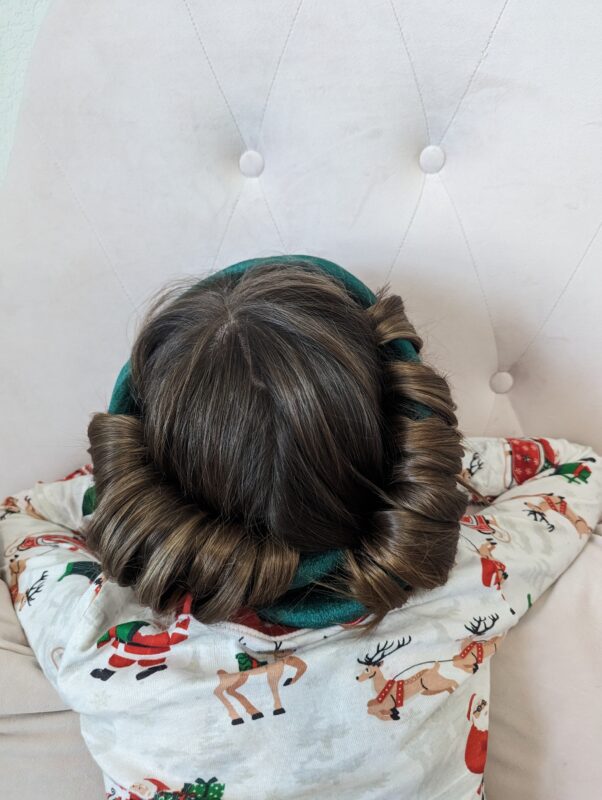
My niece below with the green velvet wrap is 8, so this will work for little ones too 🙂
DECEMBER 1 – 12, 2023
DAY 1 –TOASTER TREAT PLAY FOOD + PLUSHIE
DAY 2 –FABRIC KEY FOB
DAY 3 – FABRIC COASTERS
DAY 4 – FELT MISTLETOE
DAY 5 – HAT TOTE BAG
DAY 6 – FELT WREATH
DAY 7– LINEN TEA TOWEL
DAY 8– PINT COZY
DAY 9– REUSABLE FELT BOWS
DAY 10– FABRIC BUTTERFLY WINGS
Leave a Reply