
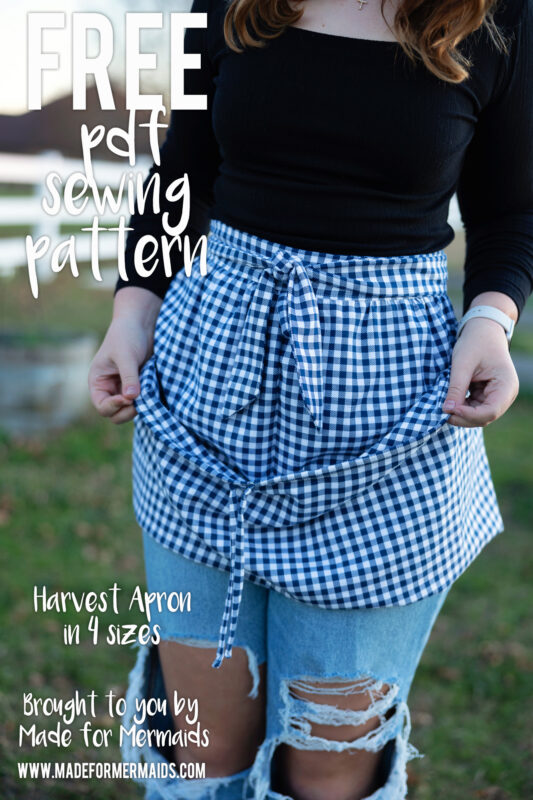
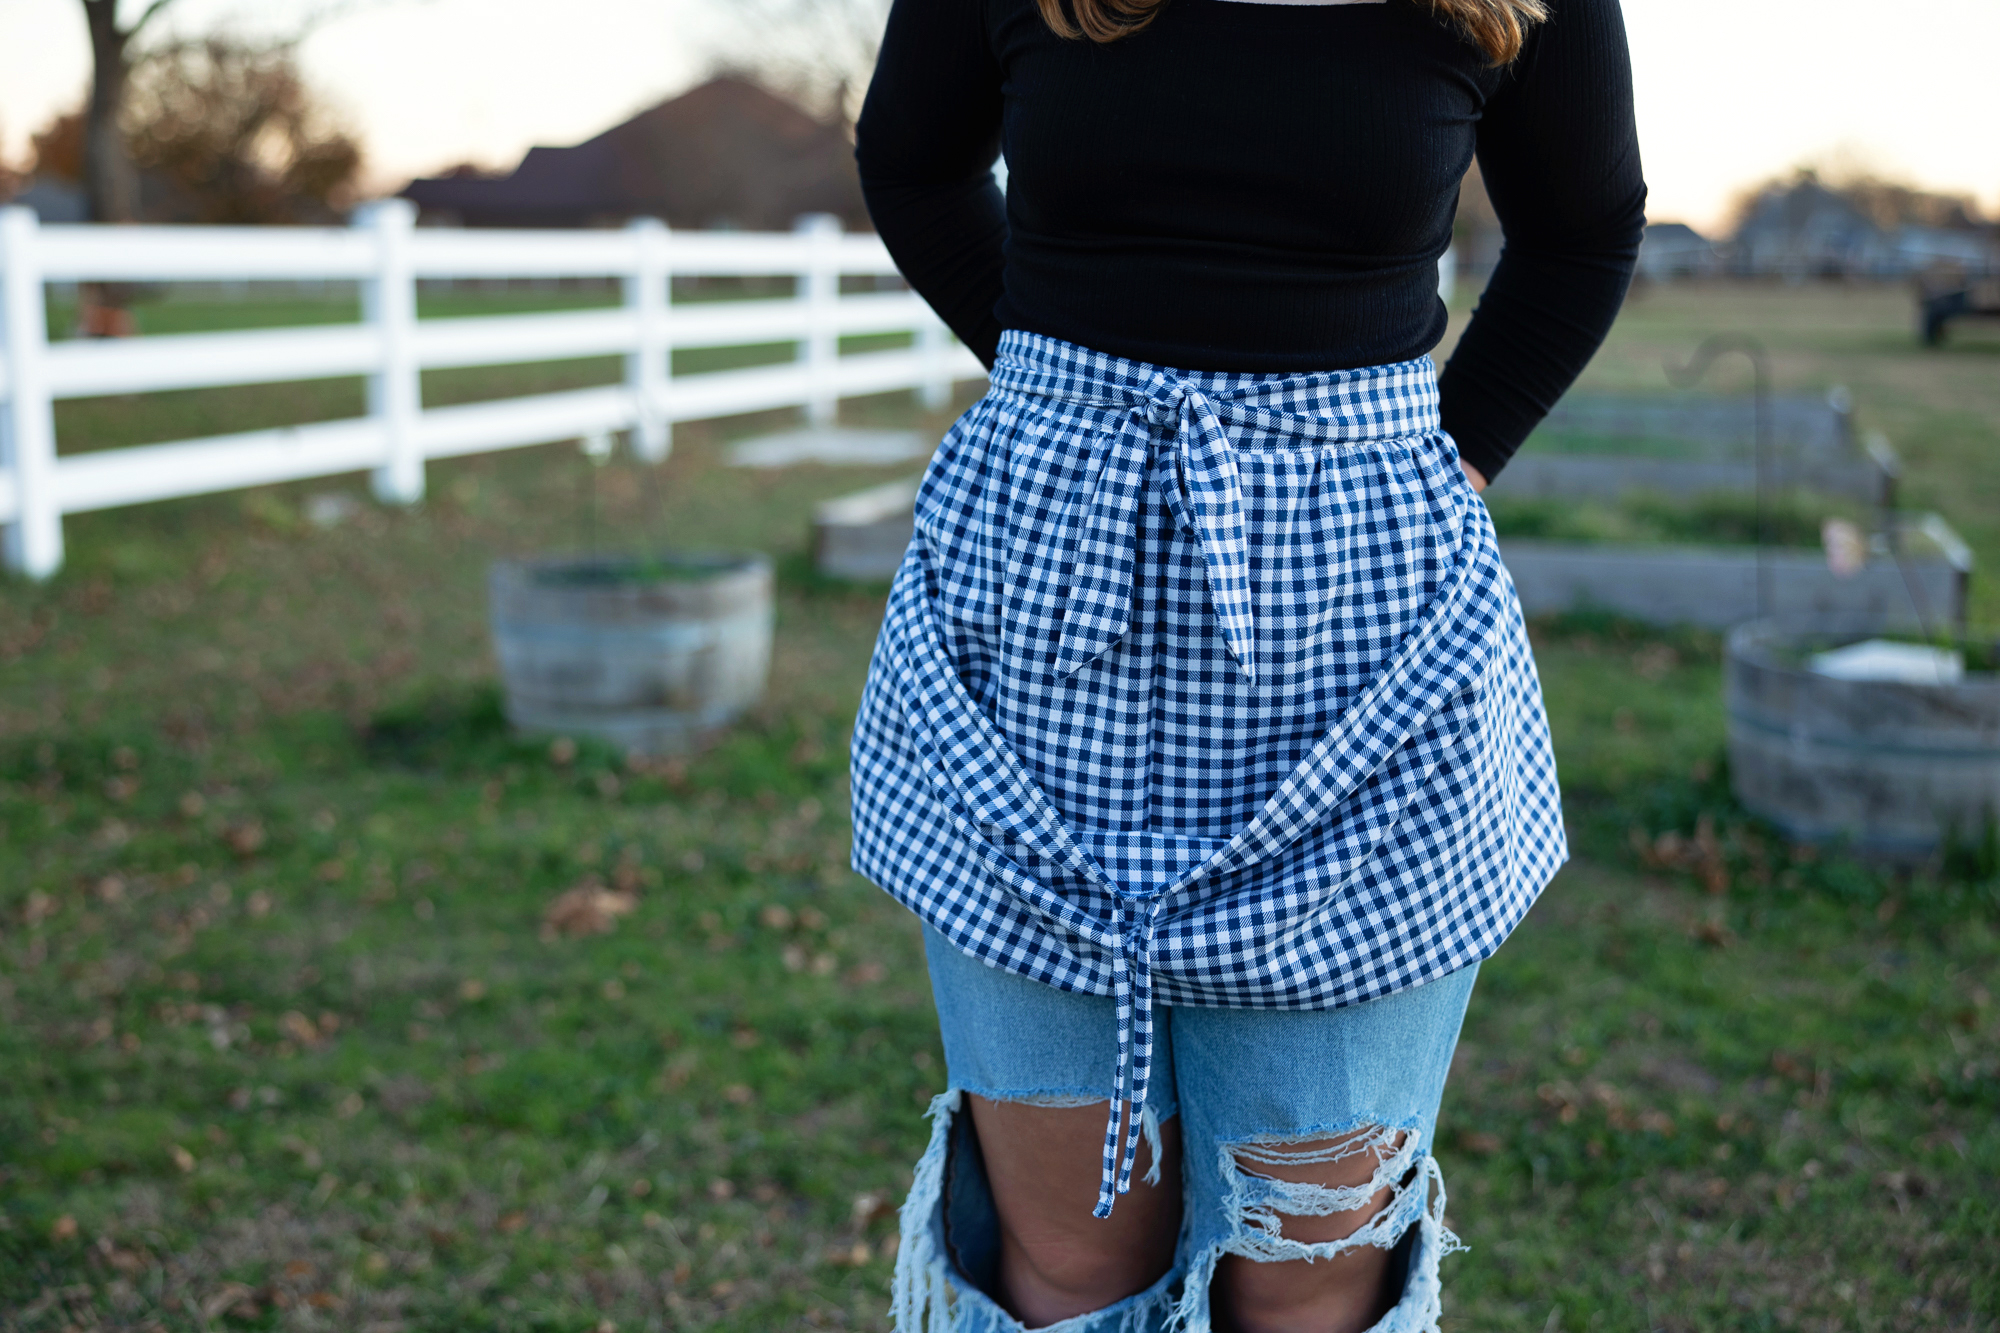
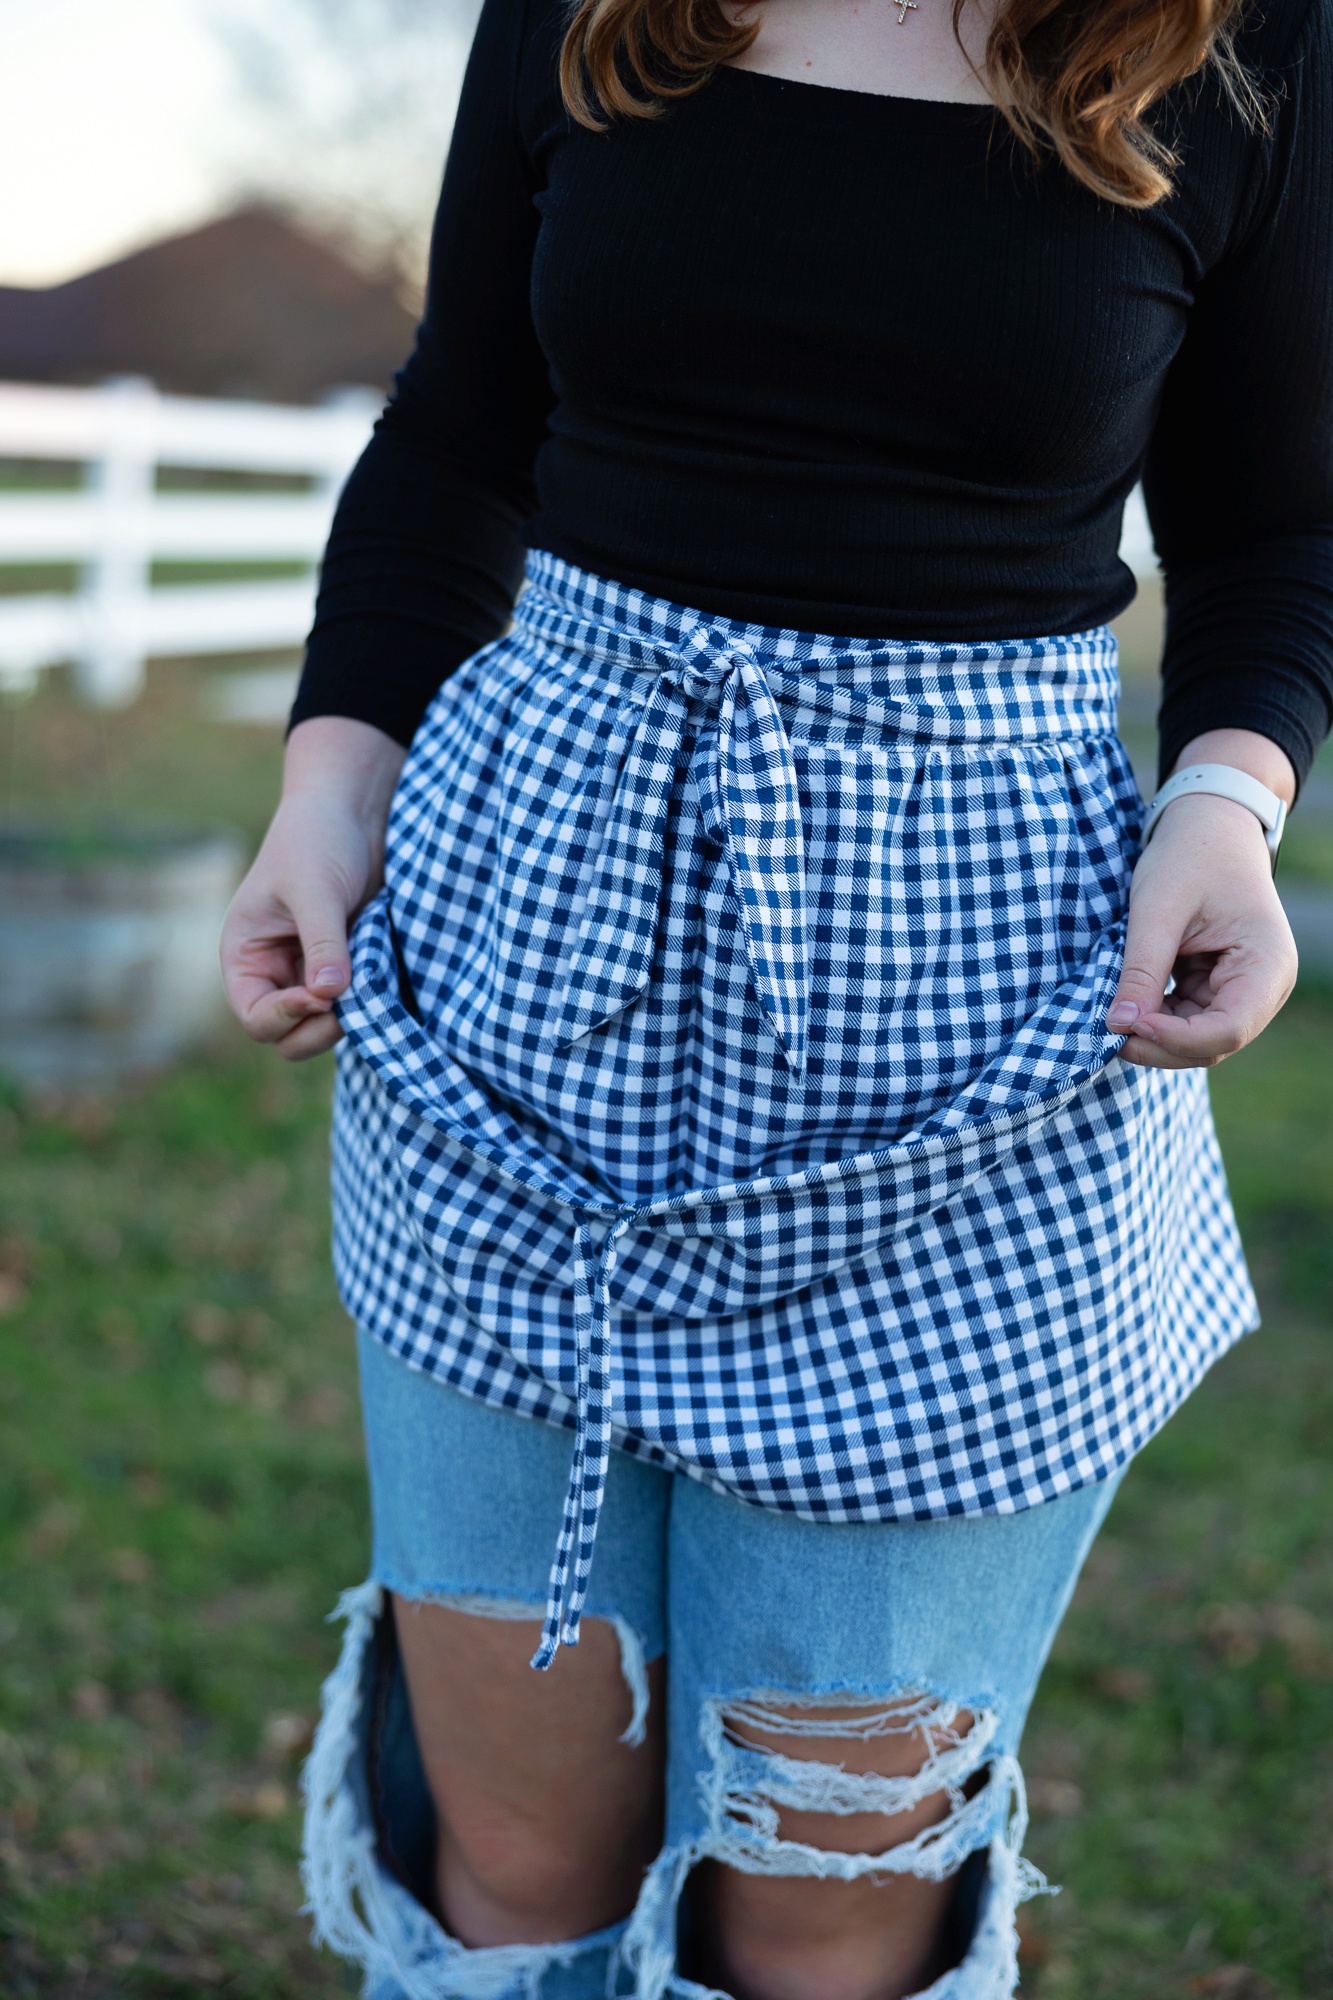
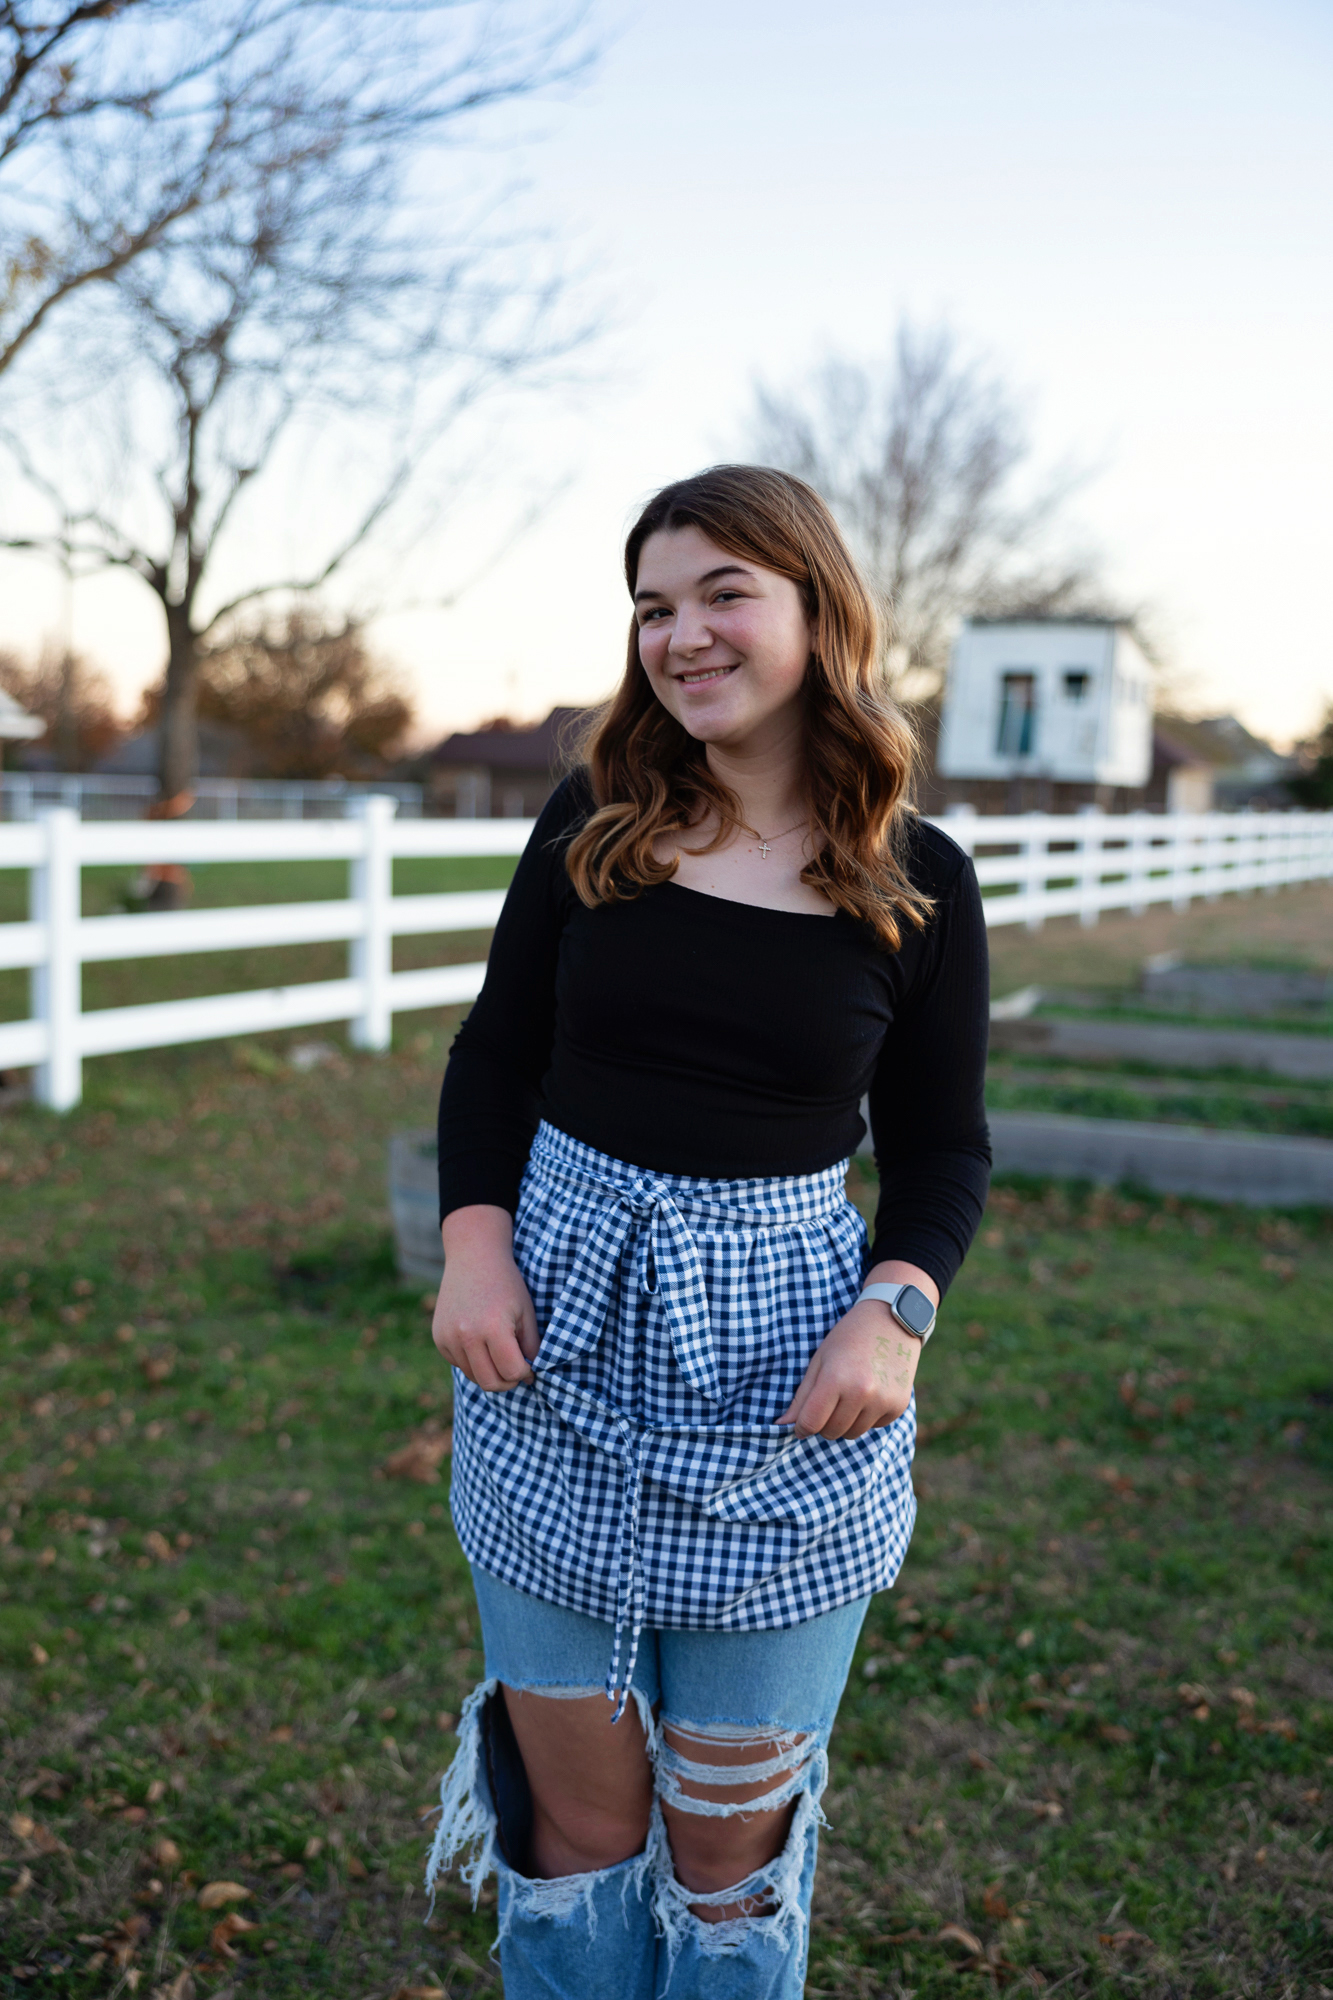
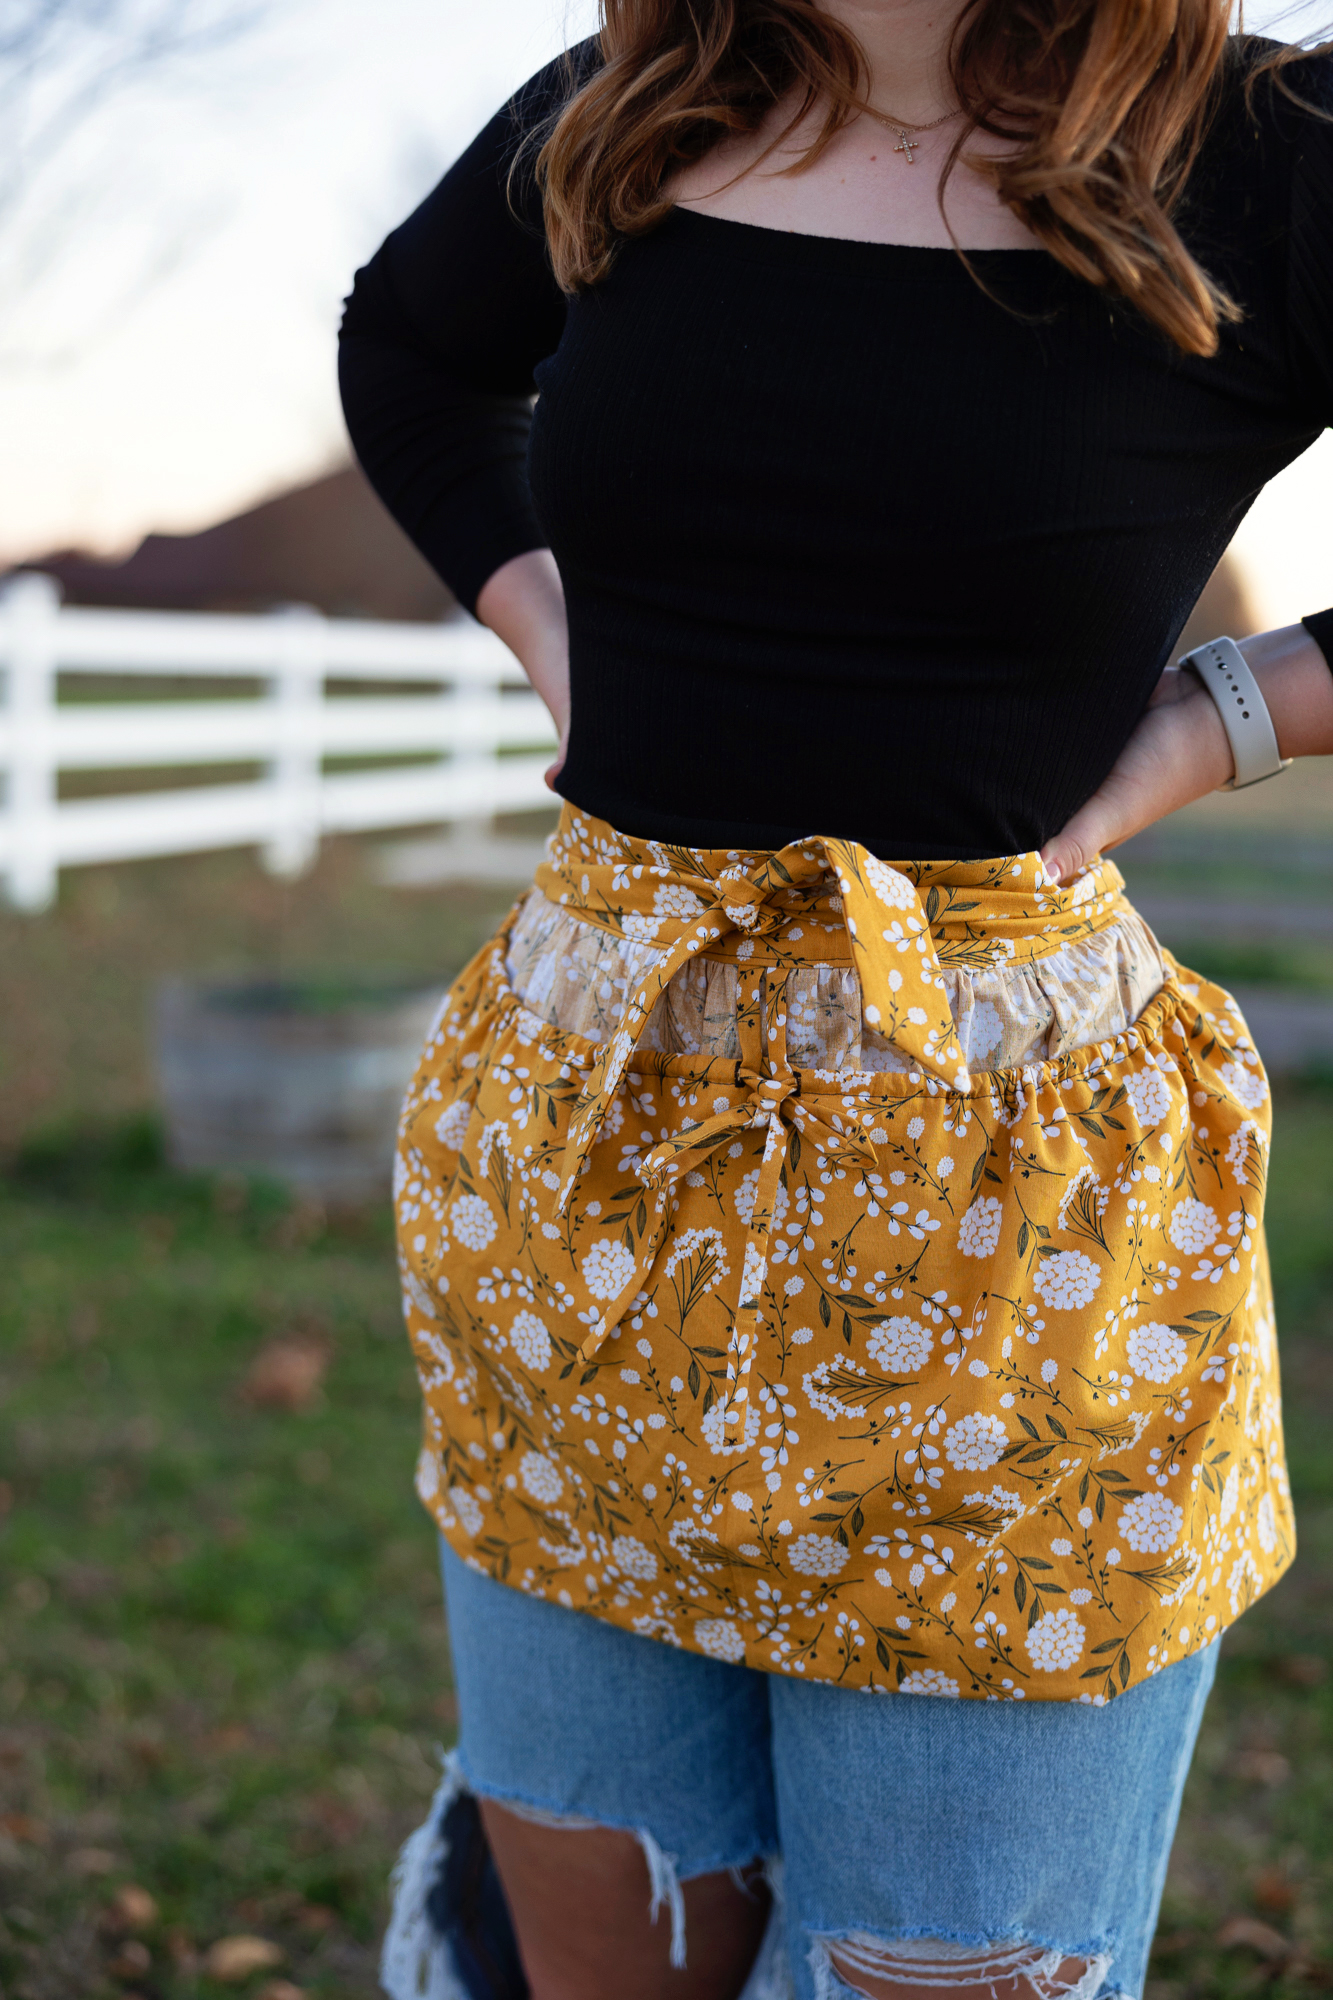
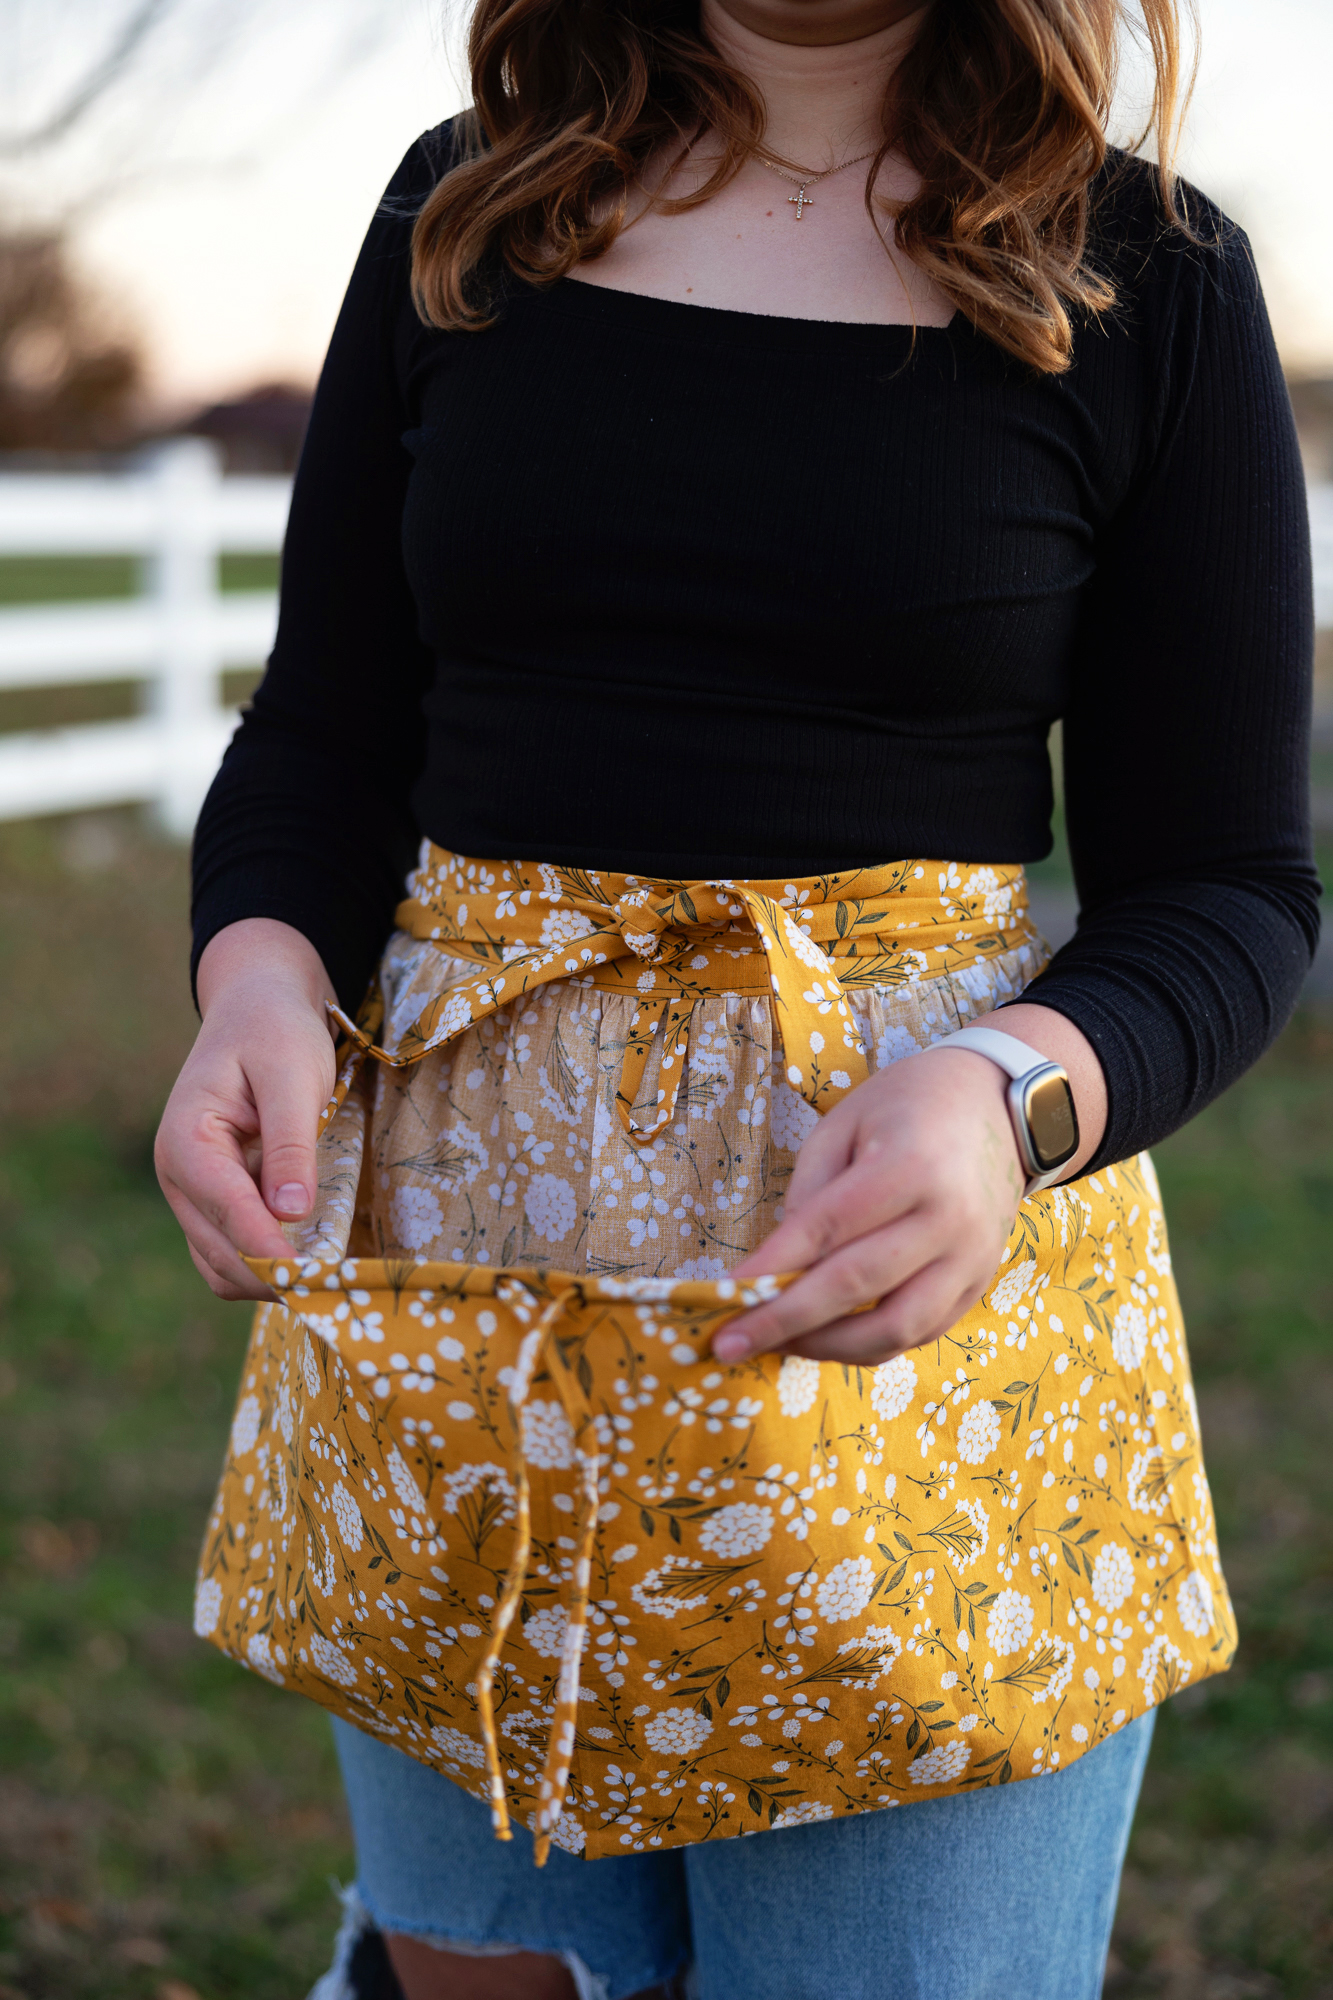
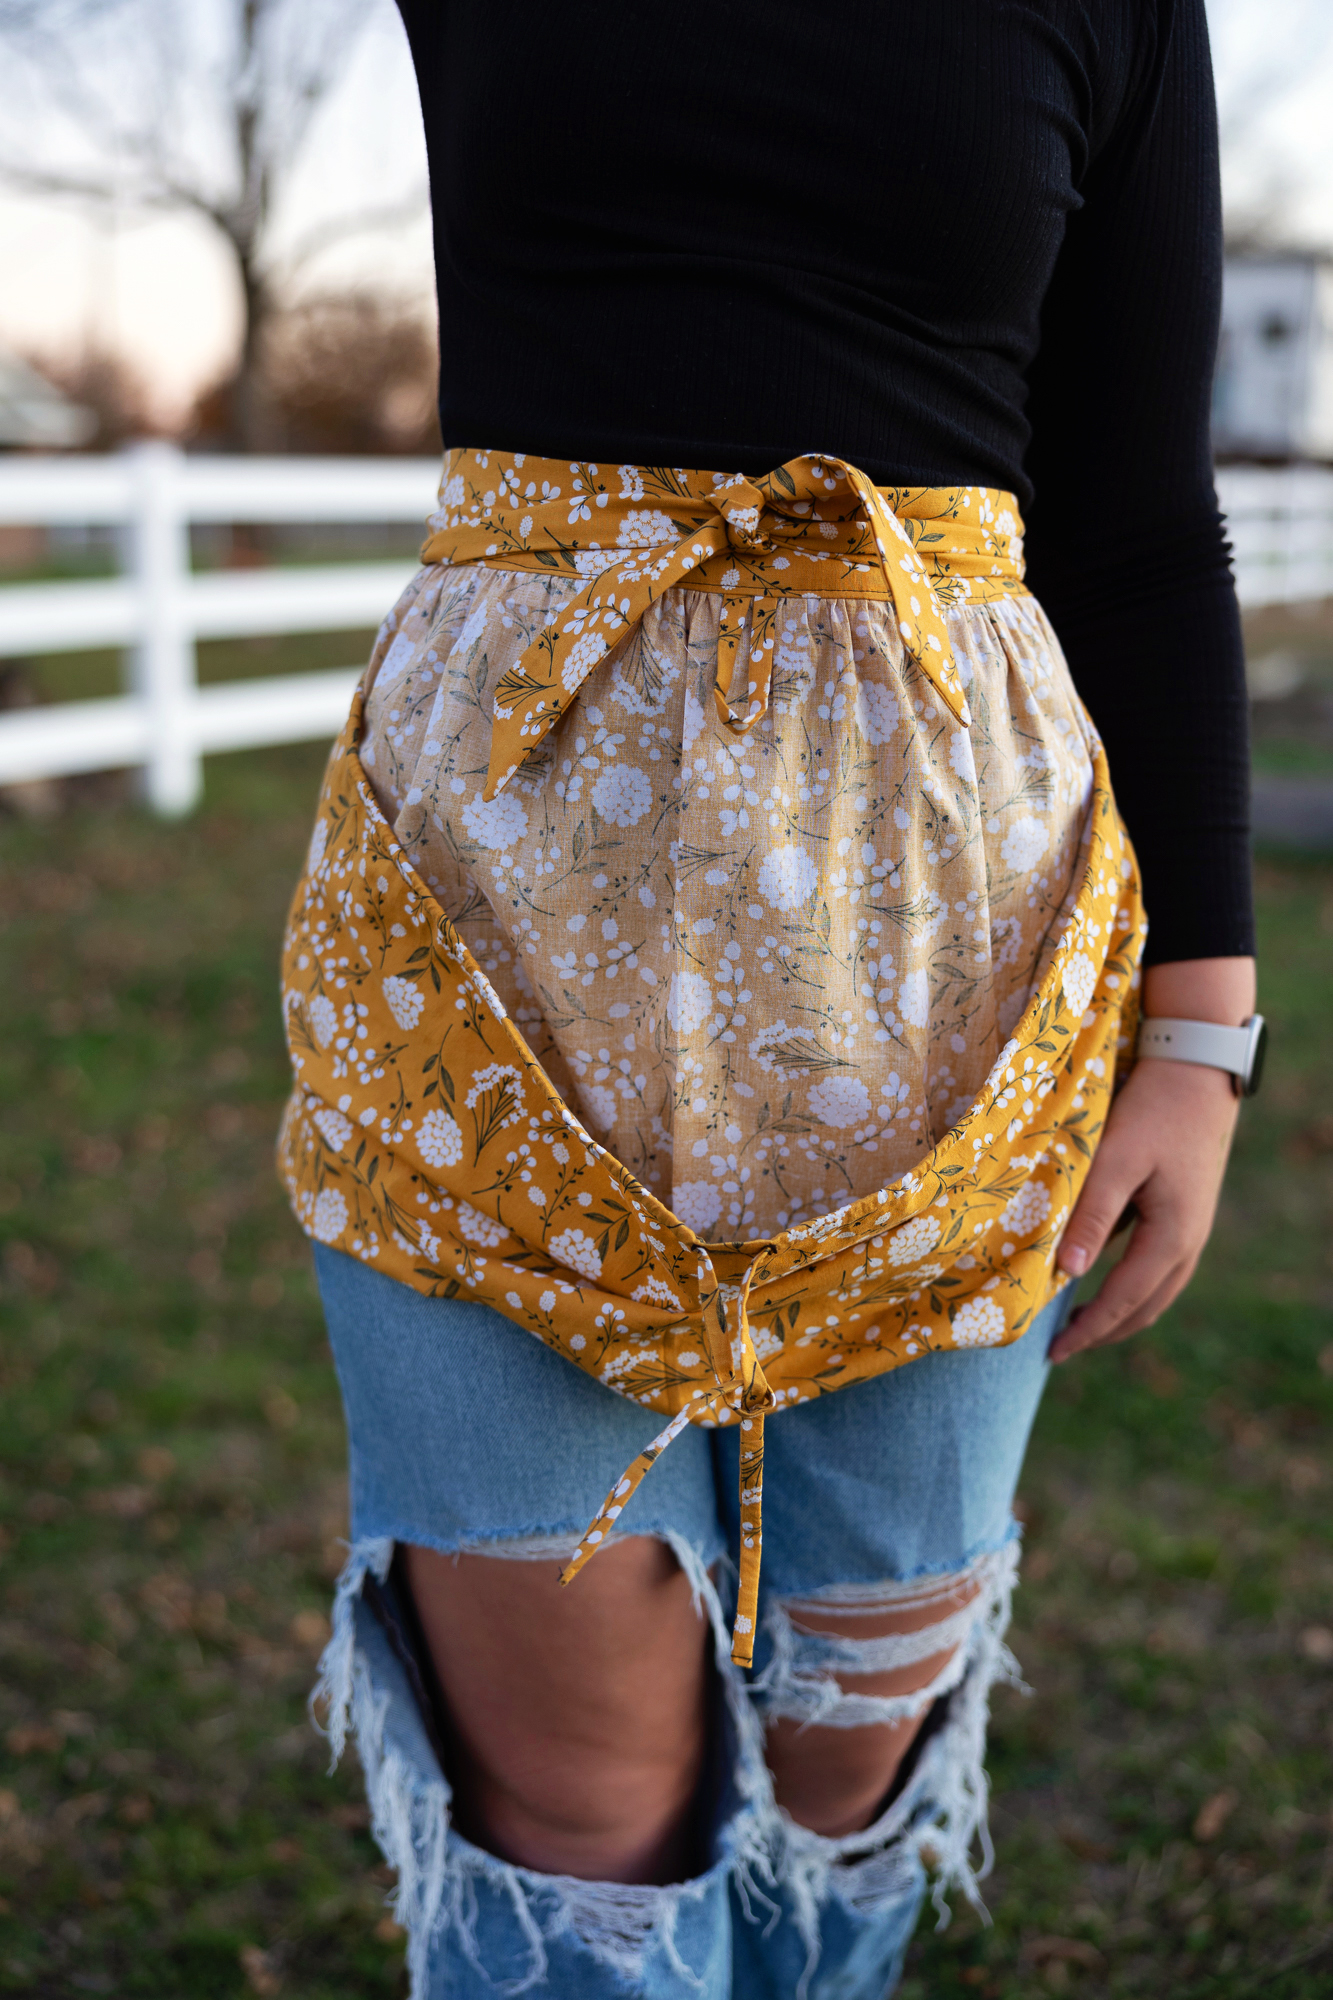
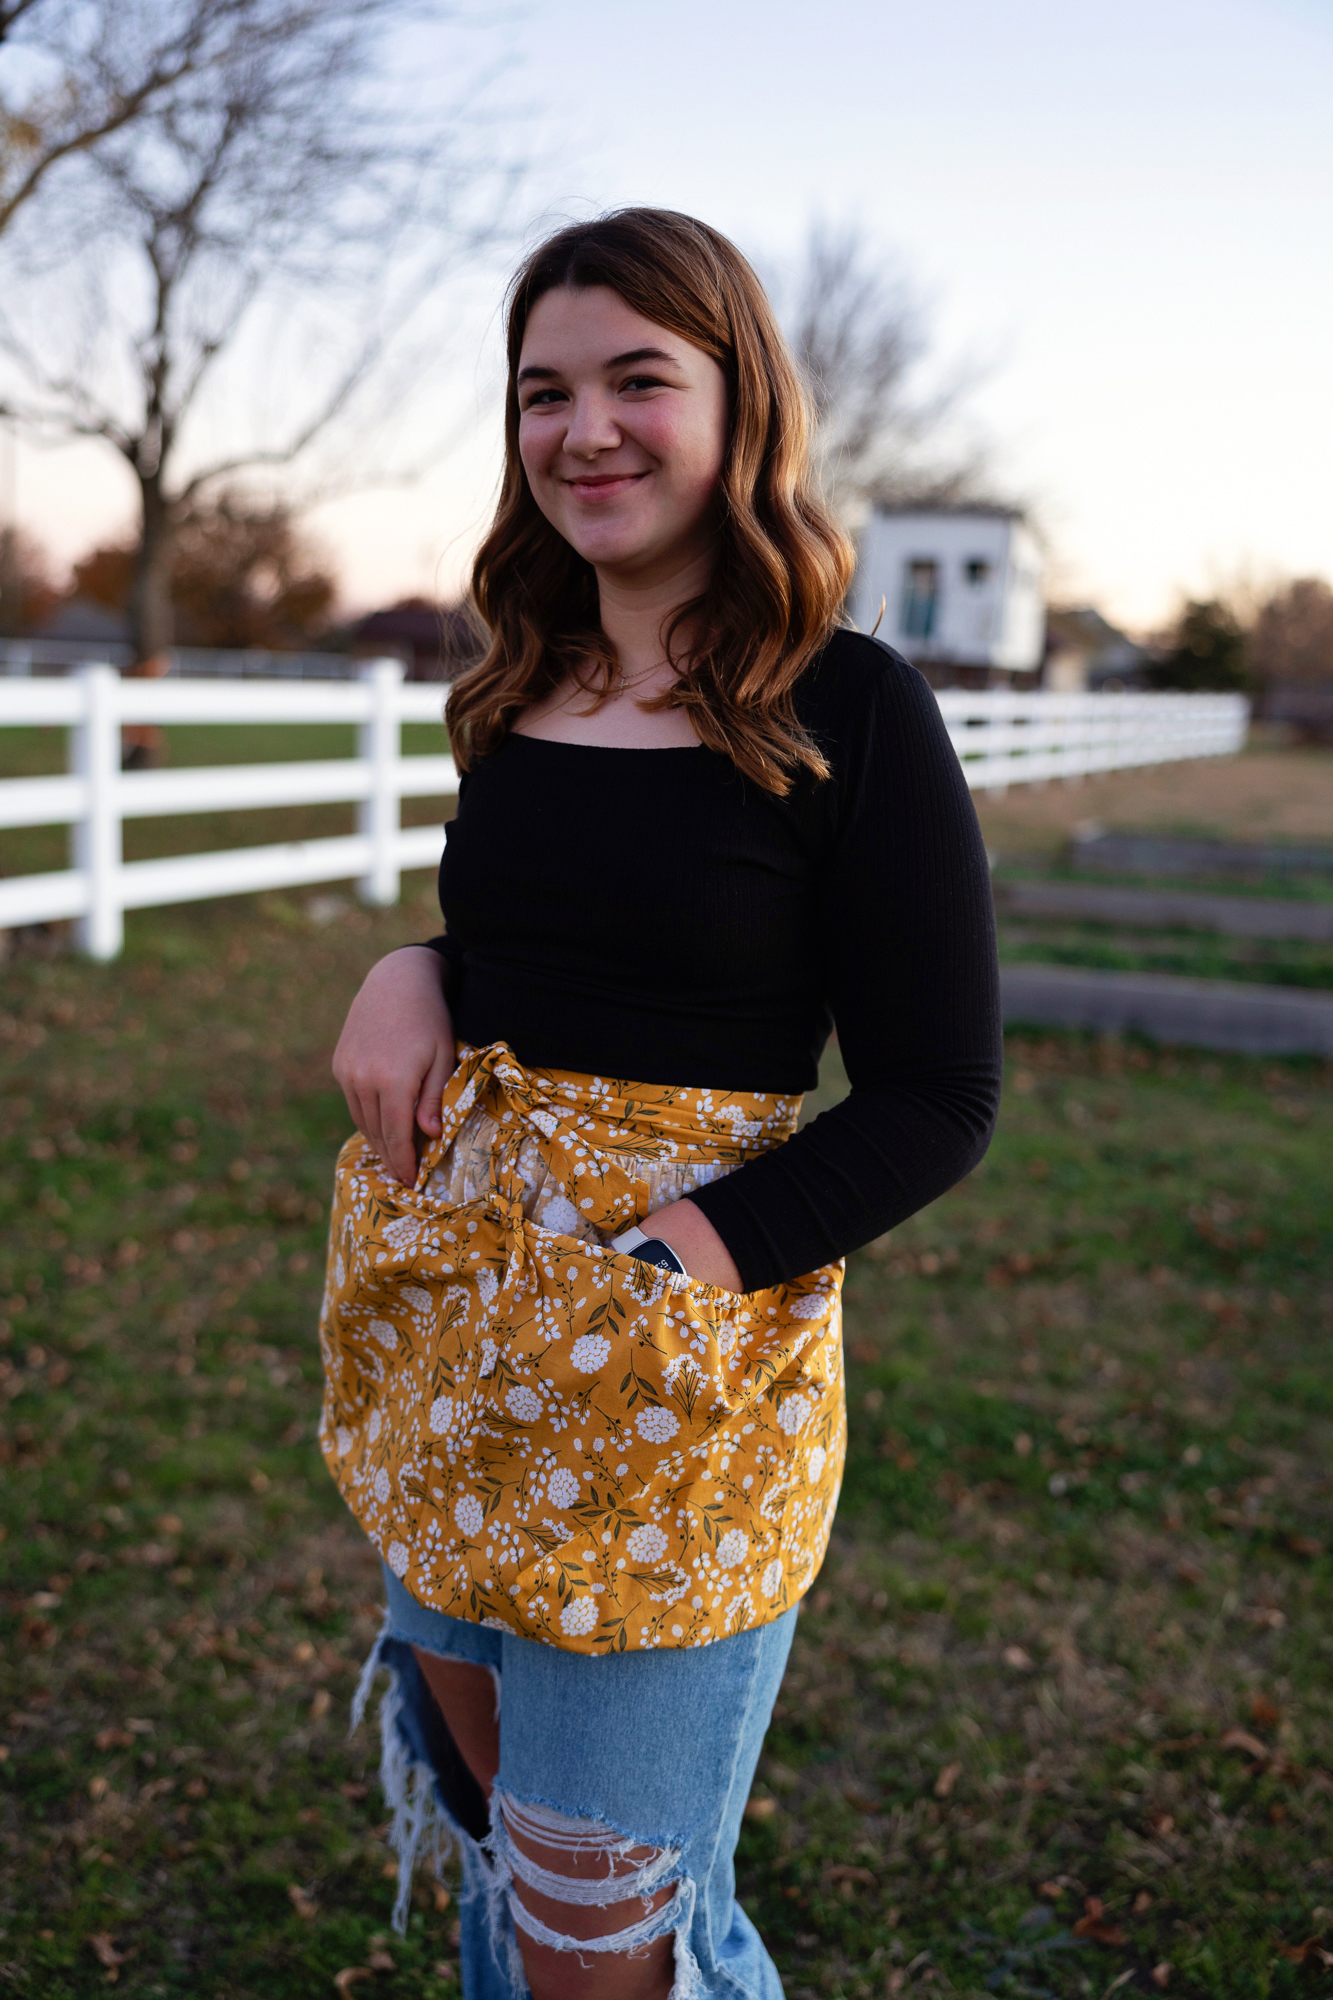
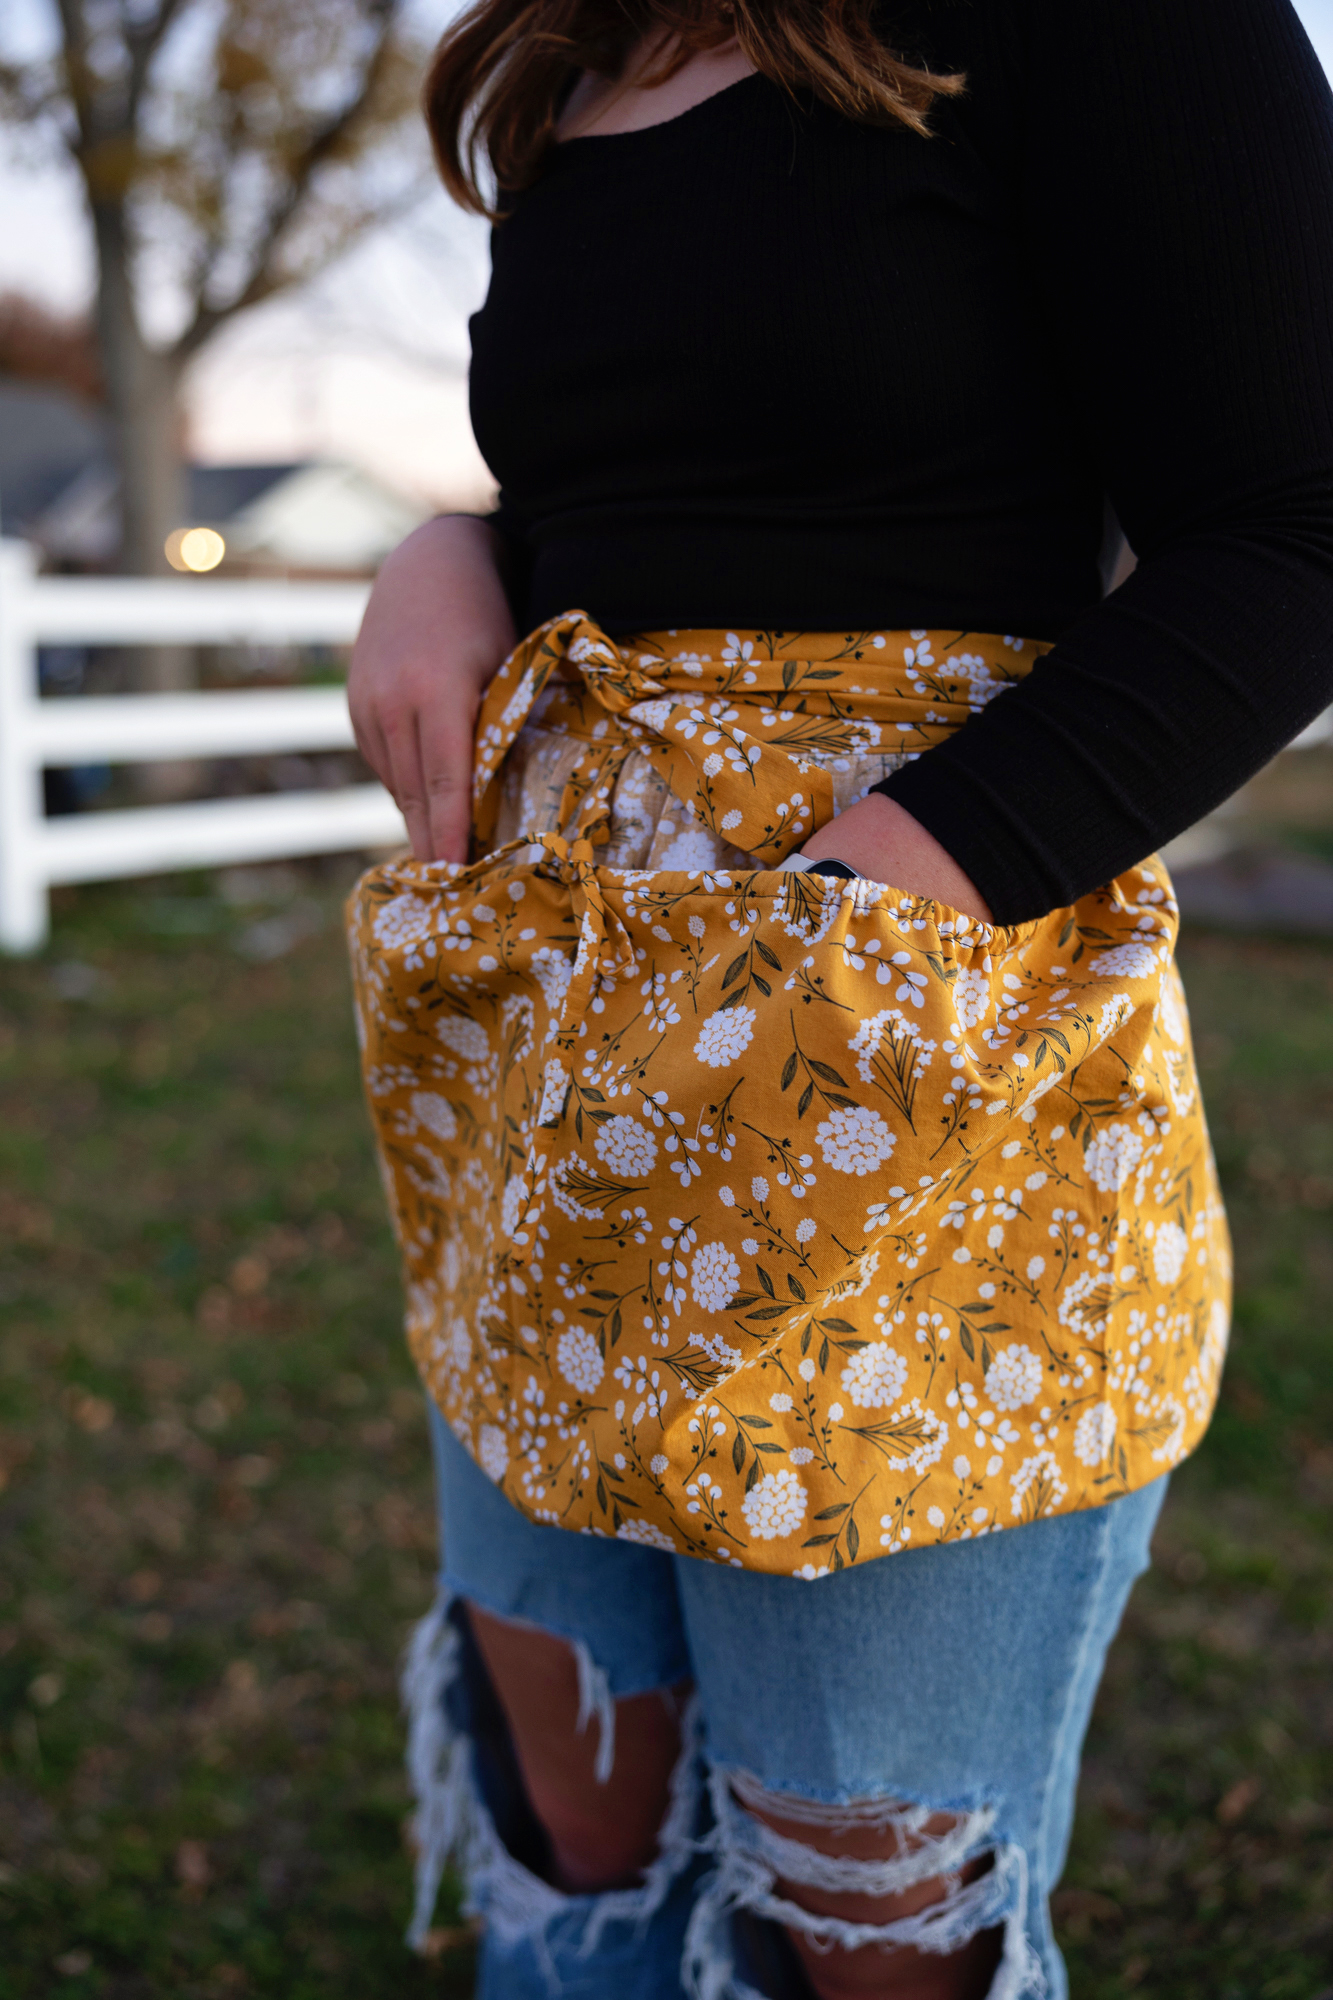
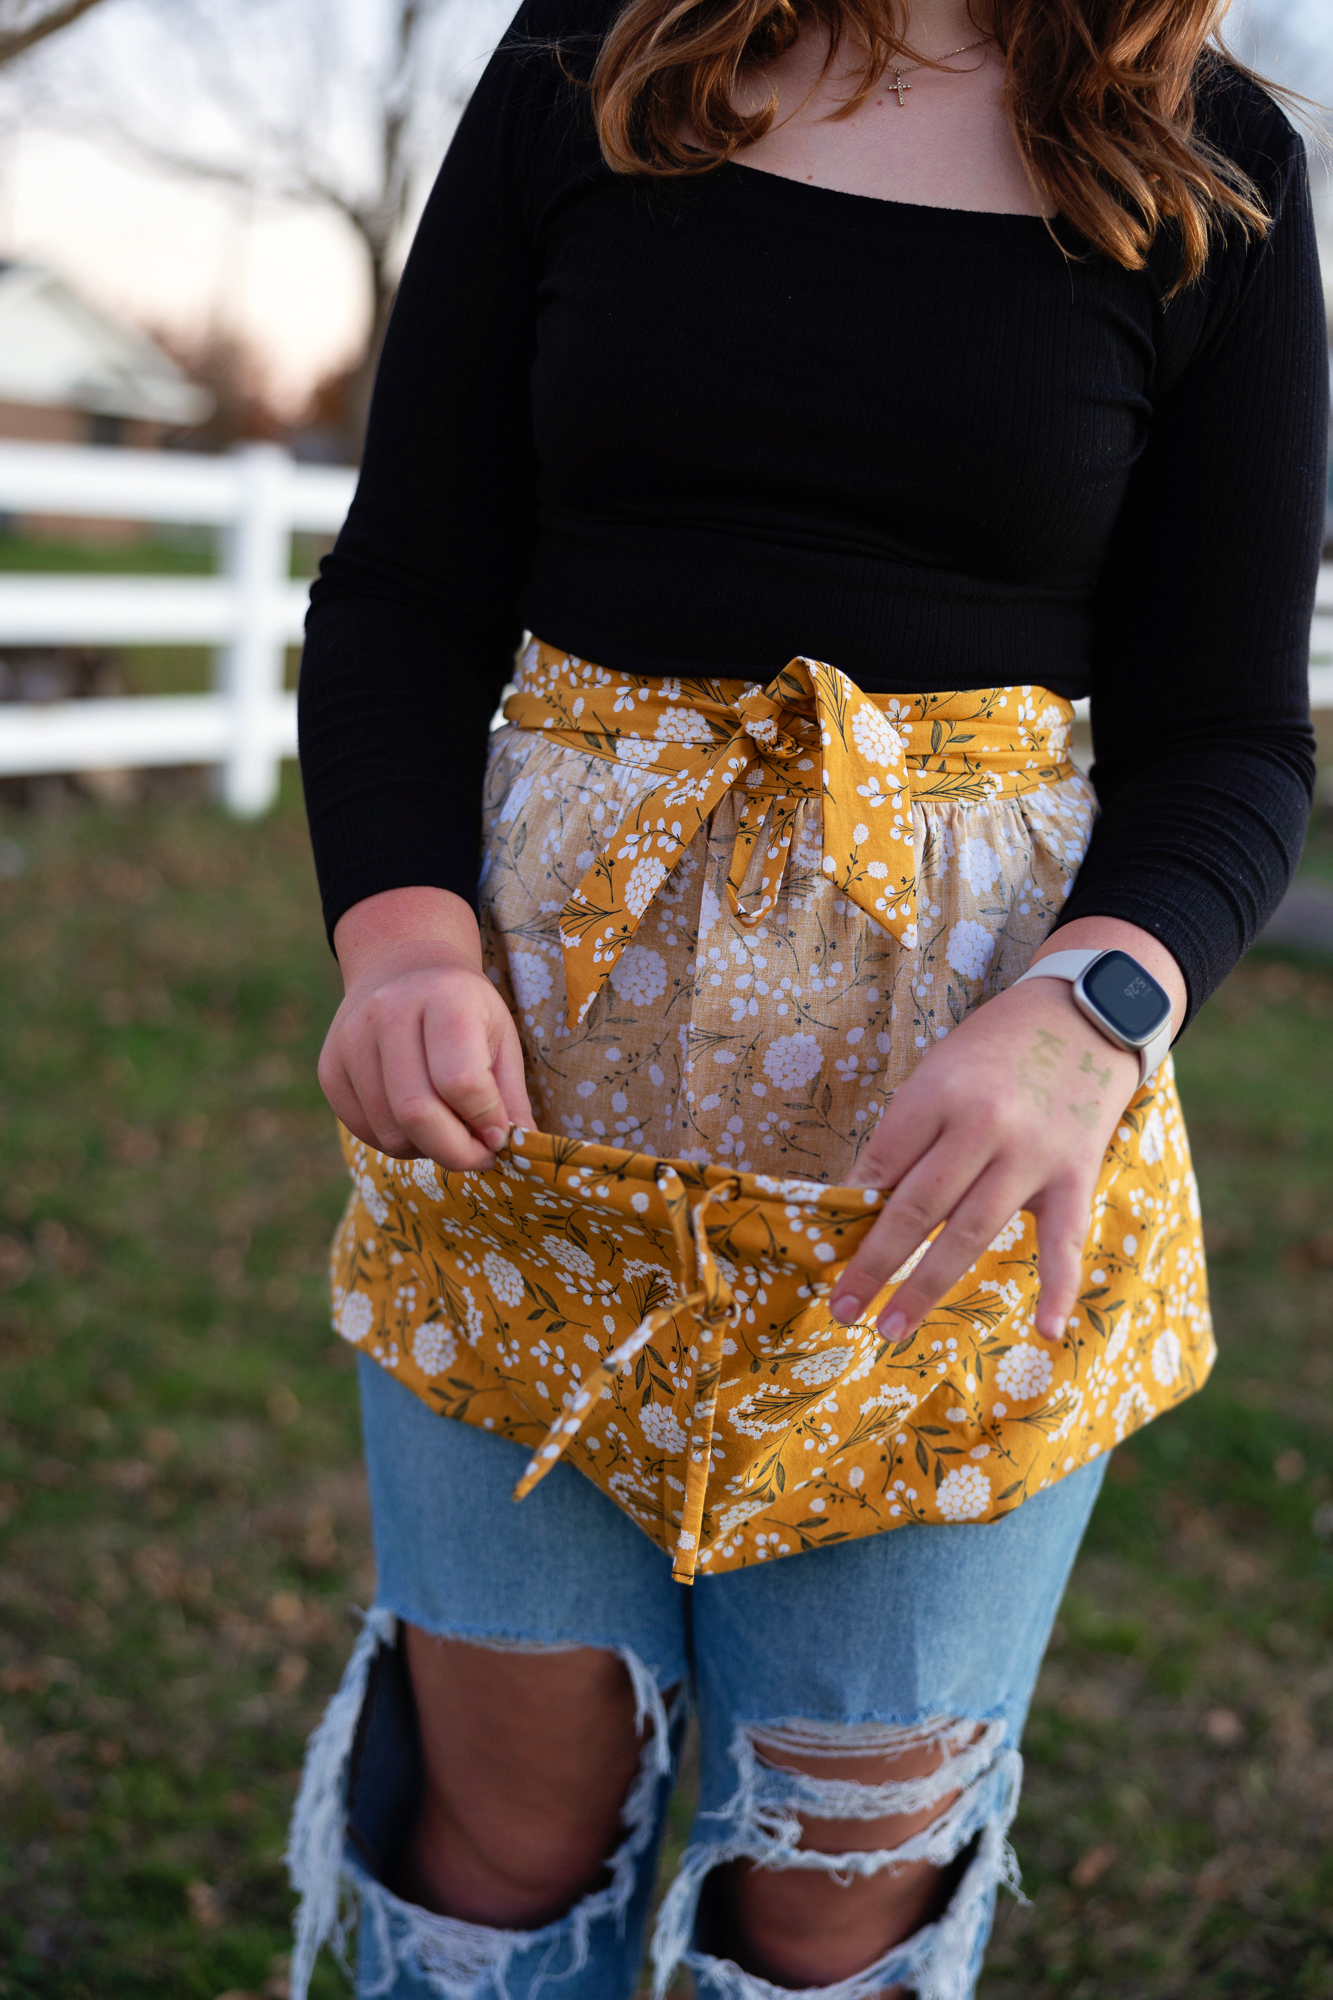
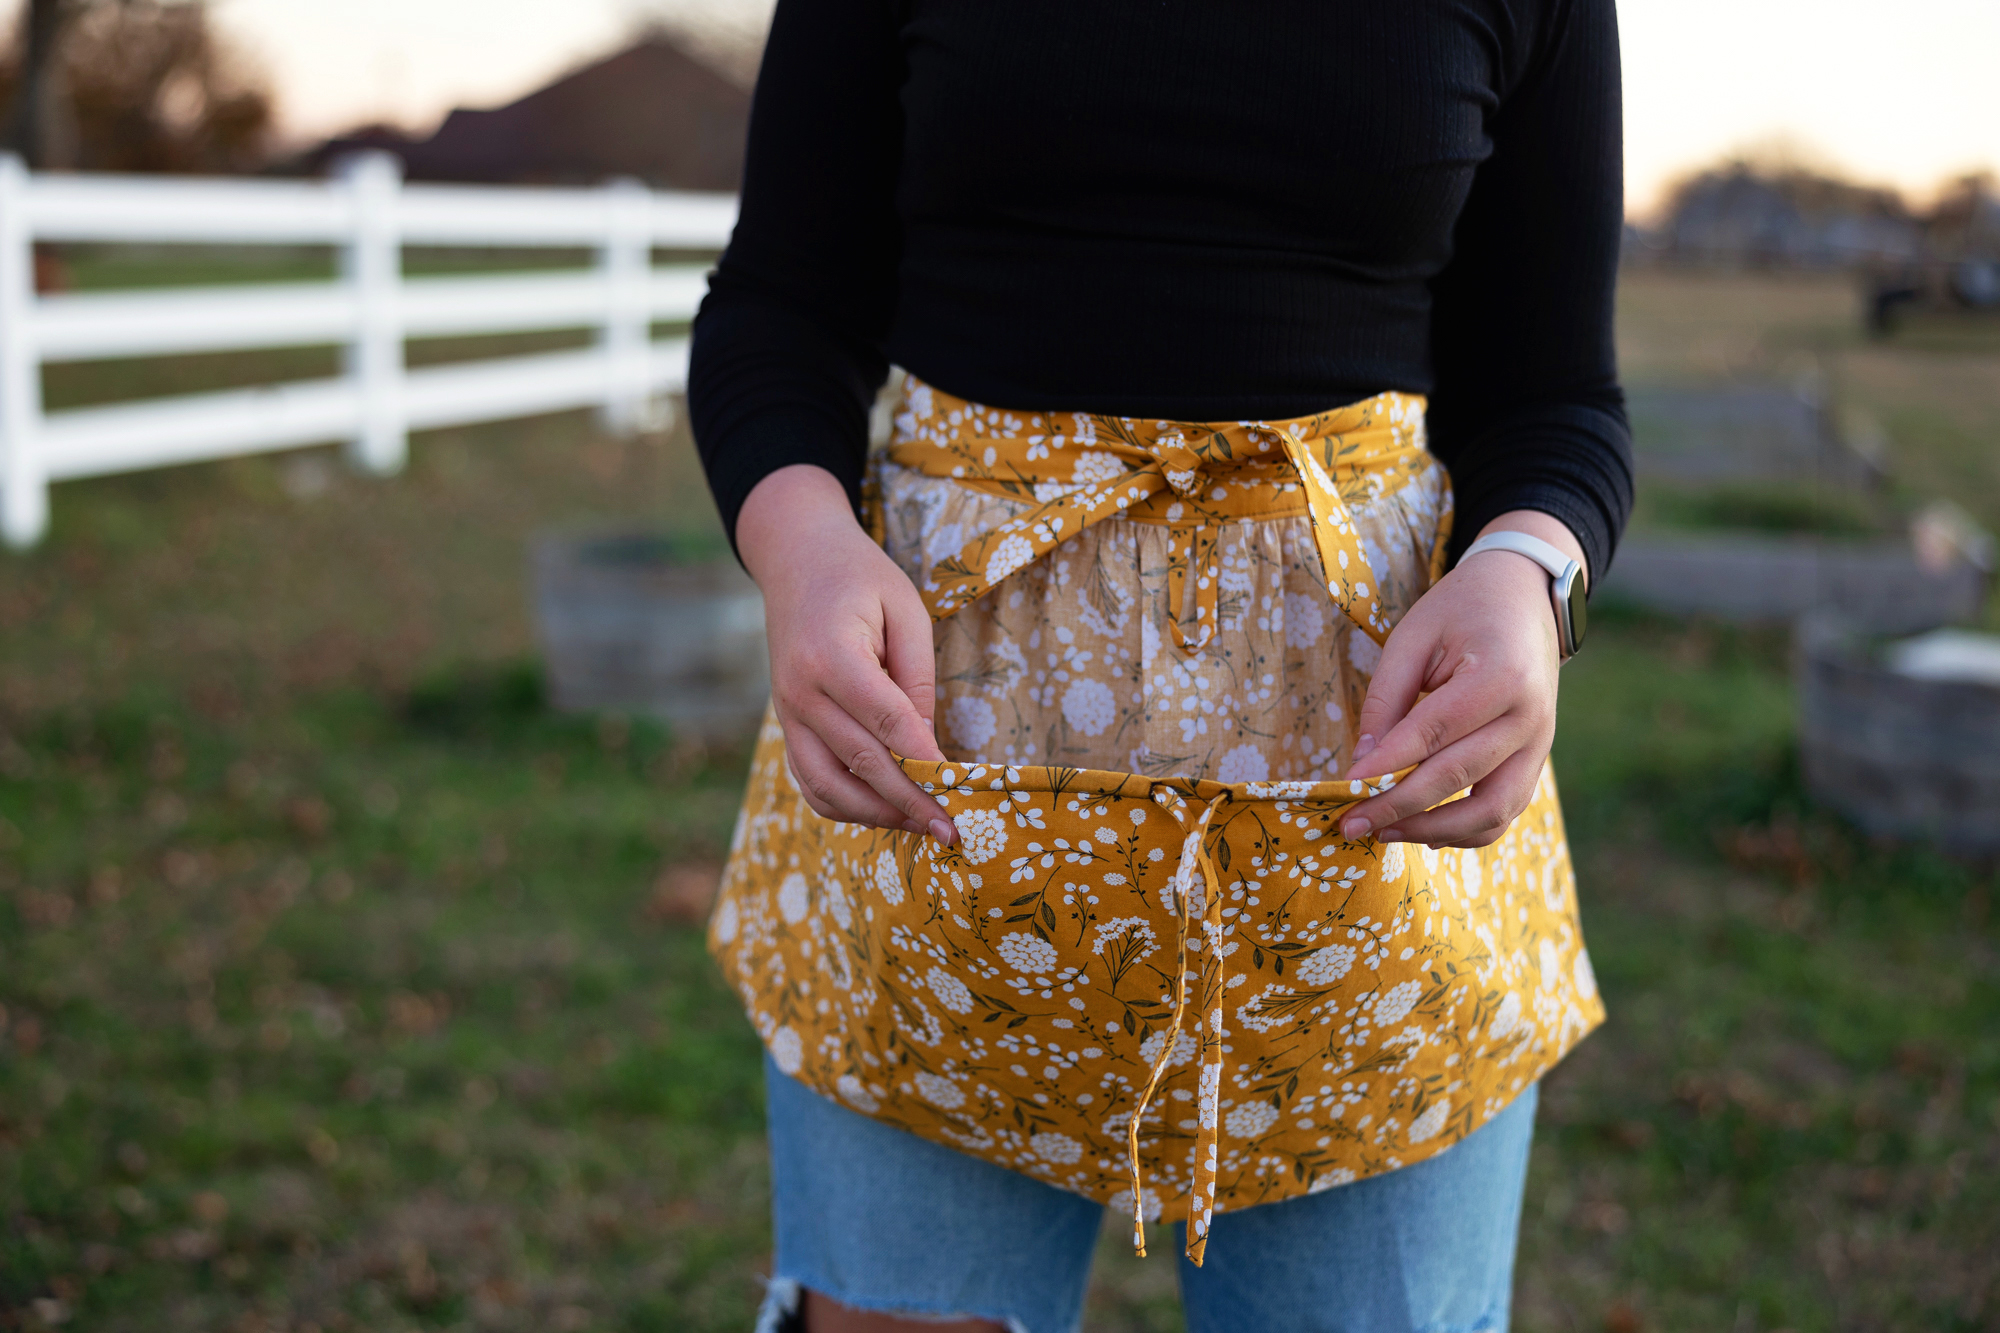
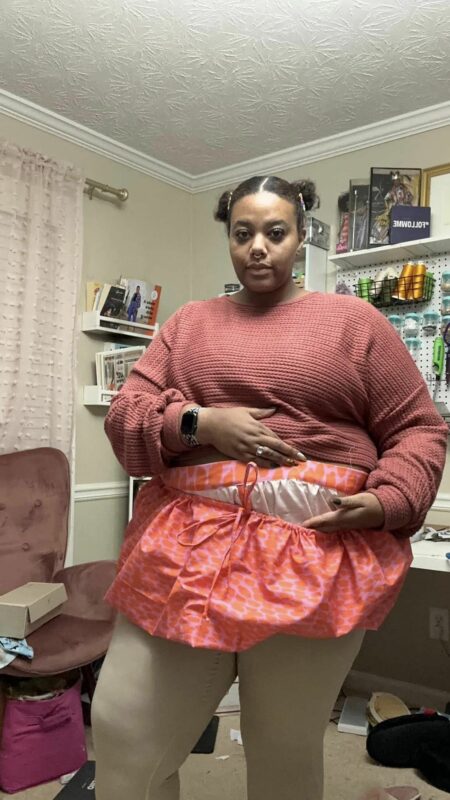
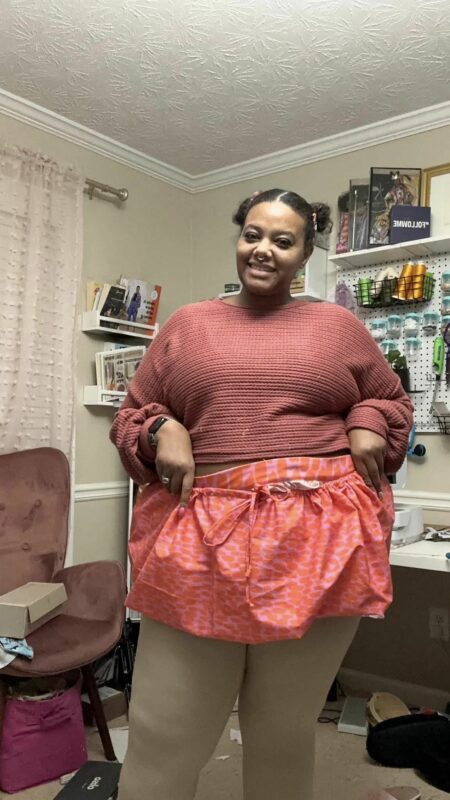
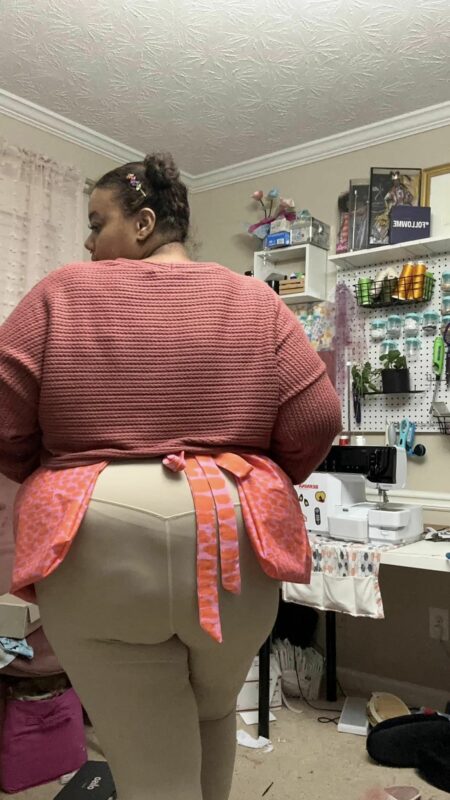
It’s the final day of our 12 days of Christmas! We hope you have loved all this year’s free patterns. Today, we have a harvest apron in 4 sizes. This is perfect for anyone on your list who loves gardening. Use for weeding, harvesting vegetables and fruits, gathering eggs or herbs, etc. This is a half-apron pattern with a drawstring pouch, drafted for woven fabrics
SIZING:
There are 4 sizes. You can choose a size based on the waist measurements given below, but please remember this is an easy fit with waistband ties.
- Small: 23″-28″
- Medium: 29″-36″
- Large: 37″-46″
- X Large: 47″-57″
SUPPLIES:
- Woven fabrics- quilting cotton, linen, shirting, flannel, etc.
- It’s best to use a fabric with no clear front and back, as you can see the wrong side of the fabric while wearing it.
- Yardage is for 44″ wide fabrics:
- Small & Medium: 1 1/4 yards
- Large: (All pieces cut crossgrain) 1 1/2 yards
- X Large: (All pieces cut crossgrain) 1 7/8 yard
LET’S GET STARTED!
Seam allowances VARY, but are included in the pattern pieces.
Step 1: PREPPING
Go grab the pattern here! The pattern is 100% free, but you do need to add it to your cart and checkout. Then, it will always be available to download from your account. The pattern is a no-trim pattern; if you need help putting the pattern together, pop over to the faqs and troubleshooting page or ask in our Facebook group.
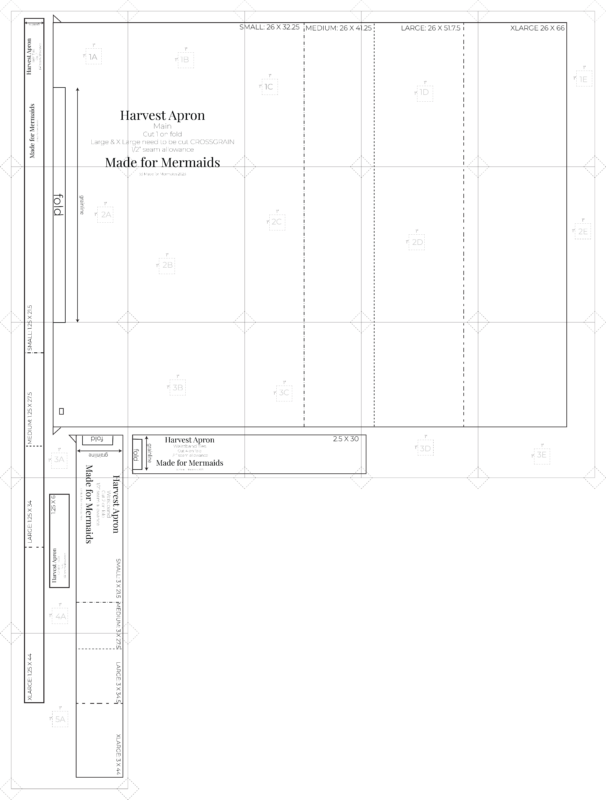
Print and assemble the pattern. Alternatively, you can use the projector file if you’re using a projector. Pattern layout below:
Step 2: CUTTING
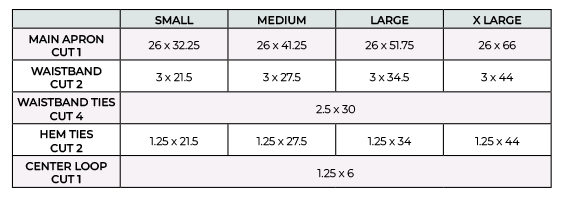
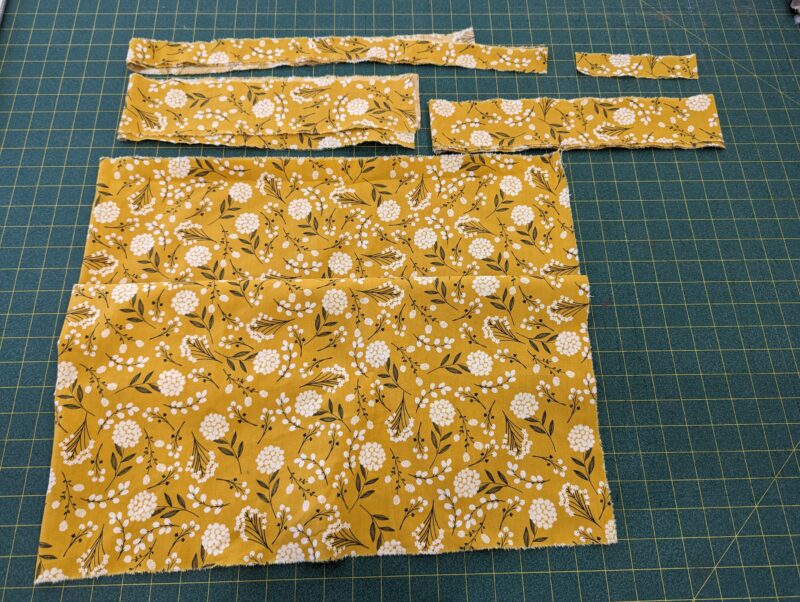
Use the cut chart below if you don’t want to print the pieces. All pieces are given length by width and in inches. Note that size Large & X Large pieces are cut crossgrain.
- Cut 1 main apron piece
- Cut 2 waistband pieces
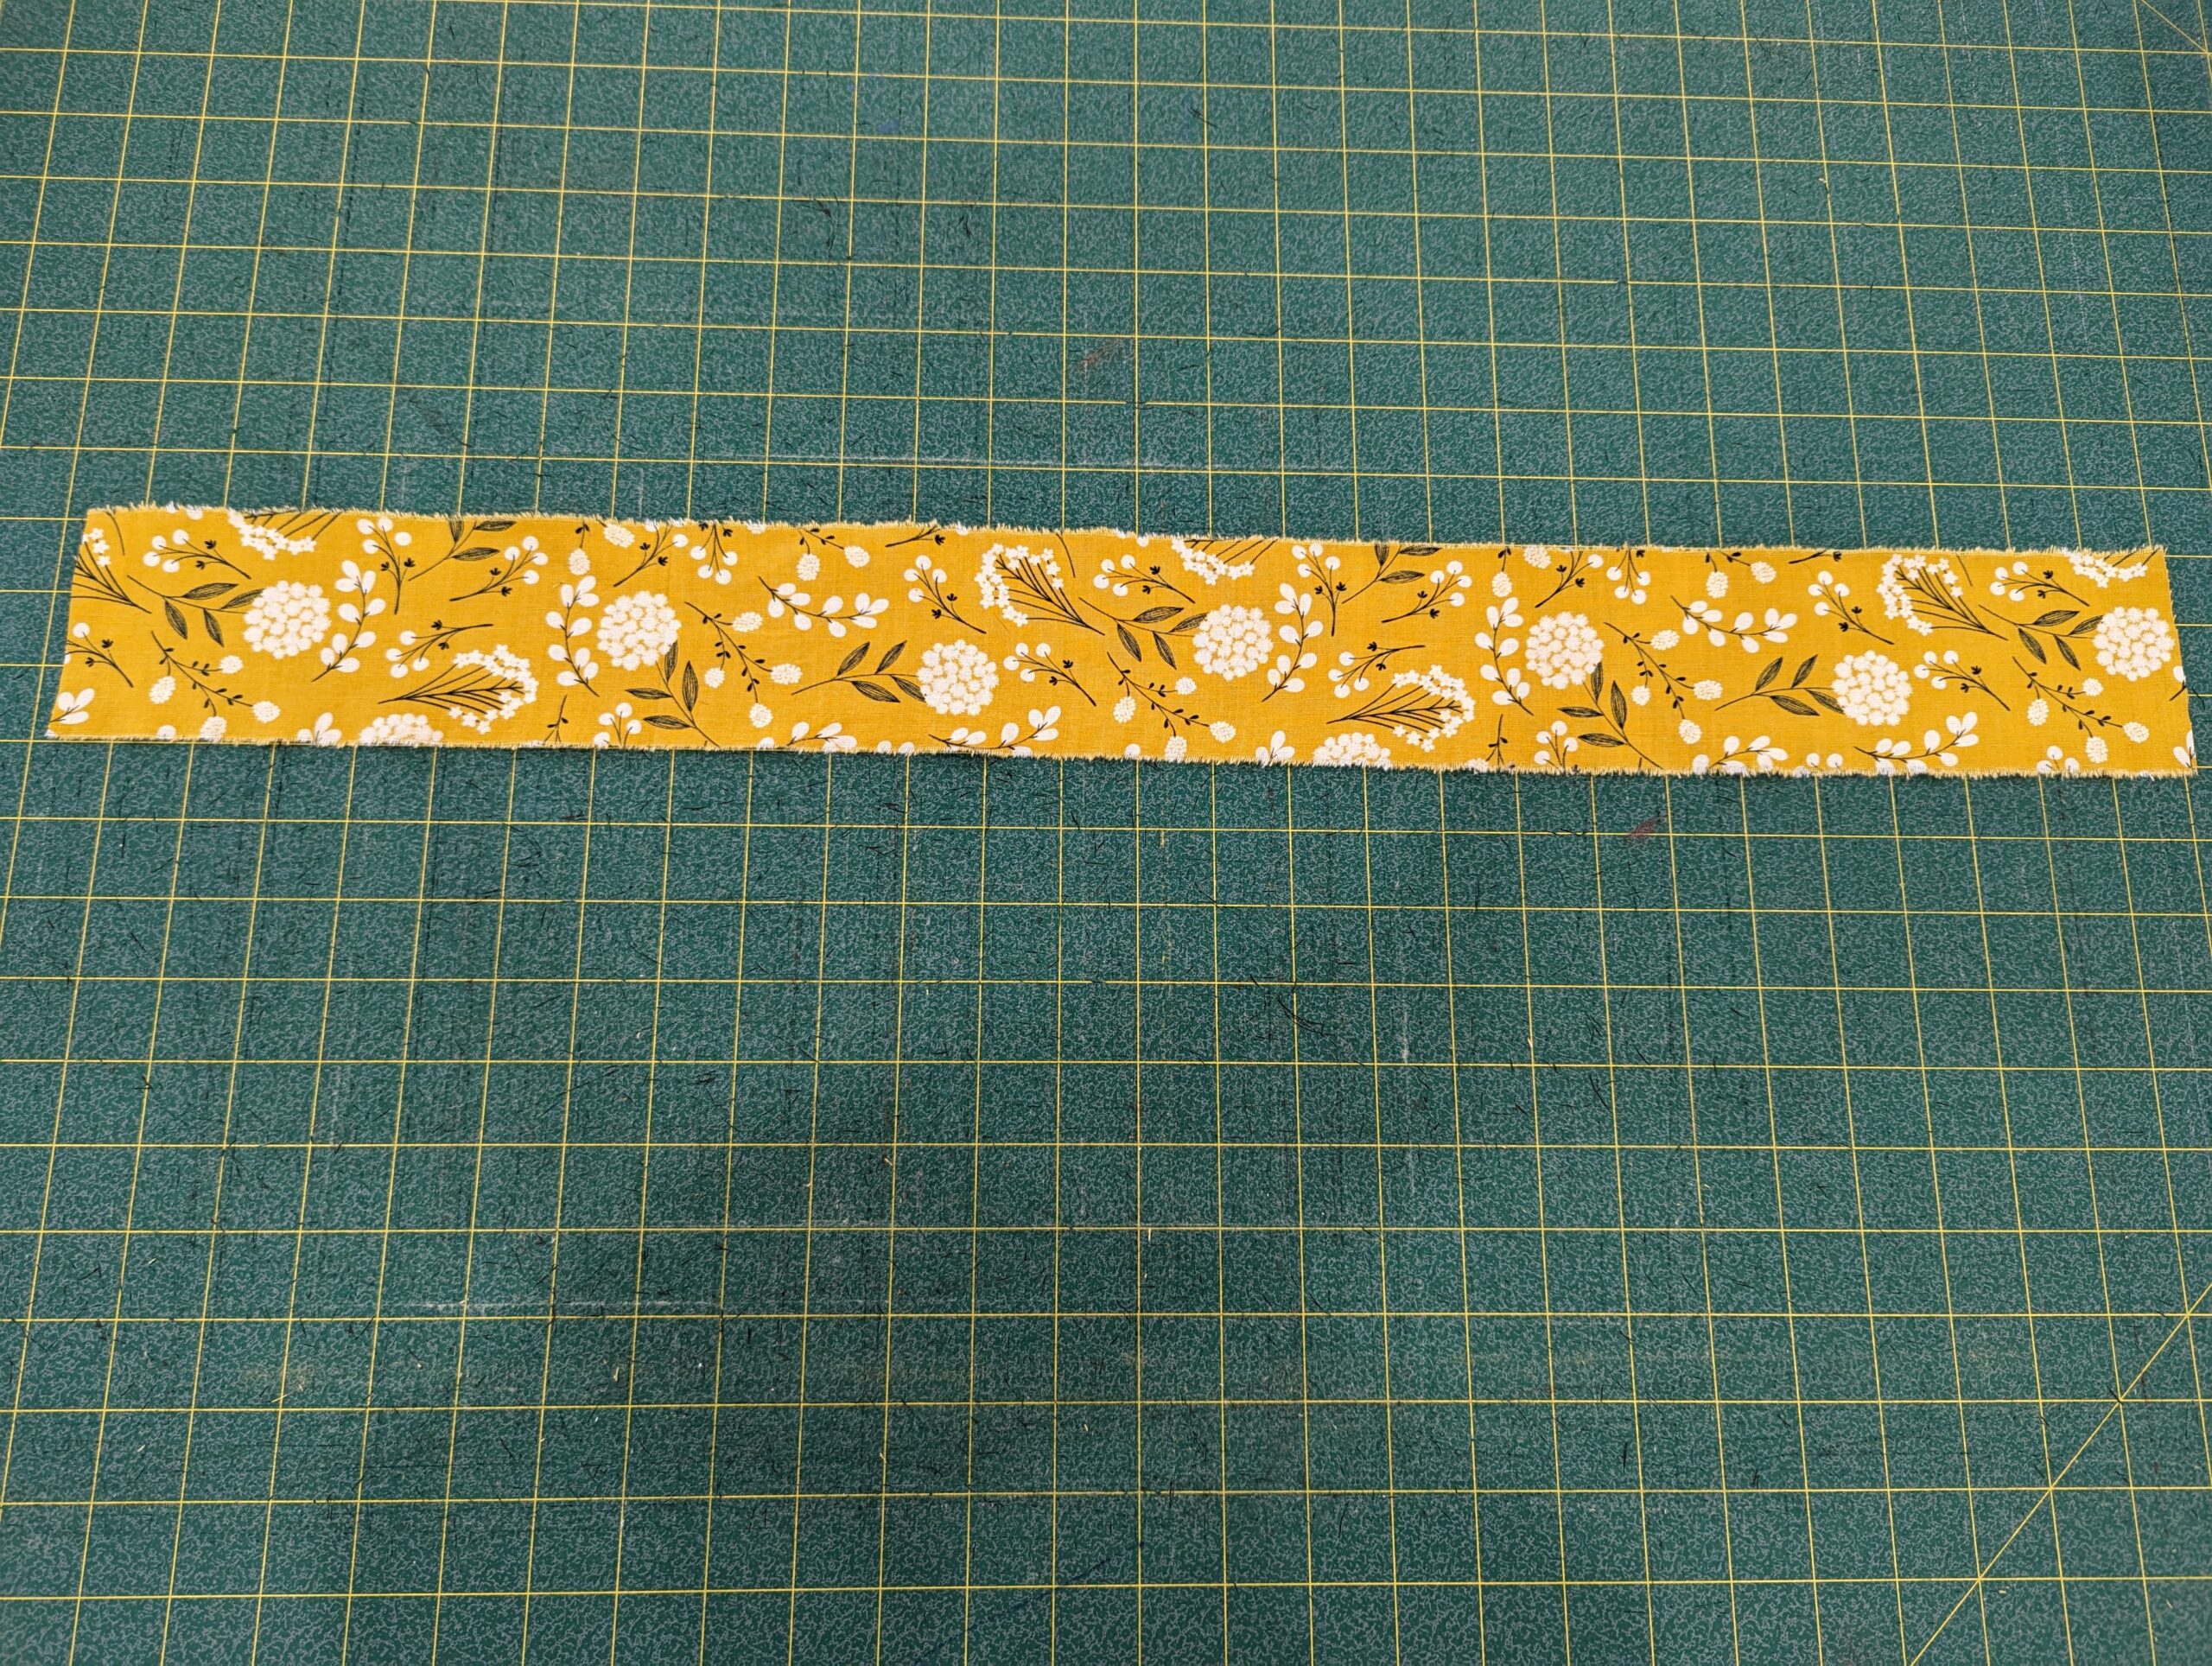
- Cut 4 waistband ties
- Cut 2 hem ties
- Cut 1 center loop
Press all pieces after cutting.
Step 2: HEMLINE CASING
Optional- serge along the bottom of the main piece without cutting any off.
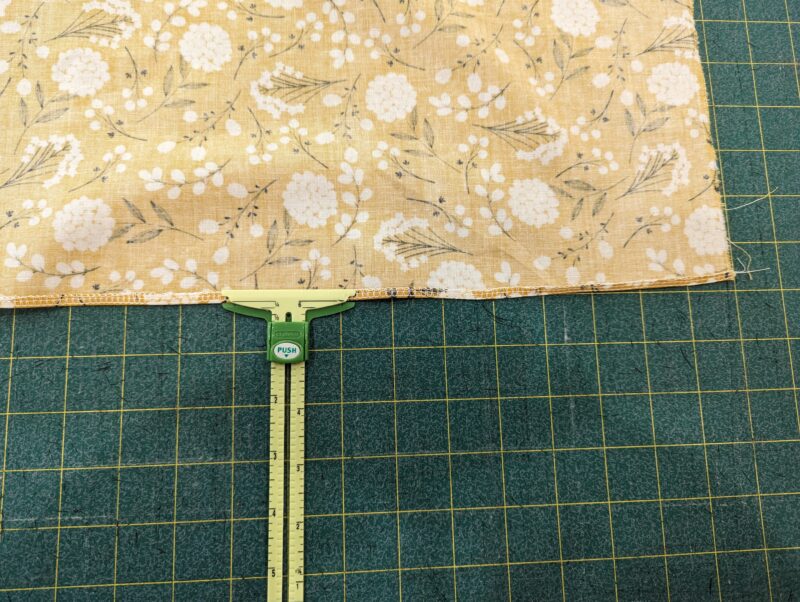
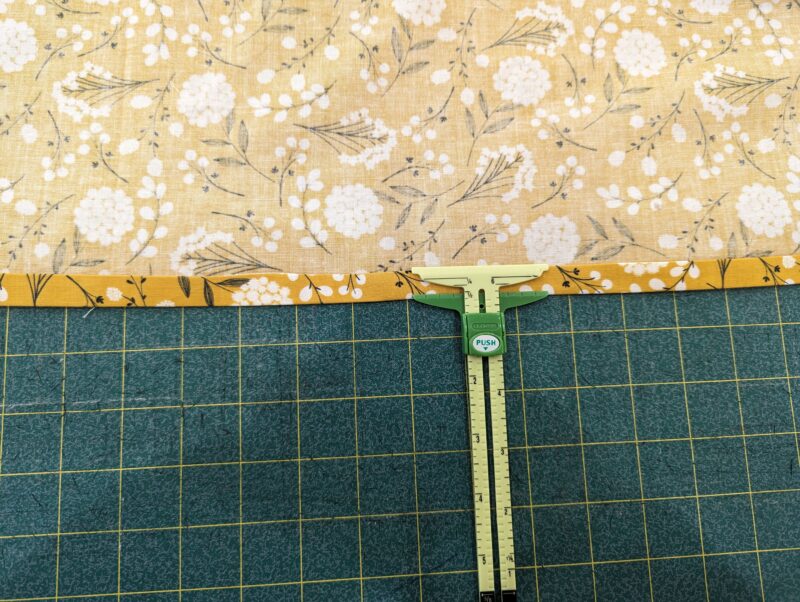
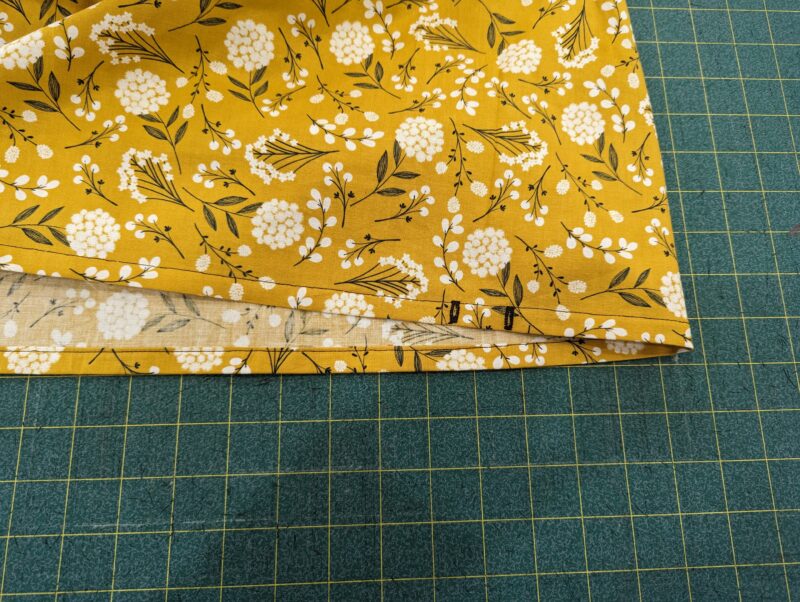
Press 1/4″ of the hem to the wrong side. Then press another 1/2″ toward the wrong side.
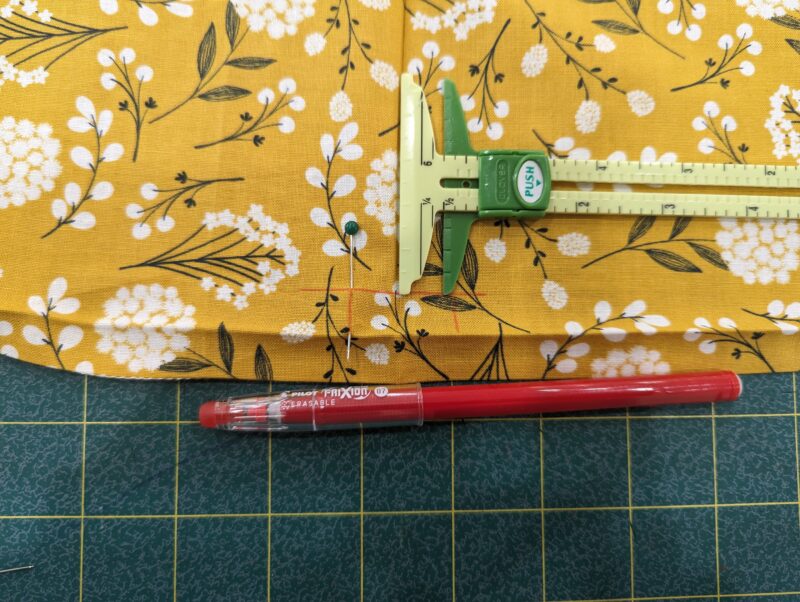
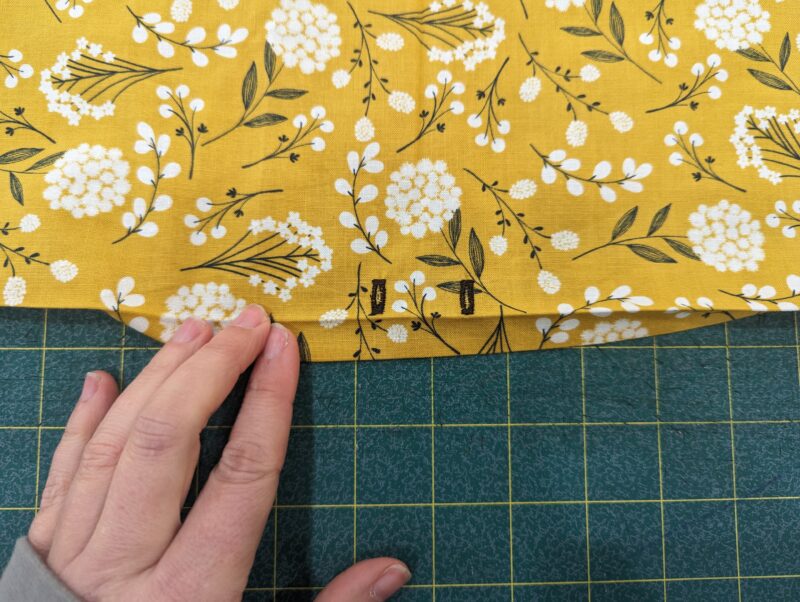
Create the two buttonholes at the bottom using the markings on the pattern piece.
If you didn’t print the pieces, measure 1/2″ on each side of the center. The buttonhole height must be a scant 1/2″ from the pressed edge to fit in the 1/2″ casing.
Edgestich the pressed edge to create the casing. Then, set aside.
Press one short end of the hem tie piece a 1/4″ to the wrong side.
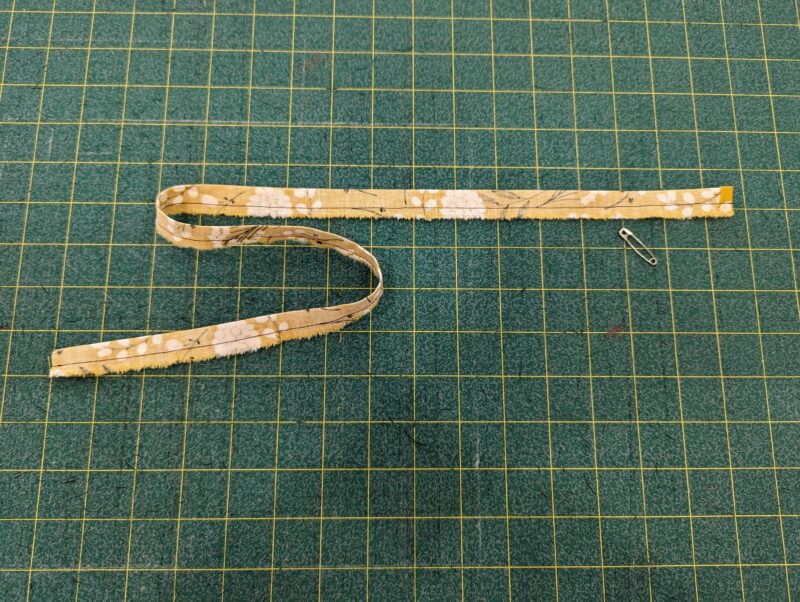
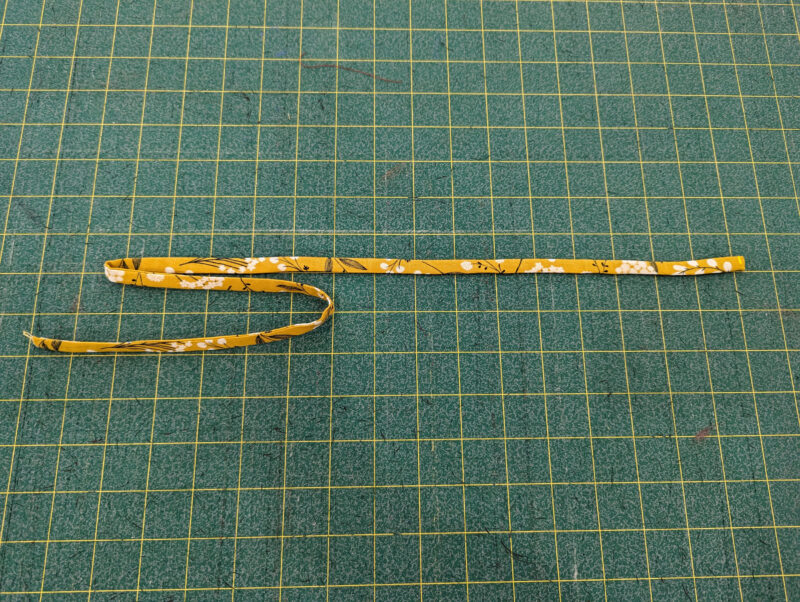
Press the hem tie in half, right sides together. Stitch together with a 1/4″ seam. Then, press it right side out and edgestitch the pressed end closed. Repeat with other hem tie piece.
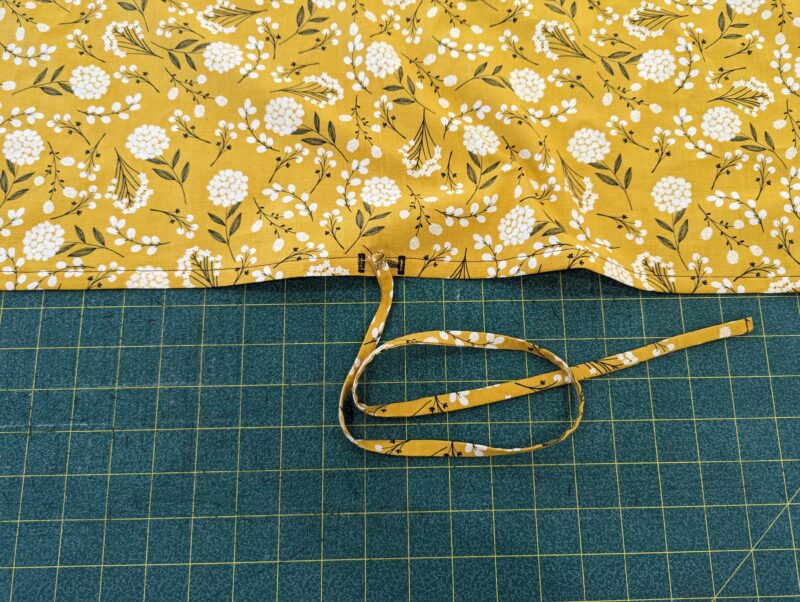
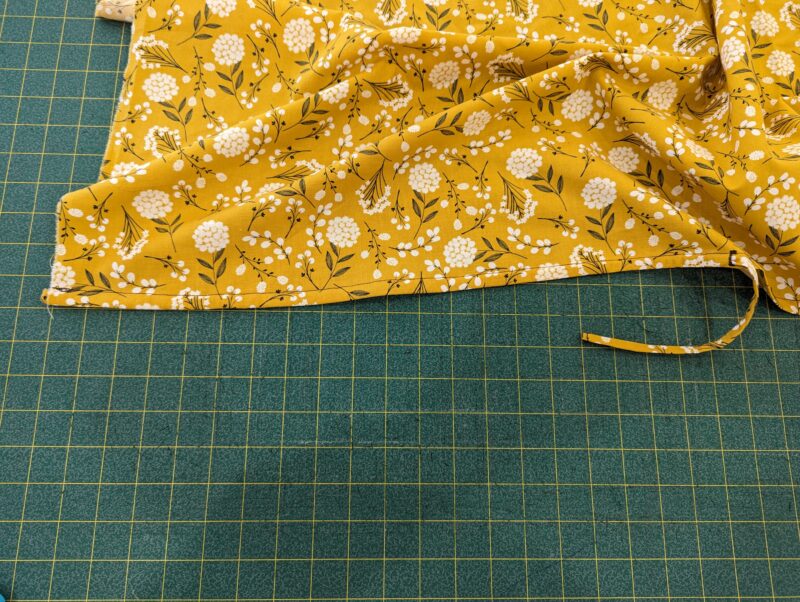
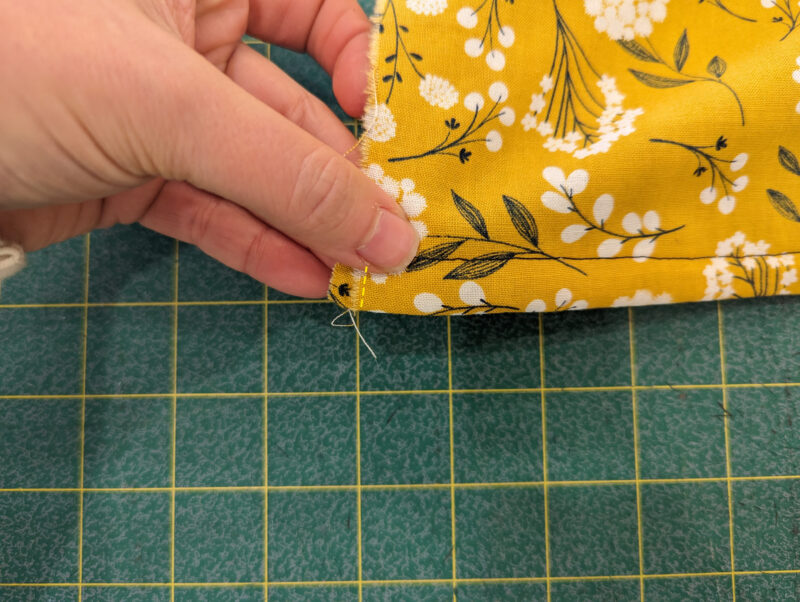
Thread each hem ties through the buttonholes. Stitch the end of the hem tie at the casing opening on each side to hold in place. Optional- tie a not at the end of the hem ties.
Step 3: SIDE SEAMS
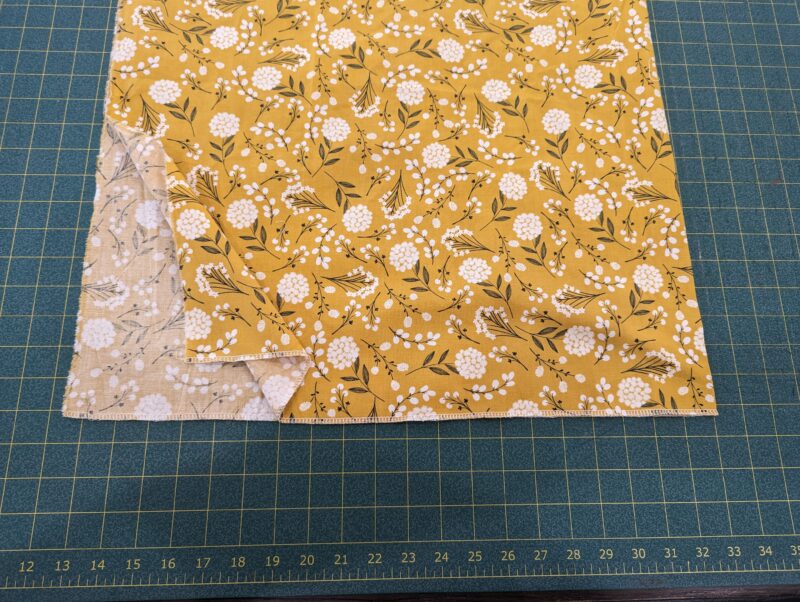
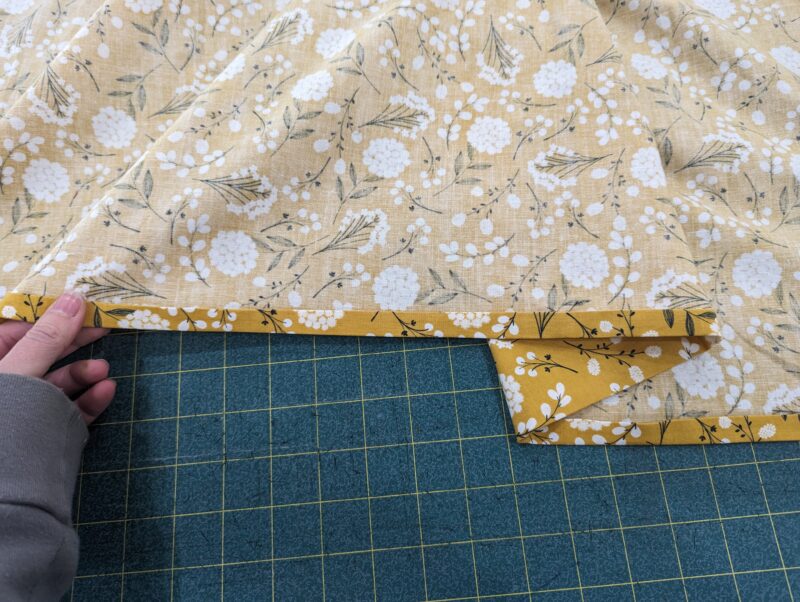
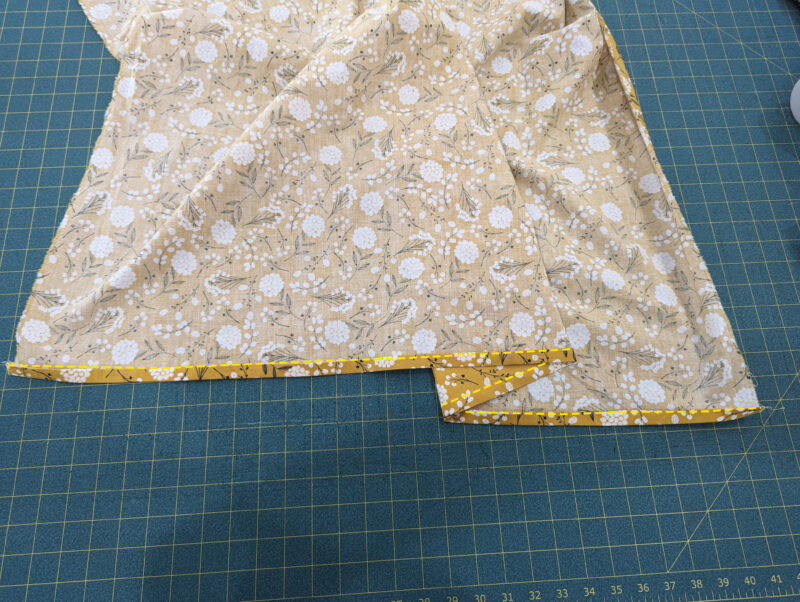
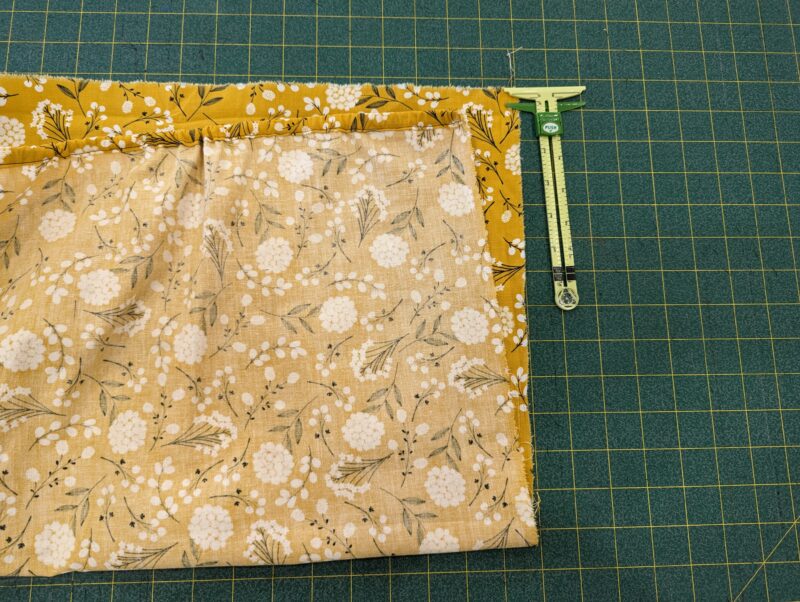
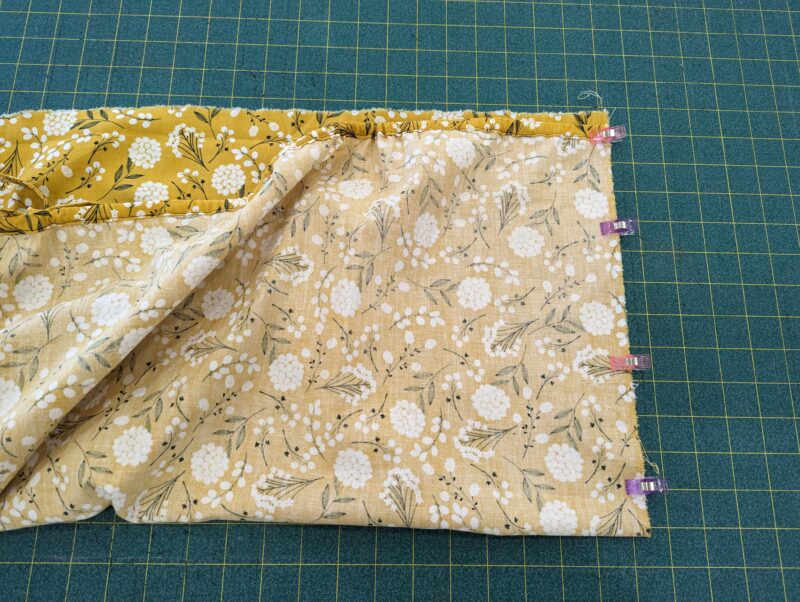
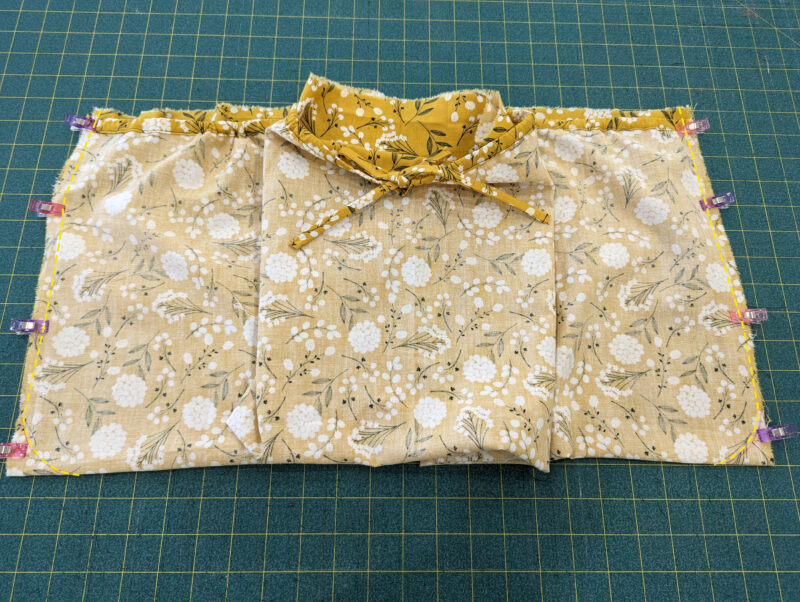
Lay the main piece out flat with the right side up. Fold the bottom edge up toward the top, with the right sides together. Pin the bottom hem 1/2″ from the top edge. Repeat on the other side.
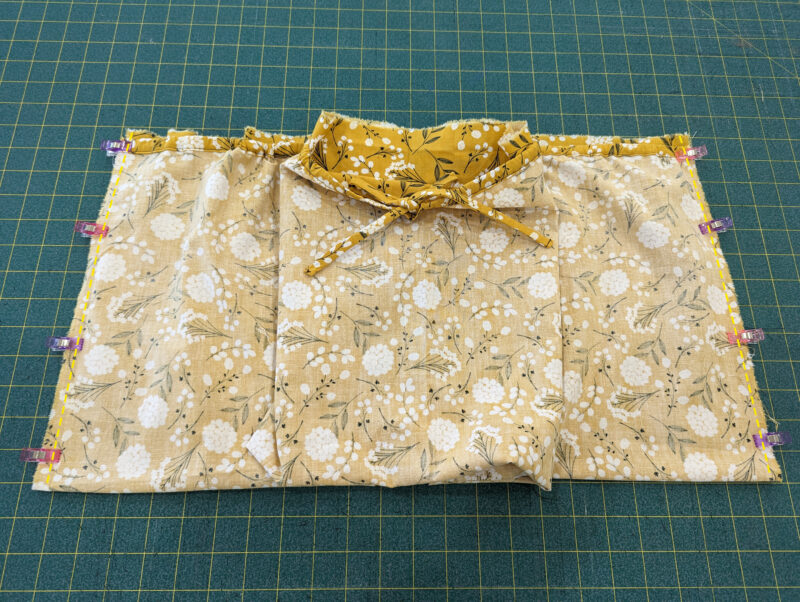
Pin the raw edges together. Stitch together at each side, creating the side seams with a 1/2″ seam allowance.
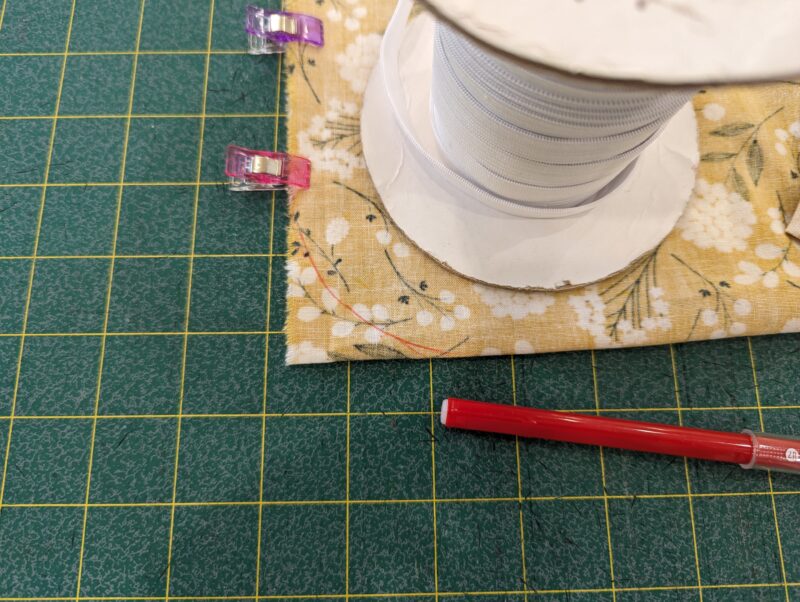
Optionally, mark and curve each edge before stitching together.
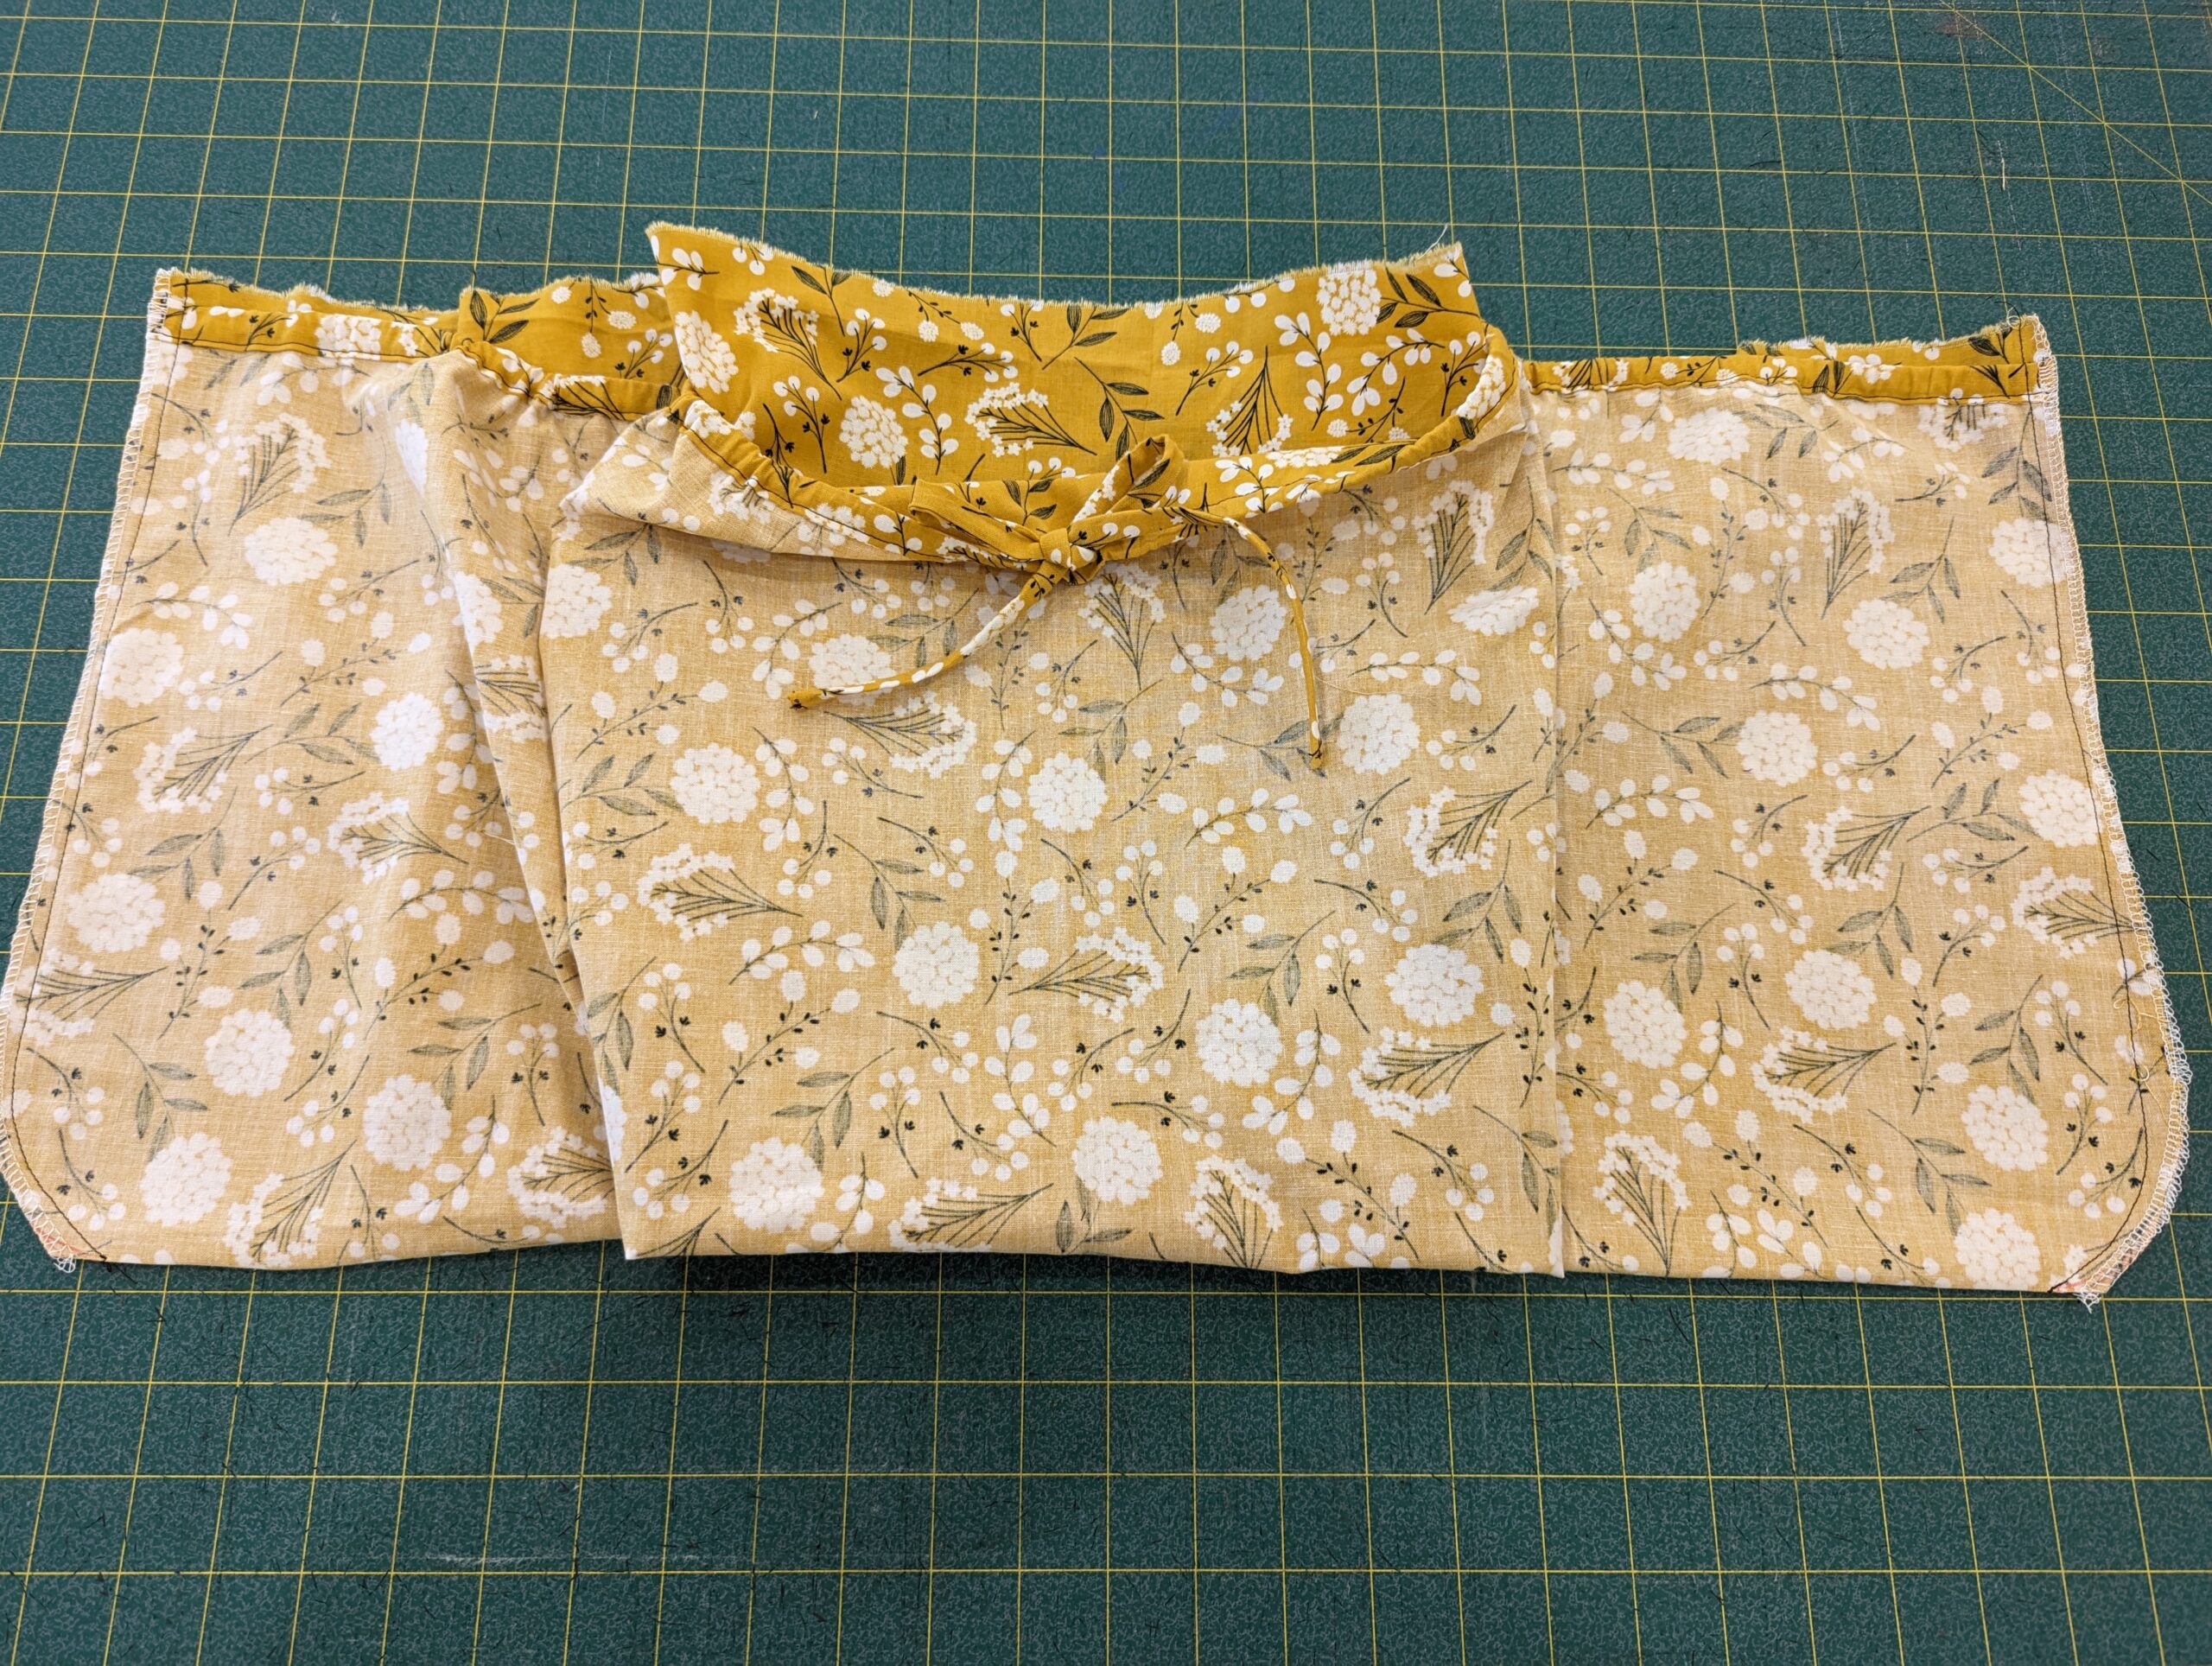
Finish the seams with a serger or zig-zag. Flip right sides out.
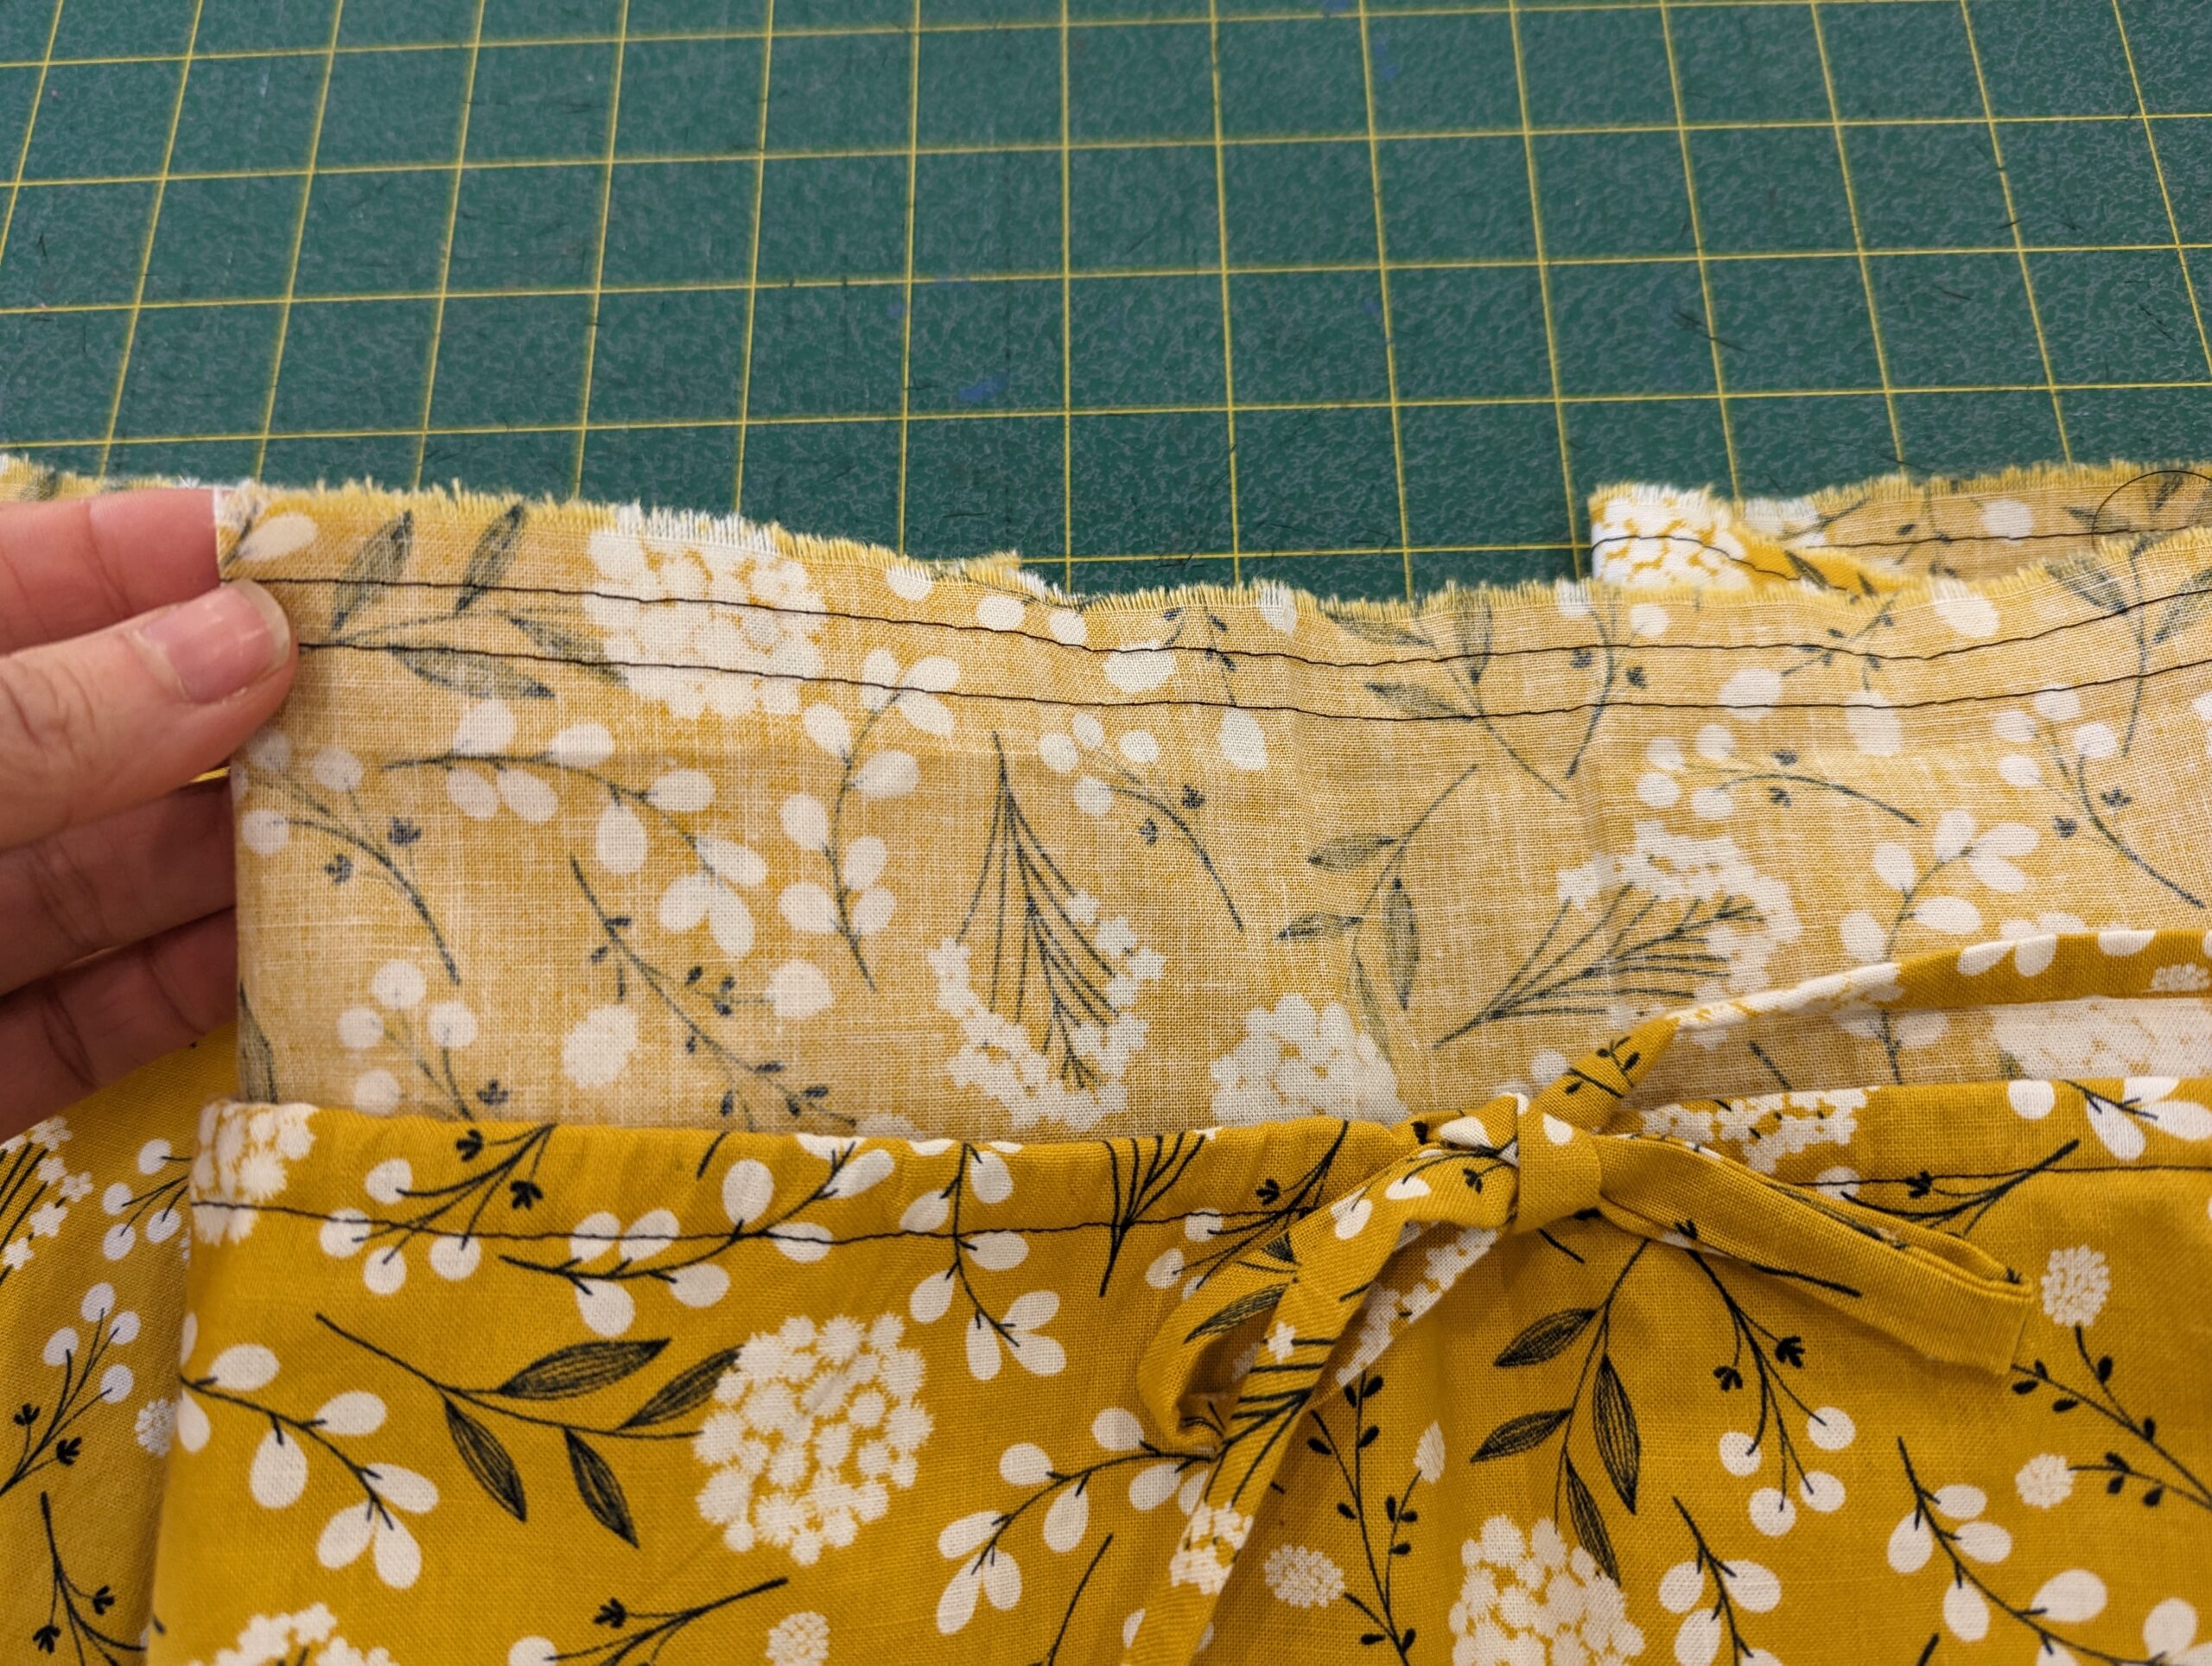
Run two gathering stitches from the top edge 1/4″ and 5/8″ from the edge. Set aside.
Step 4: CENTER LOOP
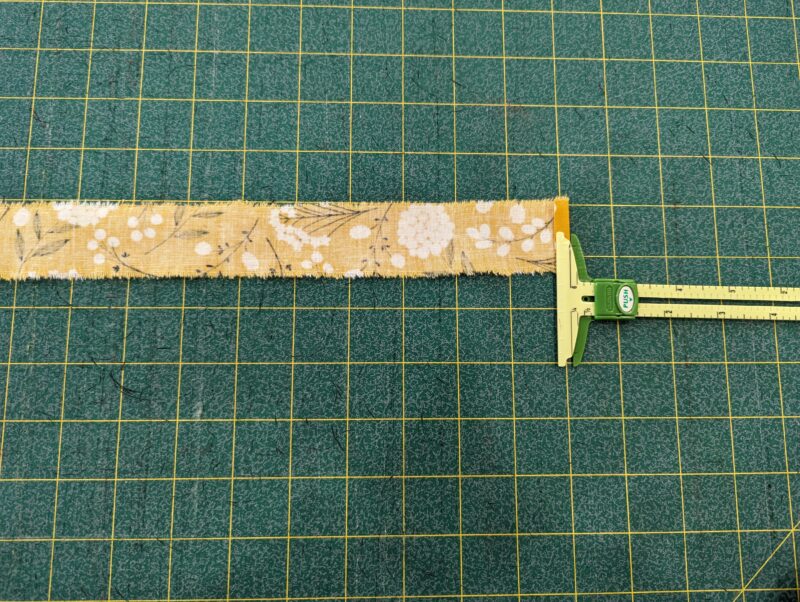
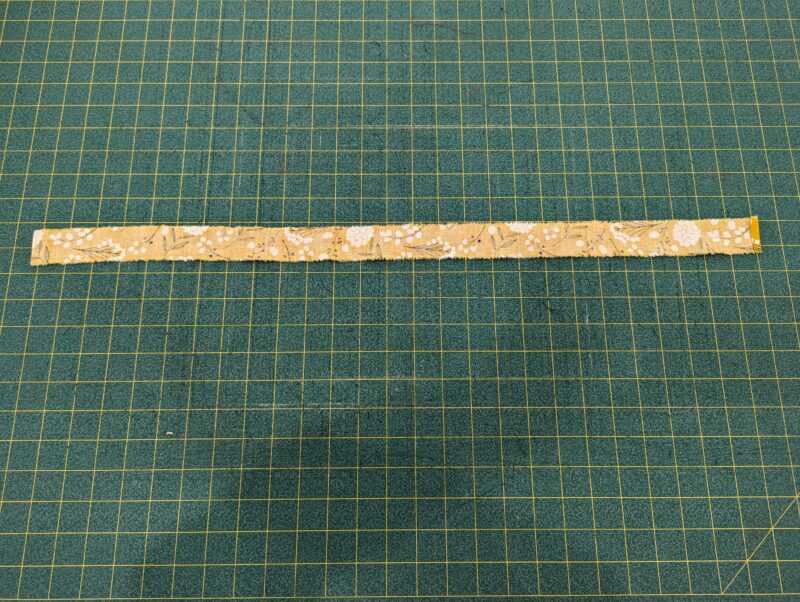
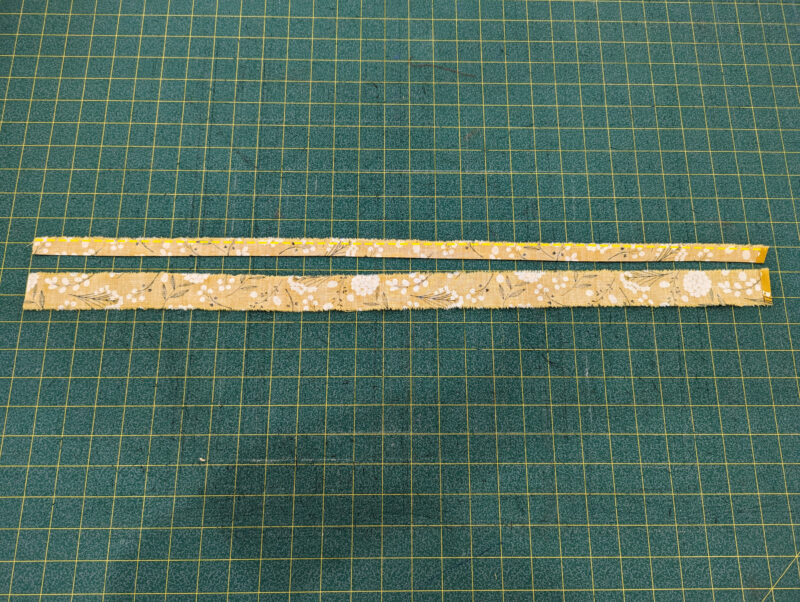
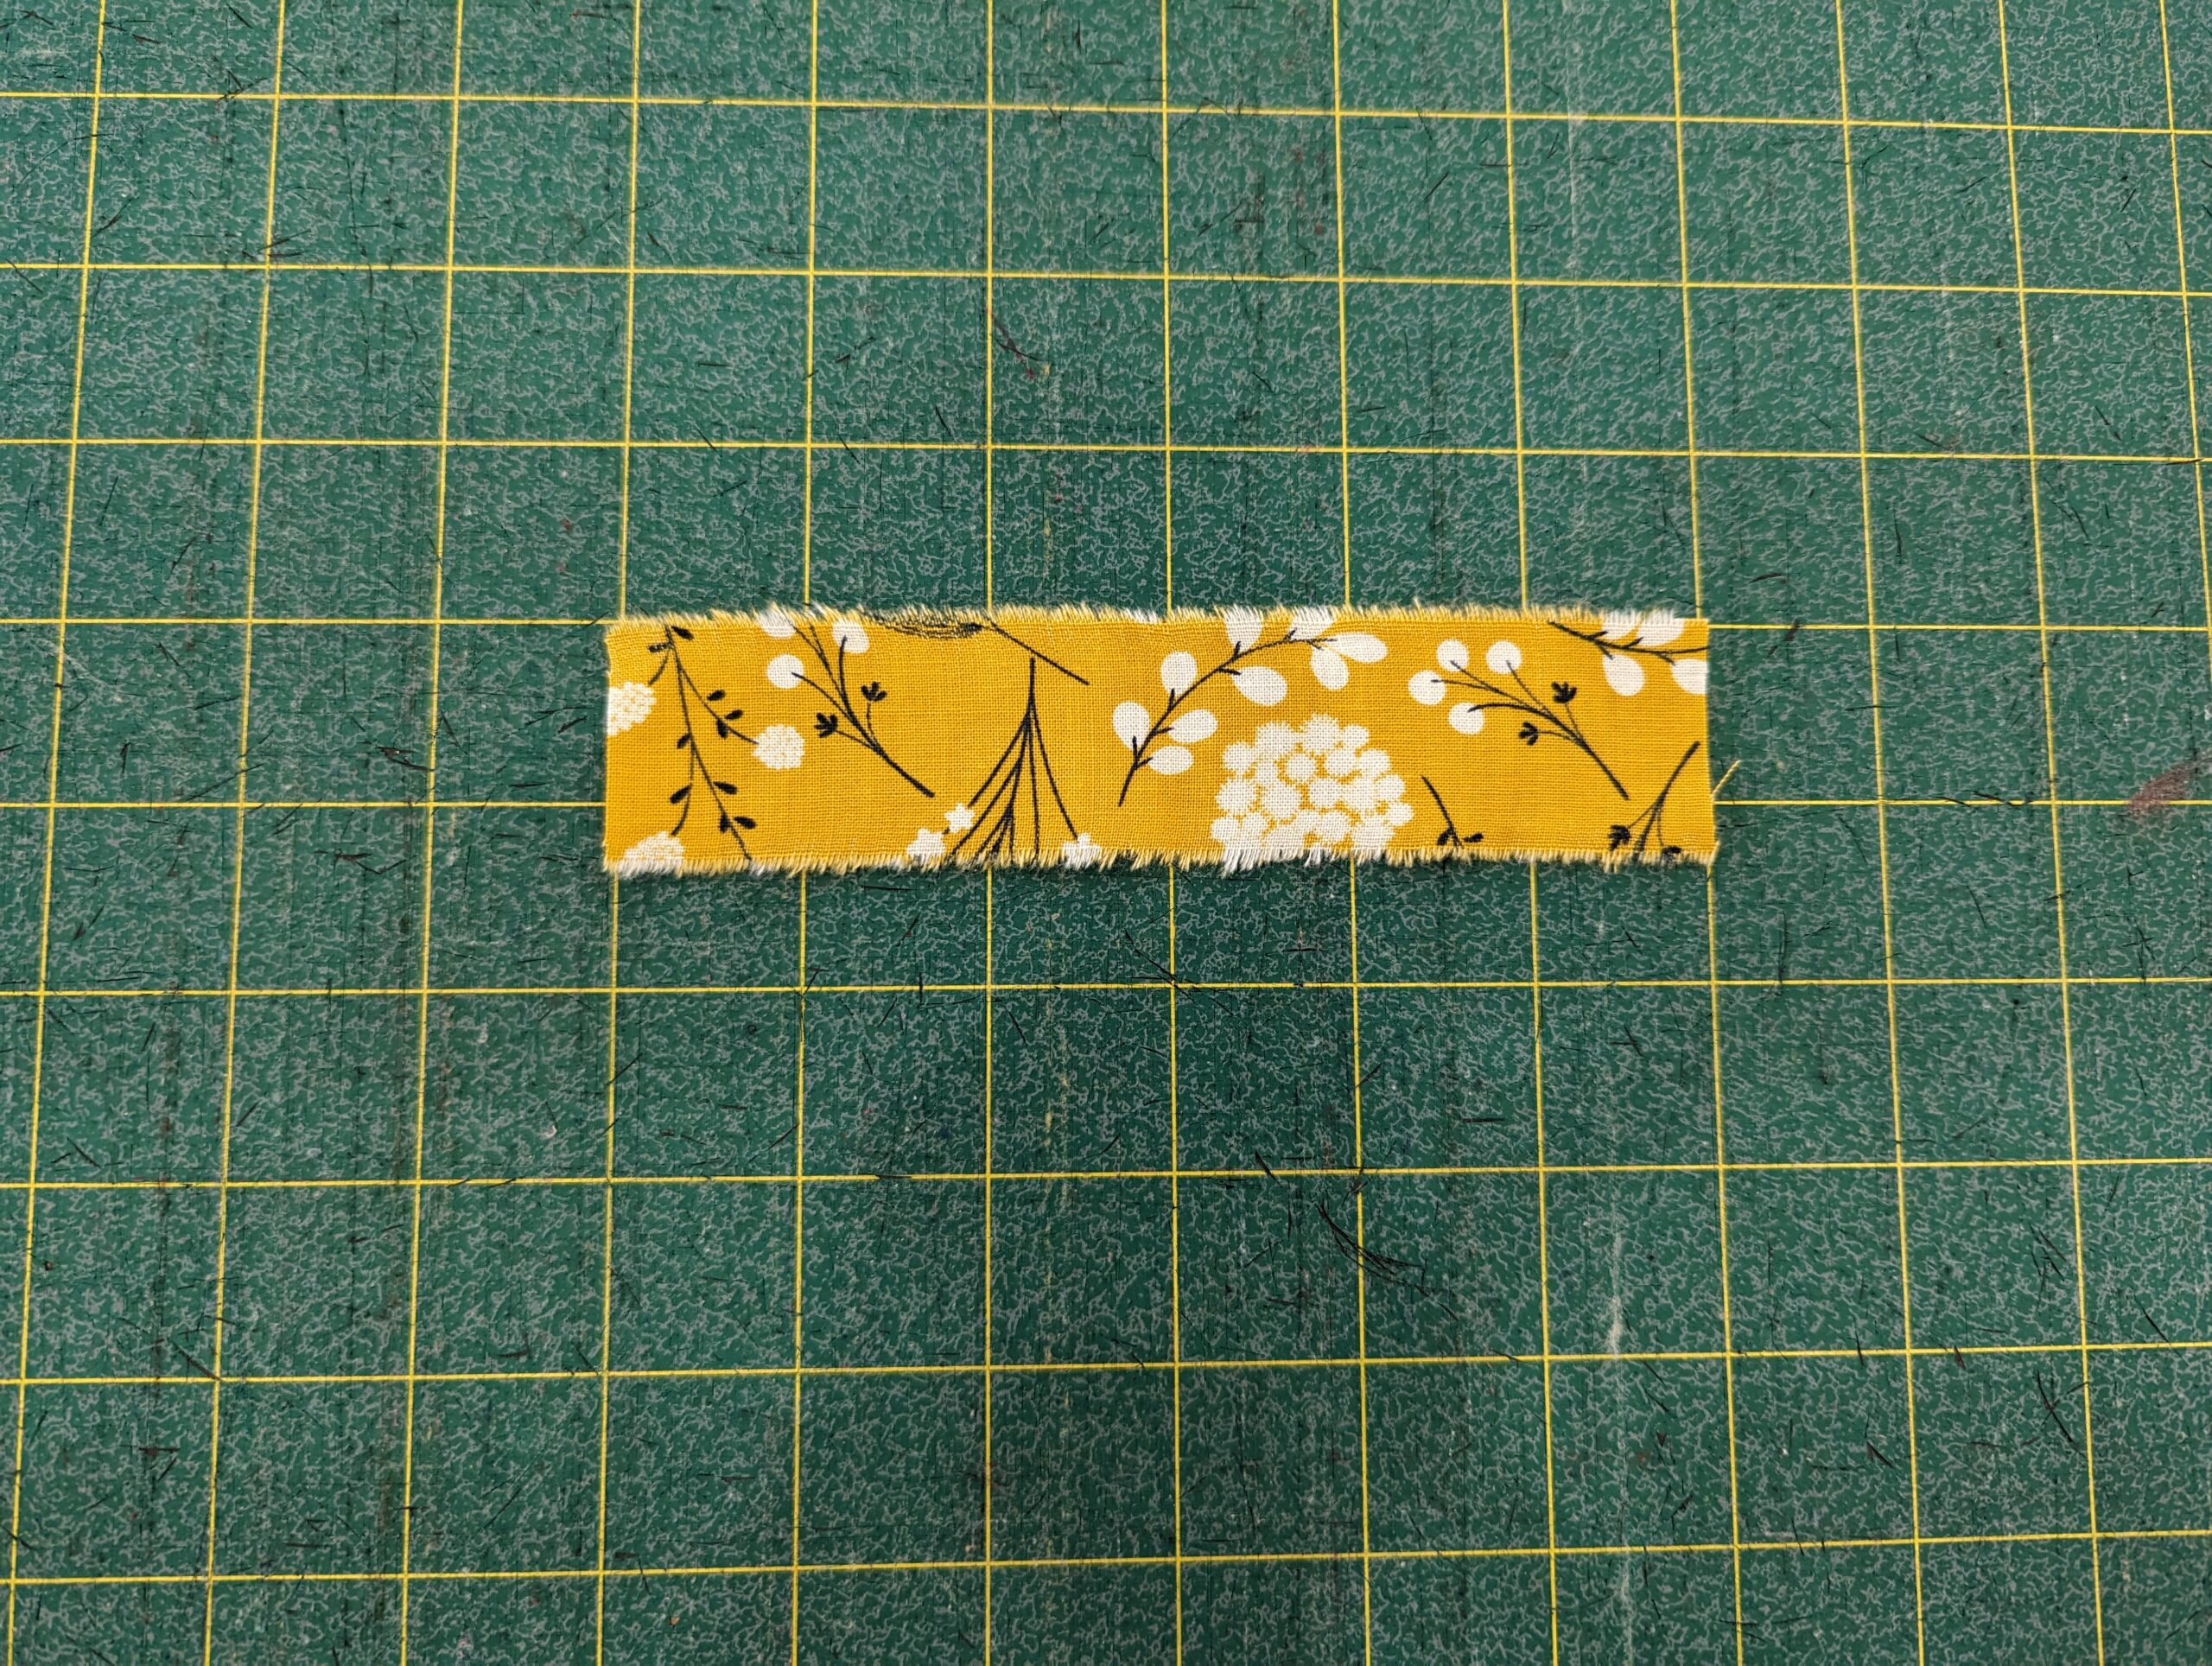
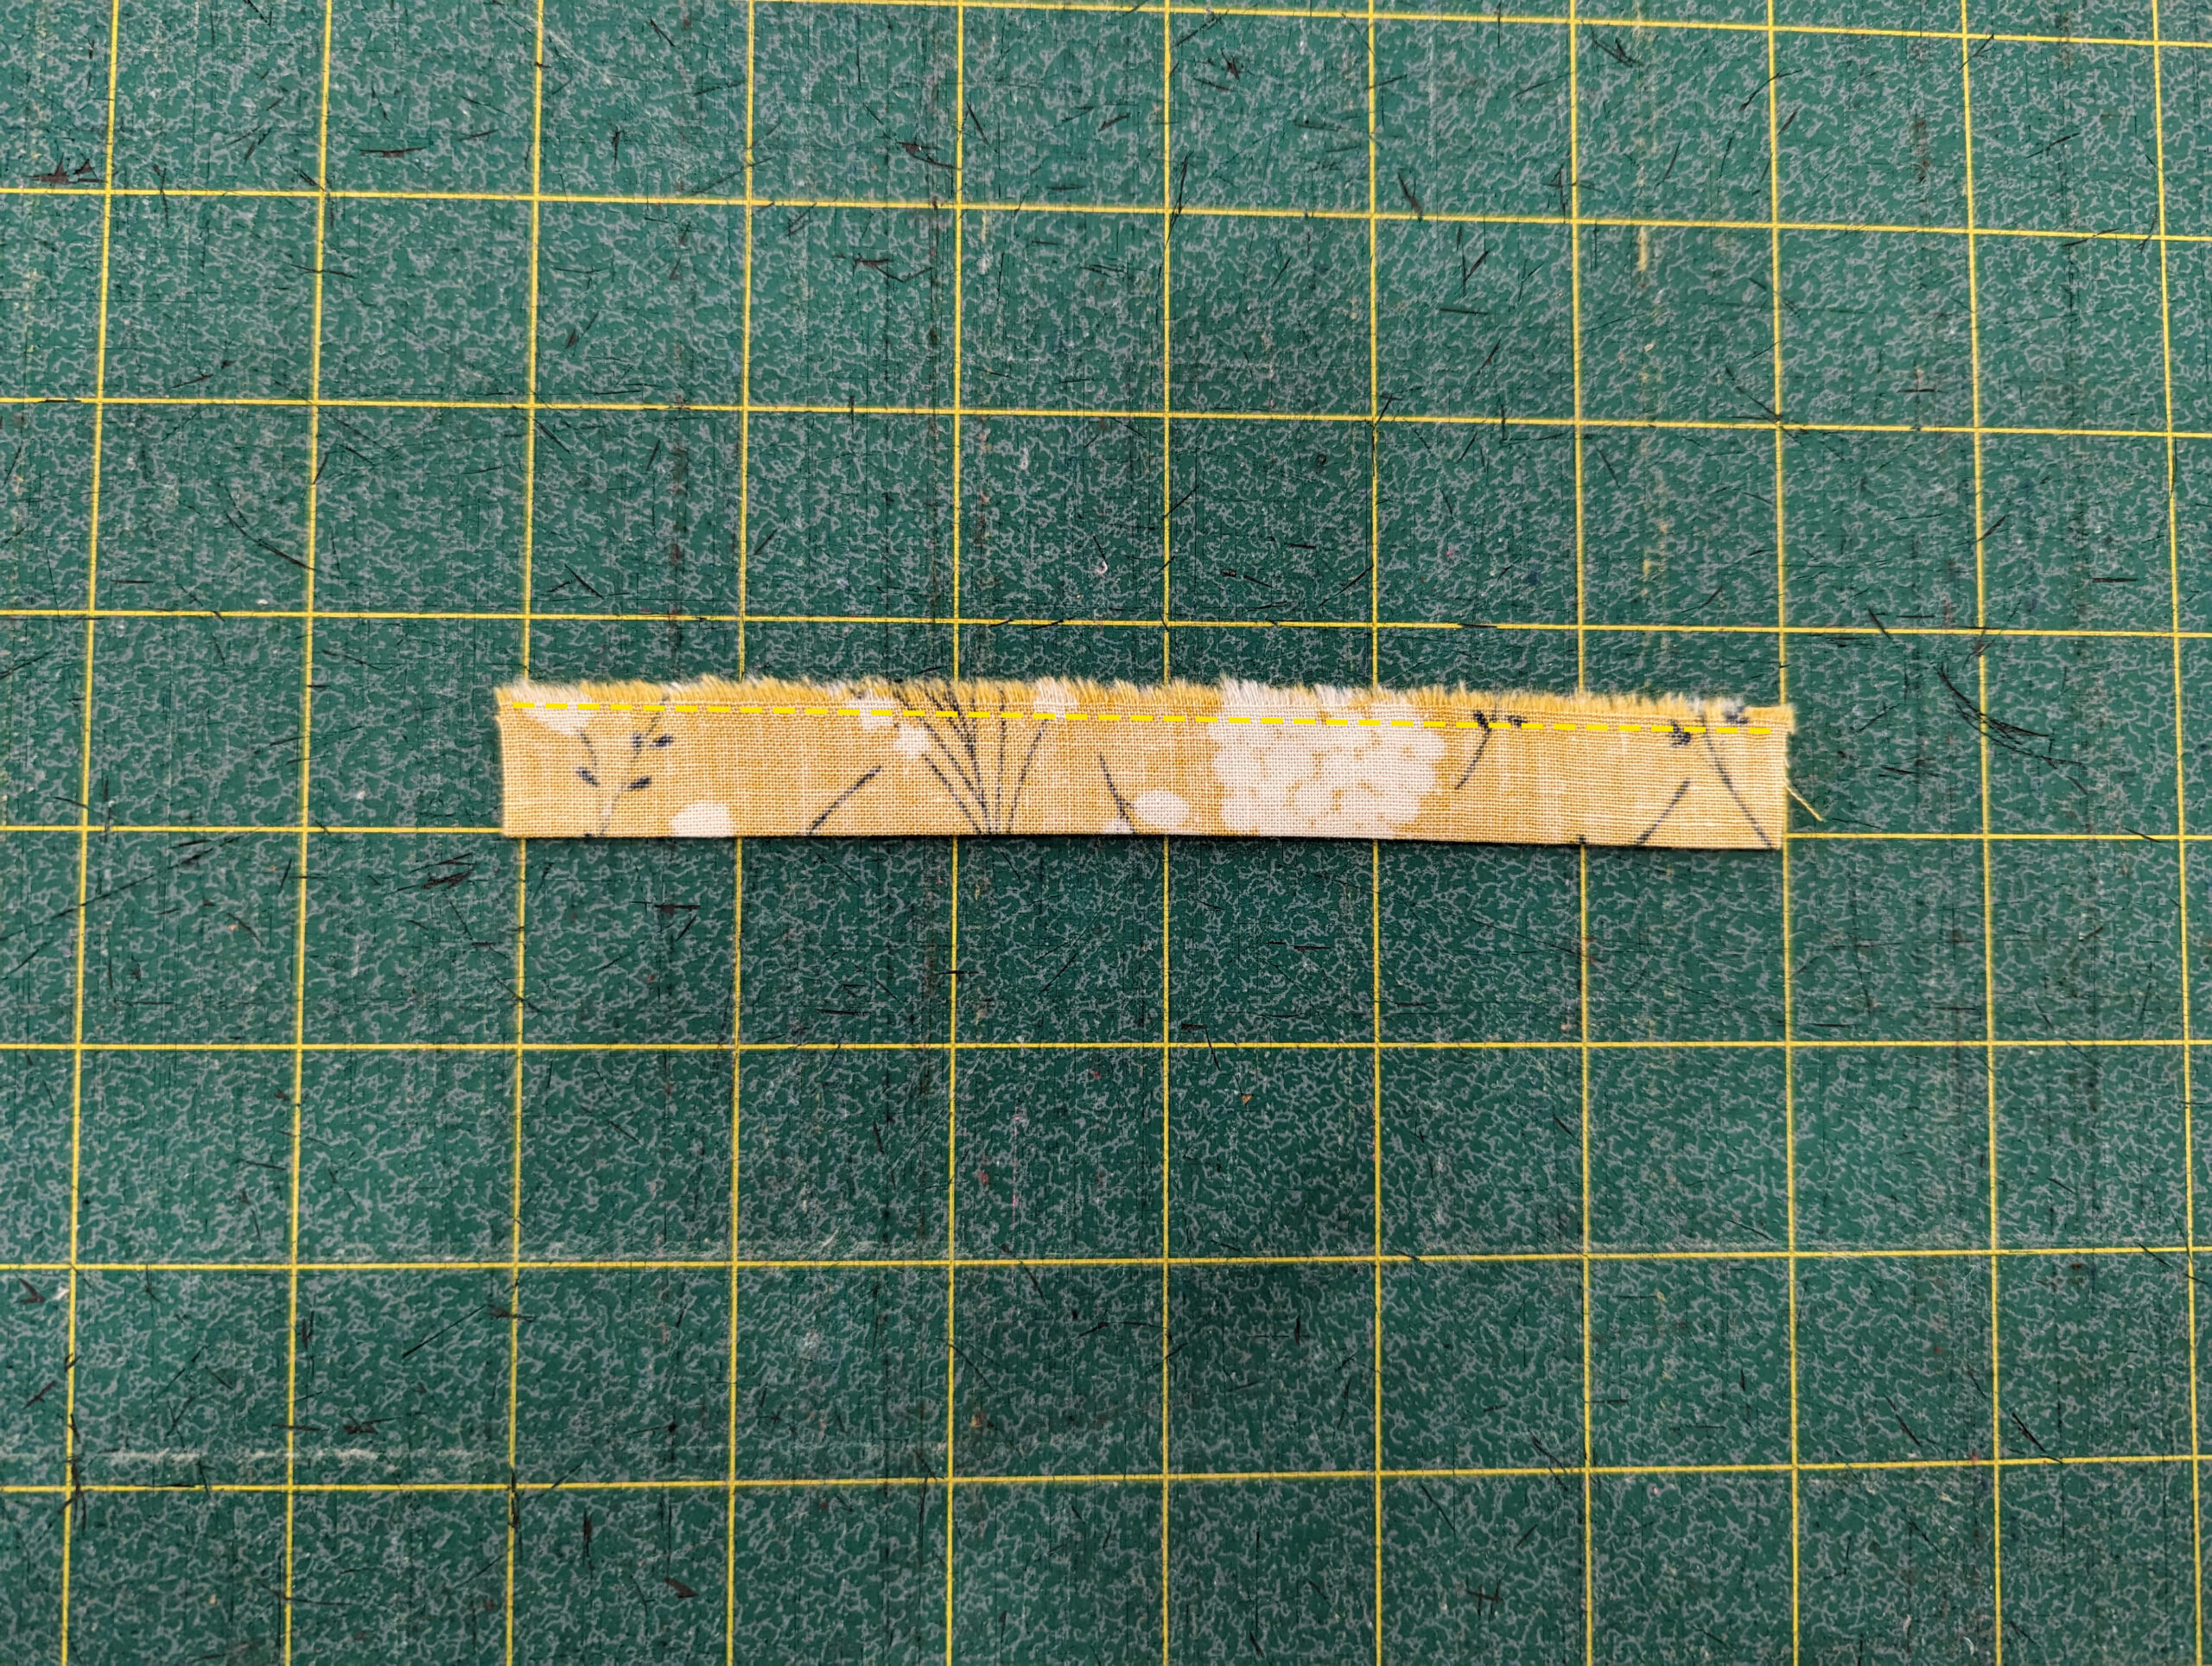
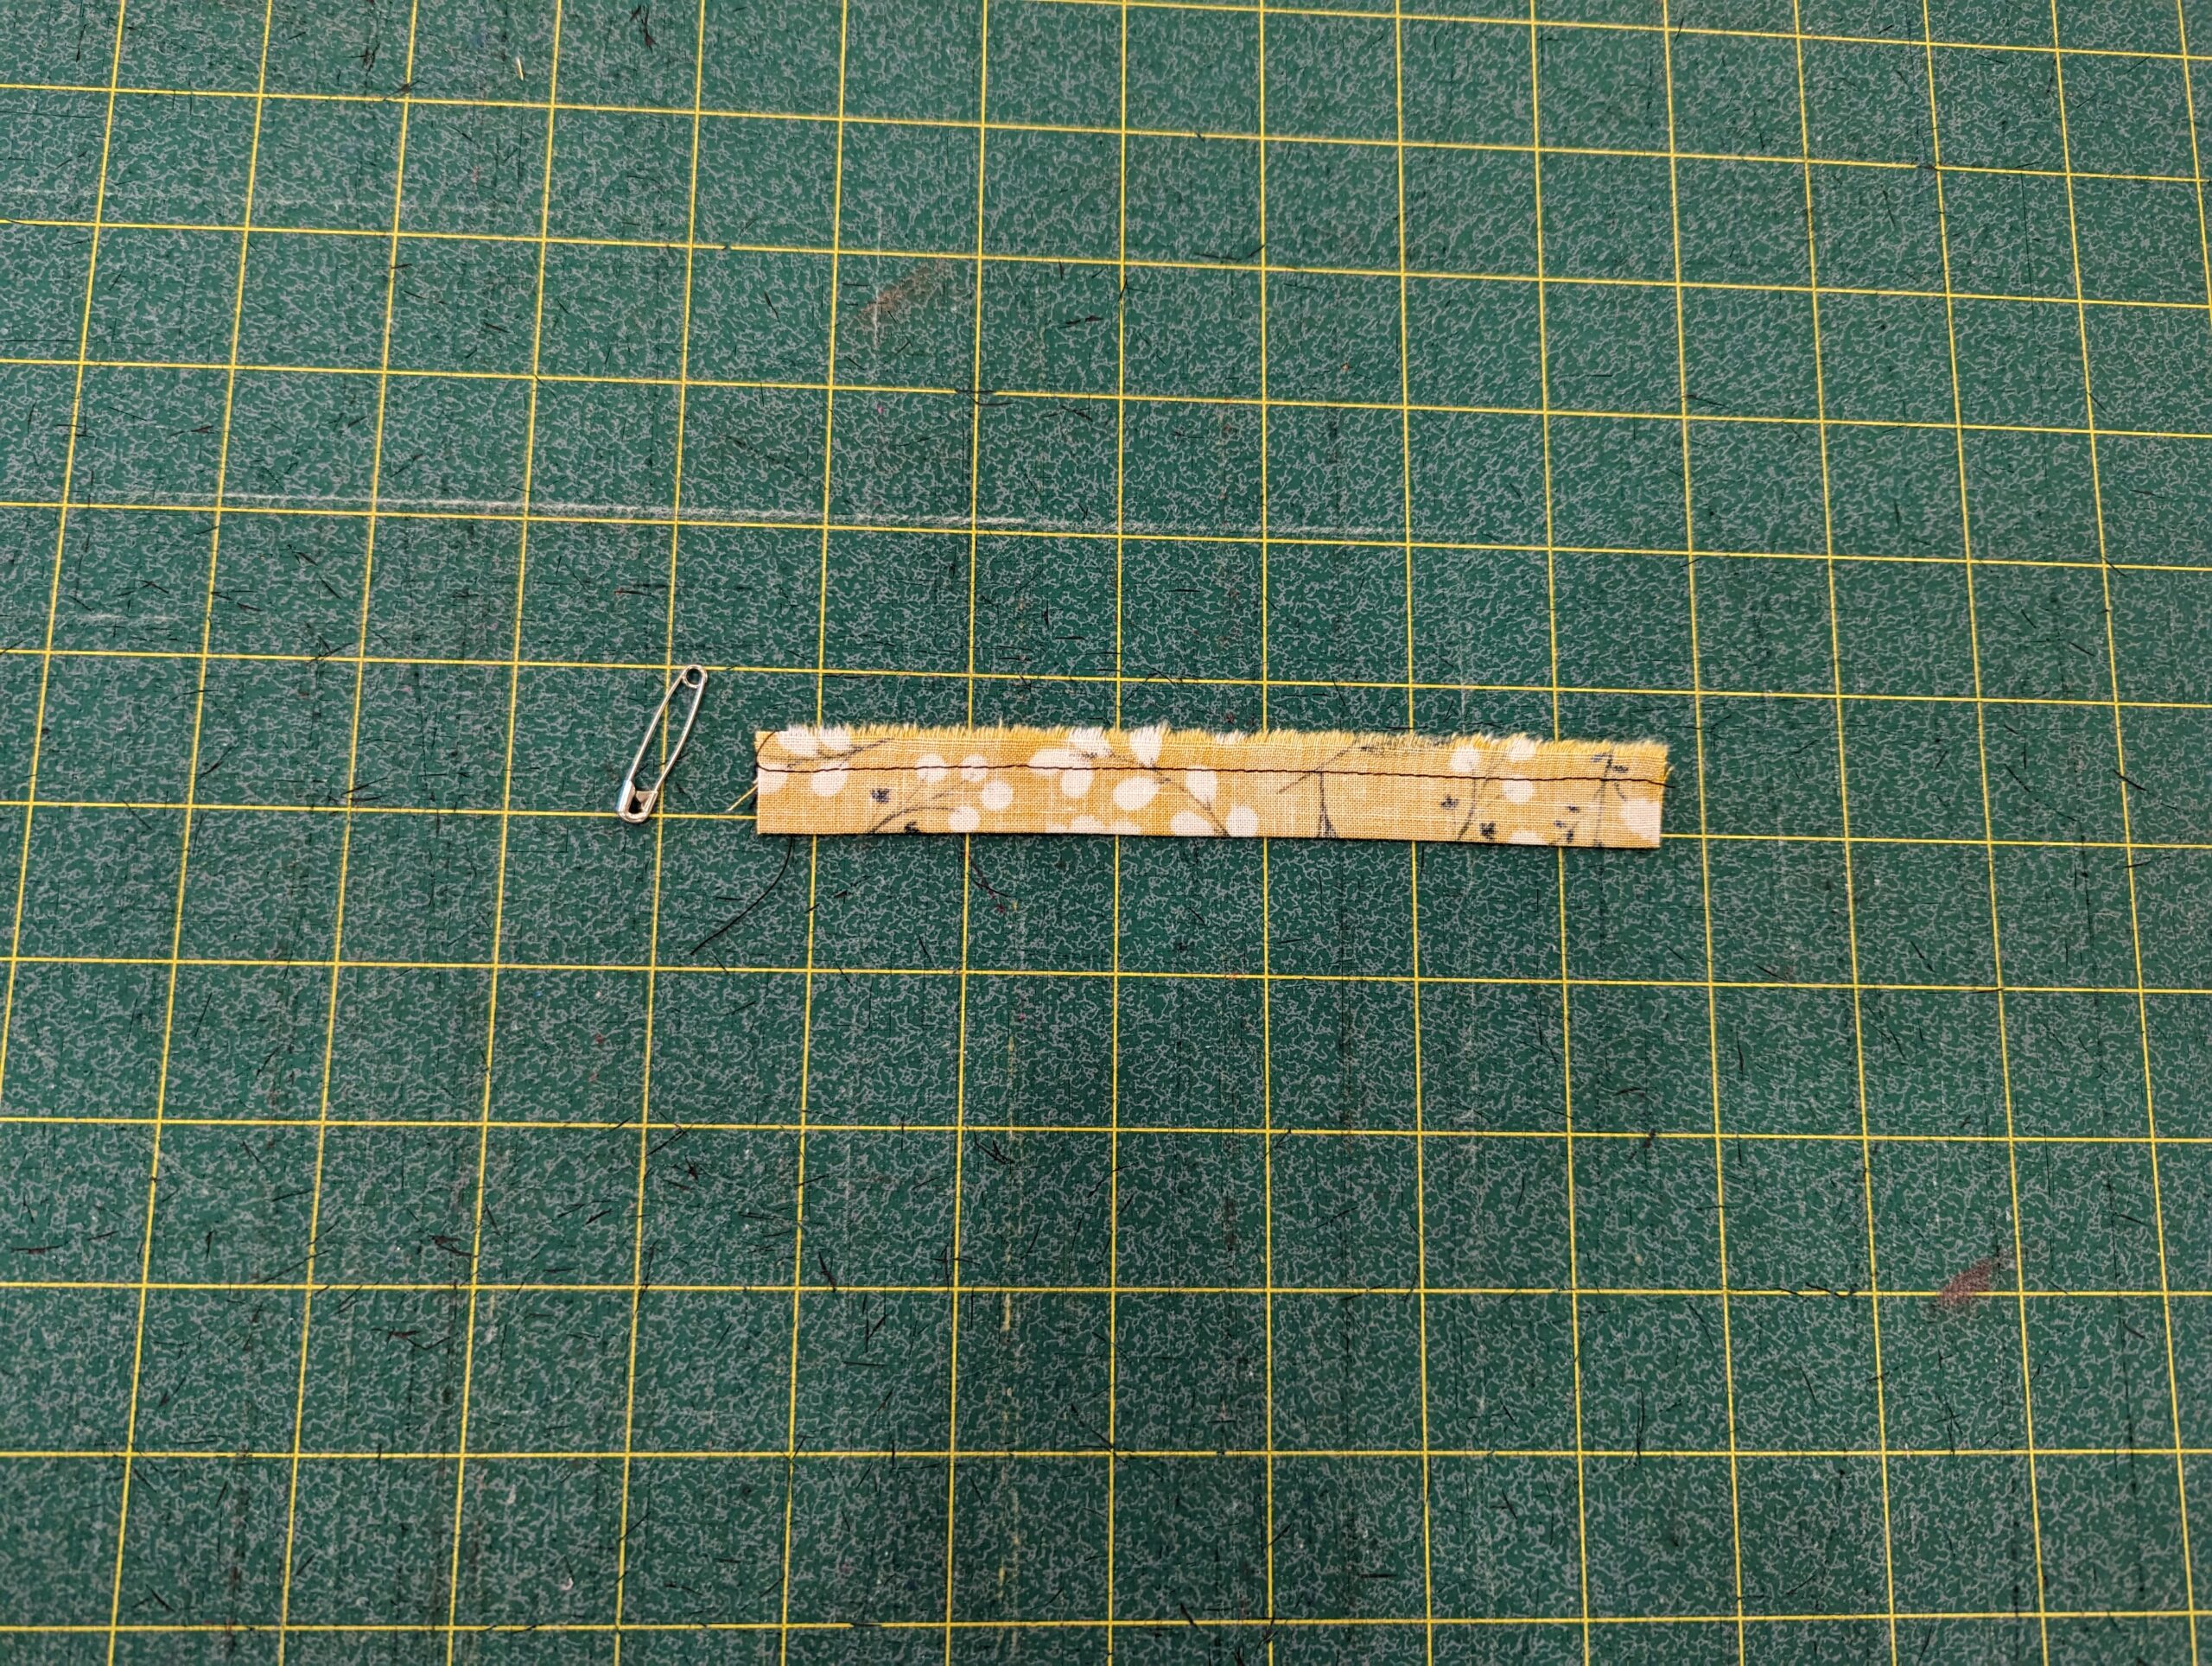
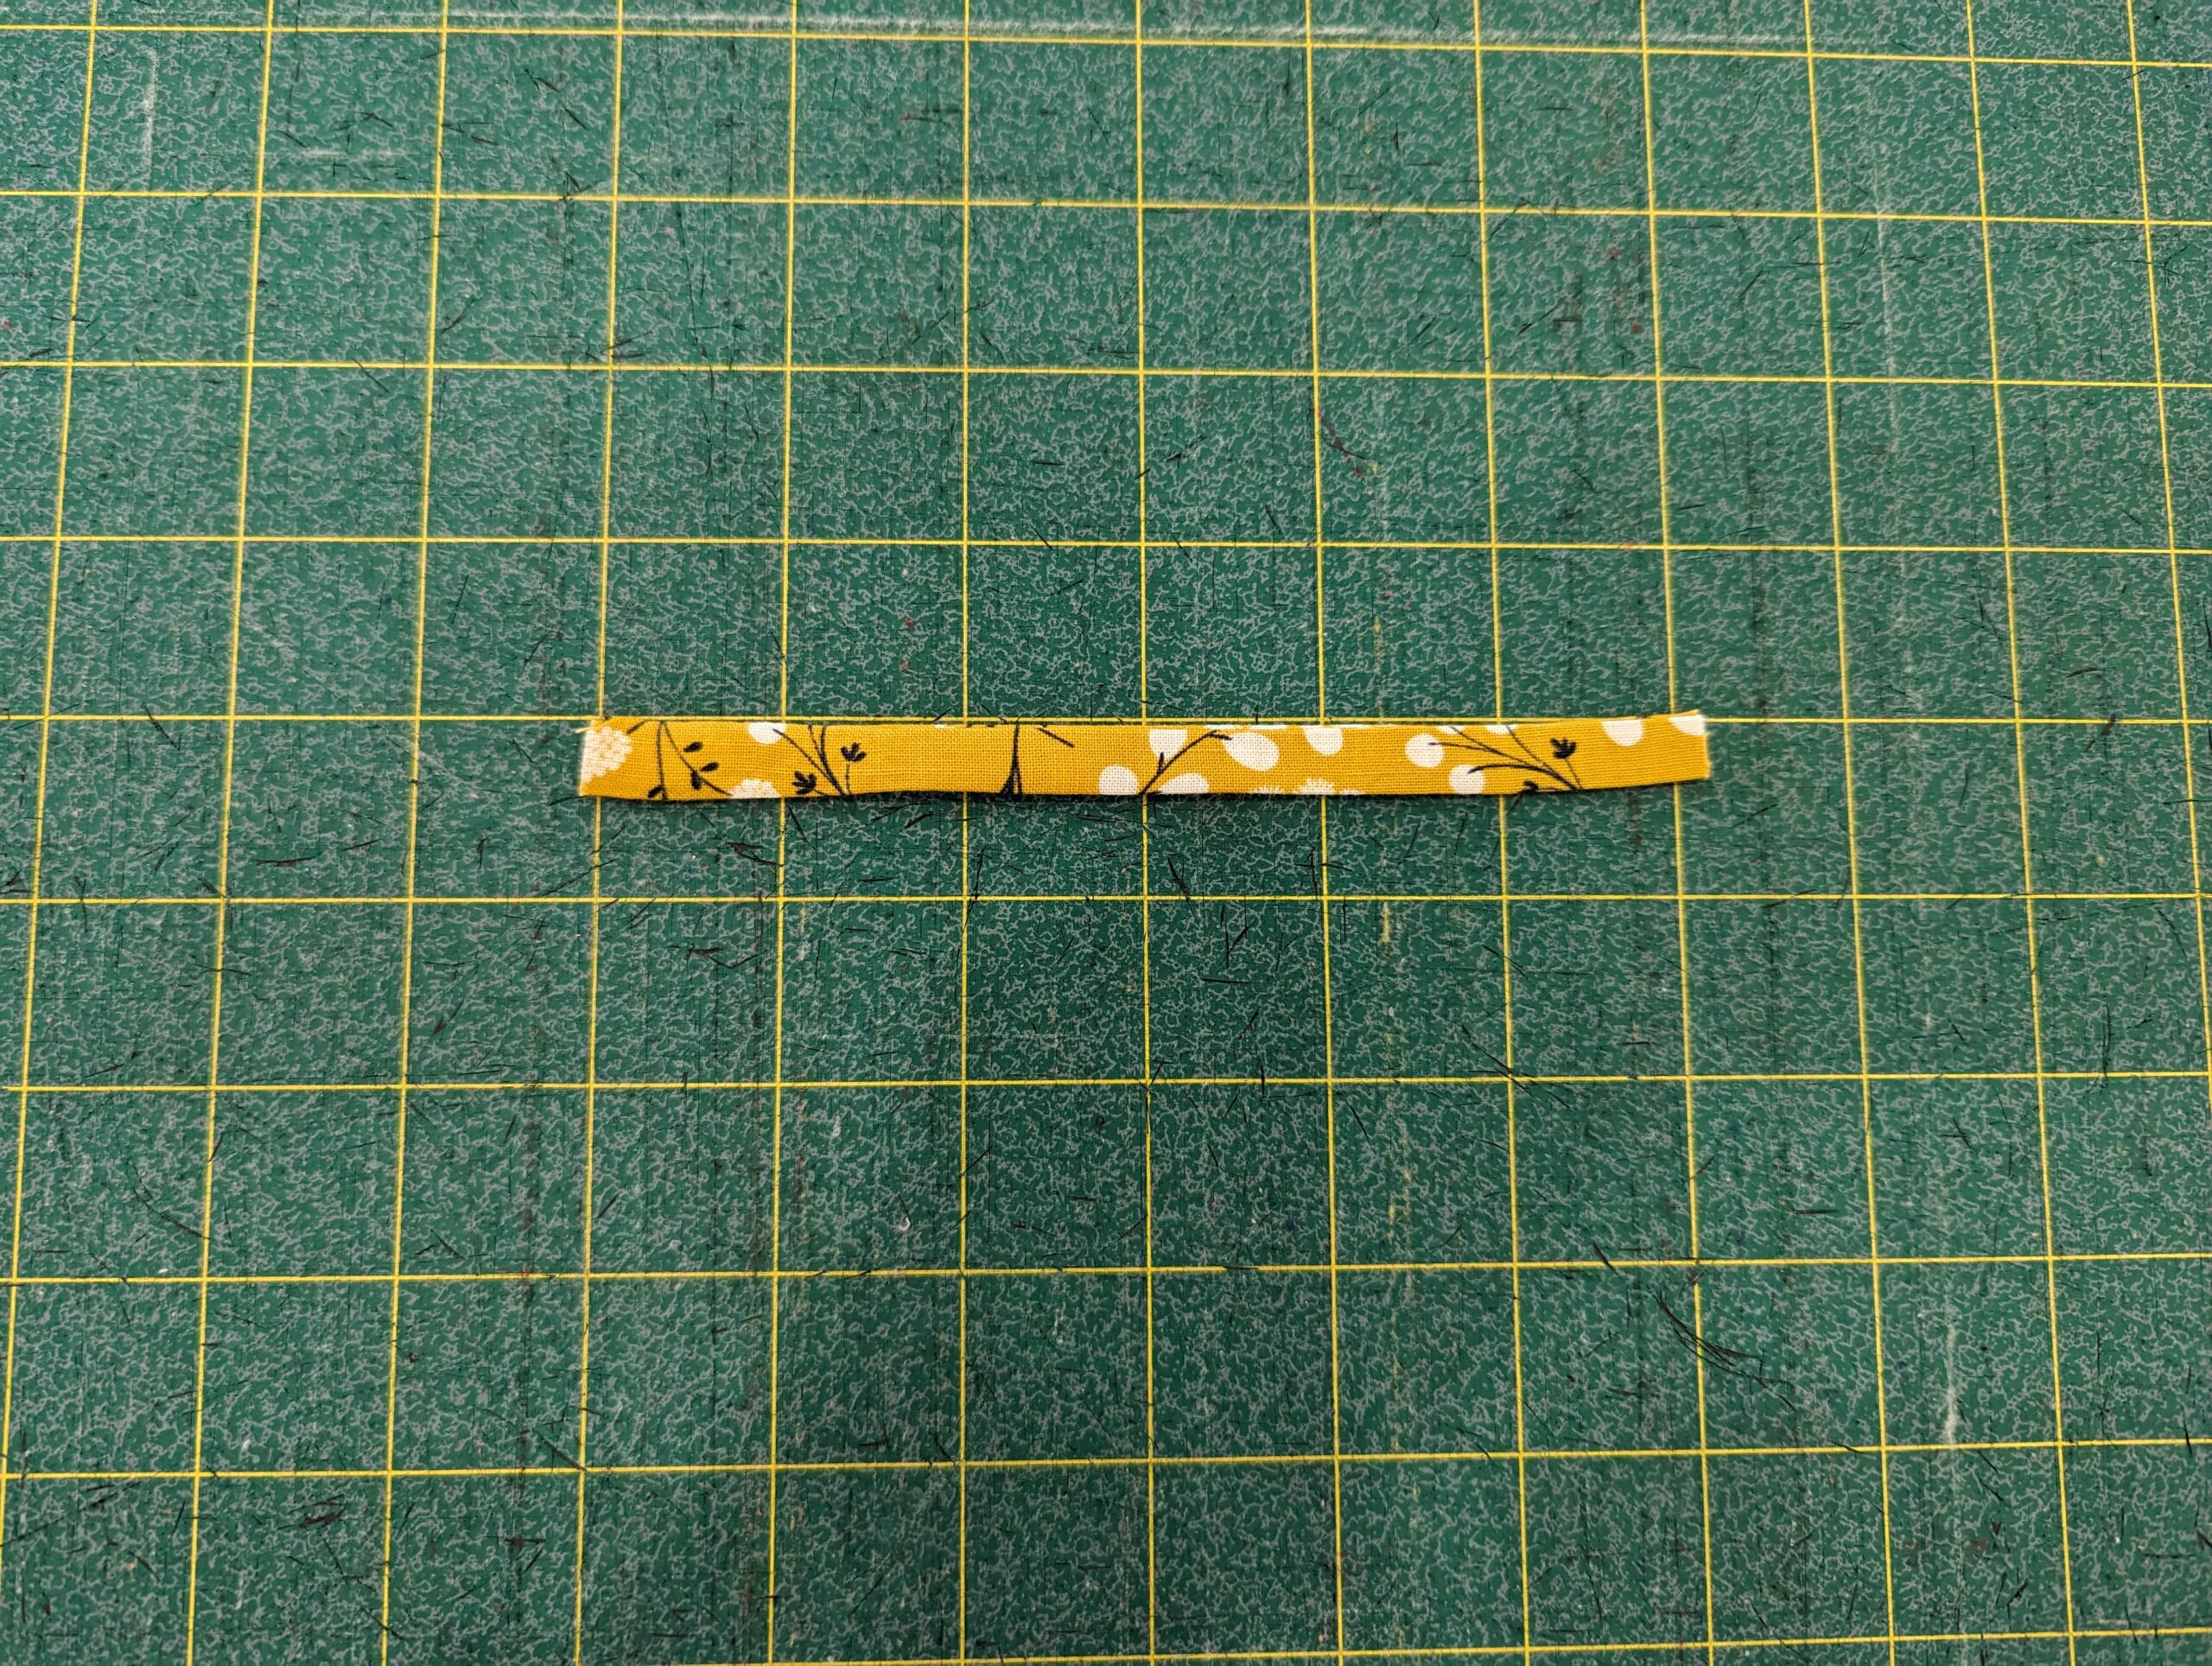
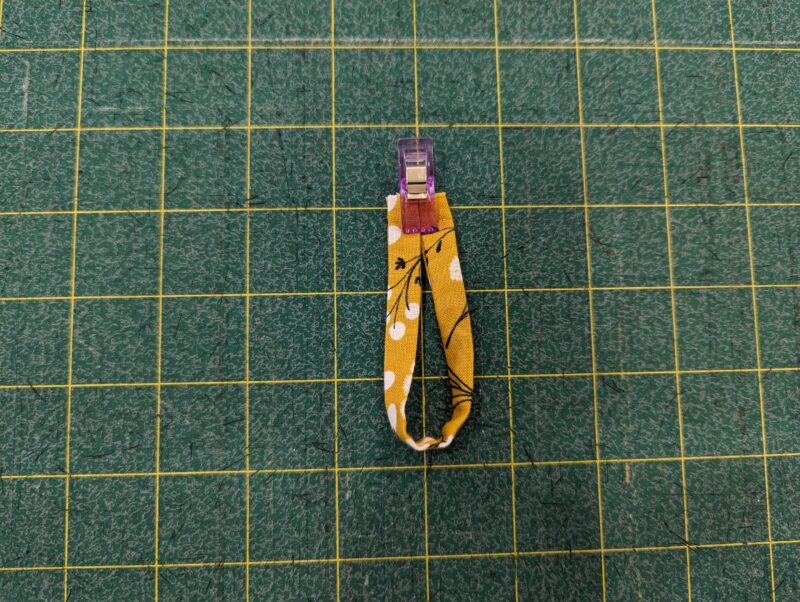
Press the center loop piece in half, right sides together. Stitch the long edge together with a 1/4″ seam. Press the right side out and then fold it in half. Set aside.
Step 5: WAISTBAND TIES
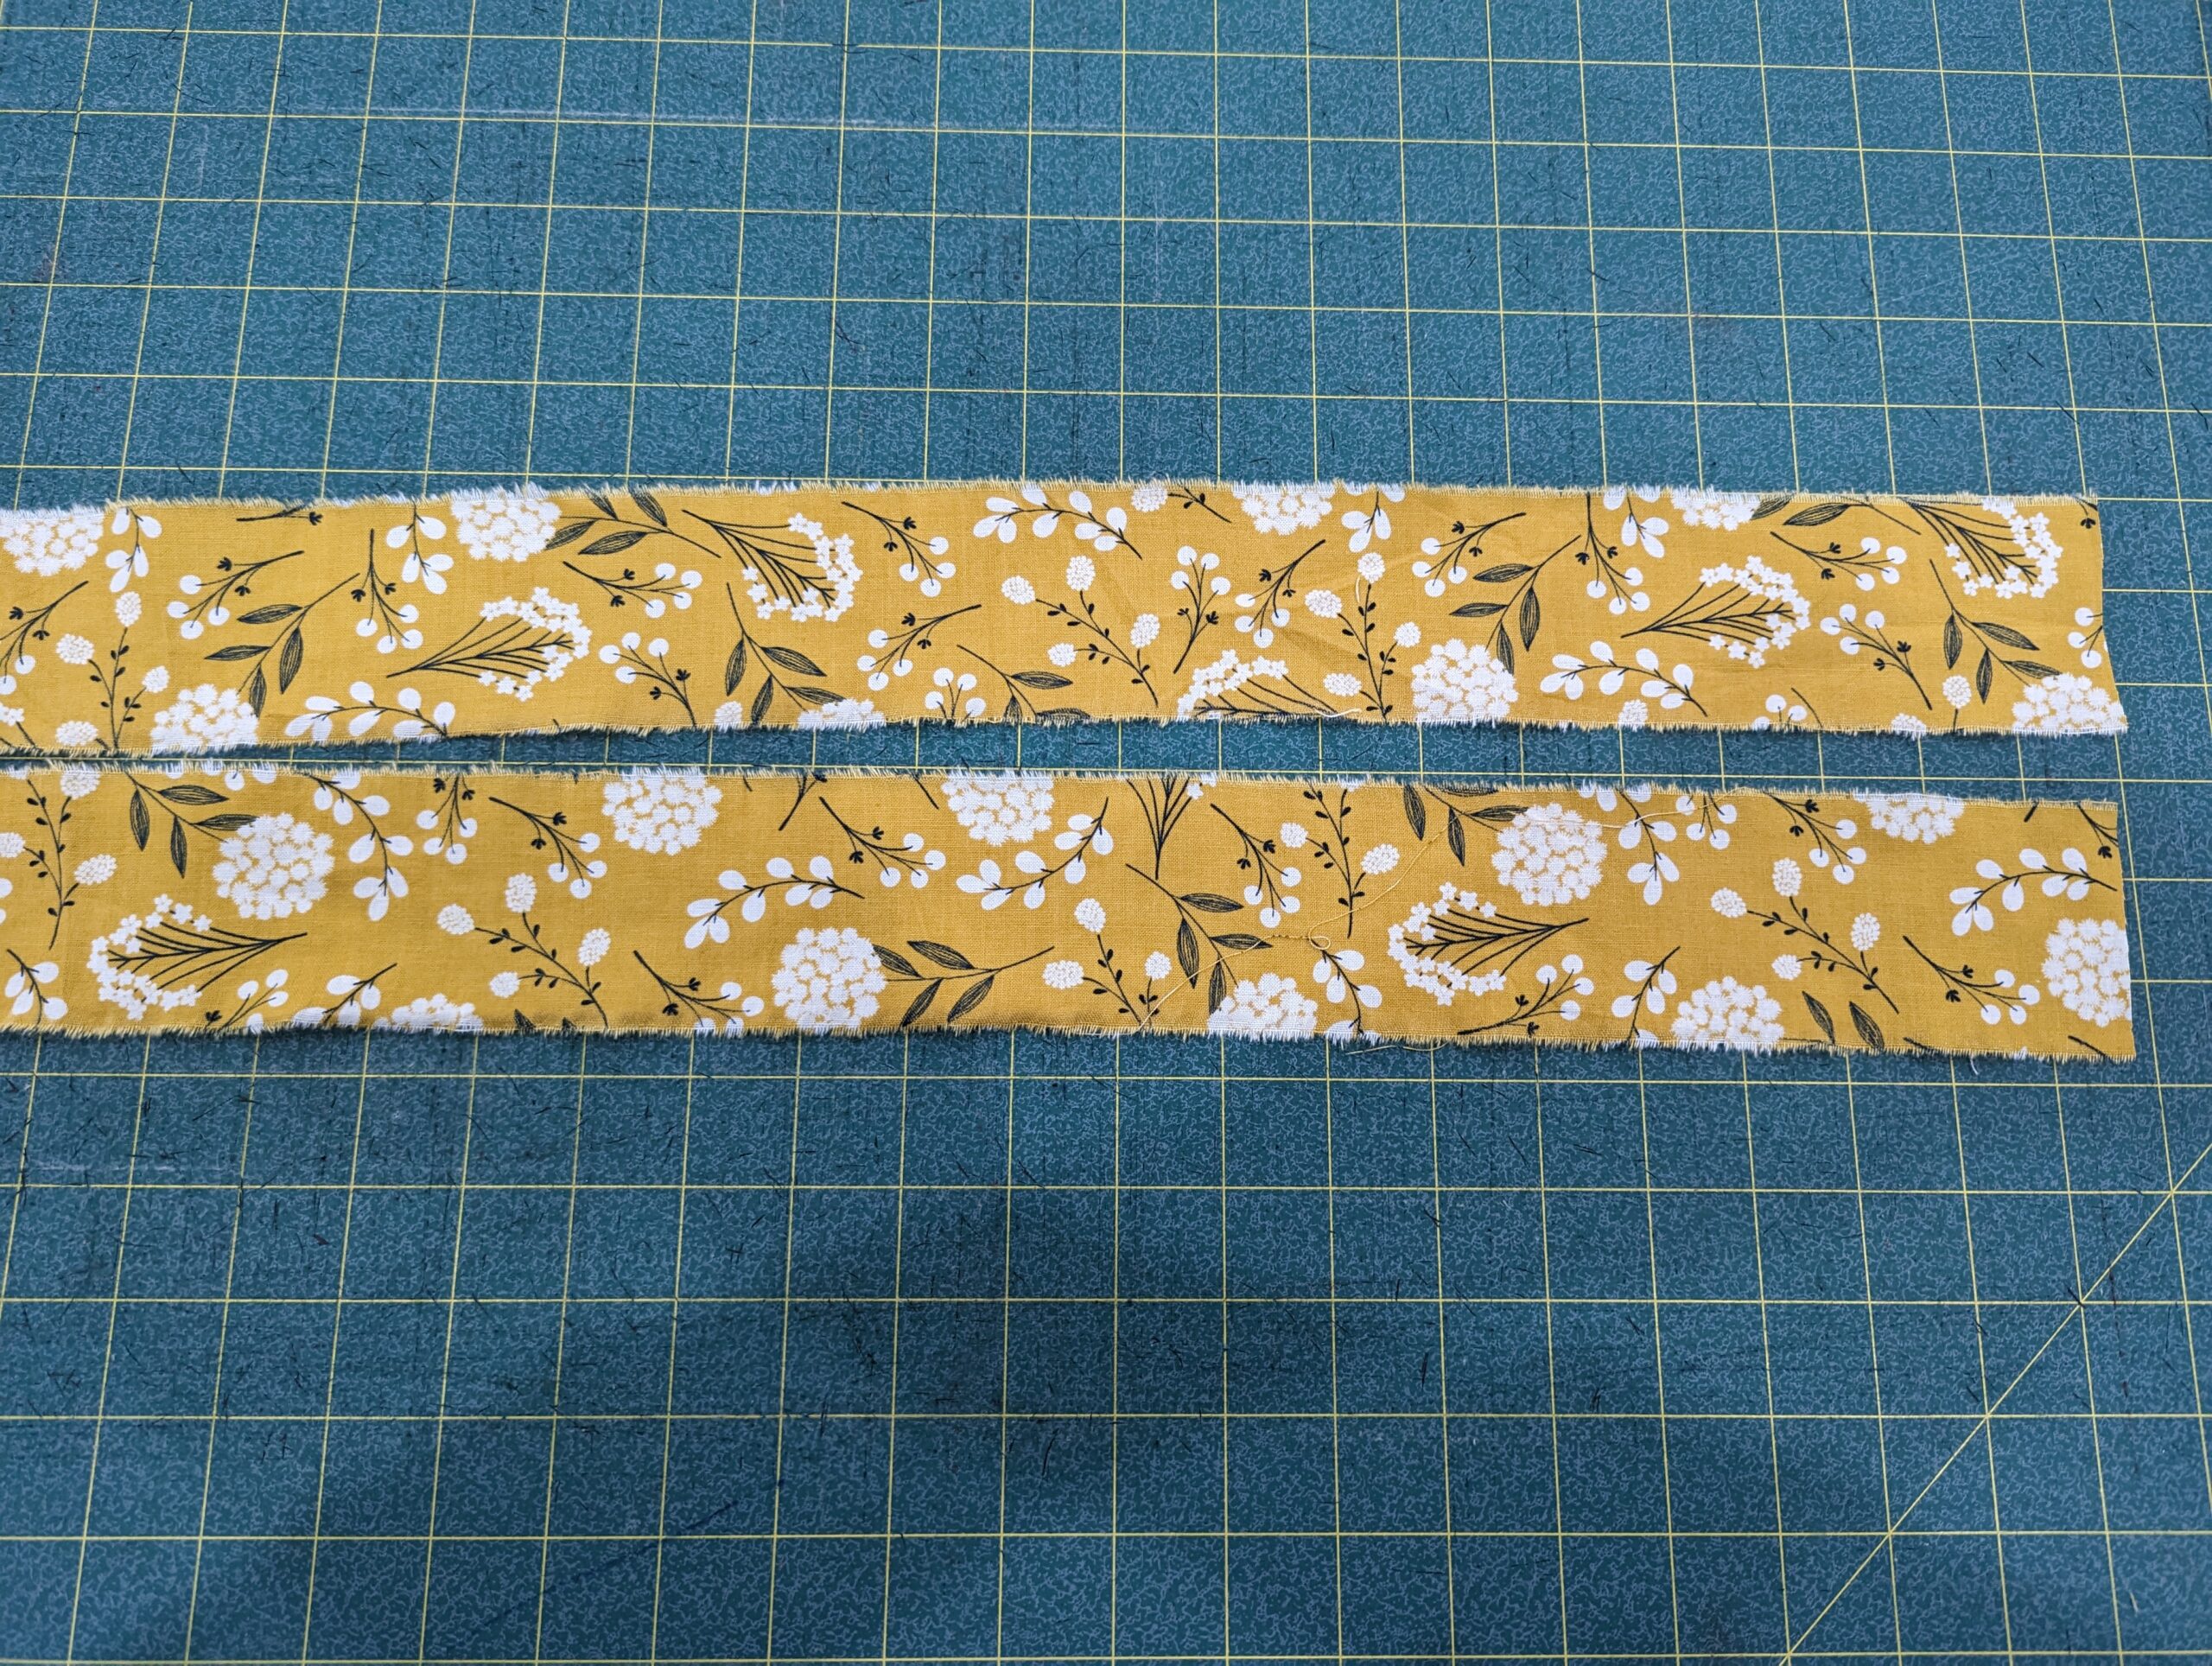
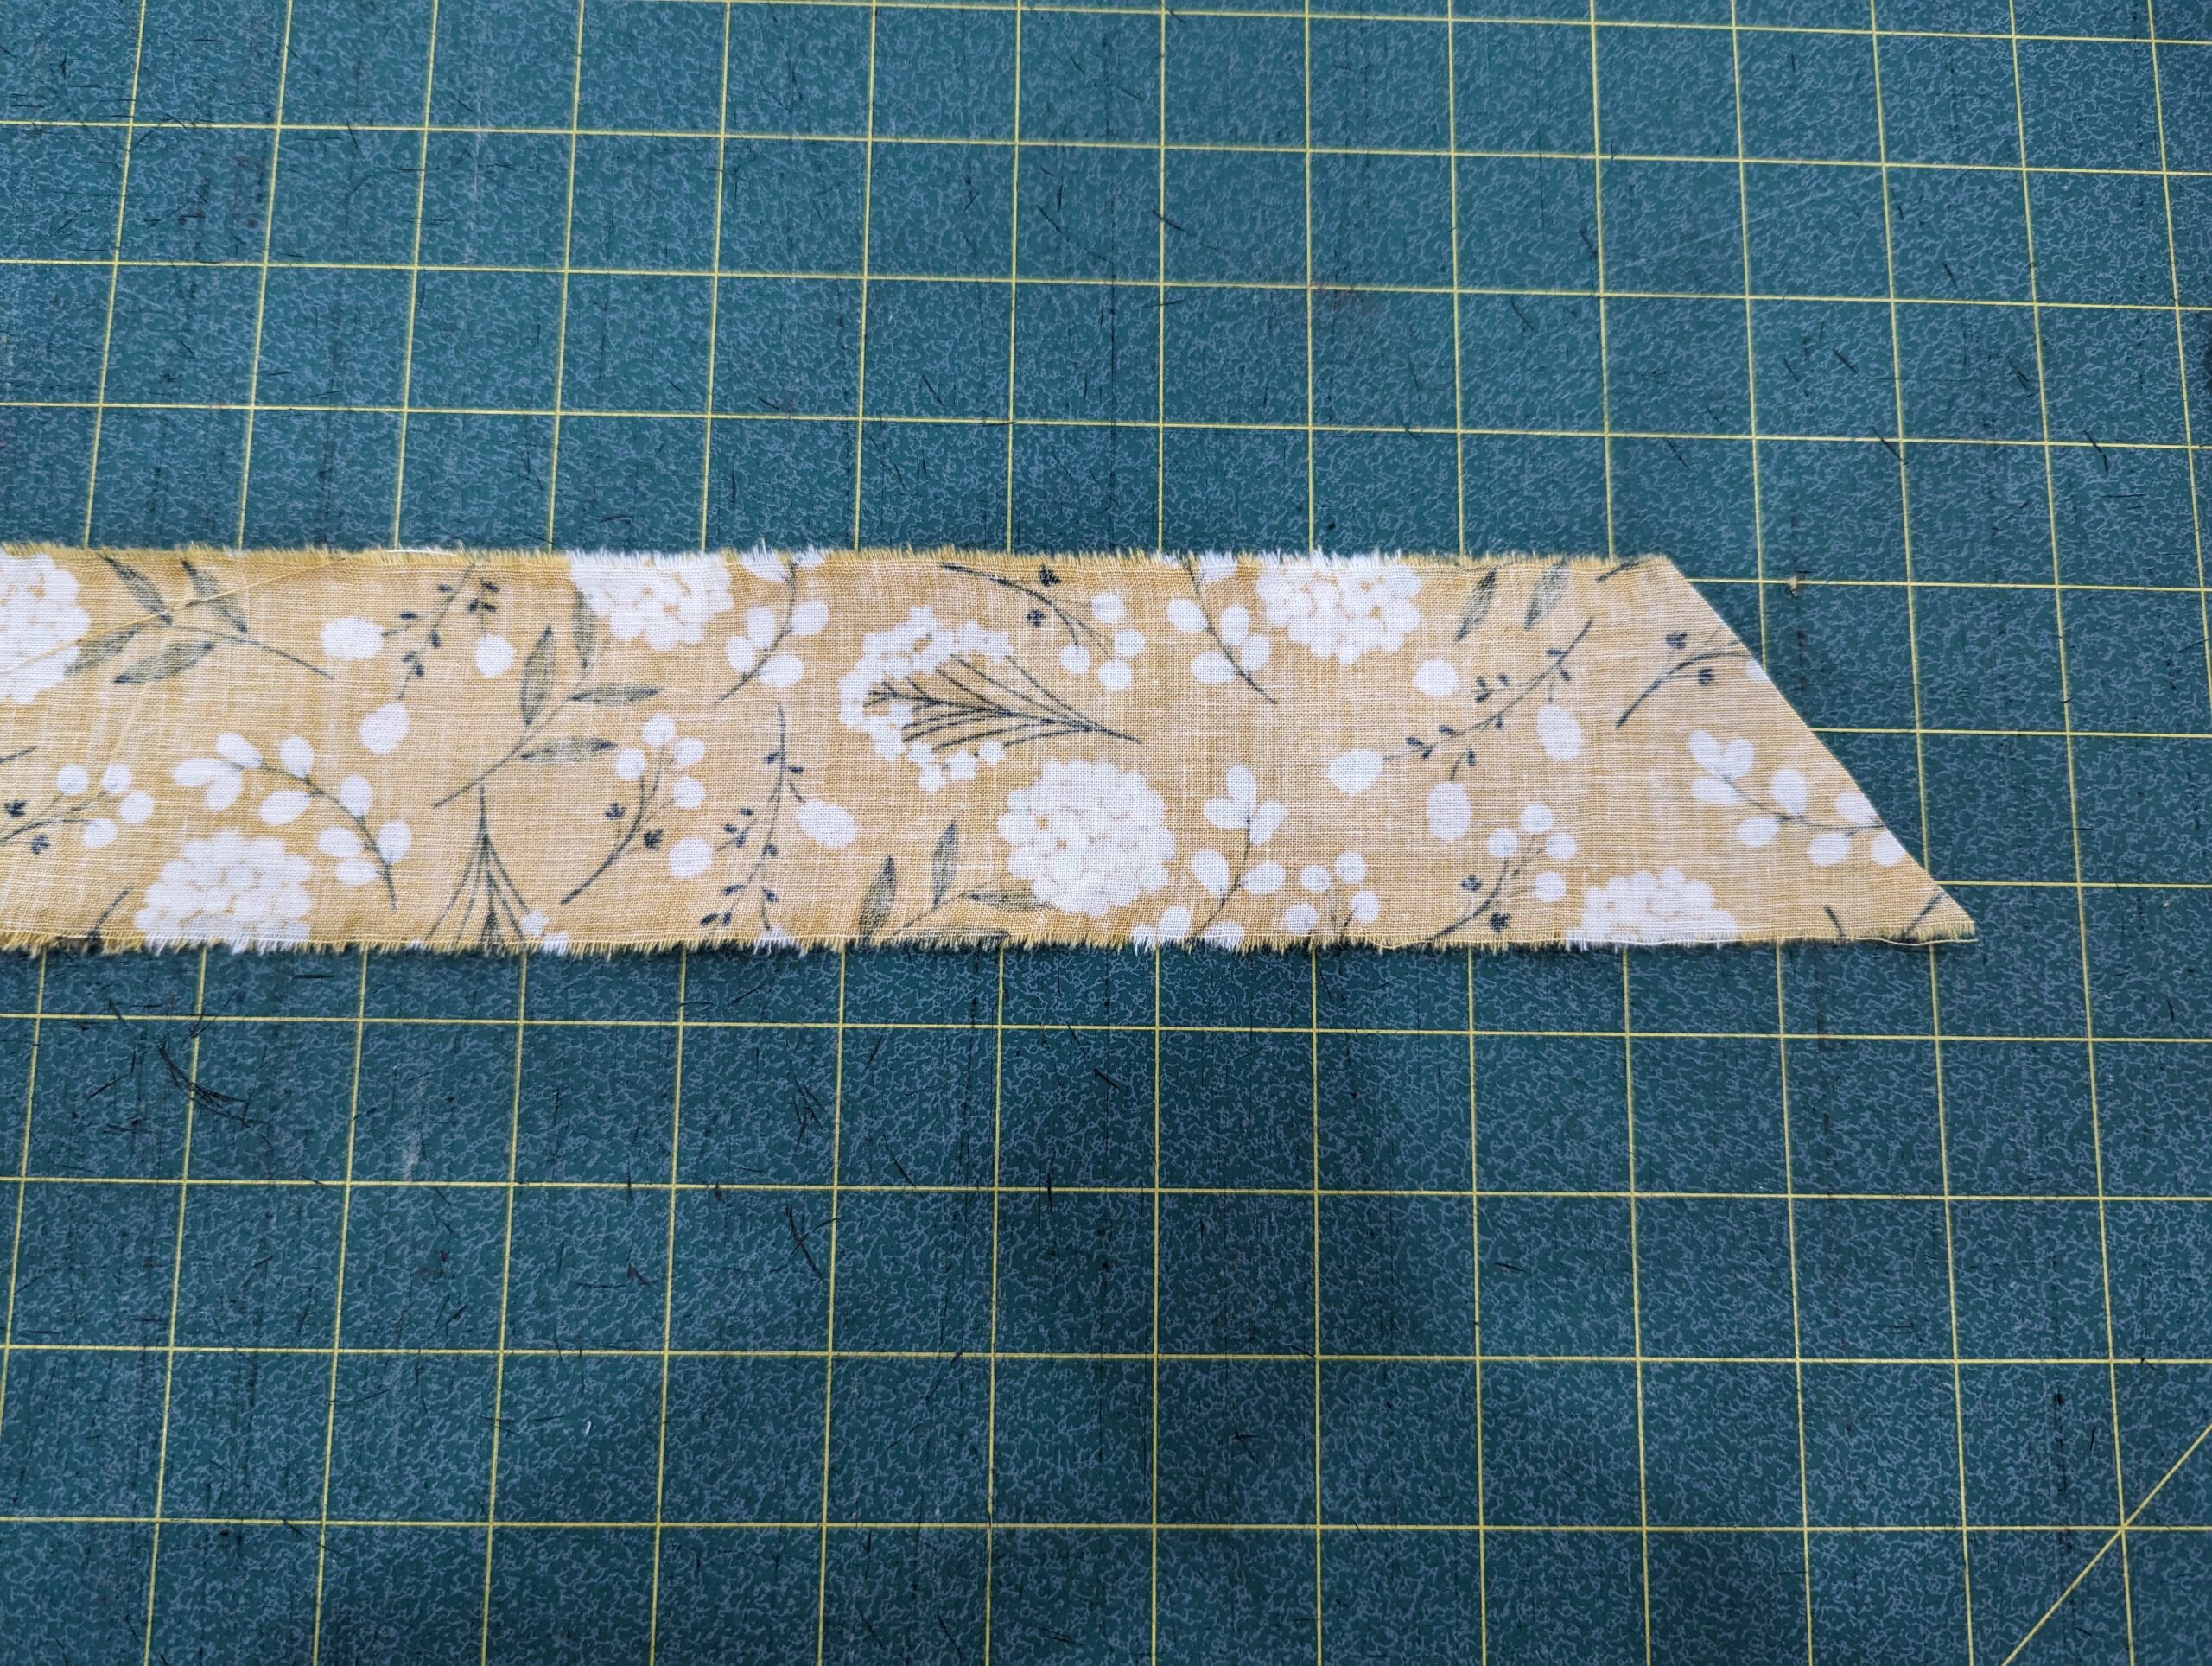
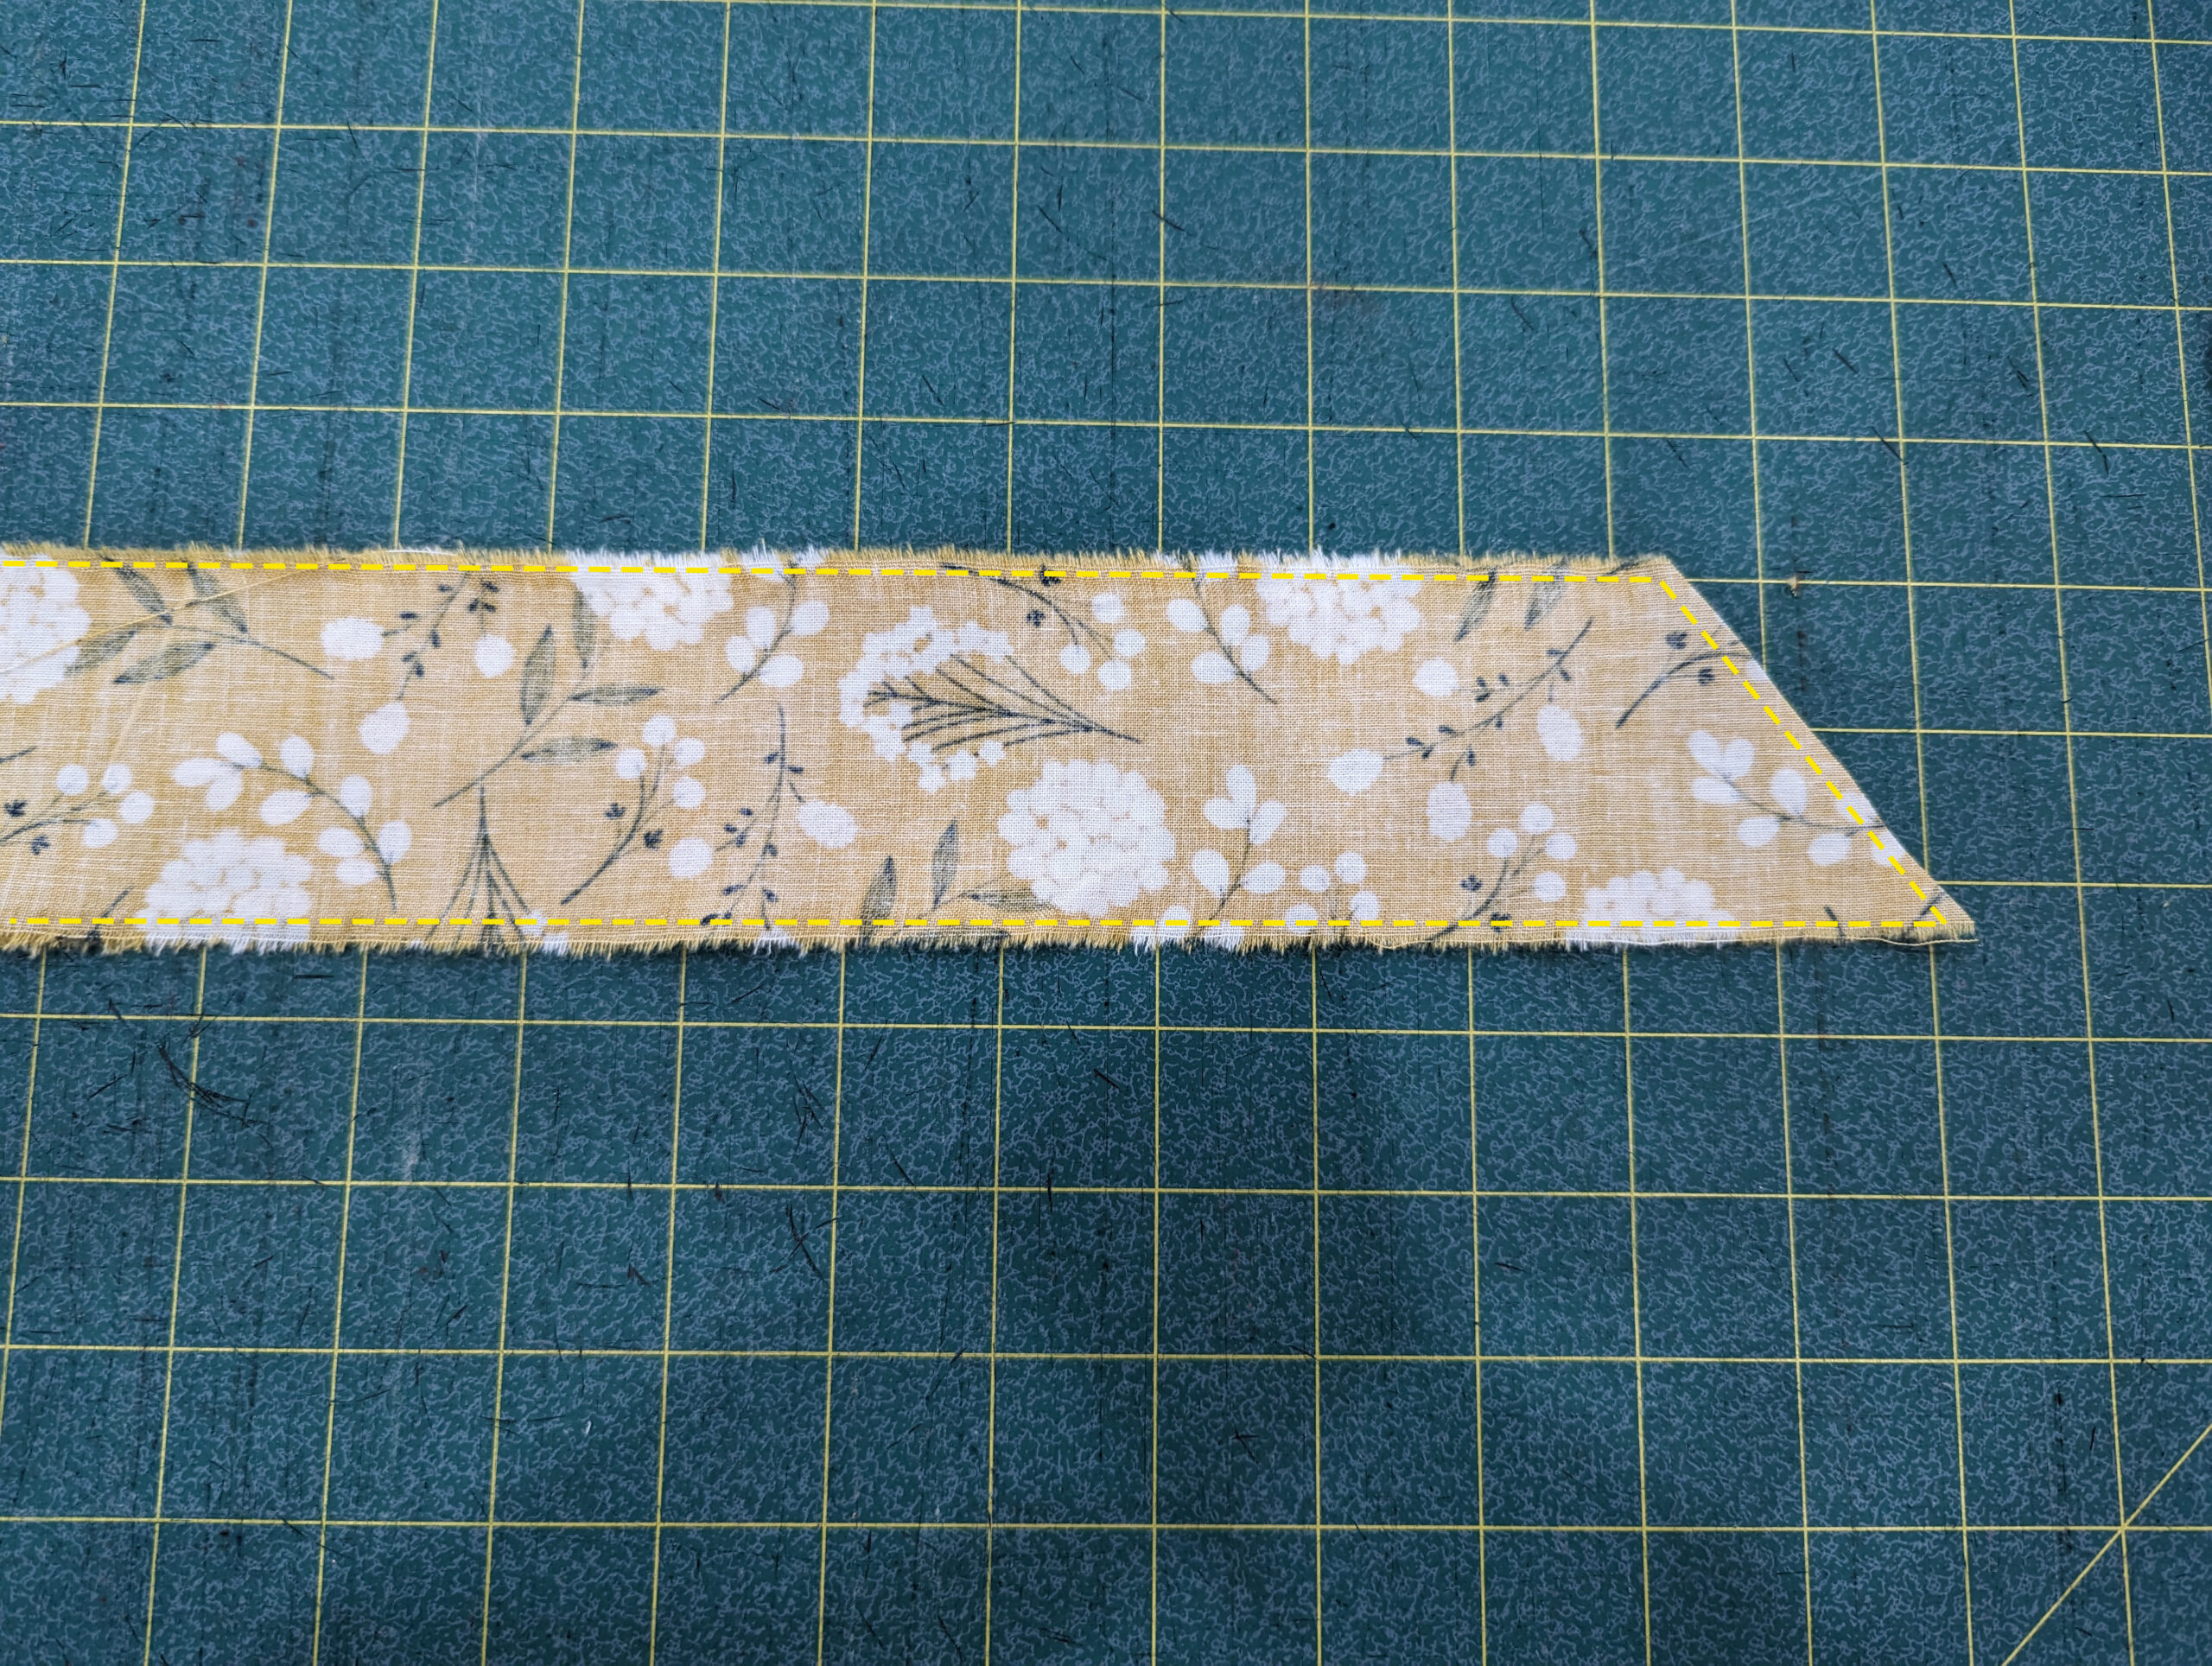
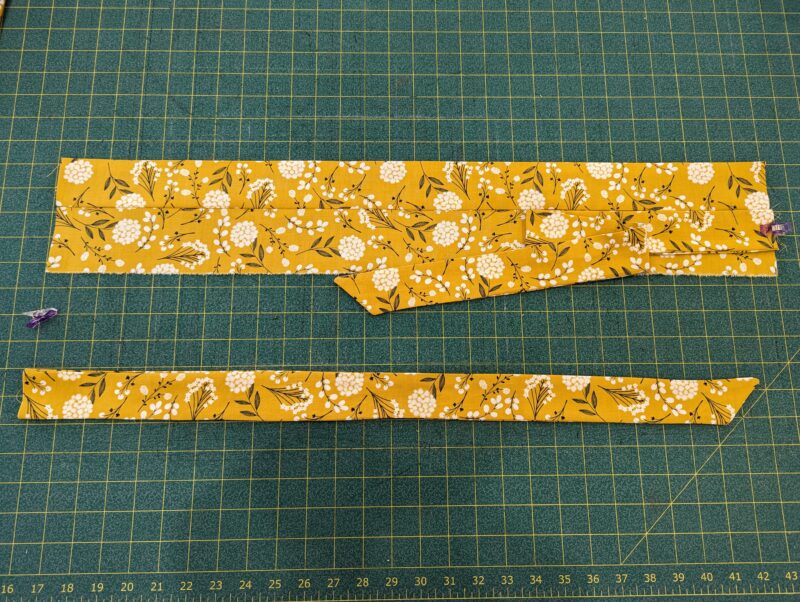
Place 2 waistband ties with the right sides together. Optionally, cut one short end in a diagonal.
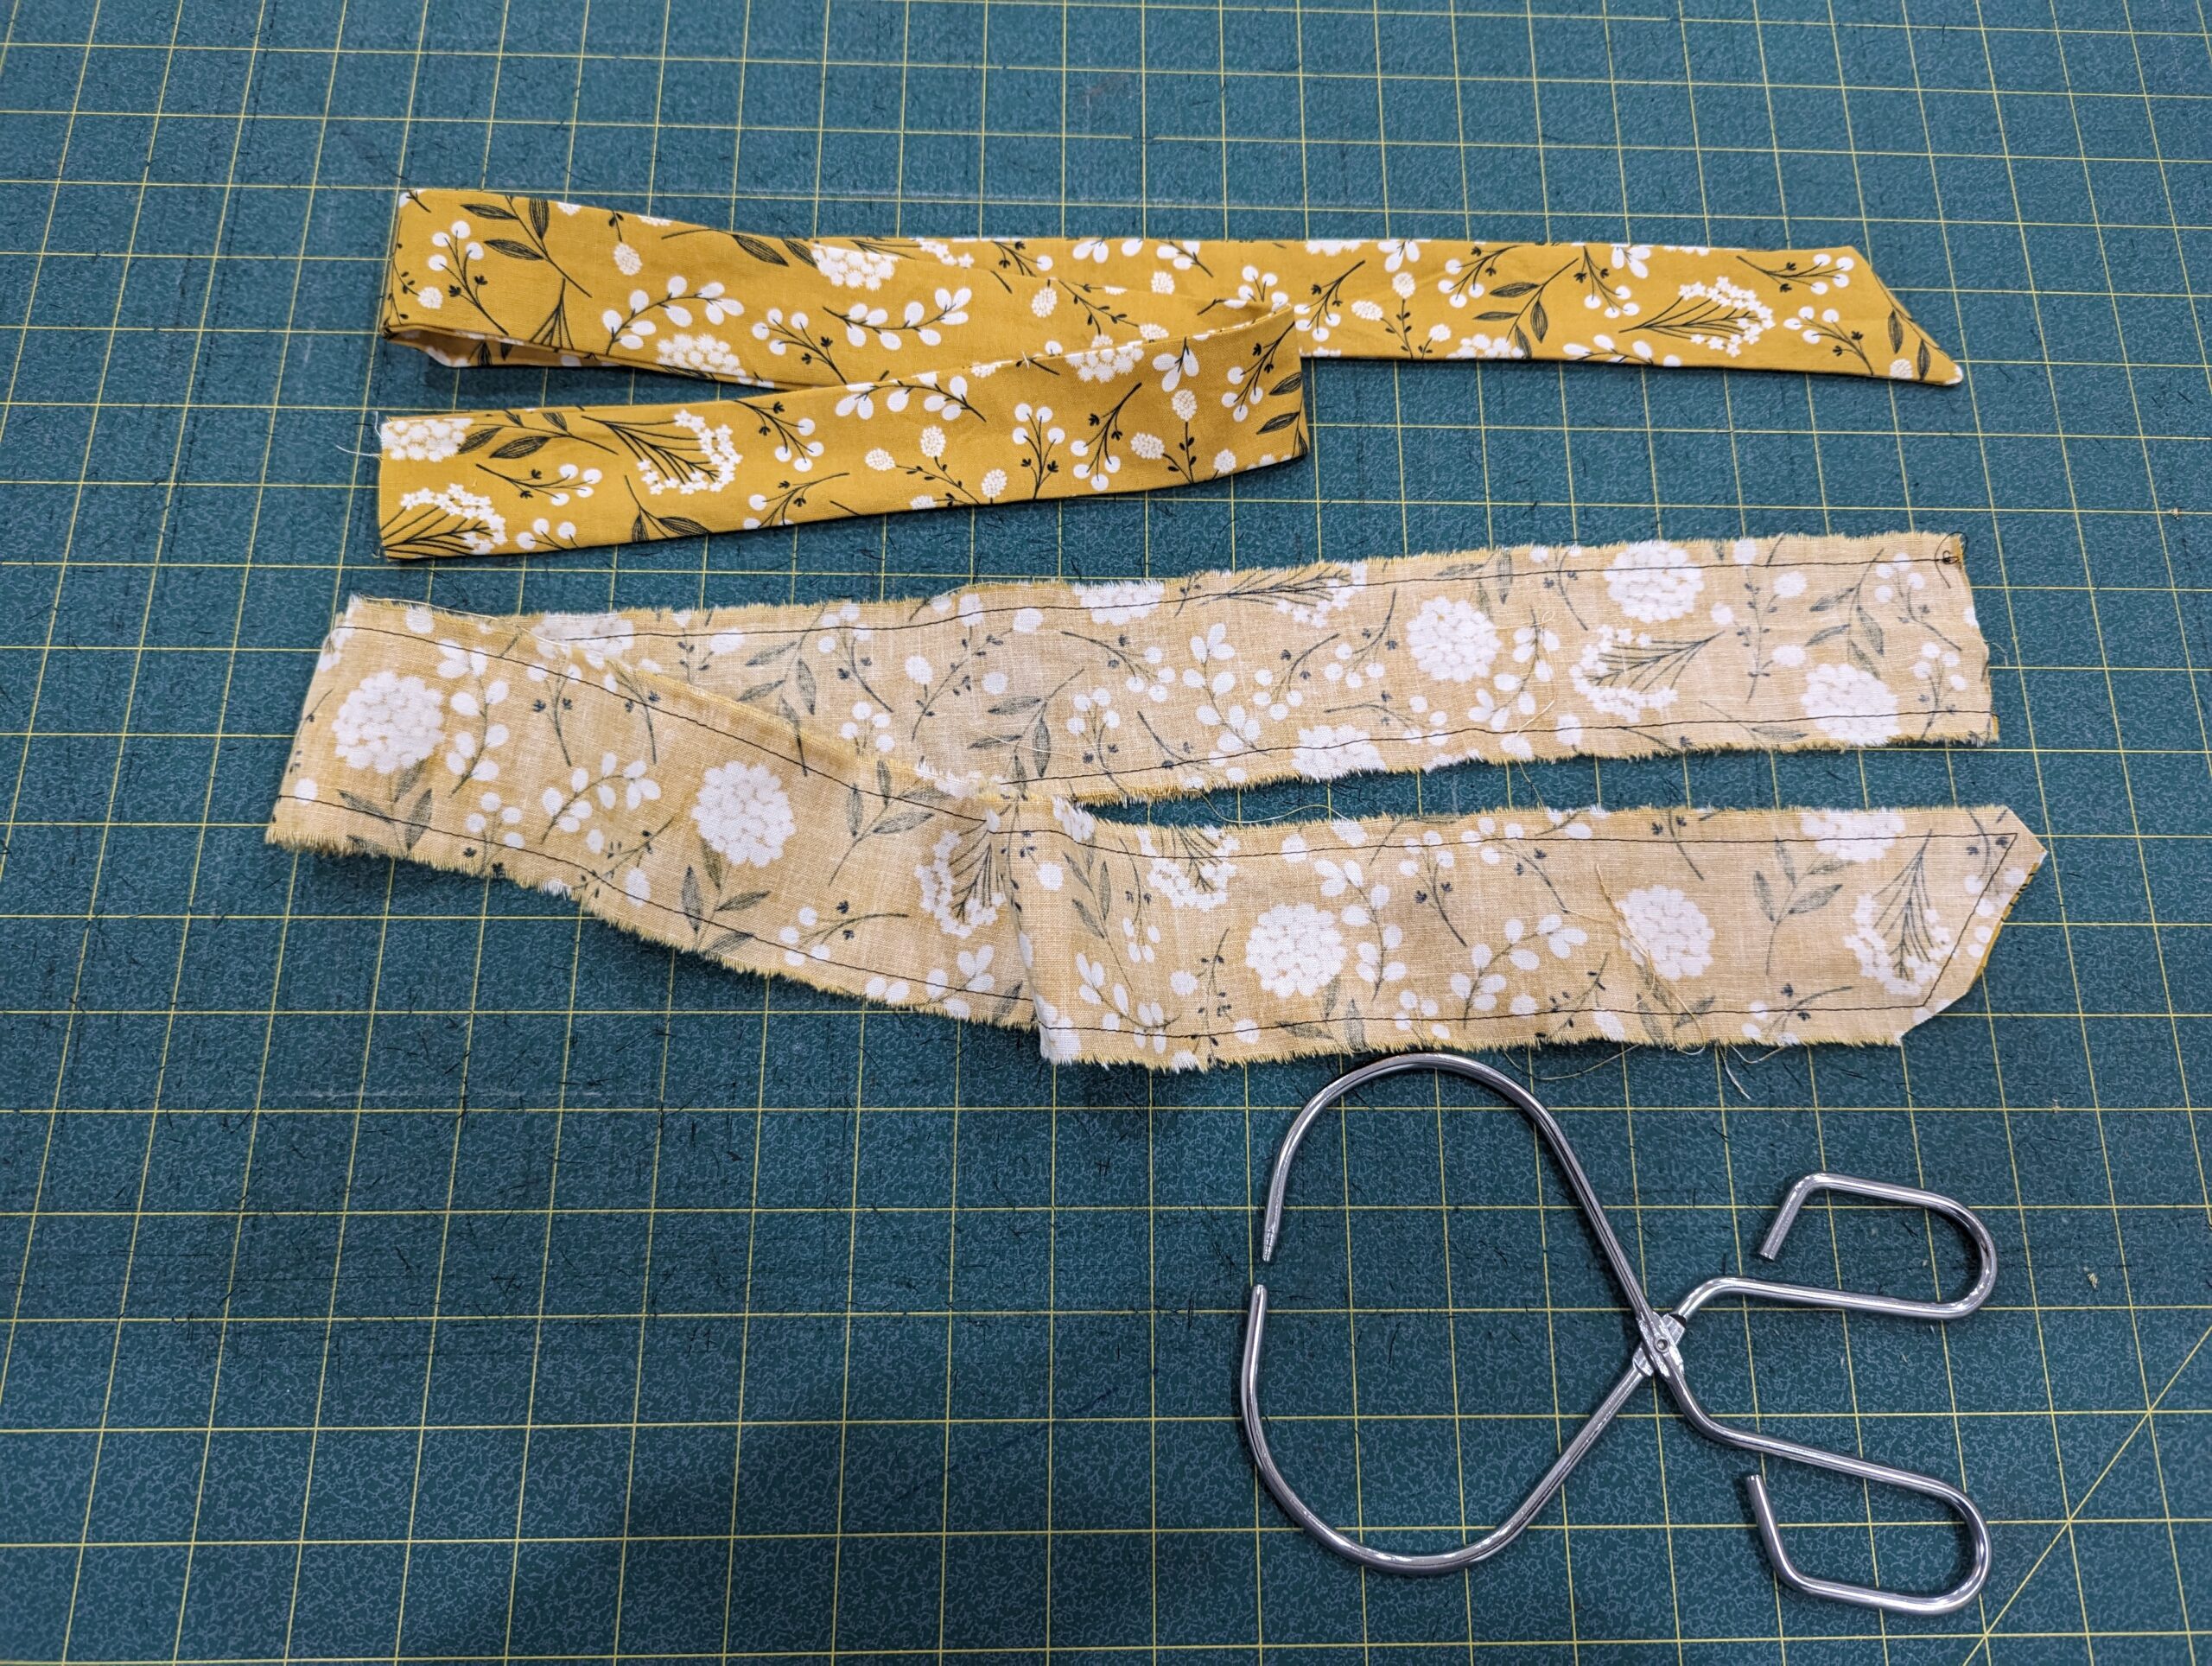
Stitch the two pieces together with a 1/4″ seam along the long sides and diagonal end. Clip corners and then press the right sides out. Optionally, topstitch along all sides. Repeat with other waistband tie pieces.
Step 6: WAISTBAND
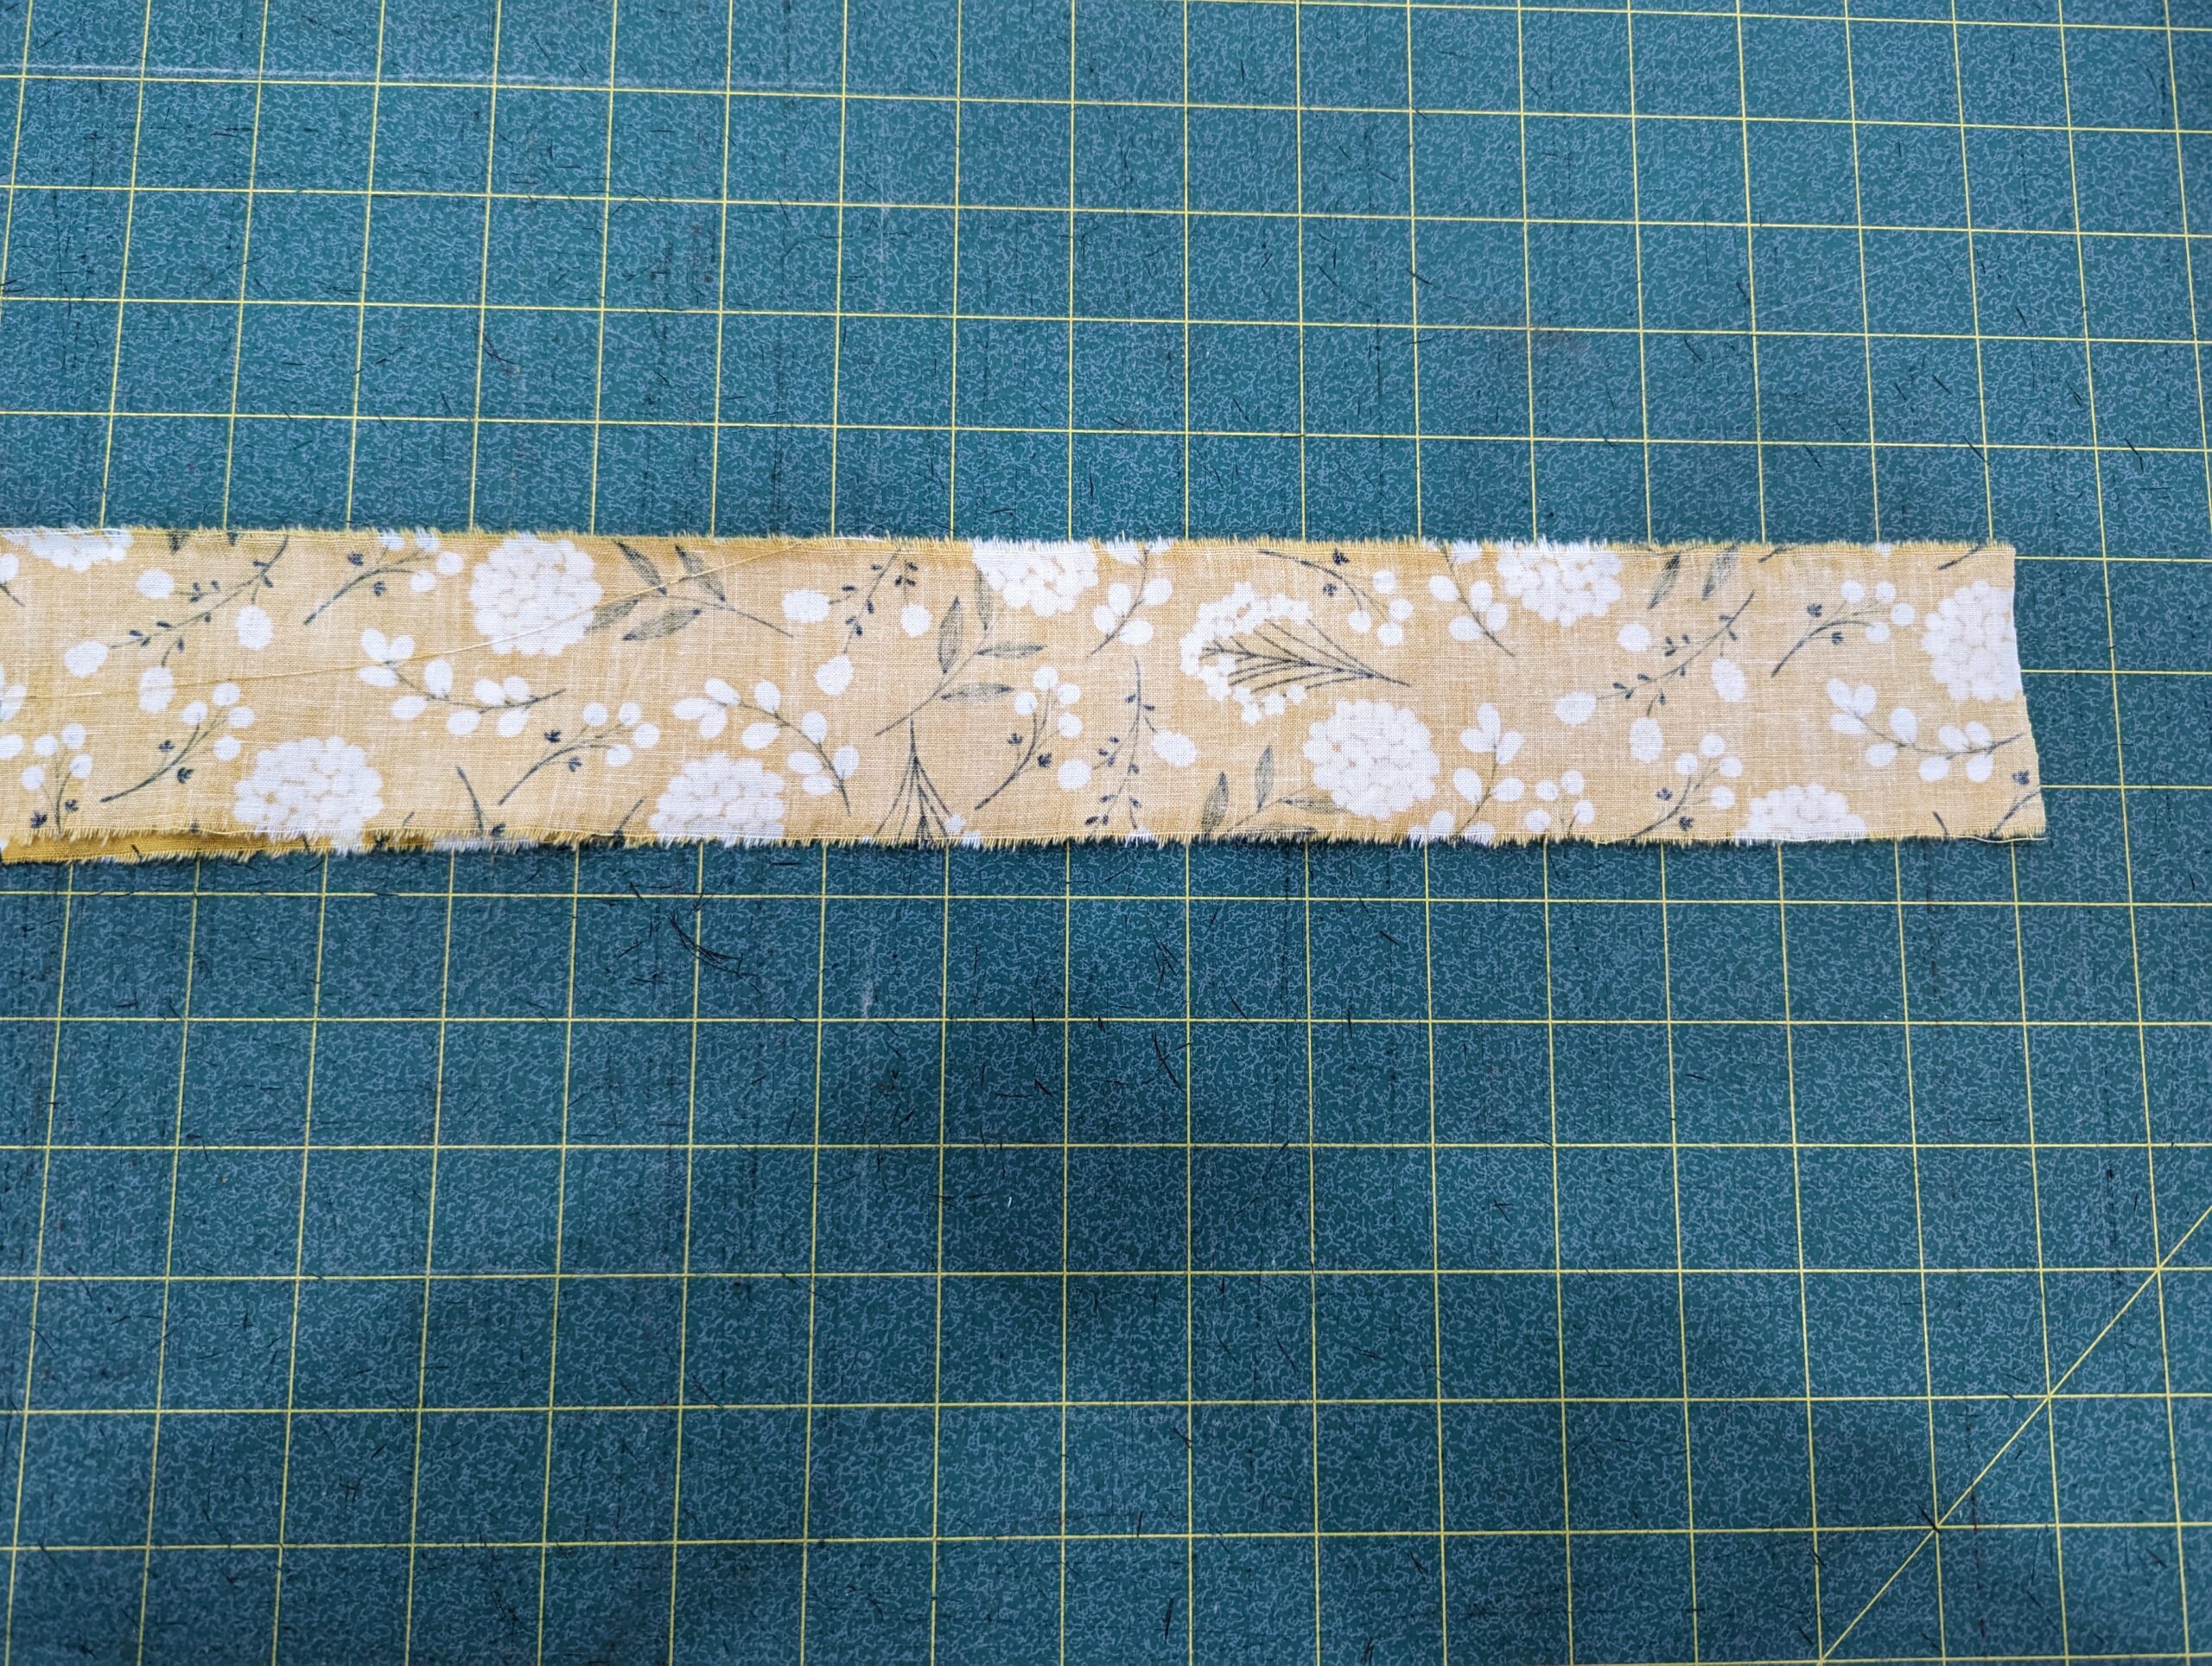
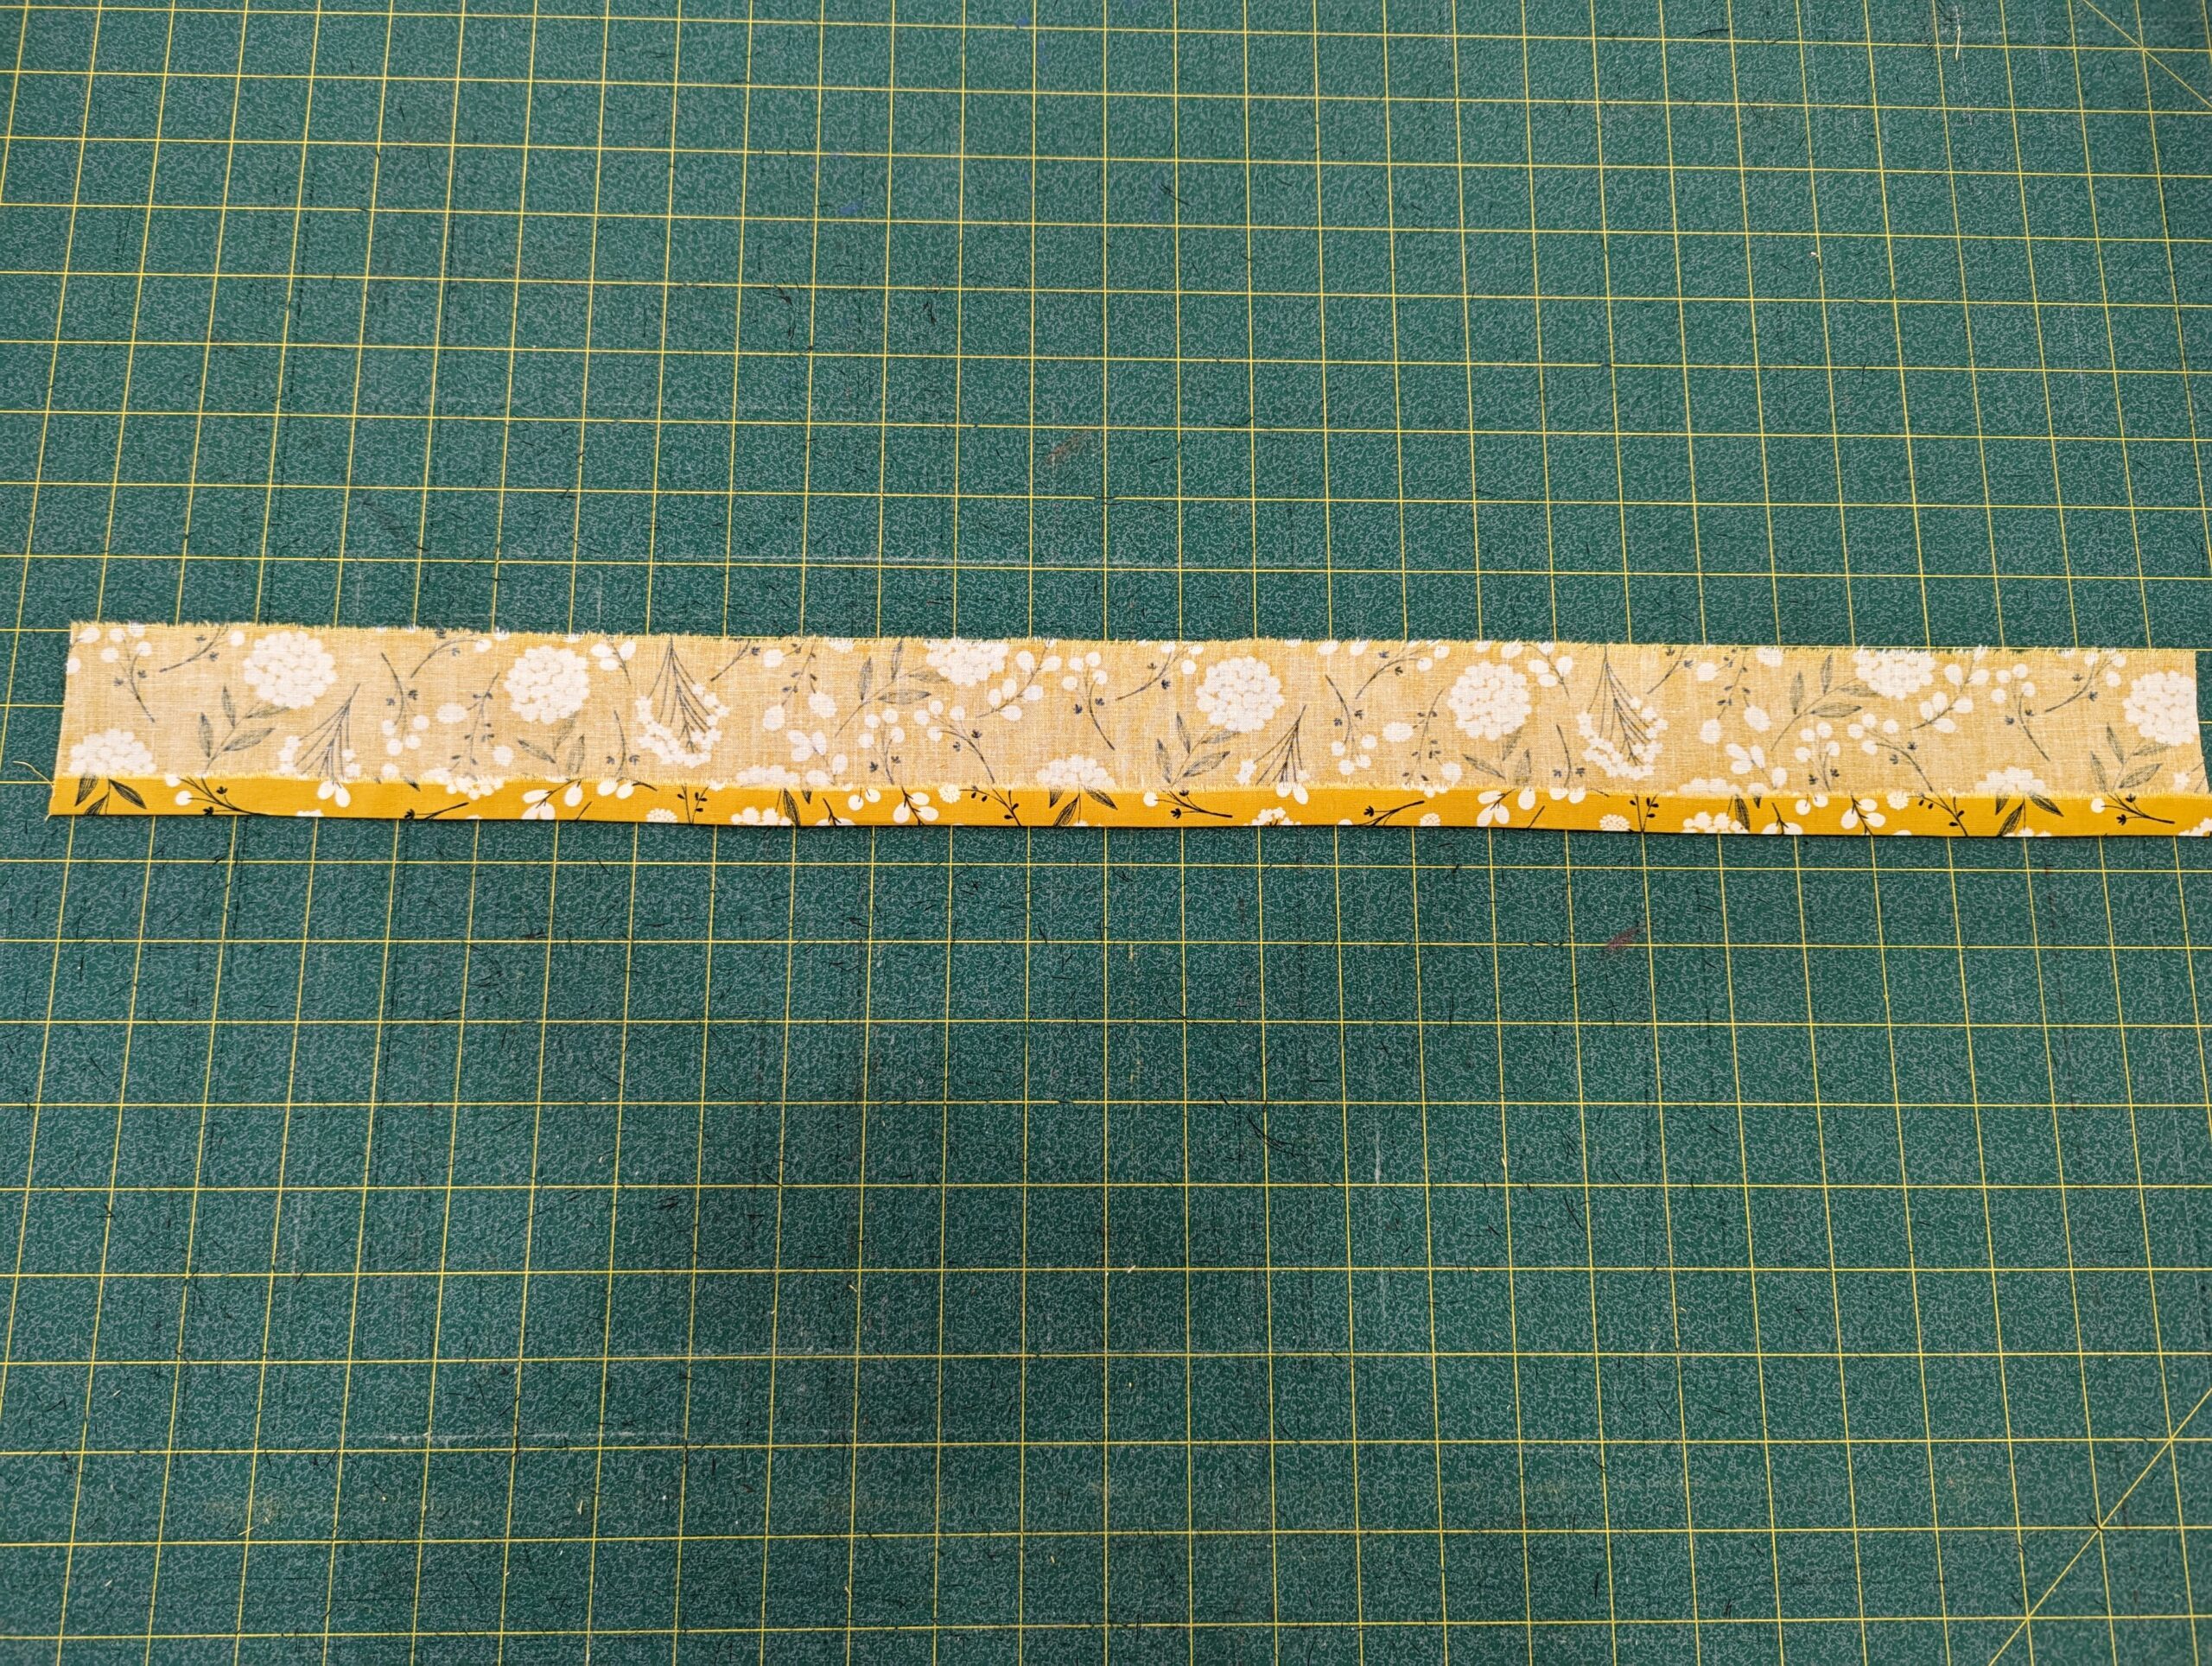
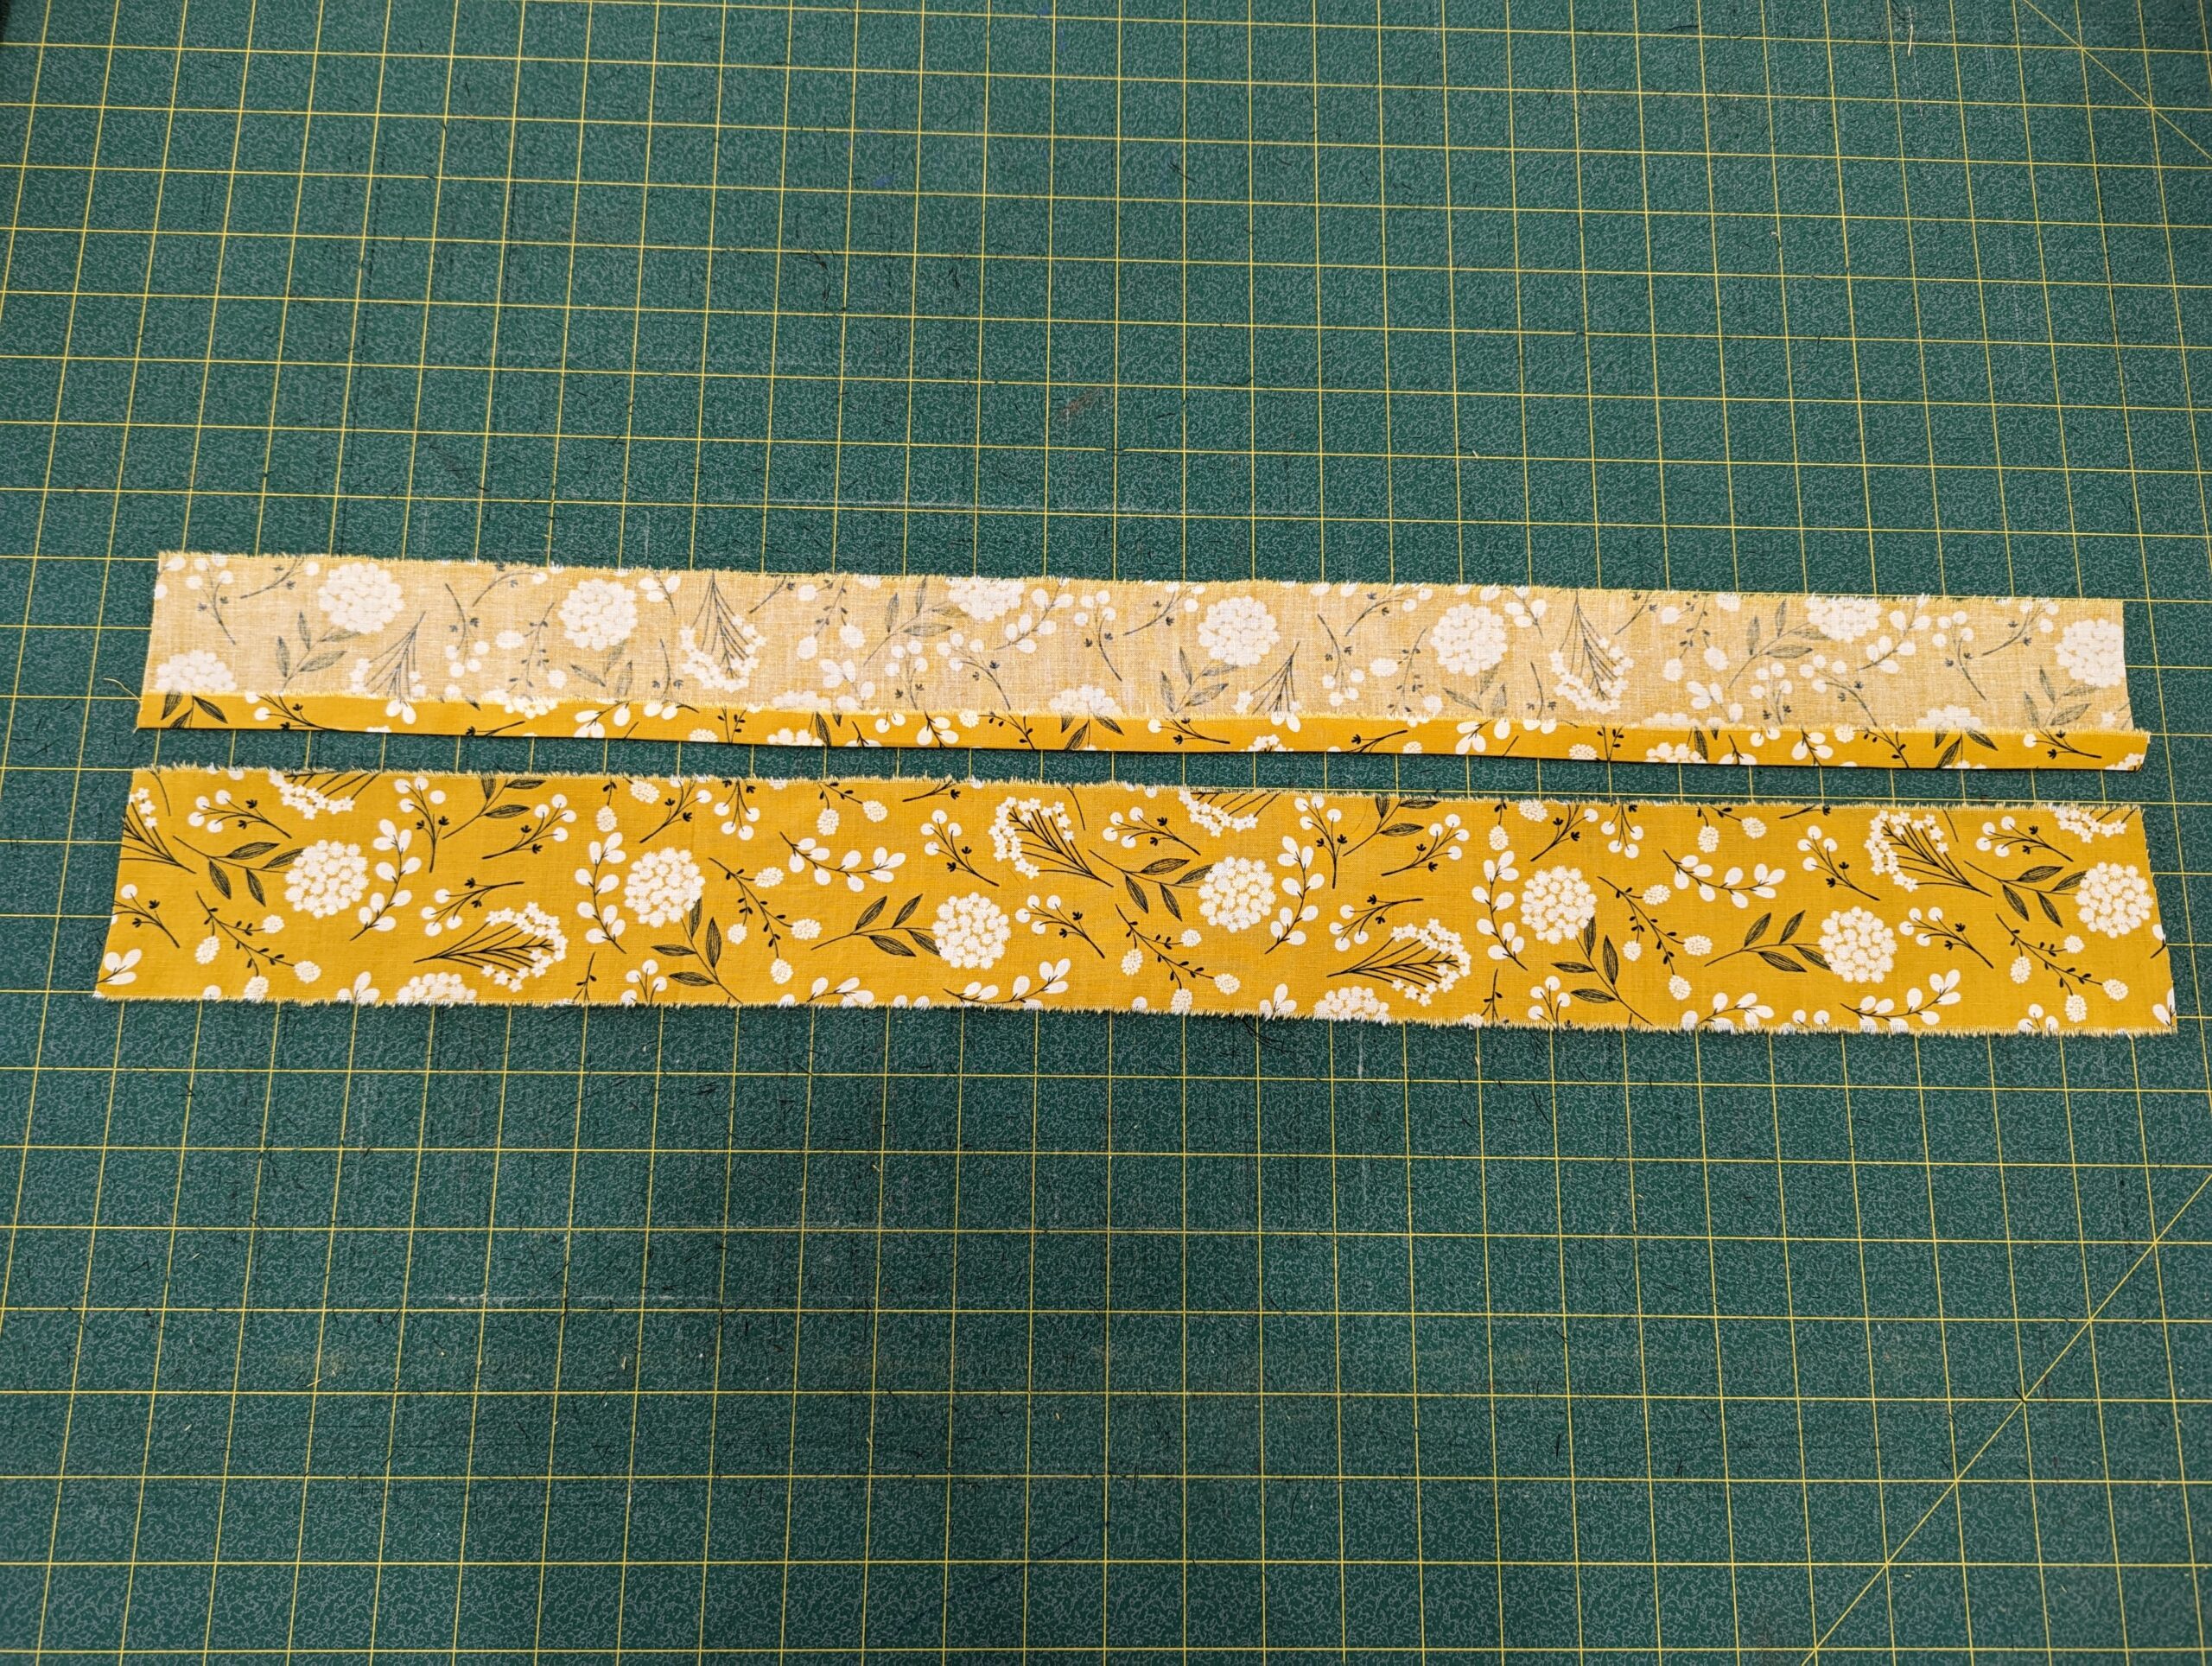
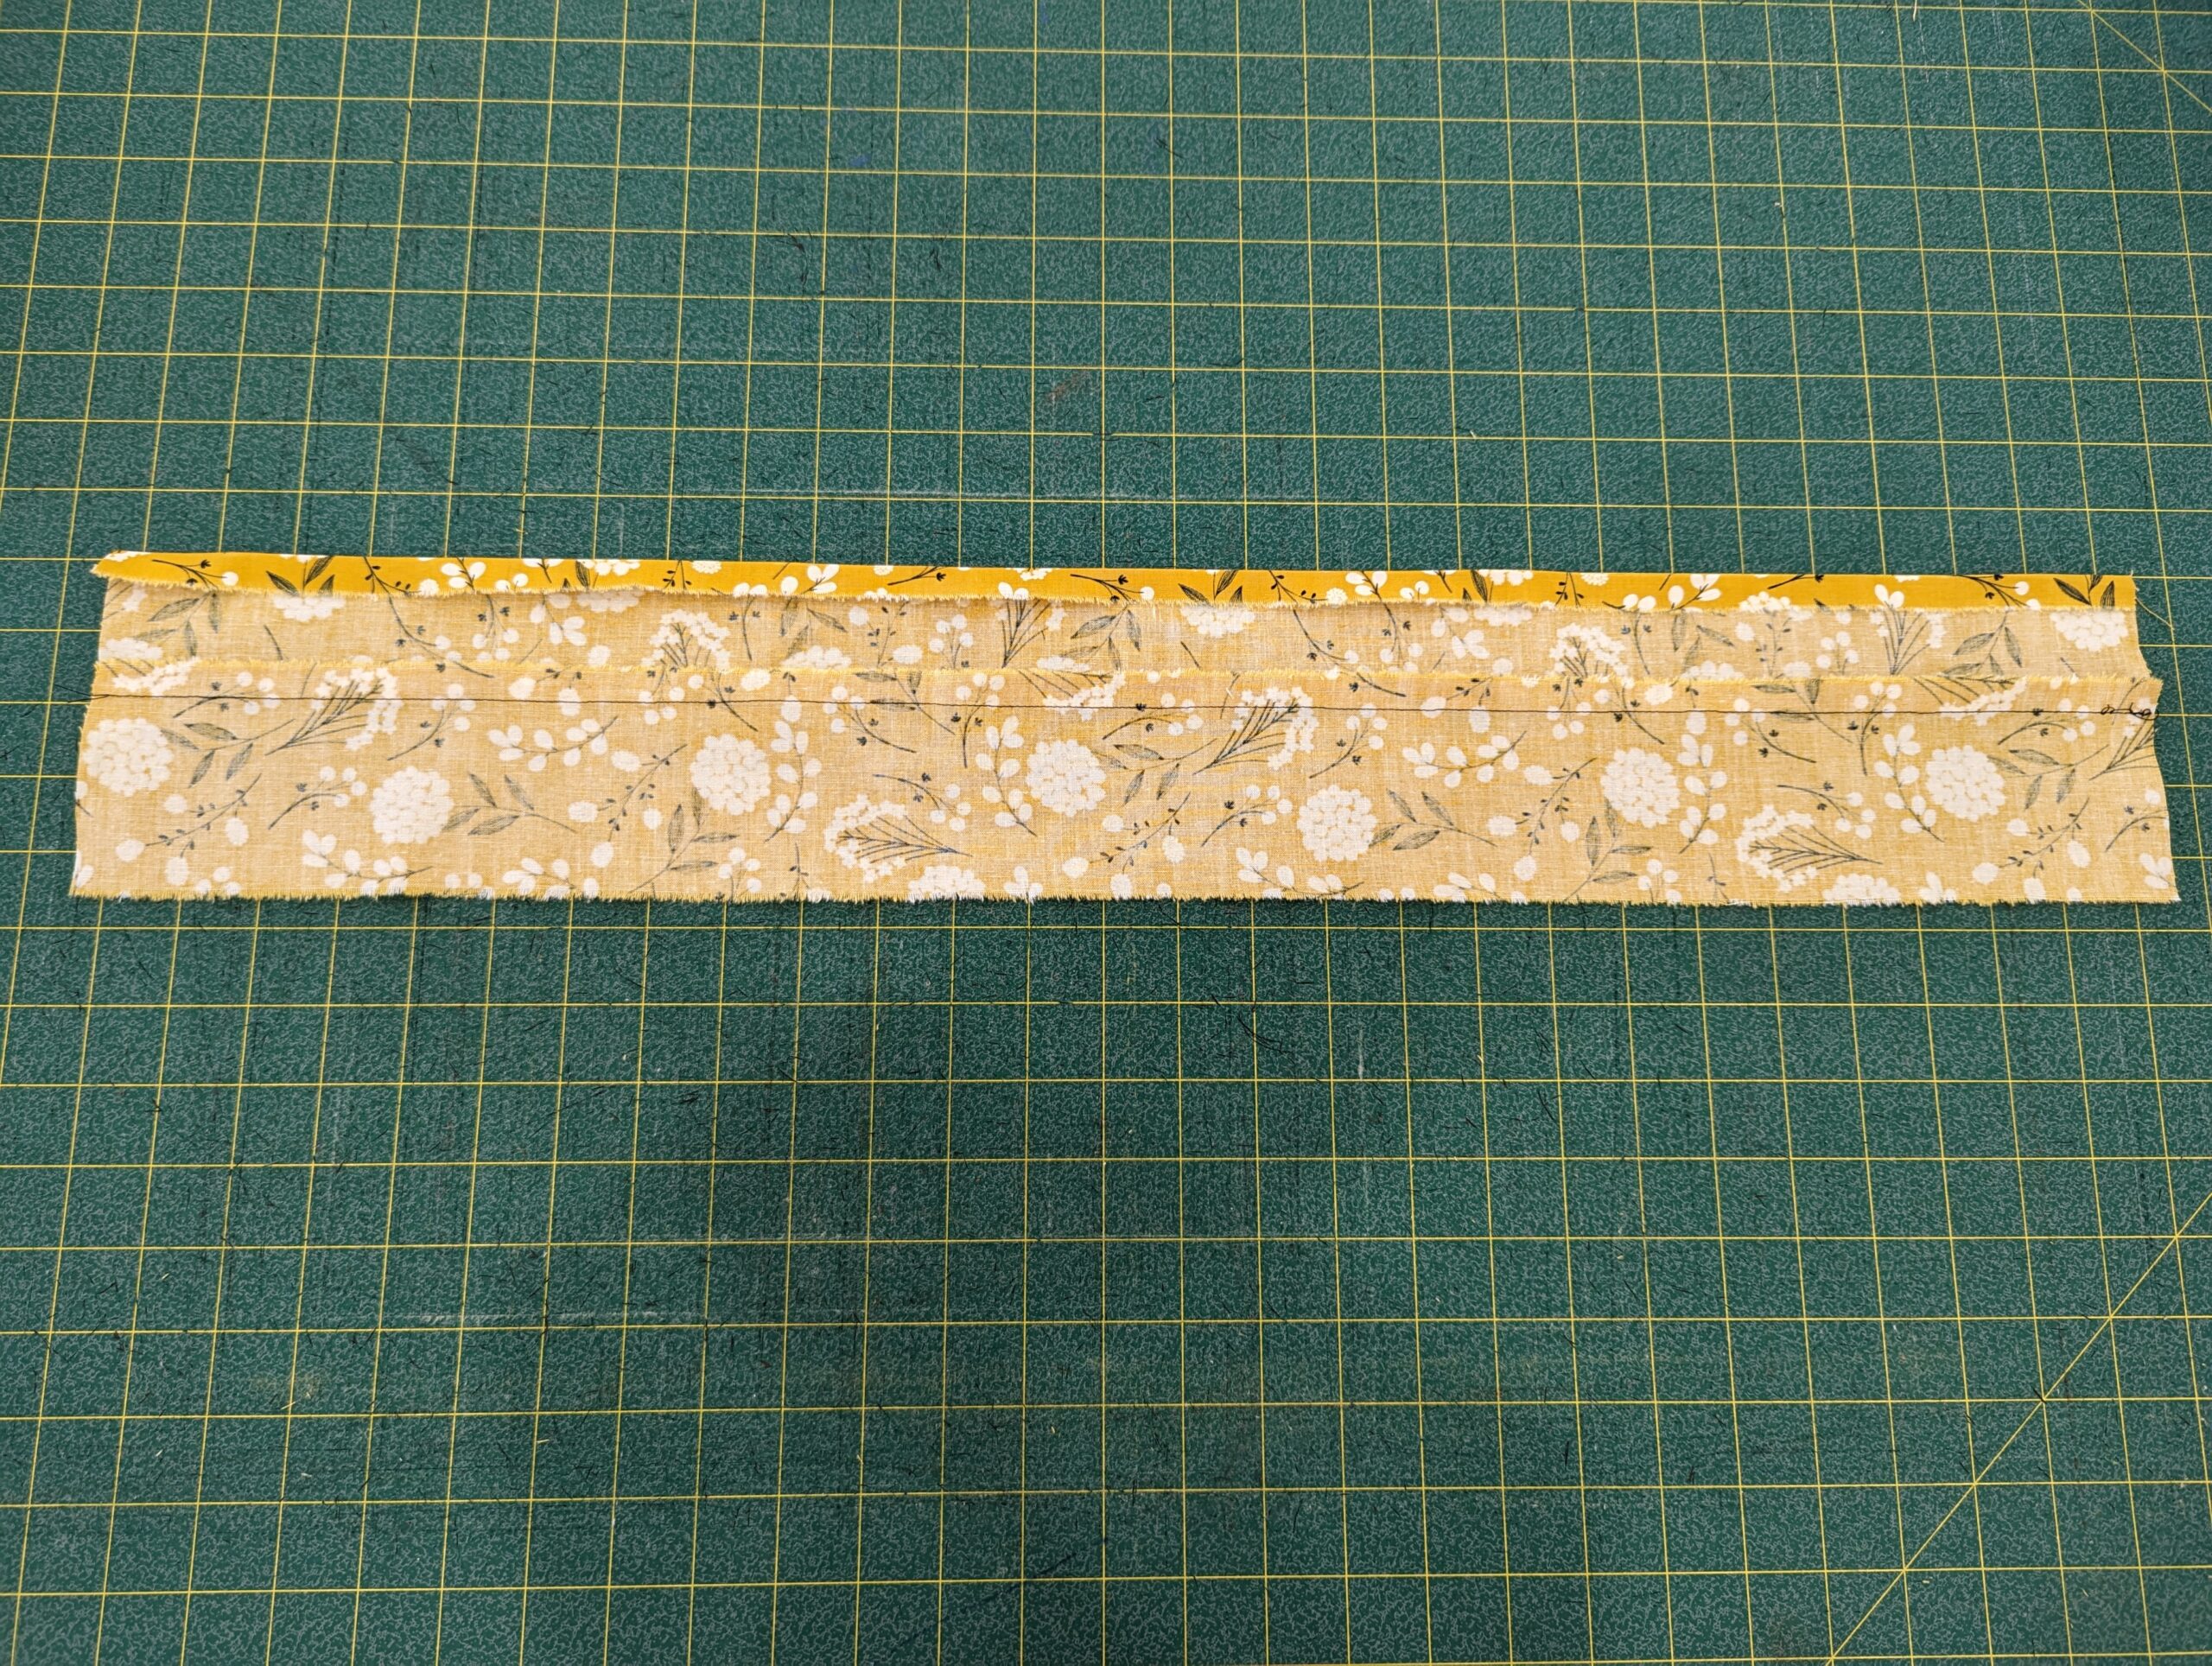
Press one waistband piece 1/2″ to the wrong side on one long edge.
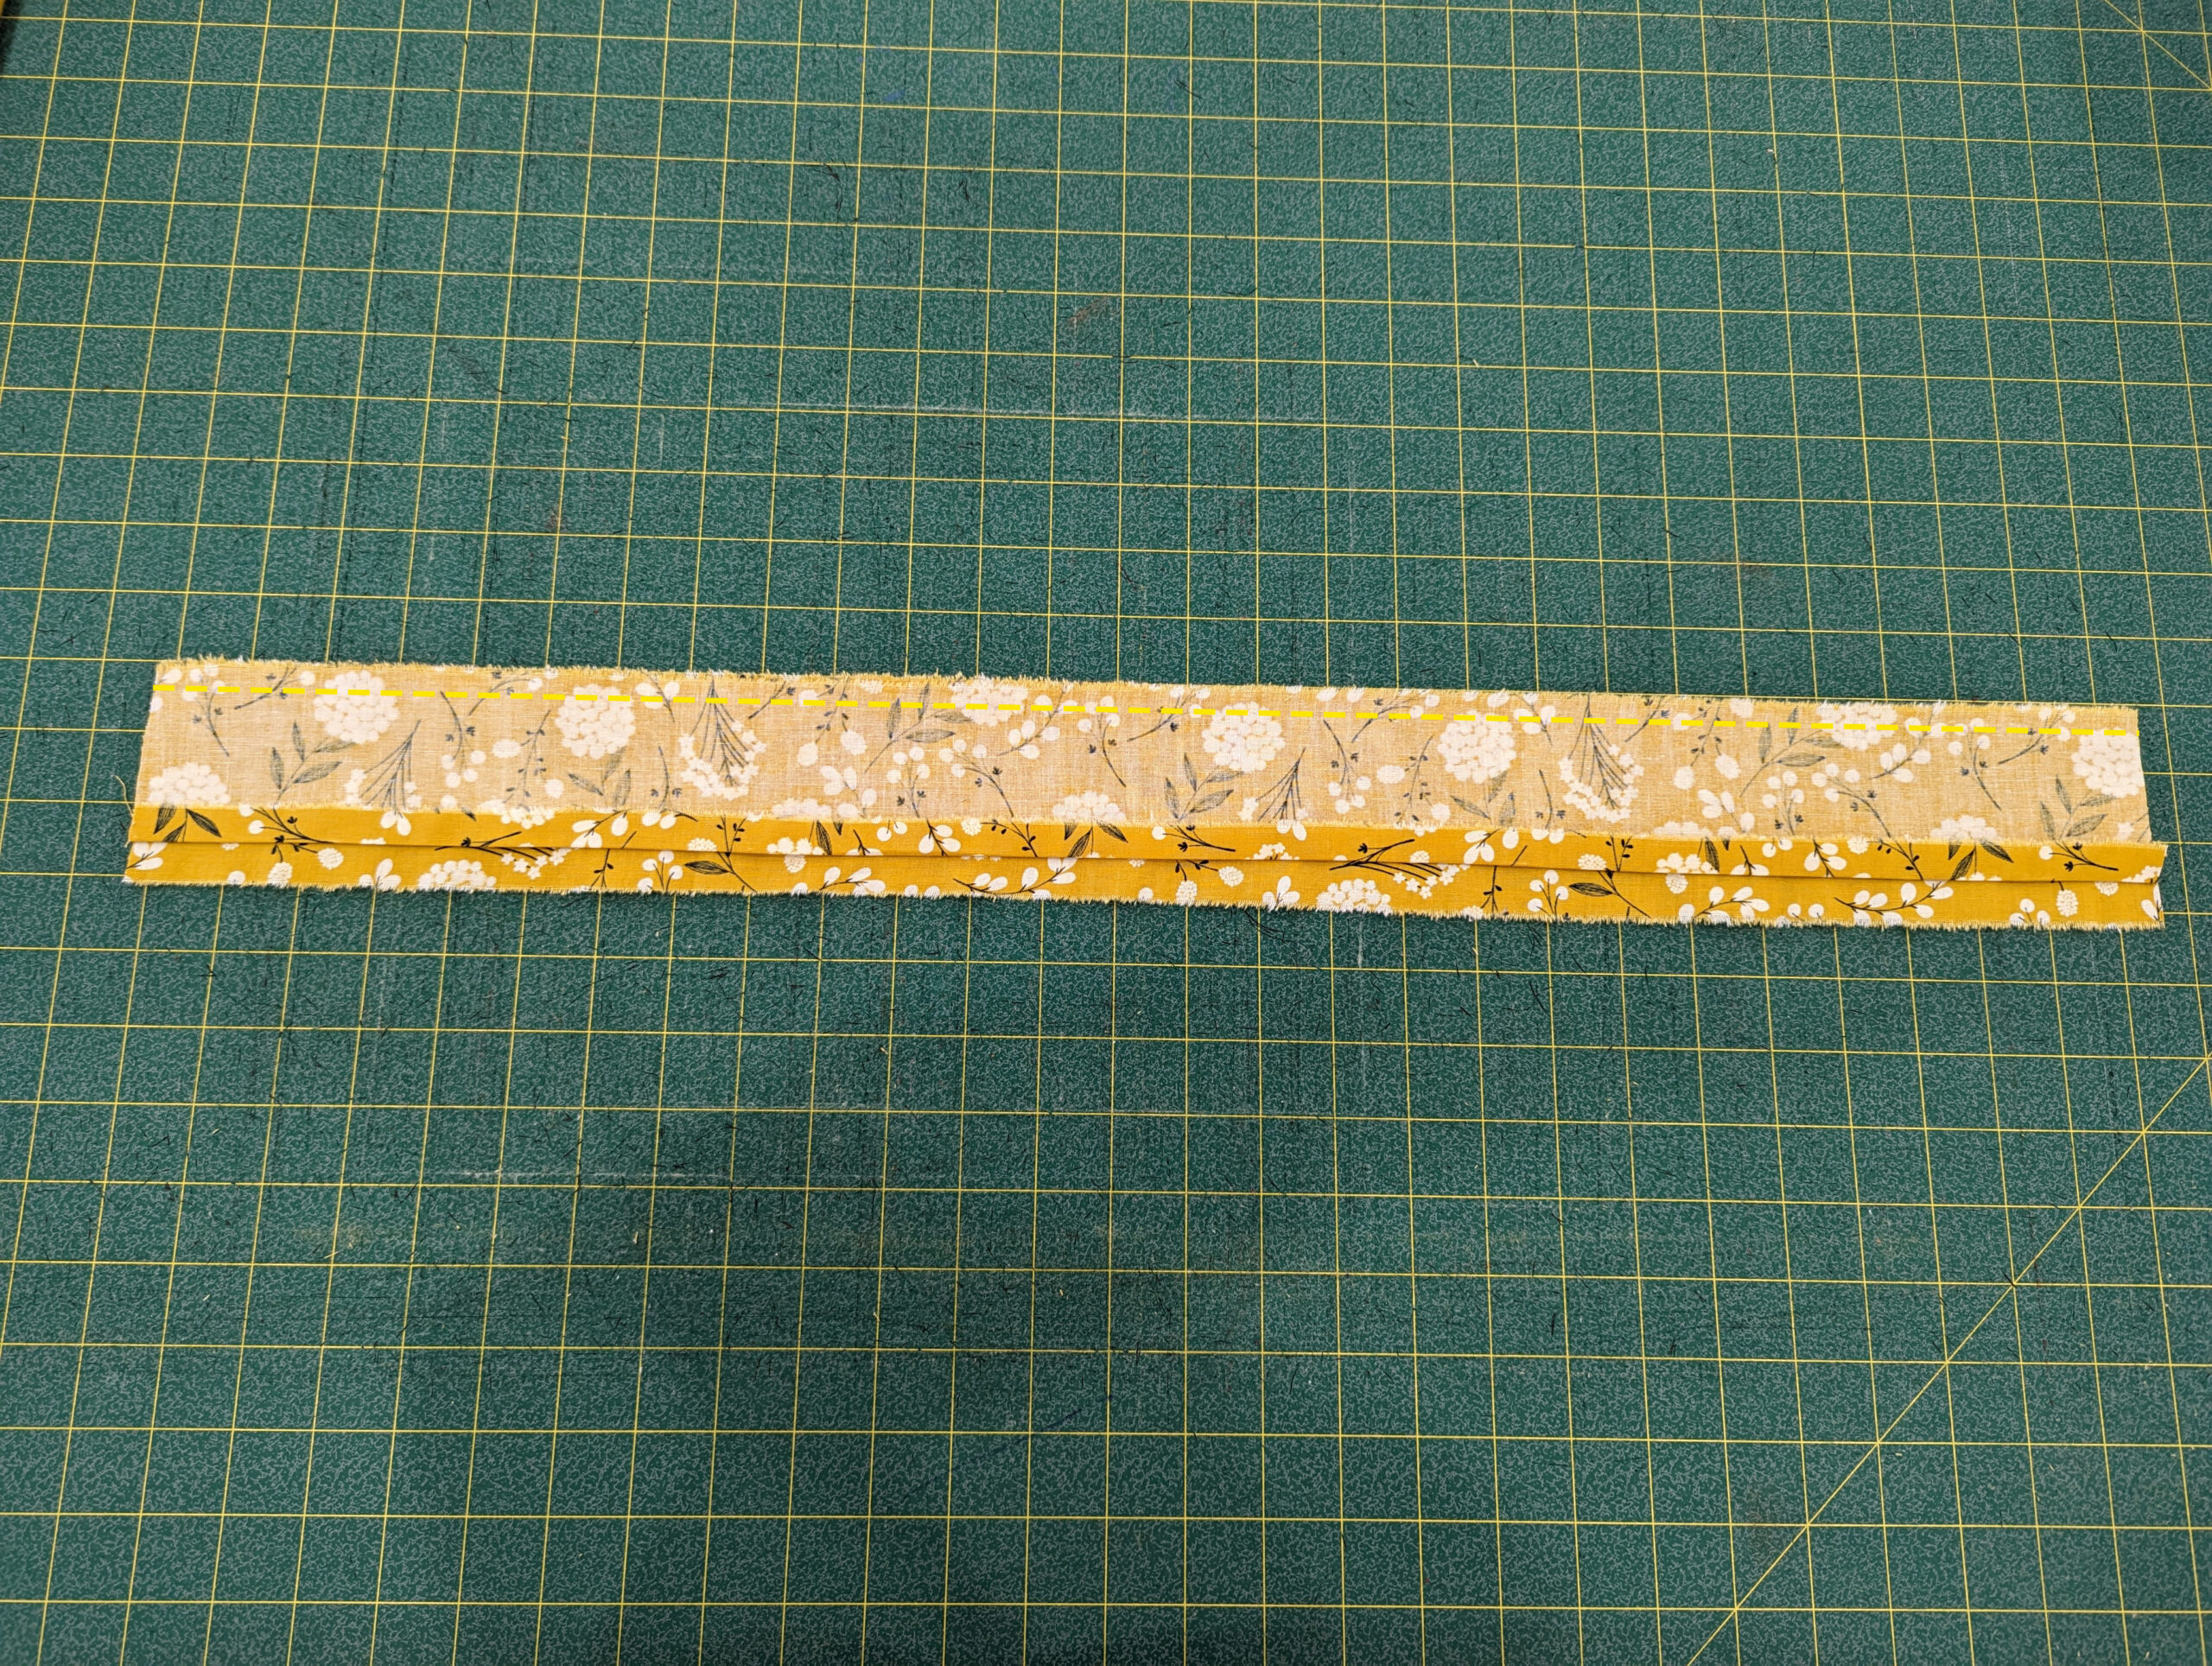
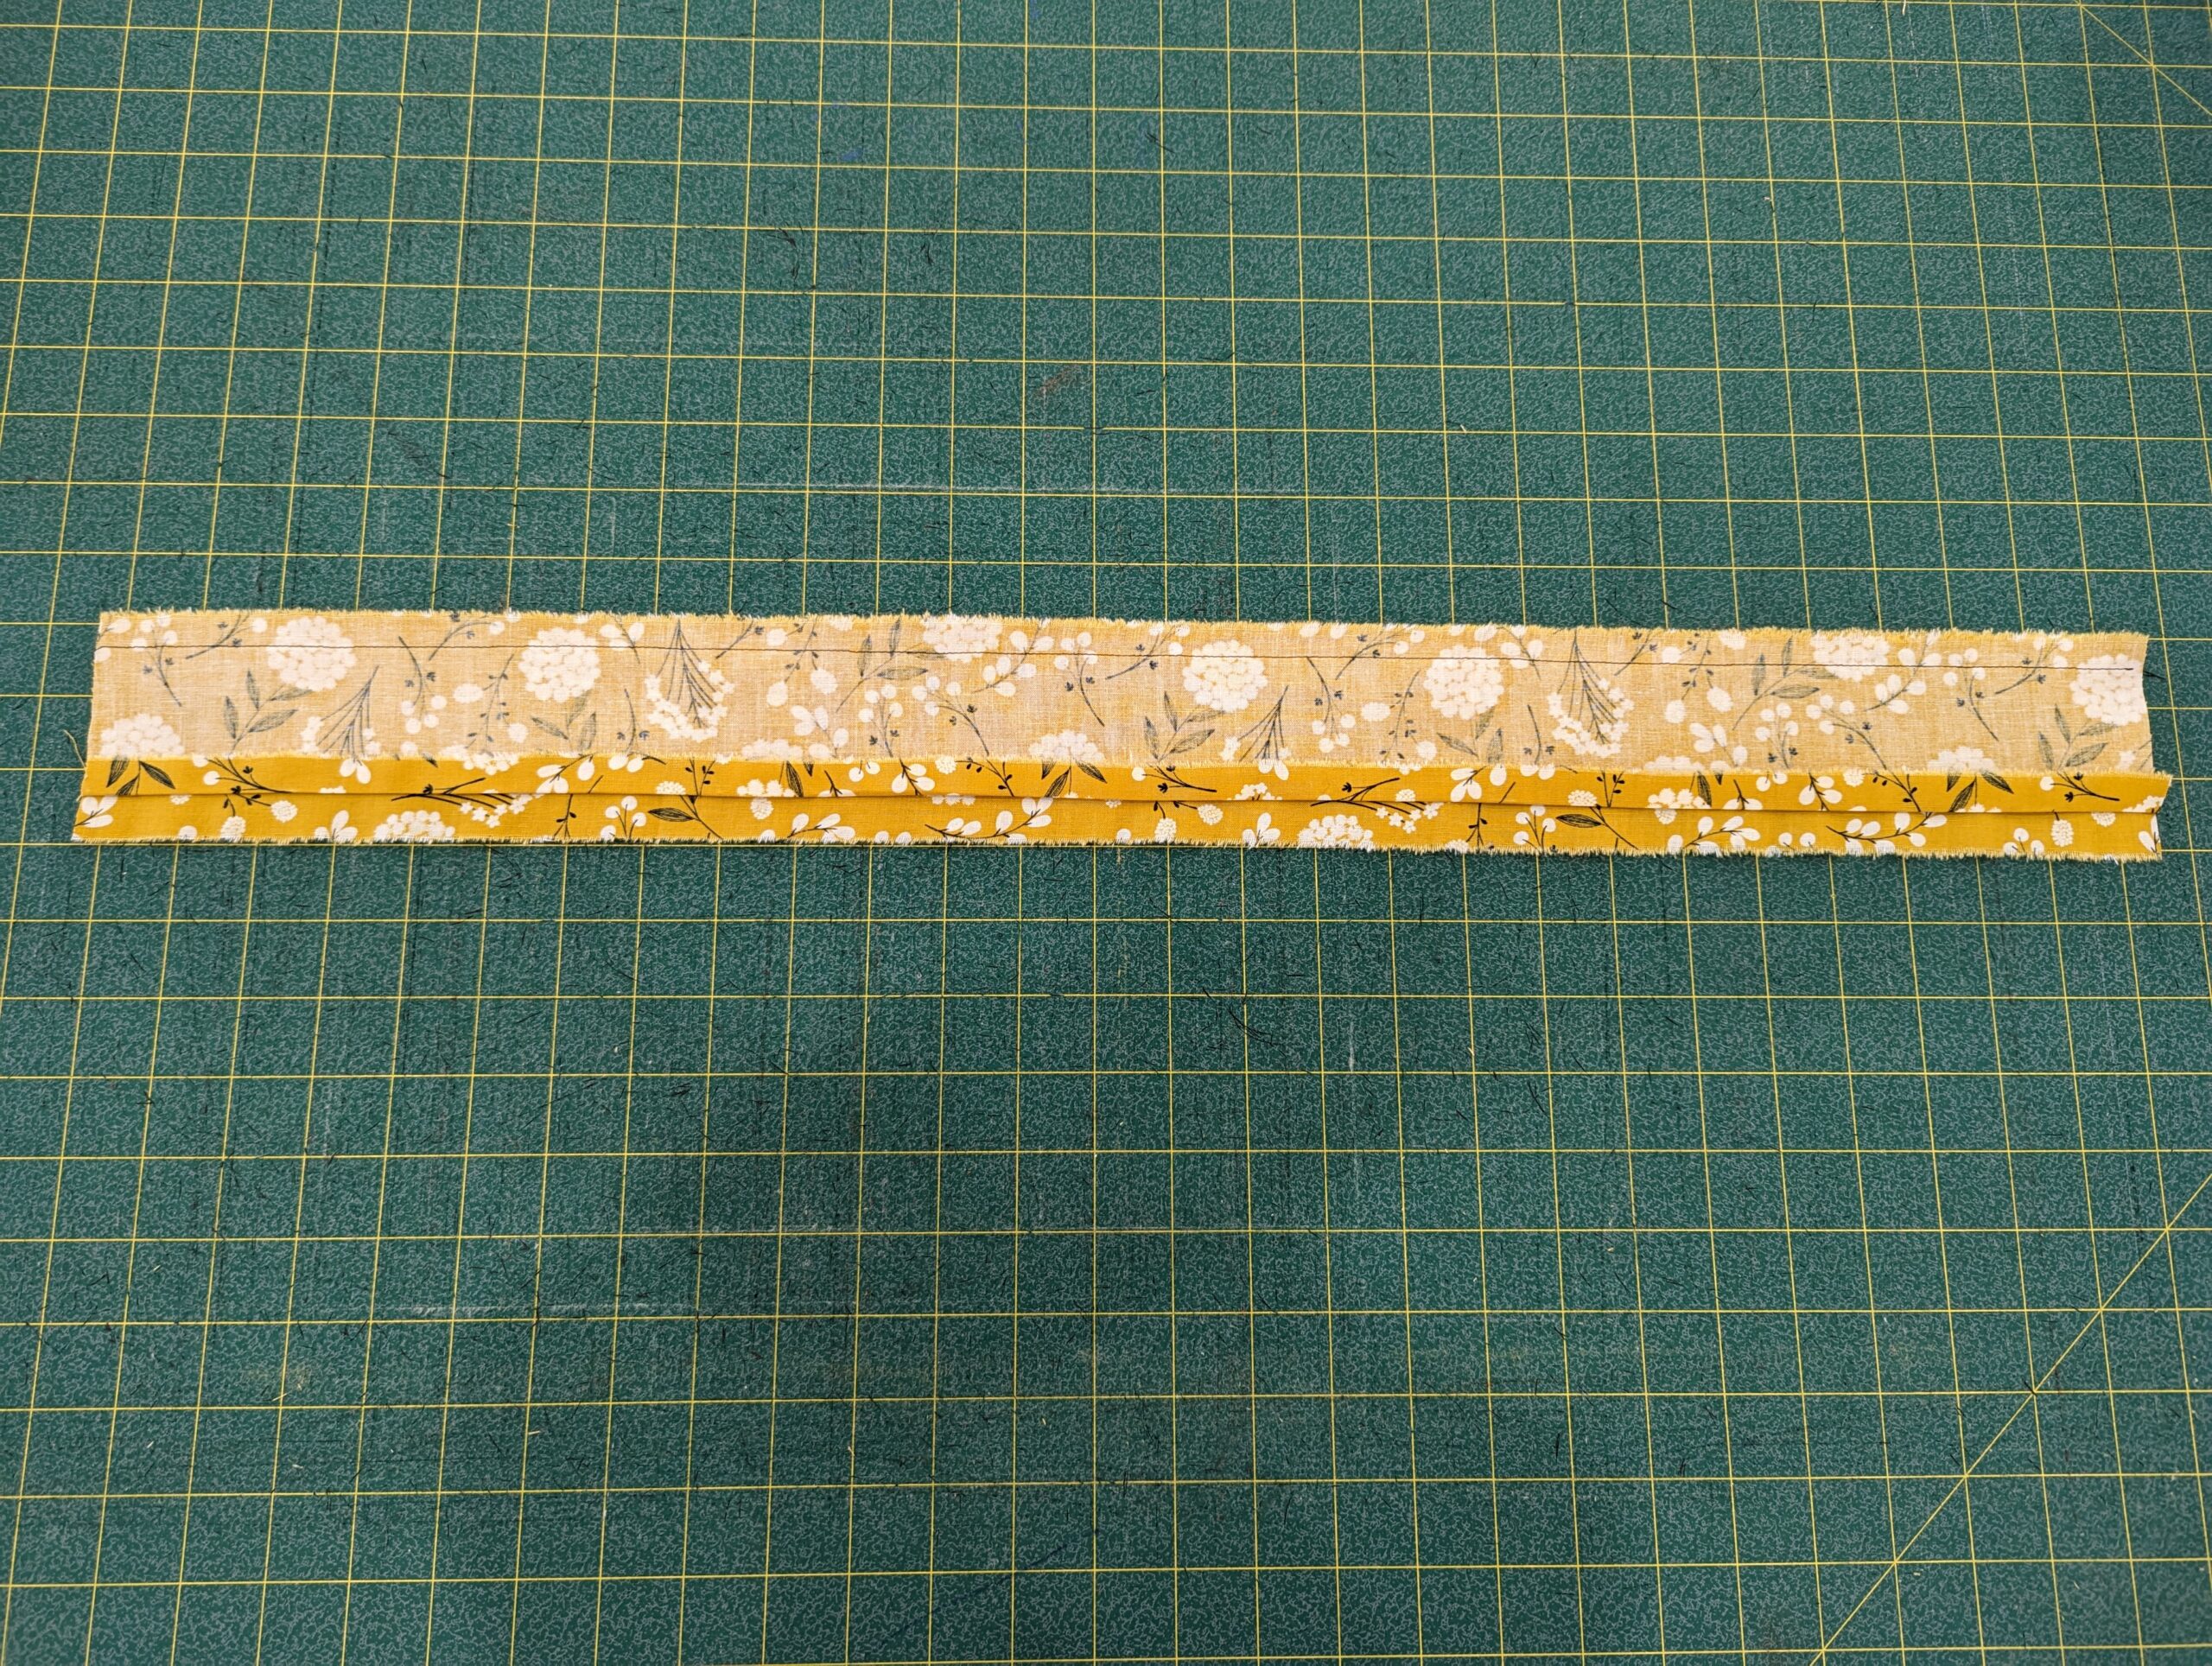
Place the waistband pieces with the right sides together. Stitch together with a 1/2″ seam allowance along the top.
Press the seam toward the pressed waistband. Optional- understitch or top stitch seam.
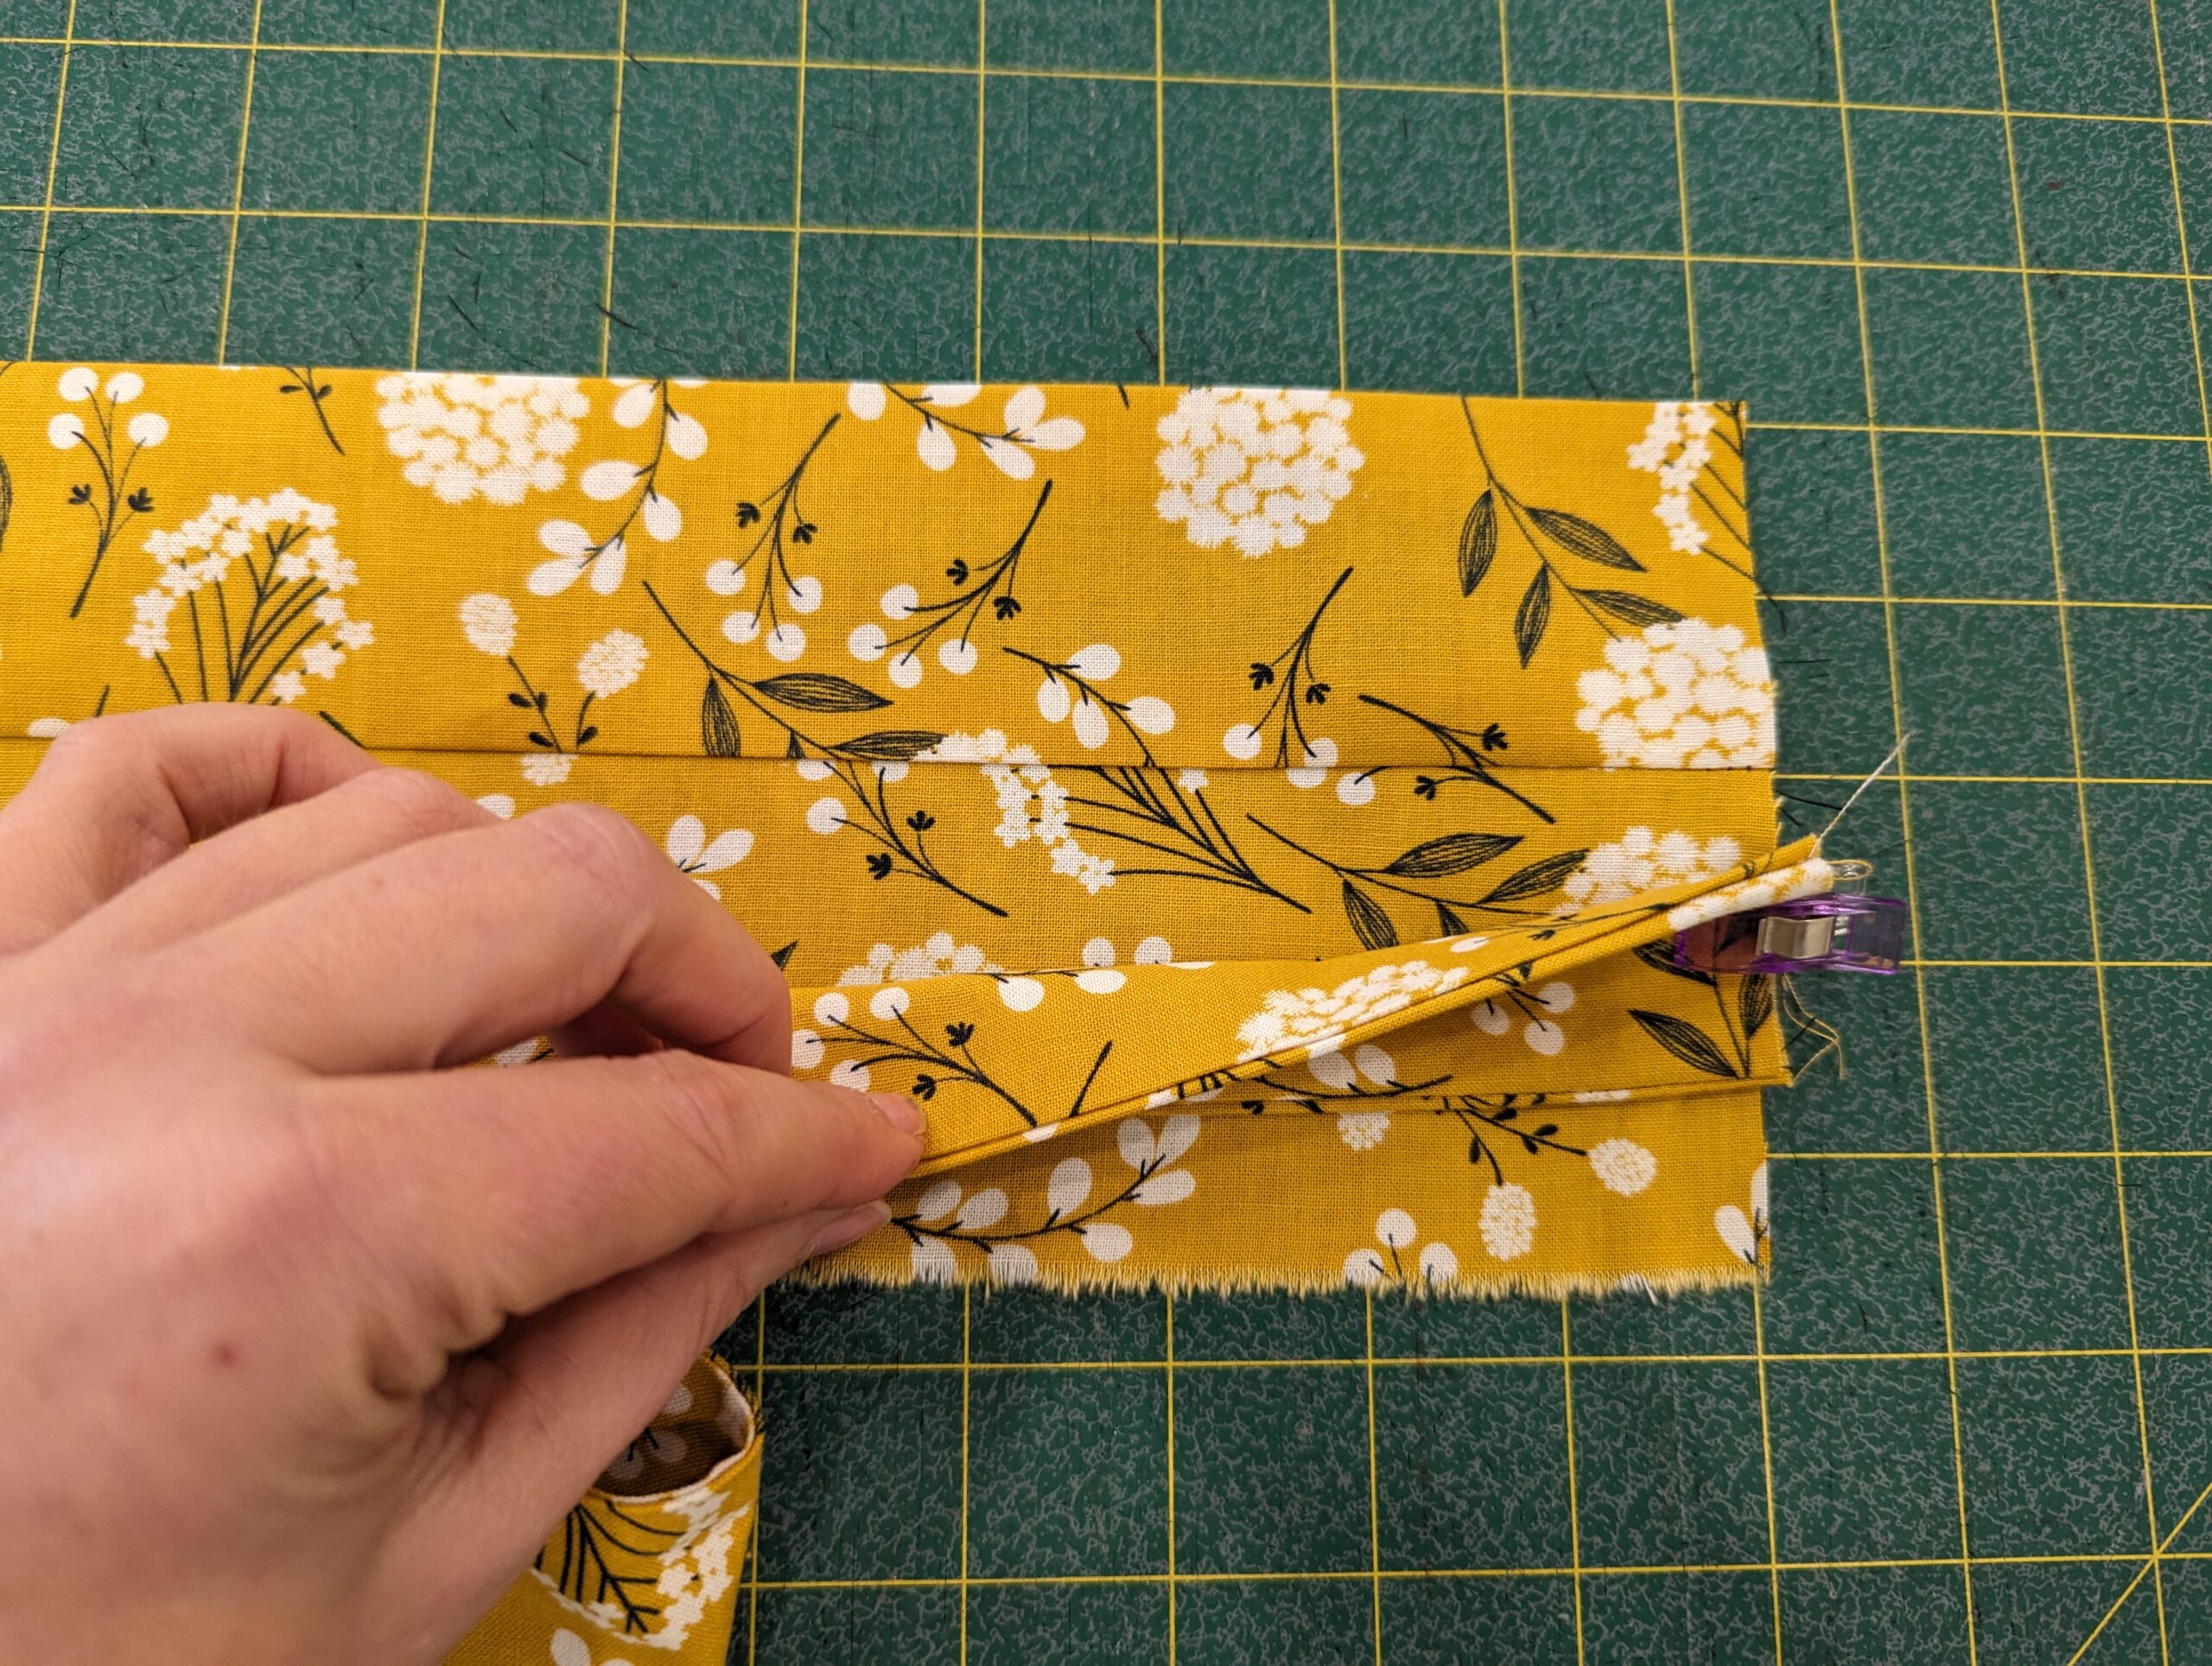
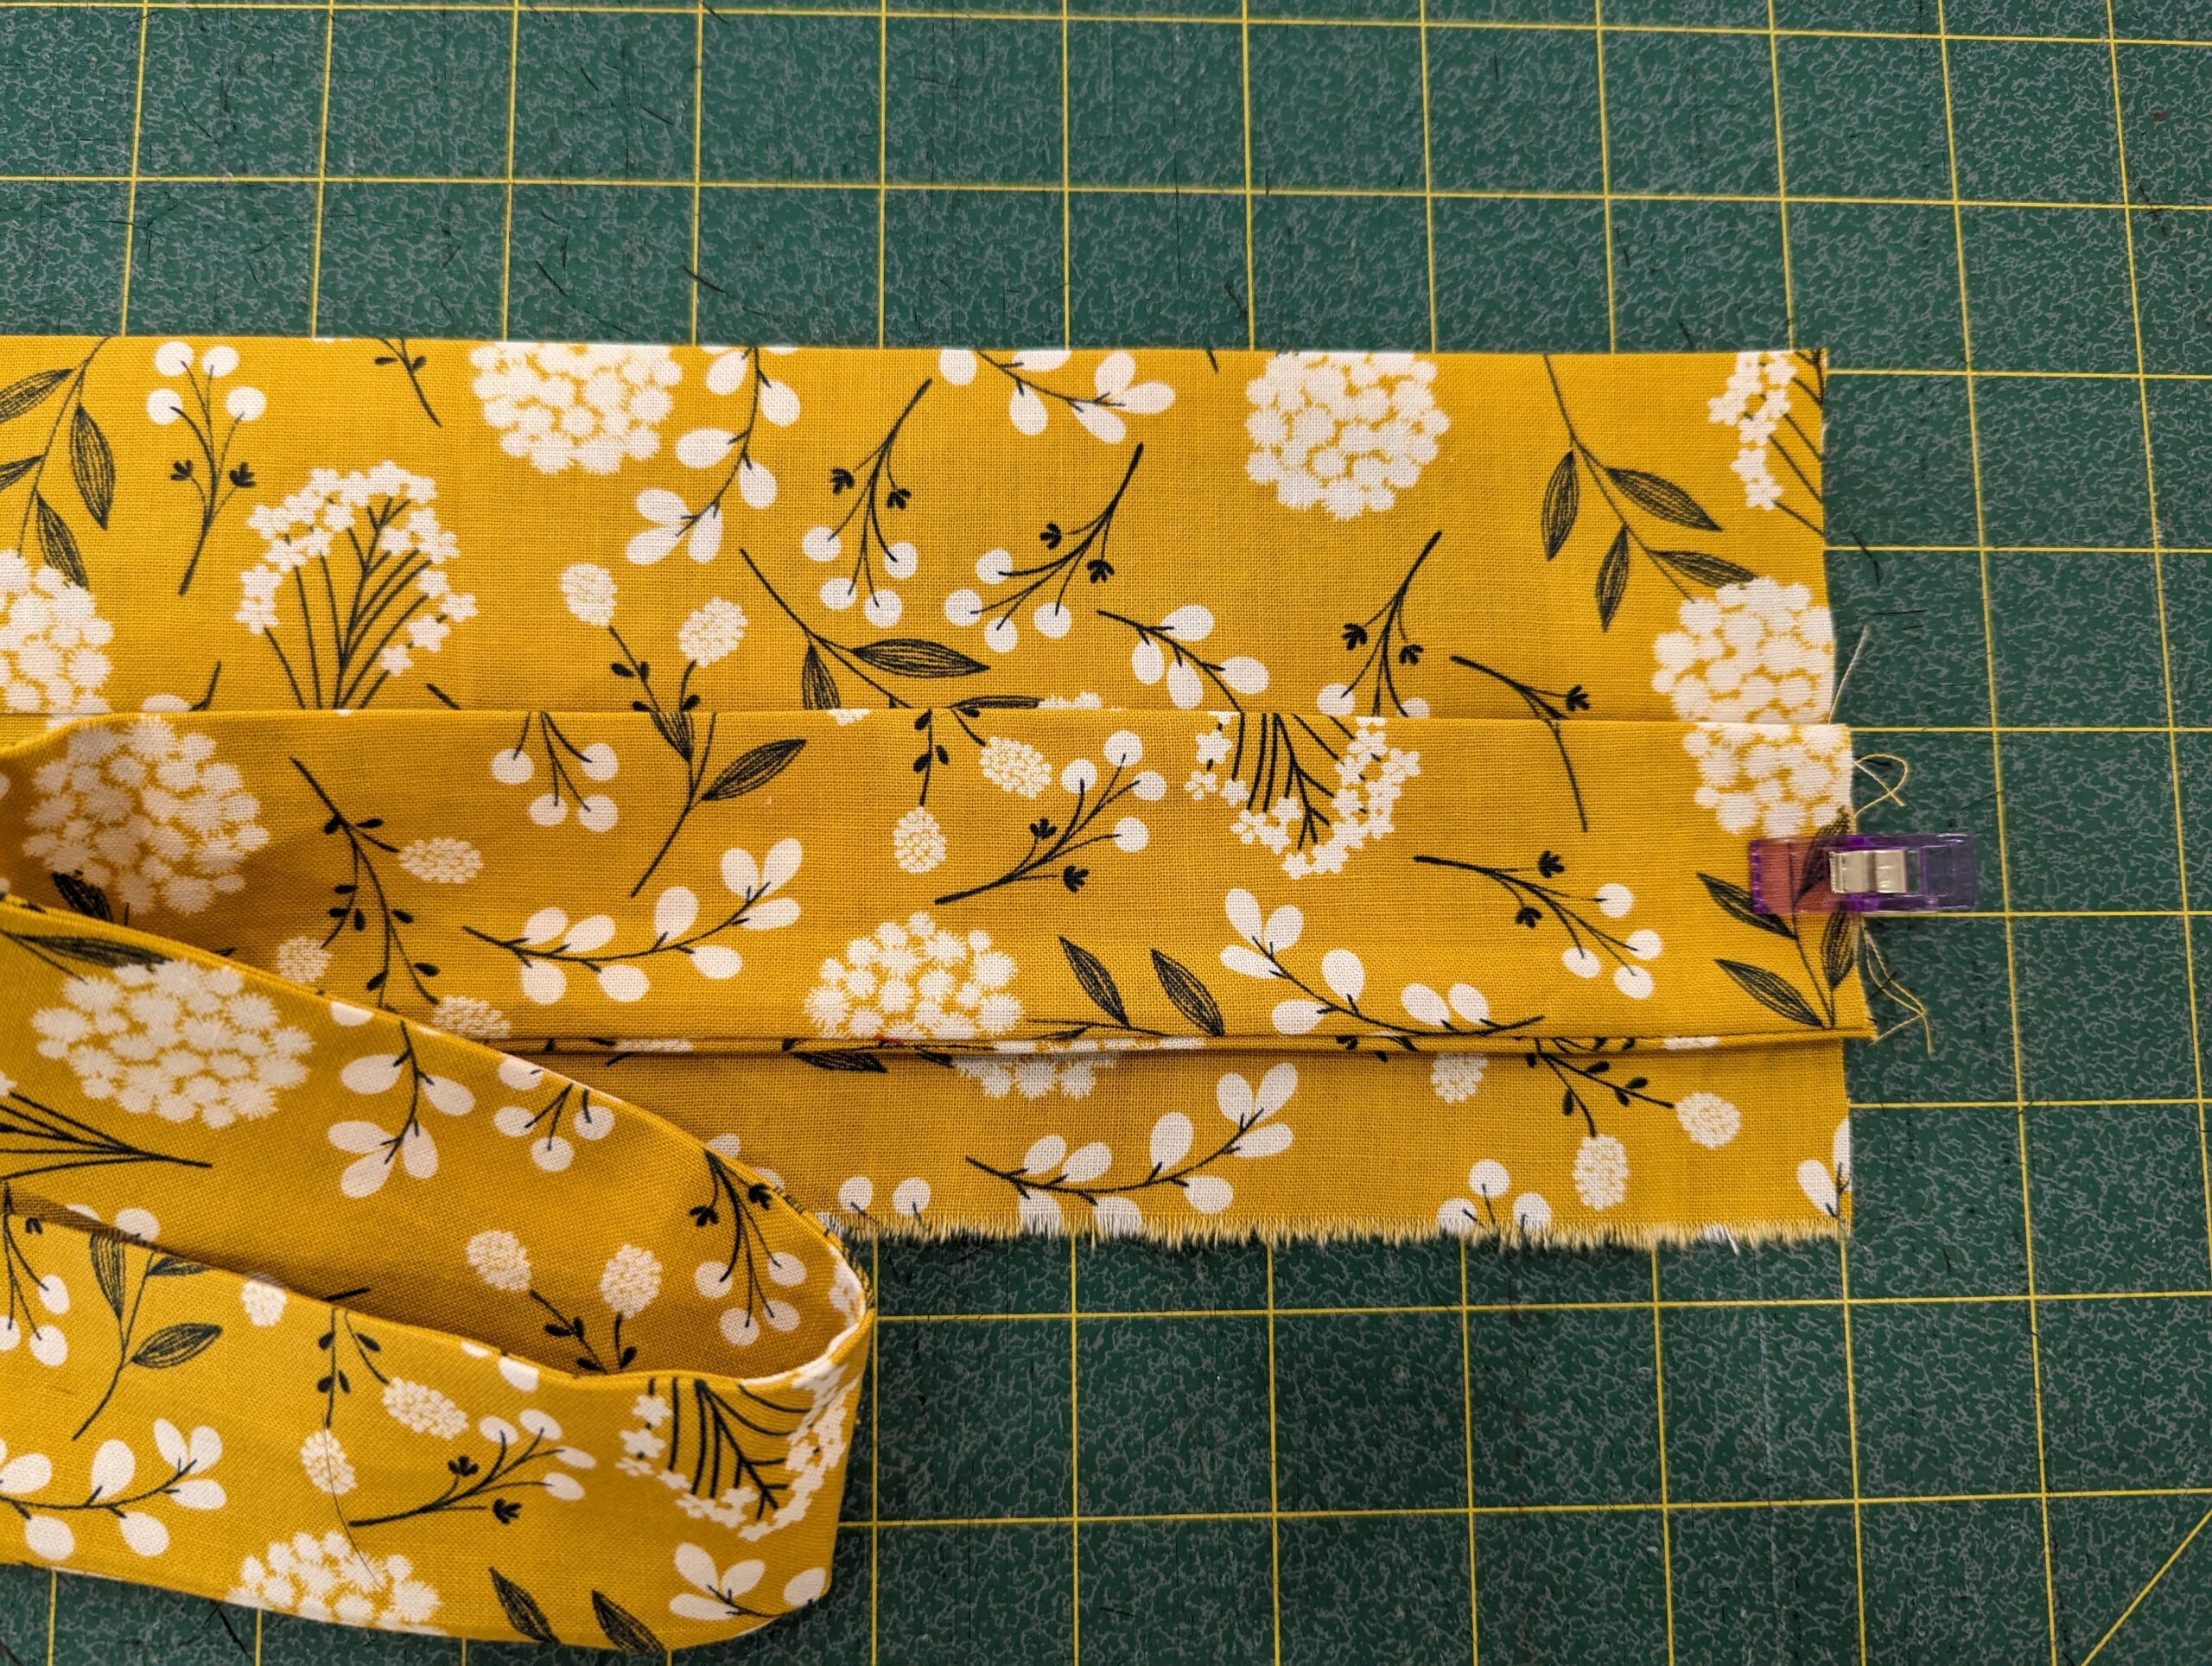
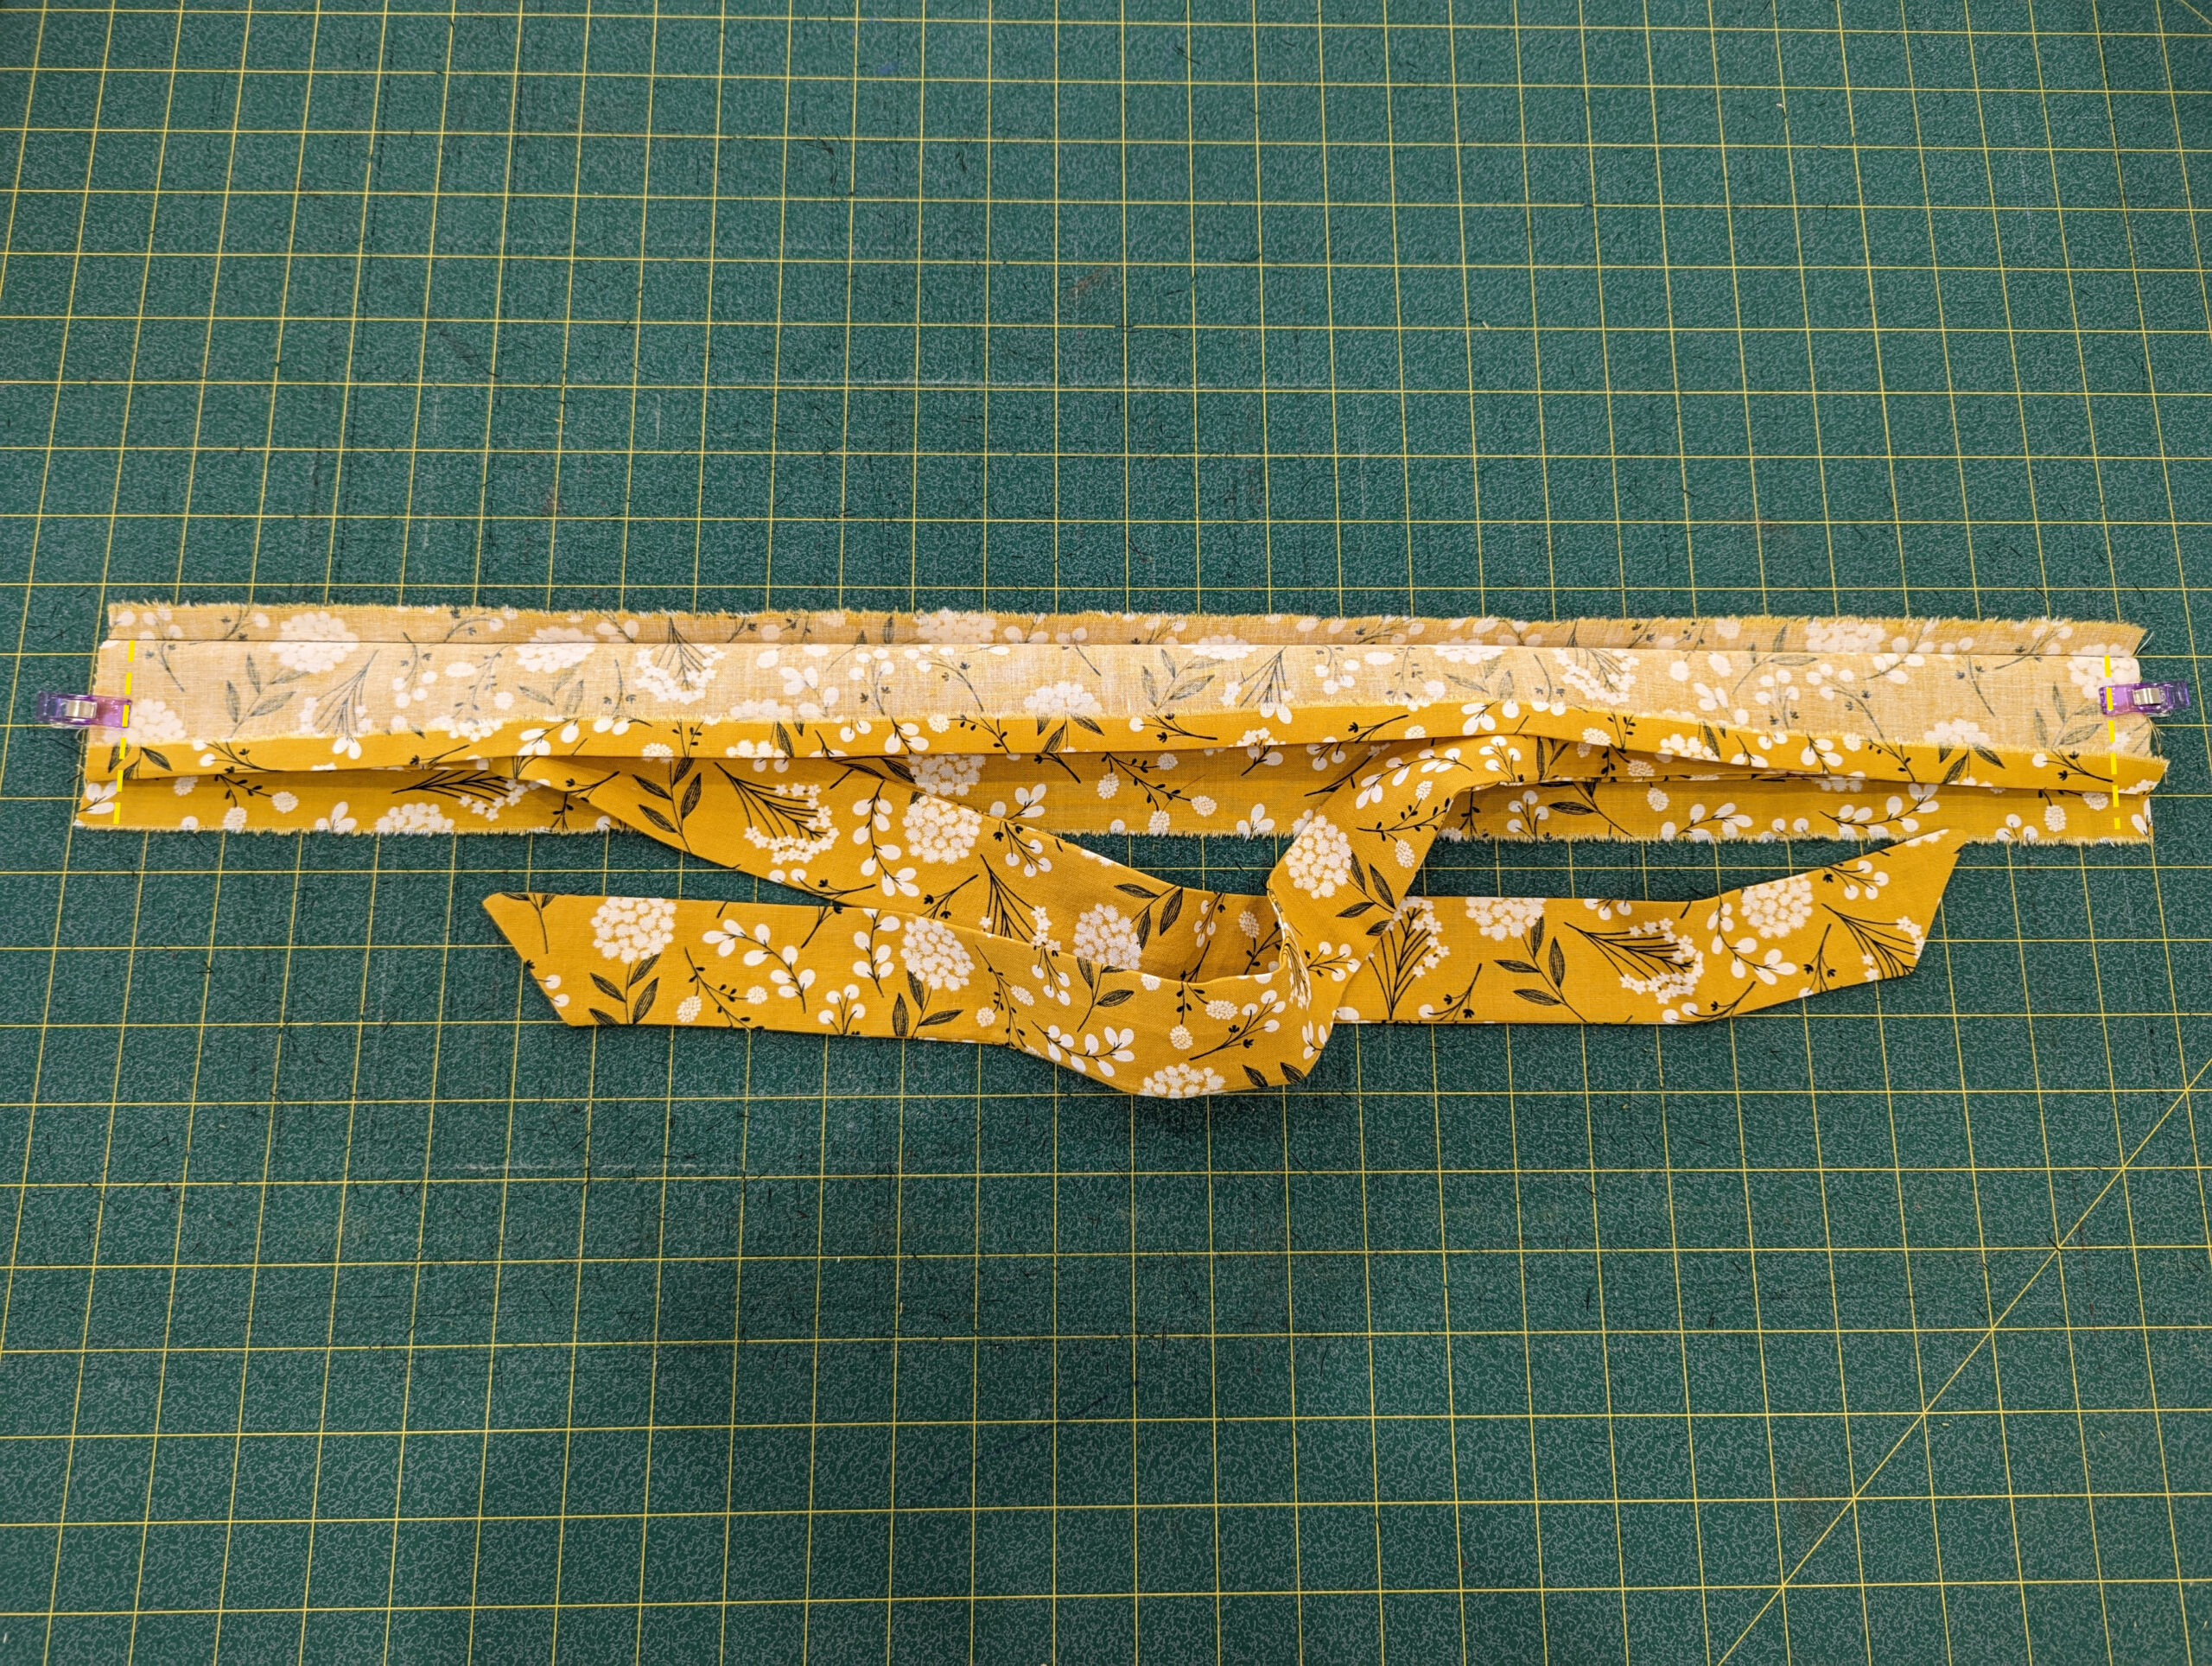
Then, lay the waistband out flat with the right side facing up. Pin the waistband ties at each edge up to the seam line.
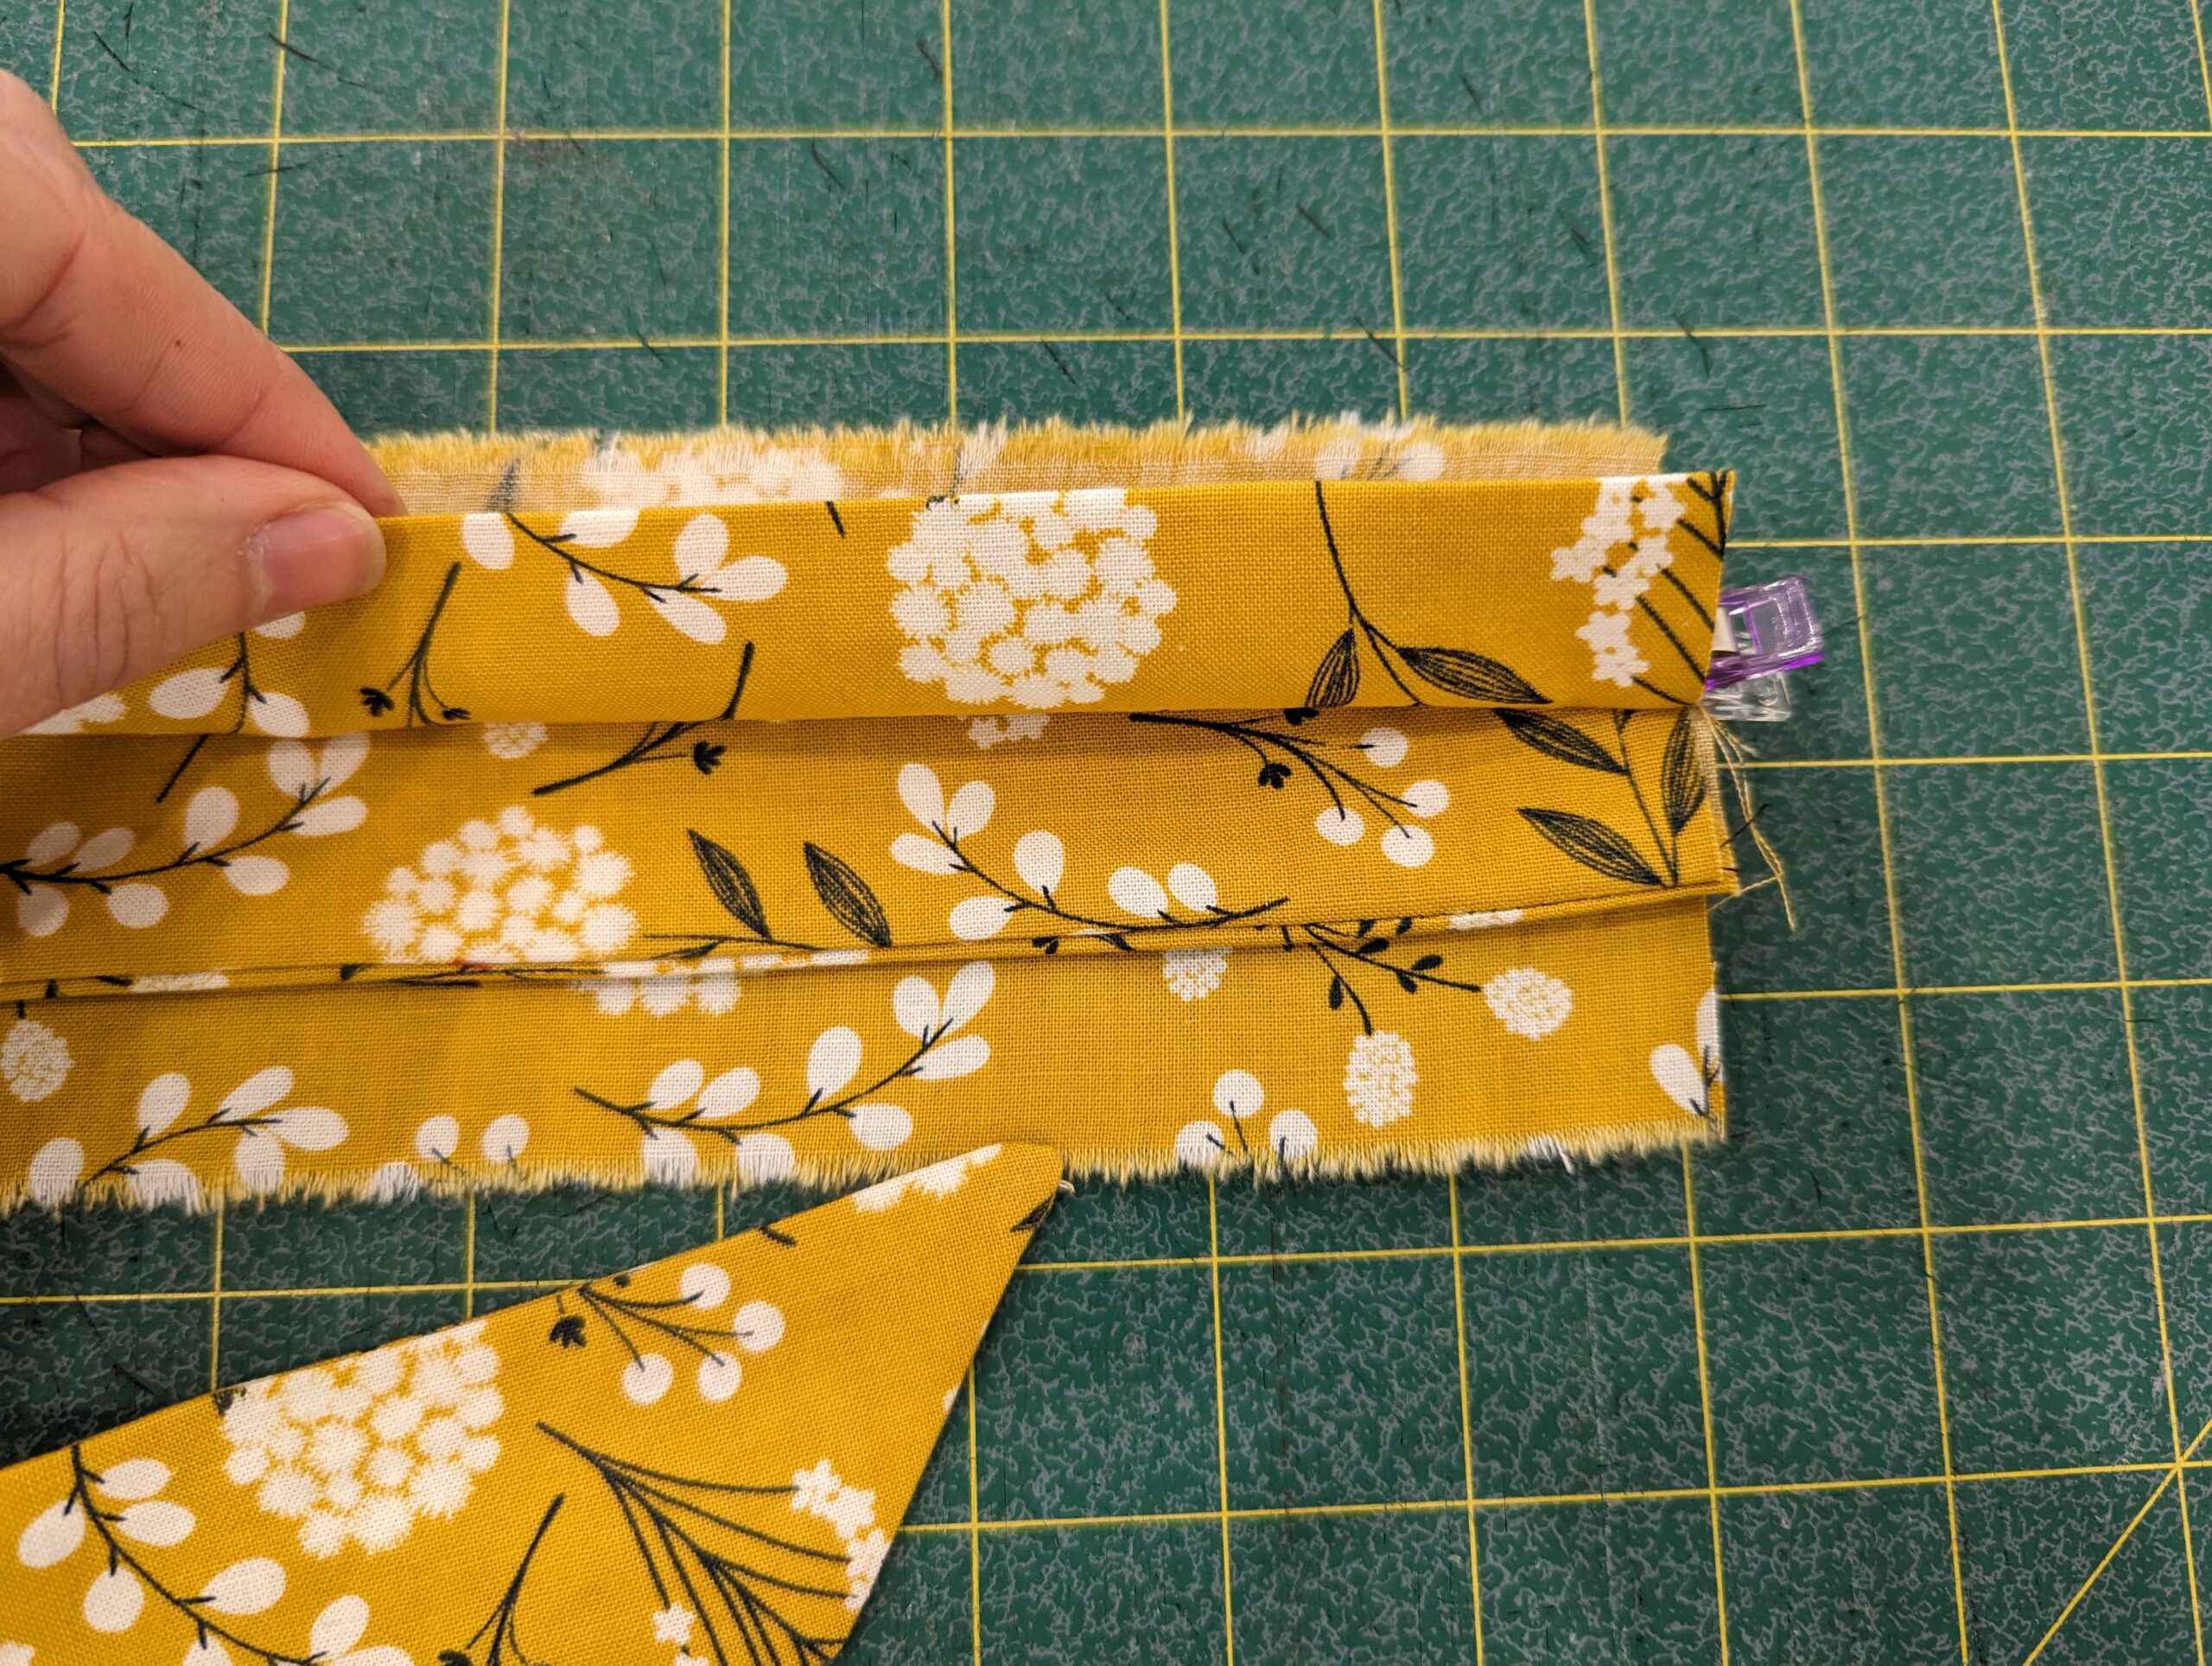
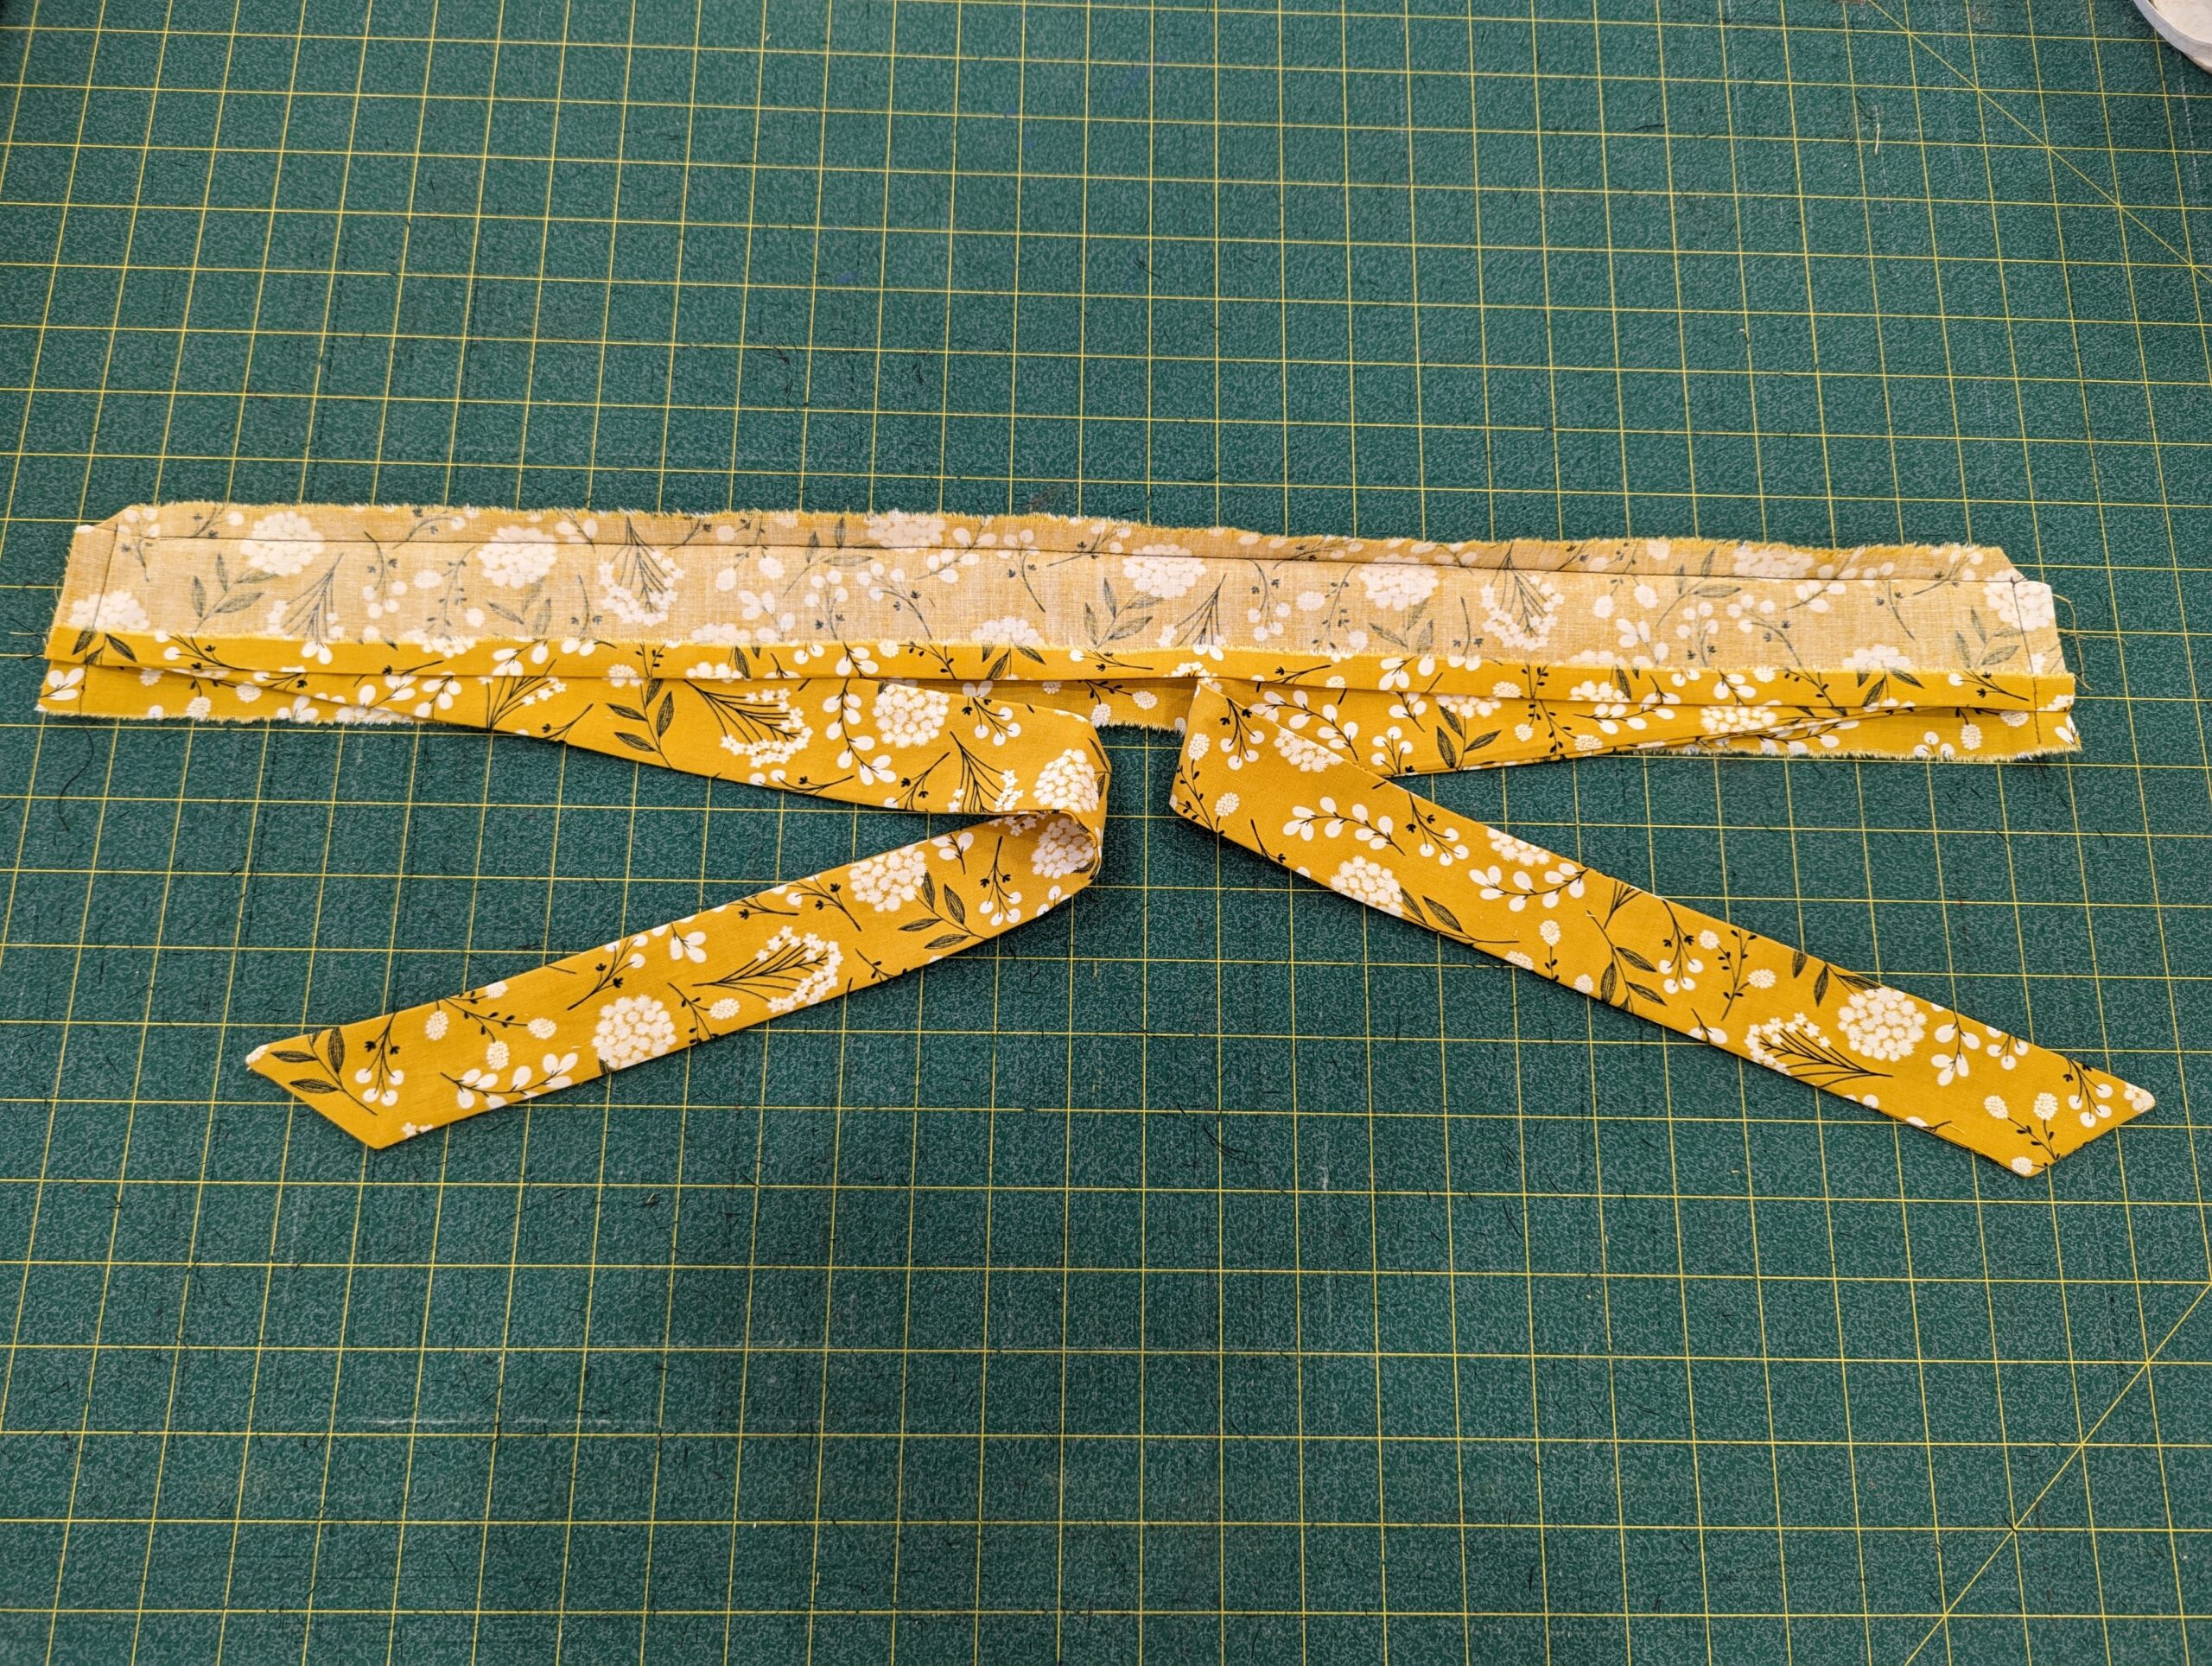
Fold the pressed waistband over the tie. Stitch on each side with a 1/2″ seam allowance. Then, clip the corners.
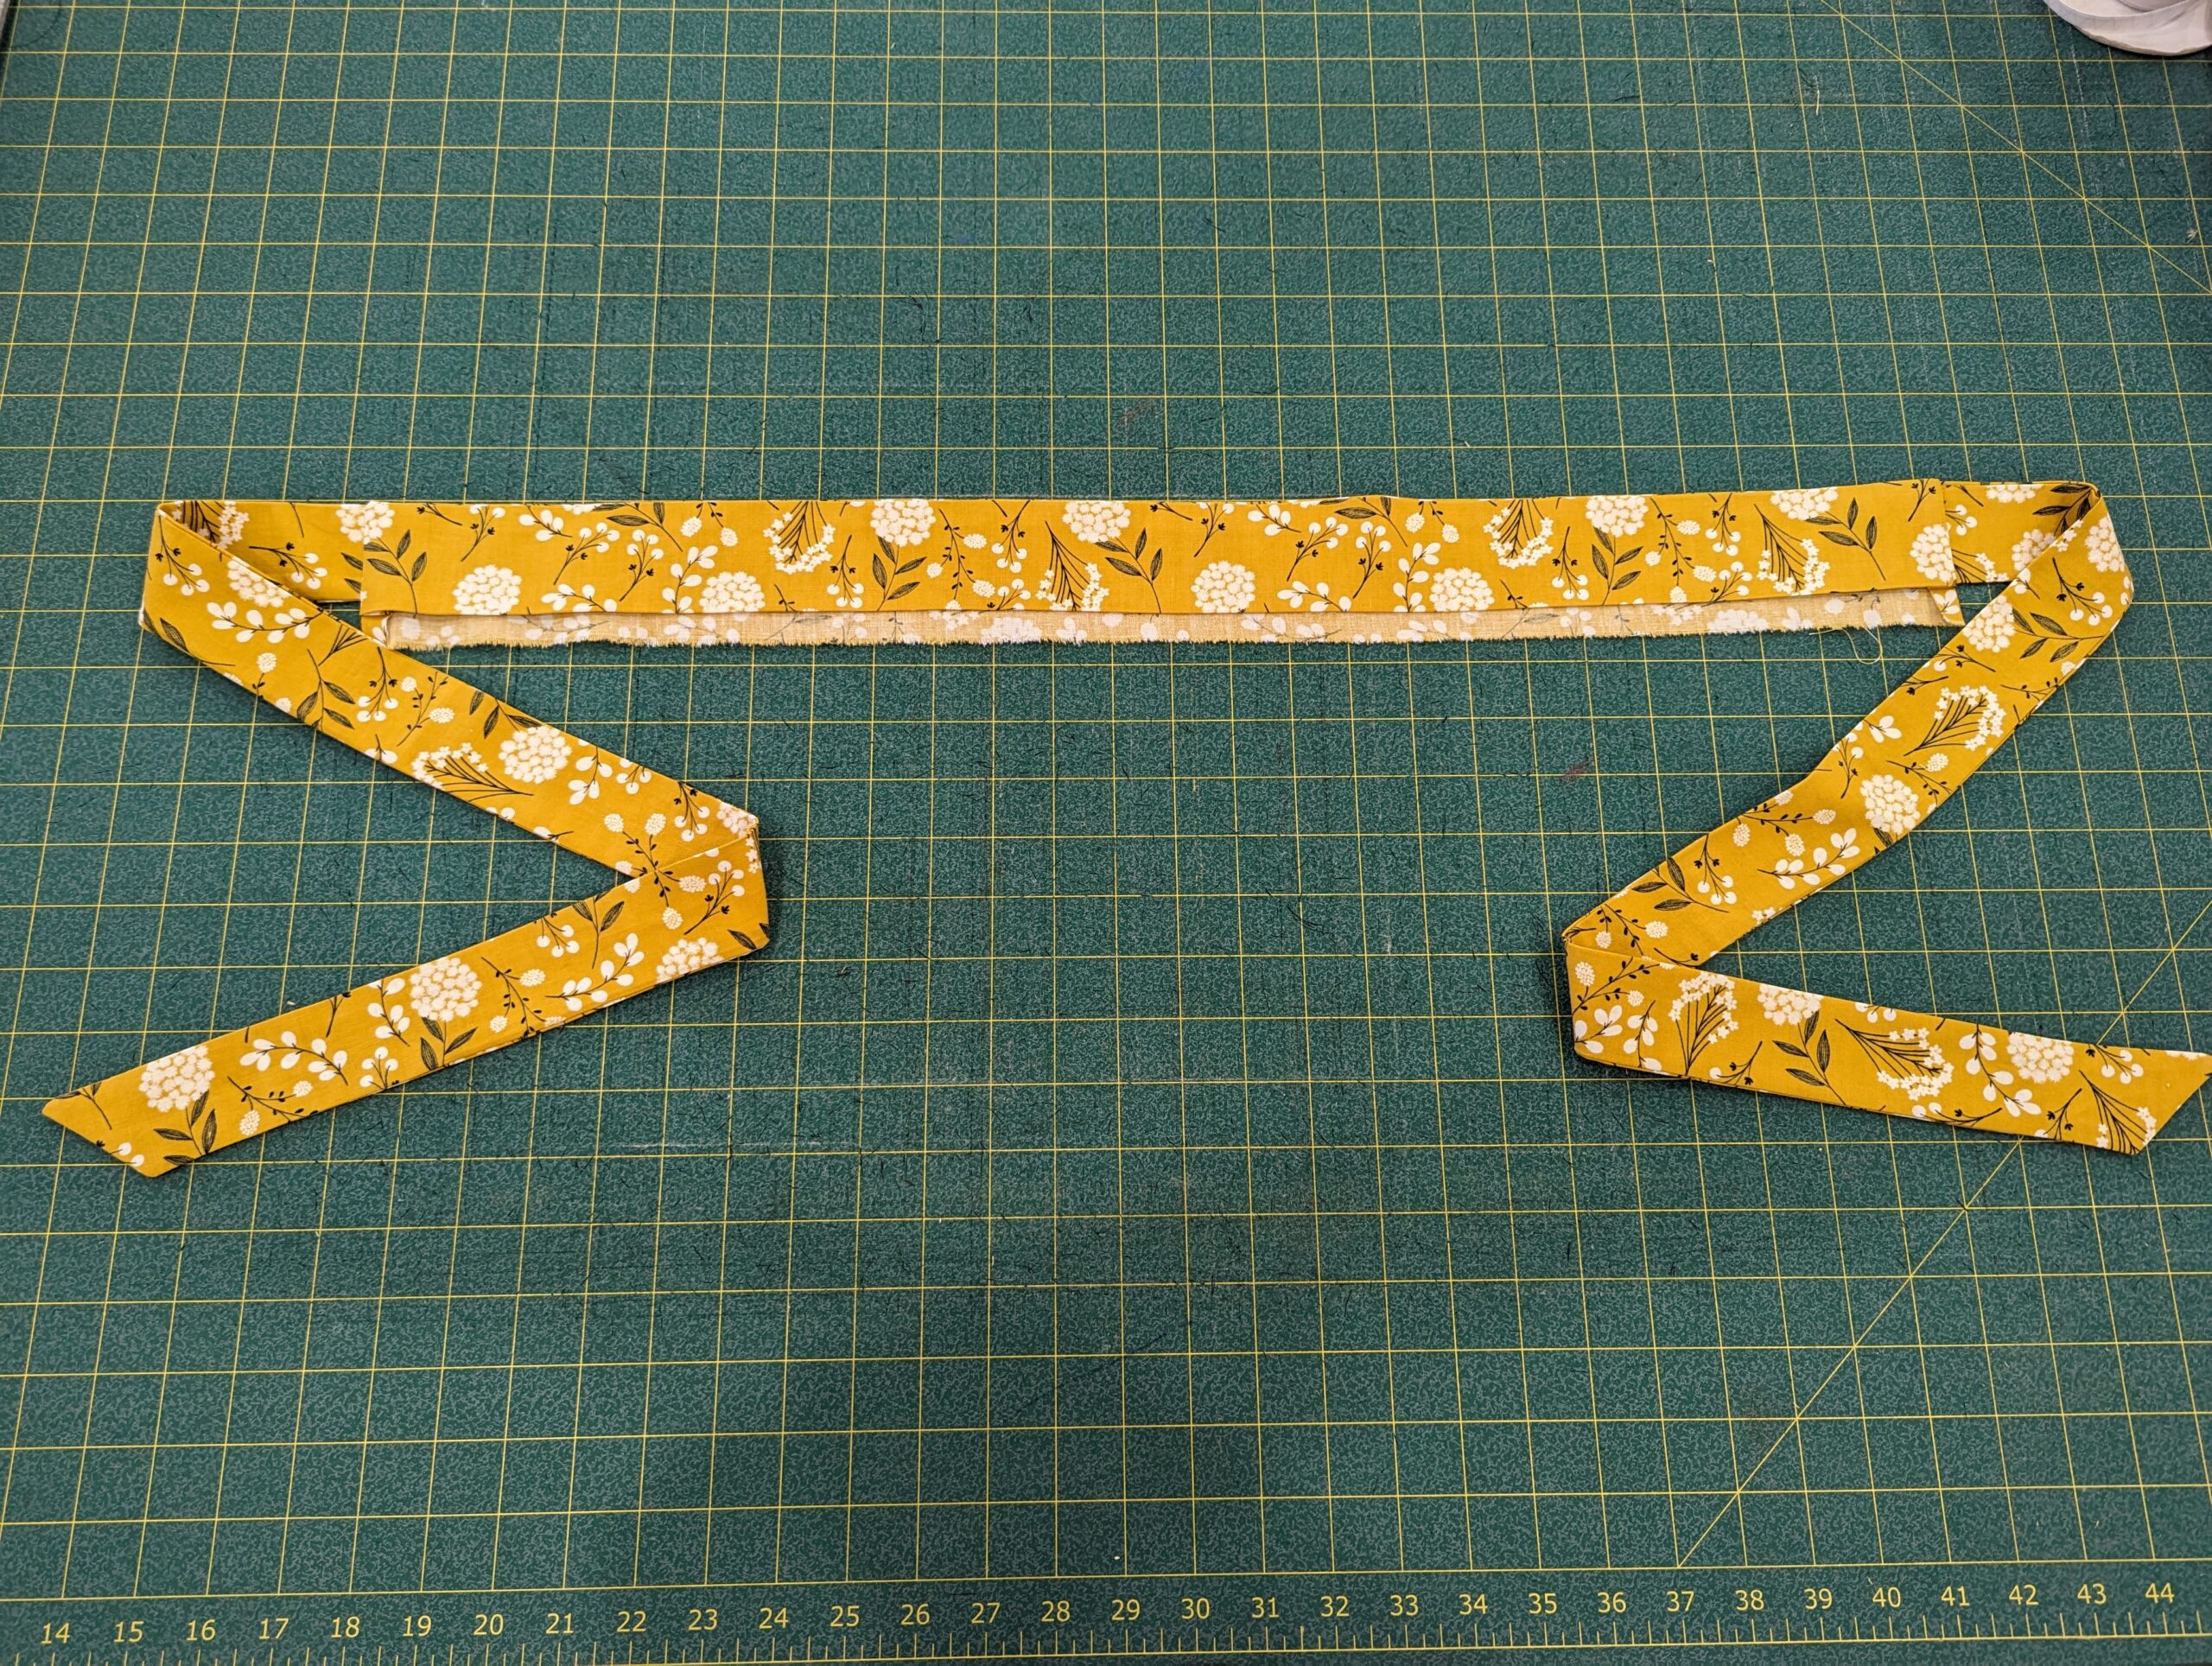
After clipping the corners, press the right side out.
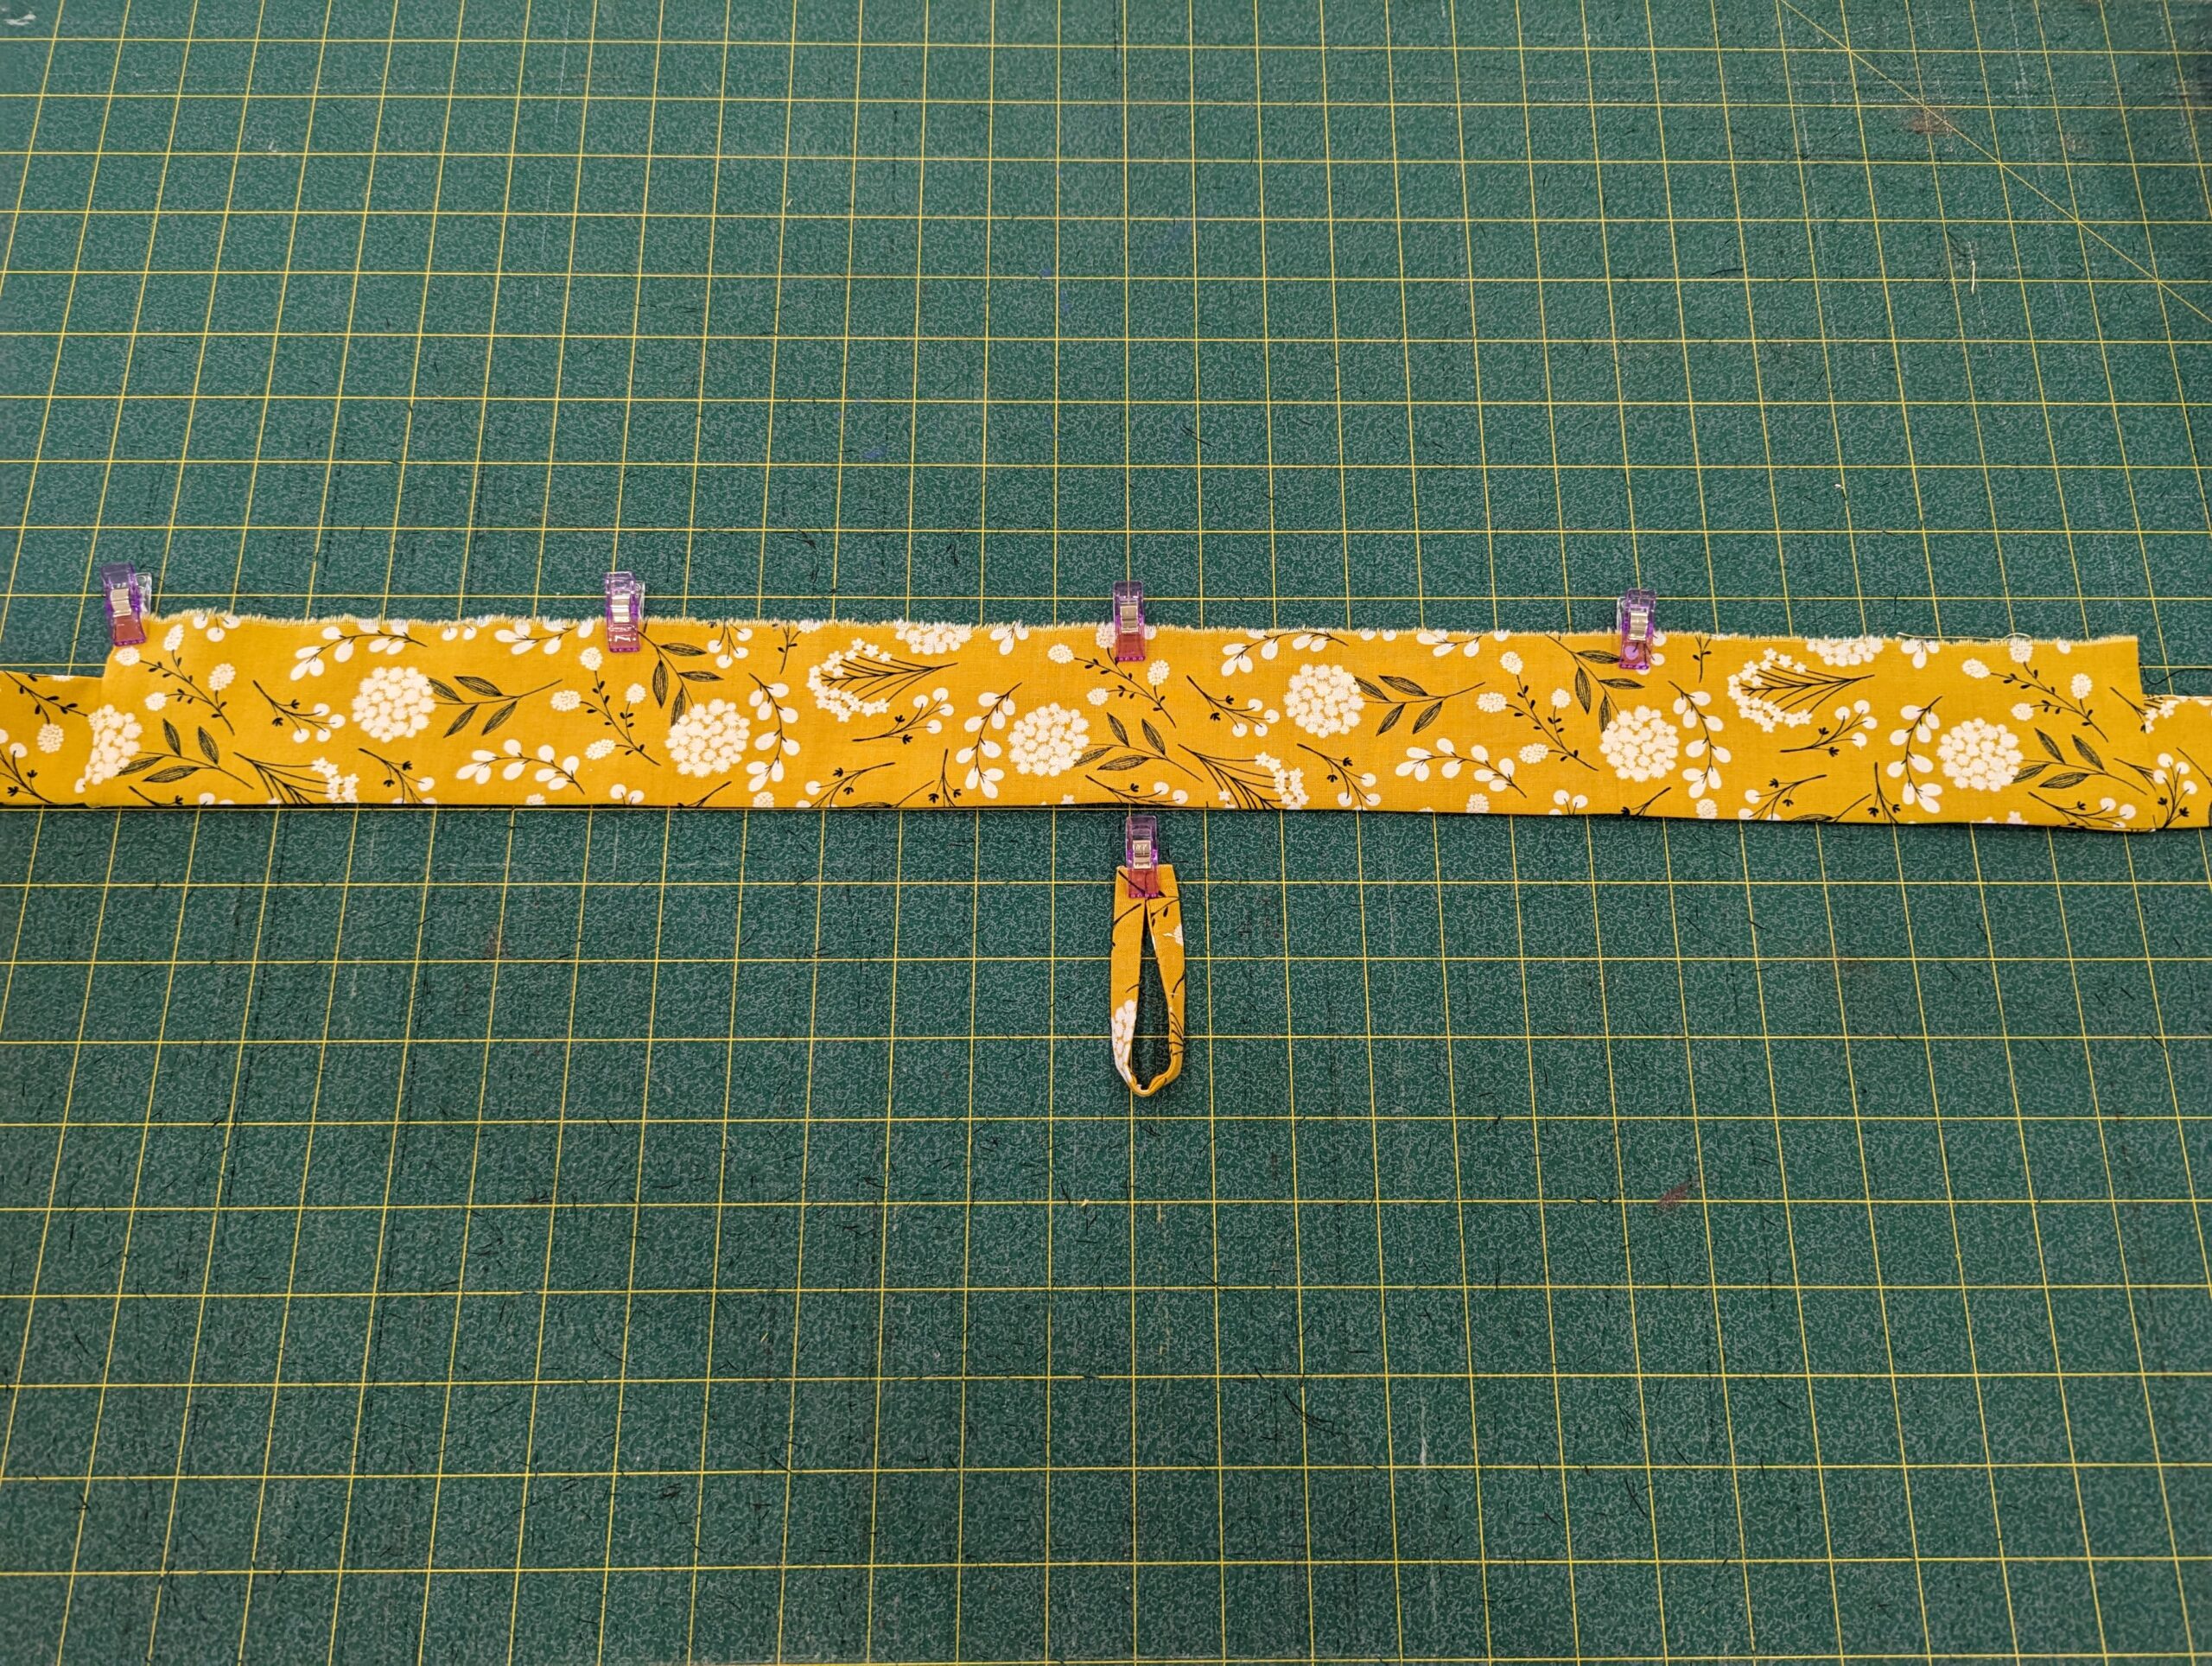
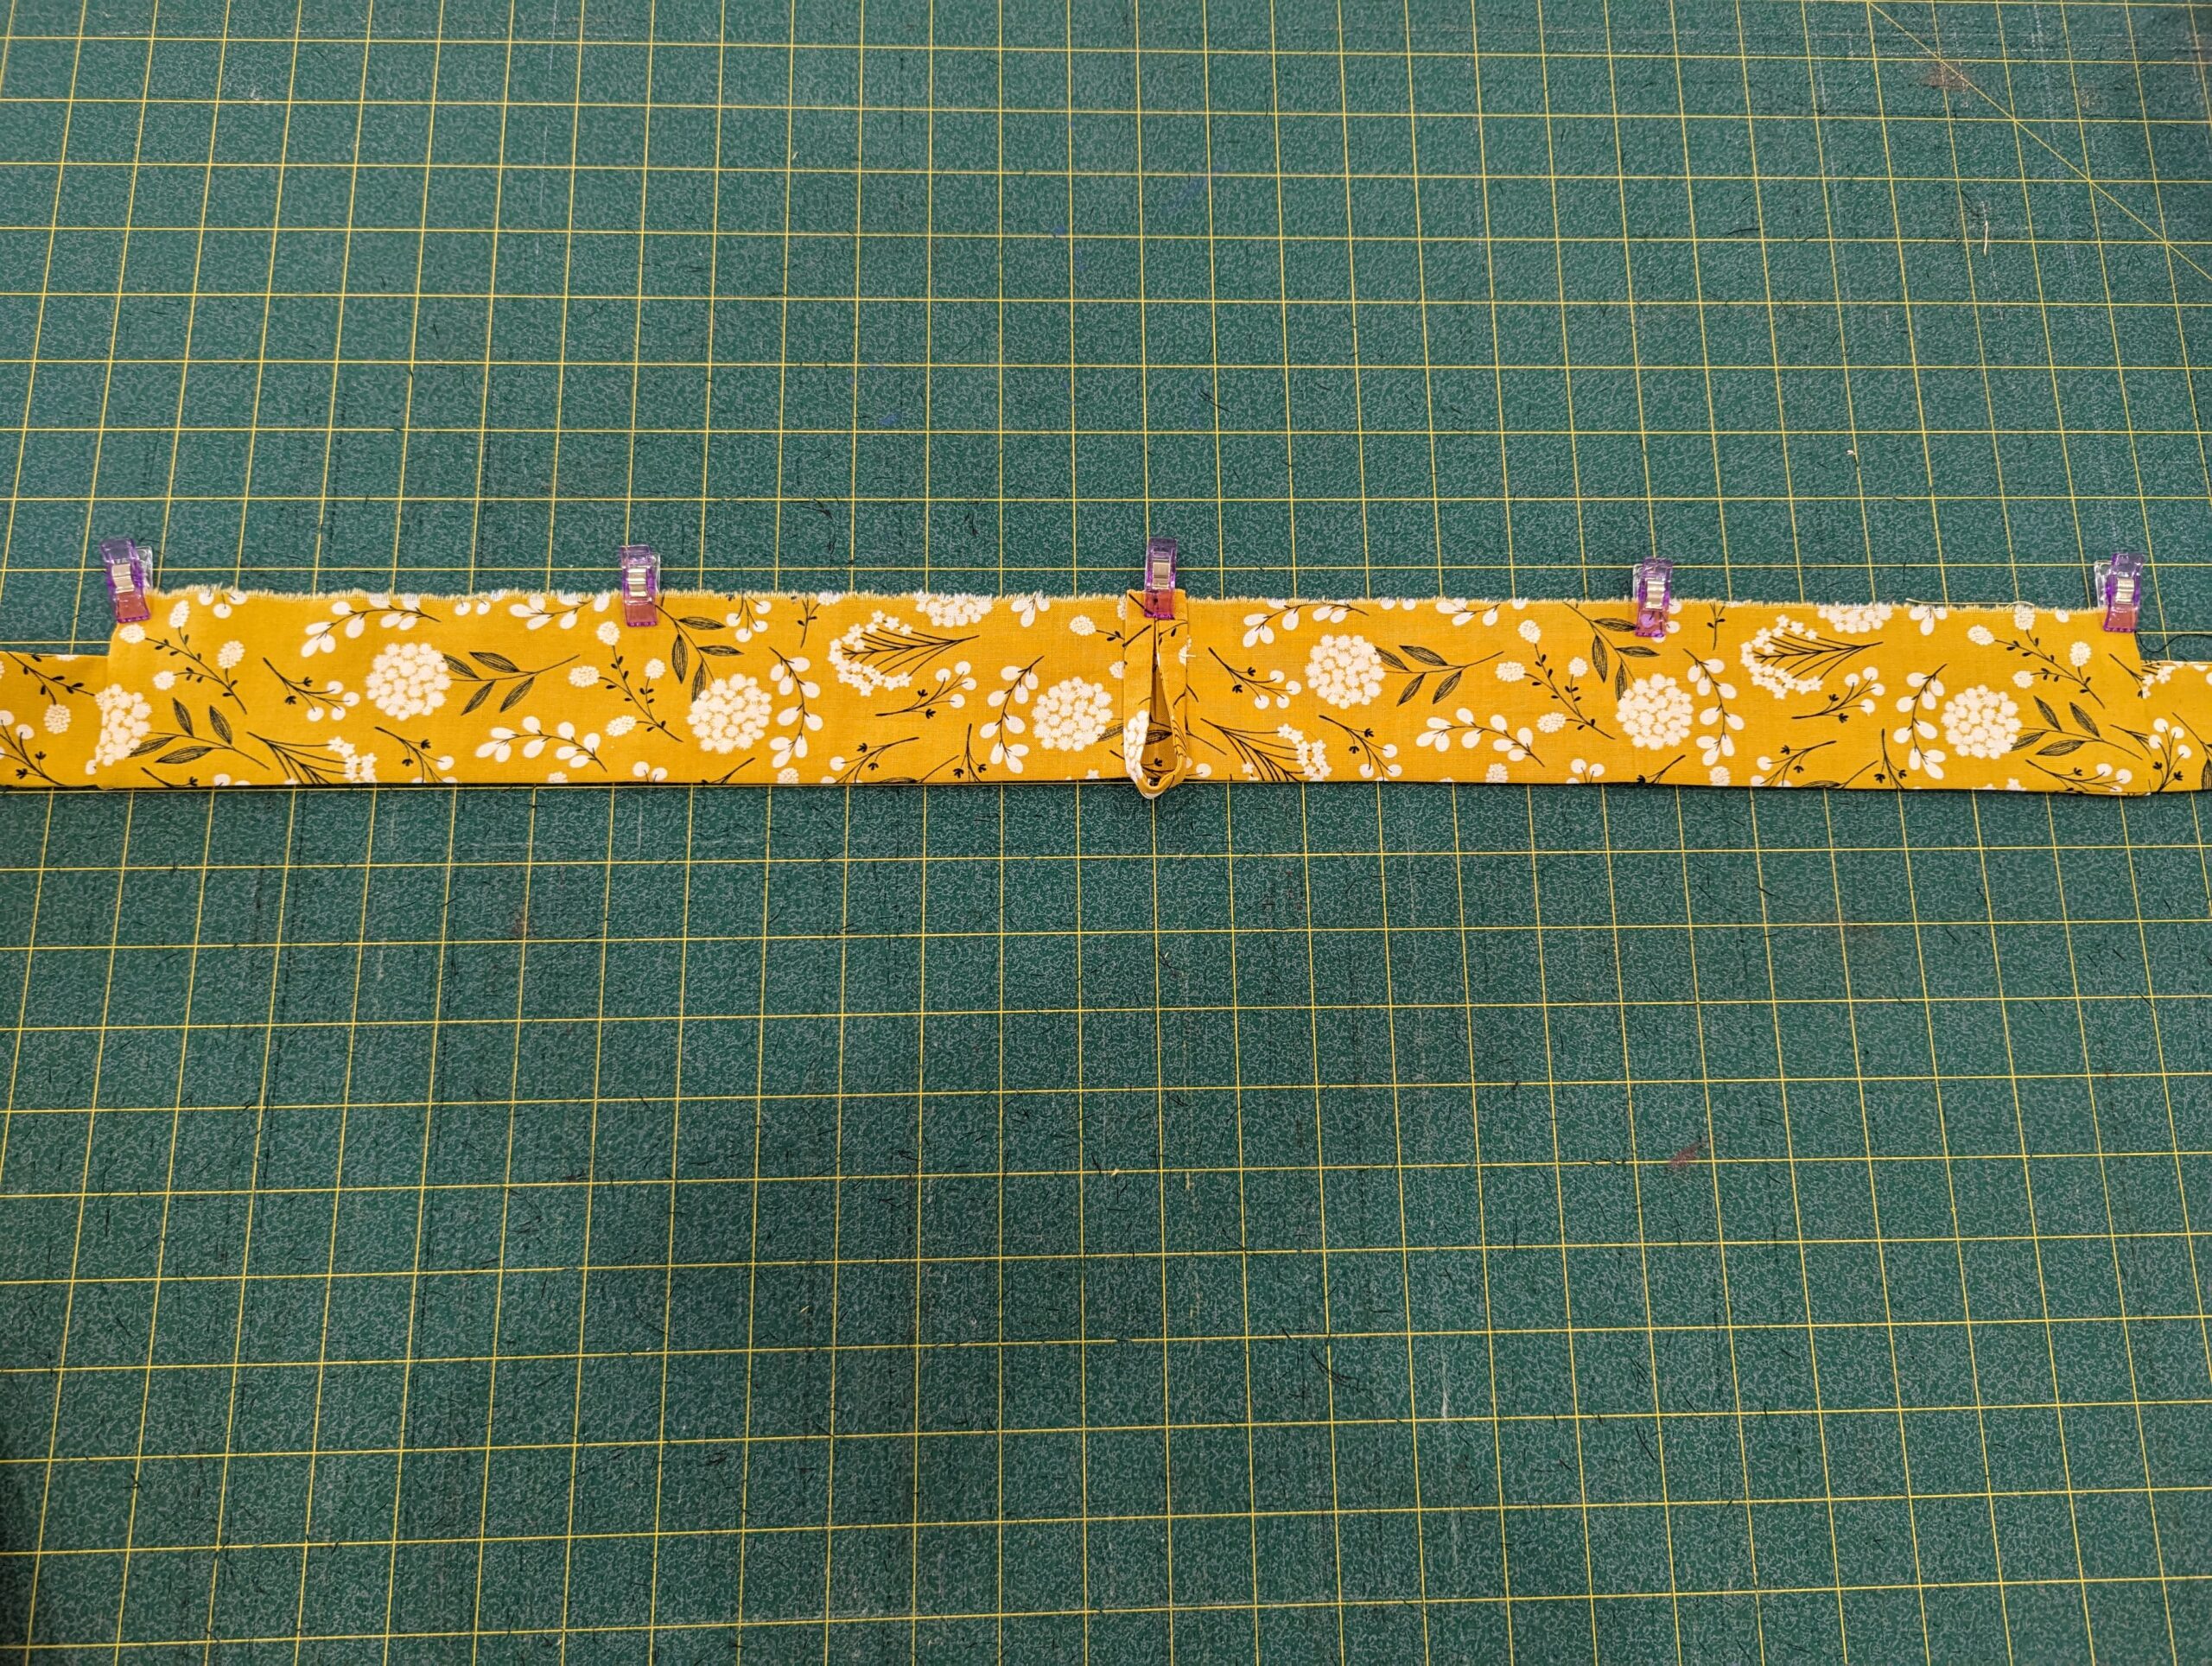
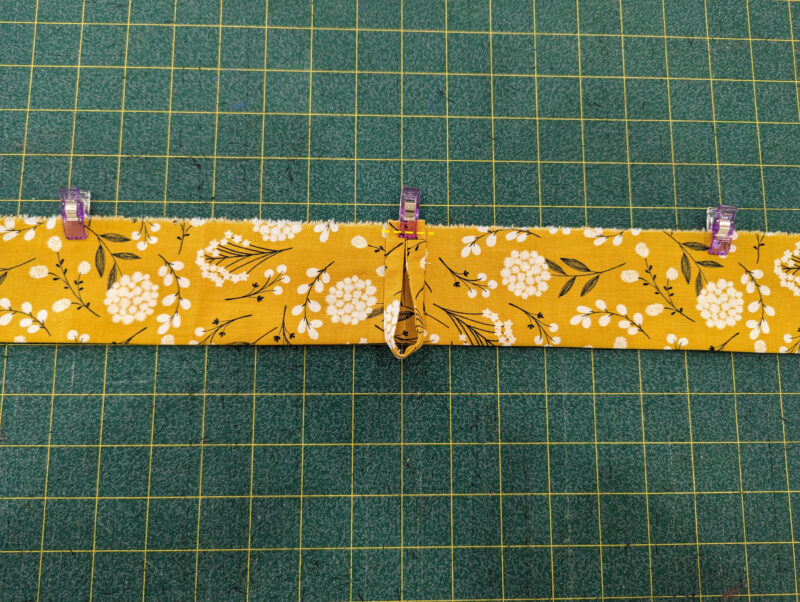
Find the center of the waistband and pin the center loop in place. Baste the center loop in the center.
Step 7: FINISHING
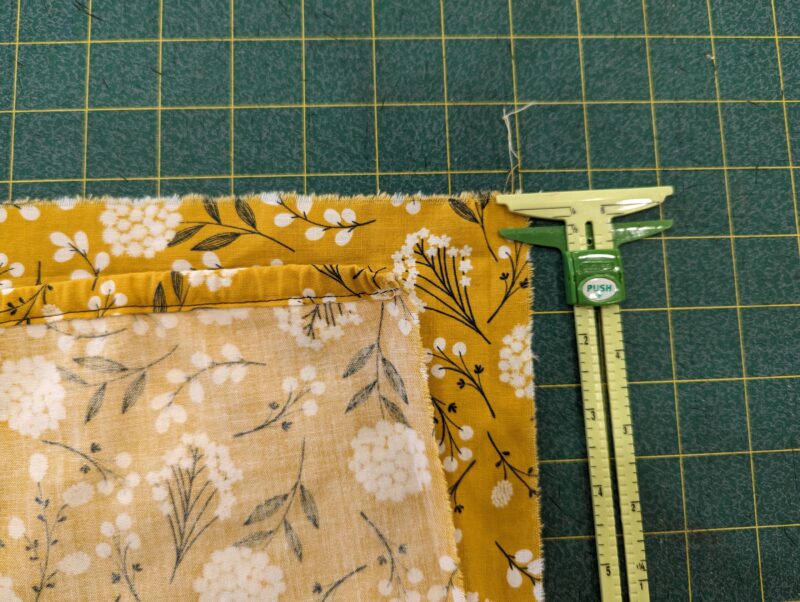
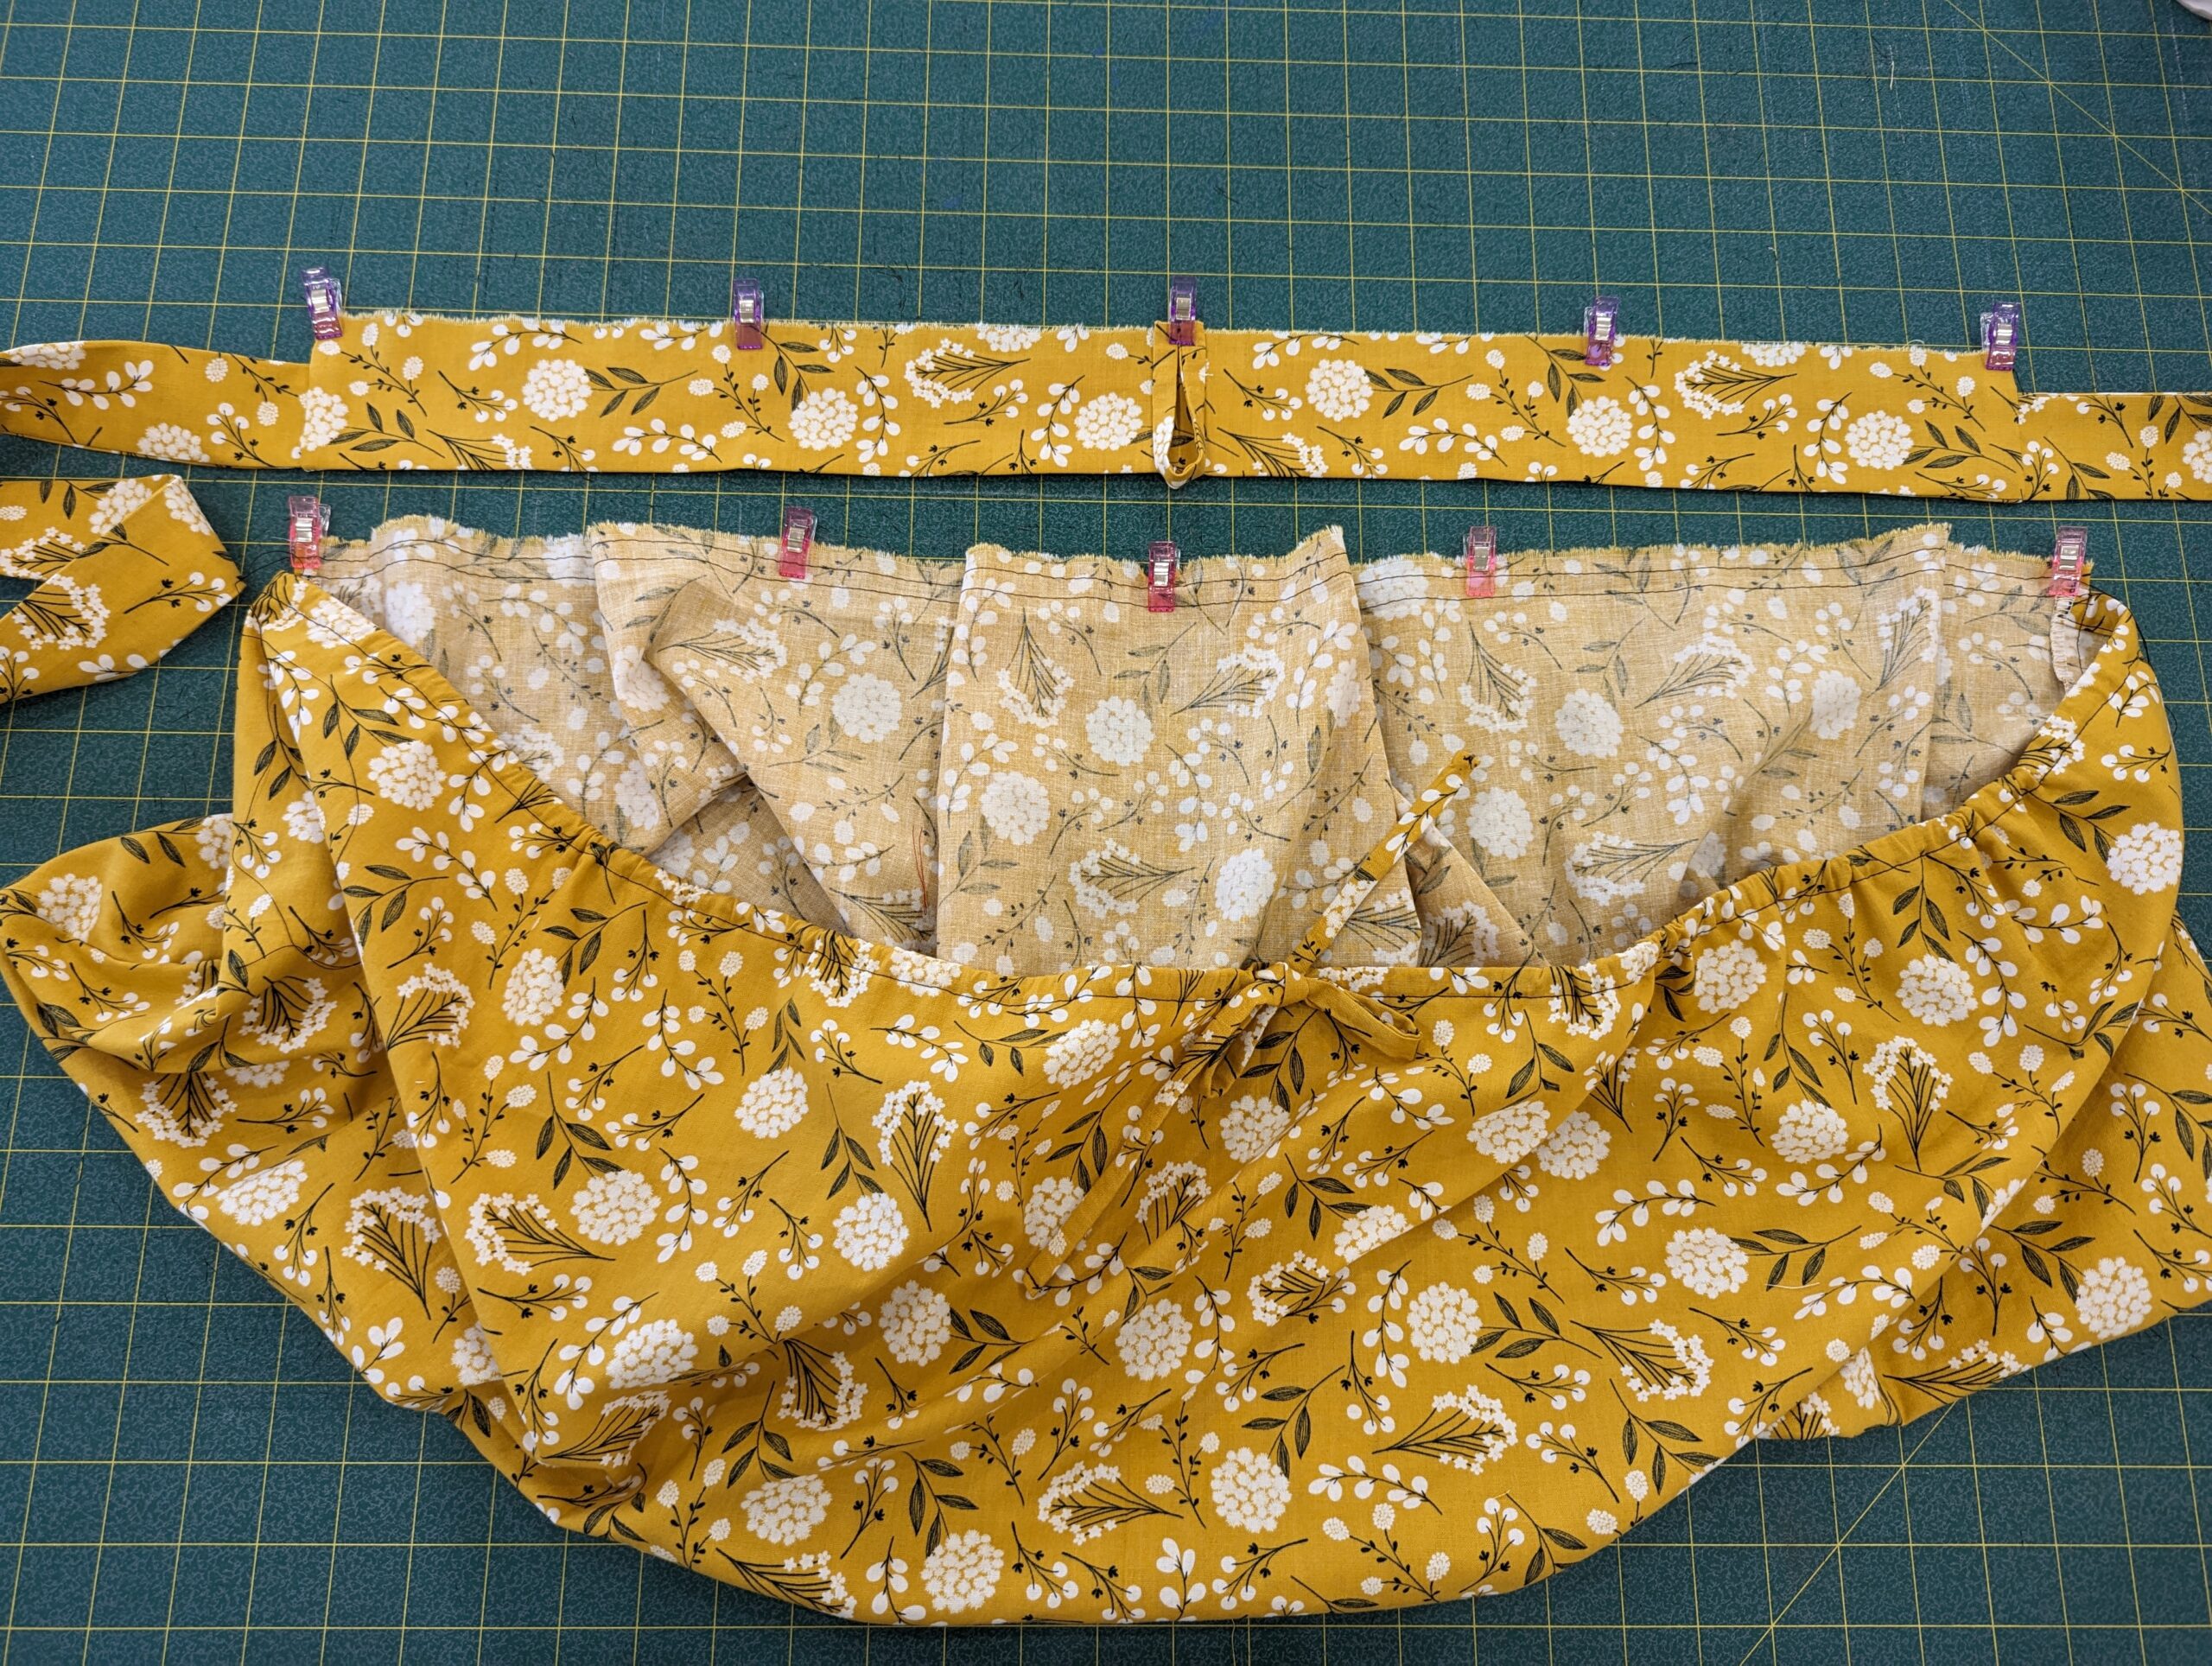
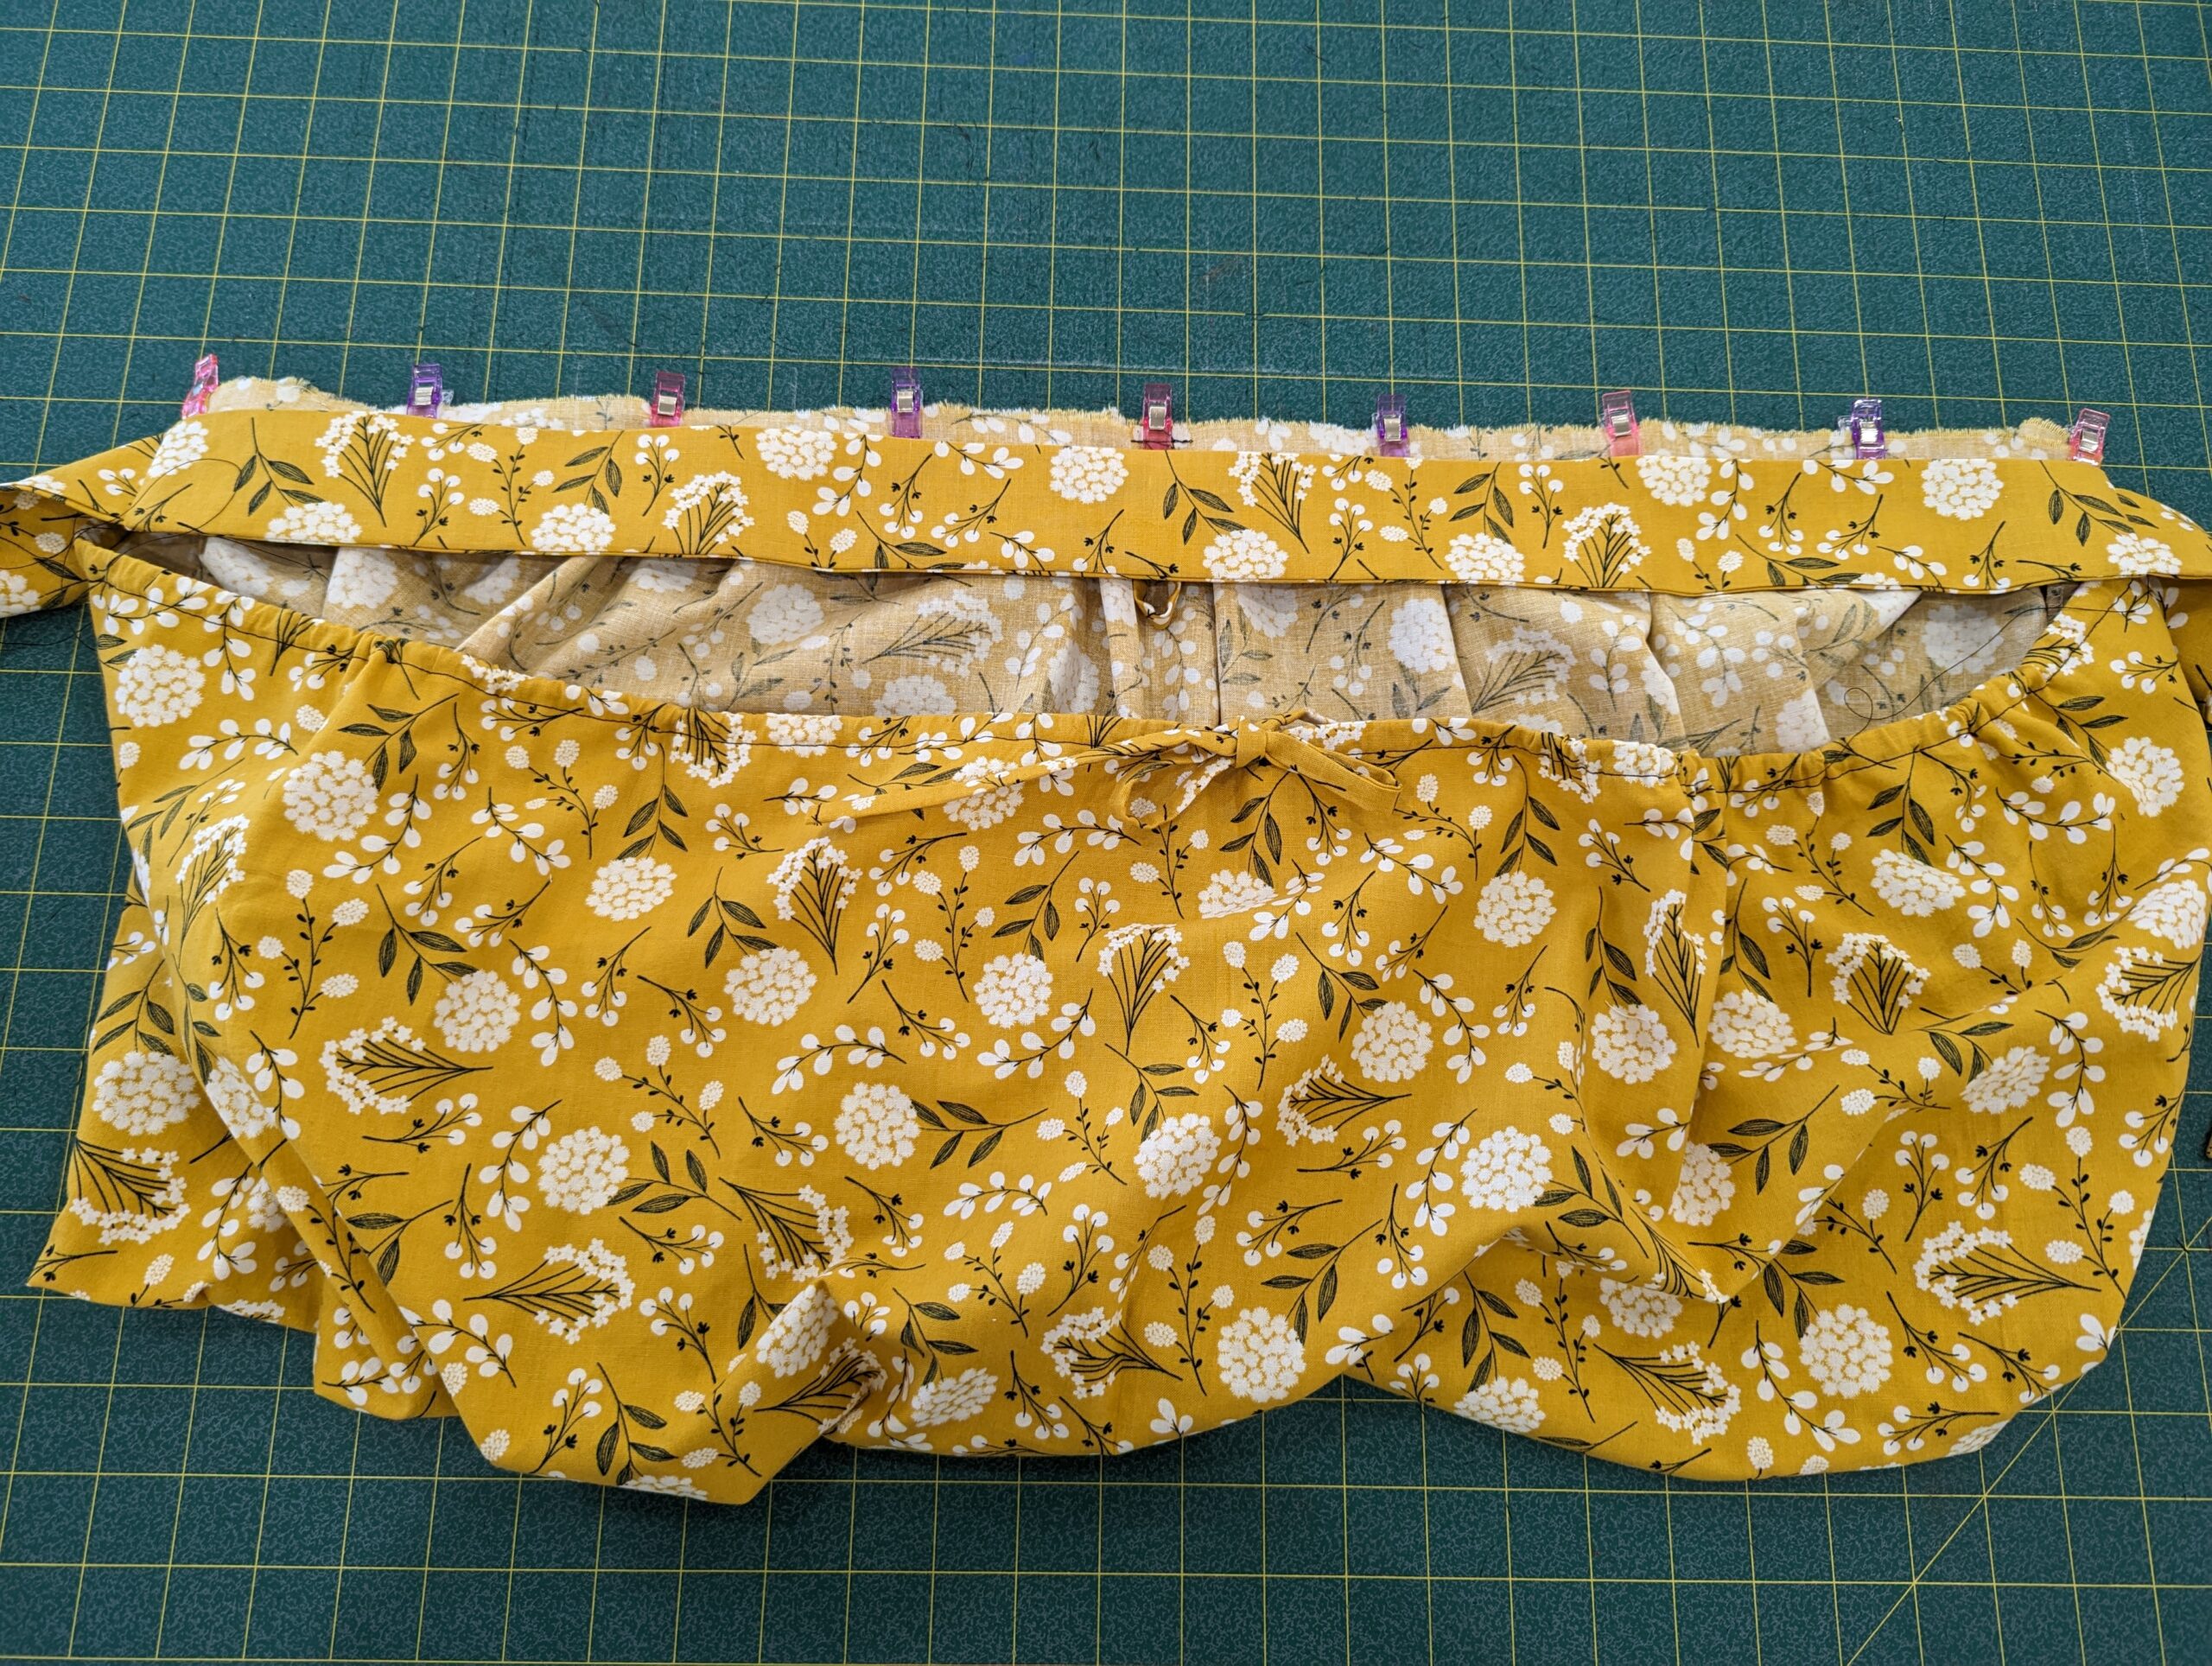
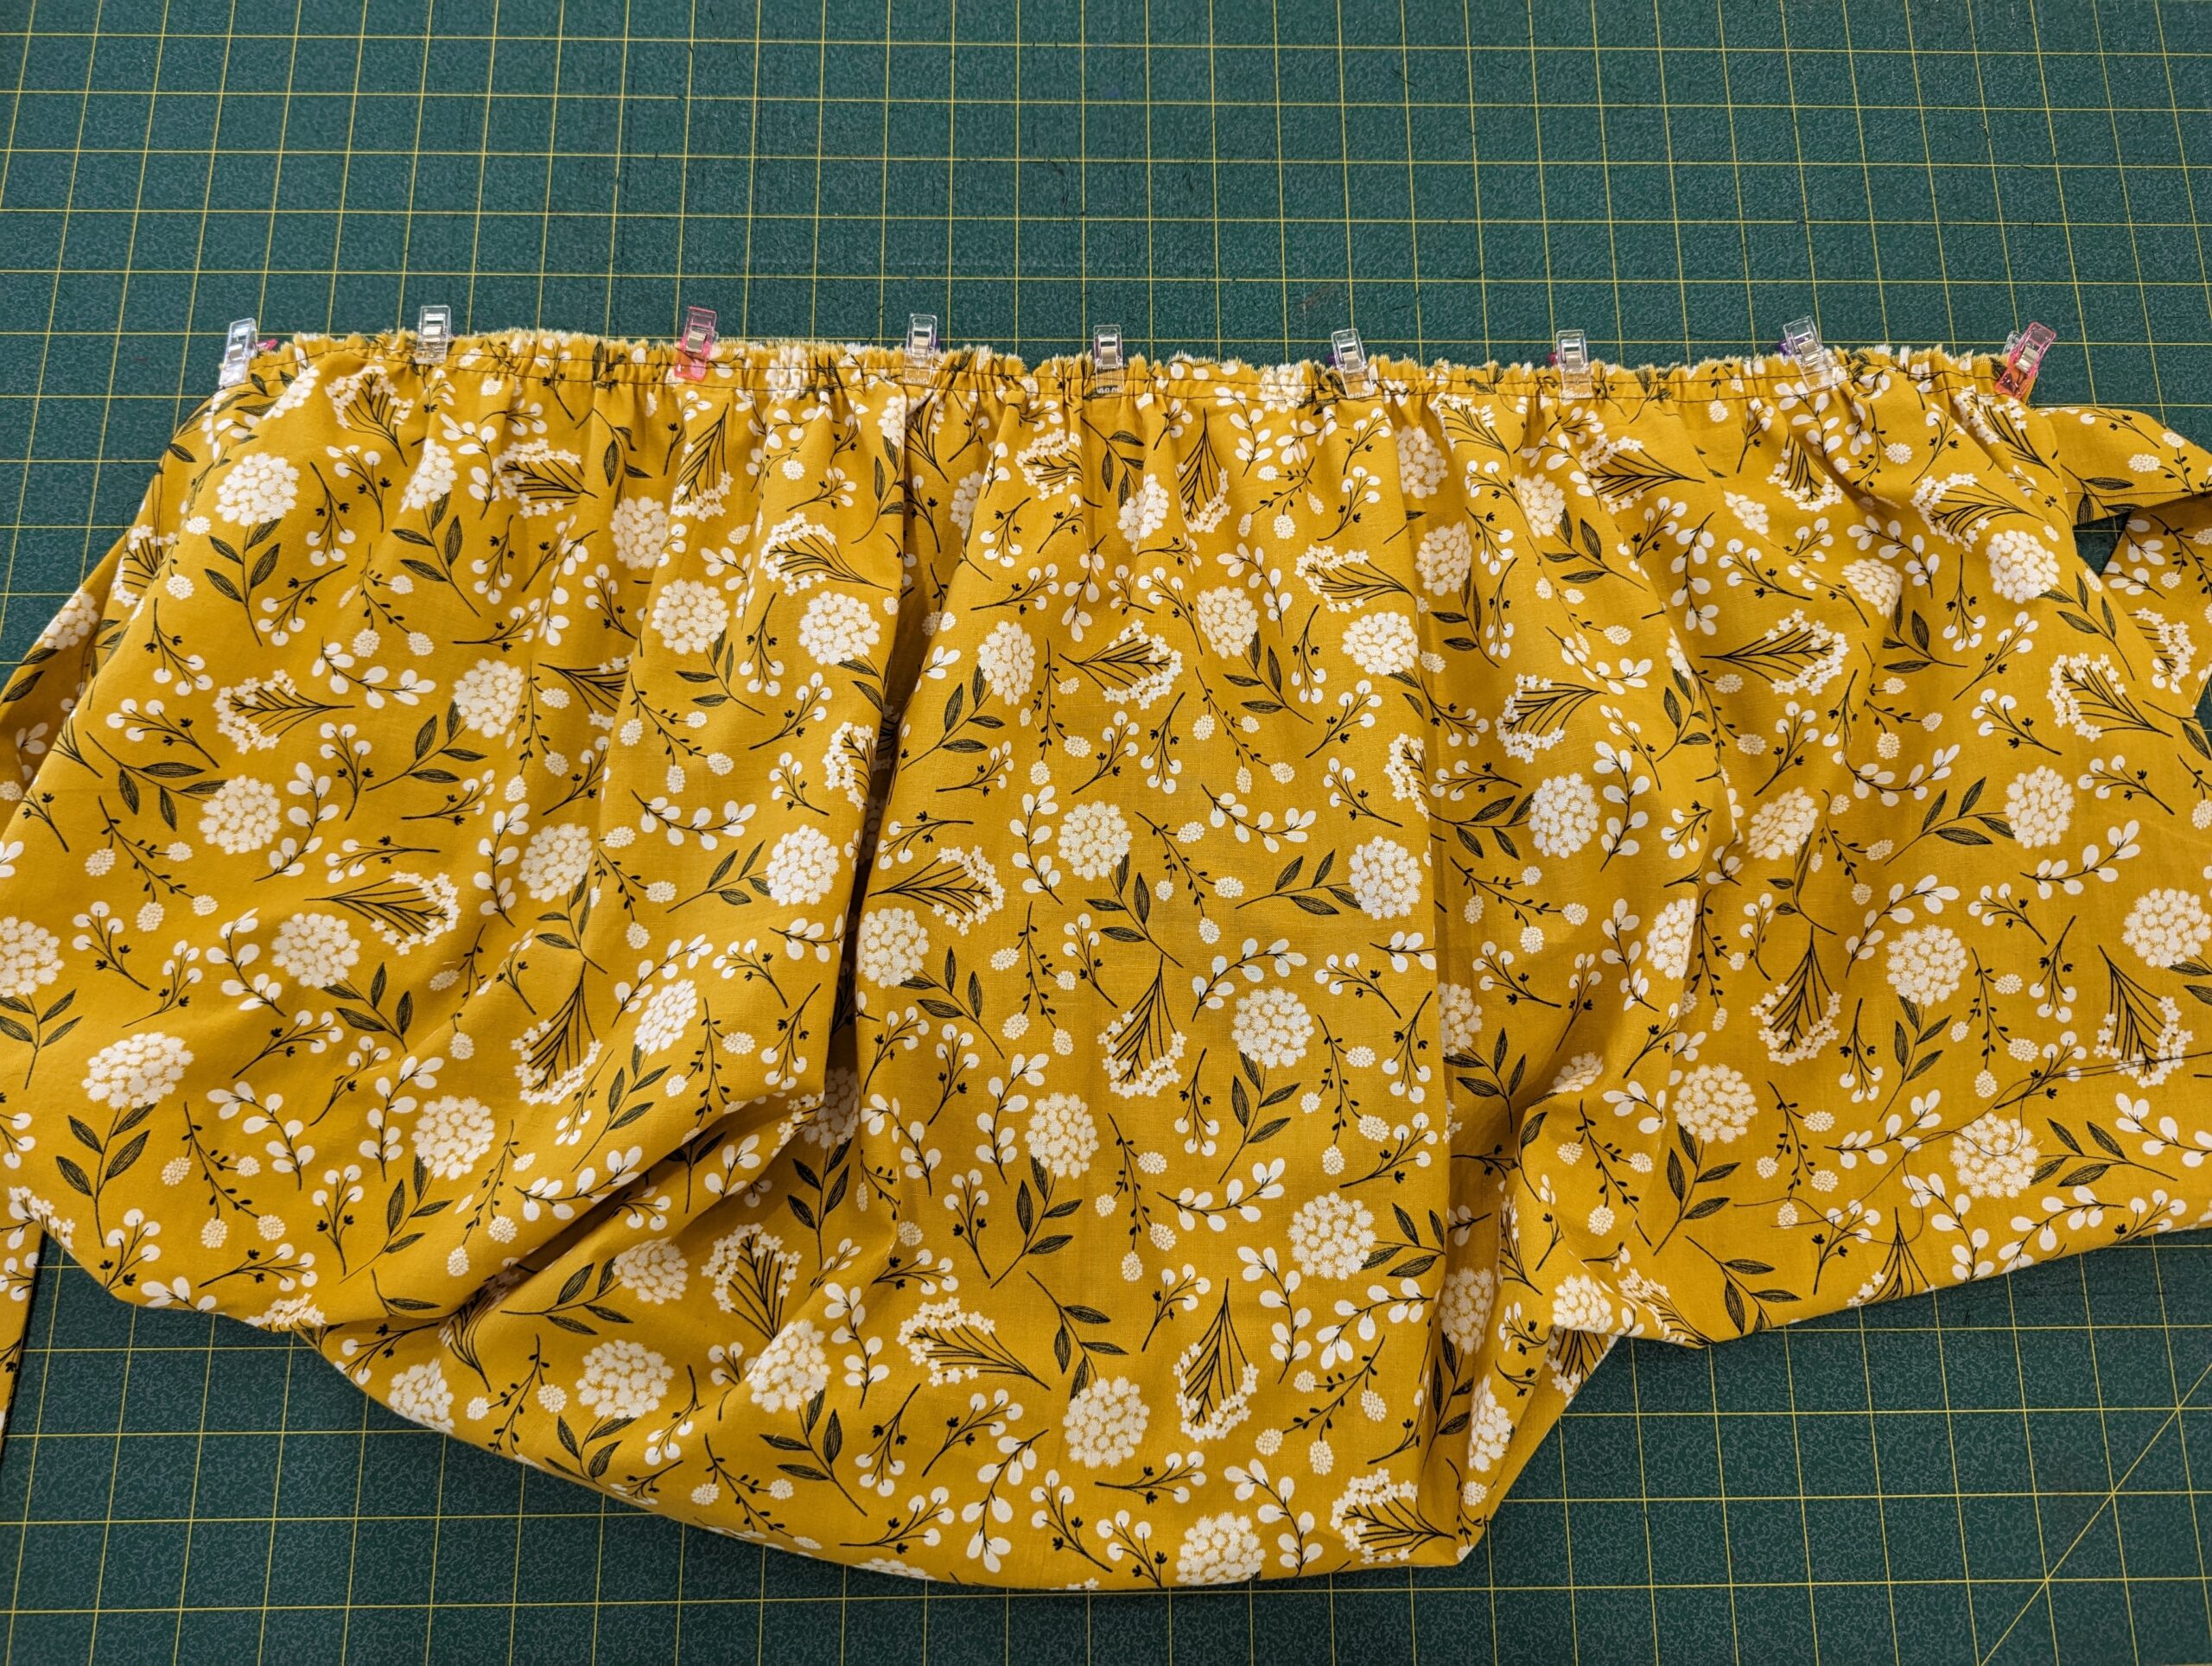
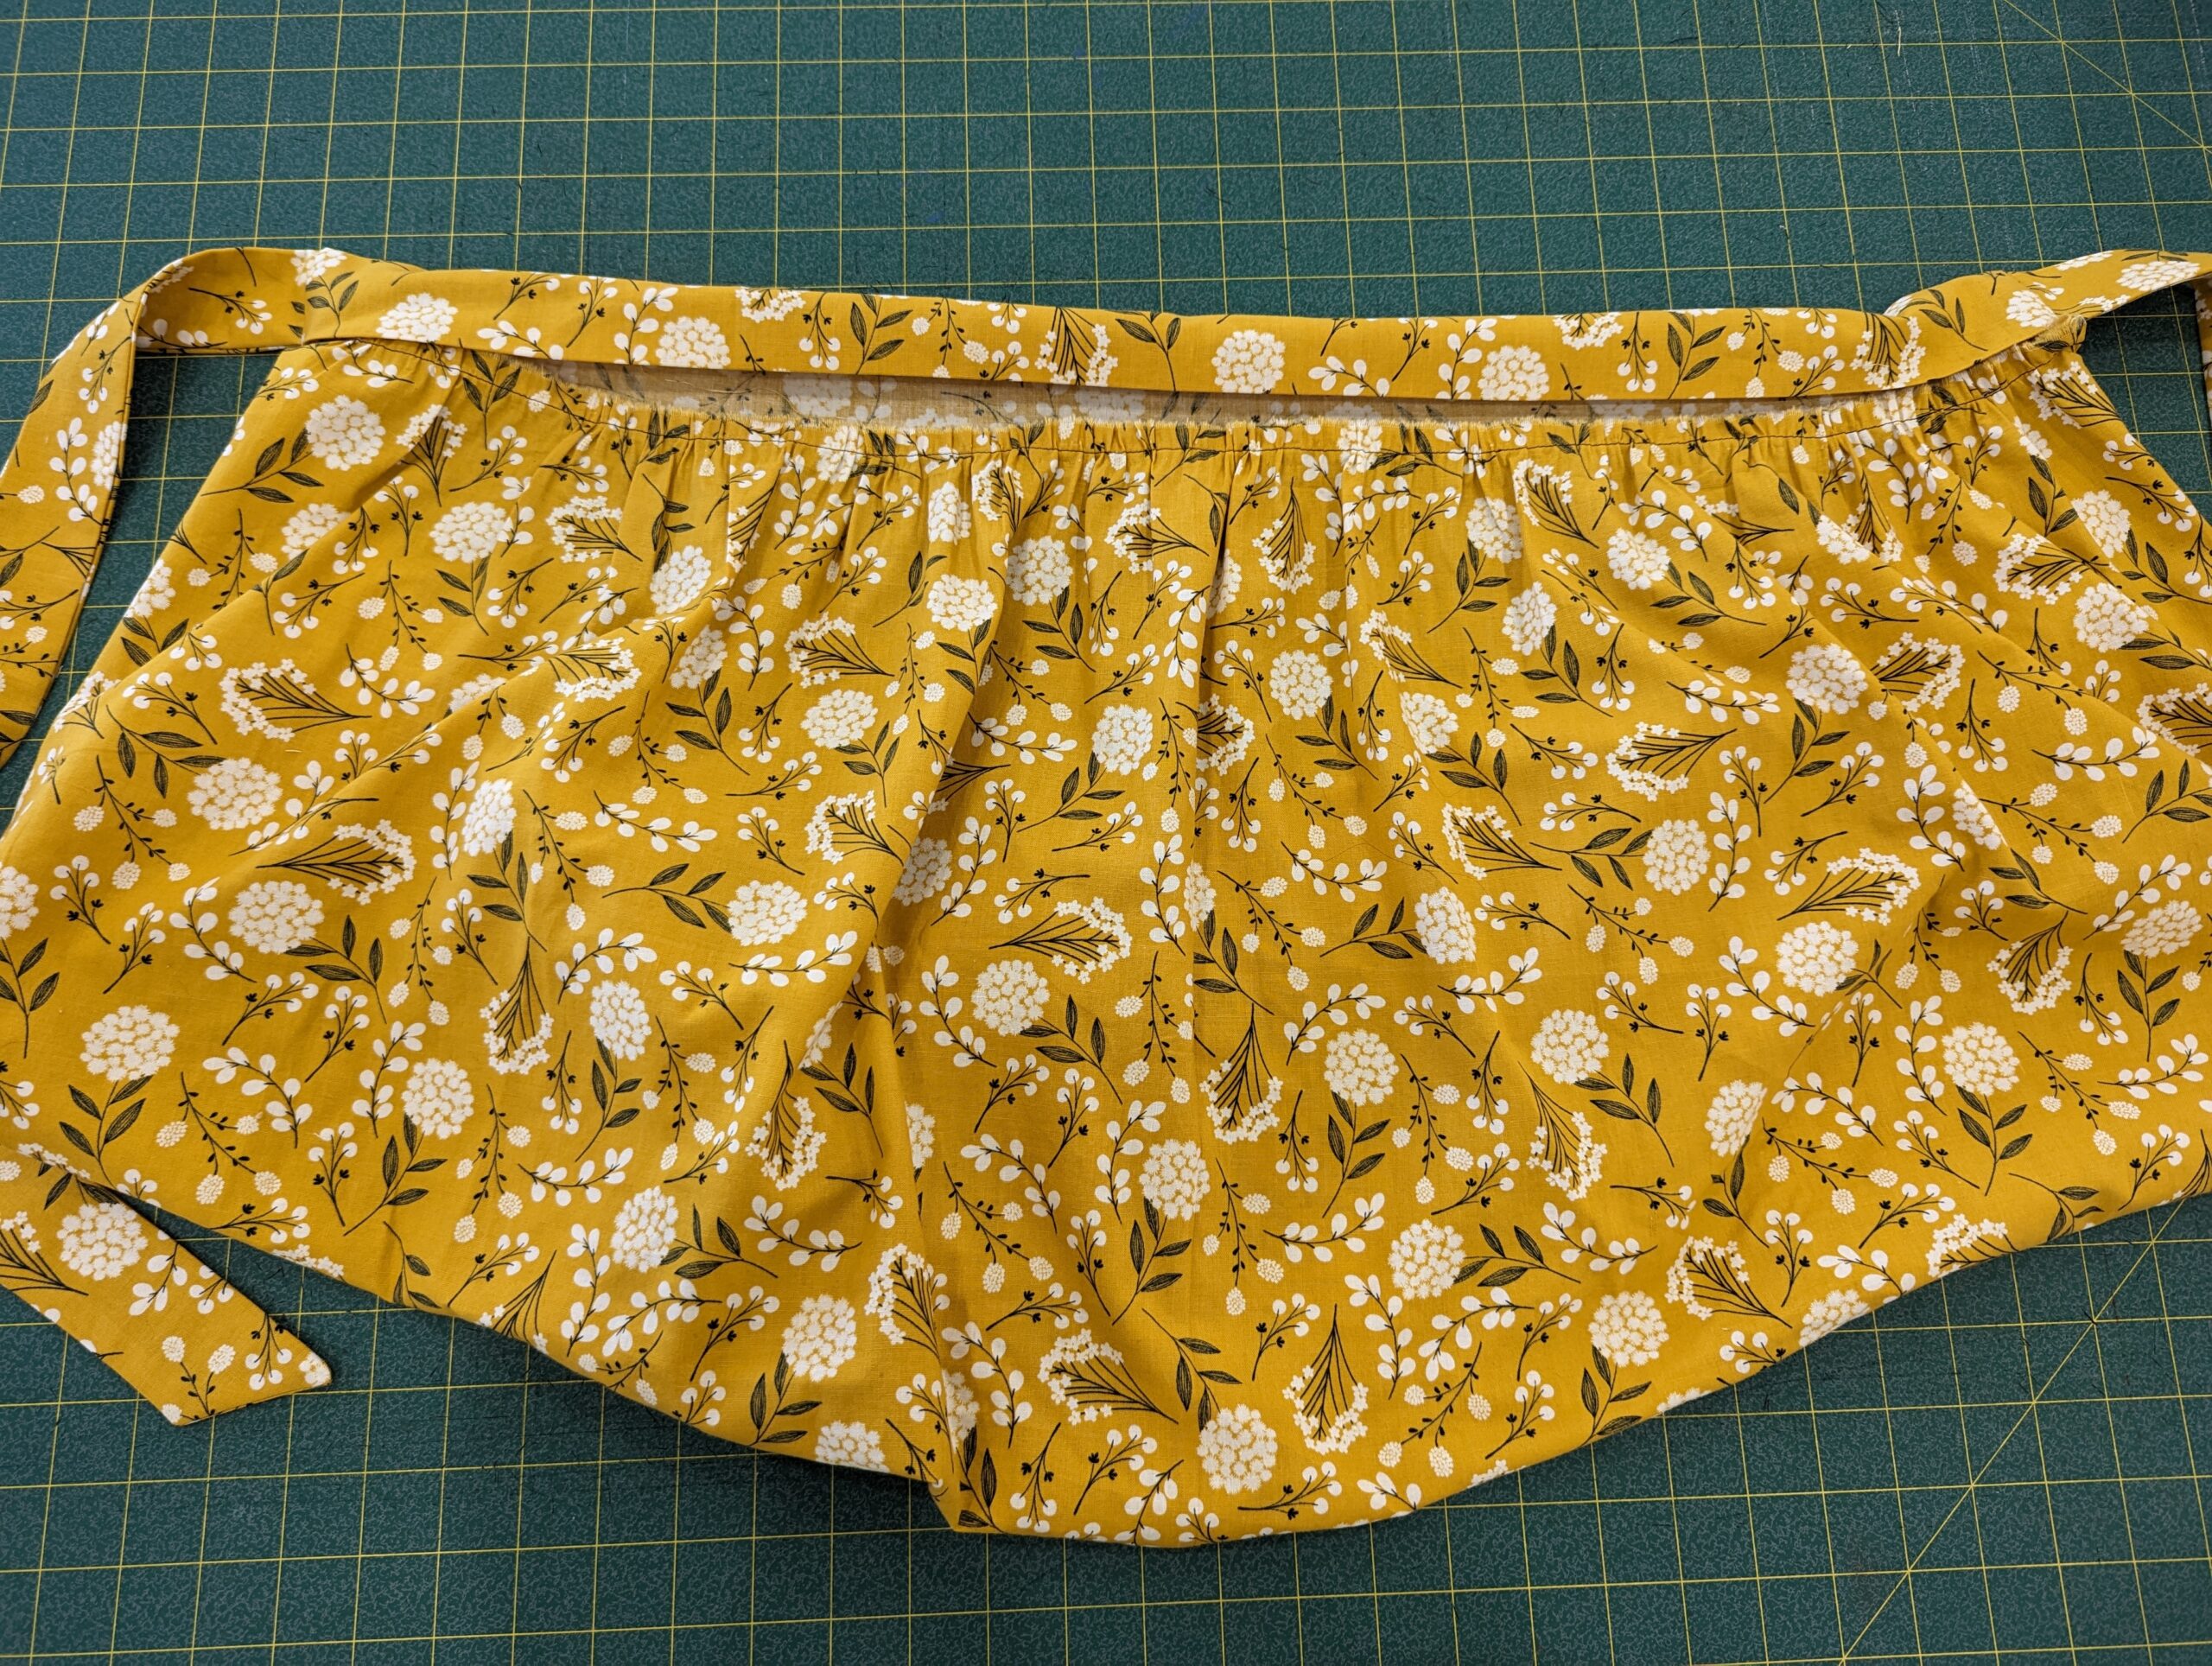
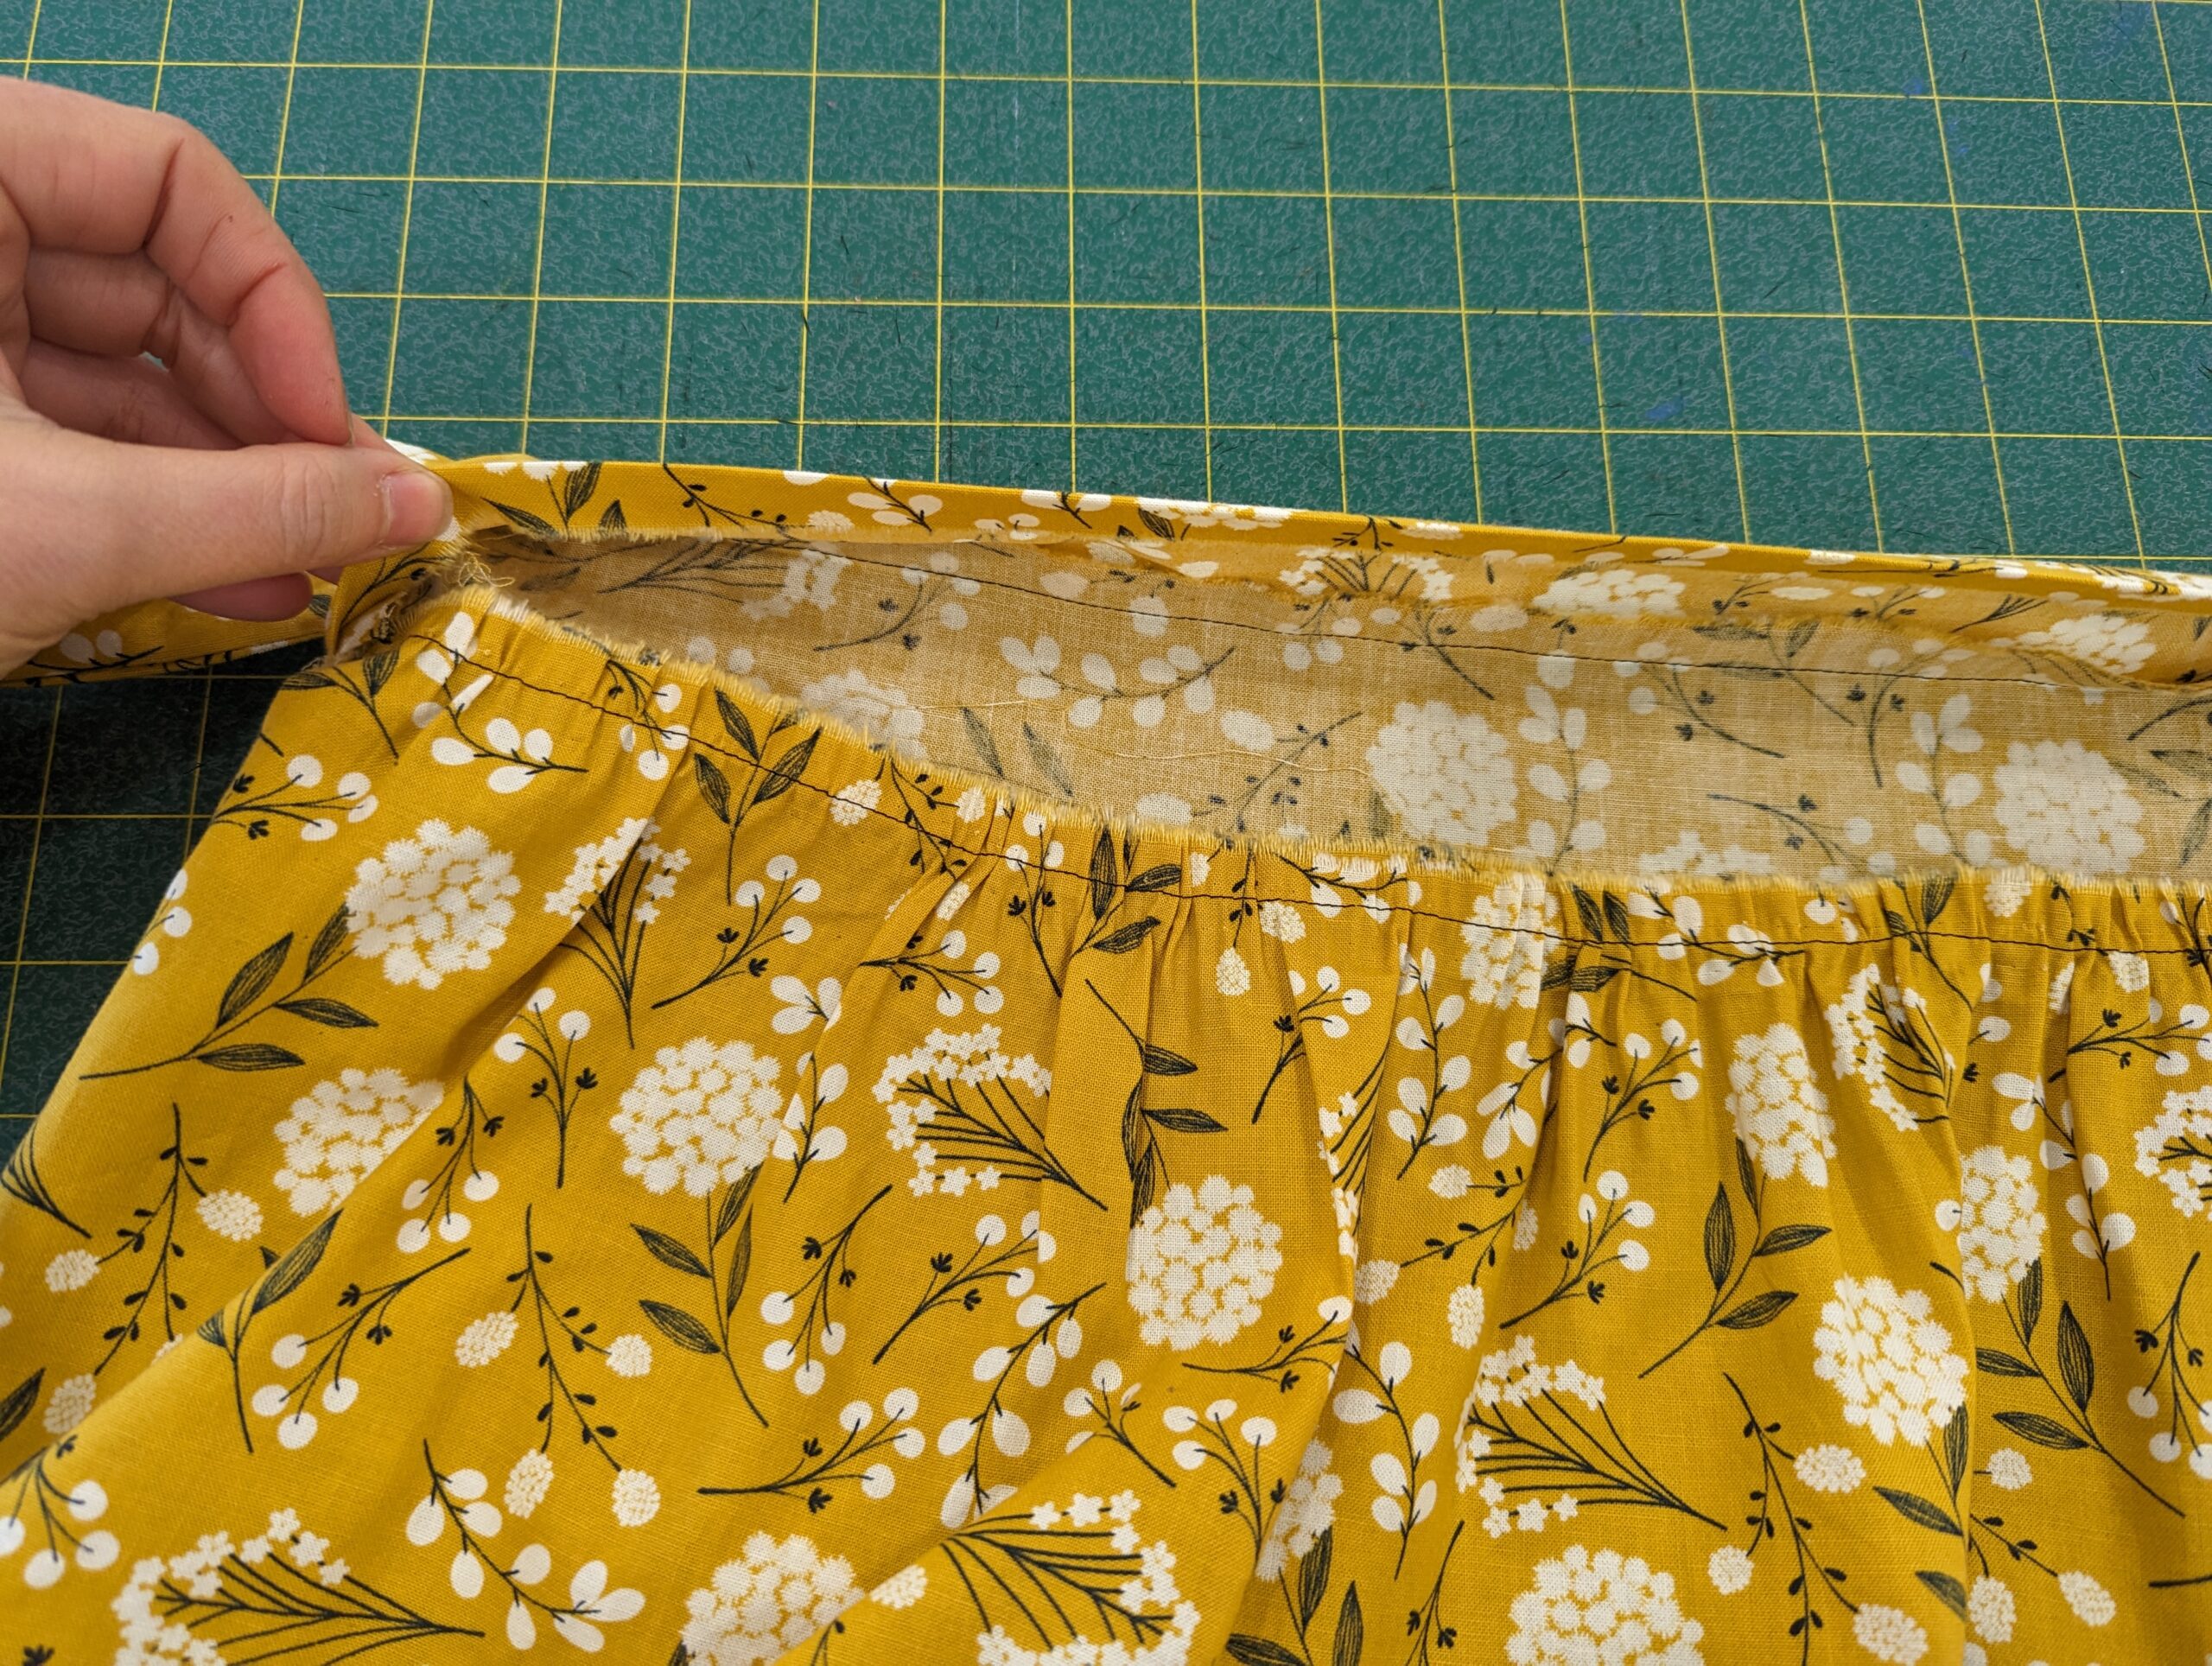
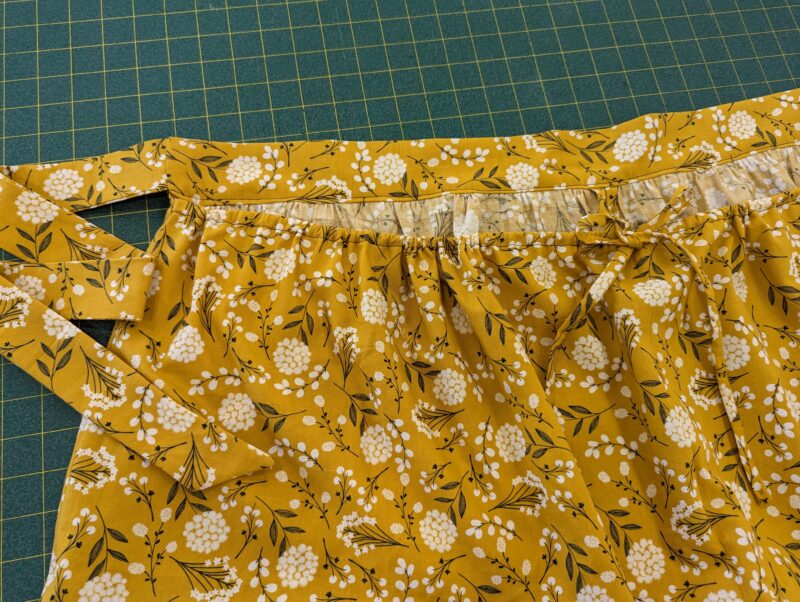
With the right side of the waistband to the main apron, gather the apron to fit the waistband. The center loop will be sandwiched between.
Note- Make sure the pouch portion of the apron is facing with the right sides up.
Stitch together with a 1/2″ seam allowance.
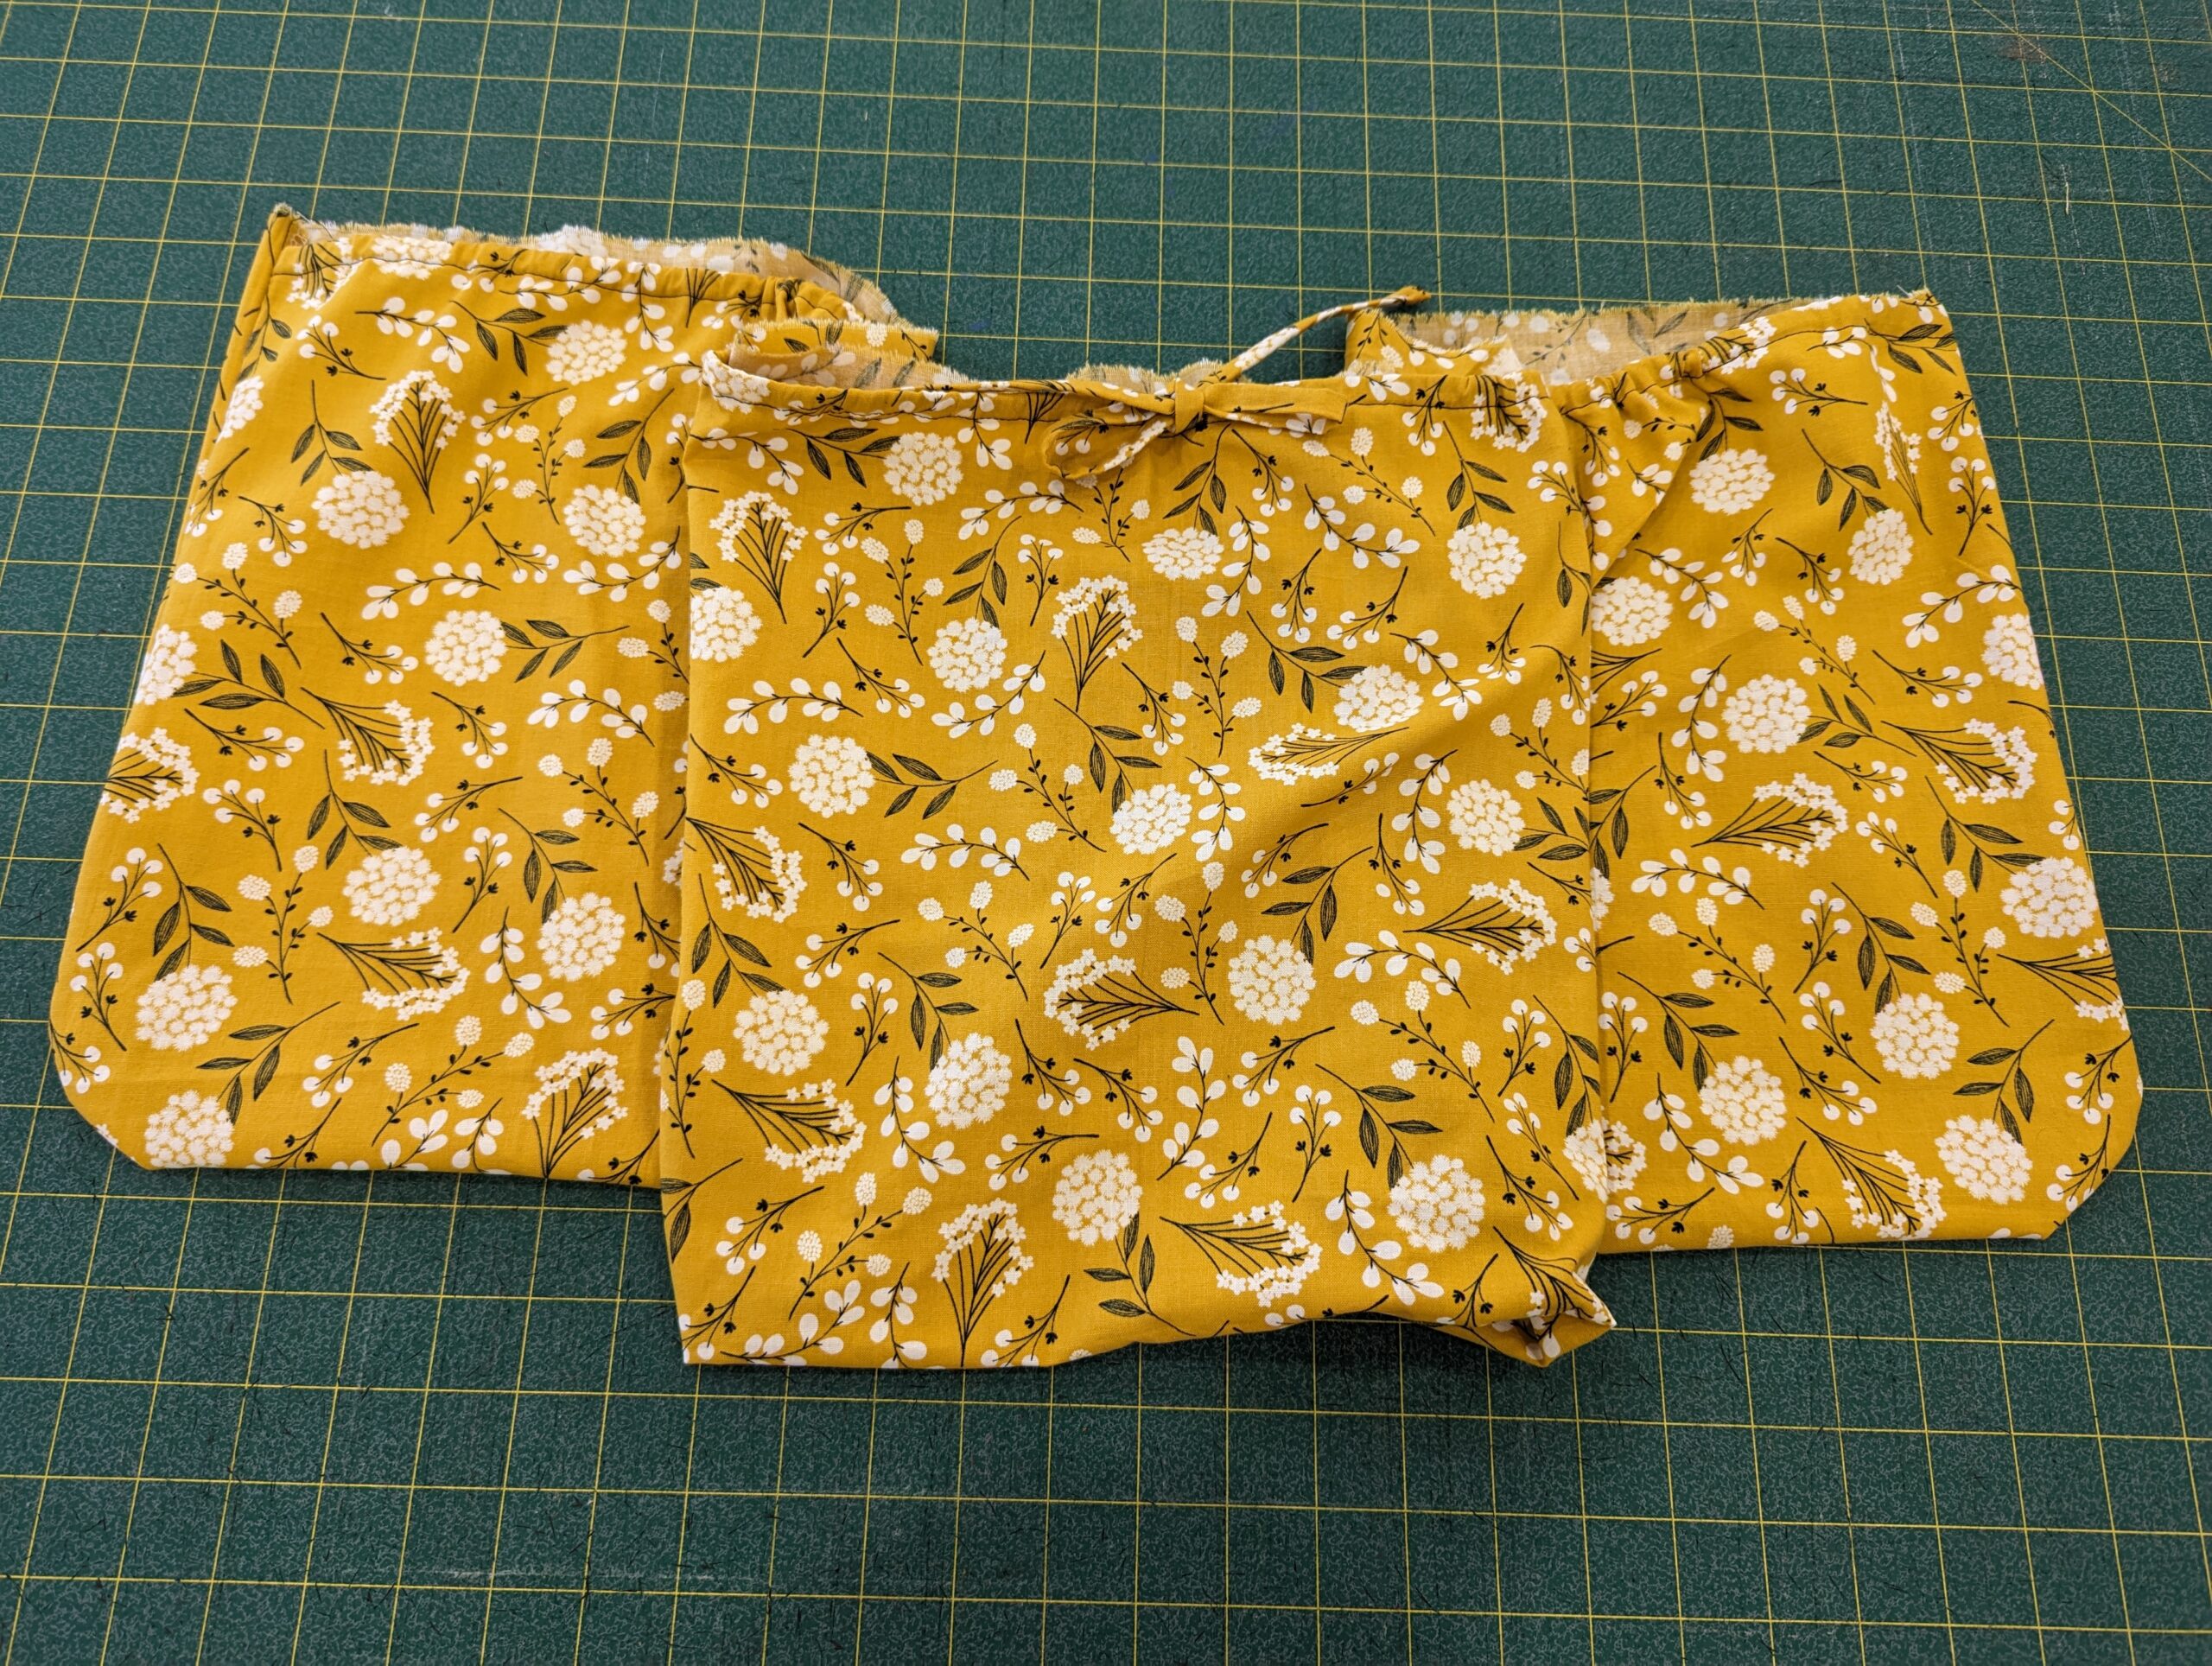
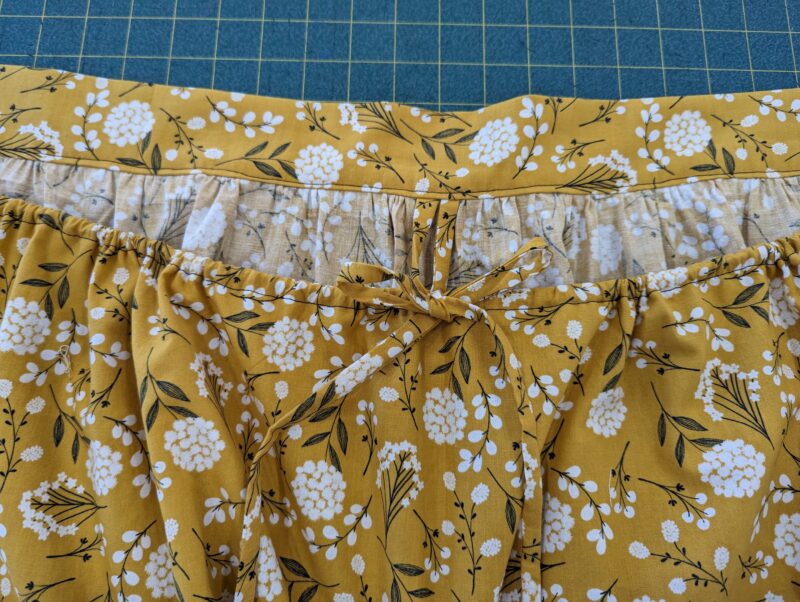
- View from wrong side.
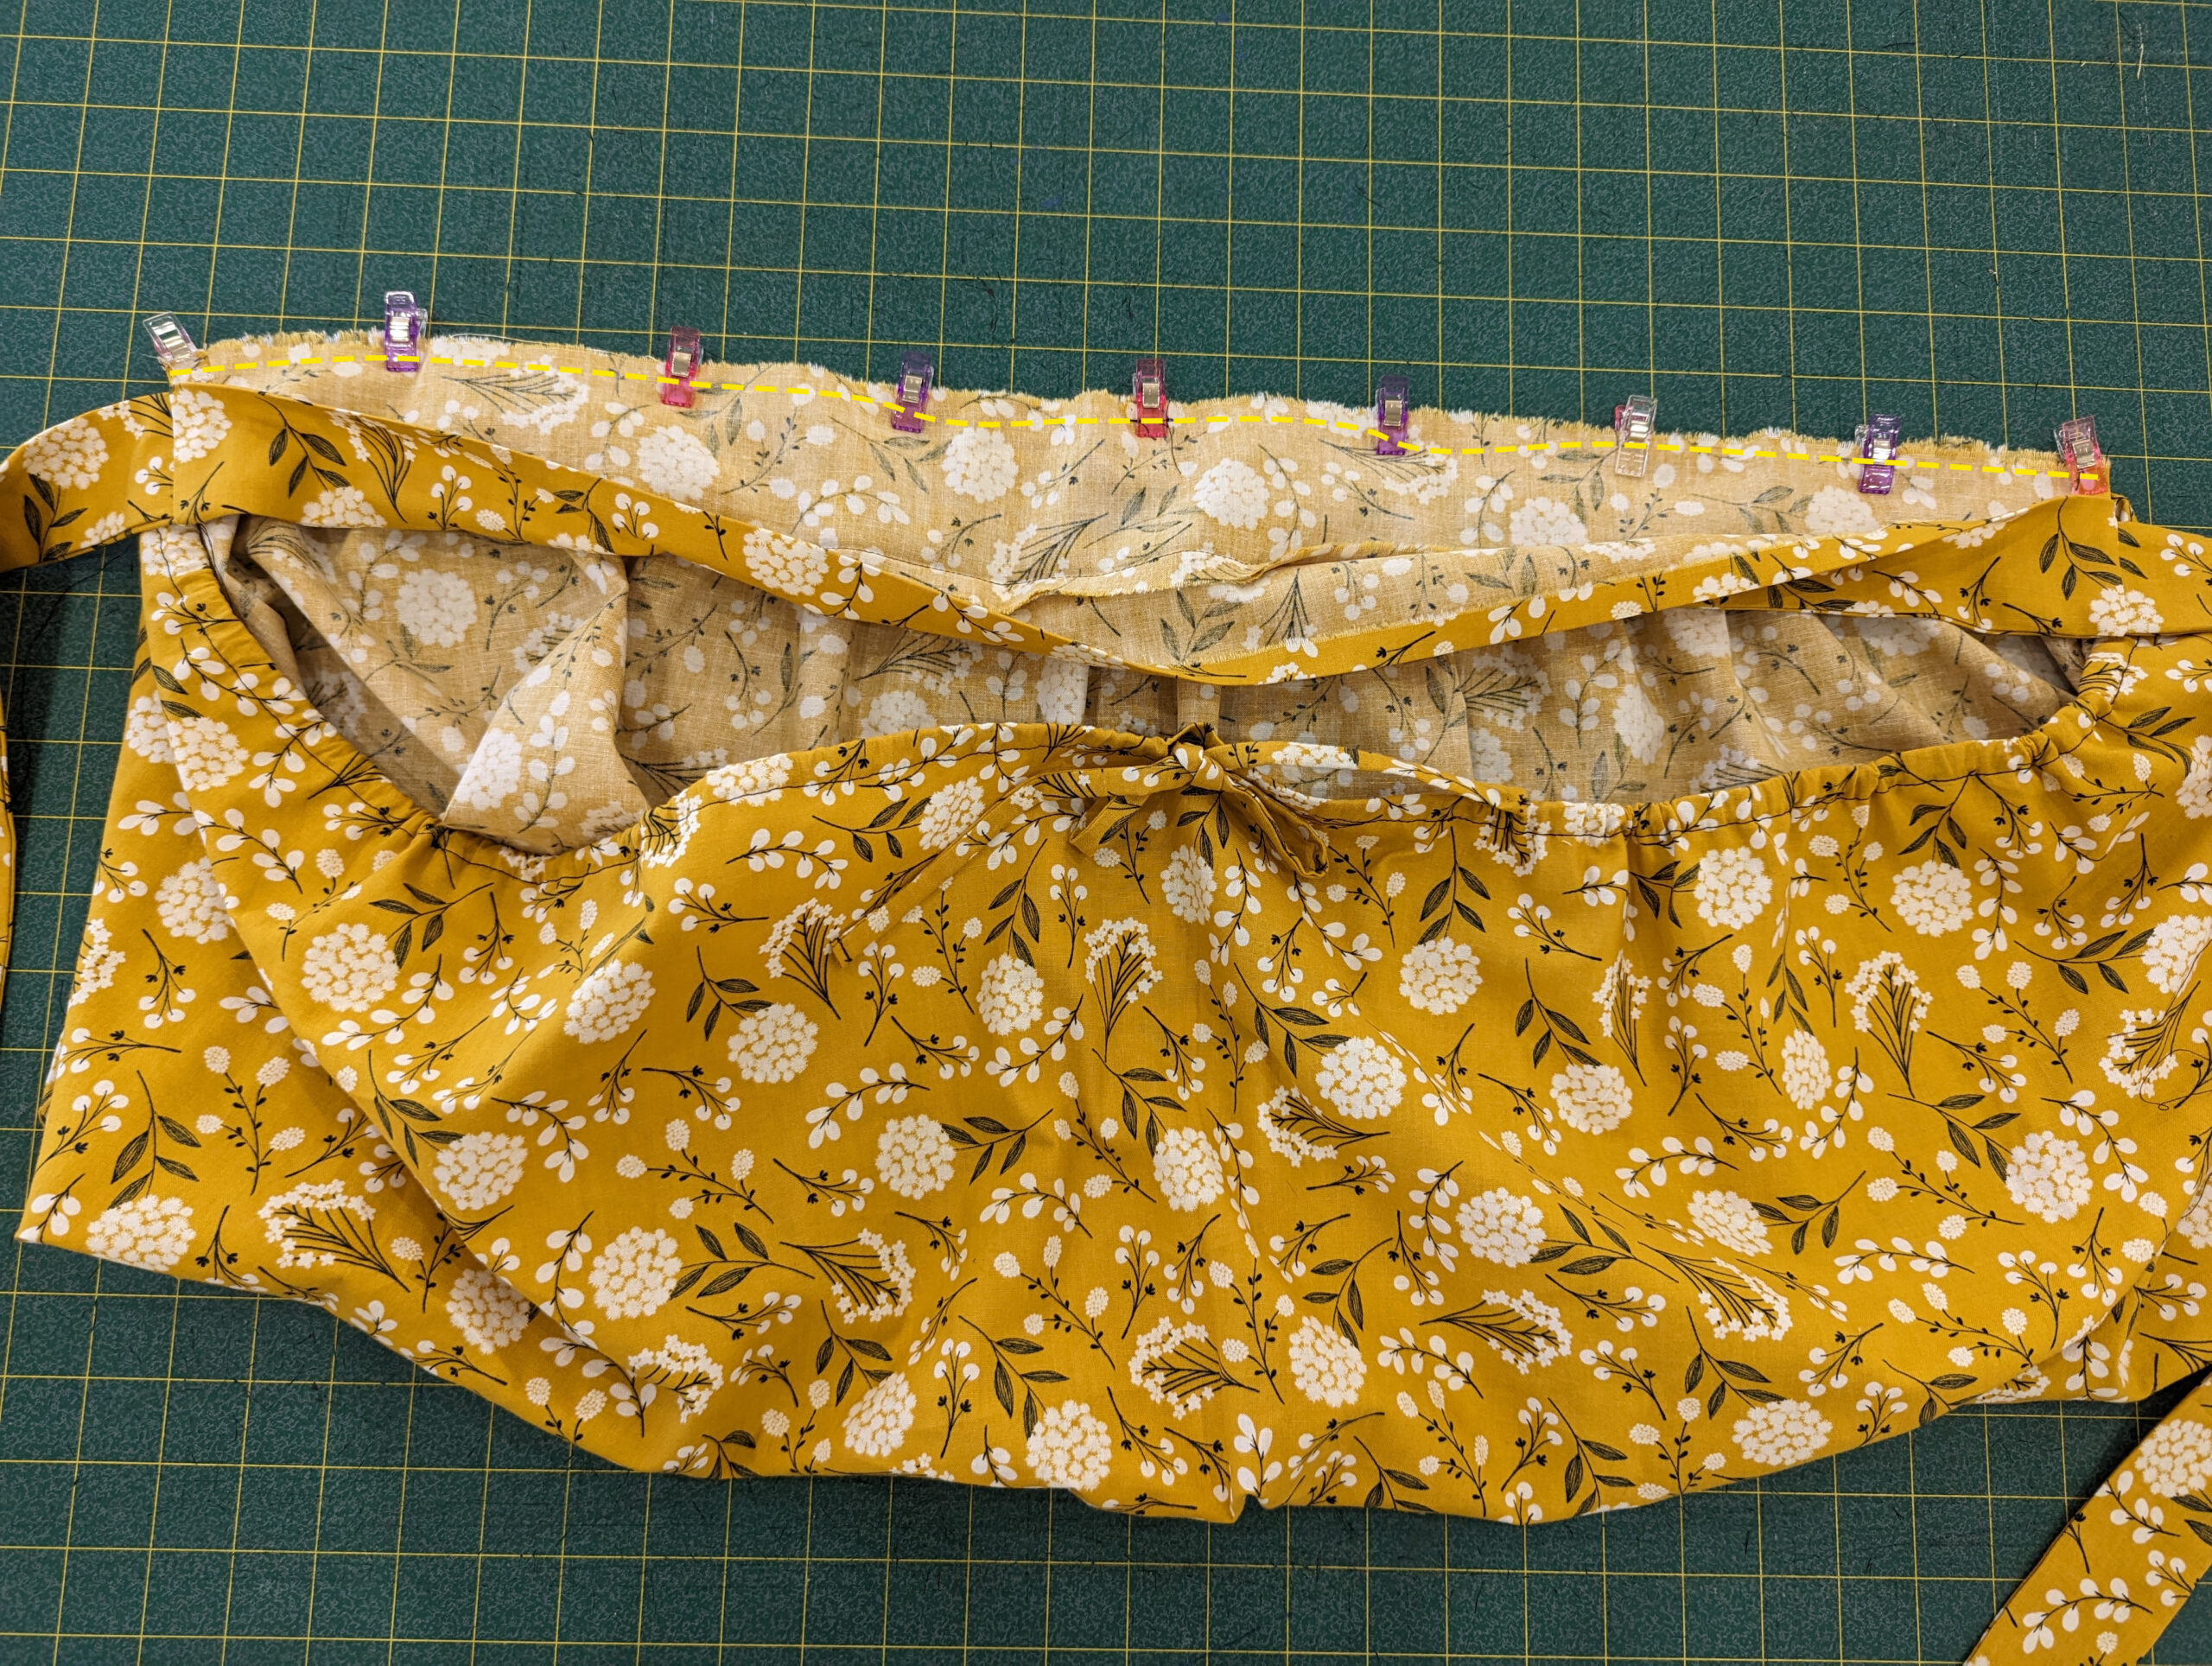
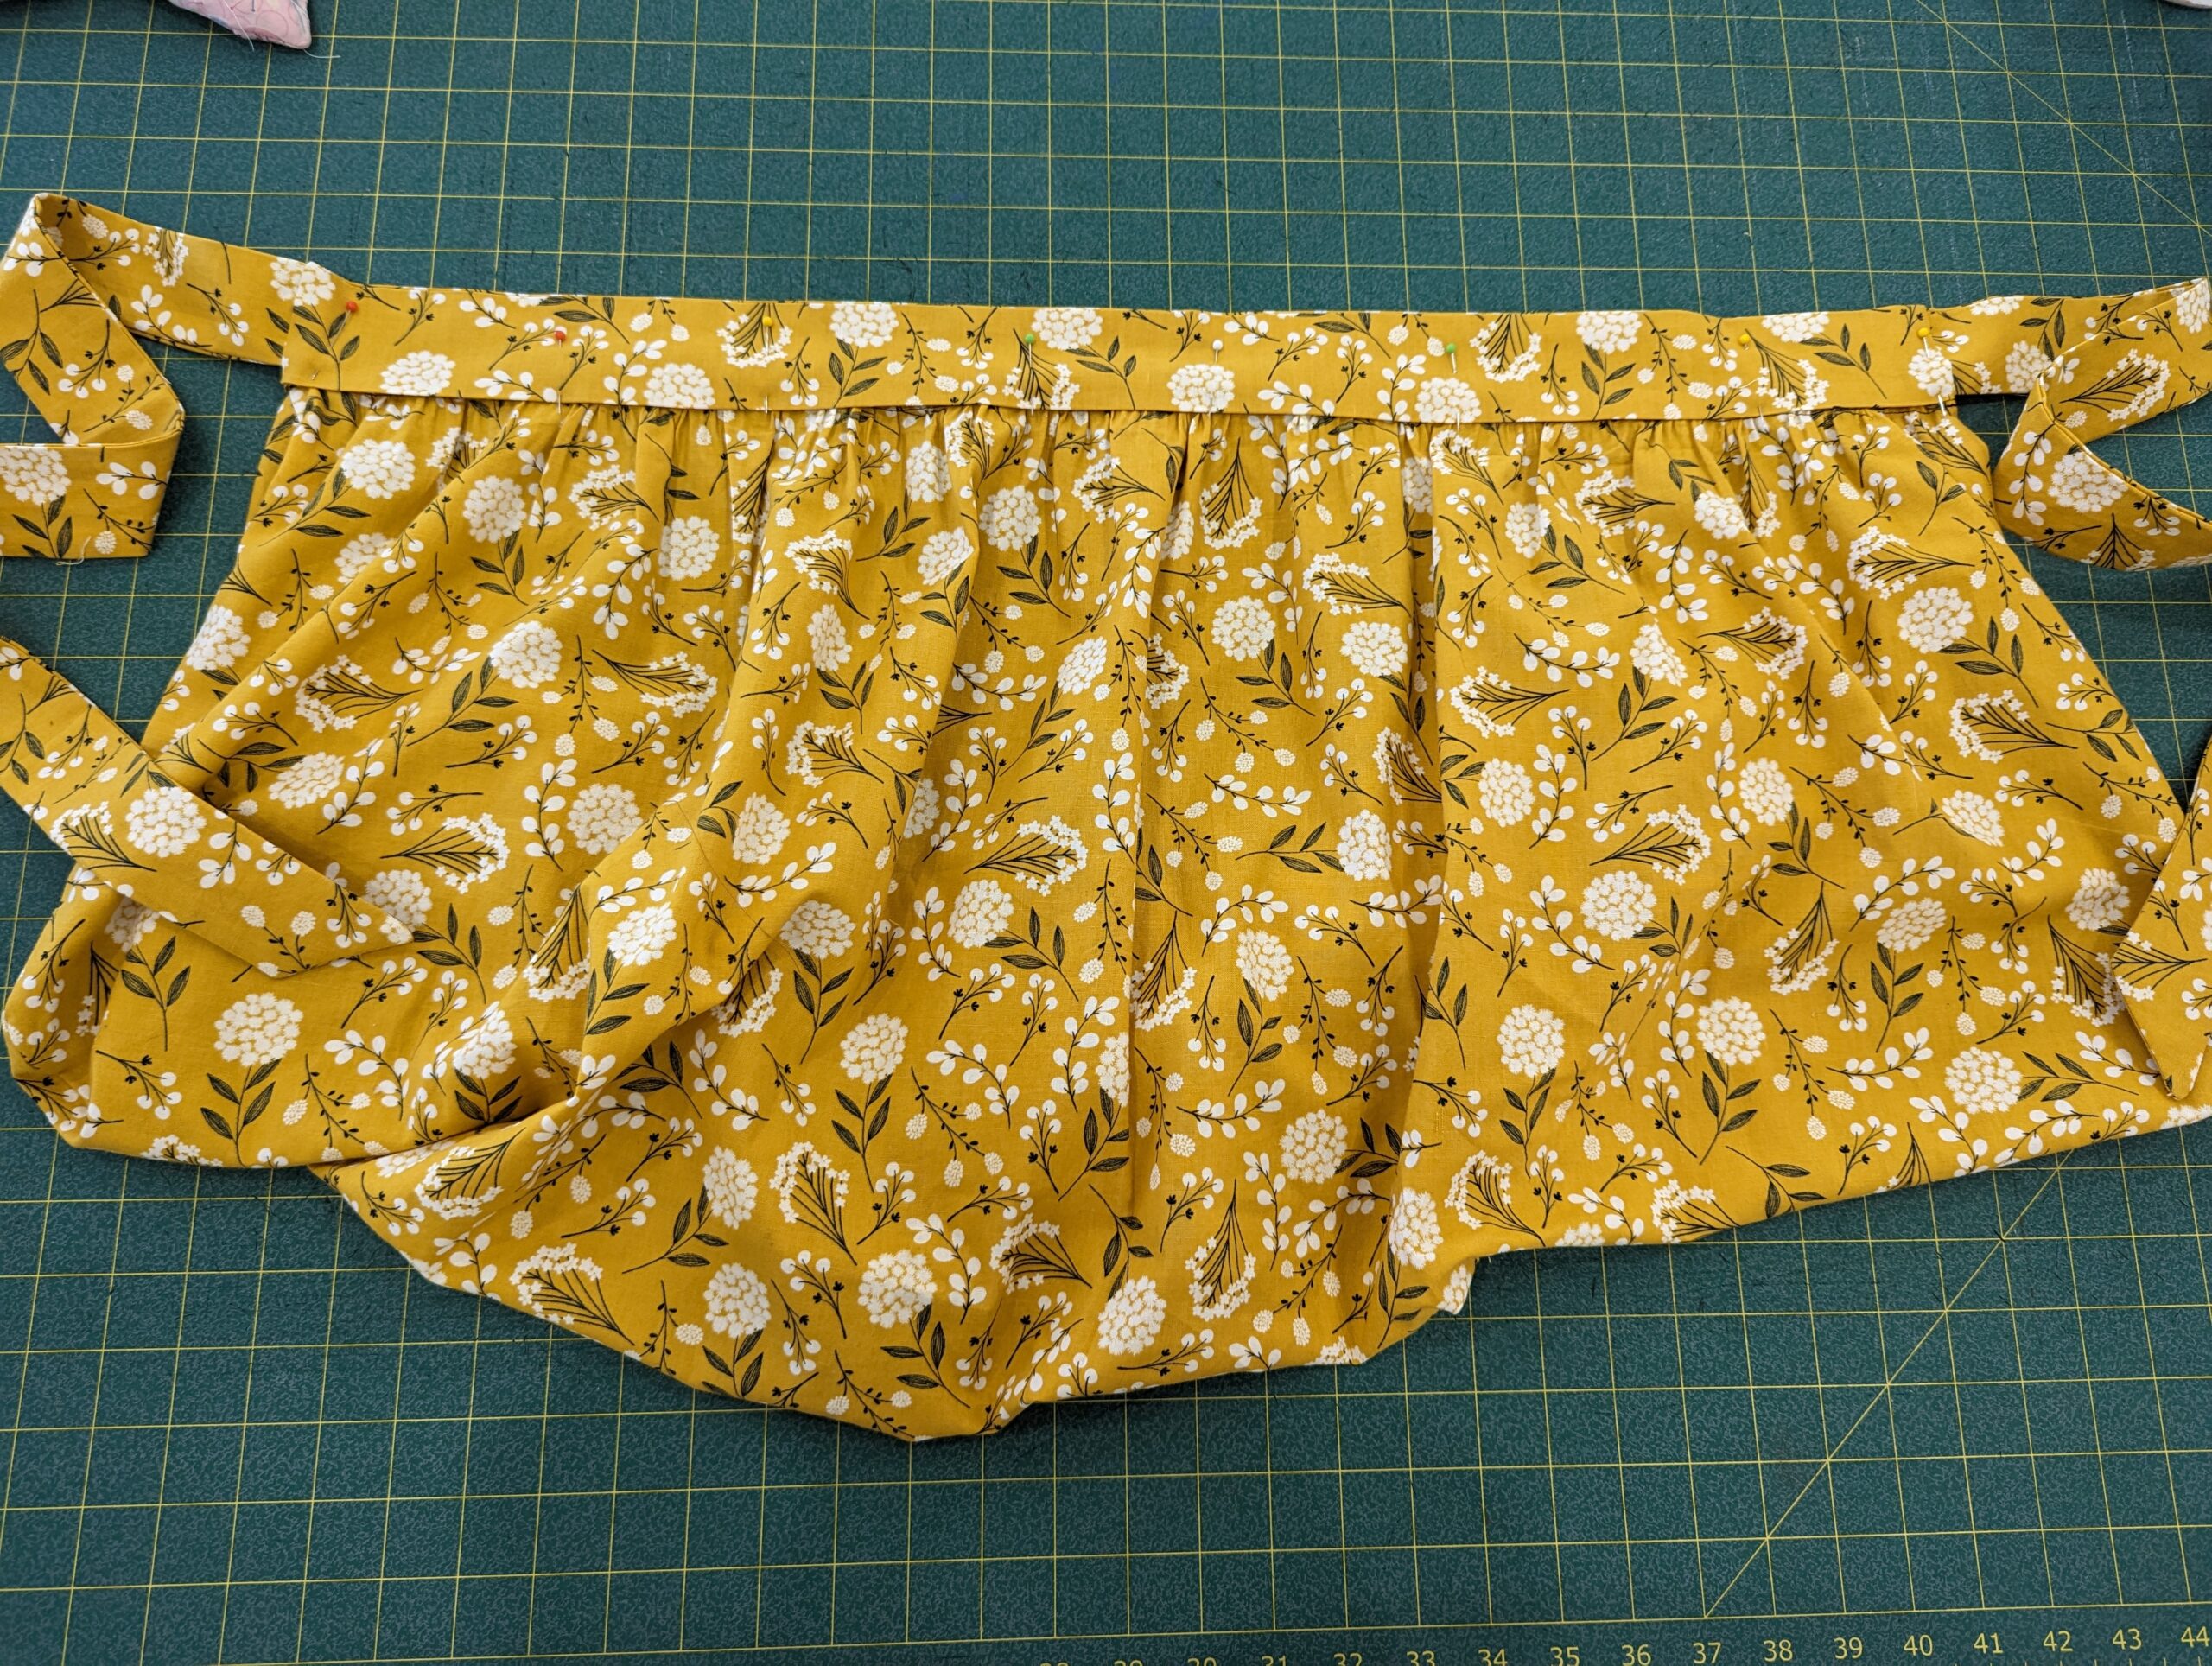
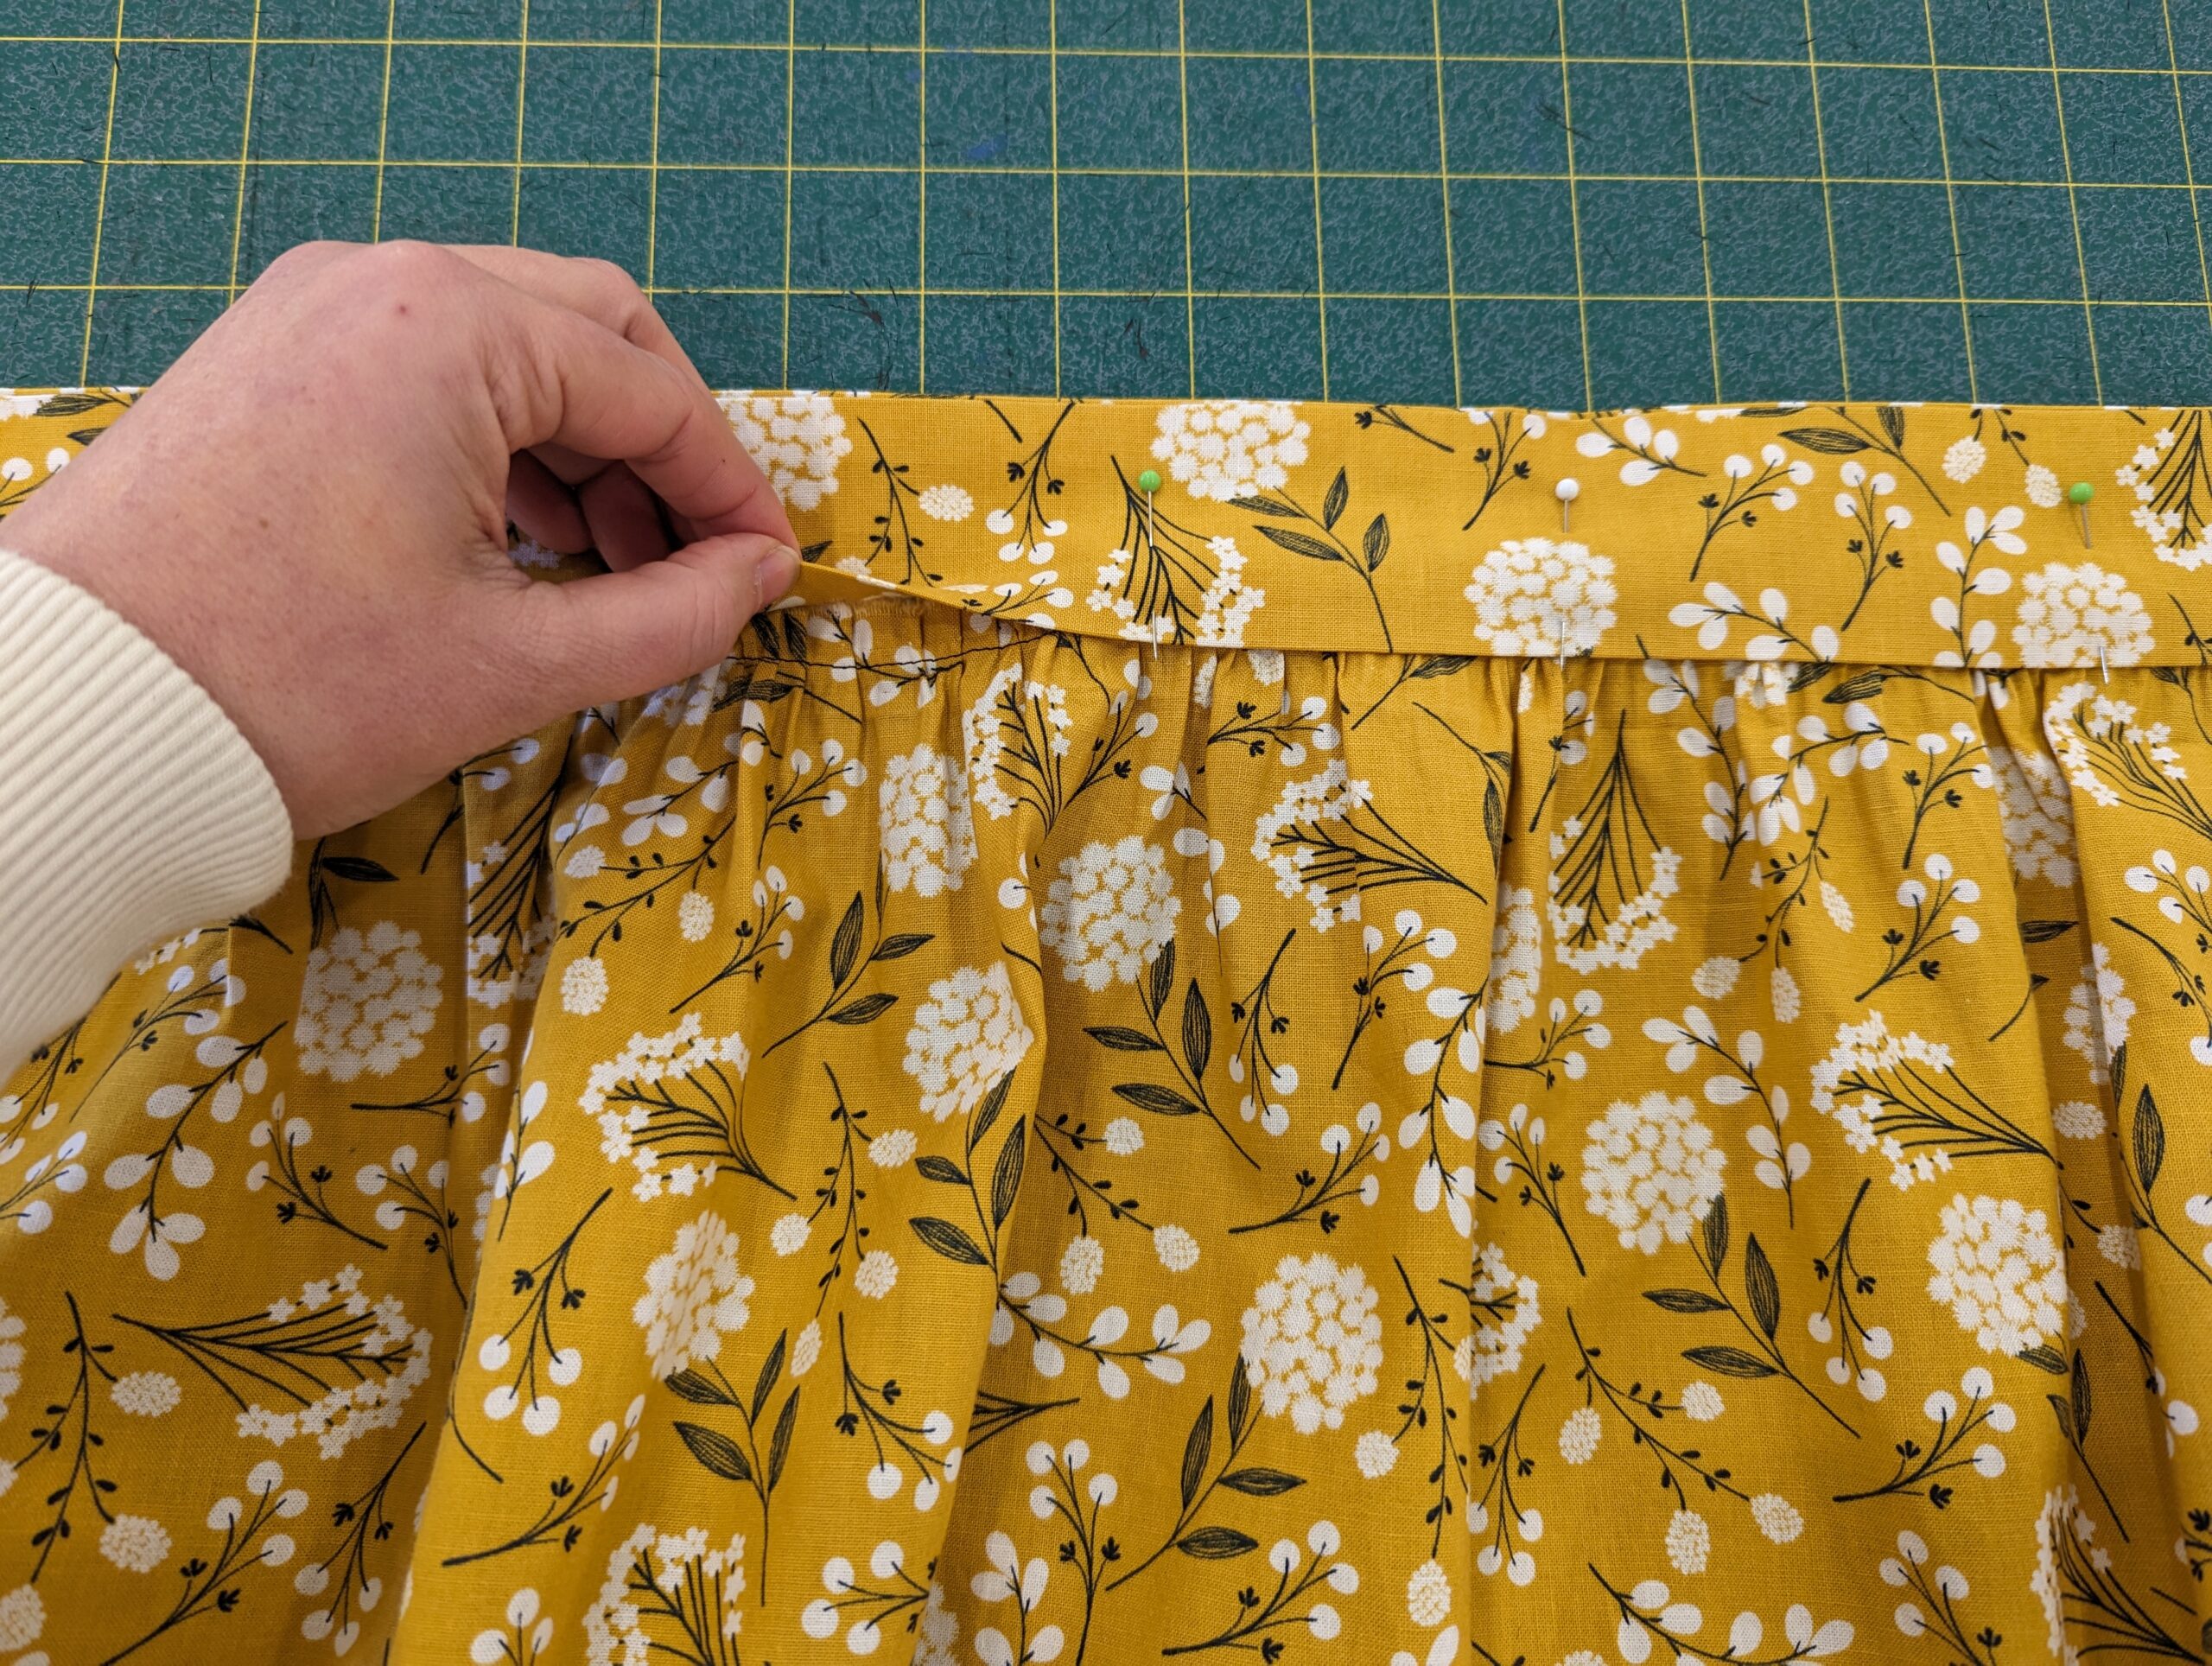
Press the seam up toward the waistband. Pin the pressed waistband piece over the seam.
Edgestitch to enclose the seam.
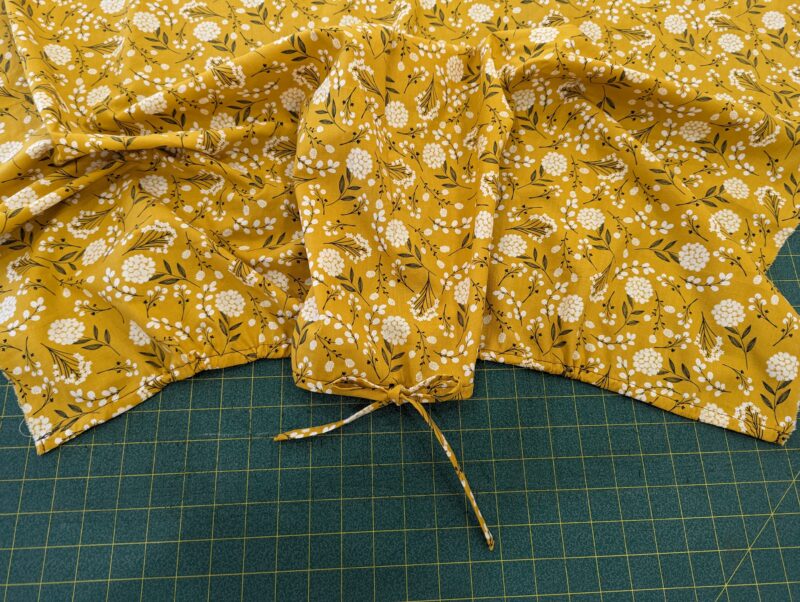
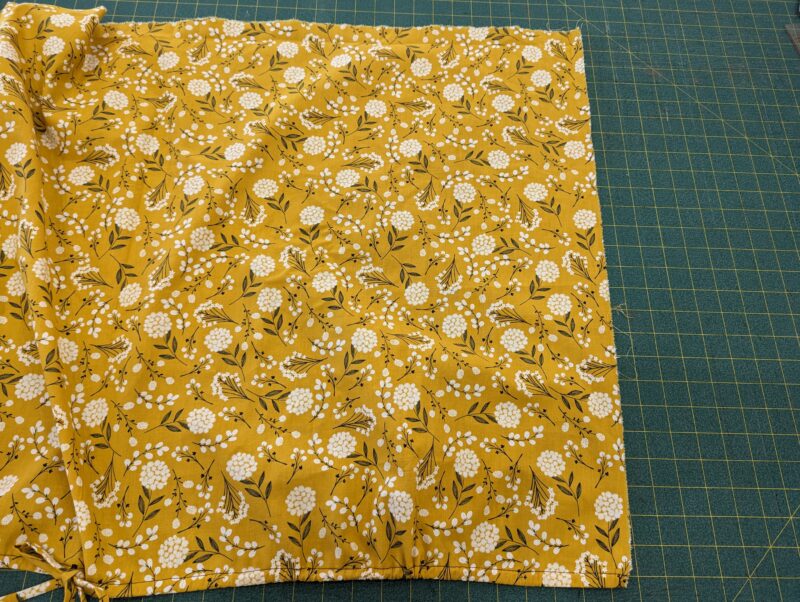
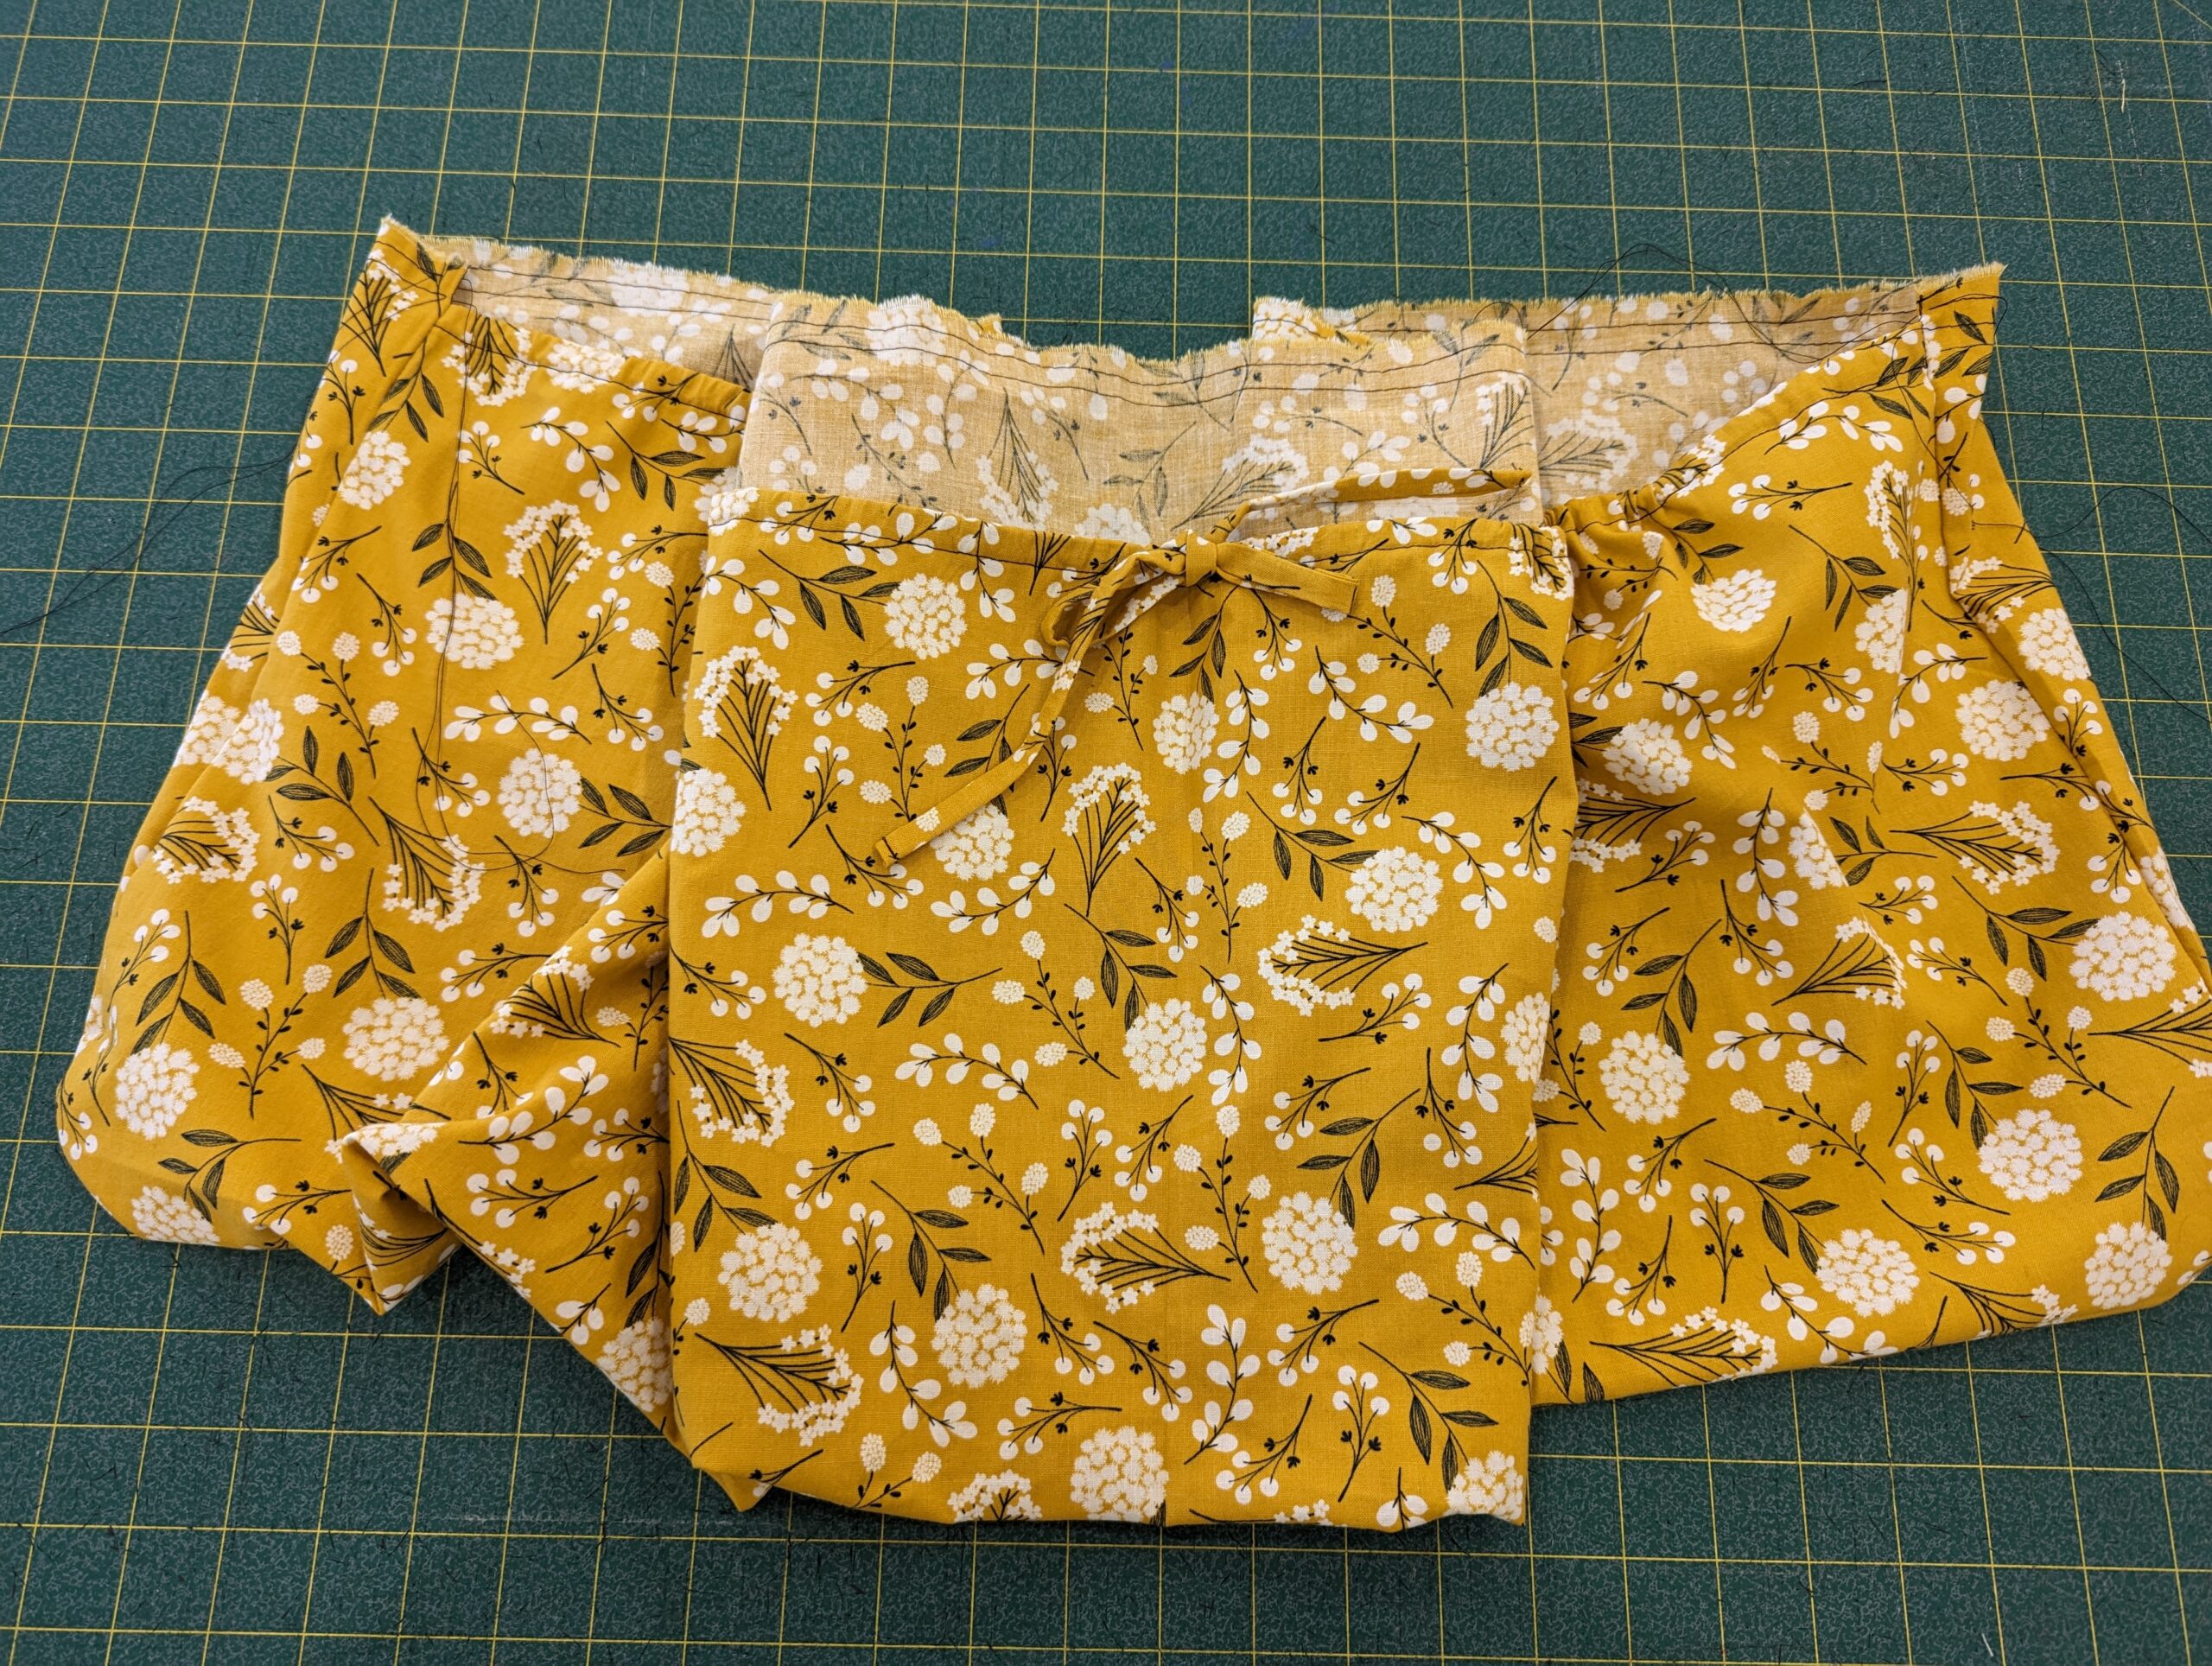
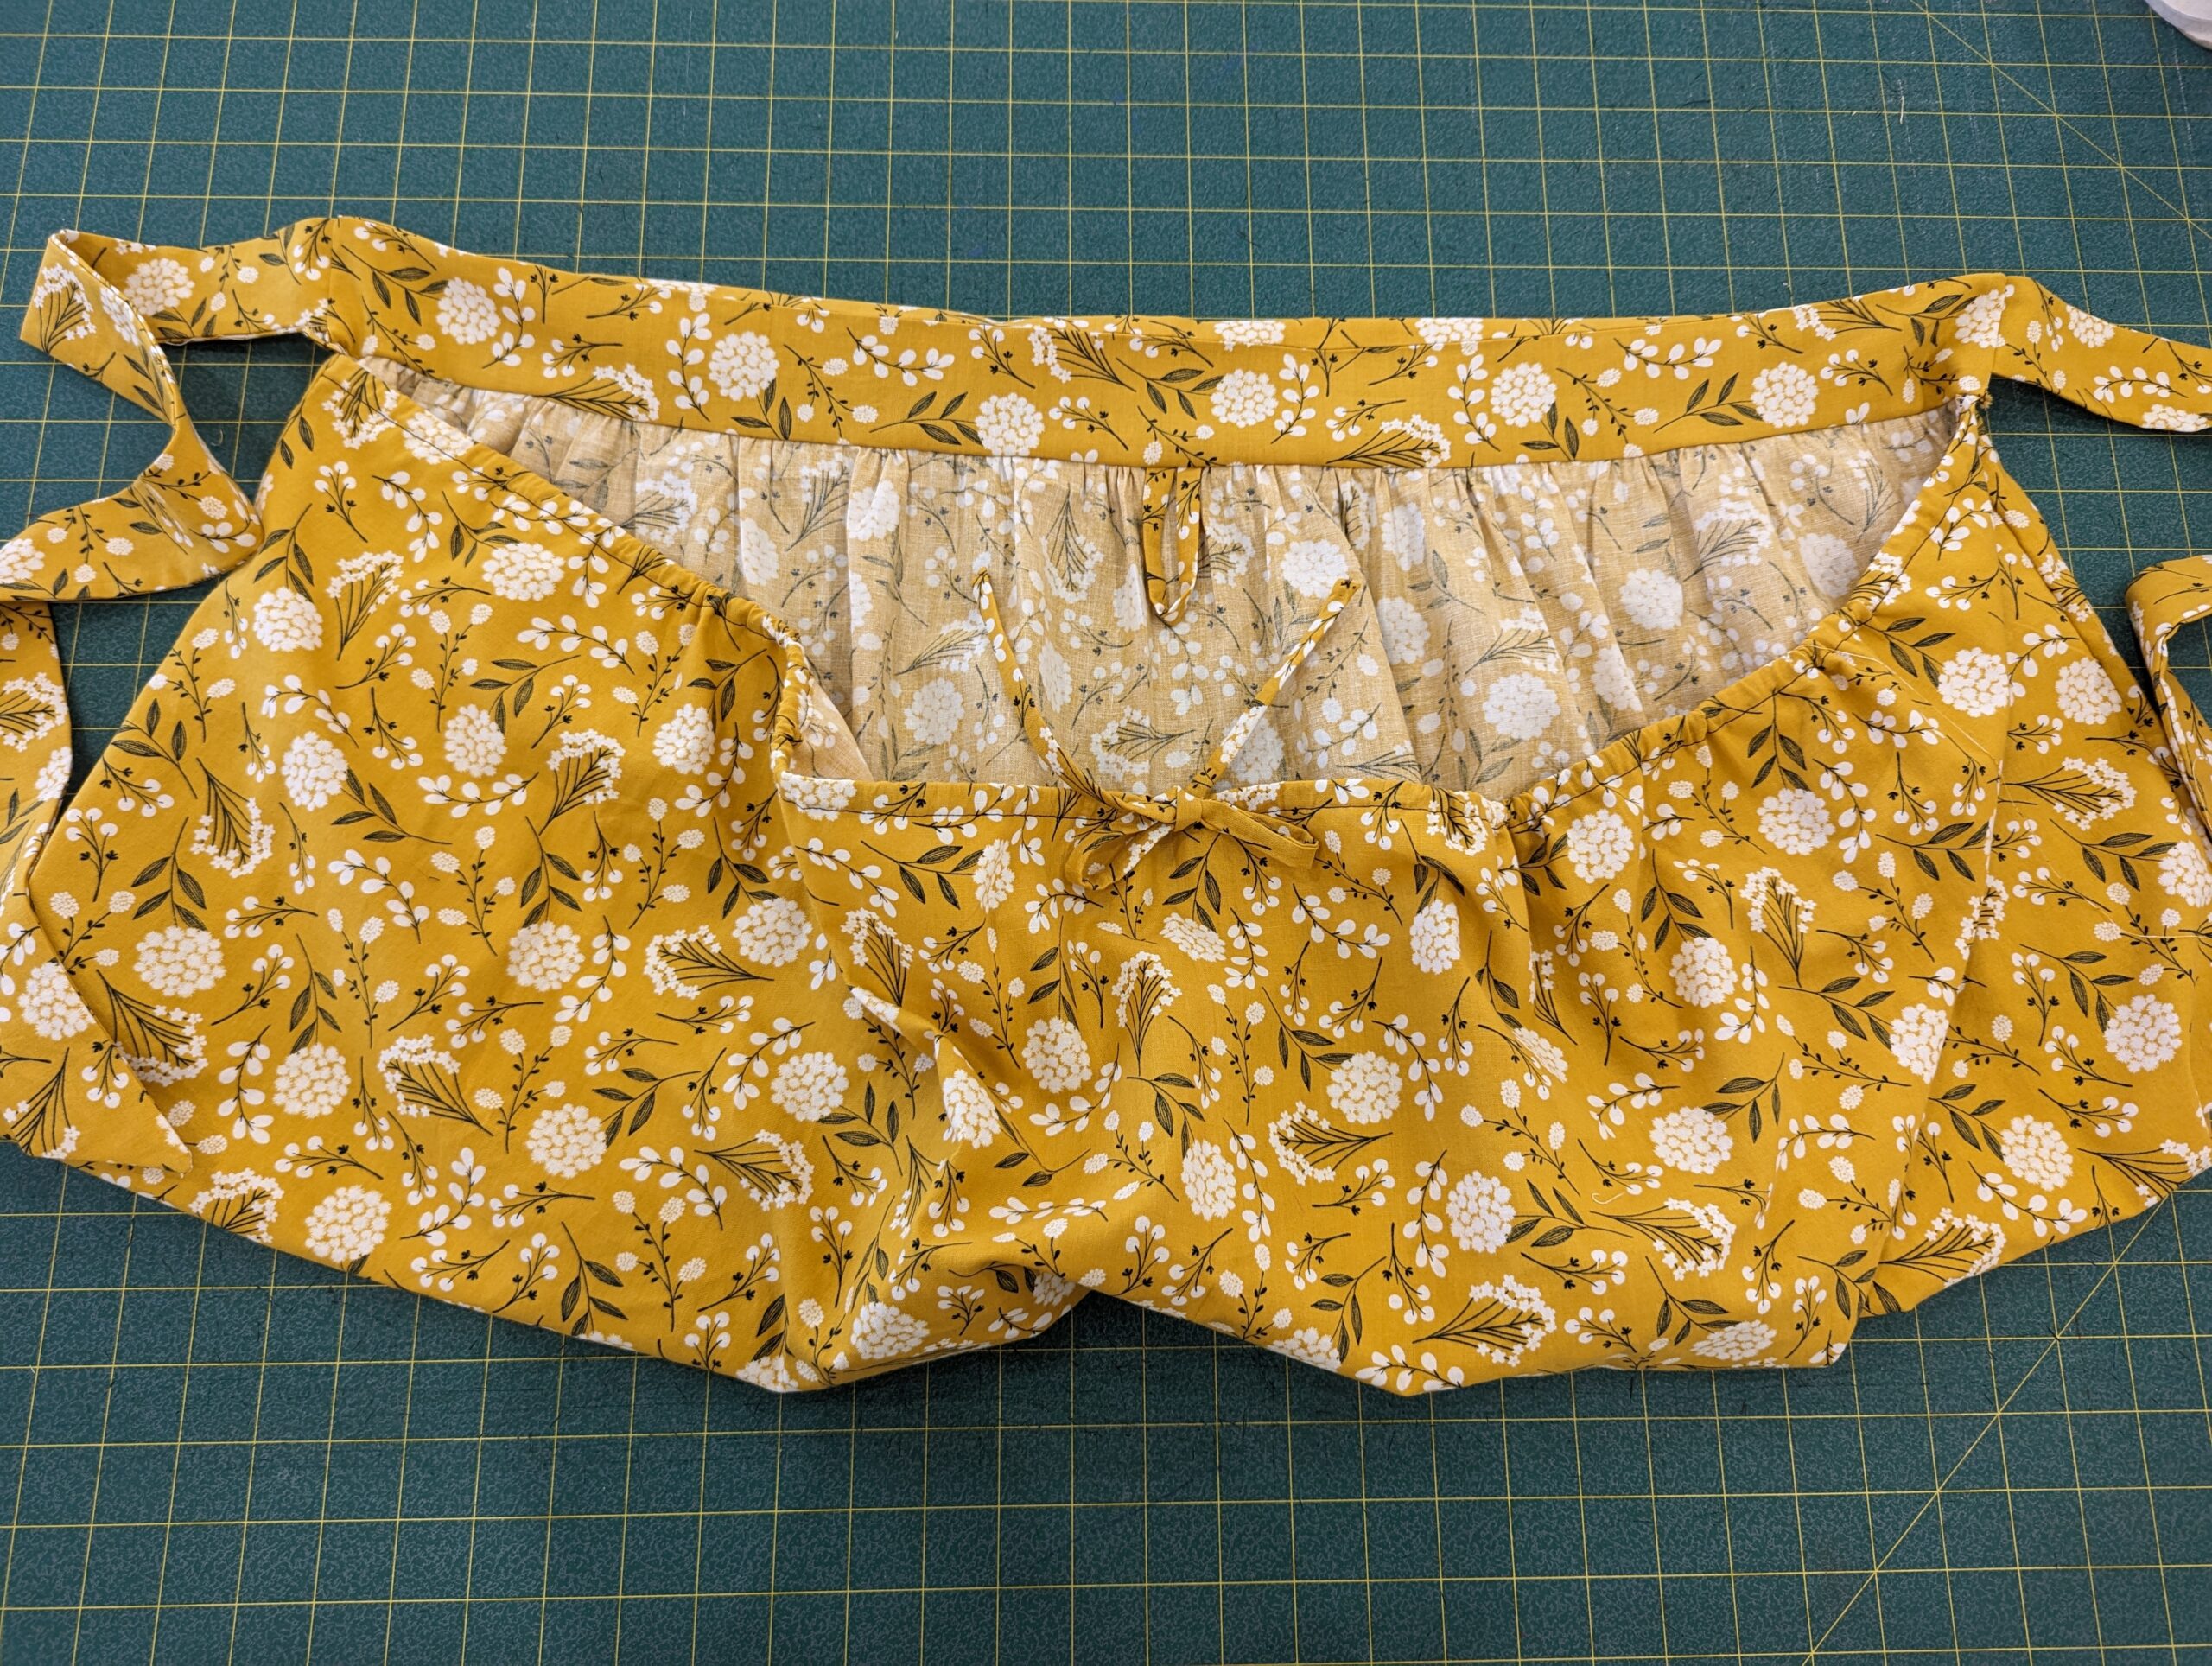
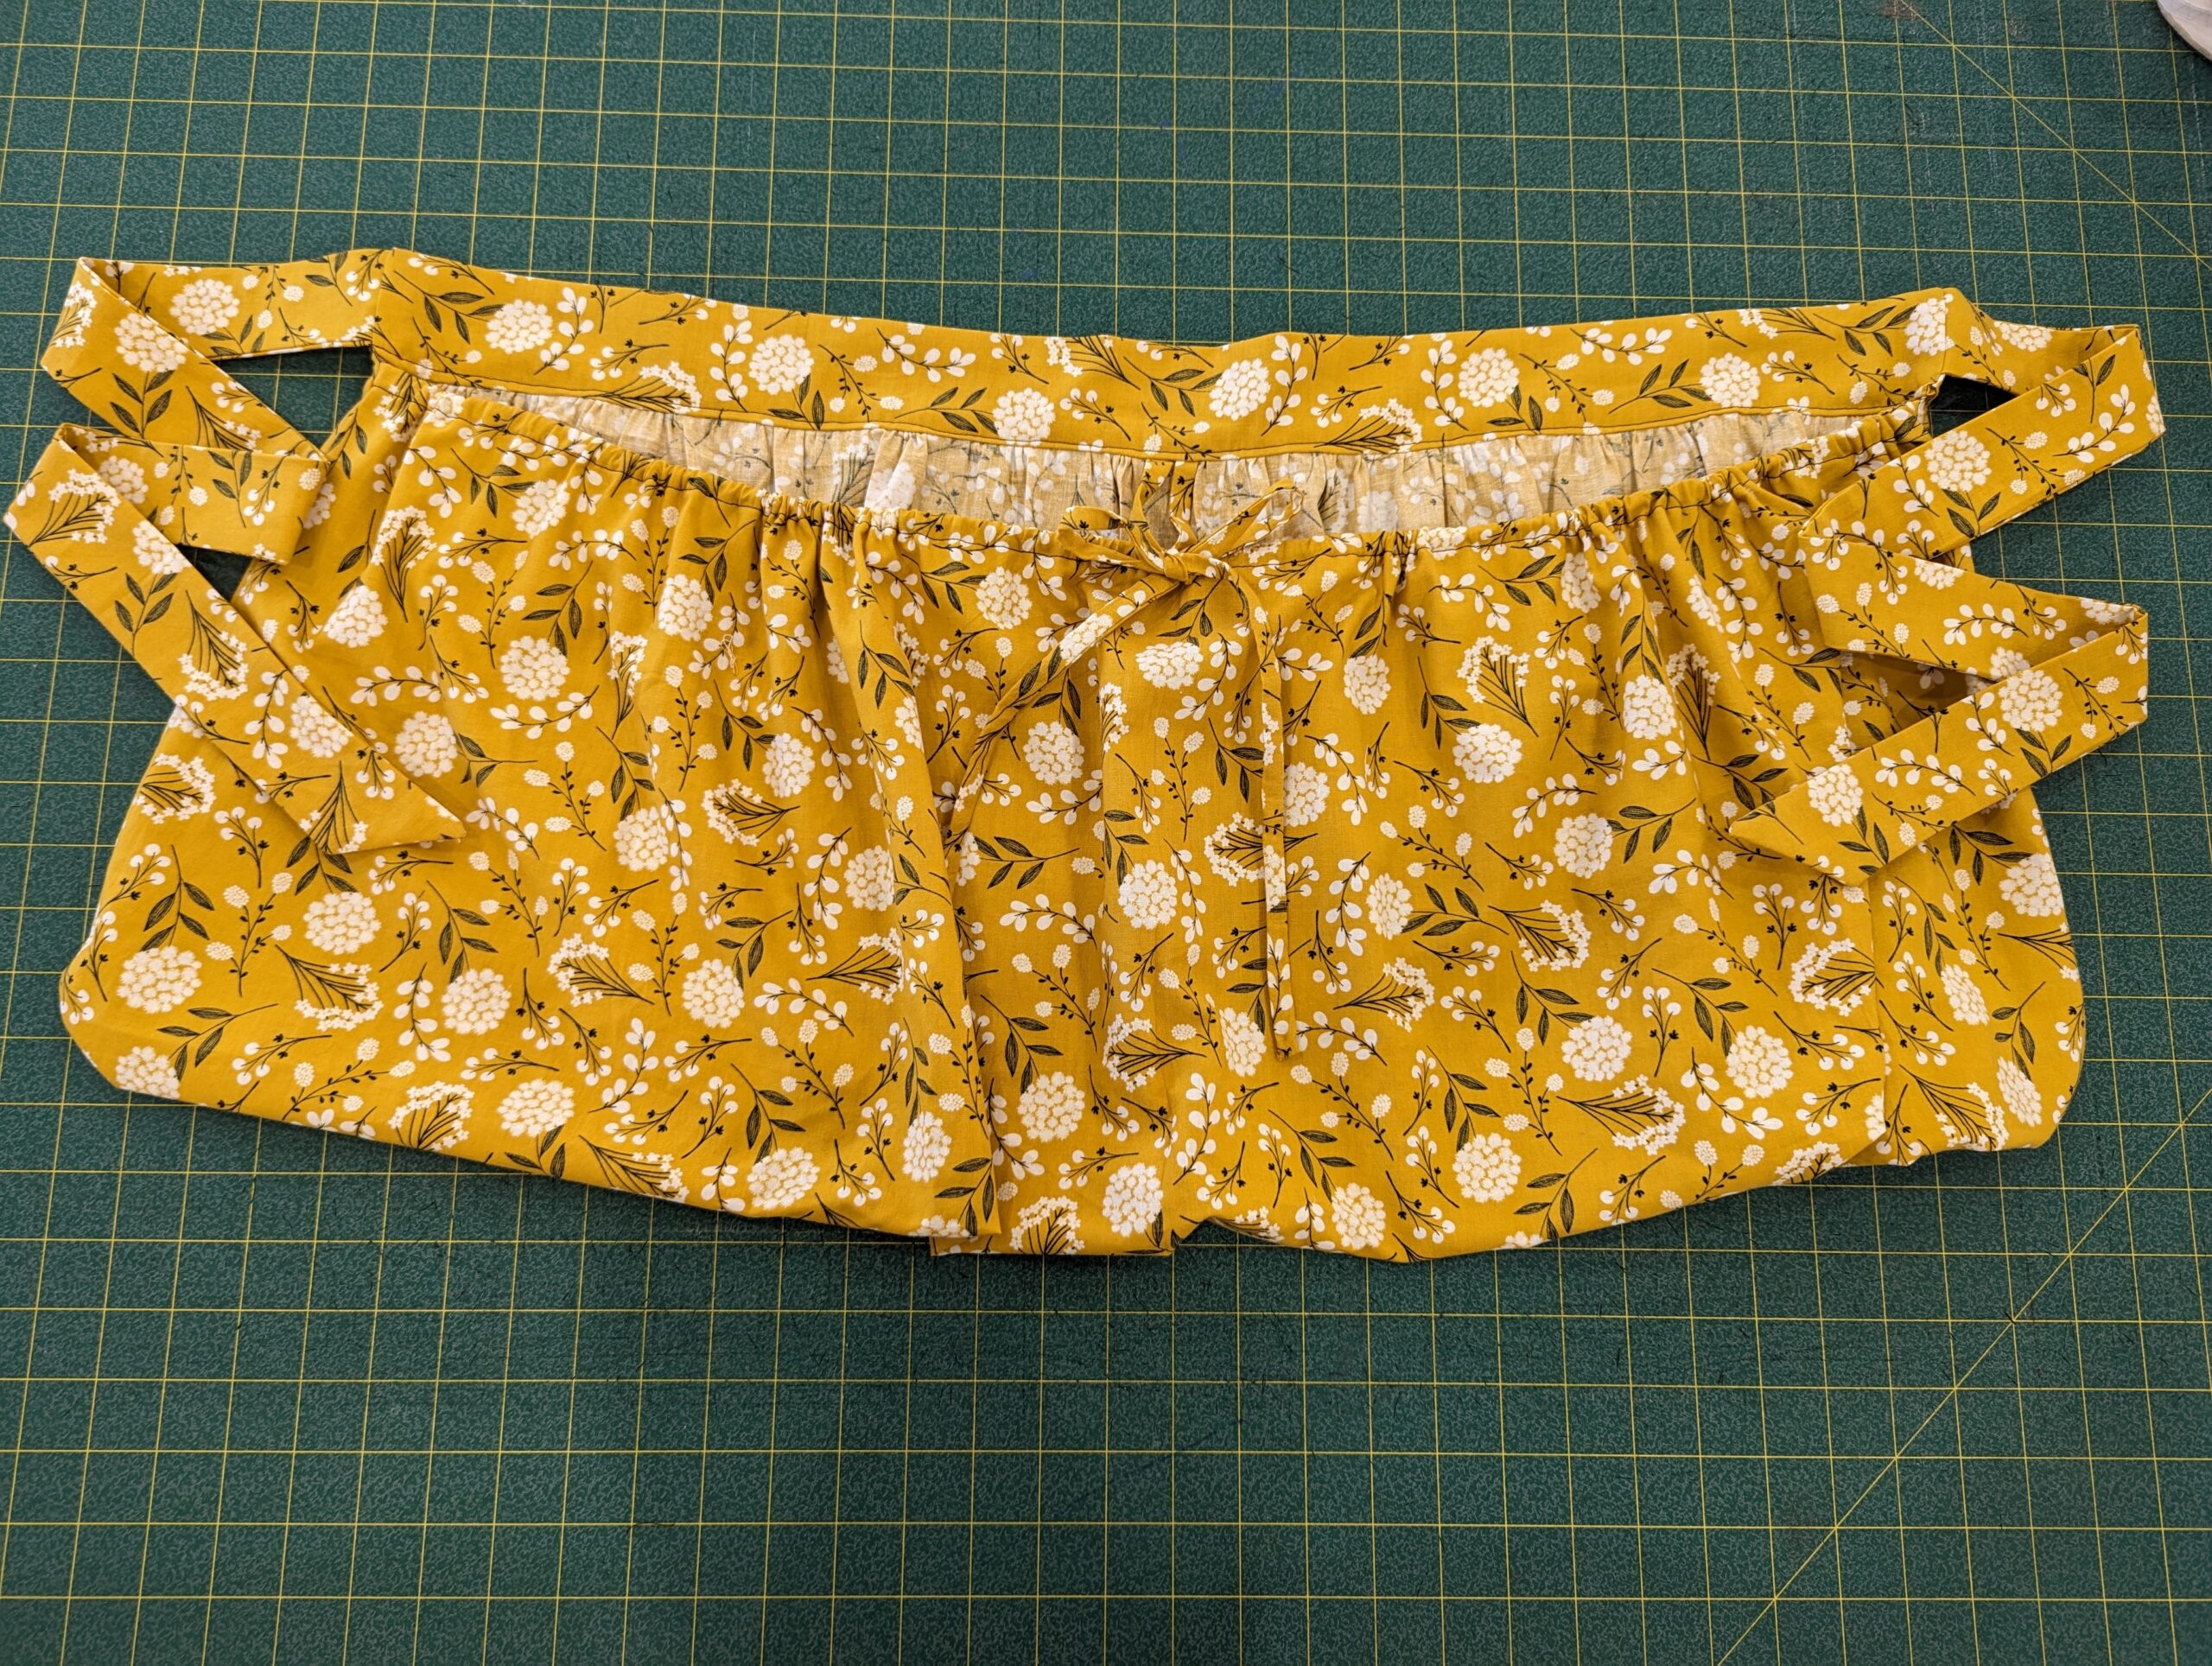
The hem ties will gather and tie at the center loop.
Tada, your harvest apron is complete!
DECEMBER 1 – 12, 2023
DAY 1 –TOASTER TREAT PLAY FOOD + PLUSHIE
DAY 2 –FABRIC KEY FOB
DAY 3 – FABRIC COASTERS
DAY 4 – FELT MISTLETOE
DAY 5 – HAT TOTE BAG
DAY 6 – FELT WREATH
DAY 7– LINEN TEA TOWEL
DAY 8– PINT COZY
DAY 9– REUSABLE FELT BOWS
DAY 10– FABRIC BUTTERFLY WINGS
DAY 11– HEATLESS CURLER


Leave a Reply