
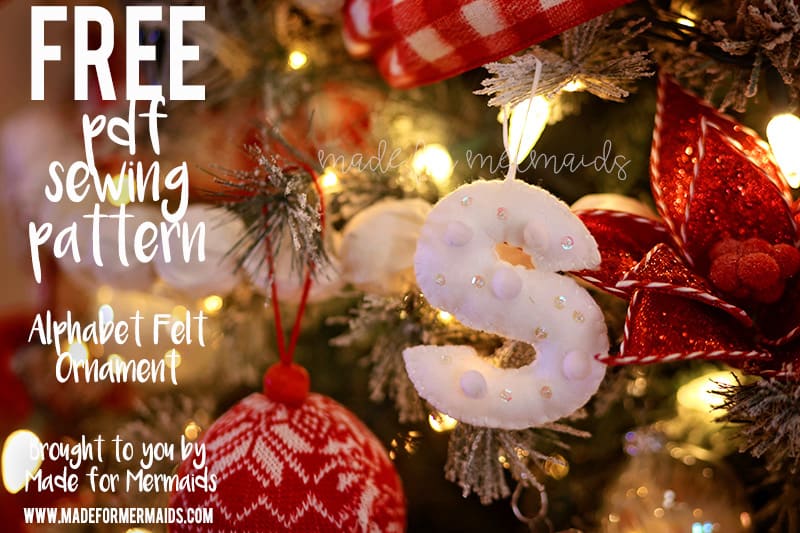
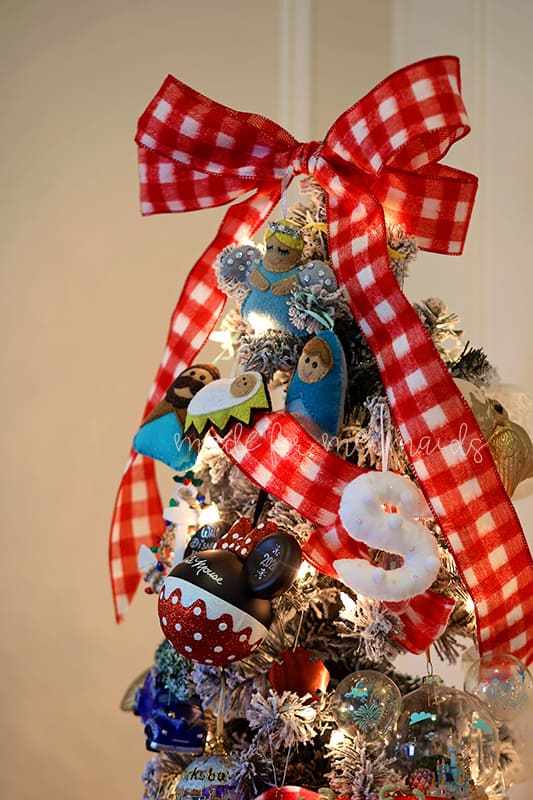
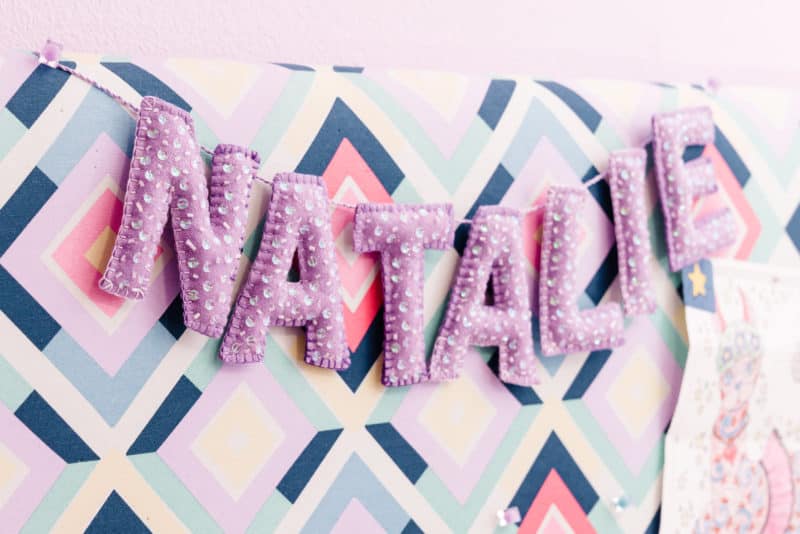
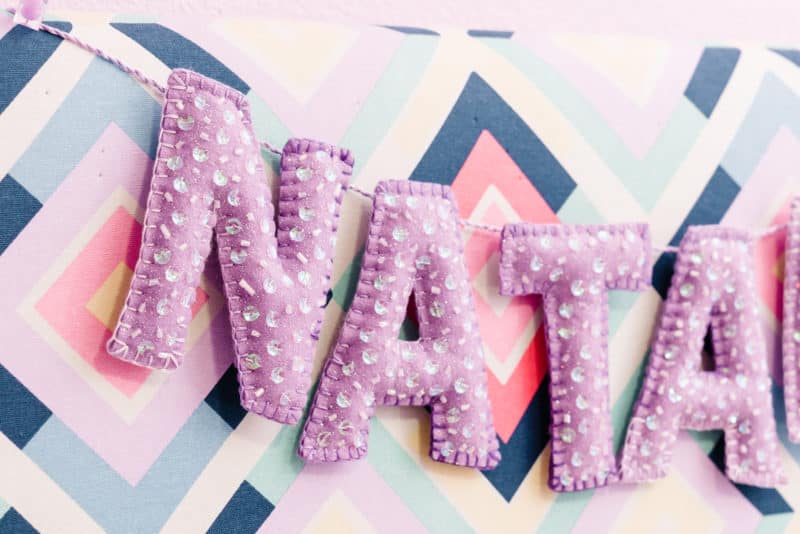
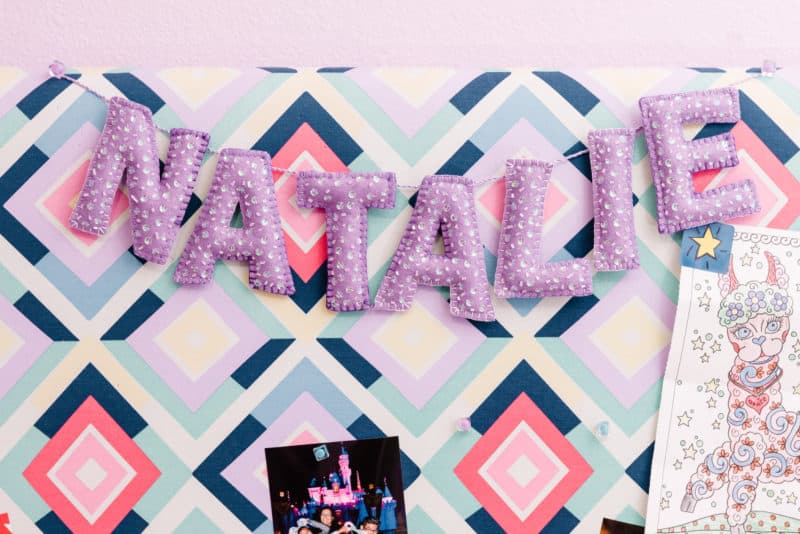
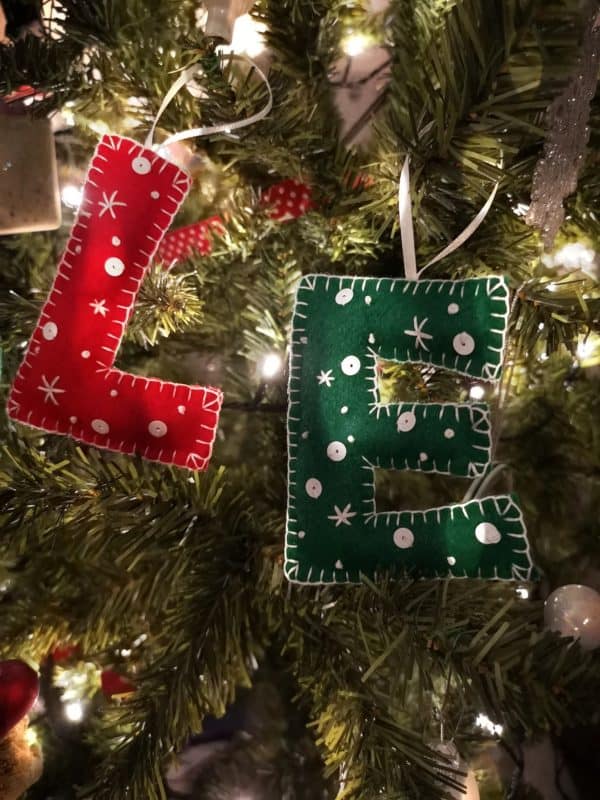
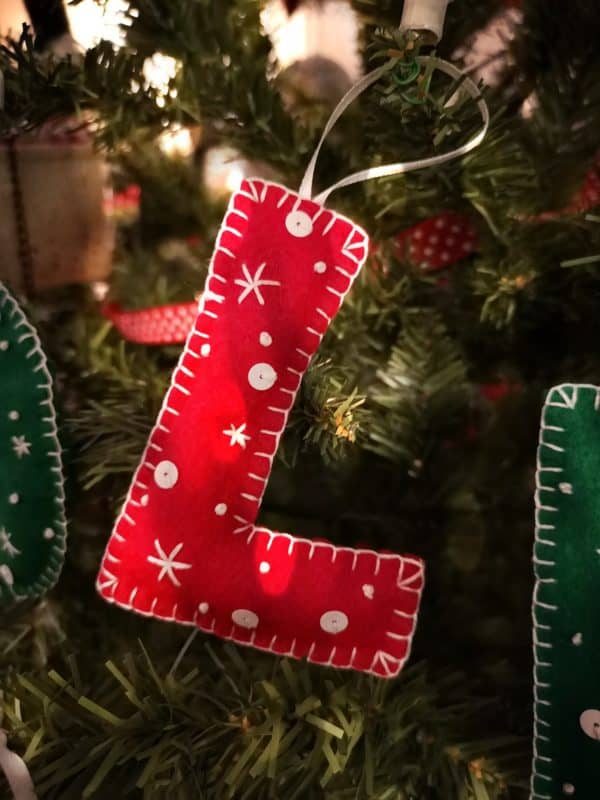
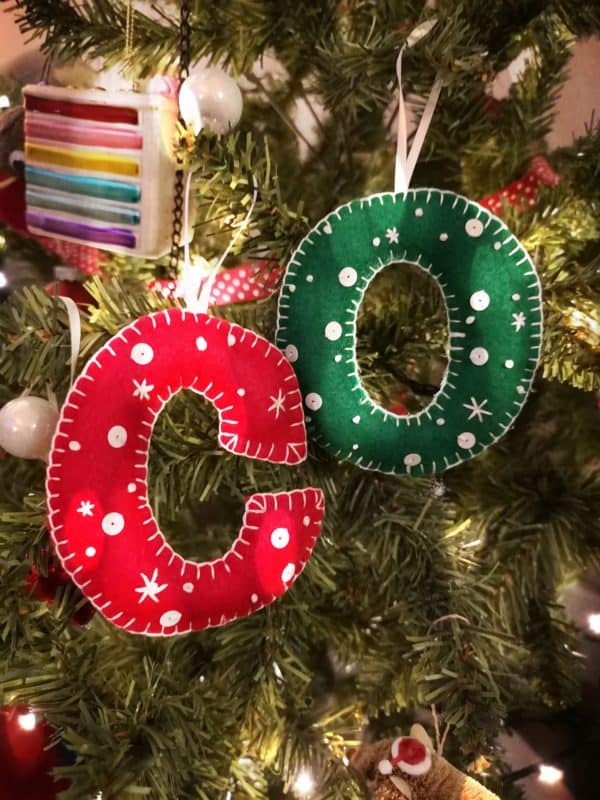
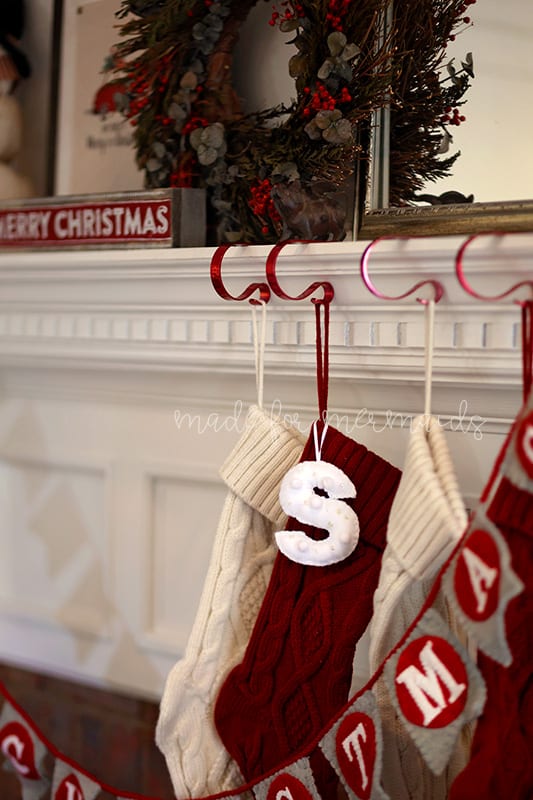
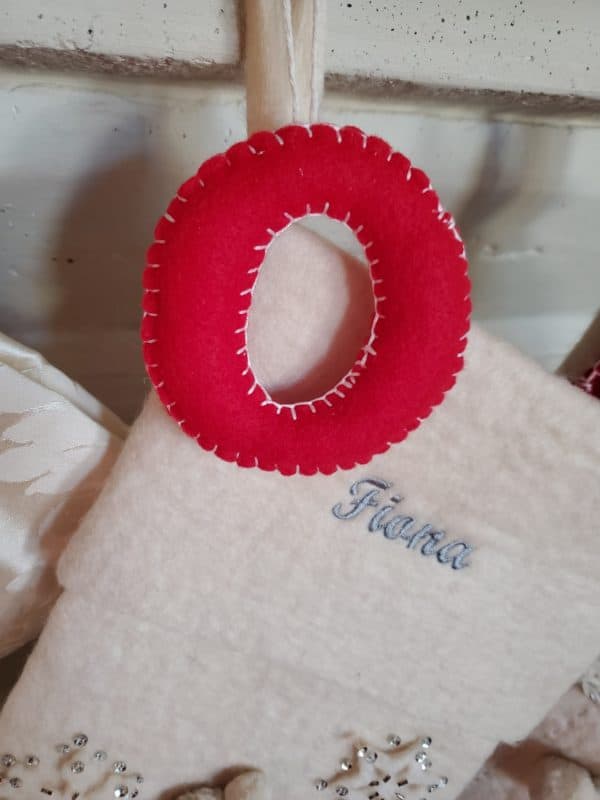
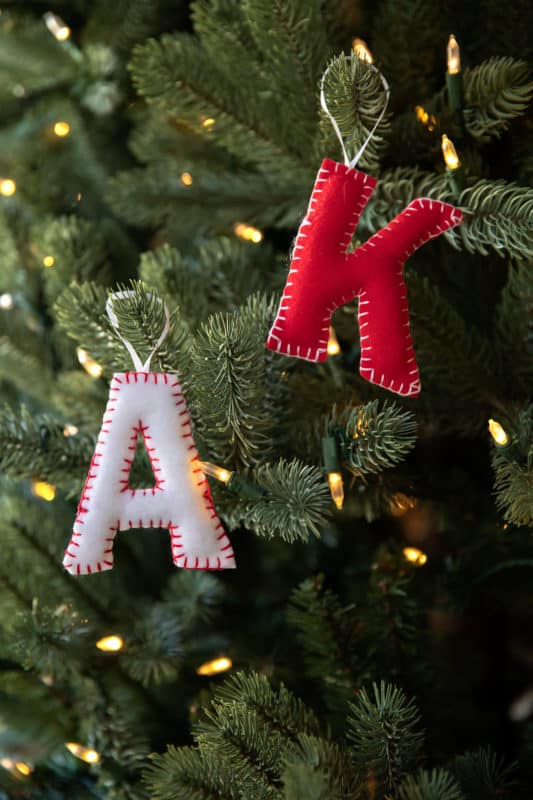
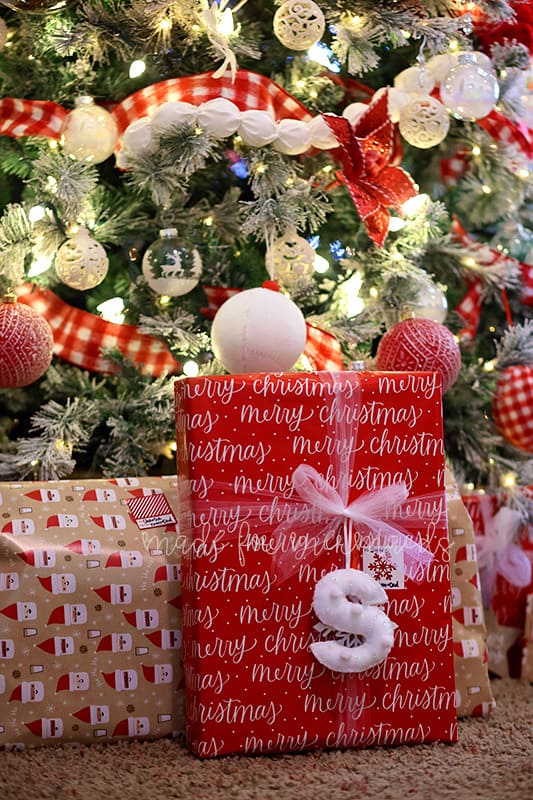
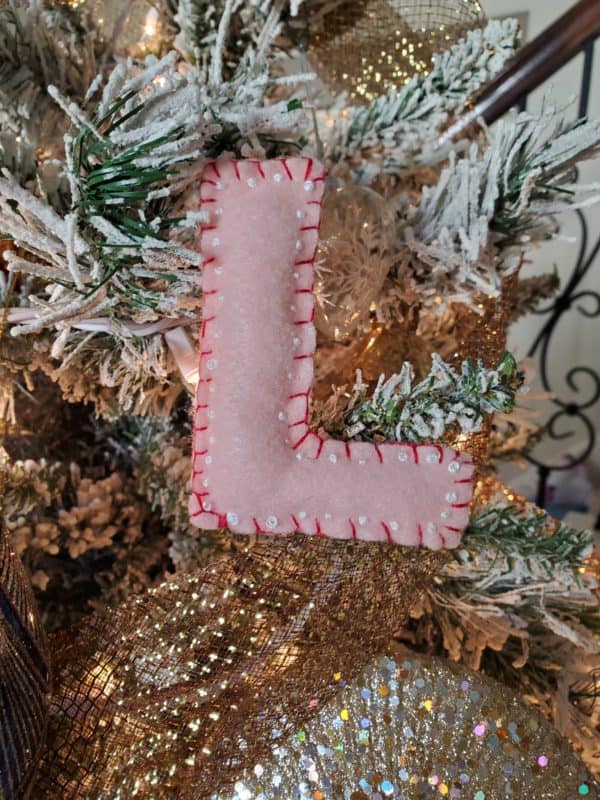
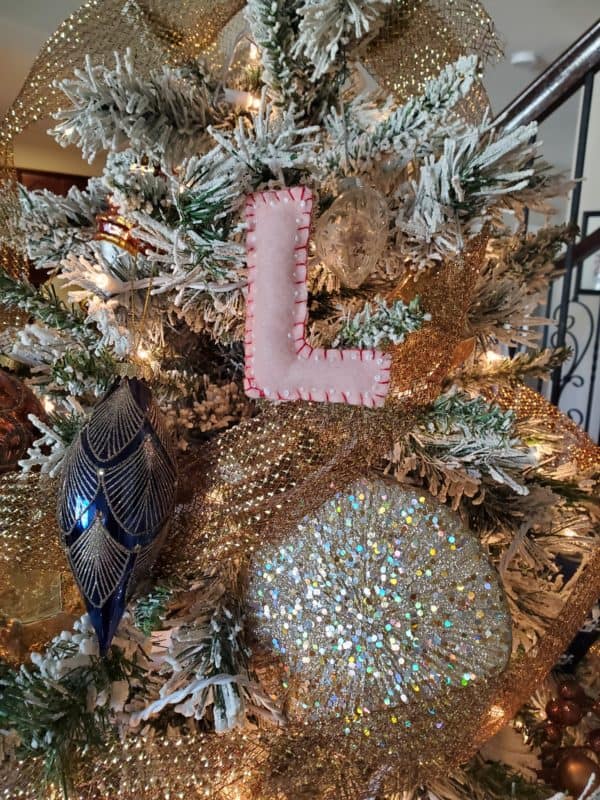
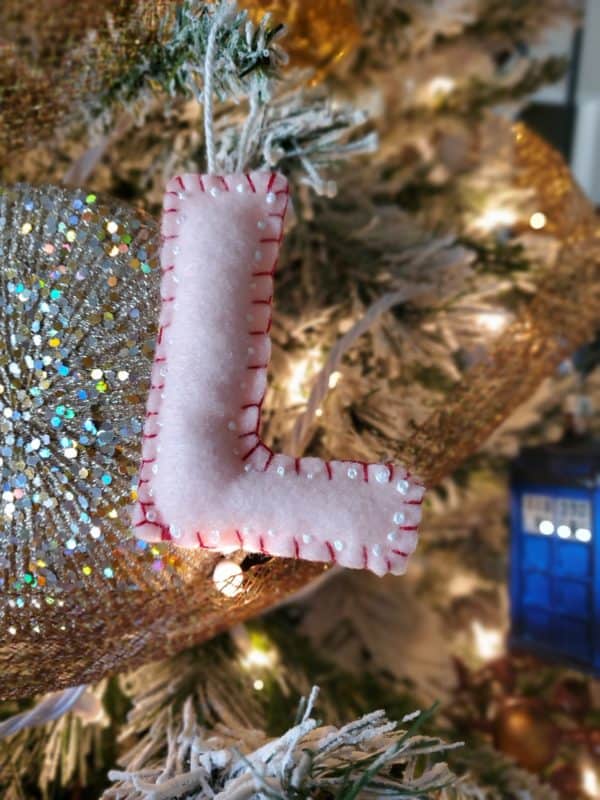
On the 10th day of Christmas, Made for Mermaids gave to me… alphabet ornaments for my Christmas tree! These adorable felt ornaments are 4″ tall. I love felt ornaments and am so excited to add to our felt ornament freebies from last year. I try to make some each year because they were always on our tree growing up. They are really simple to make and actually a quite relaxing project for me. You can stitch them while watching your favorite show at night or waiting in your car for groceries or your little one’s practice to finish. They’re not only cute on a tree, but also as a stocking holder, gift topper, banner, and more! If you’re running out of time, you could simply cut the letters out and machine stitch or even glue them together for a REAL quick project!
SUPPLIES:
- felt
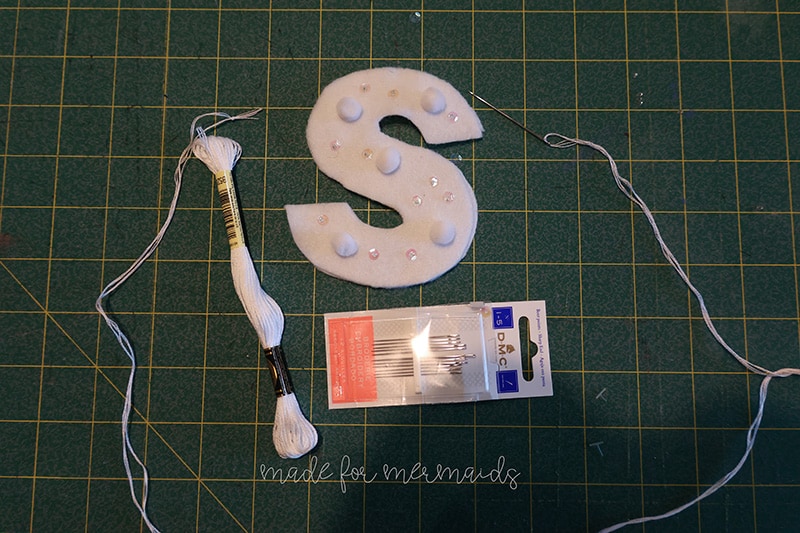
- embroidery floss
- embroidery needle
- ribbon or twine for hanging loop
- polyfill or other stuffing
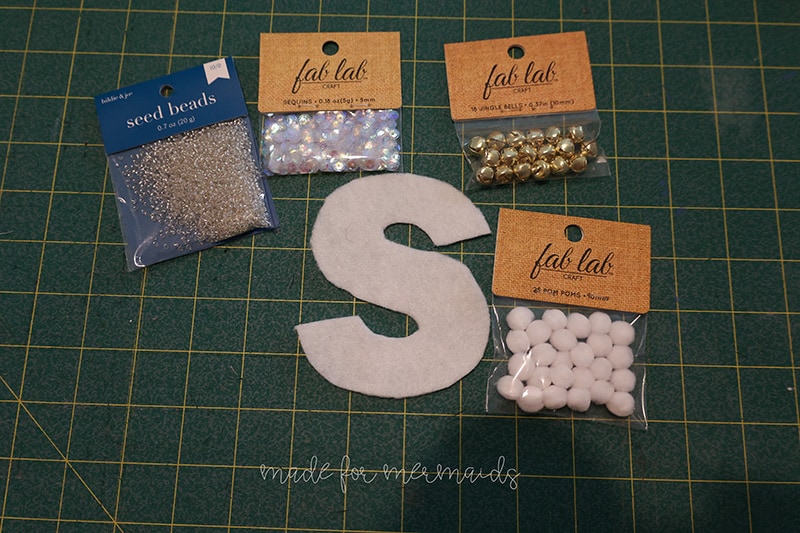
- optional- embellishments like mini poms, sequins, beads, bells, etc.
LET’S GET STARTED!
Step 1: PREPPING
Go grab the pattern here! The pattern is 100% free, but you do need to add it to your cart and checkout. Then, it will always be available to download from your account. The pattern is a no trim pattern; if you need help putting the pattern together, pop over to the faqs and troubleshooting page or ask in our Facebook group .
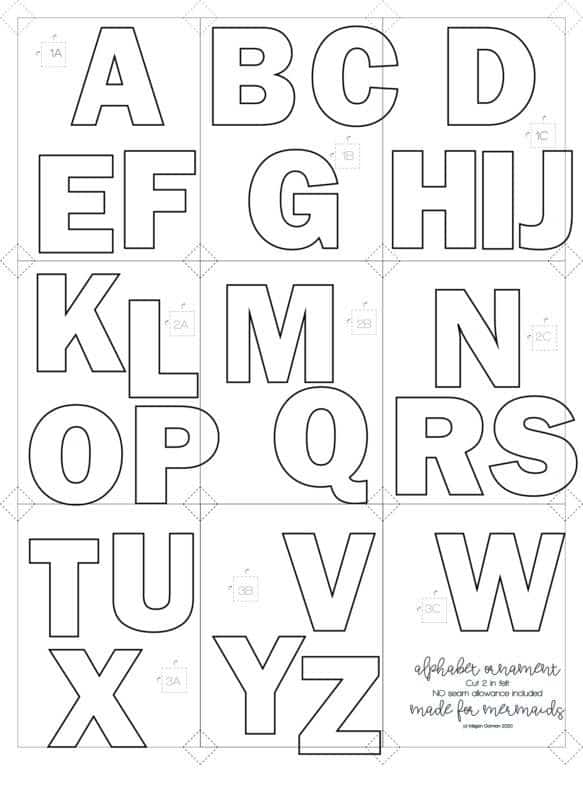
Print and assemble the pattern. Alternatively, you can use the projector file if you’re using a projector. There are 9 pages to print out for the entire alphabet. Pattern layout below so you can just print the pages your need for your desired letter/s:
Step 2: Cutting
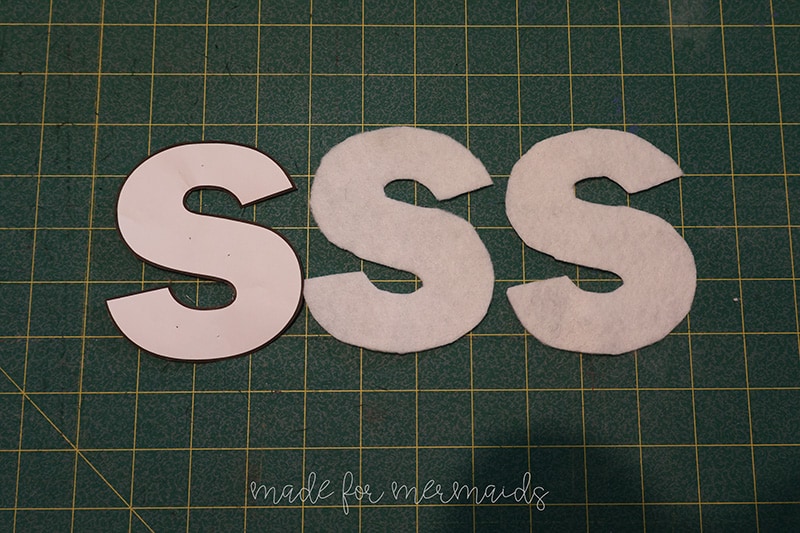
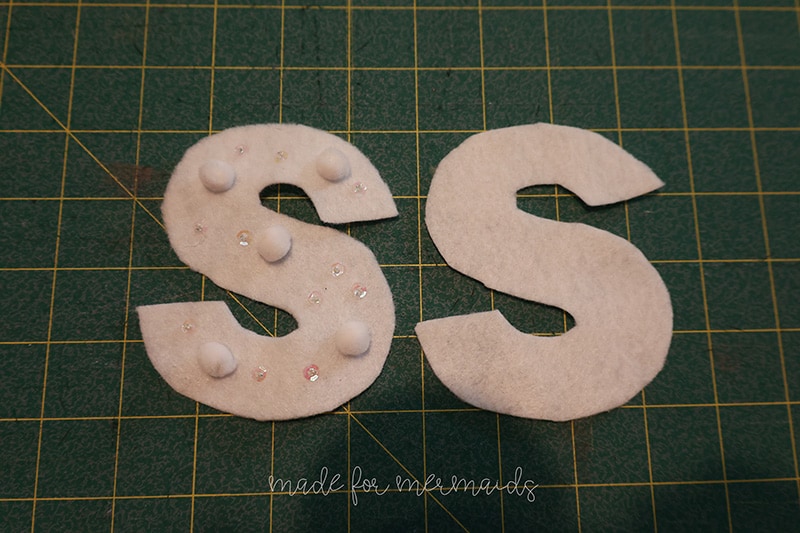
You’ll want to cut 2 pieces of your letter. I find it easiest to pin the letter to the felt and use shears to cut instead of a rotary cutter.
Step 3: Embellishing
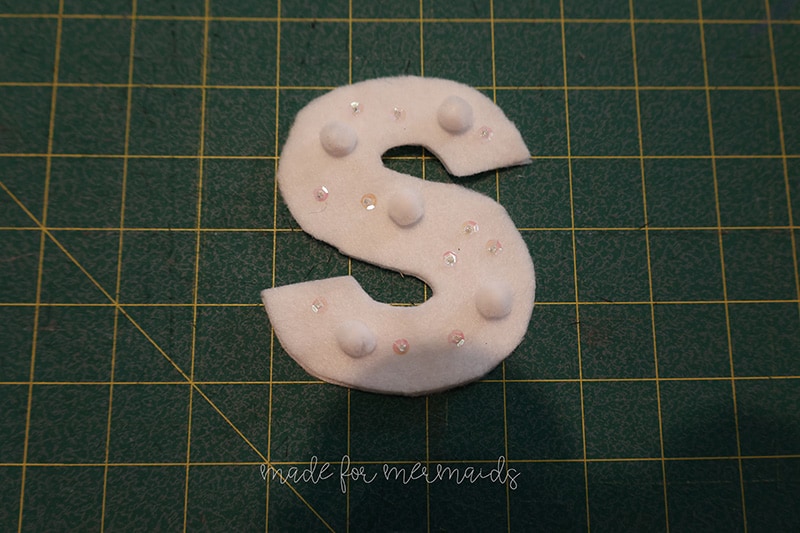
If you’d like to embellish your ornament, now is the time to do it!
Step 4: Blanket Stitch
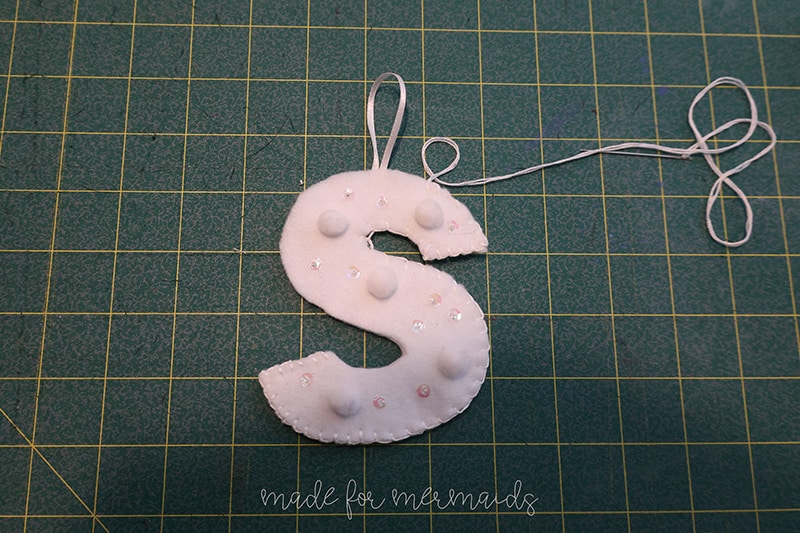
Now layer your 2 pieces on top of each other and blanket stitch them together, leaving a small opening to stuff your ornament. If you’re adding a handing loop, you’ll cut a 5″ (or however long you want) piece of twine or ribbon. Don’t forget to tuck the loop into the top before stitching that area. If you’re not sure how to blanket stitch, I did a quick video below!
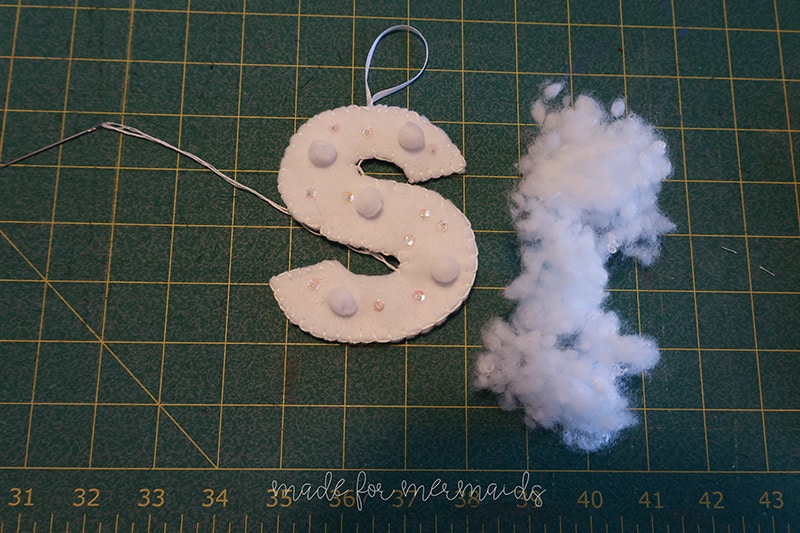
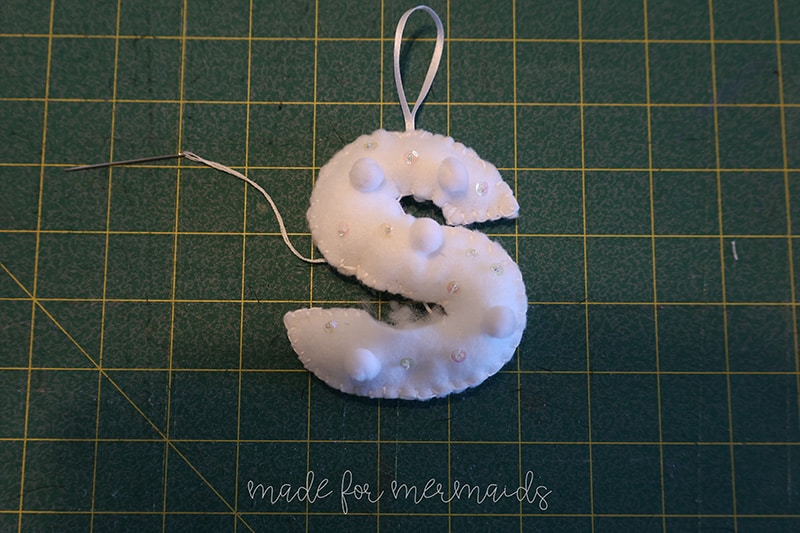
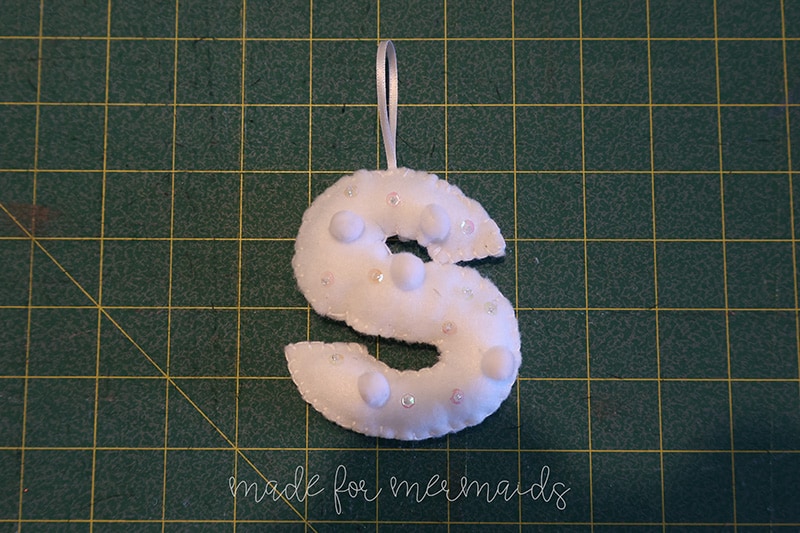
Through the small opening that you left, stuff your ornament with polyfill. Use a chopstick to help stuff the corners of your letter. Then close the ornament with a blanket stitch.
That’s it! I love these quick ornaments and hope you do too! Use them as a gift topper, make a banner, or on a stocking! I can’t wait to see what you sew up 🙂
DECEMBER 1 – 12, 2020
DAY 1 – SUPER SCRUNCHIE
DAY 2 – SPA HEADBAND
DAY 3 – CHEF’S HAT
DAY 4 – HOLIDAY STOCKING
DAY 5 – HAND SANITIZER KEYCHAIN
DAY 6 – COCOA AND COOKIES FELT SET
DAY 7 – FABRIC BOW
DAY 8- KNOTTED HAIR BOW
DAY 9- KEYCHAIN WALLET













Leave a Reply