
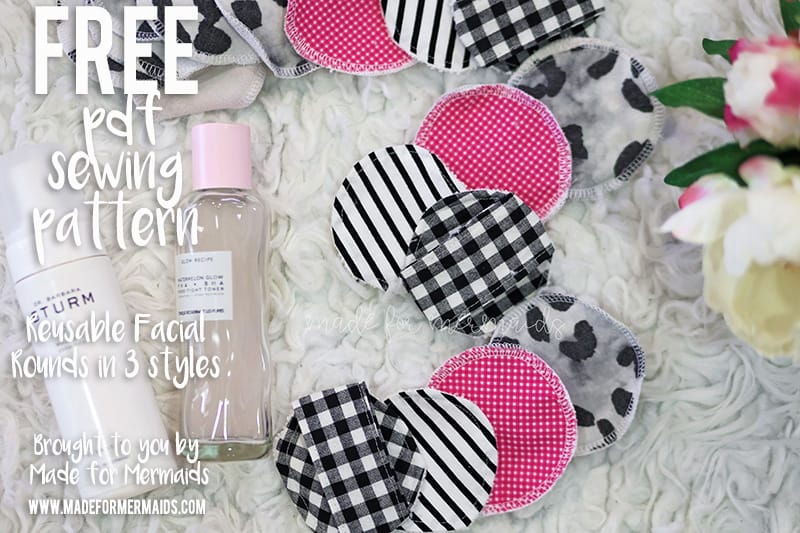
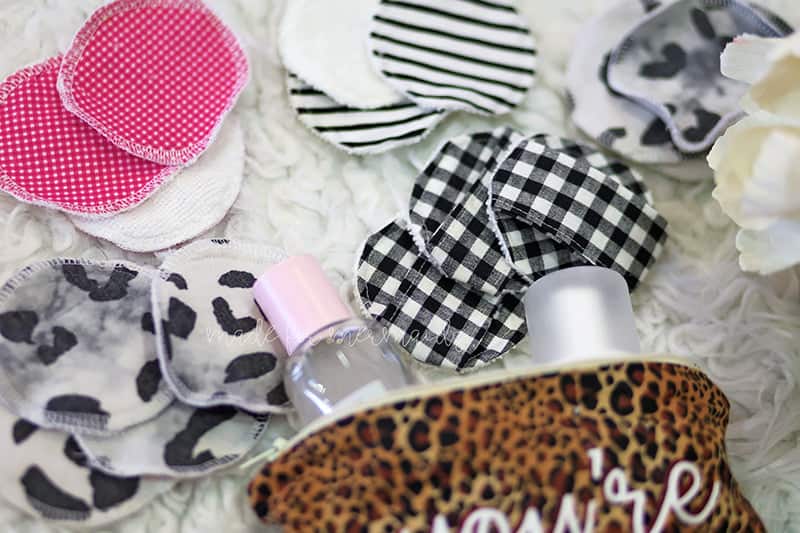
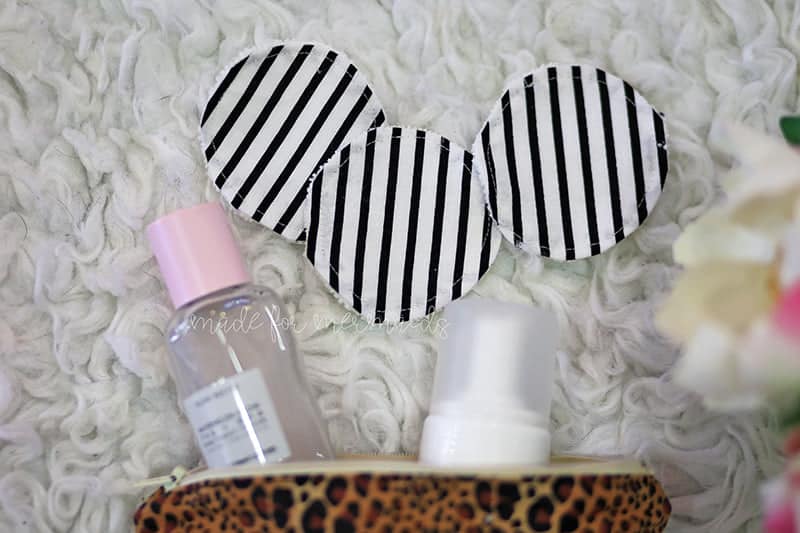
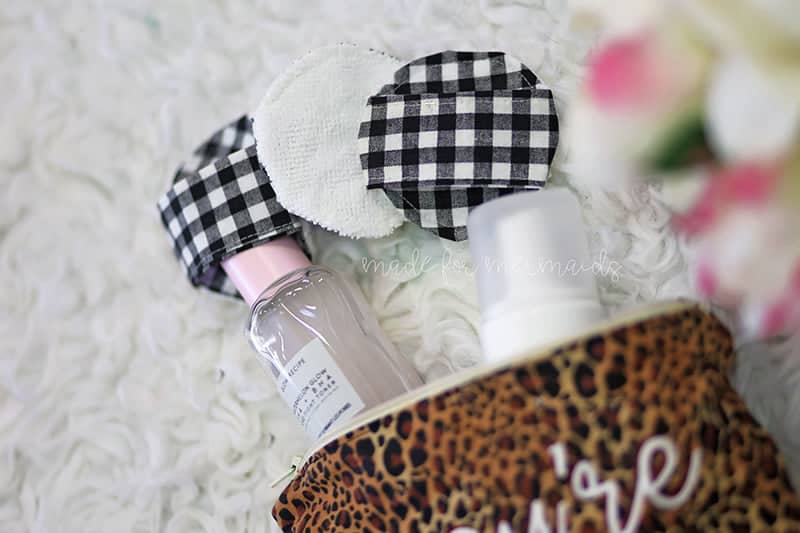
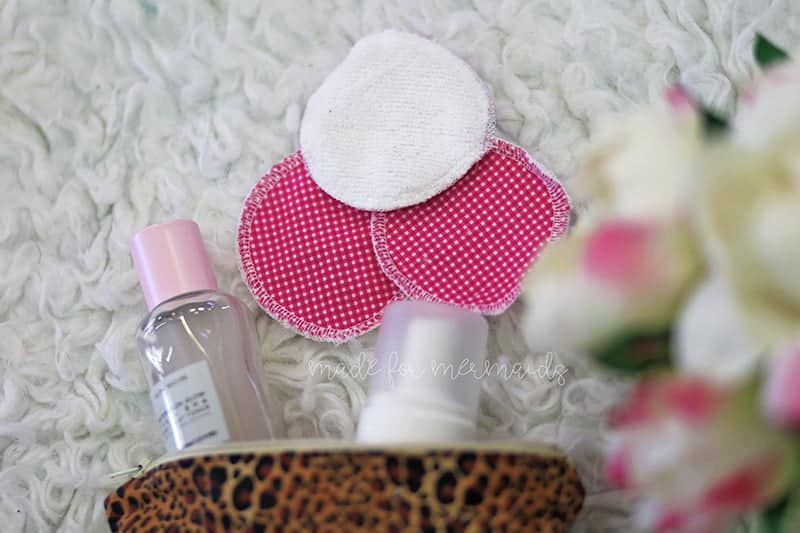
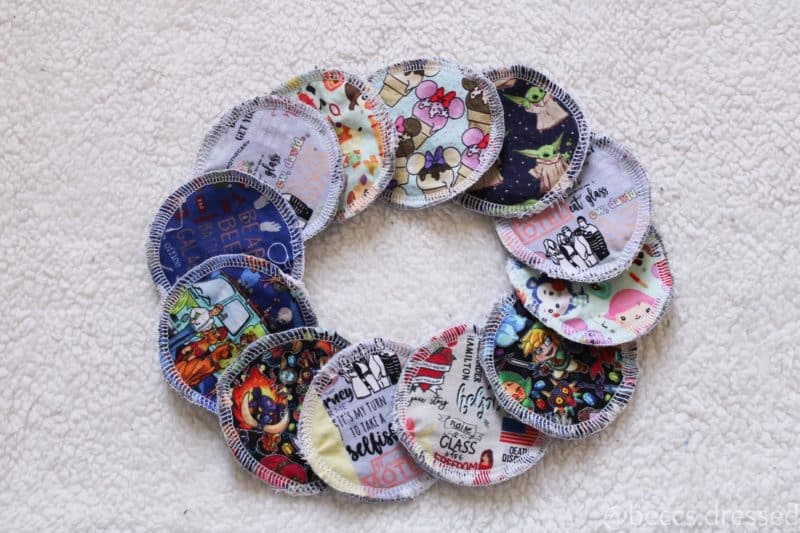
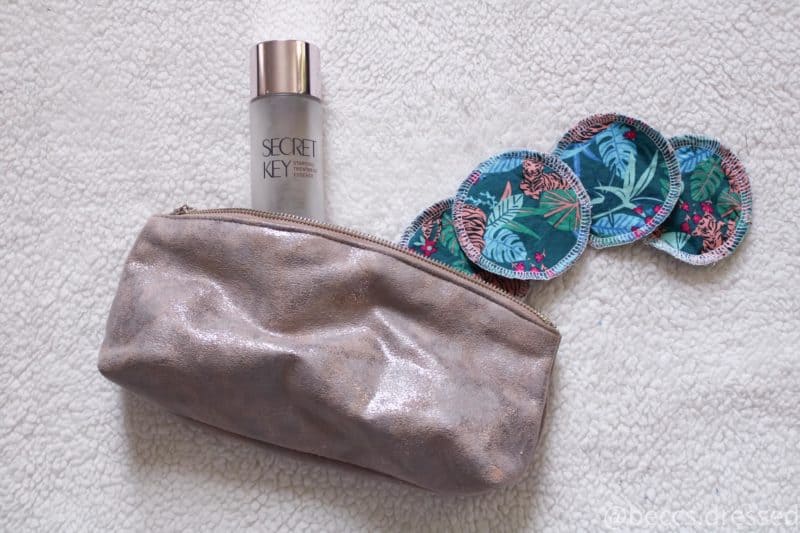
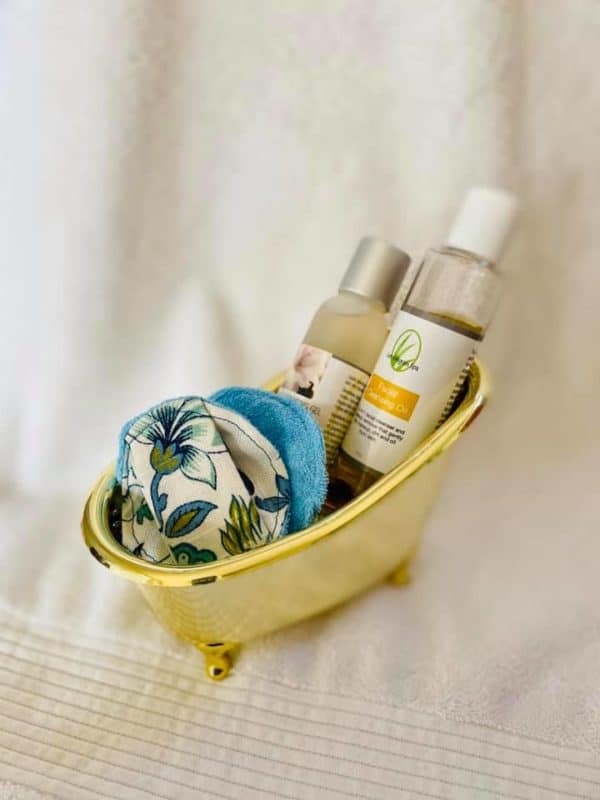
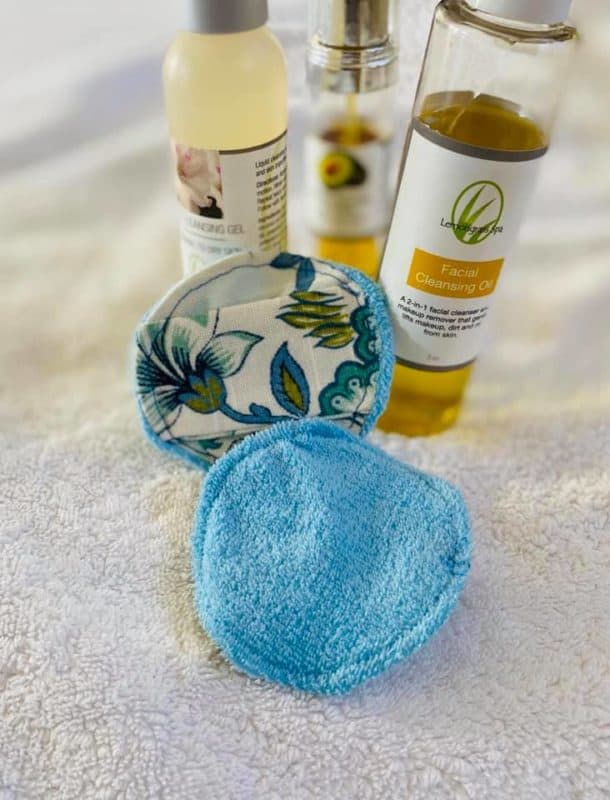
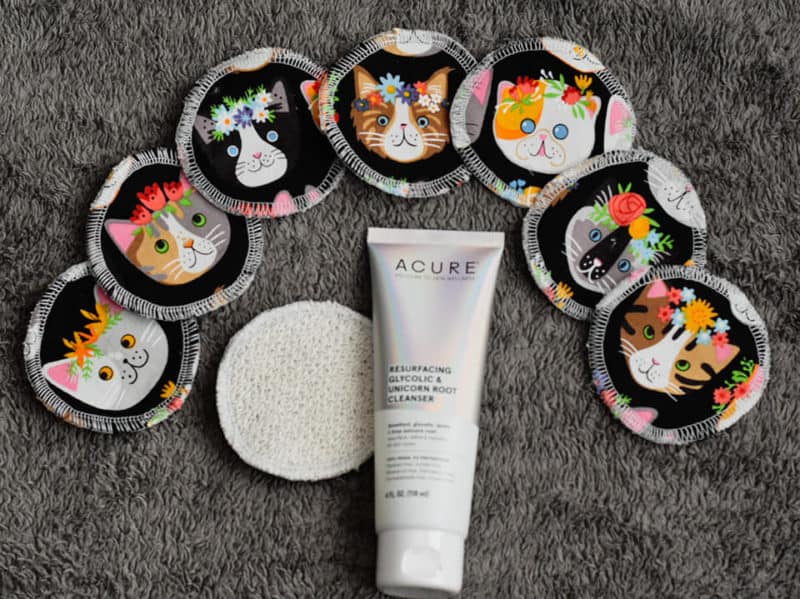
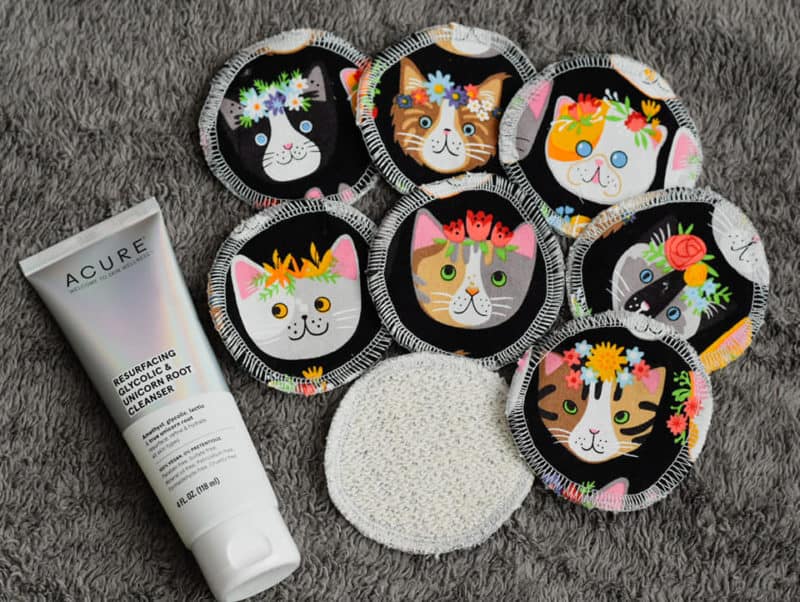
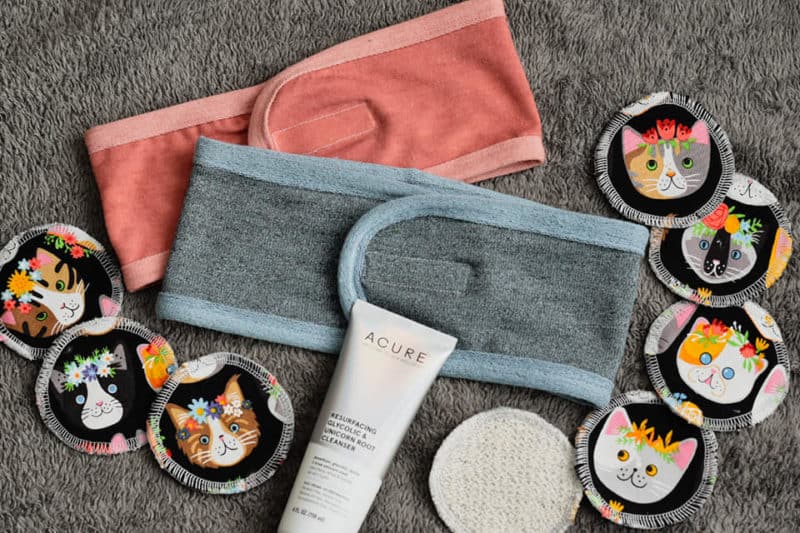
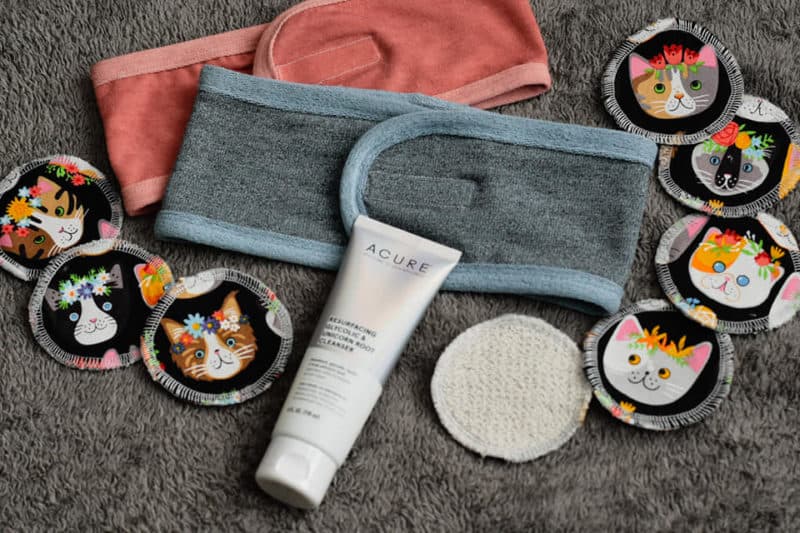
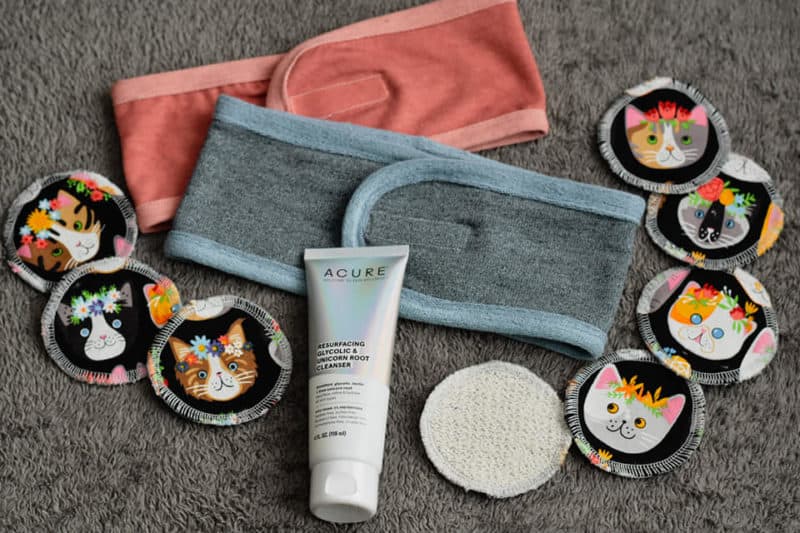
Hey there, Mermaids! Just two more days of Christmas freebies! Today, on the 11th Day of Christmas, Made for Mermaids gave to me…reusable facial rounds finished three different ways! I’m all about sustainability and practicality, so this freebie was right up my alley! They would make a great stocking stuffer or the perfect addition to a self-care themed gift for someone special in your life! All three finishes come together SO quickly!
SUPPLIES:
This freebie really only takes scraps of fabric, so you might even have enough lying around your house to make quite a few!
- 1/8 yd cotton woven for main (you can also use knit here, I just prefer to use natural fabrics if possible!)
- 1/8 yd terrycloth (or cut from a towel or washcloth you have on hand!)
LET’S GET STARTED!
1/4″ seam allowances included.
Step 1: PREPPING
Go grab the pattern here! The pattern is 100% free, but you do need to add it to your cart and checkout. Then, it will always be available to download from your account. The pattern is a no trim pattern; if you need help putting the pattern together, pop over to the faqs and troubleshooting page or ask in our Facebook group.
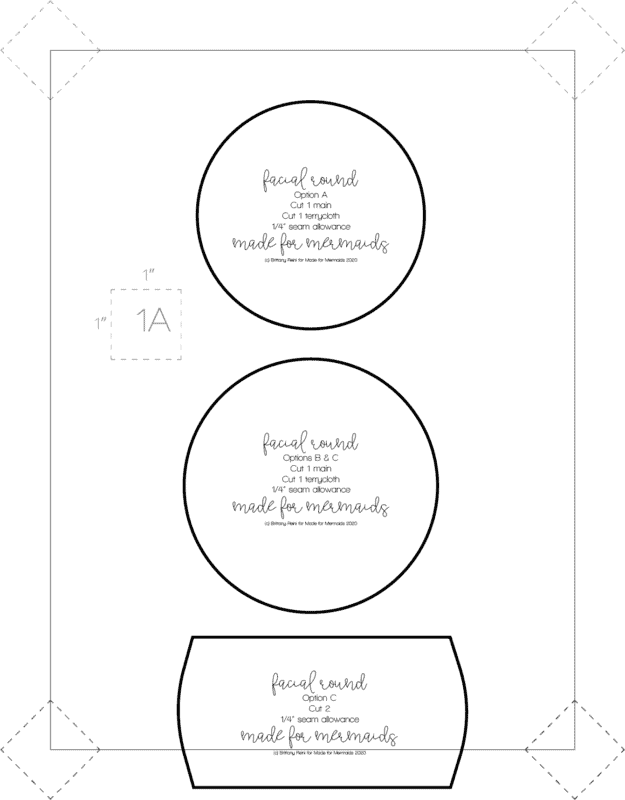
Print and assemble the pattern. There is only ONE page to print out (or download the projector file!). Pattern layout below:
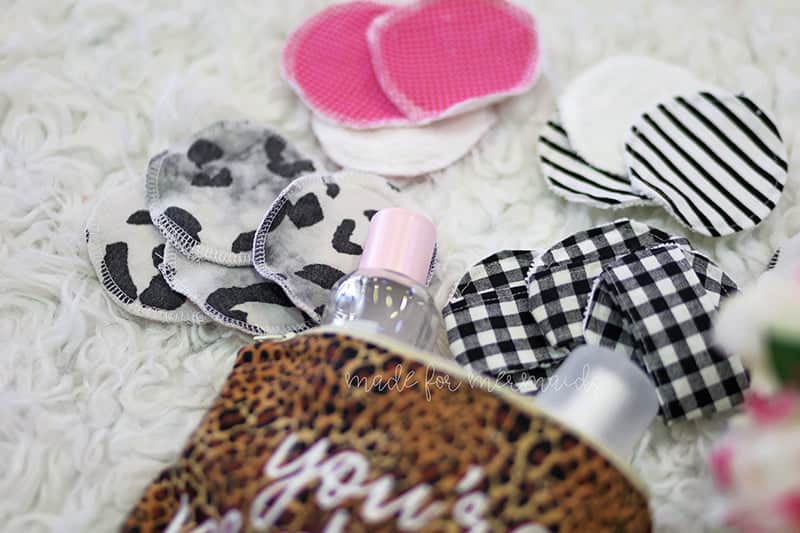
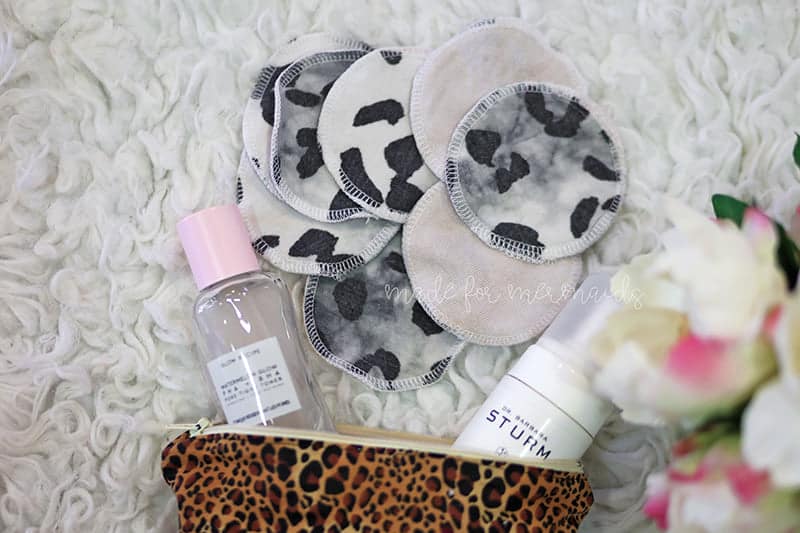
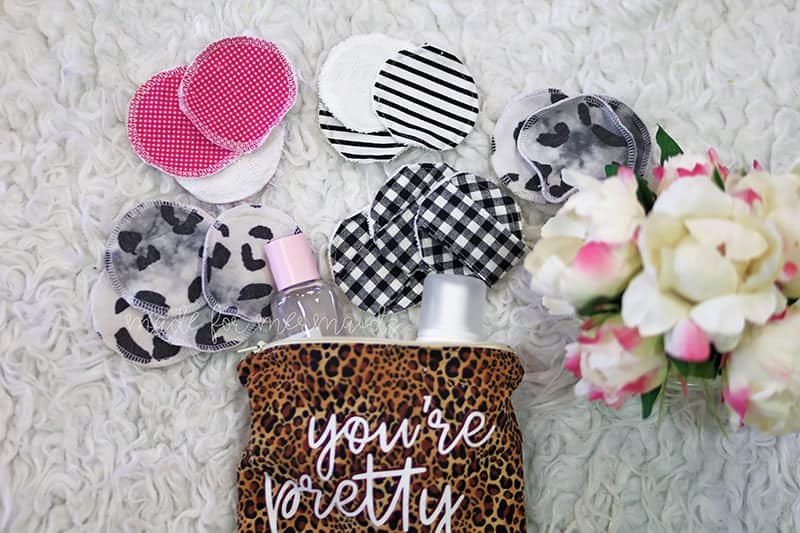
You can choose from three different views, shown below left to right. View A has exposed seams. View B has enclosed seams. View C also has enclosed seams, but also has an “easy hold” band!
View A:
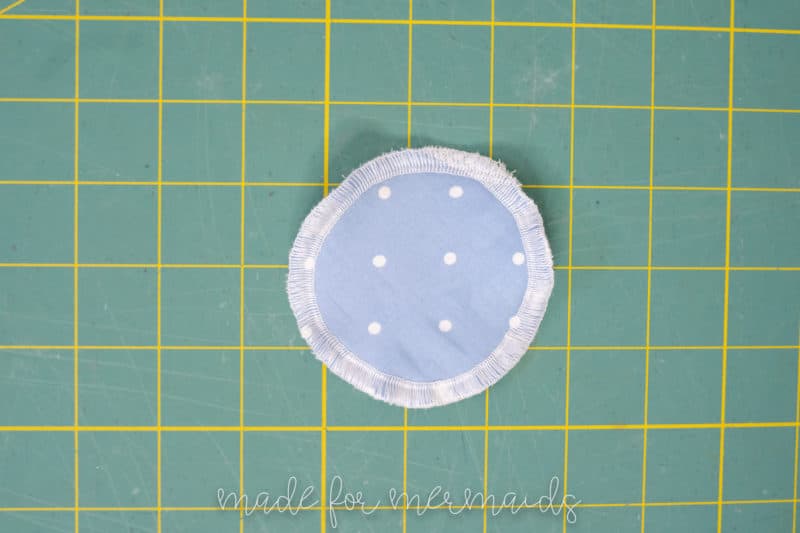
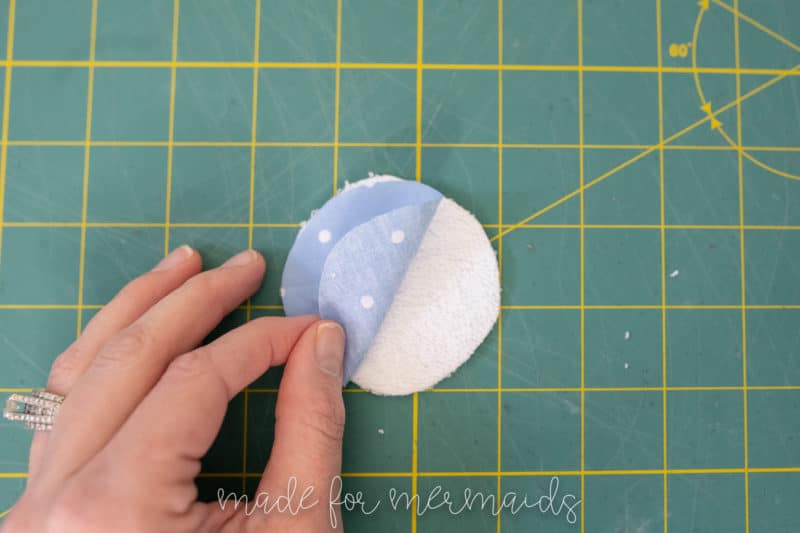
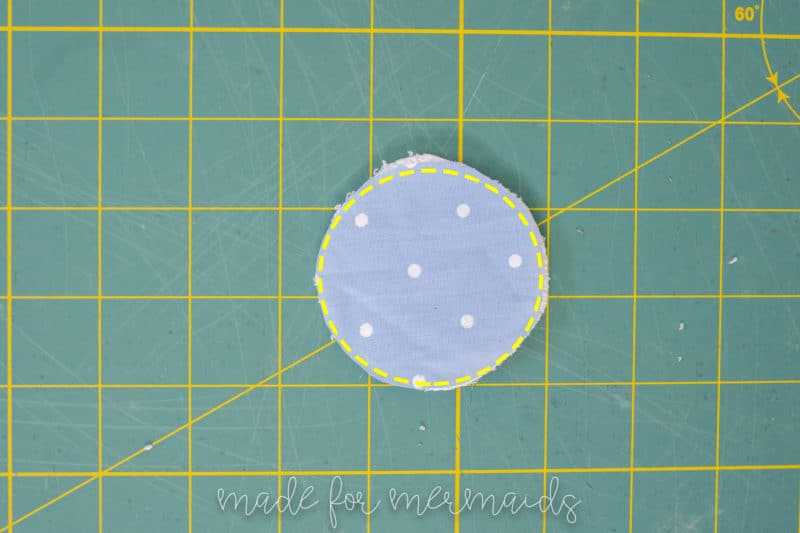
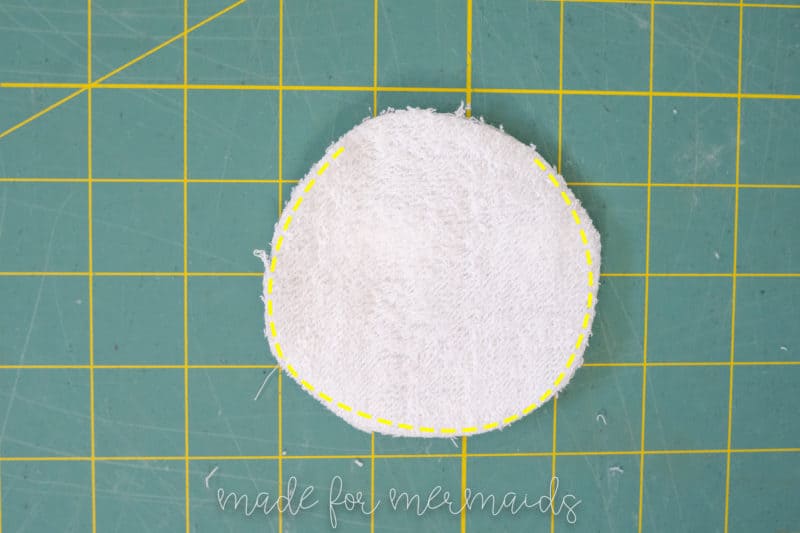
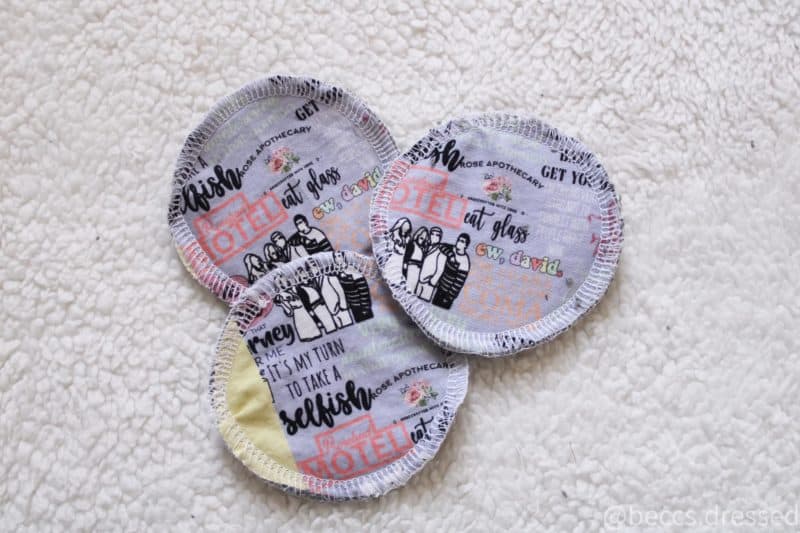
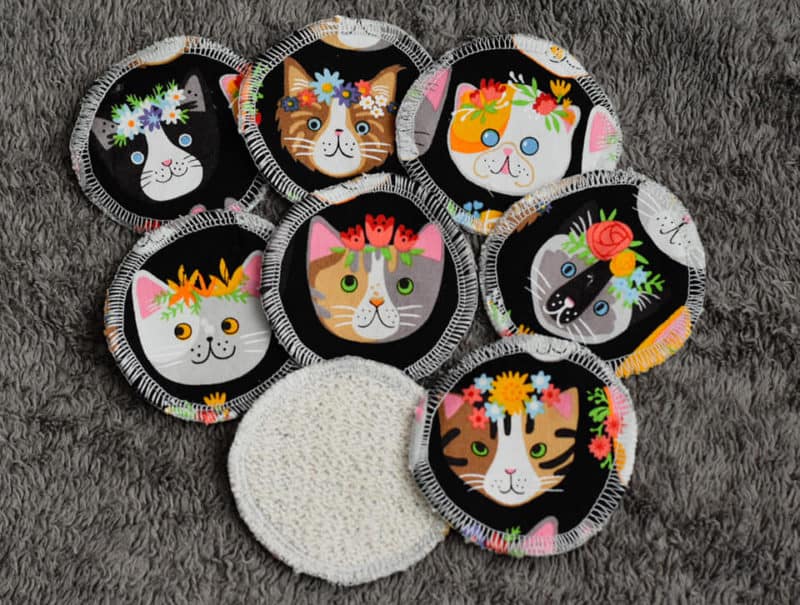
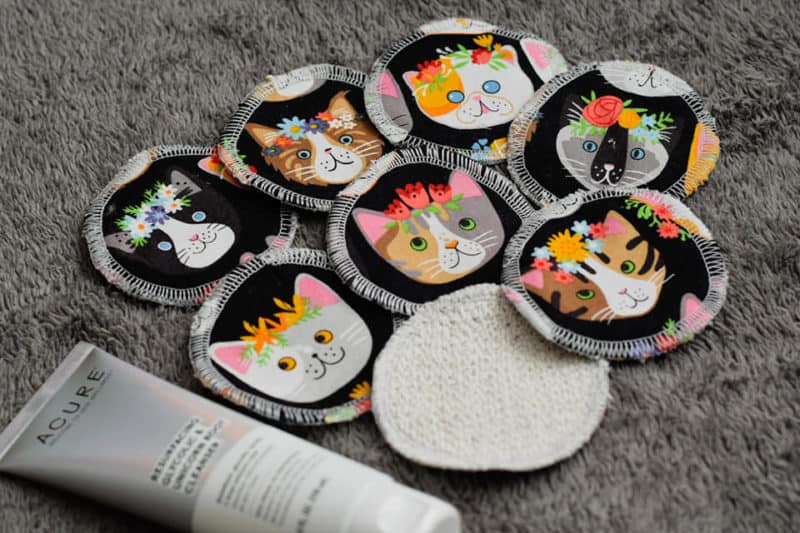
Place WRONG sides together. Finish raw edges with an overlock stitch on serger without cutting any fabric off. Tip: Decrease your stitch length and width and go slow for a nicer finish.
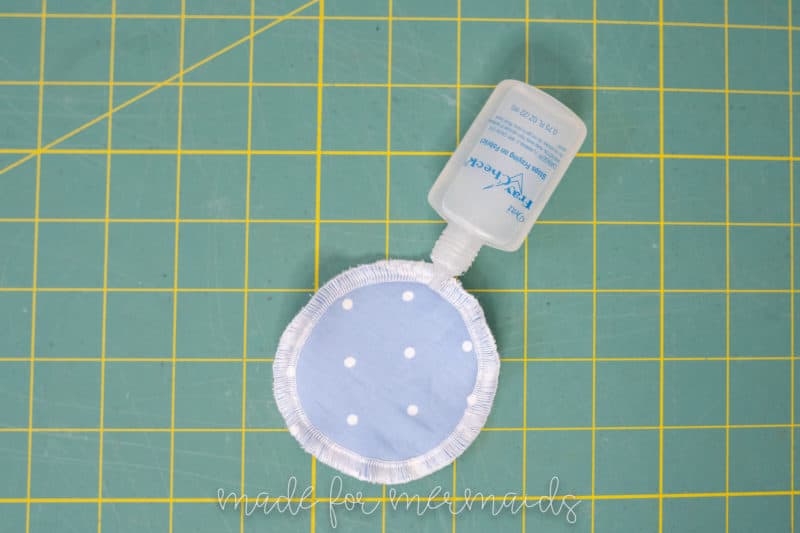
Place a small amount of liquid stitch or fray check where your serger seam ends. That’s it! You’re done!
View B:
Place RIGHT sides together. Stitch together with 1/4″ seam allowance, leaving 1-2″ open for turning right sides out.
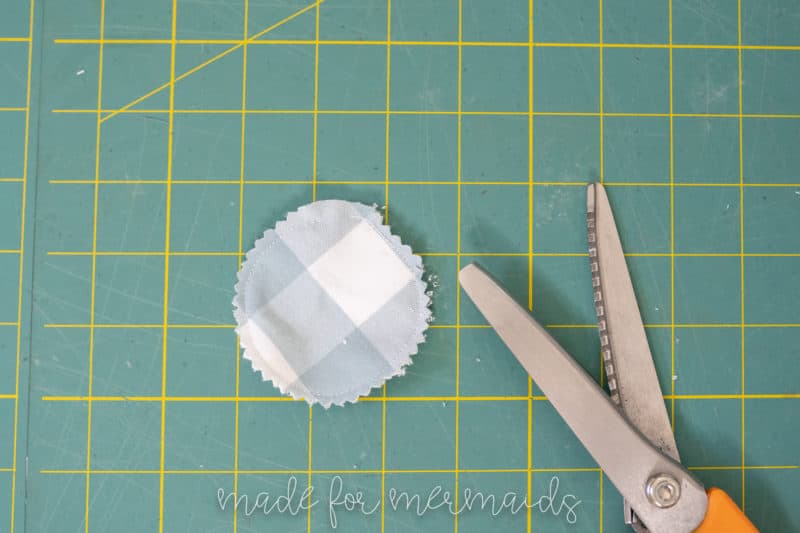
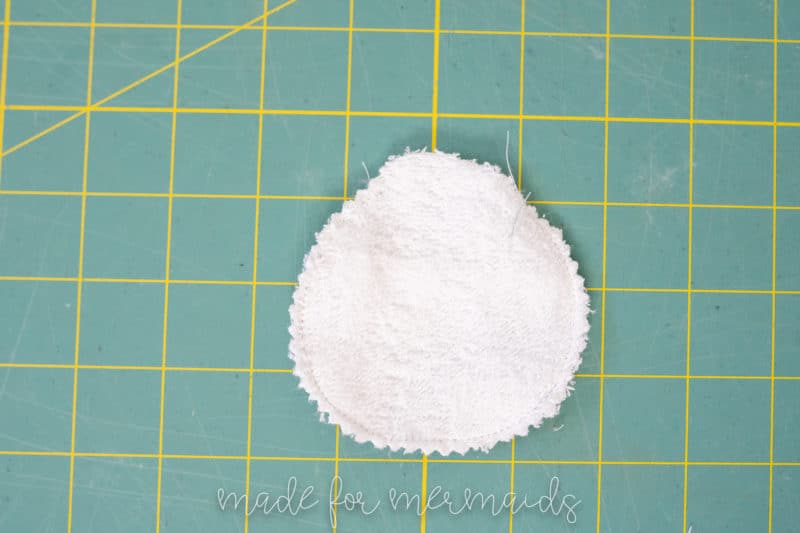
Trim seam allowance to 1/8″ with pinking shears.
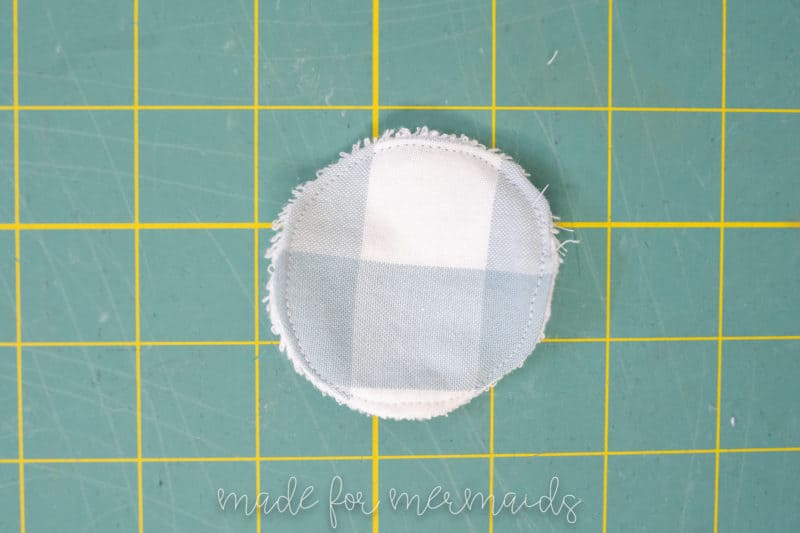
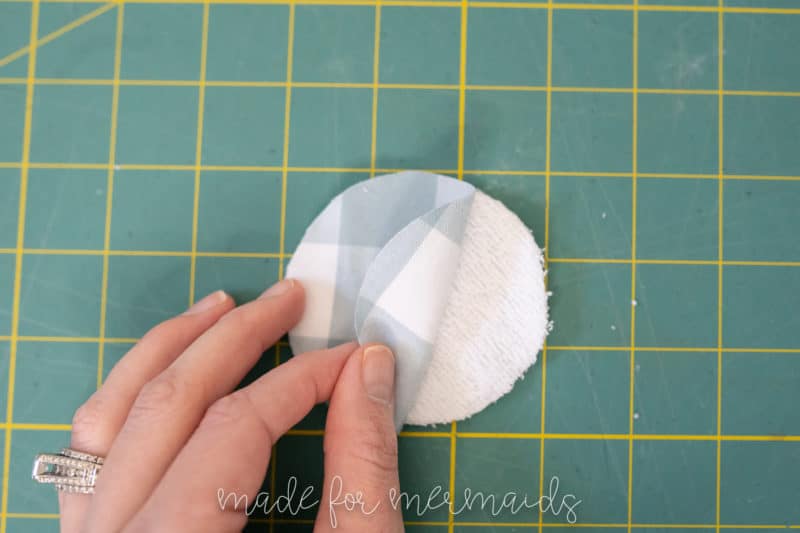
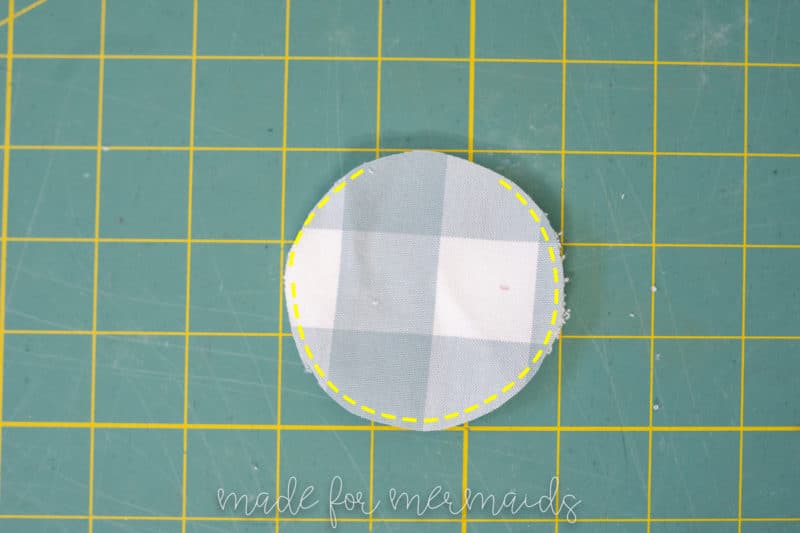
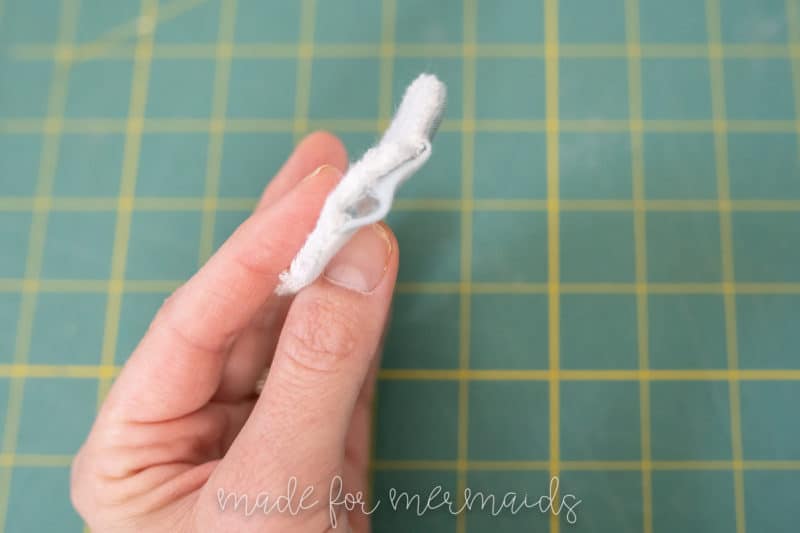
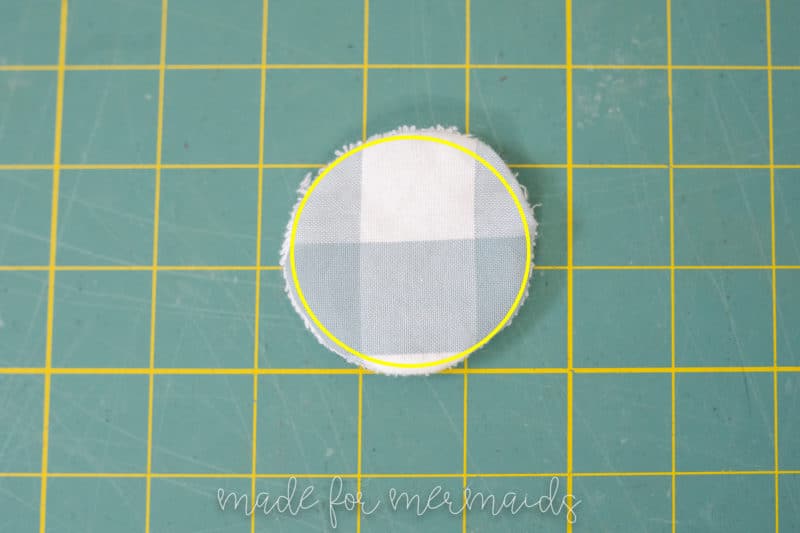
Turn right sides out, folding in raw edges that you left open previously. Press and topstitch. Again, so quick! You’re all finished!
View C:
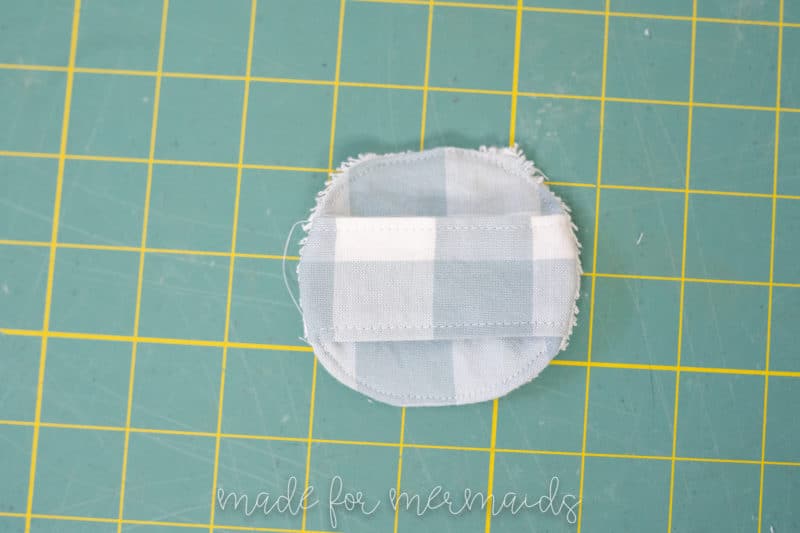
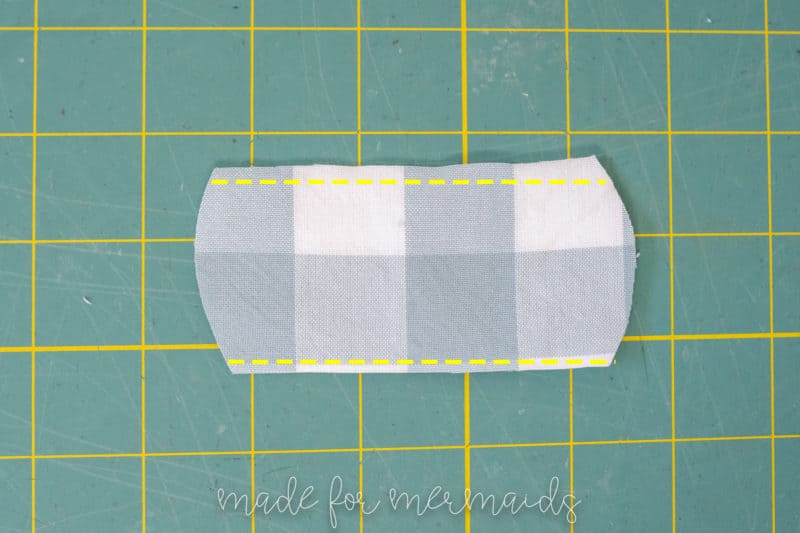
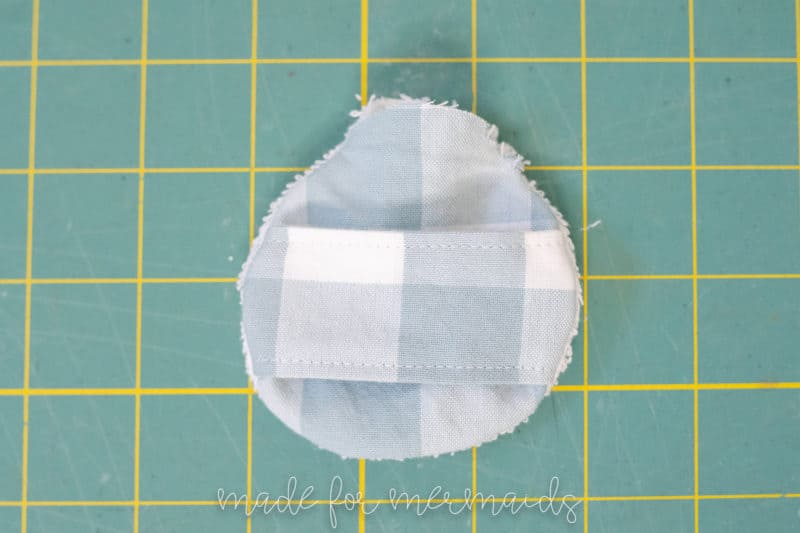
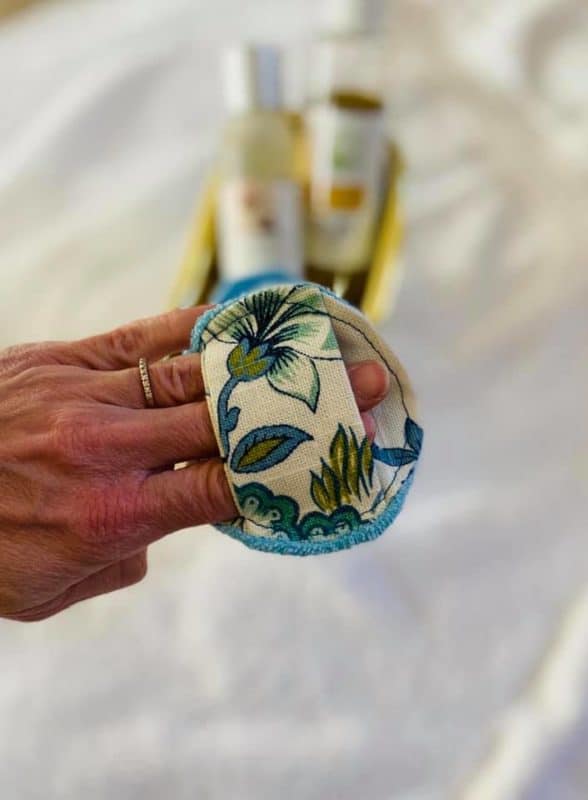
Place easy hold bands right sides together. Stitch together along long edges at top and bottom. Press right sides out and topstitch along top and bottom edges, if desired.
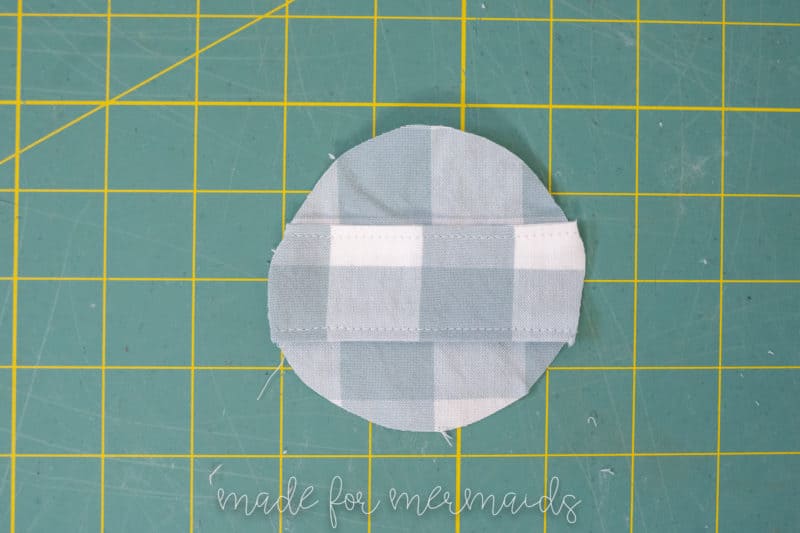
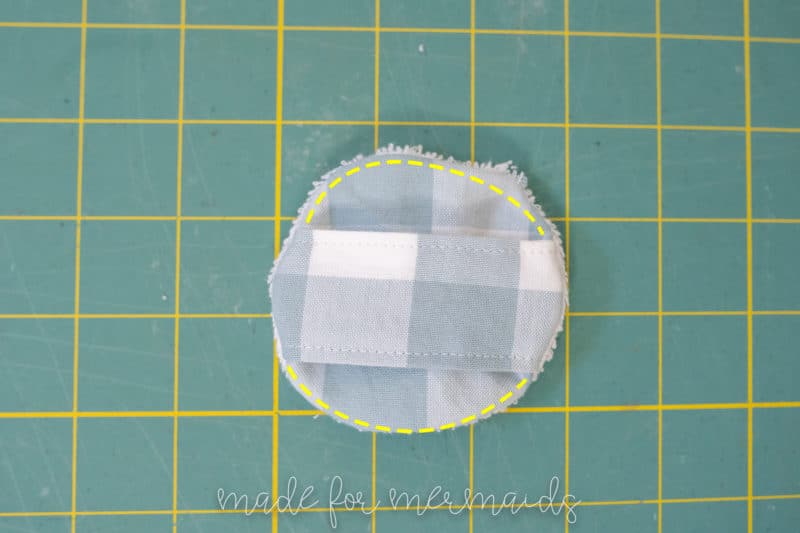
Center band on top of the main circle. Tip: Baste band in place along sides of the circle to hold in place when stitching. Place terrycloth circle on top, right sides together. Stitch together with 1/4″ seam allowance, leaving 1-2″ open at the top of the circle.
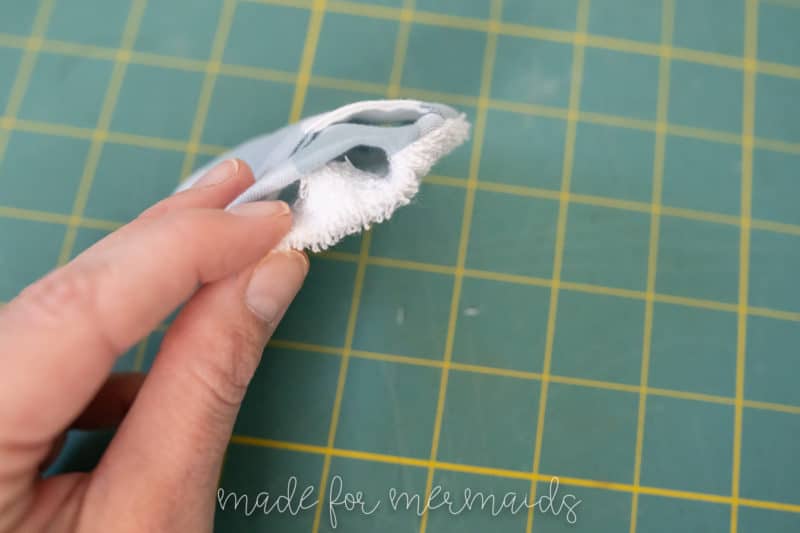
Trim seam allowance to 1/8″ with pinking shears. Turn right sides out, press. Fold raw edges to inside. Topstitch around curved edges, stopping when you get to the band. I like to leave the band open for holding the facial round.
Such a simple sew, no matter which option you choose, and a great way to reduce our overall footprint!
DECEMBER 1 – 12, 2020
DAY 1 – SUPER SCRUNCHIE
DAY 2 – SPA HEADBAND
DAY 3 – CHEF’S HAT
DAY 4 – HOLIDAY STOCKING
DAY 5 – HAND SANITIZER KEYCHAIN
DAY 6 – COCOA AND COOKIES FELT SET
DAY 7 – FABRIC BOW
DAY 8- KNOTTED HAIR BOW
DAY 9- KEYCHAIN WALLET
DAY 10 – ALPHABET FELT ORNAMENT




Leave a Reply