
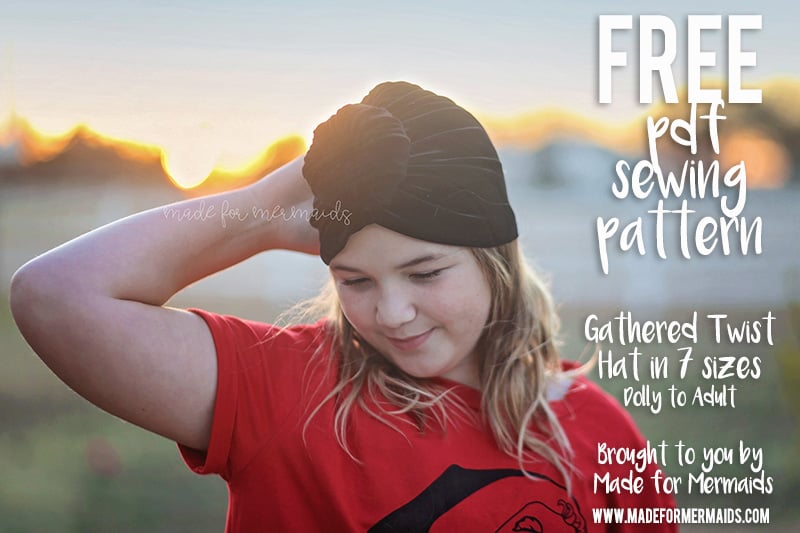
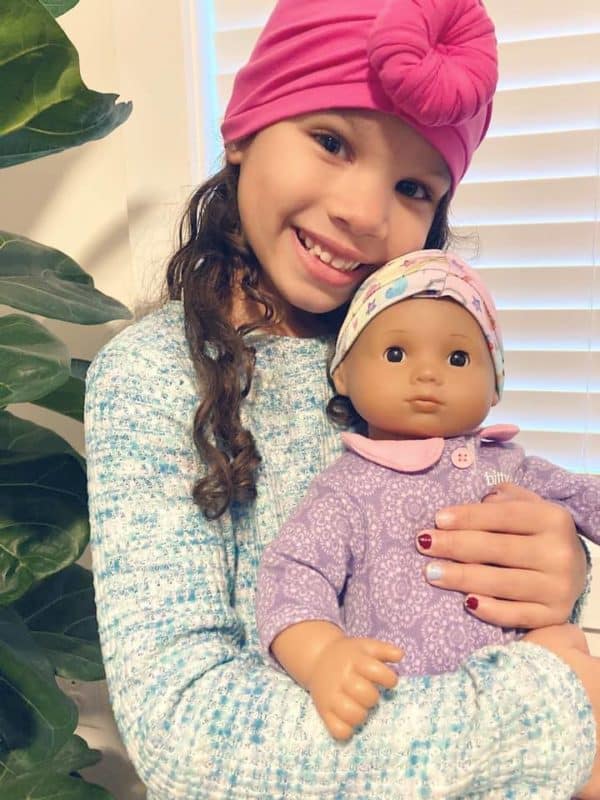
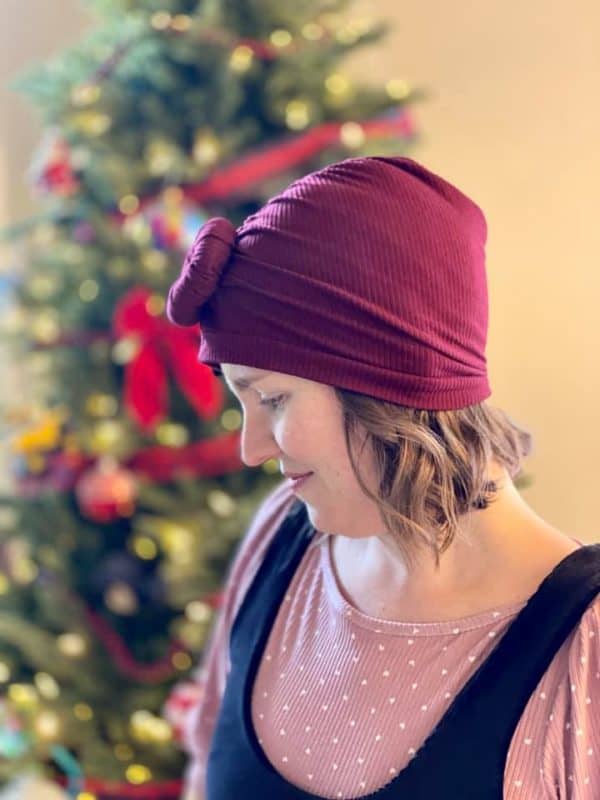
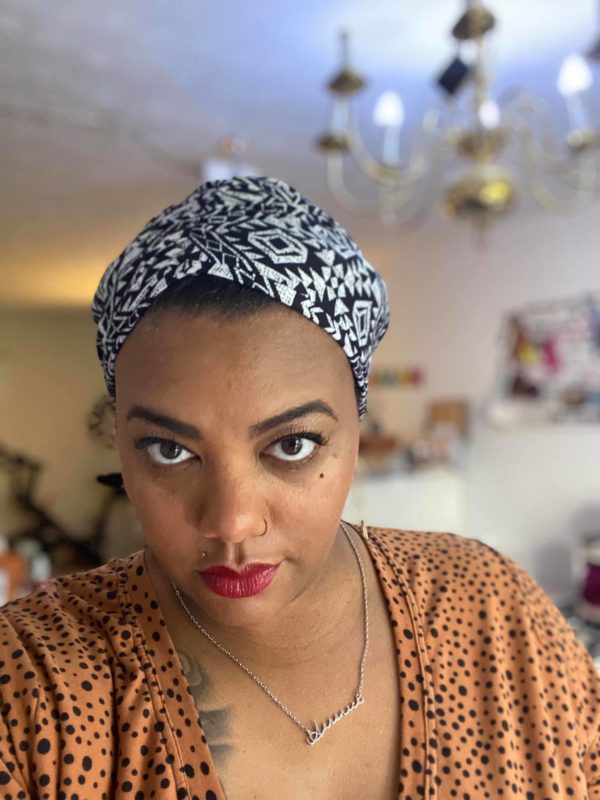
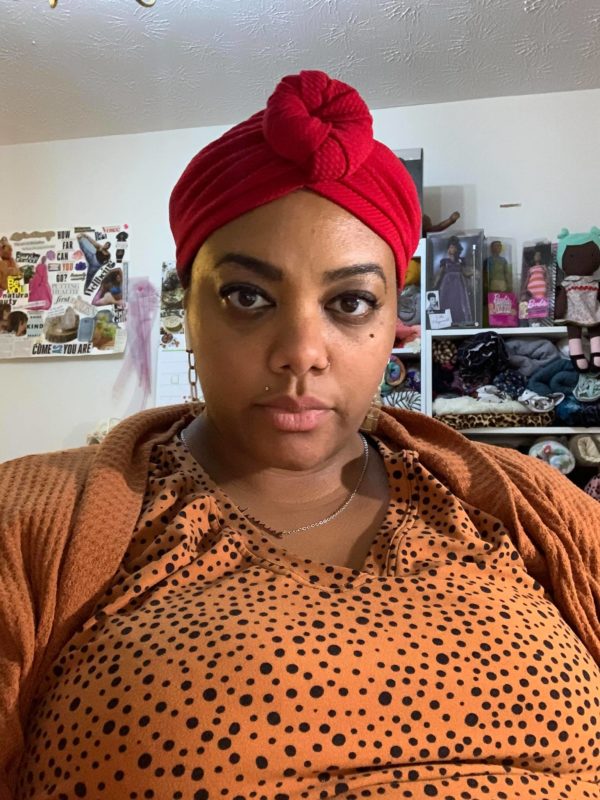
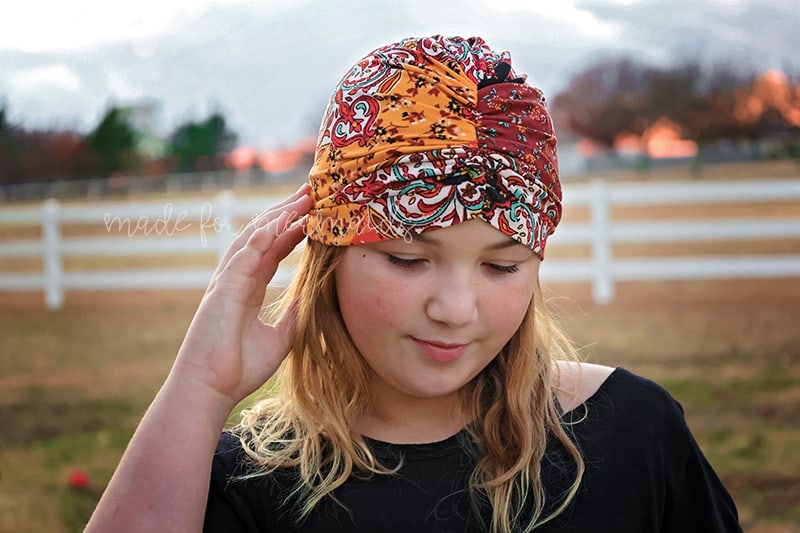
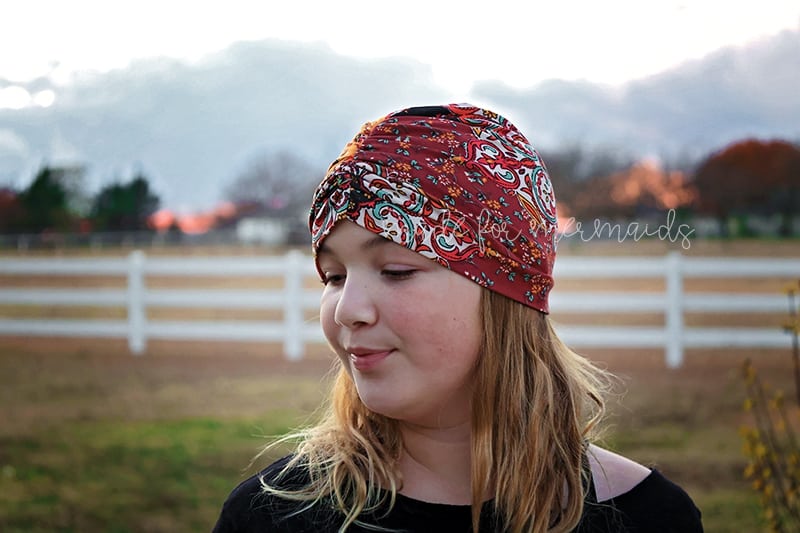
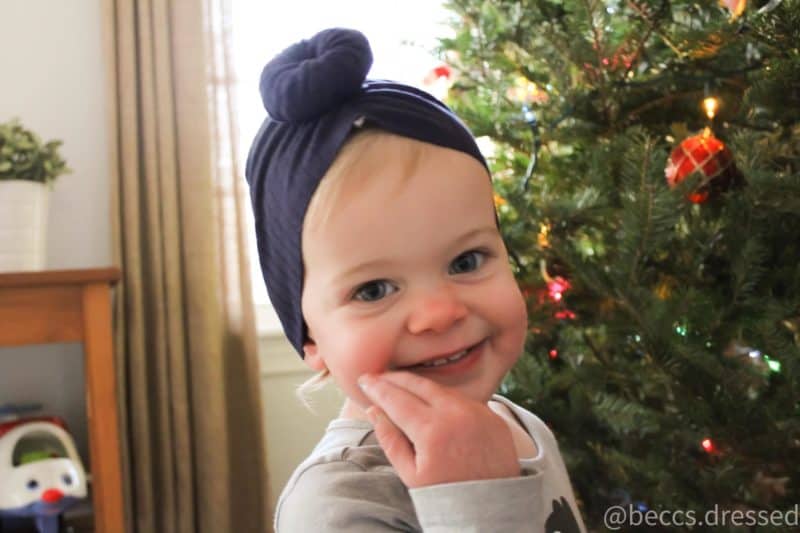
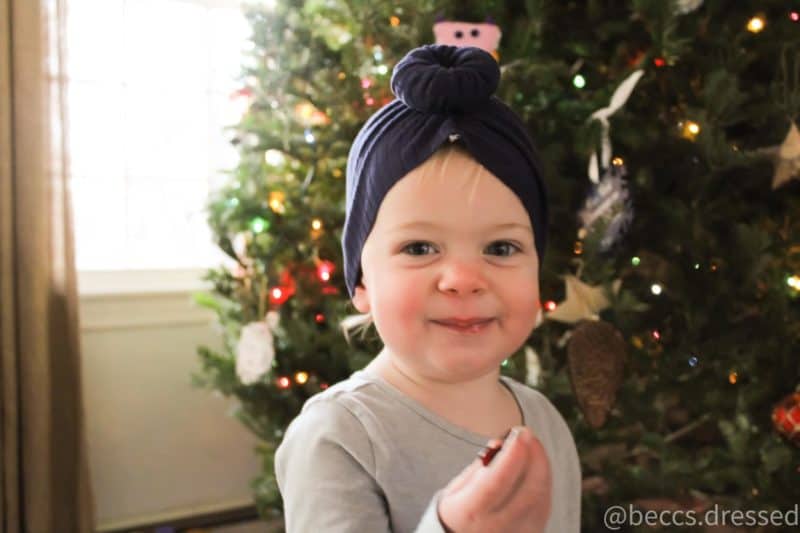
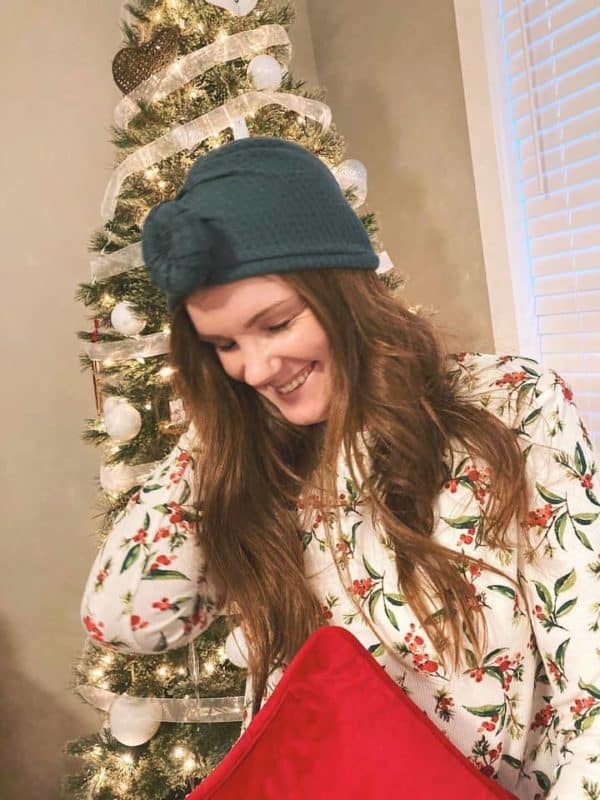
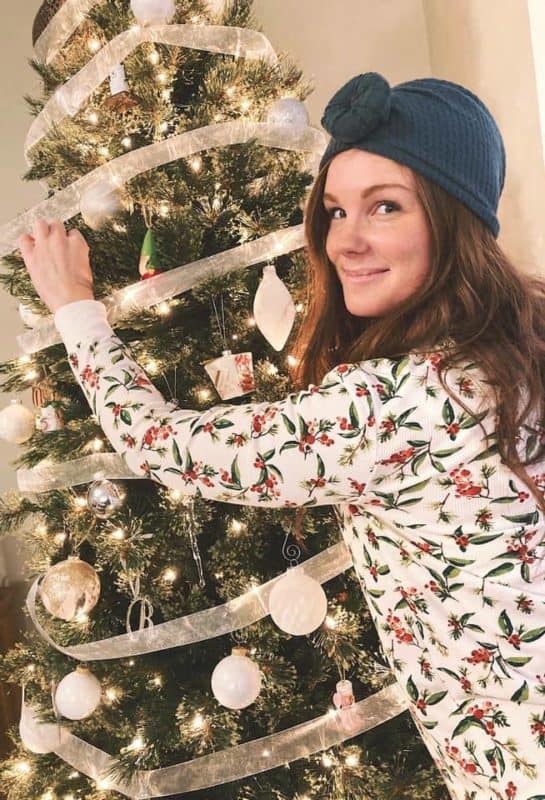
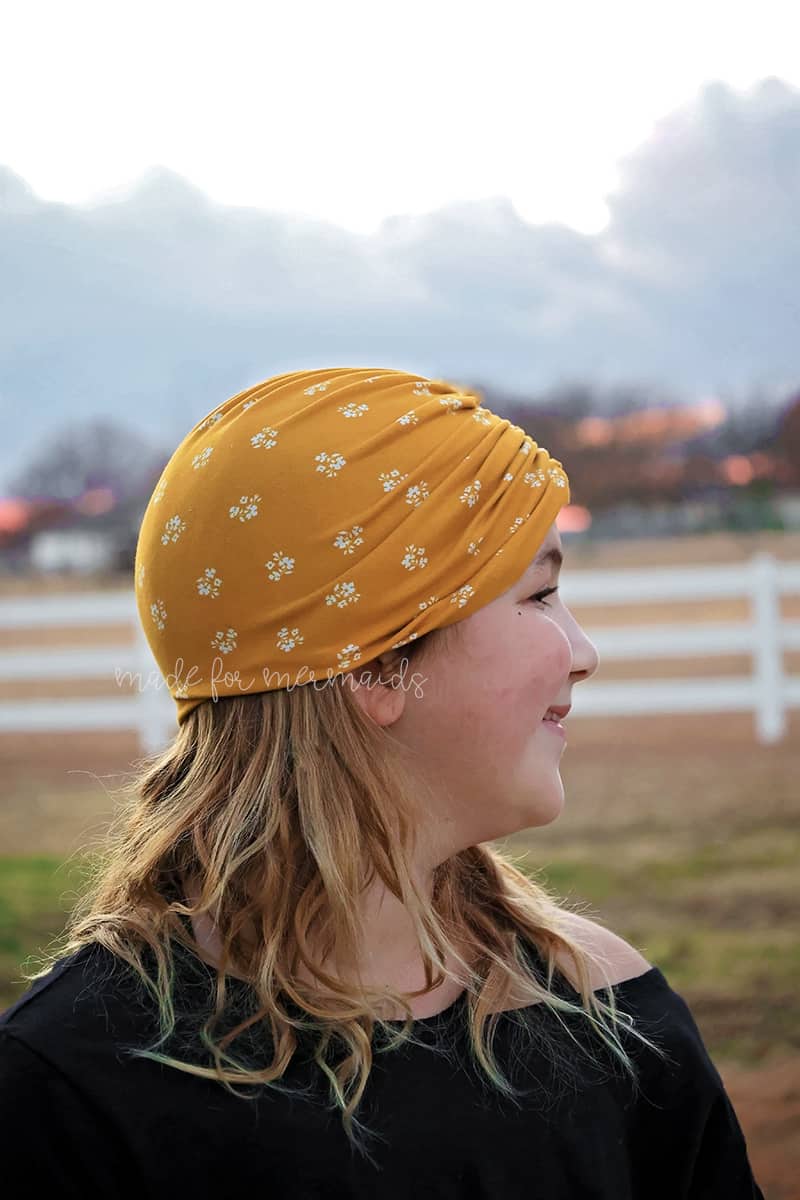
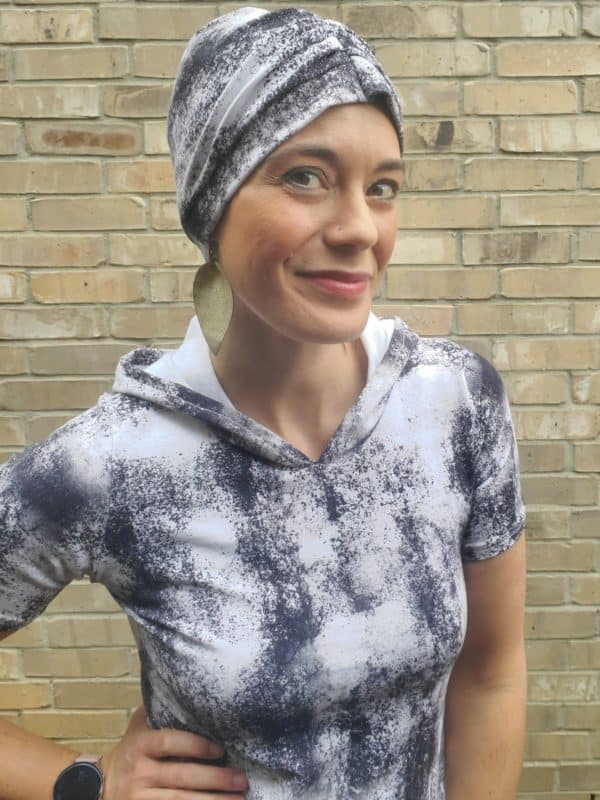
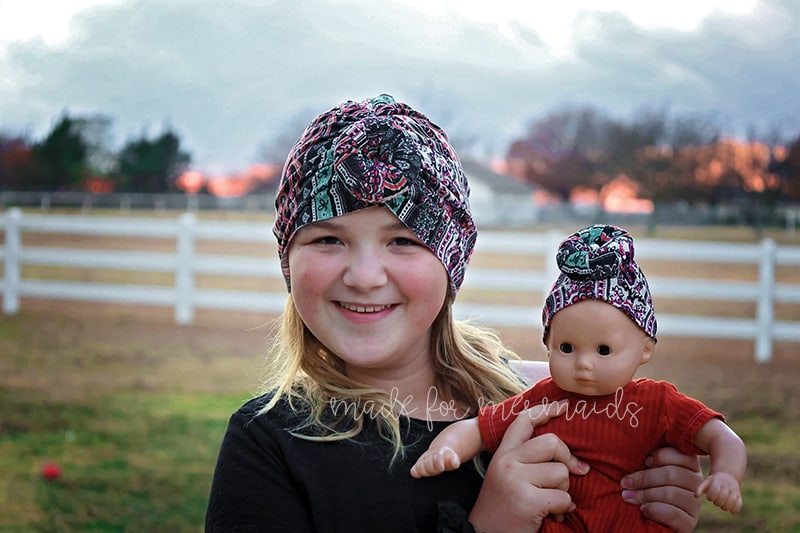
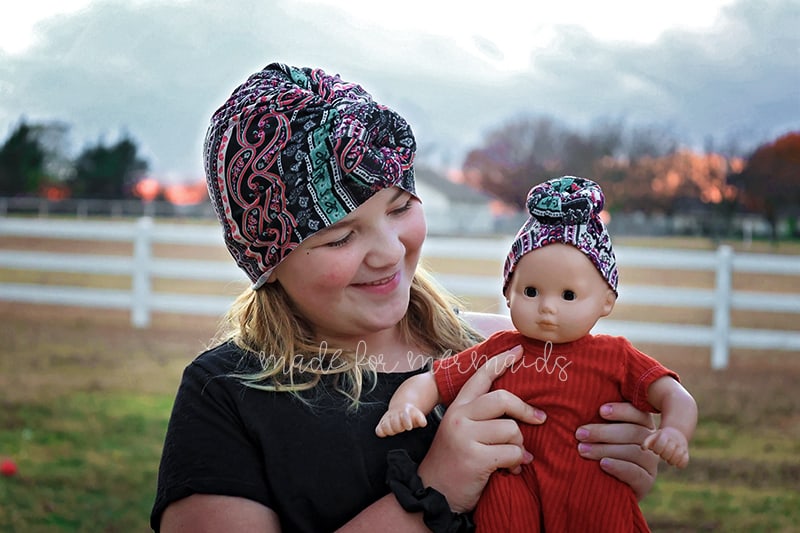
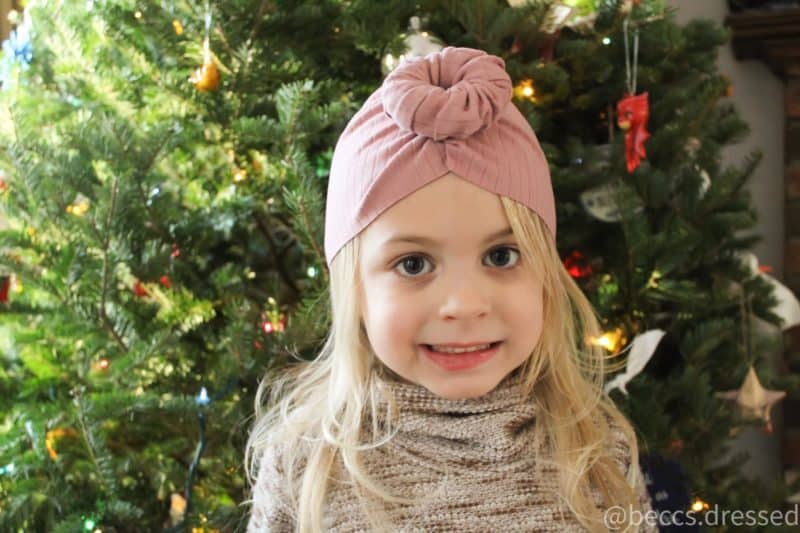
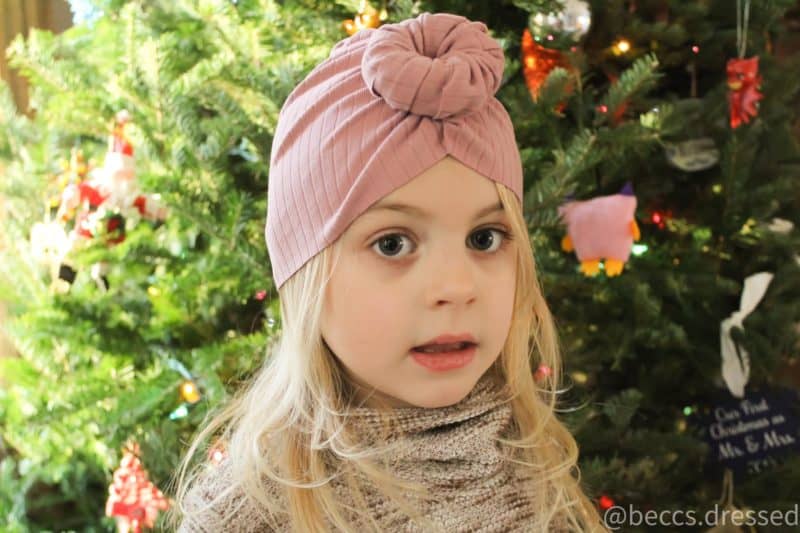
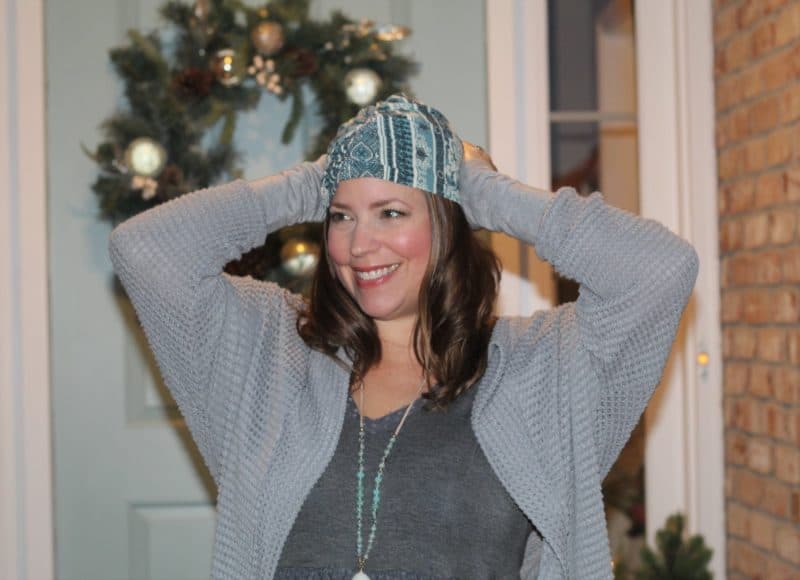
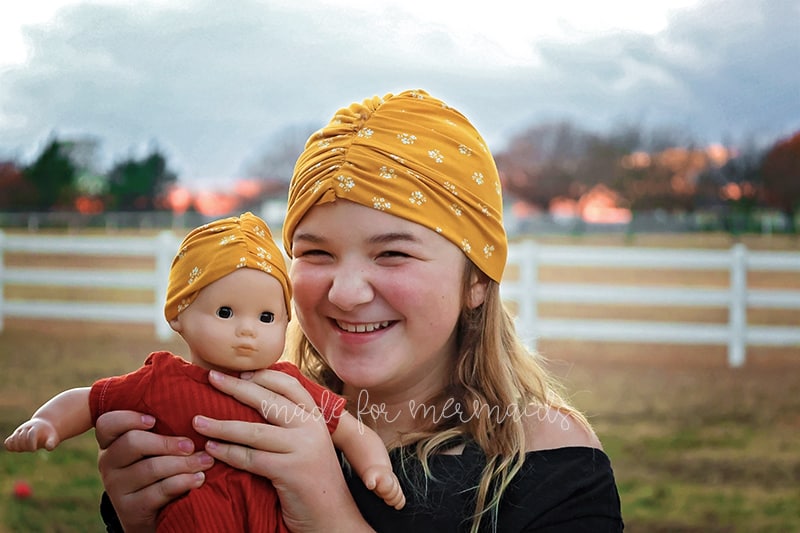
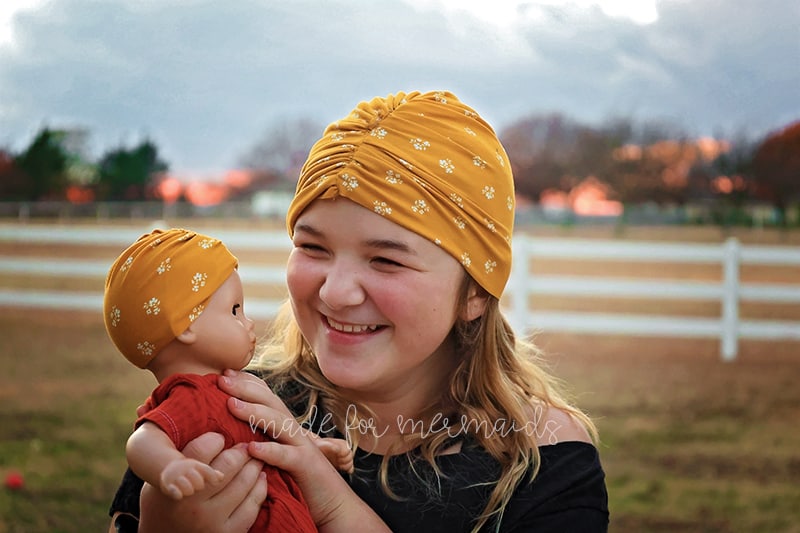
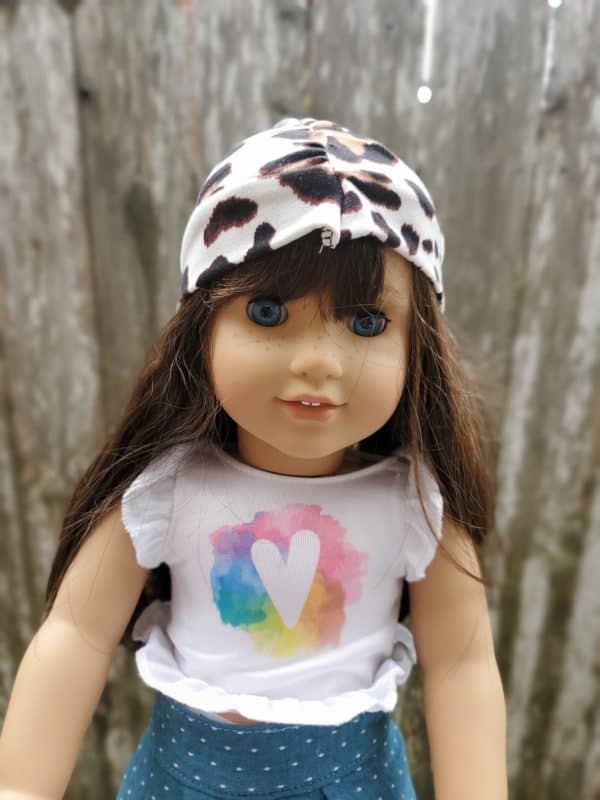
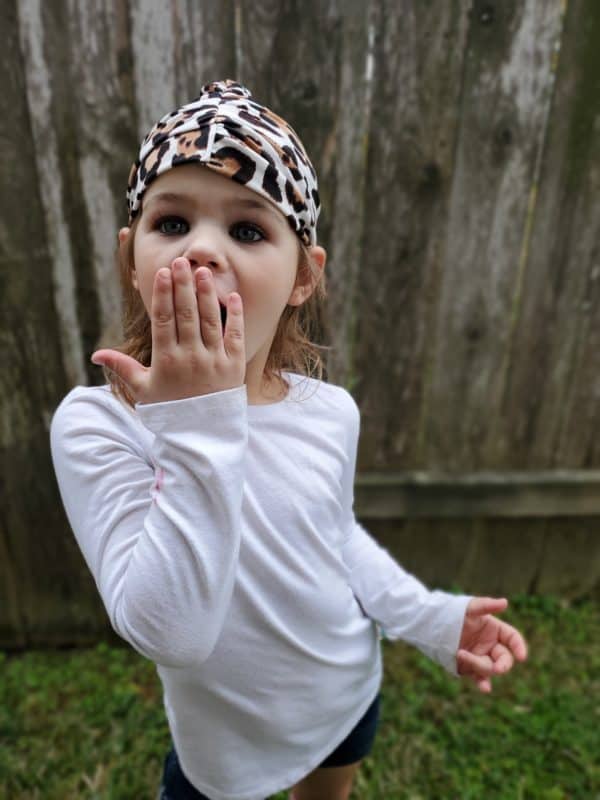
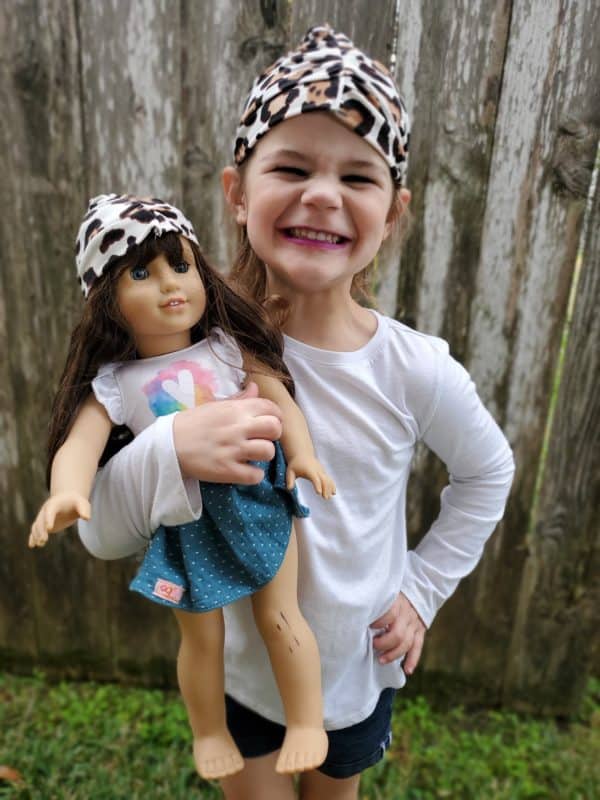
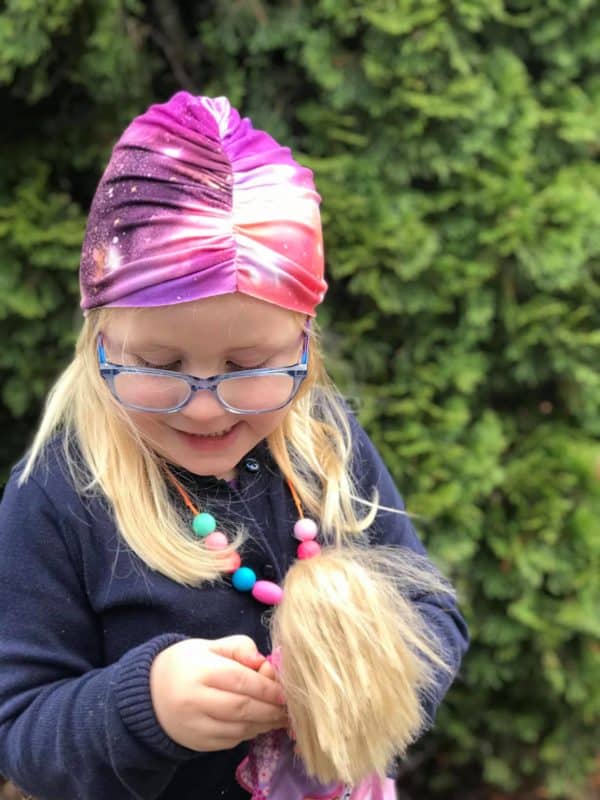
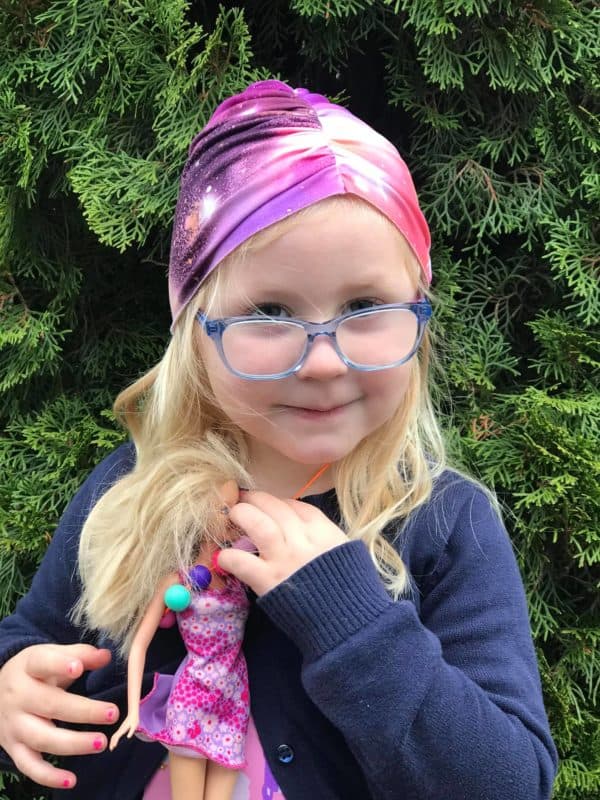
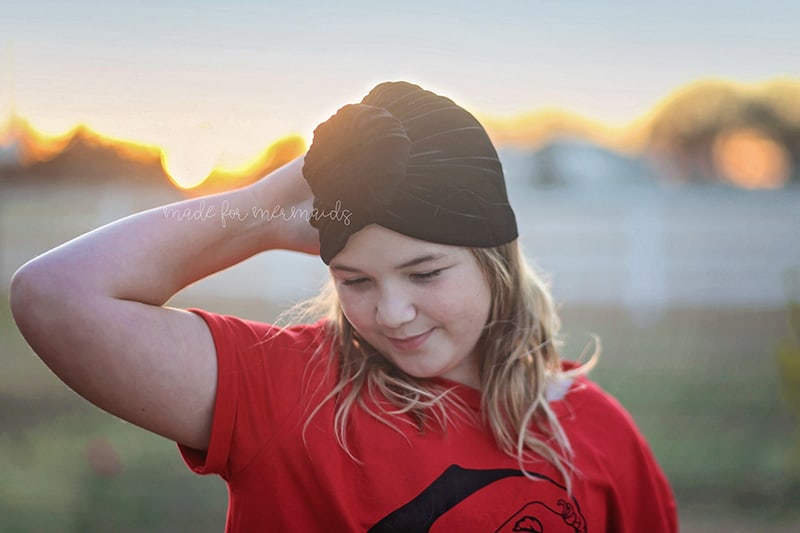
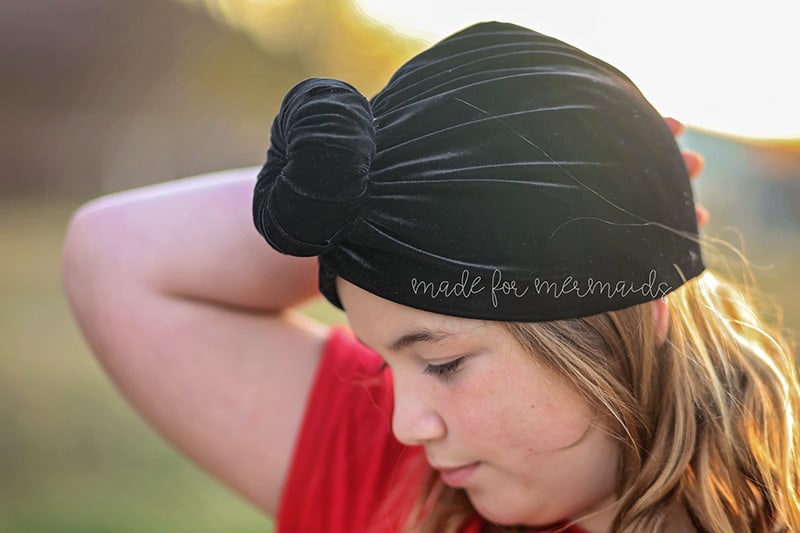
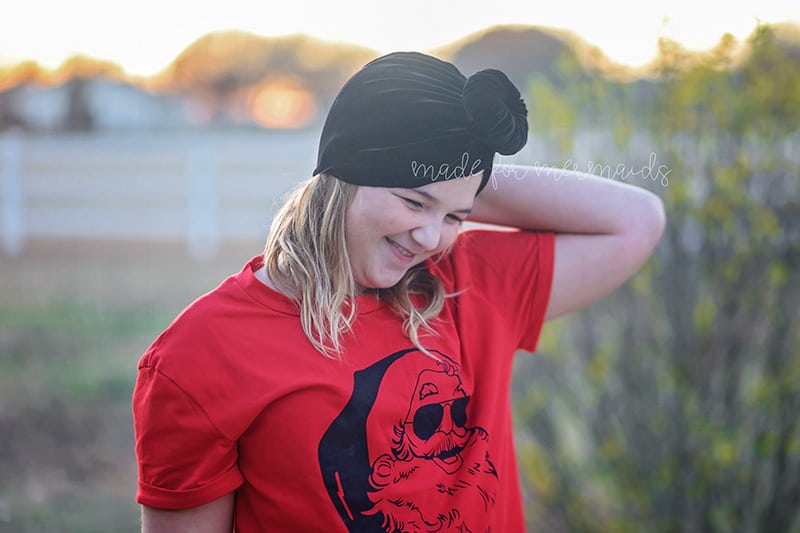
I can’t believe it’s the 12th and last day of our Christmas freebies. I hope that these have brought you a little joy and light this season! For the last day, we have a knit, gathered twist hat in 7 sizes! We’ve got dolly to adults covered on this one, yay! This hat comes together quickly and uses little fabric. You can make it a variety of knits and it’s the perfect addition to any outfit 🙂 You can choose to finish the hat with a raw edge or with a faux band option too.
Each size is listed on the pattern piece plus has the head measurement too, but I’ll leave them below as well. Note- you may want to size up if you plan on wearing over braids or curls. If you’re using a very lightweight fabric (like a waffle knit) that doesn’t have great recovery, you may want to size down.
Dolly- 11.5″
Newborn- 15″
Baby- 17″
Child- 18″
Teen- 20″
Adult S- 21″
Adult M- 22″
SUPPLIES:
You’ll need a spandex blend knit fabric. You want something with a high stretch and great recovery (at least 30% stretch and at least 5% spandex that works best). Double brushed poly, cotton lycra, stretch velvet, etc. The hat is gathered so you don’t want to use anything too thick, like a Liverpool or French terry, because your seams would be too thick/may be difficult to gather. The raw hem option can get away with more variety of knits, but the faux band really needs great recovery or the band may end up ‘floppy’. If your fabric has a lot of vertical stretch, you’ll get more coverage, if it doesn’t have much vertical stretch it may be a little ‘shorter’. So with all that to say, your fabric will dramatically affect your fit on your hat 🙂
- Dolly & Newborn sizes 3/8 yard
- Baby to Adult sizes 1/2 yard
- Optional hair donut
LET’S GET STARTED!
1/2″ seam allowances included.
Step 1: PREPPING
Go grab the pattern here! The pattern is 100% free, but you do need to add it to your cart and checkout. Then, it will always be available to download from your account. The pattern is a no trim pattern; if you need help putting the pattern together, pop over to the faqs and troubleshooting page or ask in our Facebook group .
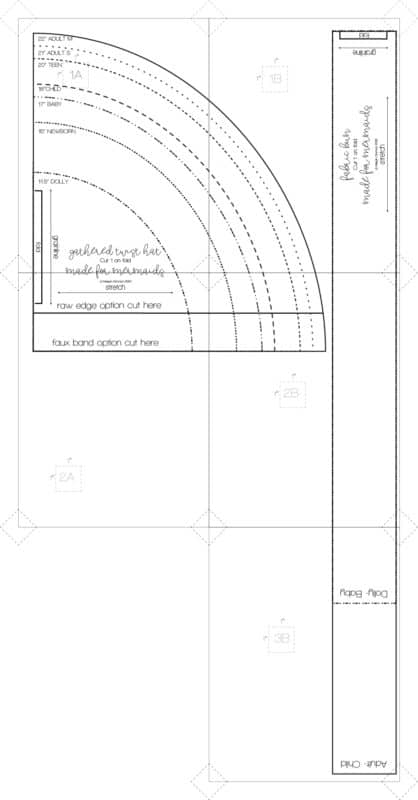
Print and assemble the pattern. There are 5 pages to print out (or download the projector file!). Pattern layout below:
Note: If you don’t want to print the long fabric bun piece, simply cut 2.5″ by the WOF (width of fabric).
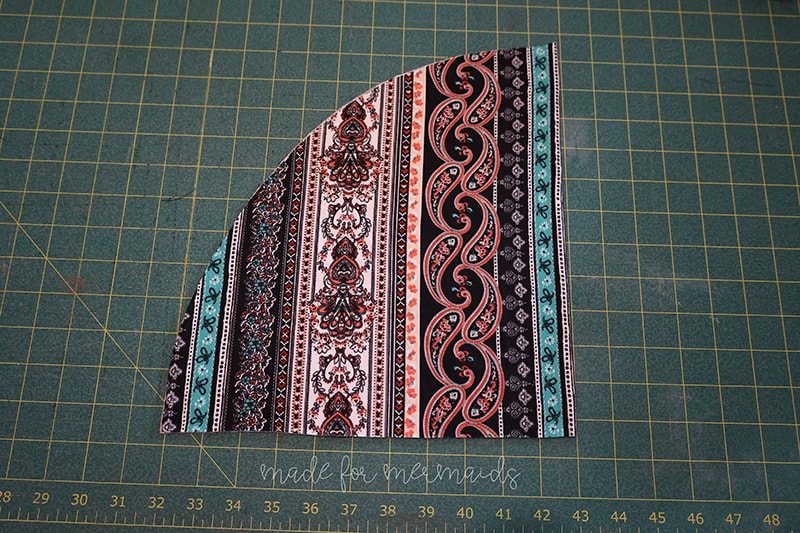
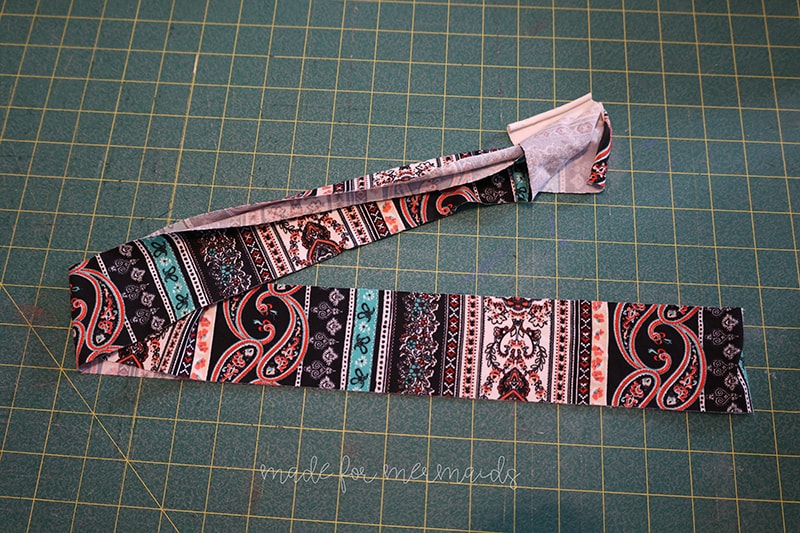
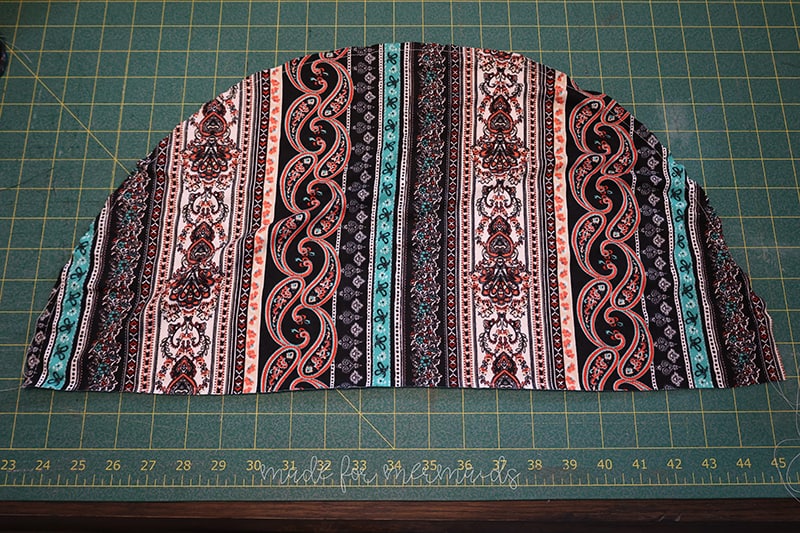
Cut one main piece on the fold. Choose to cut along the raw edge option cut line or the faux band option cut line. Cut 1 fabric bun piece on fold or 2.5″ by the WOF (width of fabric).
Step 2: Faux Band Option (raw edge option skip to next step)
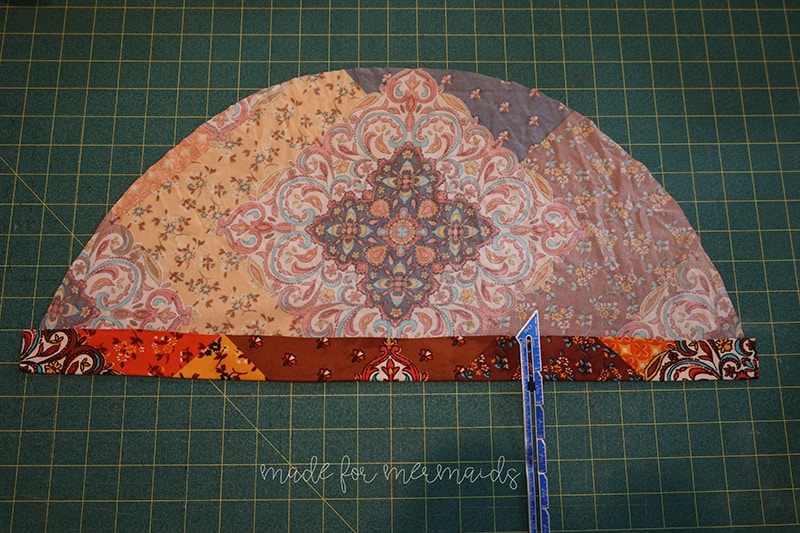
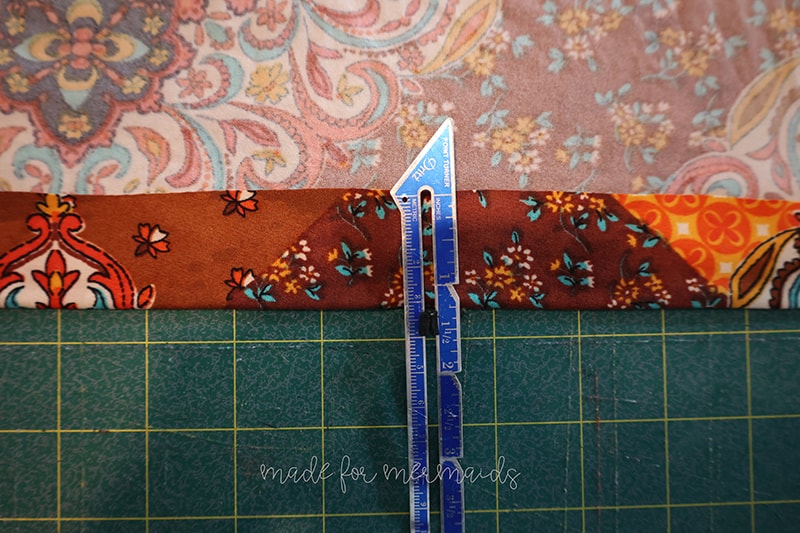
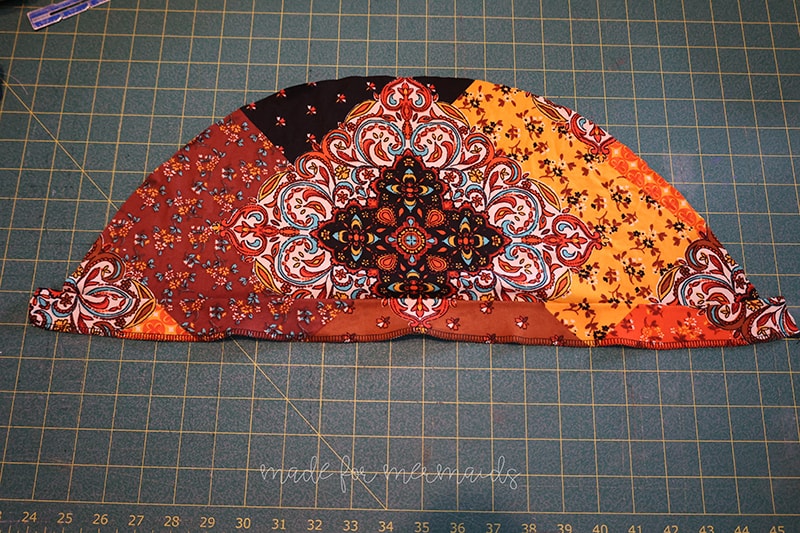
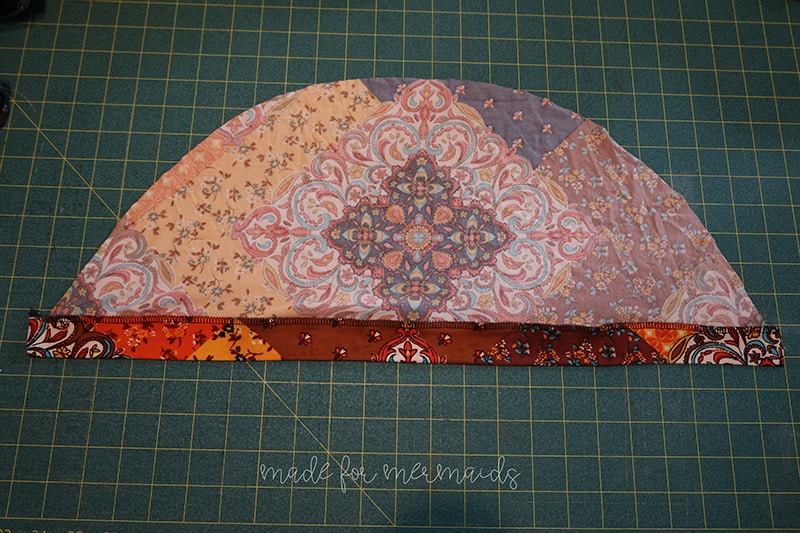
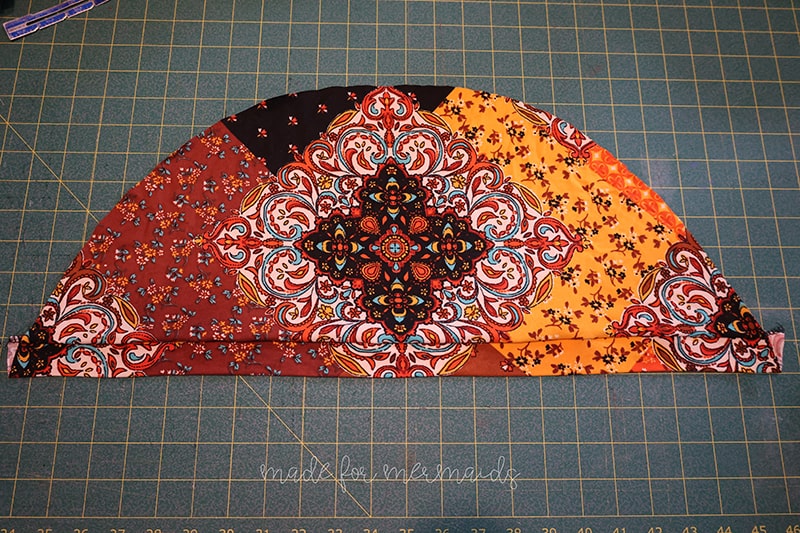
Press 1.25″ toward the wrong side.
Then fold the 1.25″ pressed edge toward the right side.
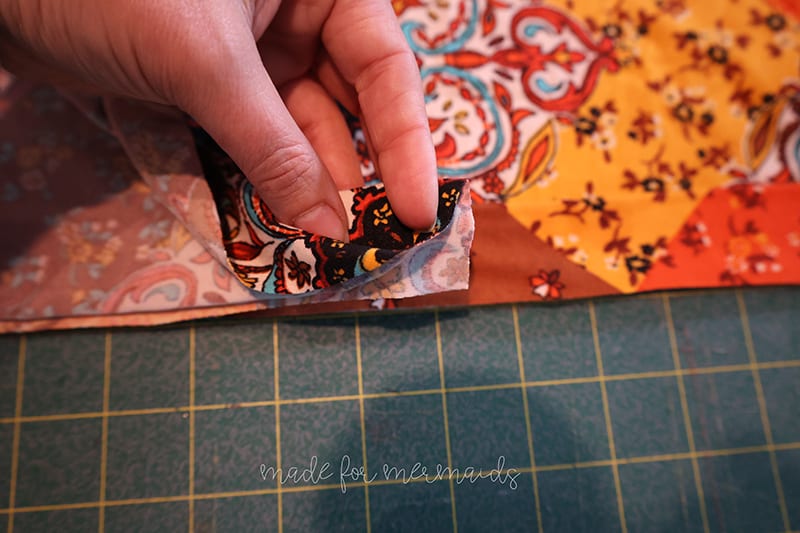
Stitch the edge with your serger, carefully to not cut any of the fabric off. Or use a zig-zag stitch with your sewing machine and a 1/4″ seam.
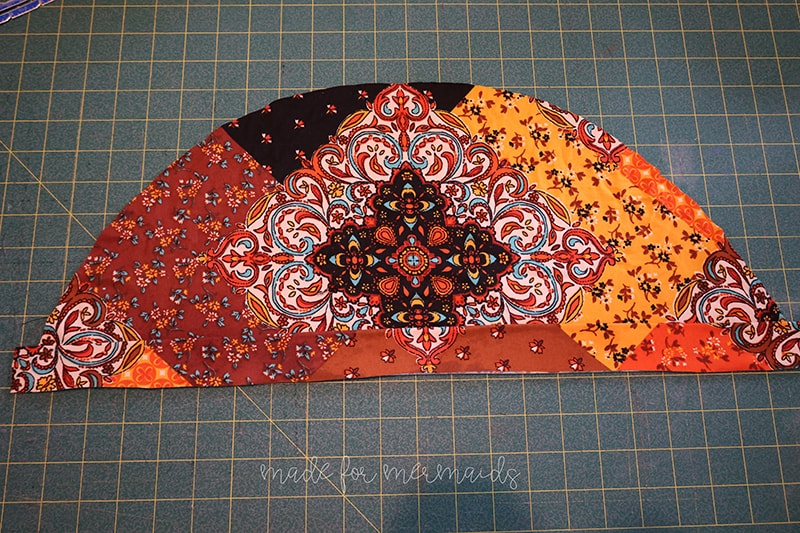
Press the faux band down. Topstitch along seam if desired.
Step 3: Gathering (all options continue)
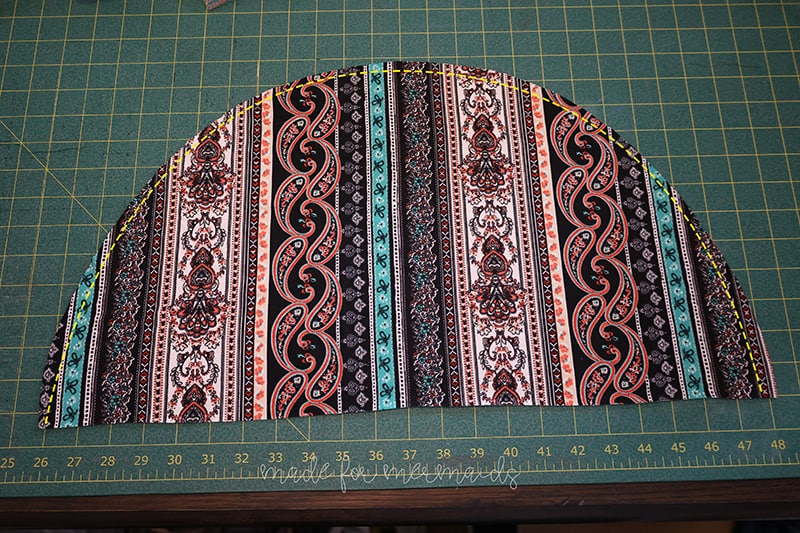
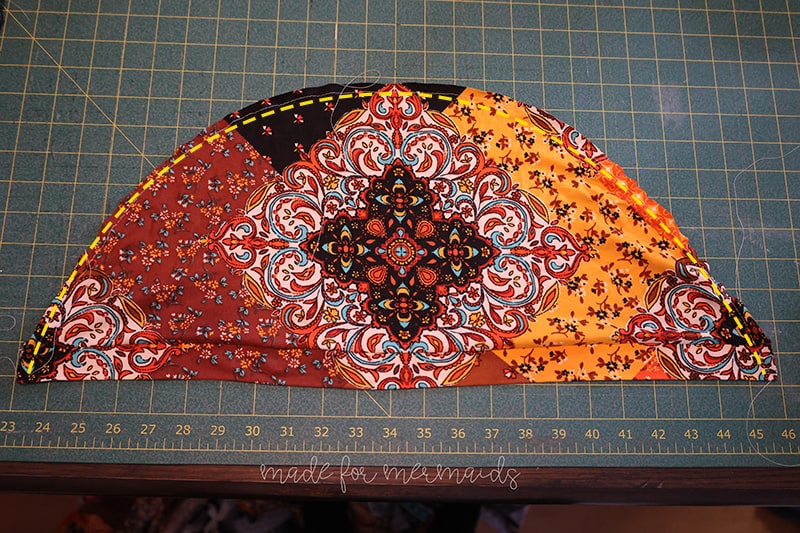
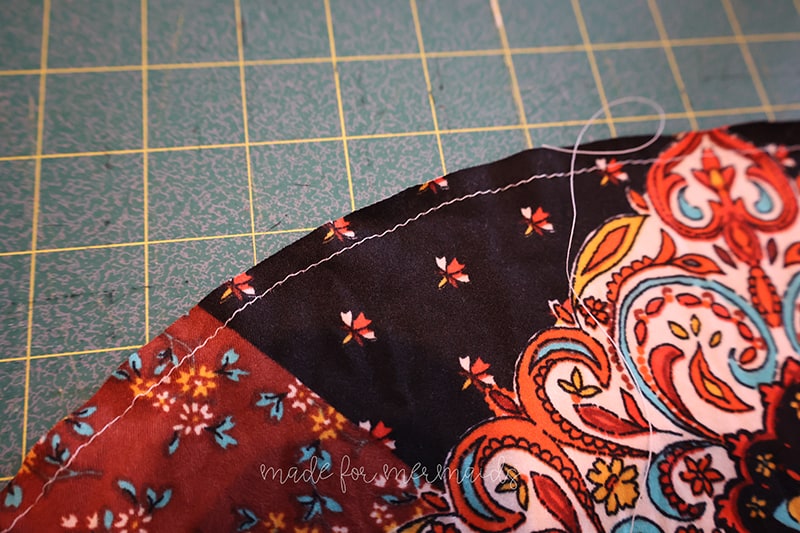
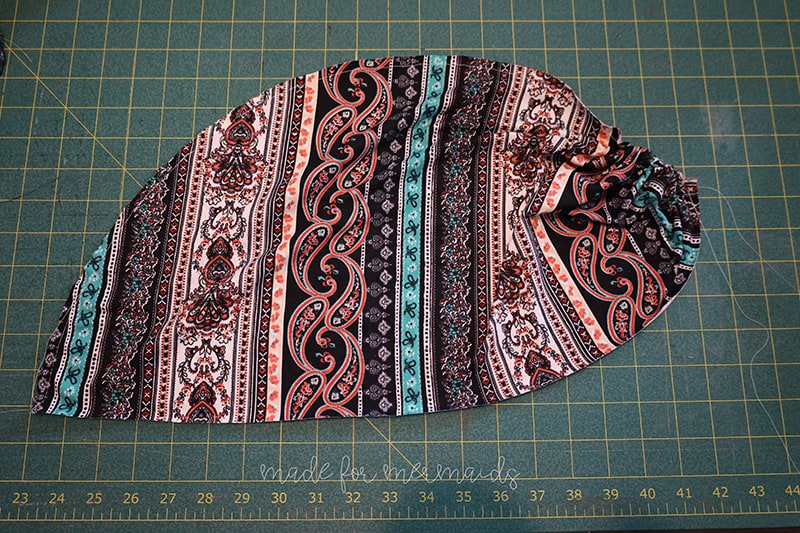
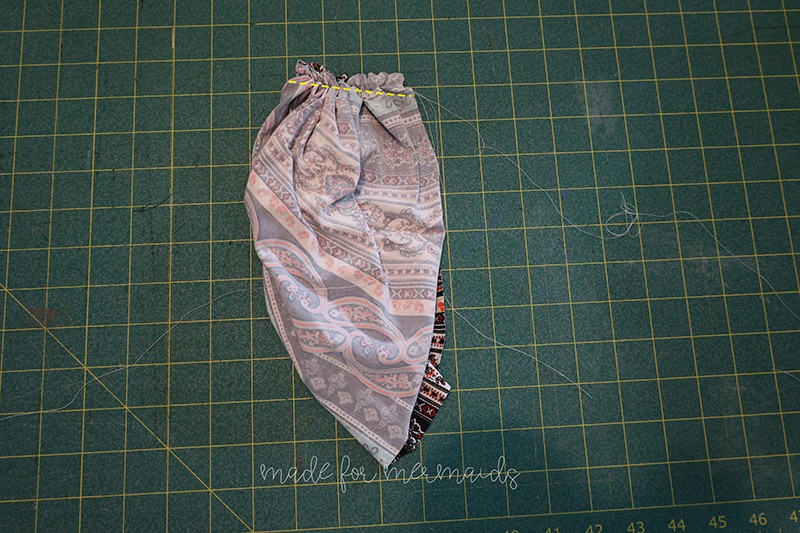
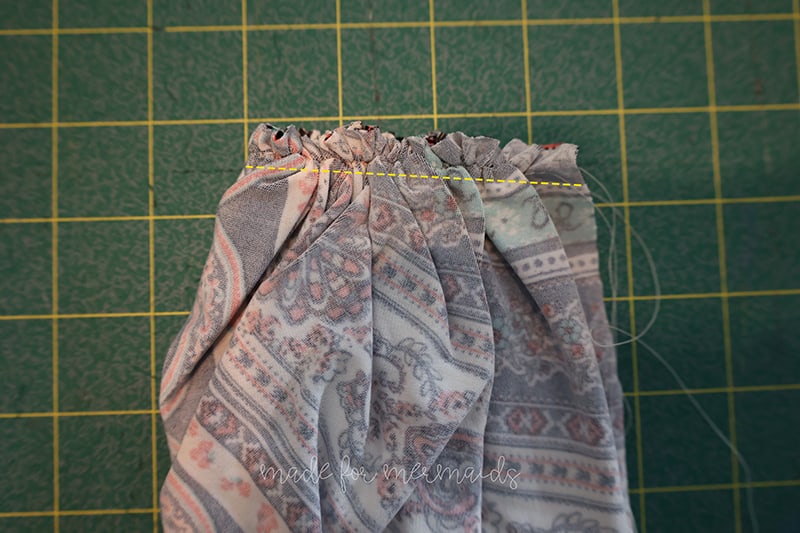
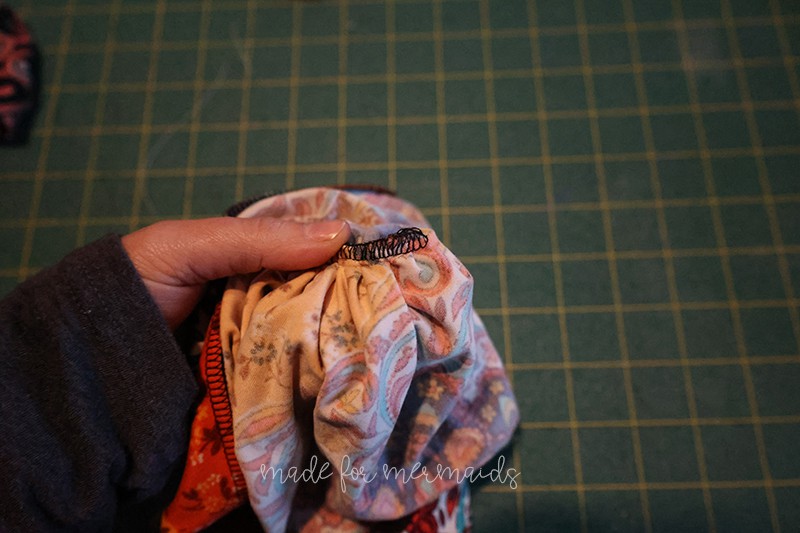
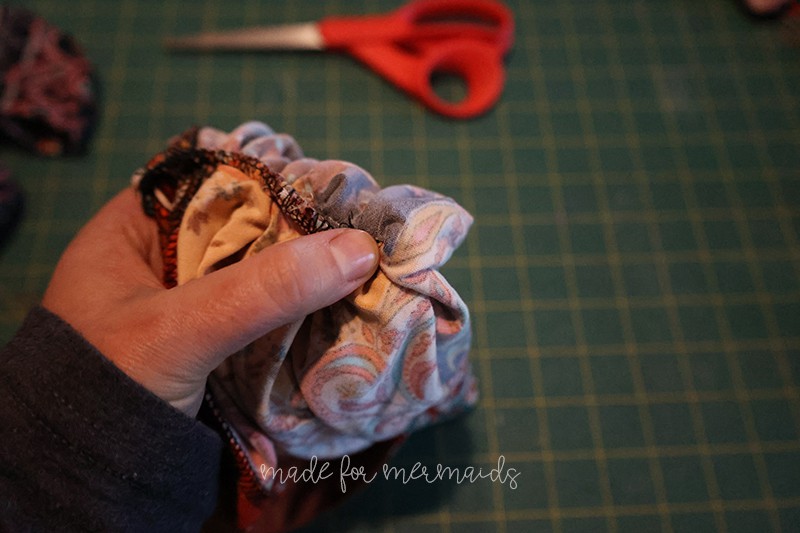
Run a gathering stitch along the raw curved edge. You can either run 1 gathering stitch 1/4″ from the edge OR 2 gathering stitches at 1/8″ and 1/4″ from the edge.
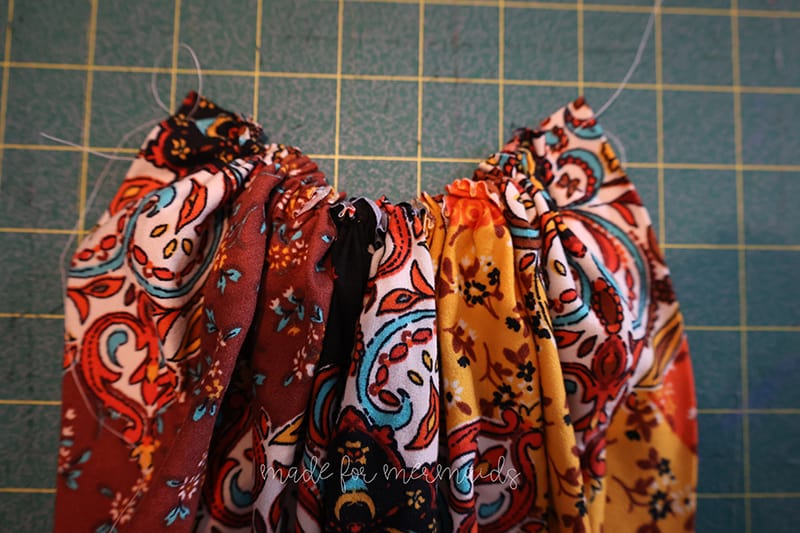
Gather the curved edge by pulling the bobbin thread and gather as tight as possible.
Step 4: Center Seam
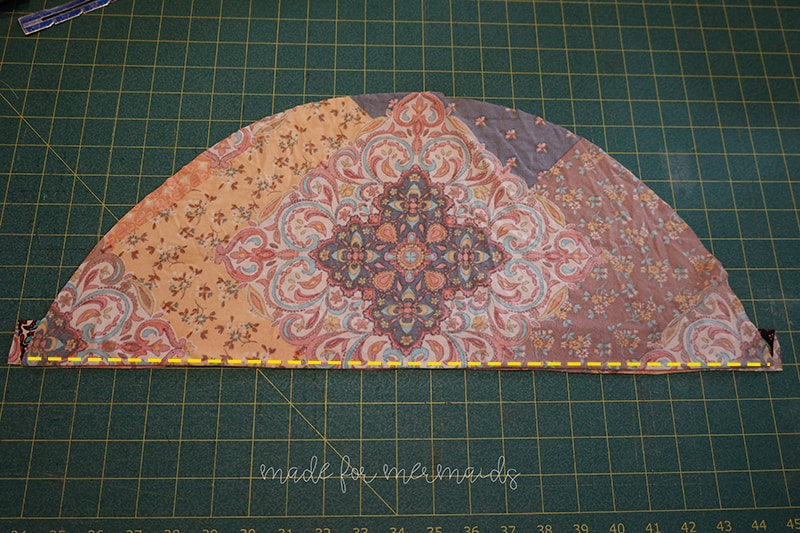
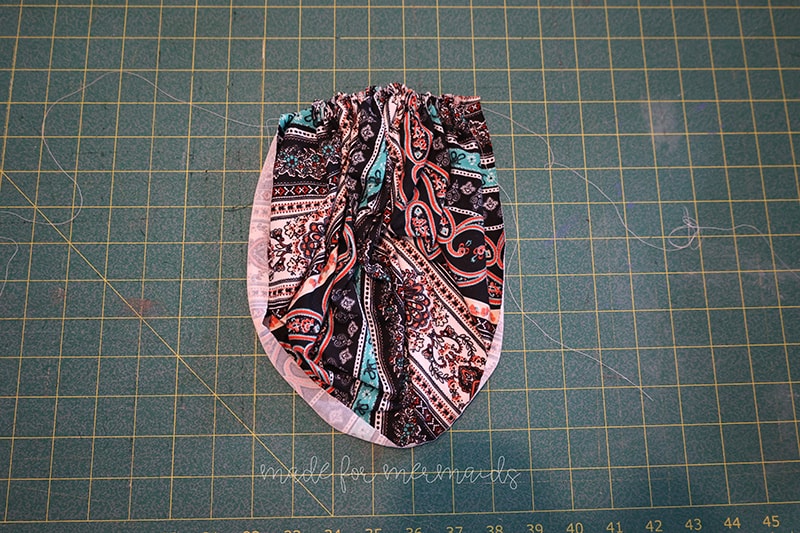
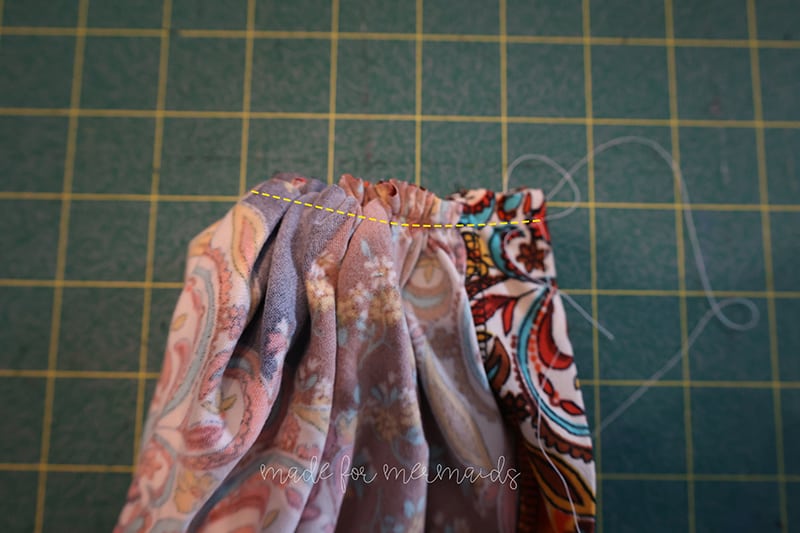
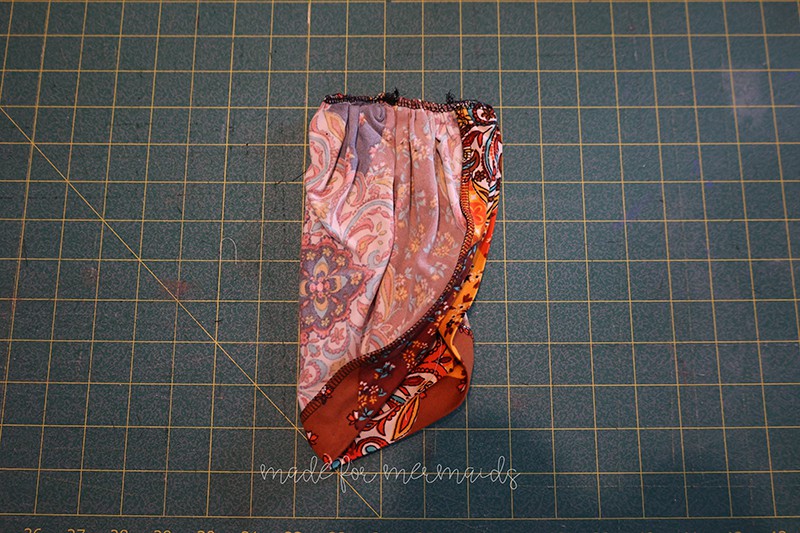
With right sides together, fold the gathered edge in half. BASTE together with a 1/2″ seam allowance.
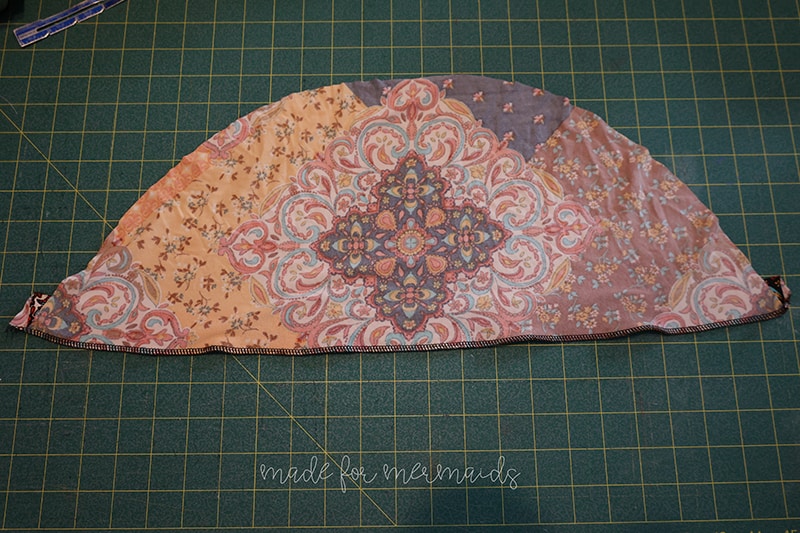
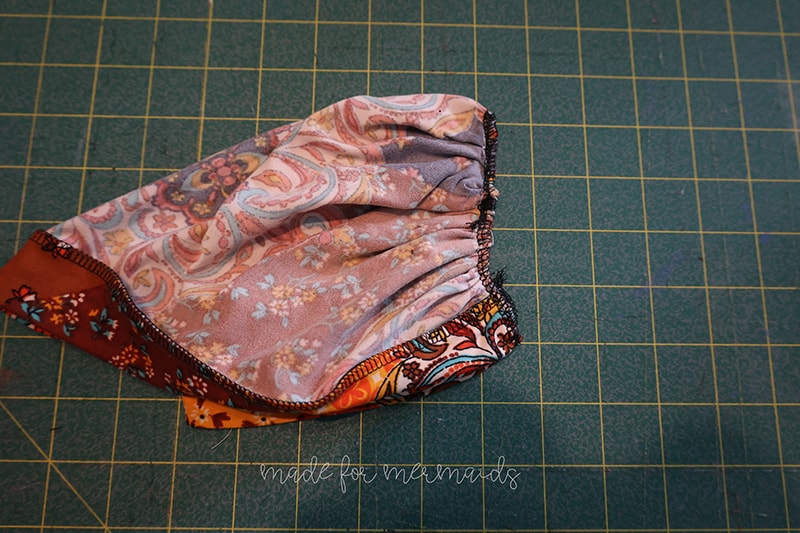
If possible, slip the hat on to see if you need any adjustments (like adjusting the tightness of the gathering). Then stitch with a serger or STRETCH stitch on your sewing machine. 1/2″ seam allowance. If you don’t have a serger, I like a wide zig-zag or triple zig-zag stitch. Then tuck serger tails in with a needle.
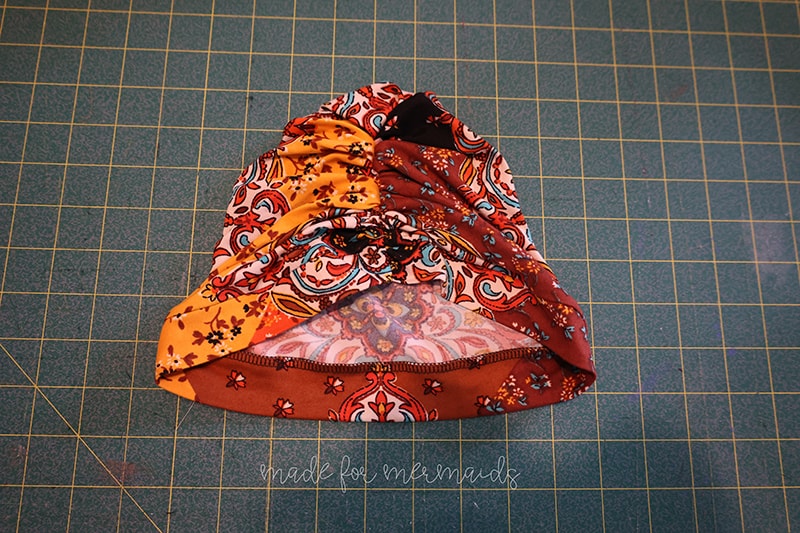
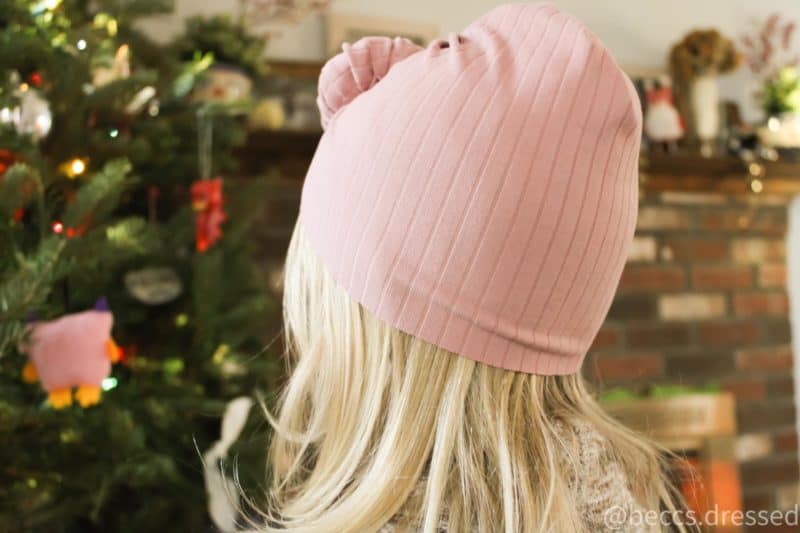
Flip right sides out. If you don’t want to add the twist/donut, you’re done!
Note- if you try your hat on and you’re getting a ‘pointy’ top at your gathered seam, you’ll want to tuck the seam under, on itself, about 1/2″ and tack in place.
Step 5: Fabric bun
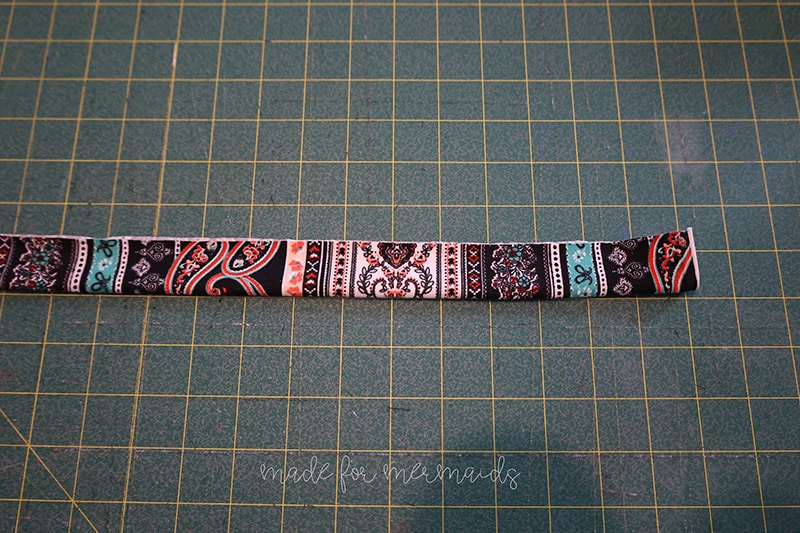
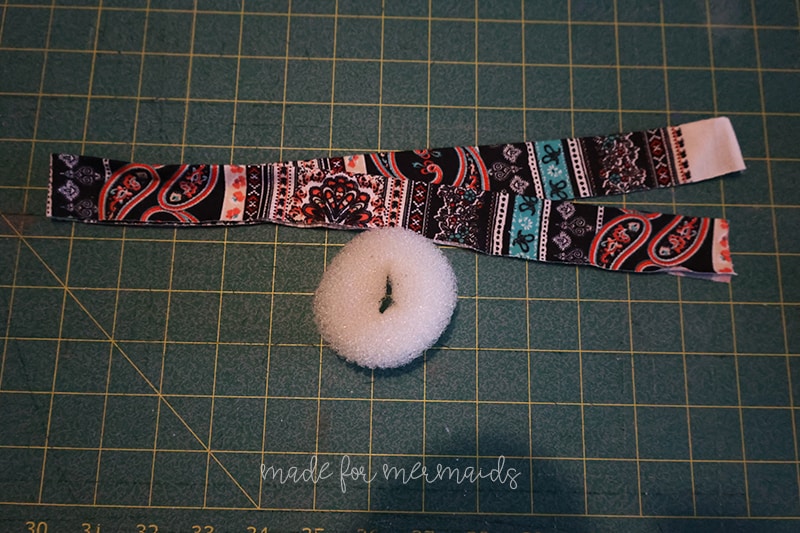
Fold the piece in half, wrong sides together.
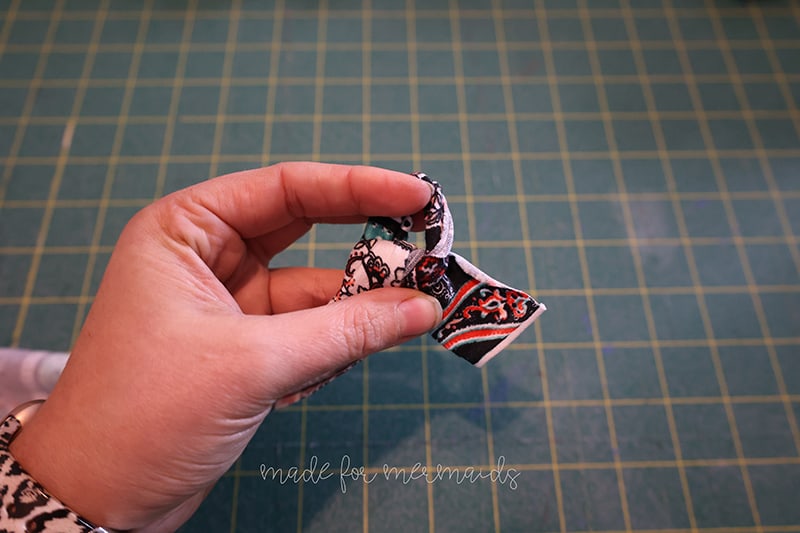
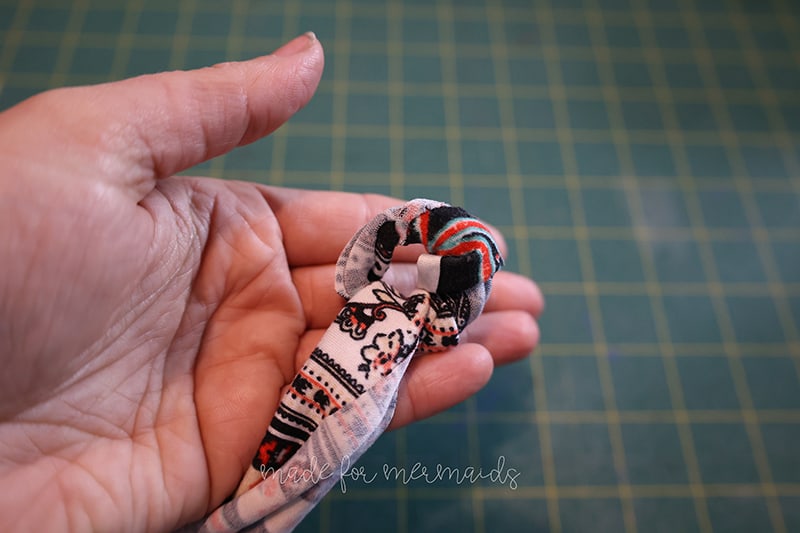
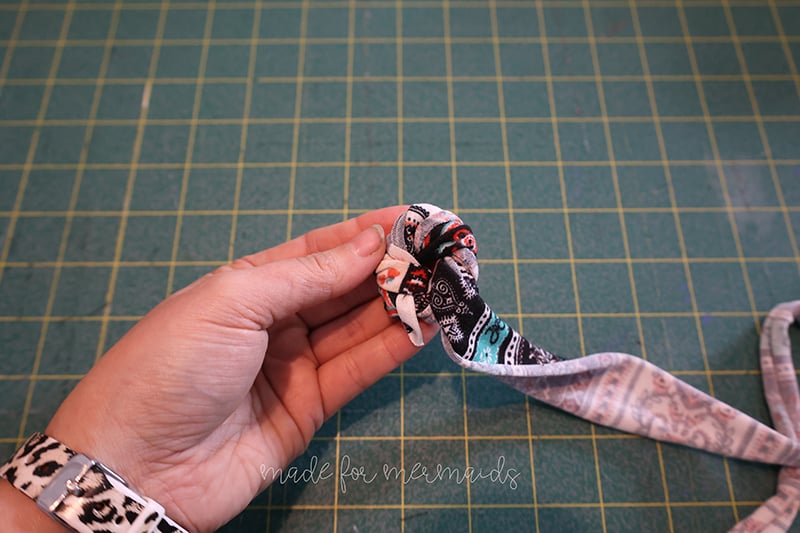
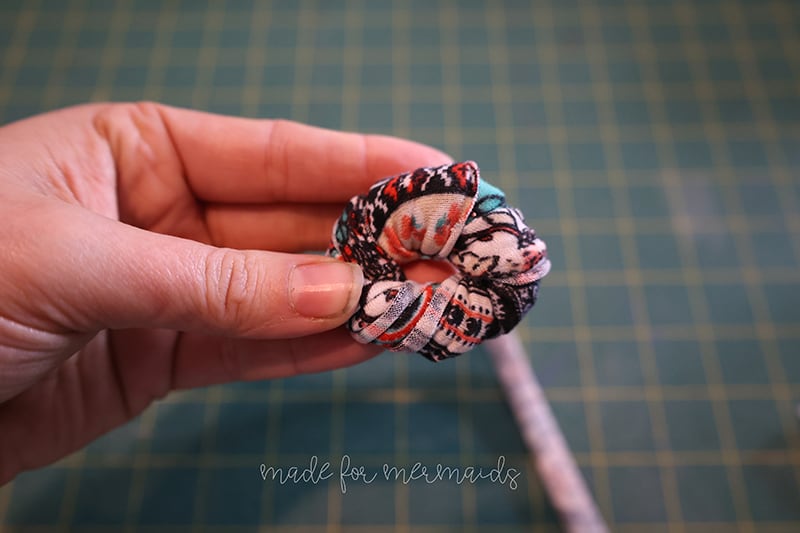
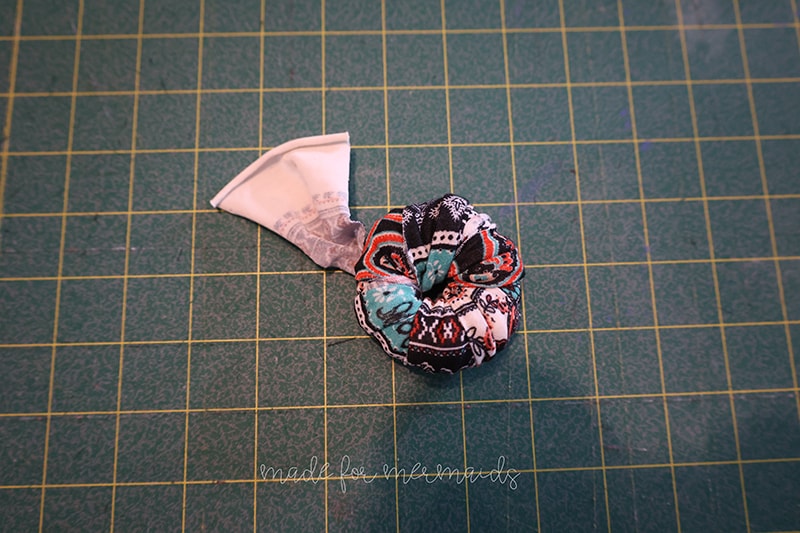
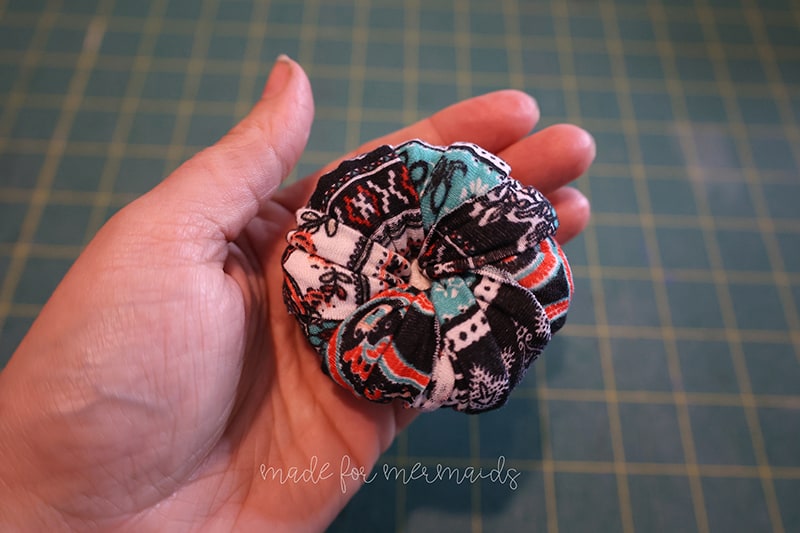
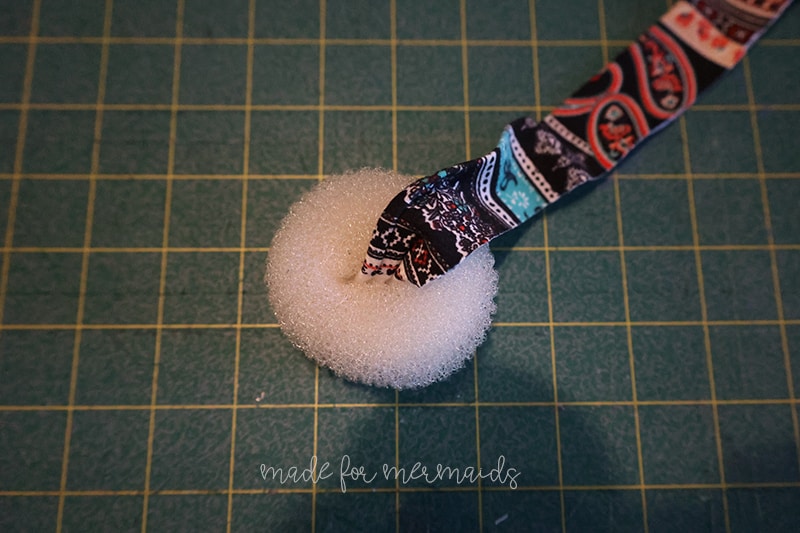
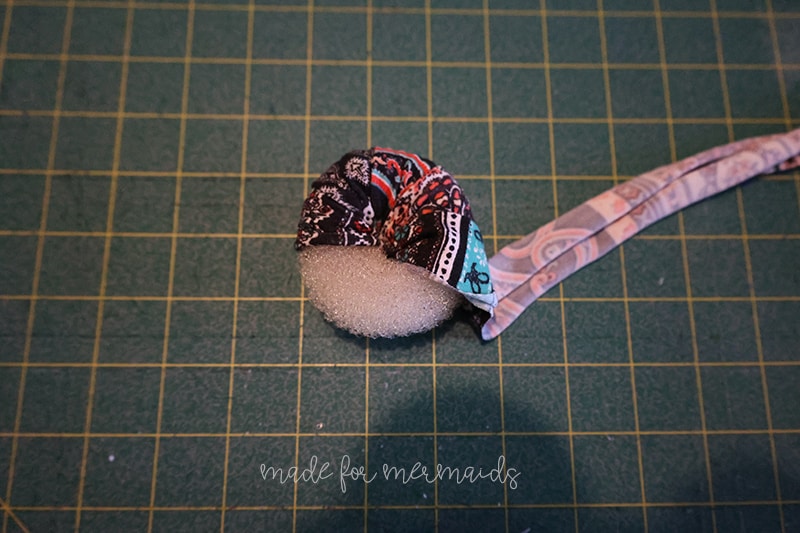
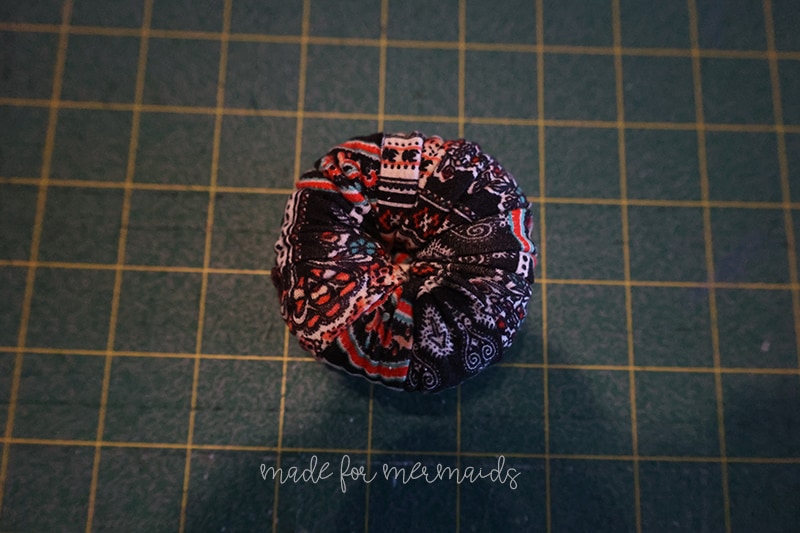
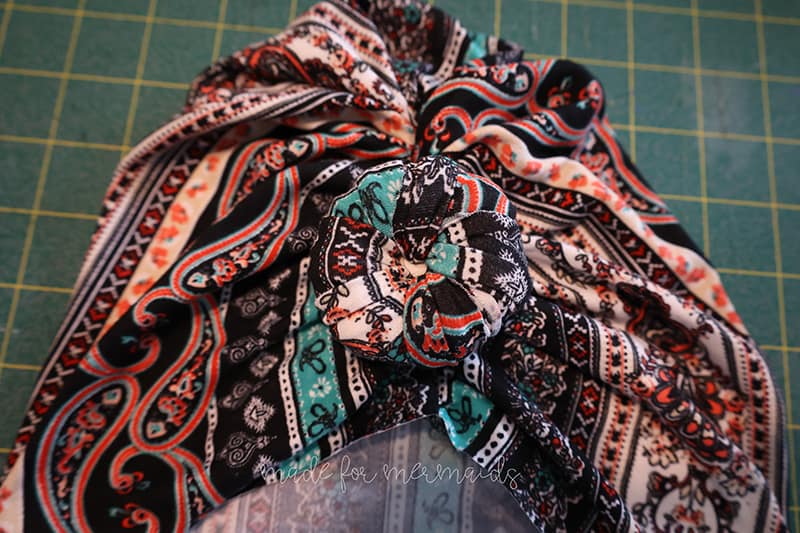
If you’re using a hair donut, skip below. Tie a loose knot at one end. Then wrap the short tail around the knot. Then begin to wrap the long tail around the knot, moving around the knot, keeping the tail folded in half. Continue to wrap until you’re happy with the size or come to the end. Tie a knot at the end and stuff in the center of the fabric bun.
If you’re using the hair donut, wrap the fabric around the donut until it’s fully covered. Trim the excess and tie in a knot. Stuff the knot in the center of the donut.
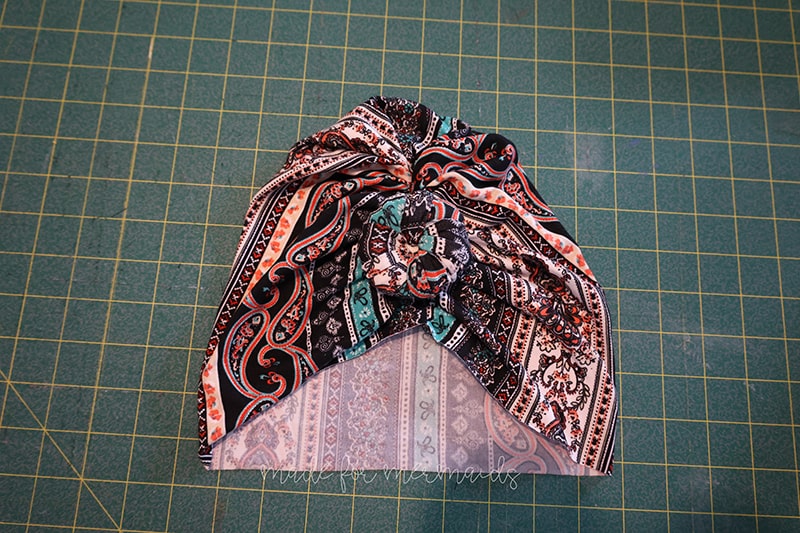
Now simple hot glue OR hand stitch your fabric bun on to your hat!
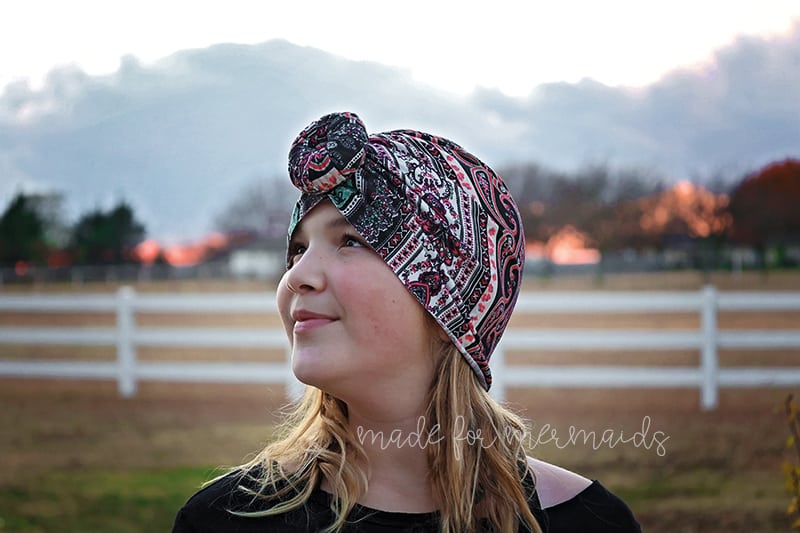
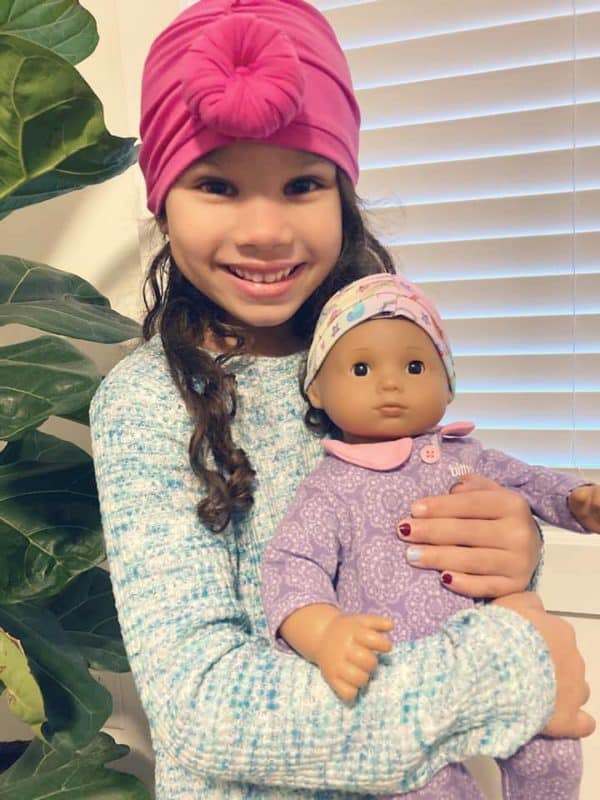
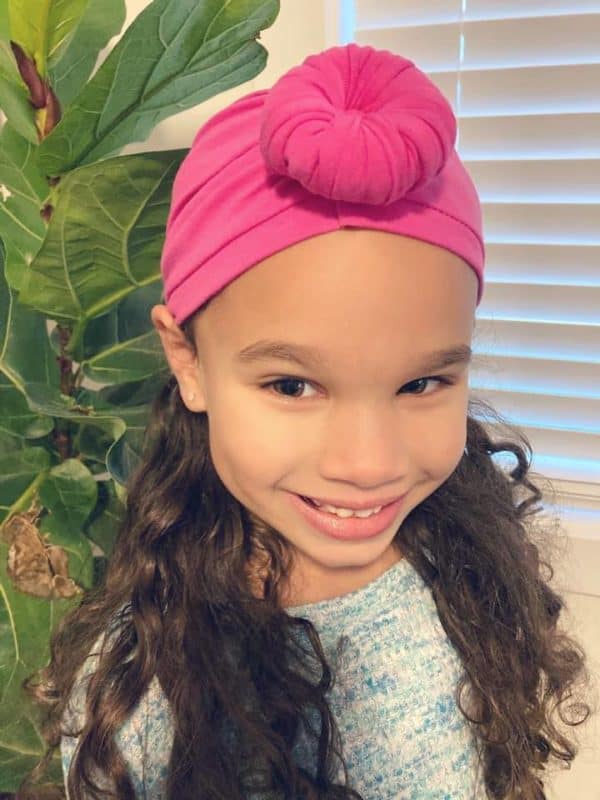
Your hat is complete! I hope you and your little ones love this hat. It’s so sweet, fun, and quick to make! If you make one or any of the freebies, please share in the Facebook group and tag me on Instagram 🙂





































Leave a Reply